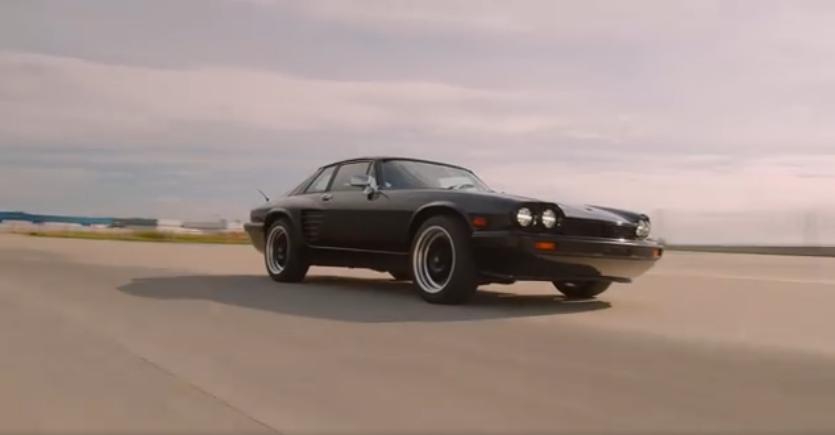
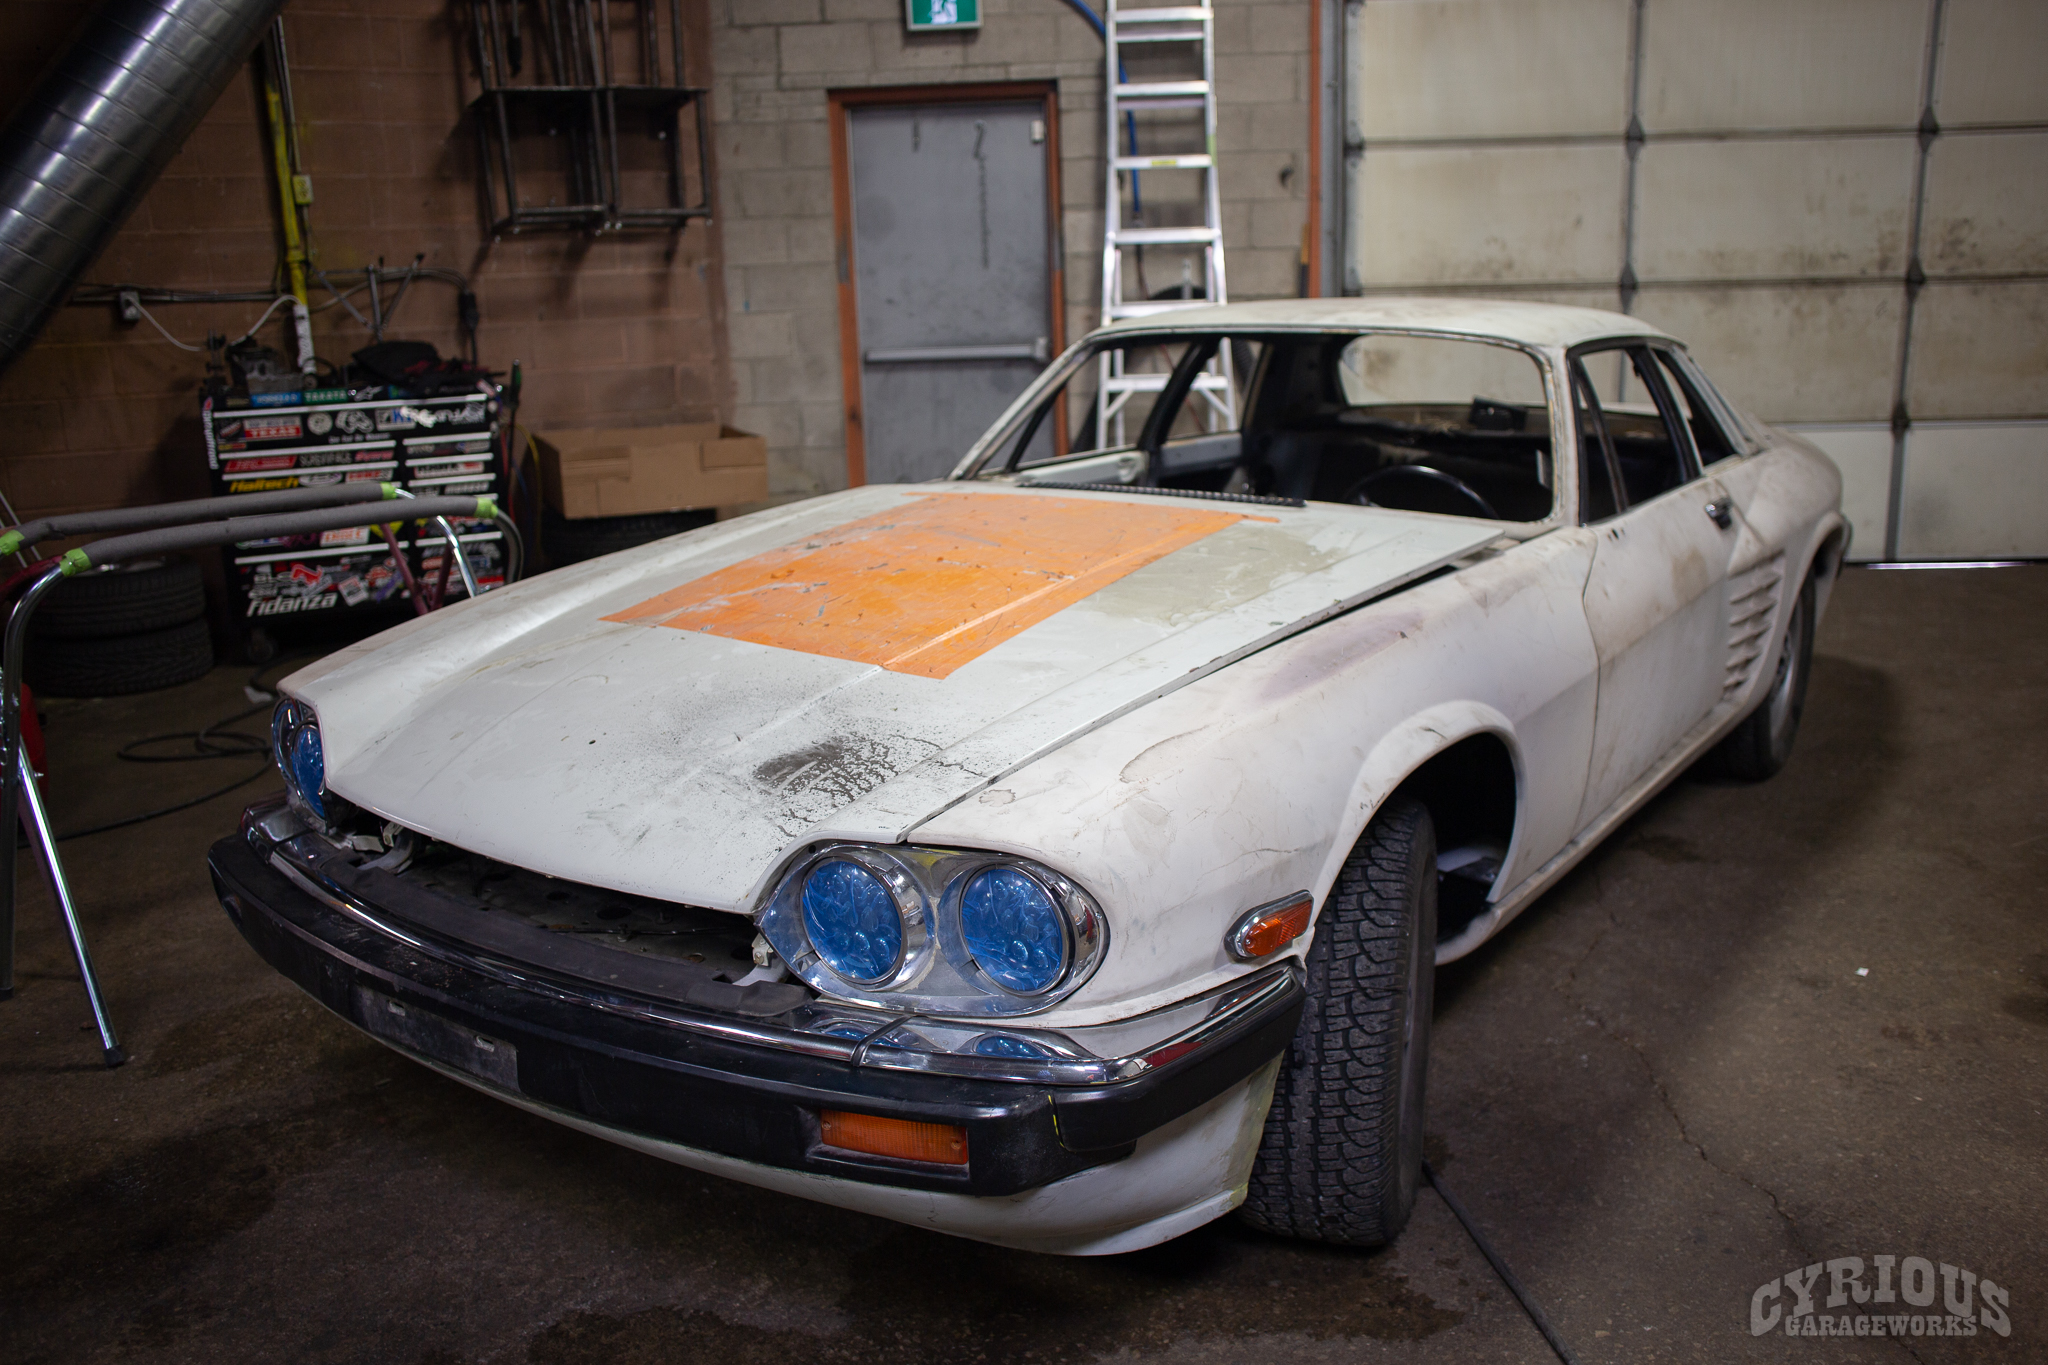
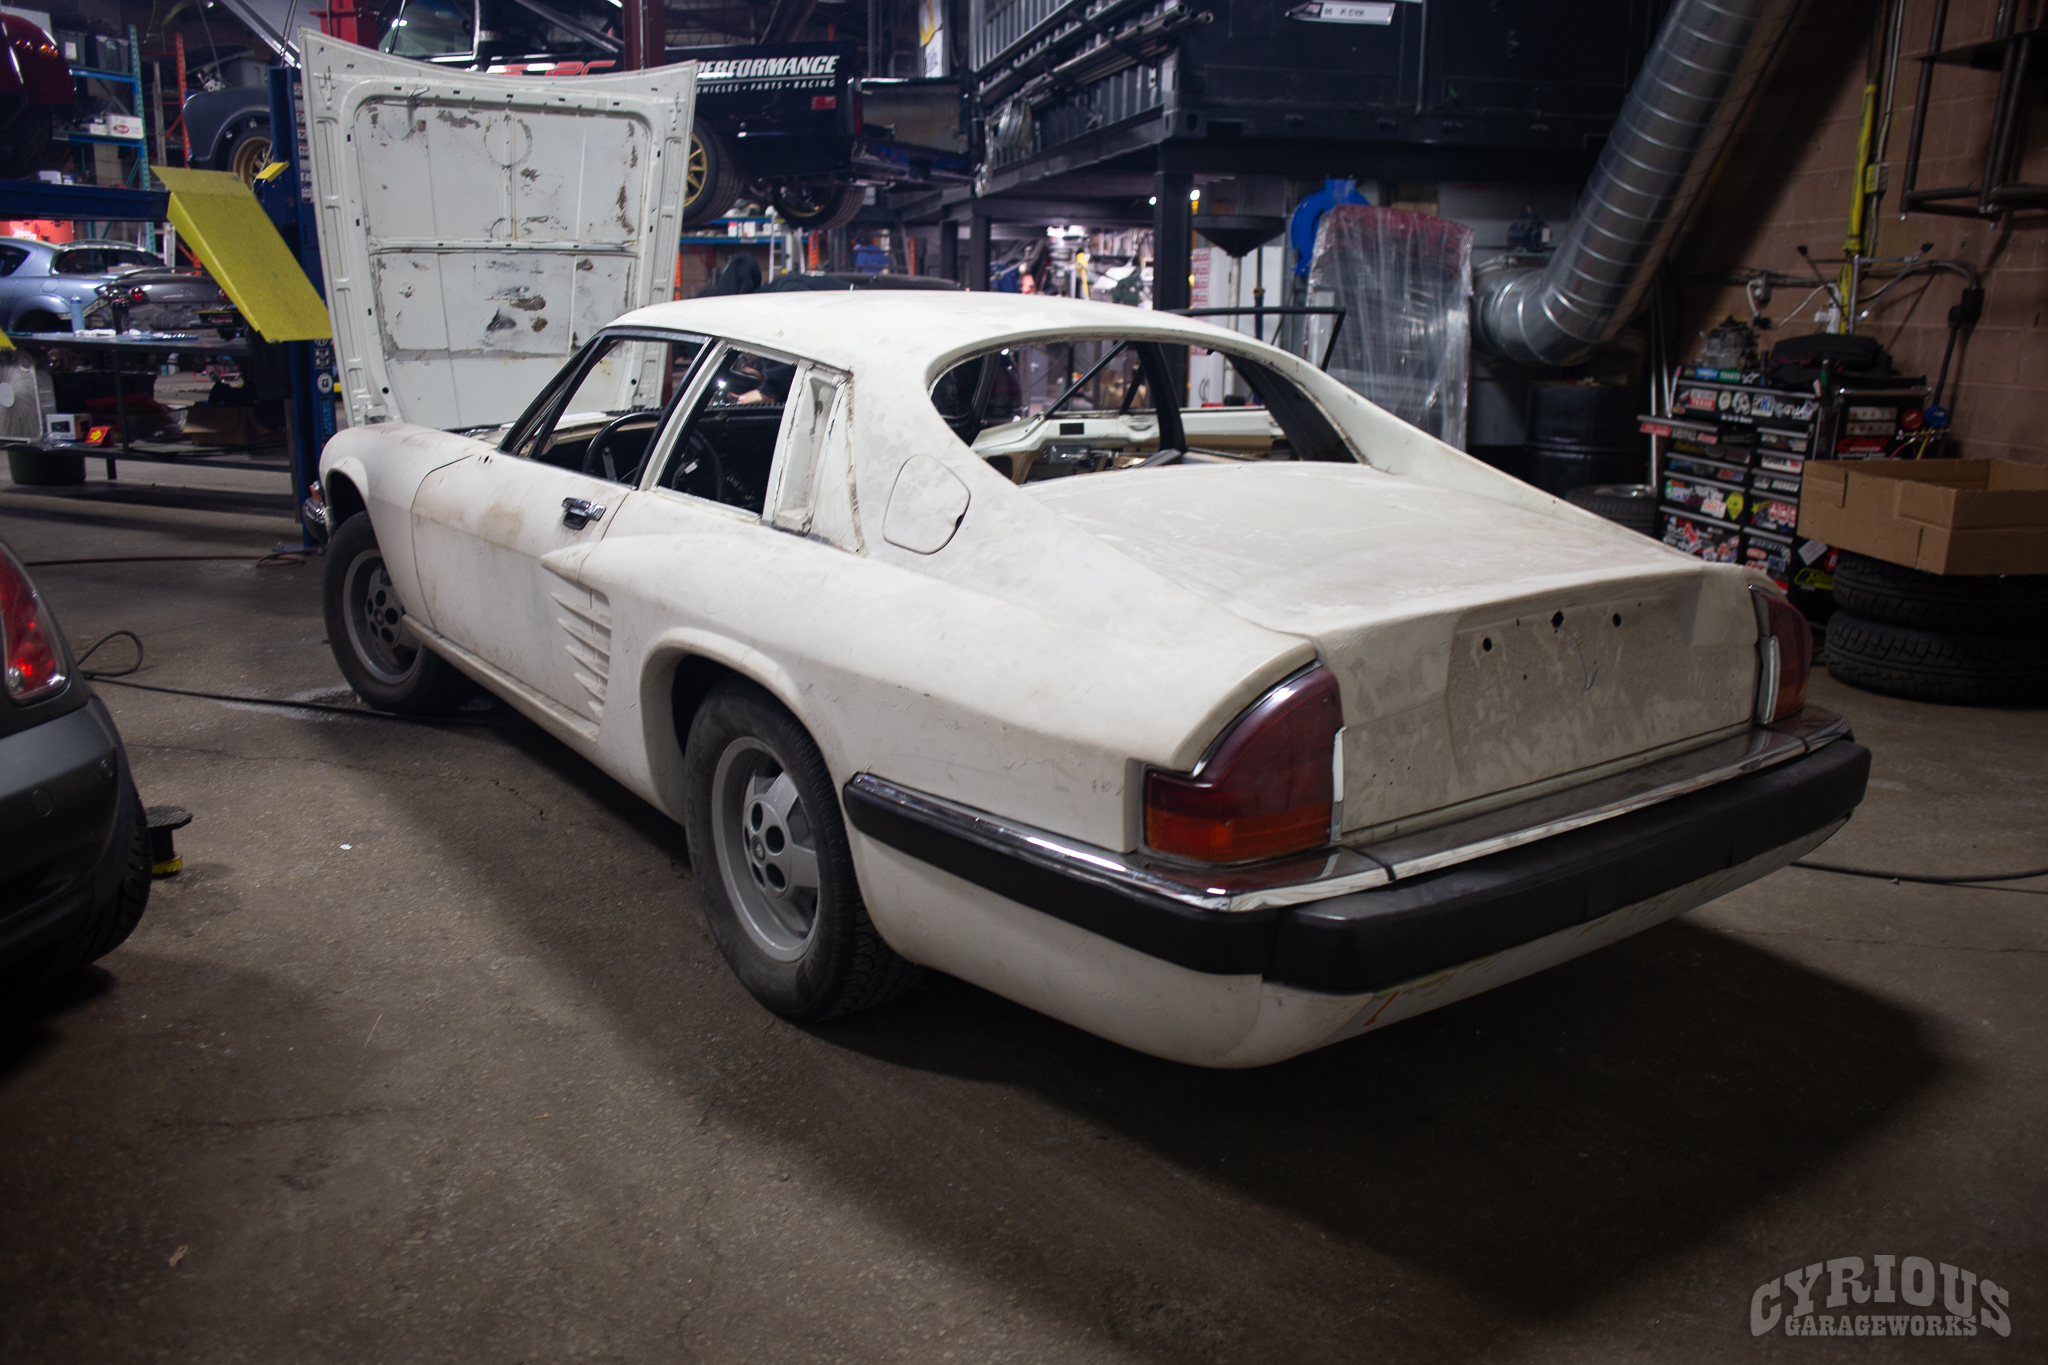
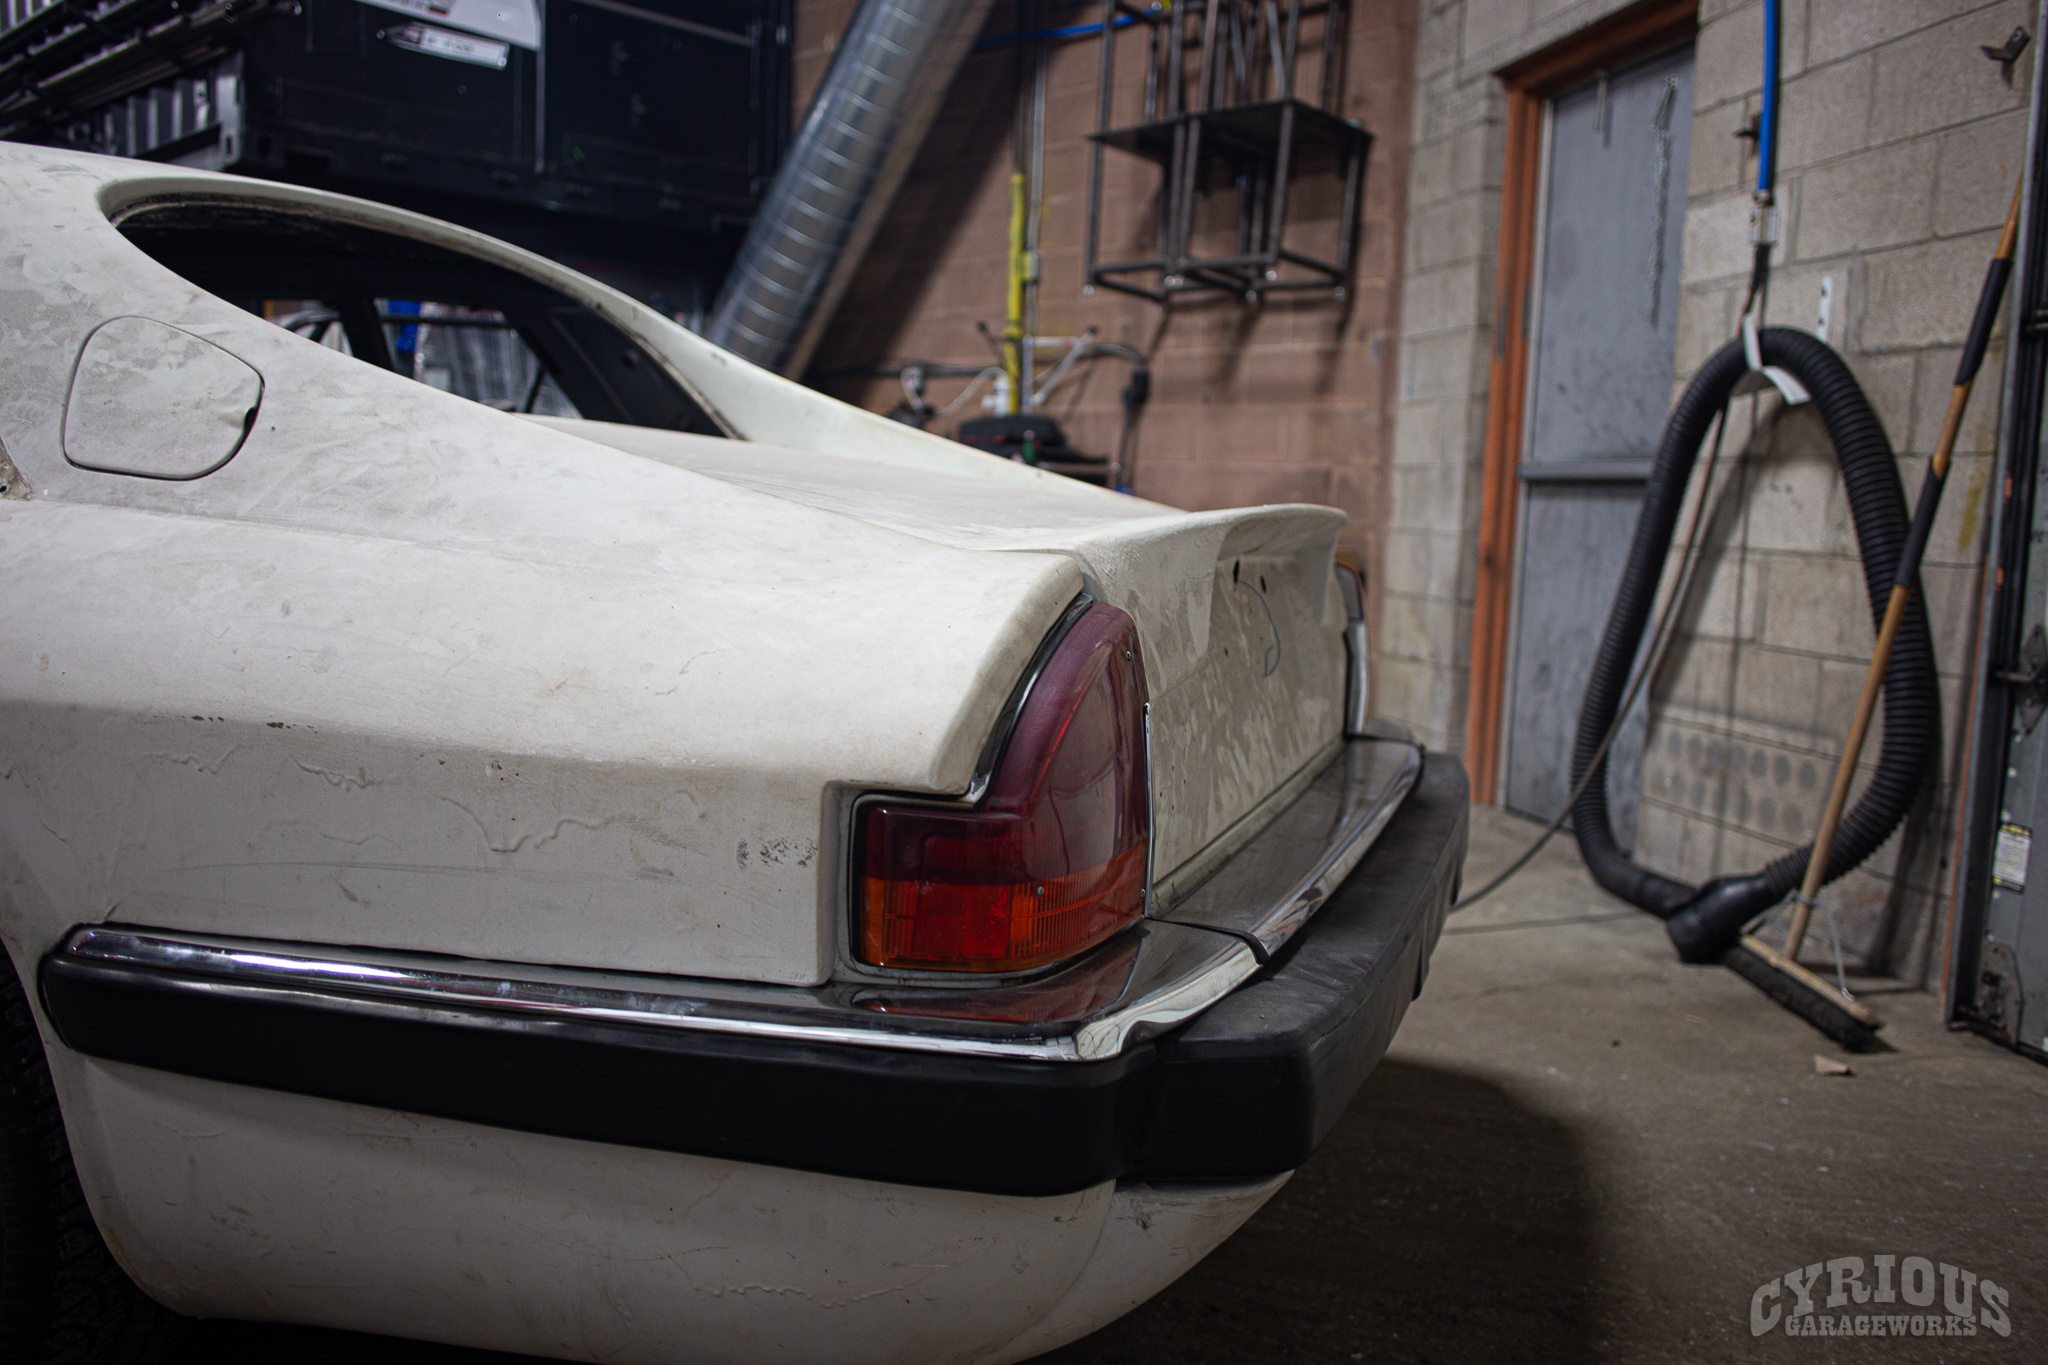
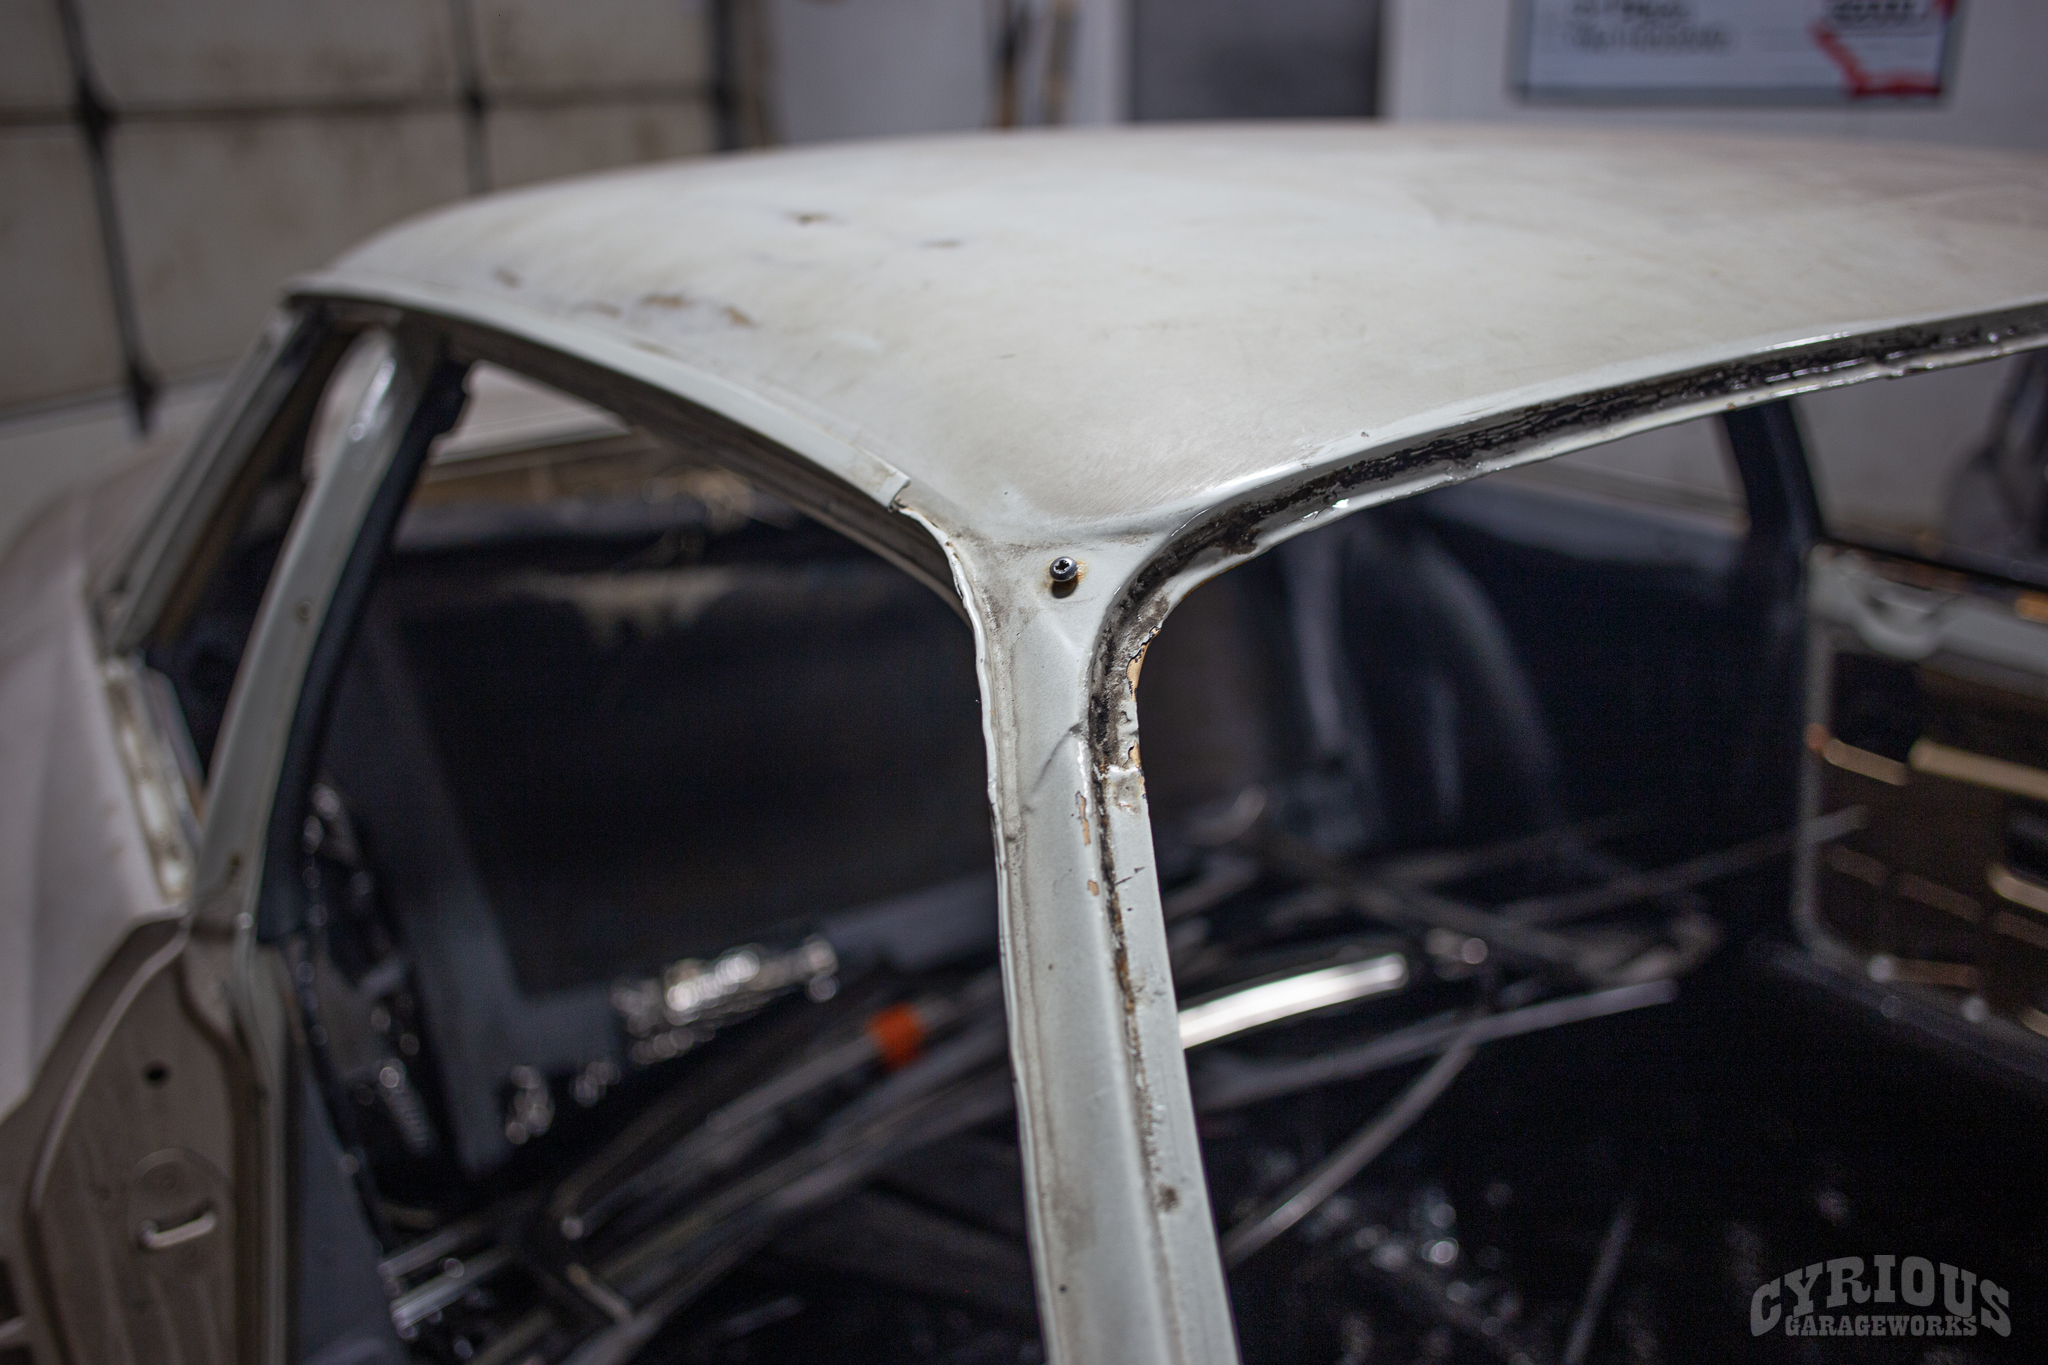
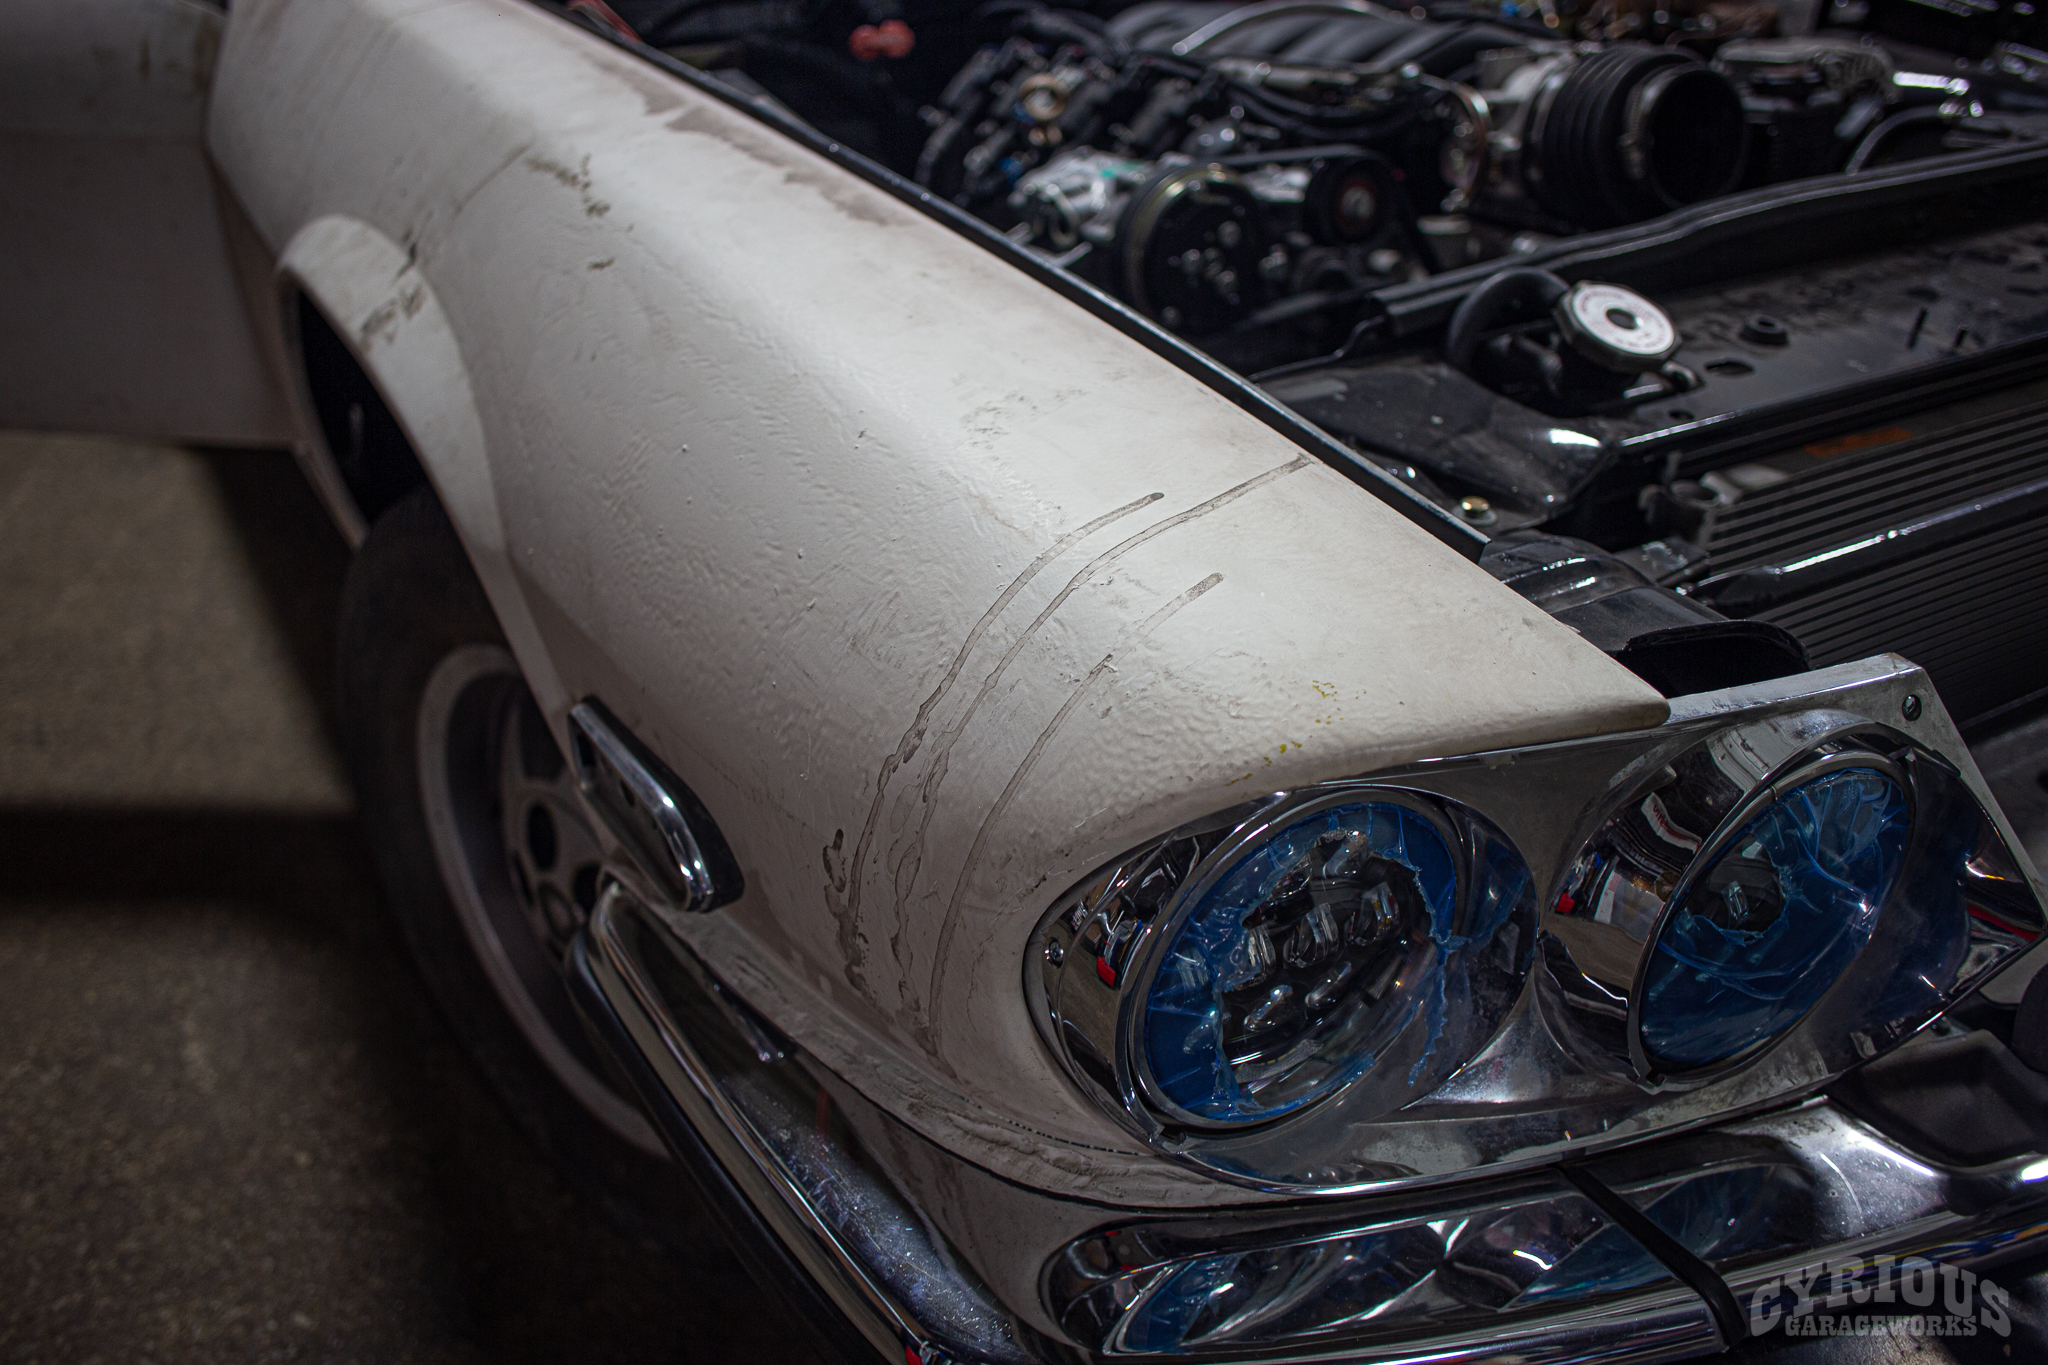
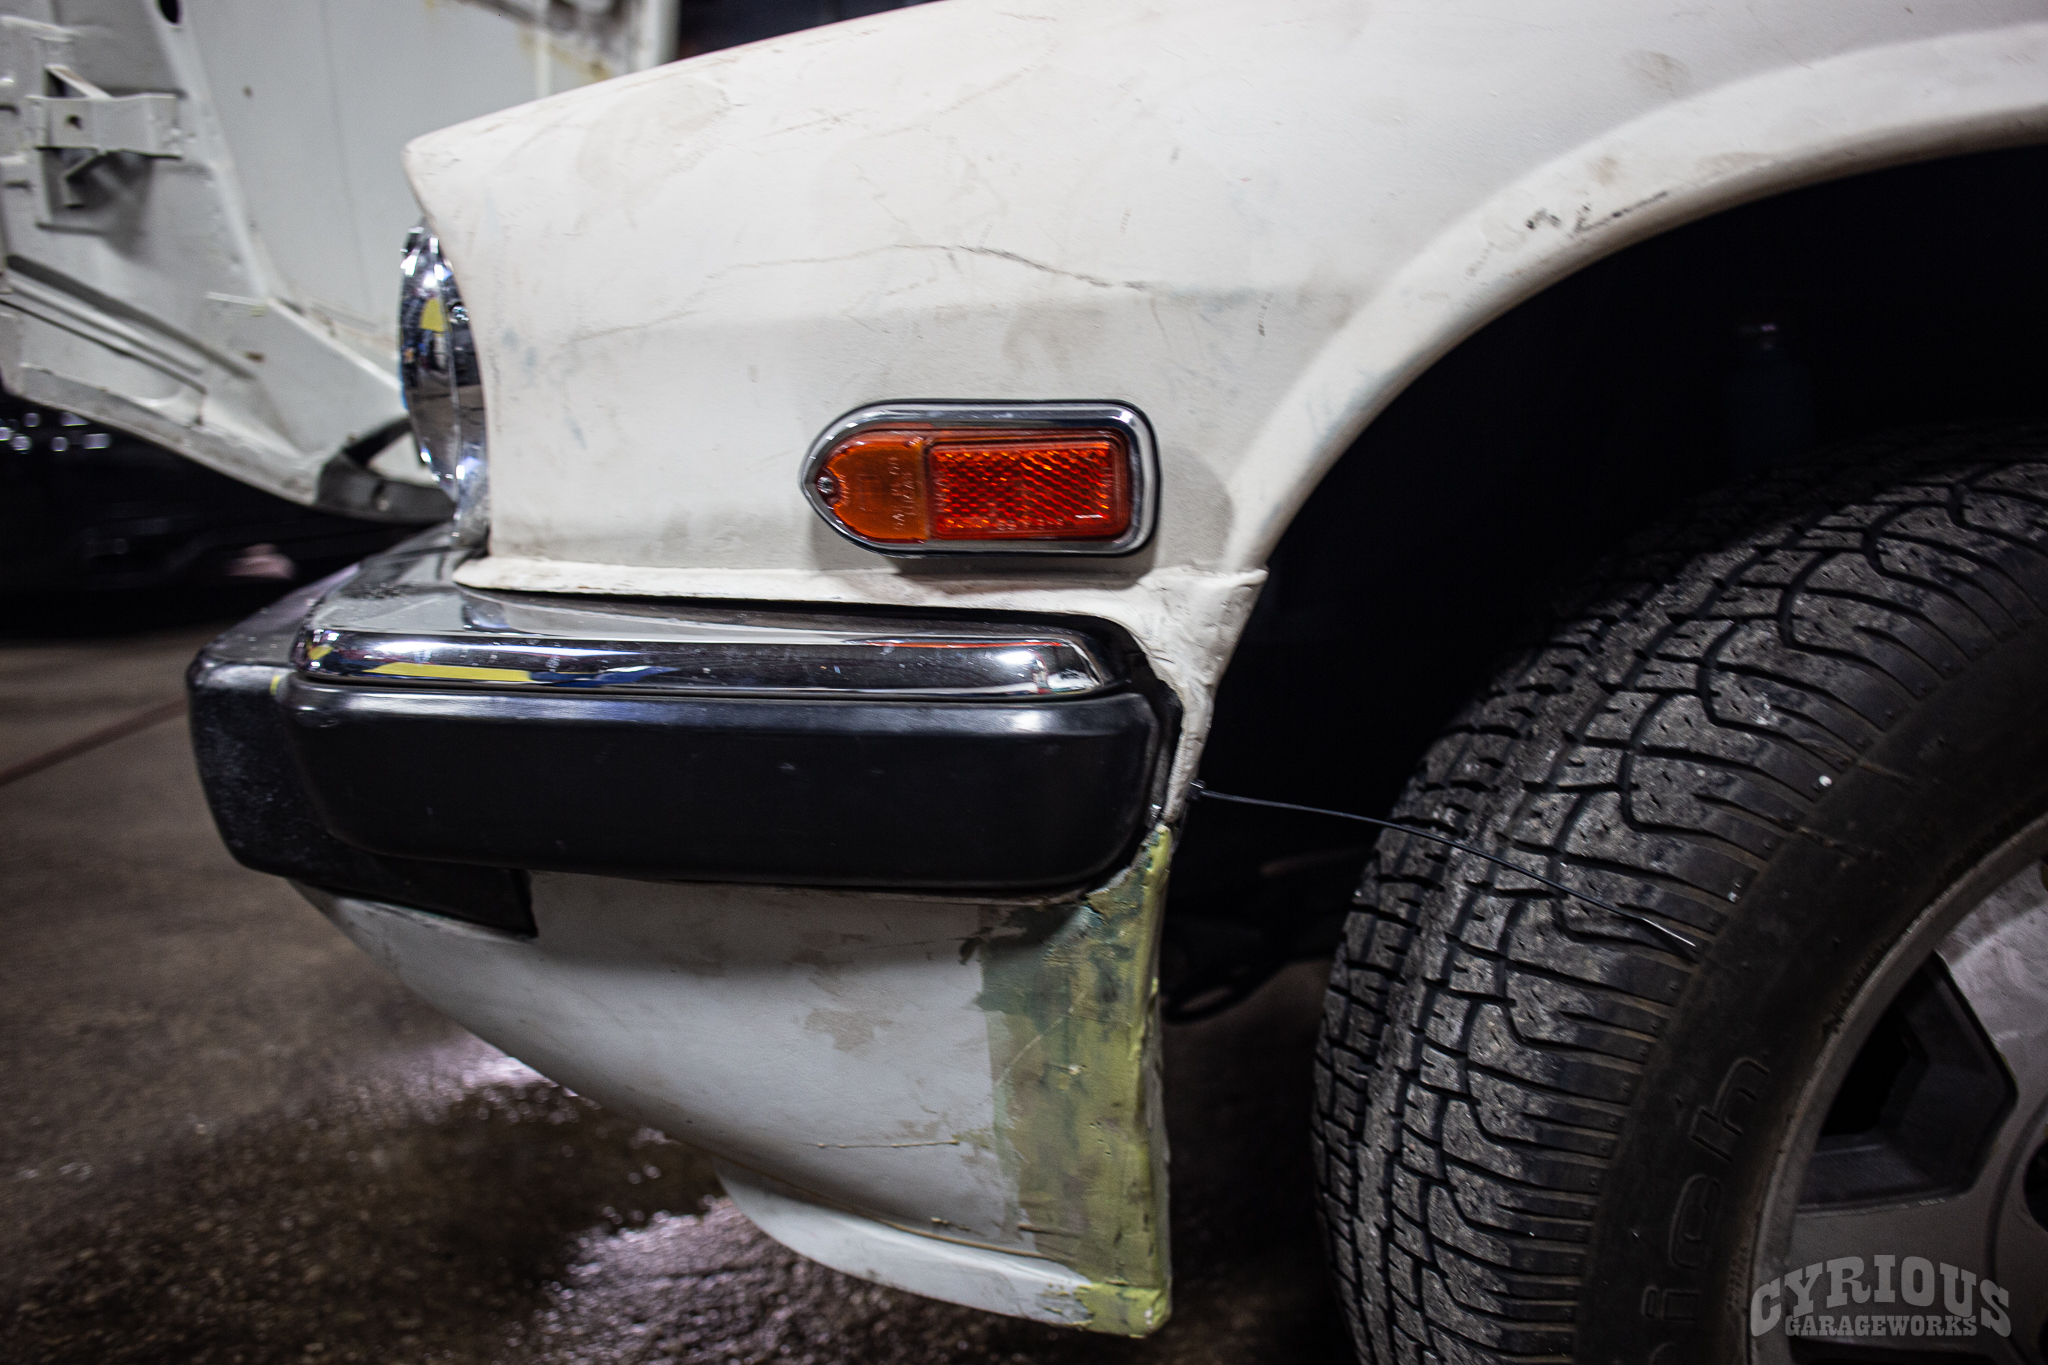
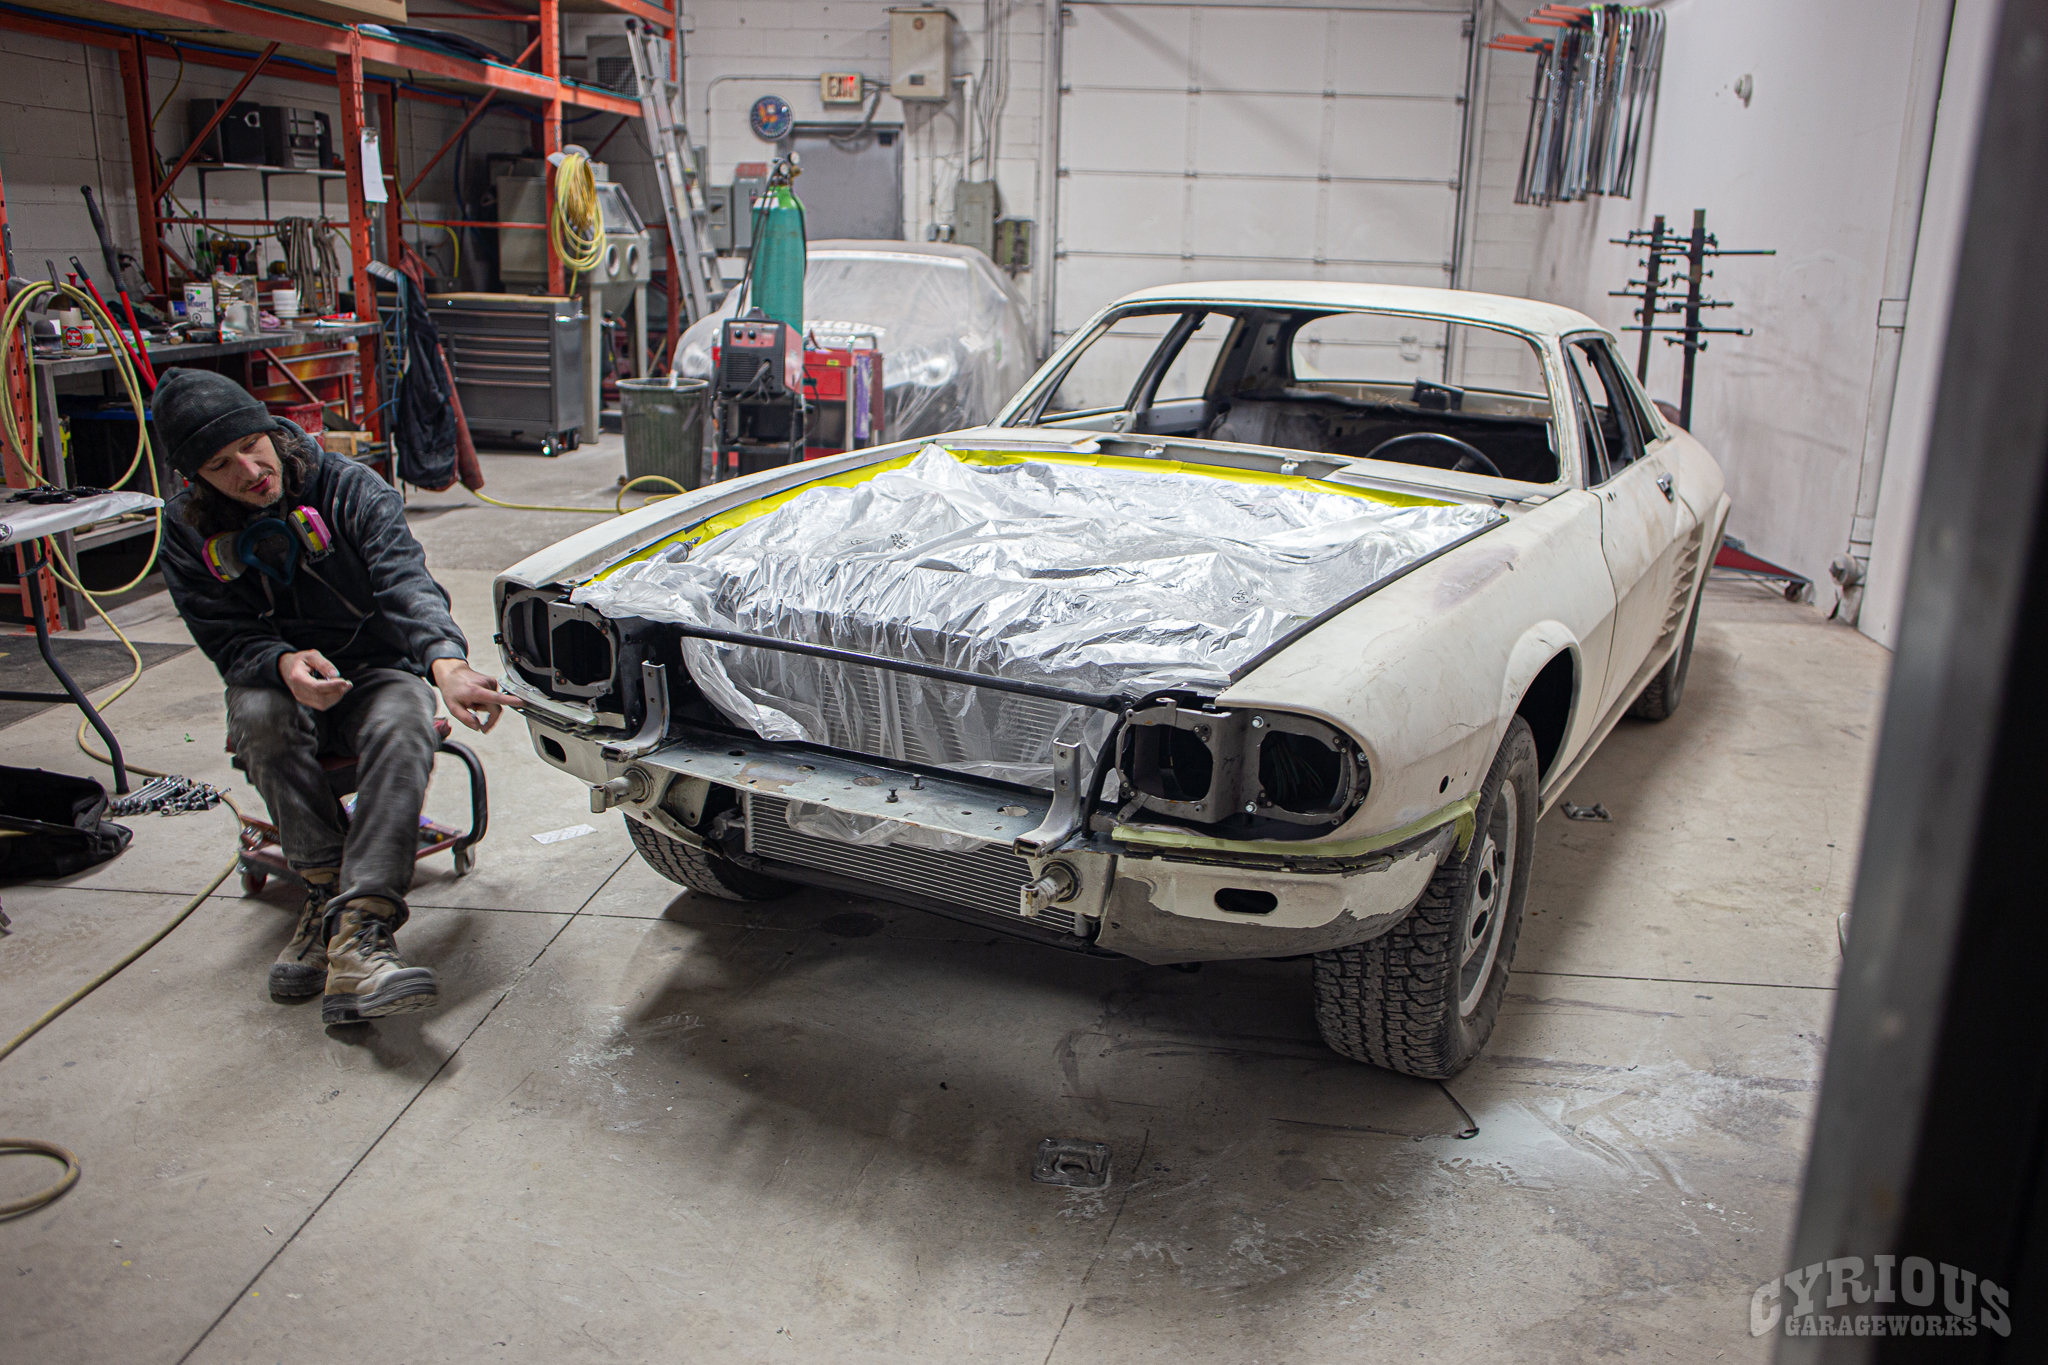
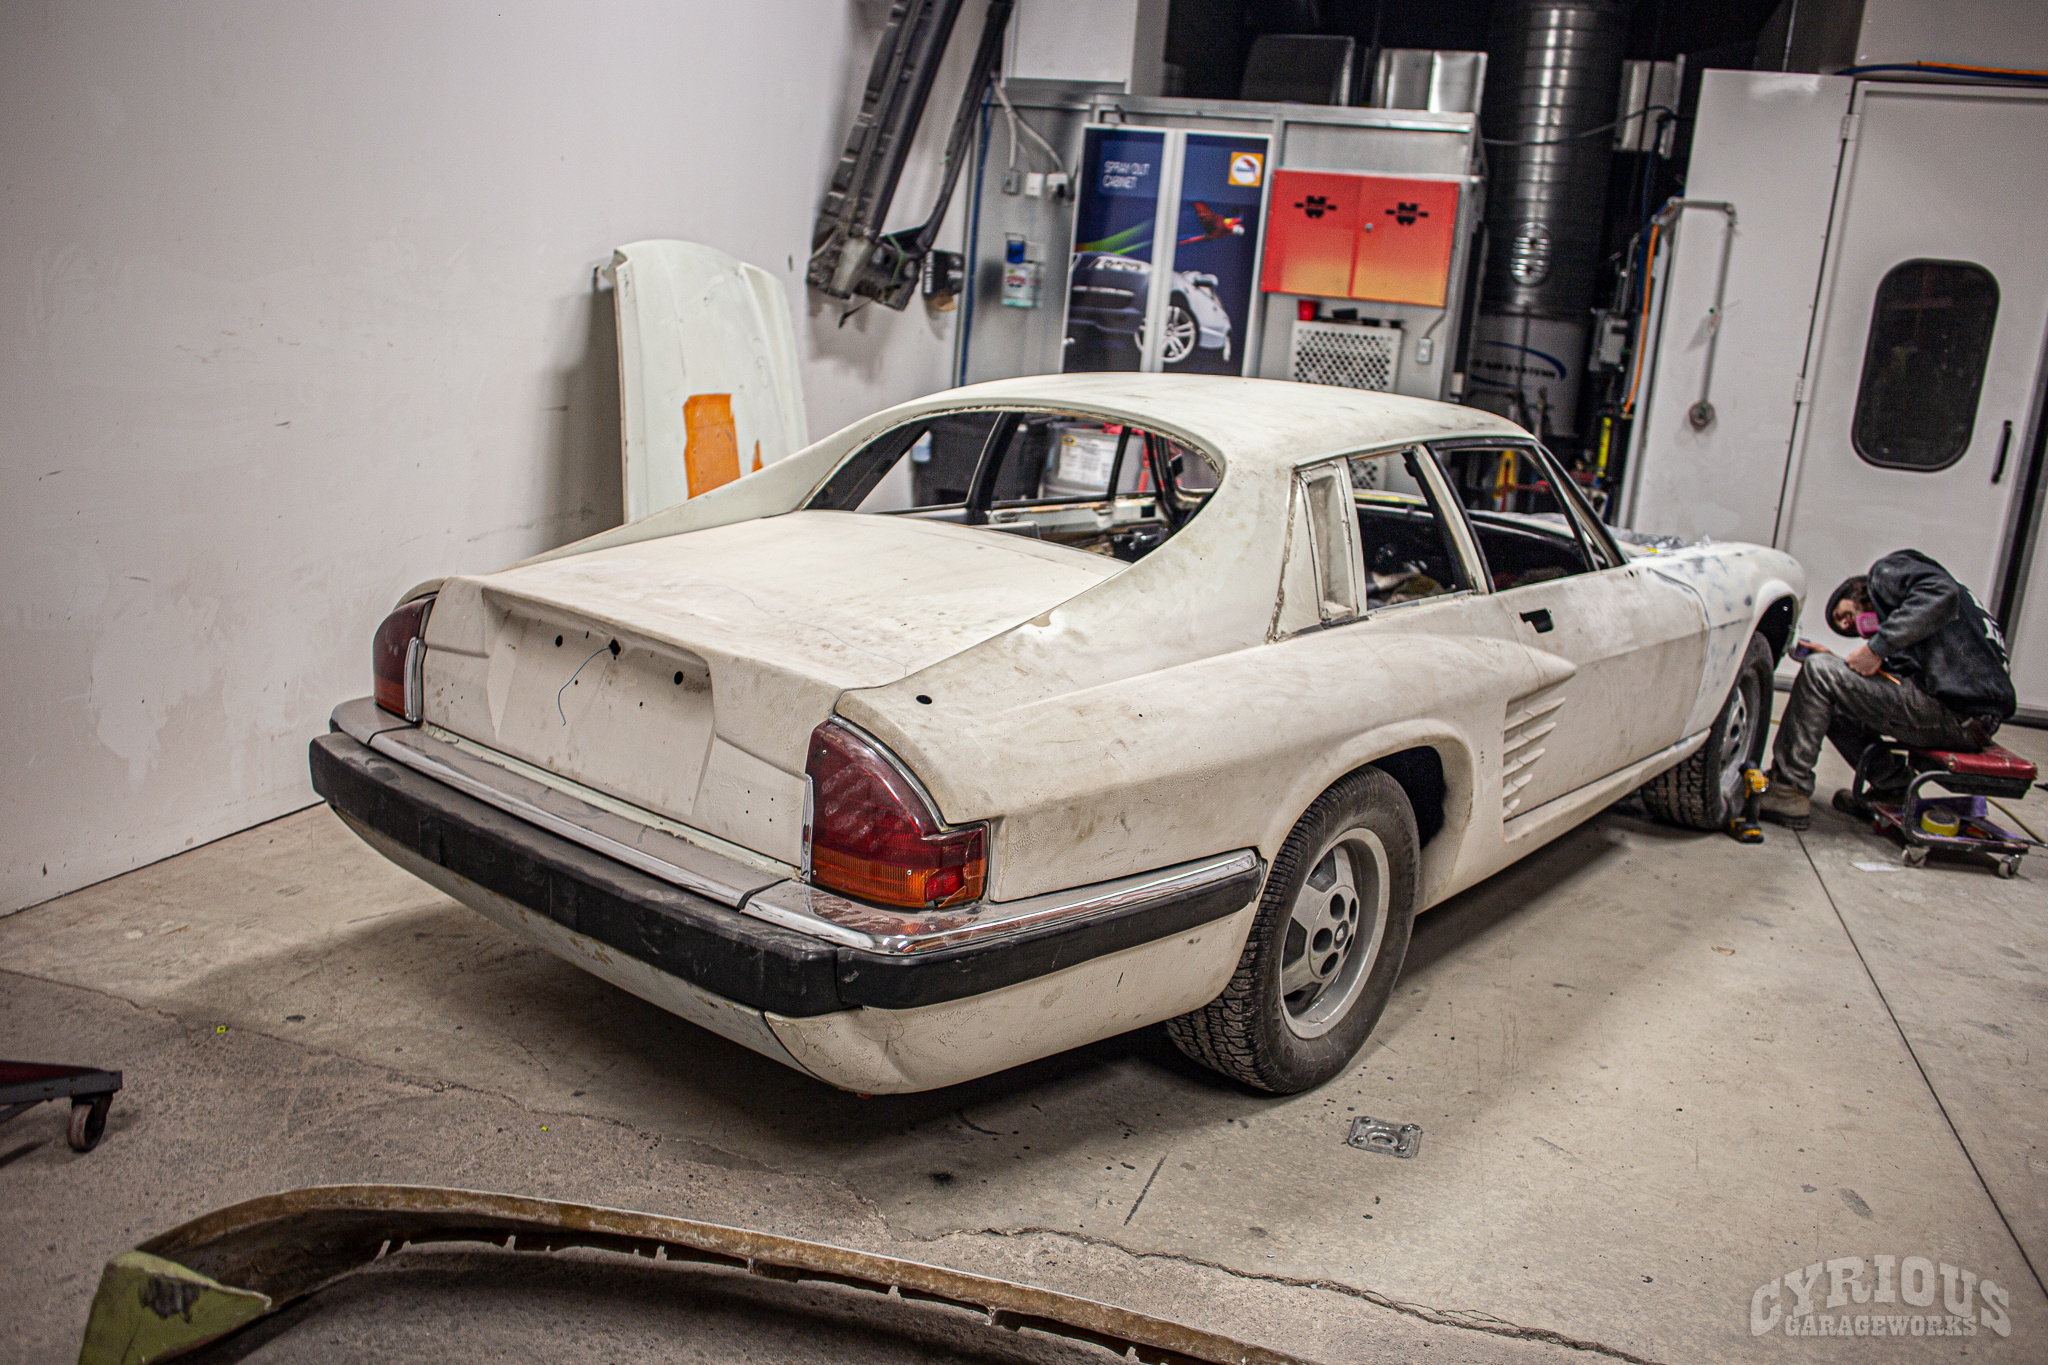
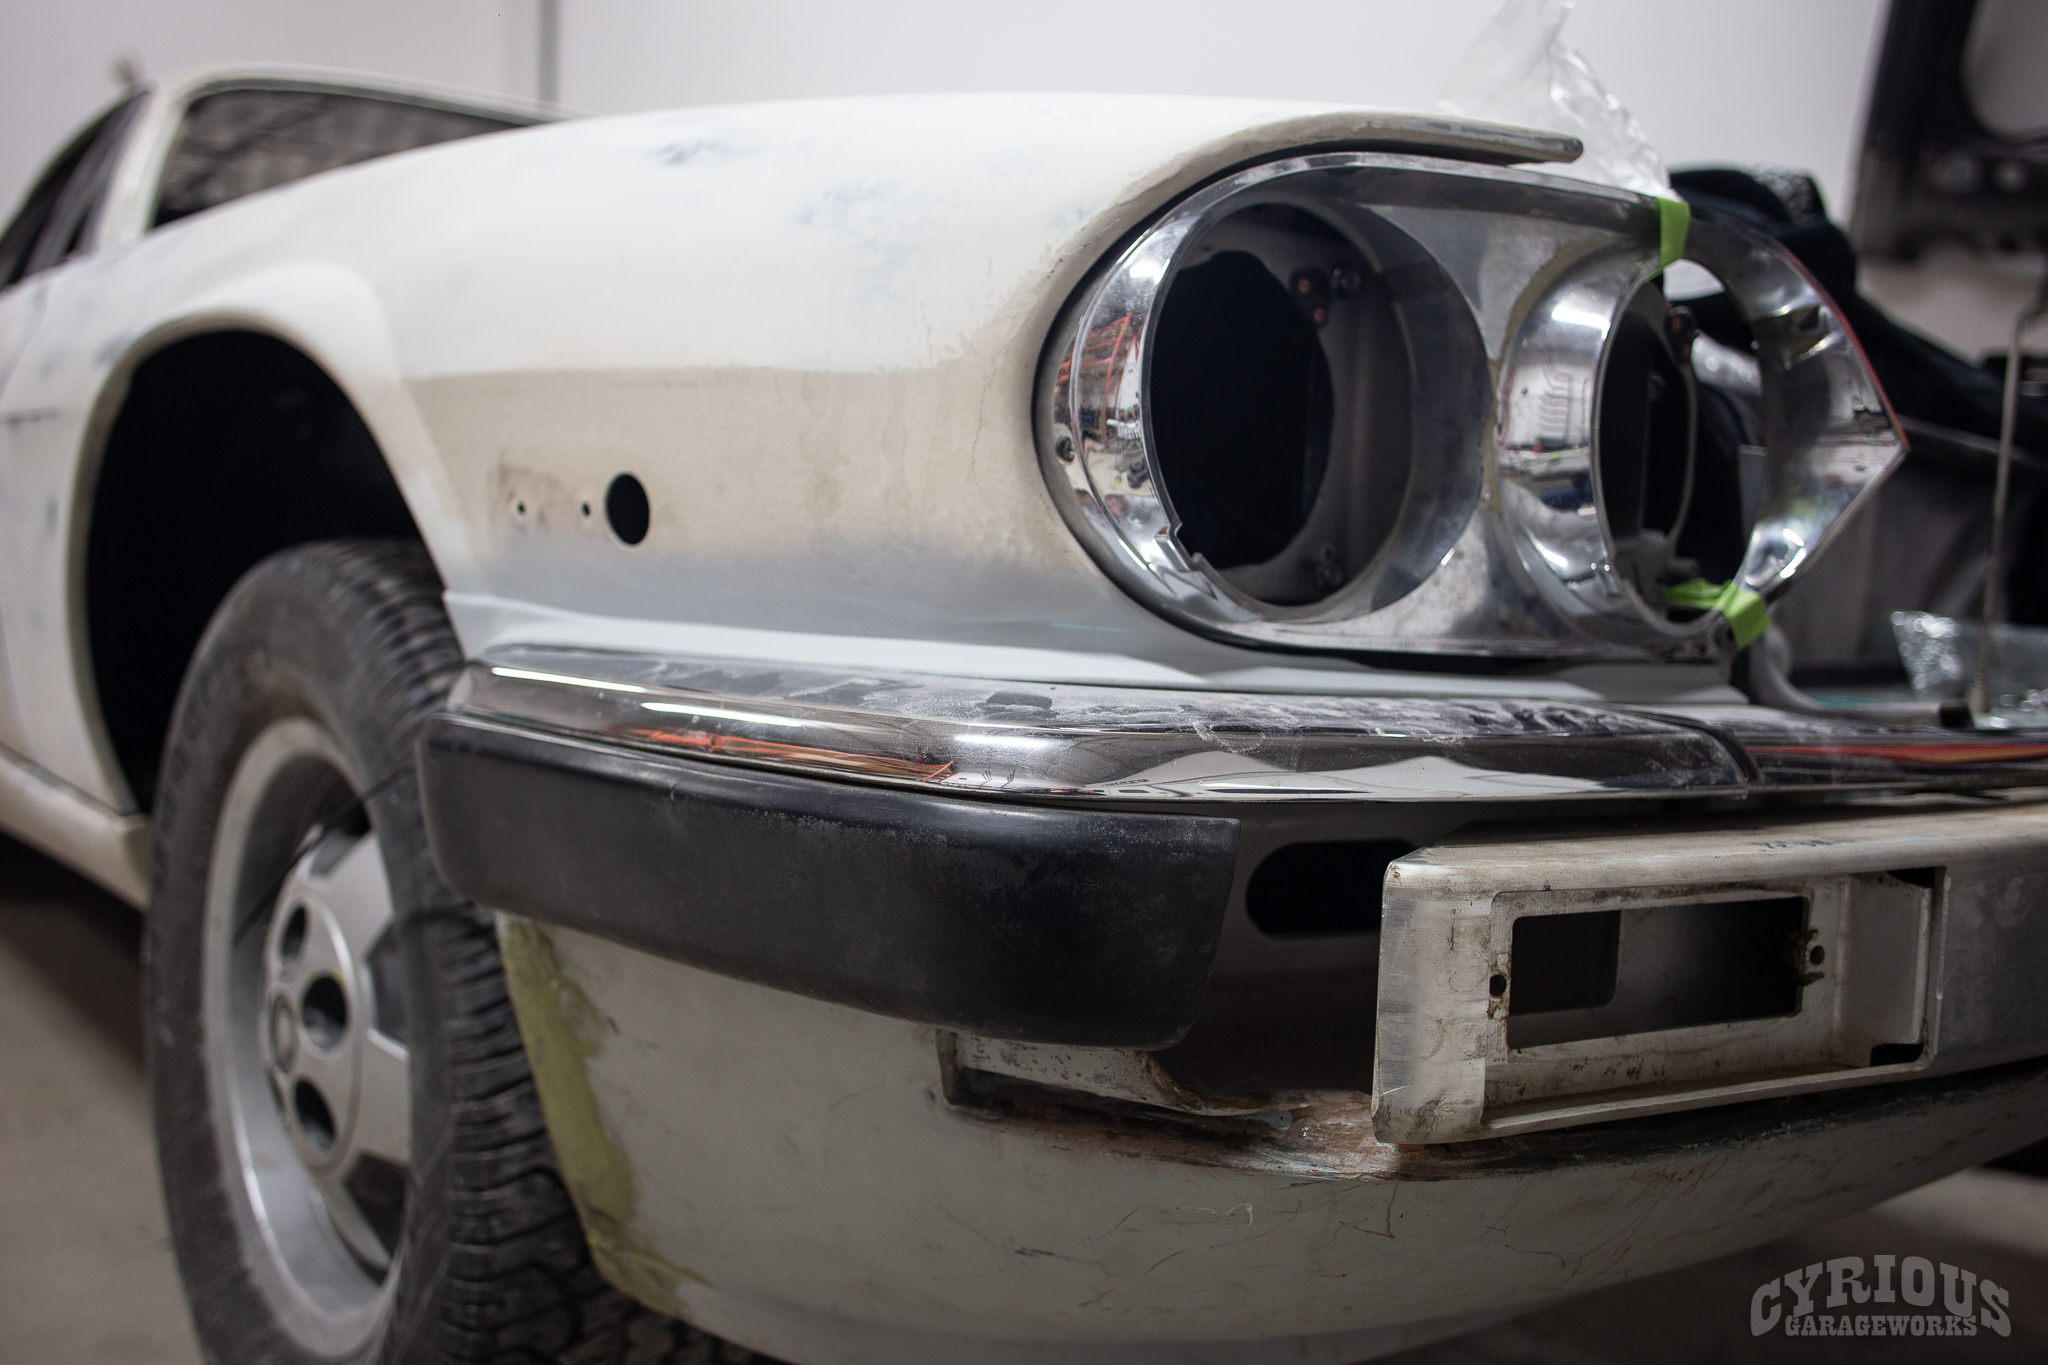
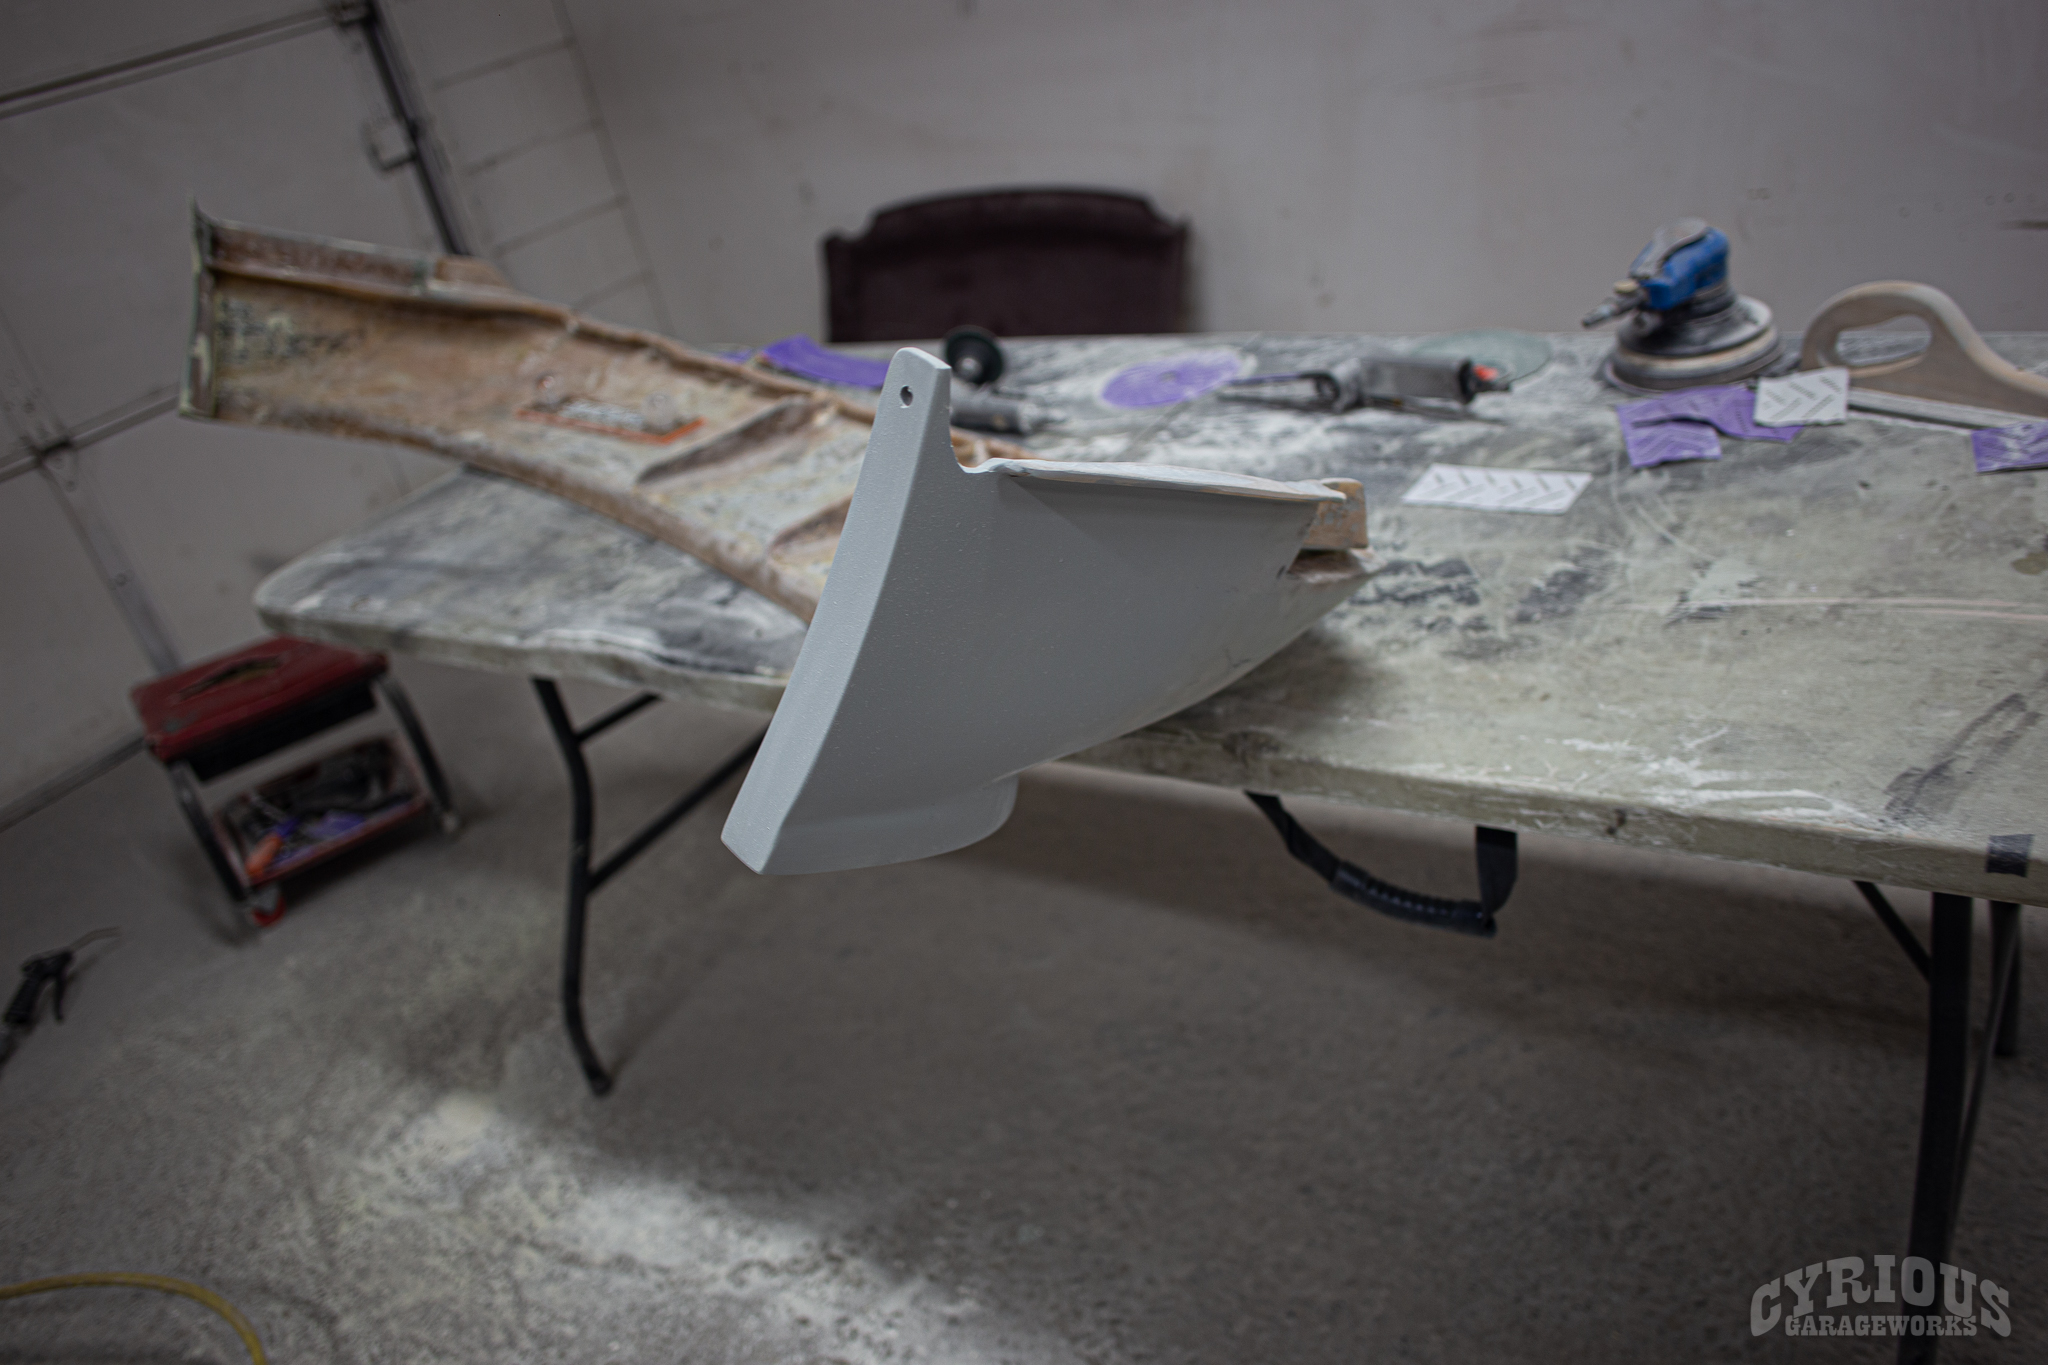
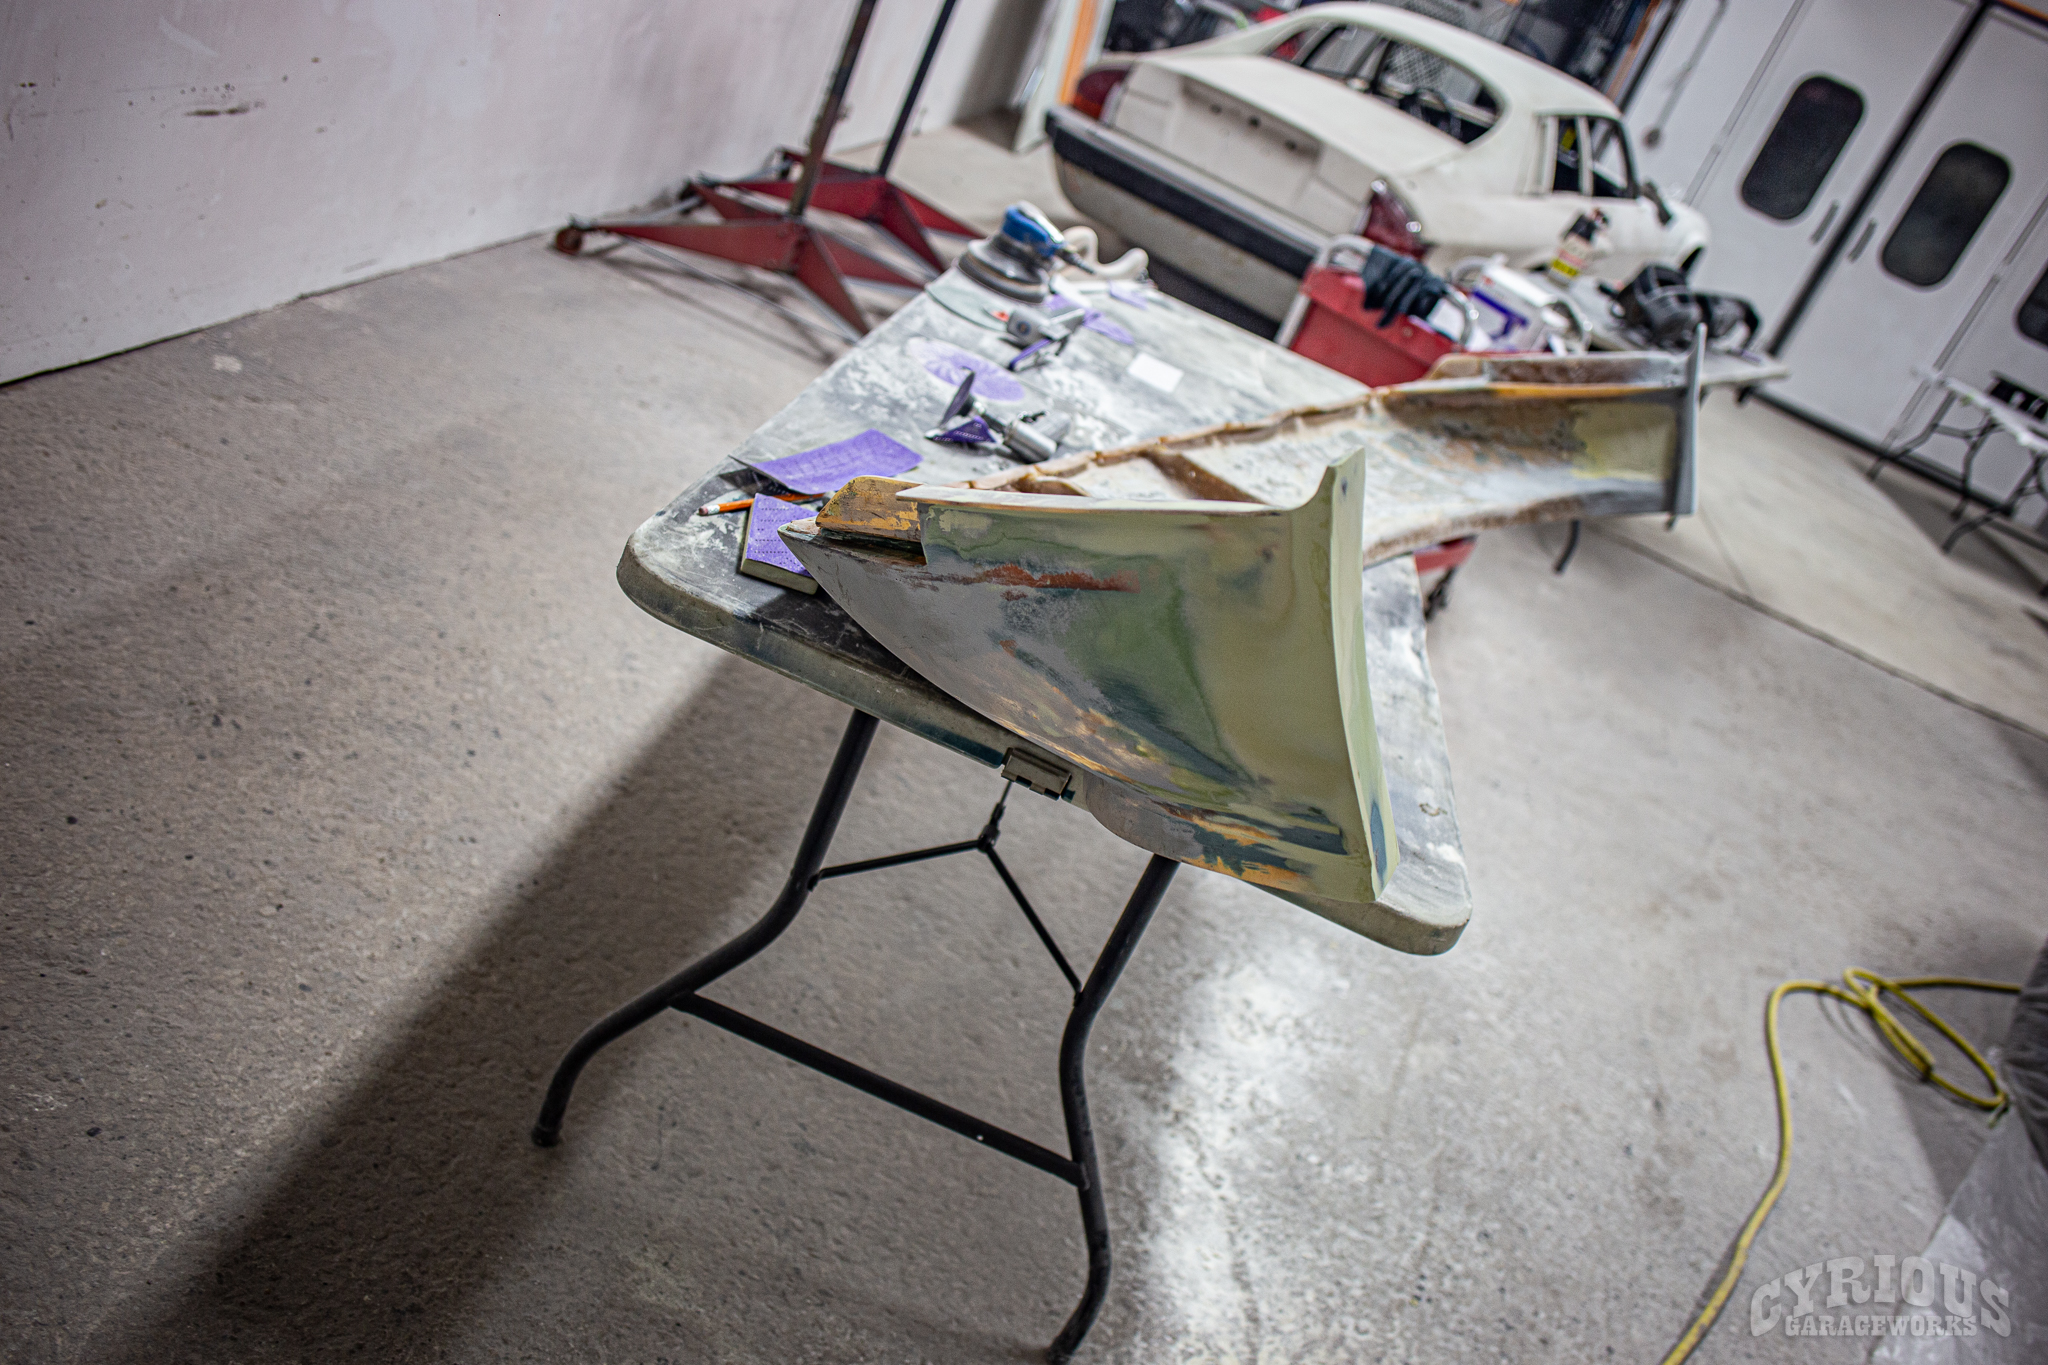
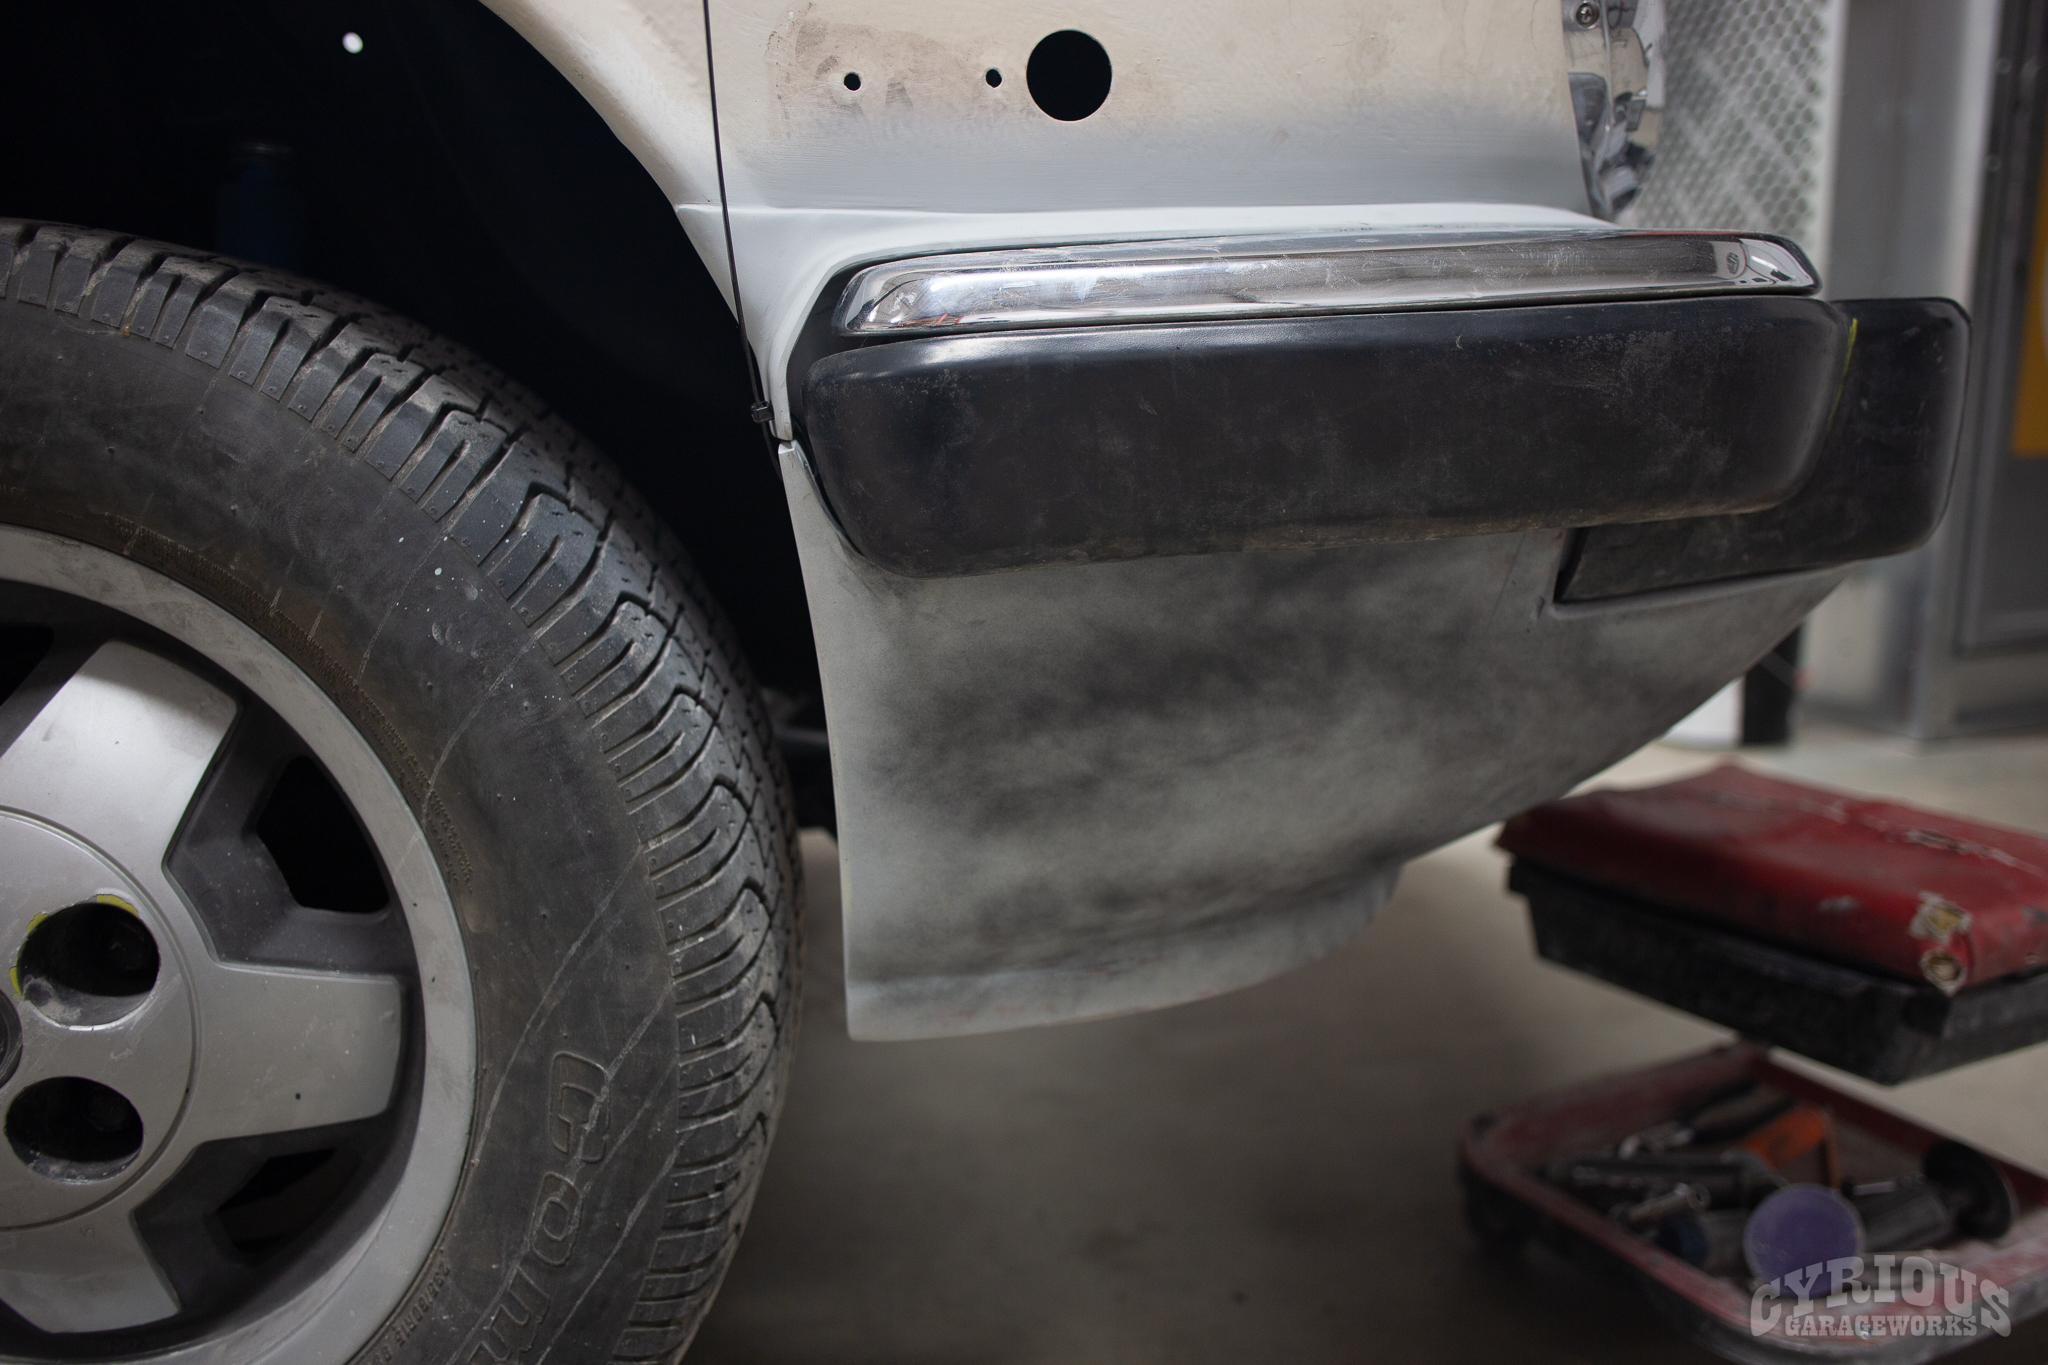
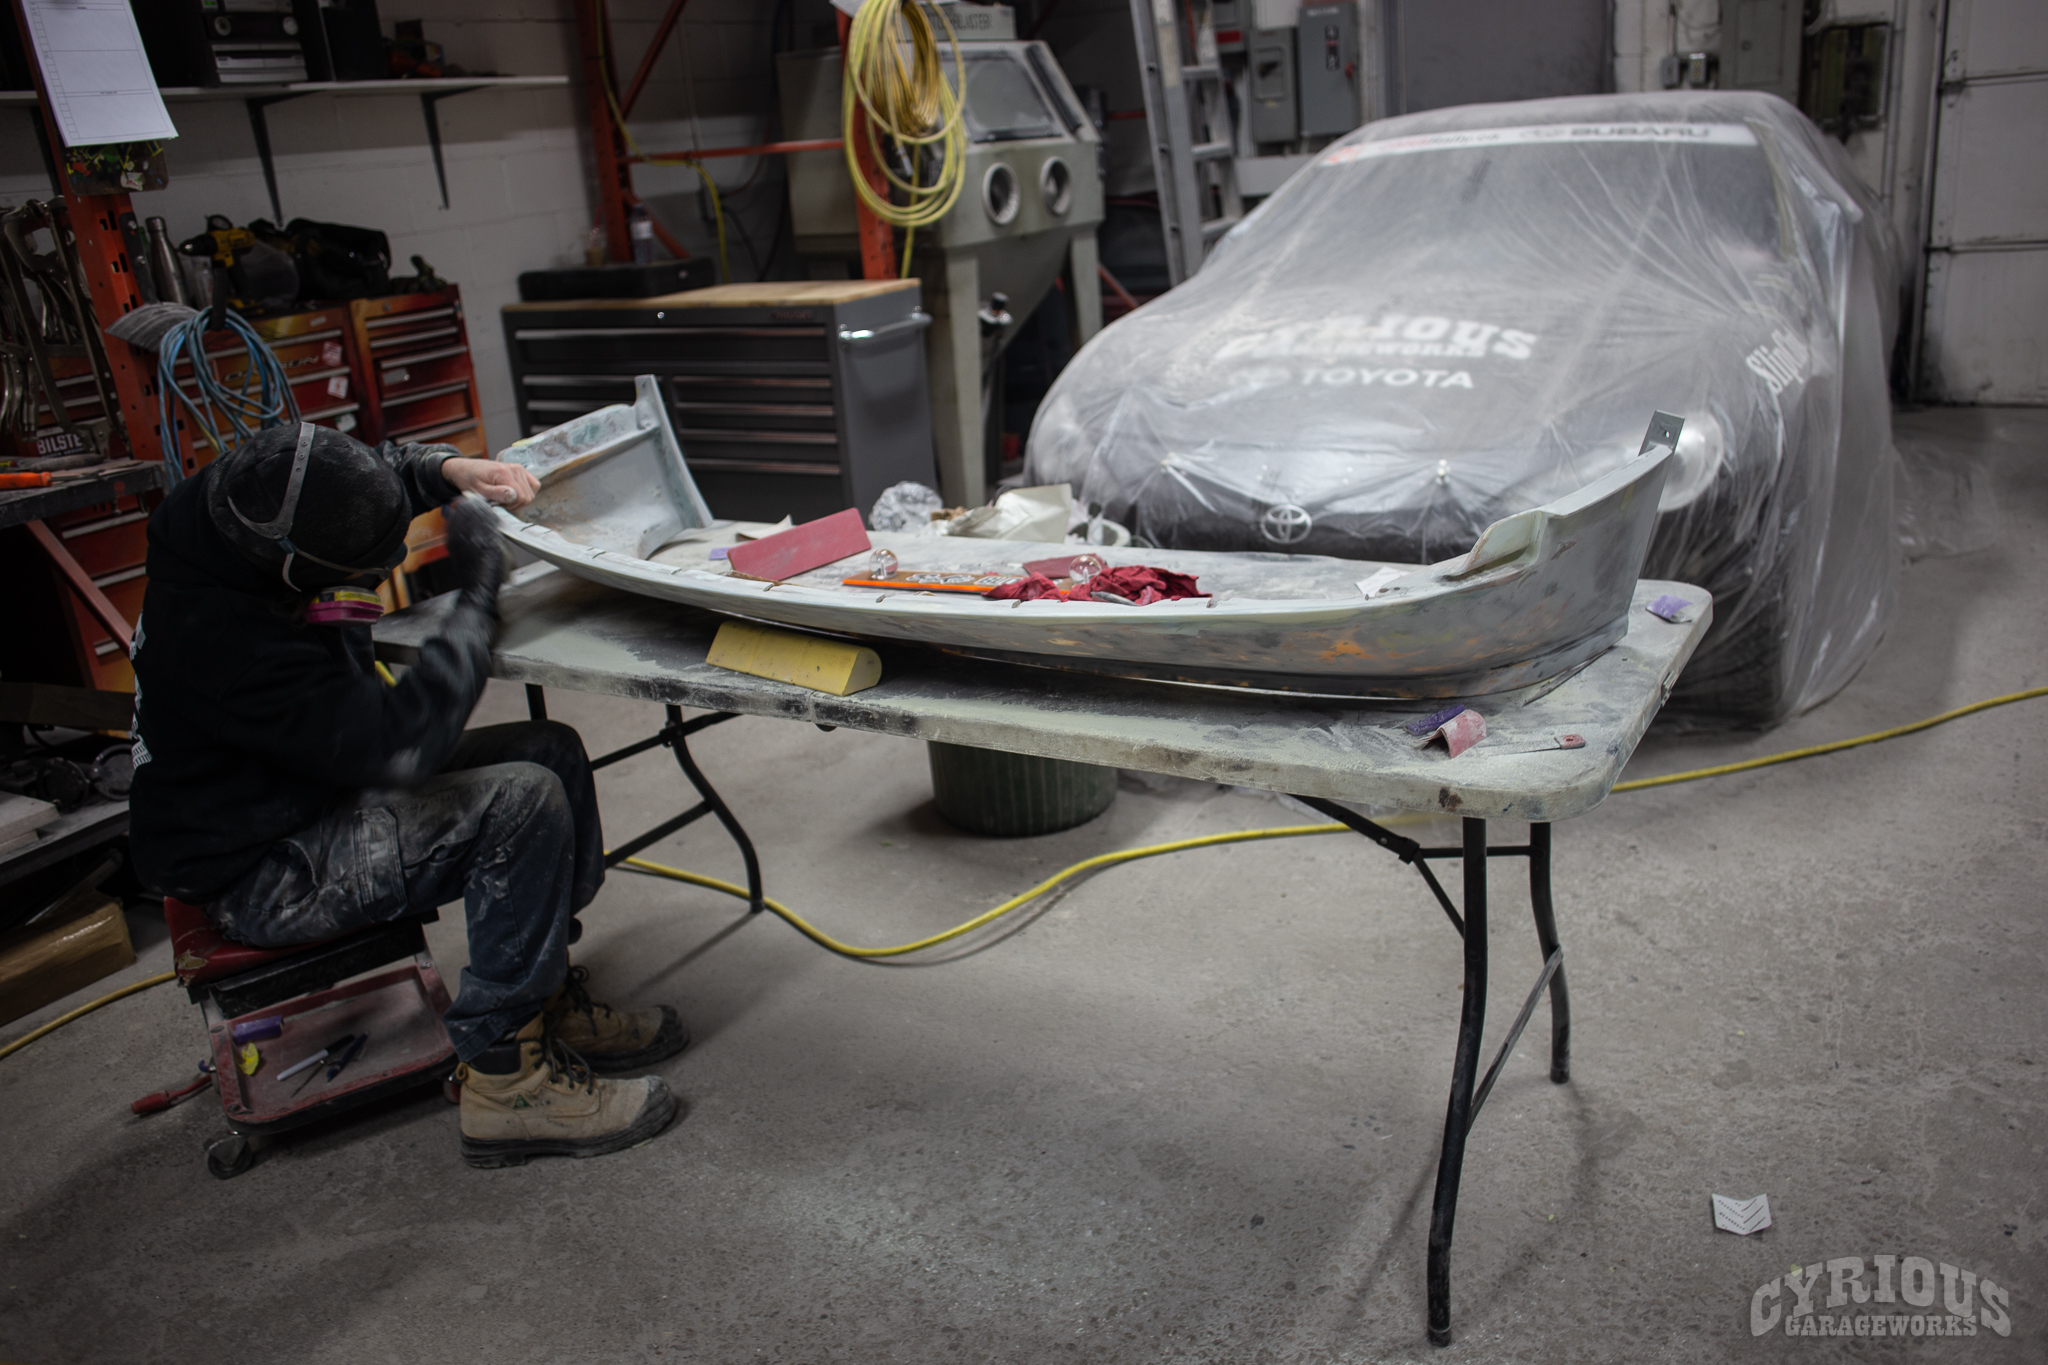
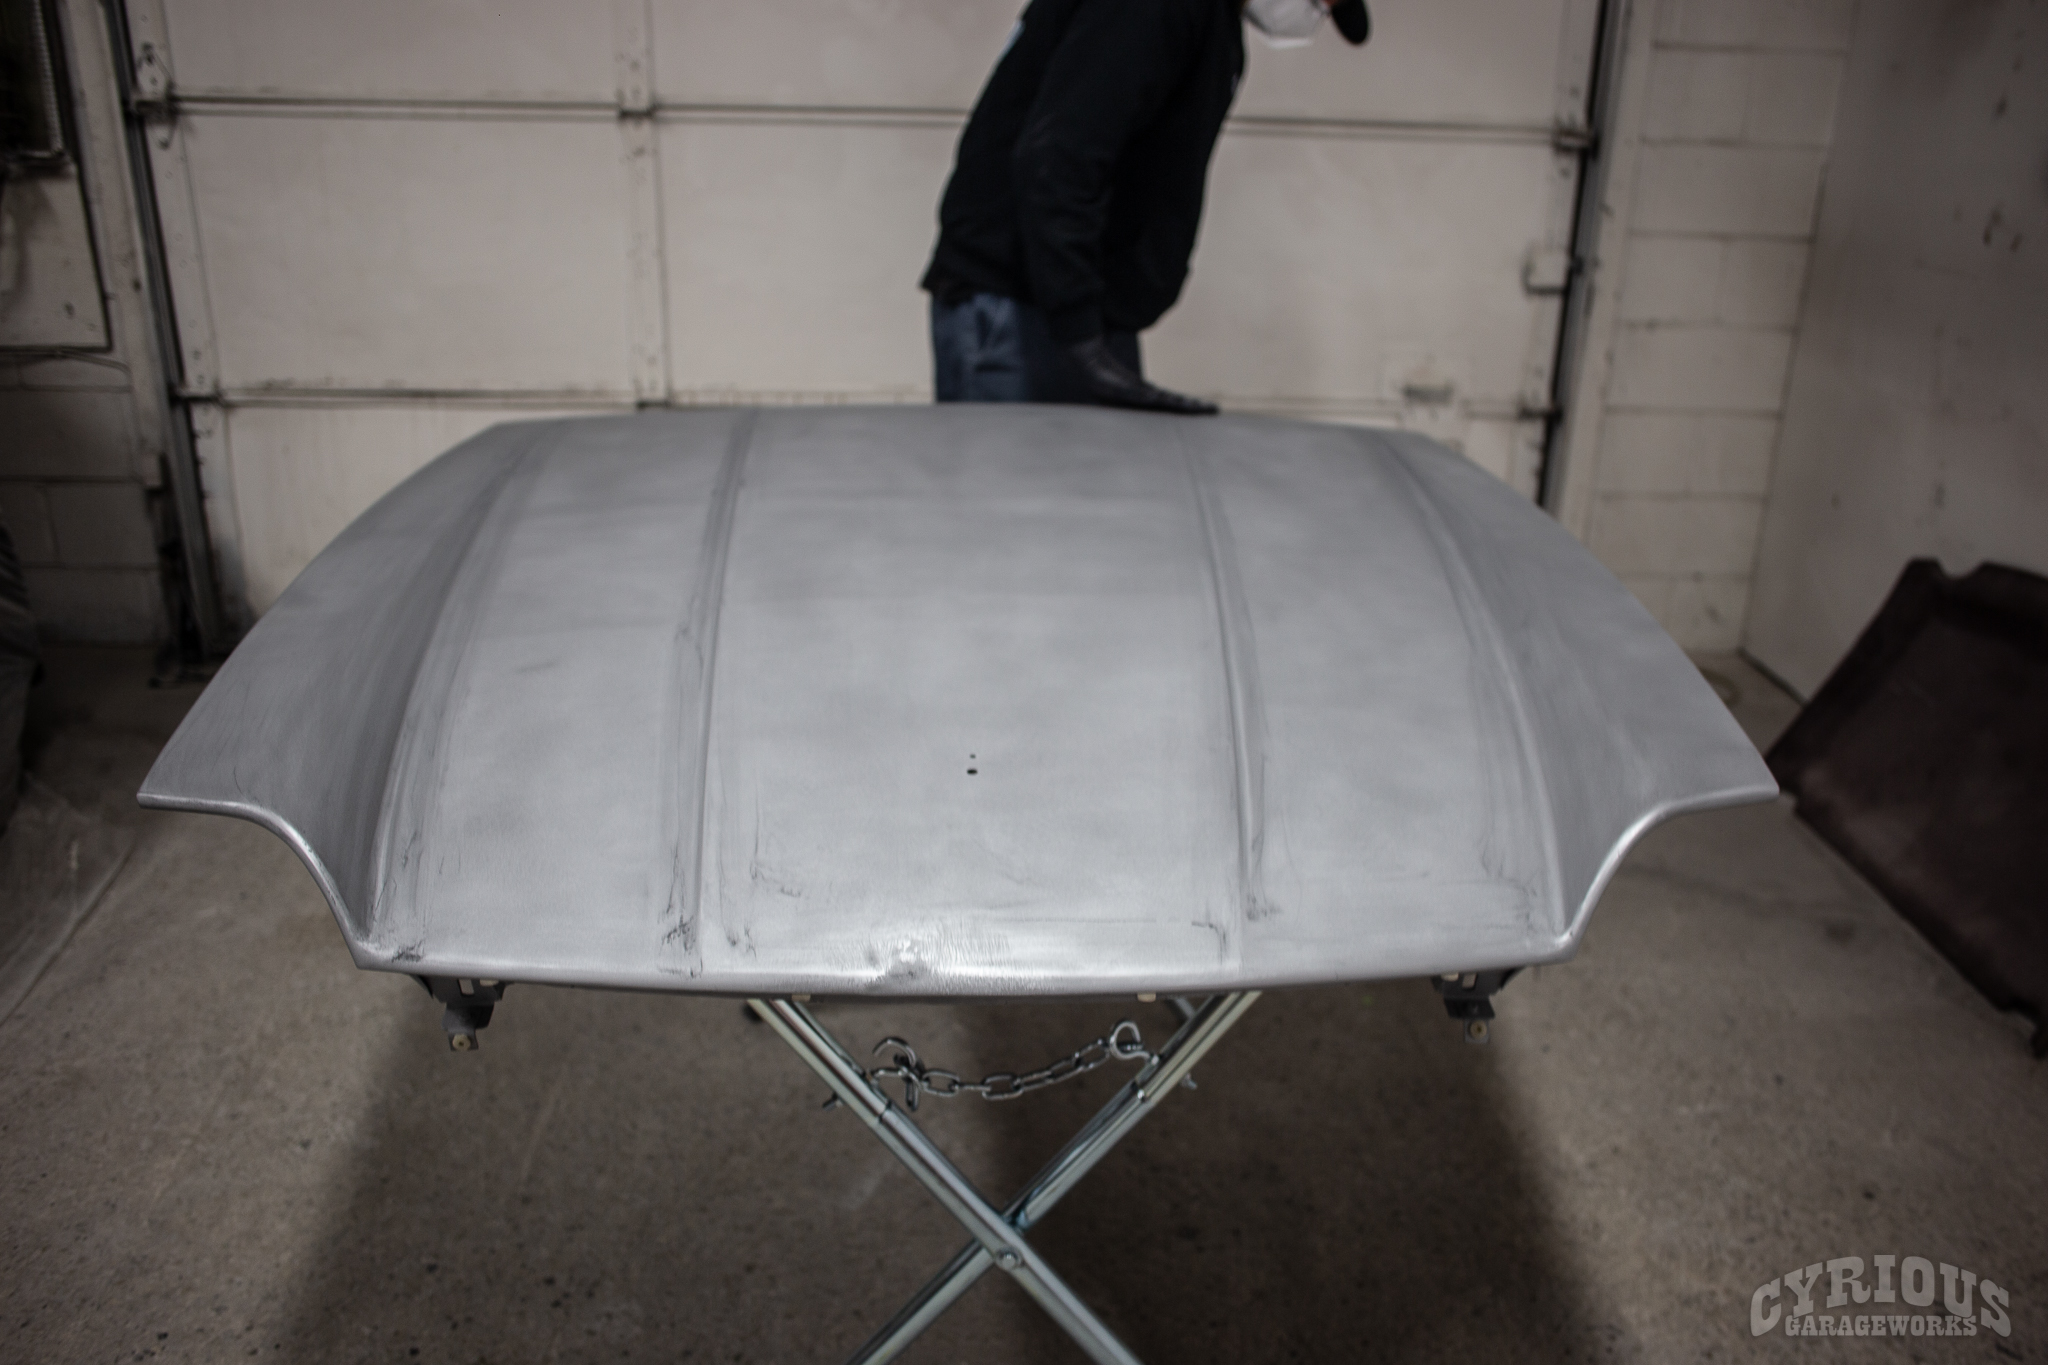
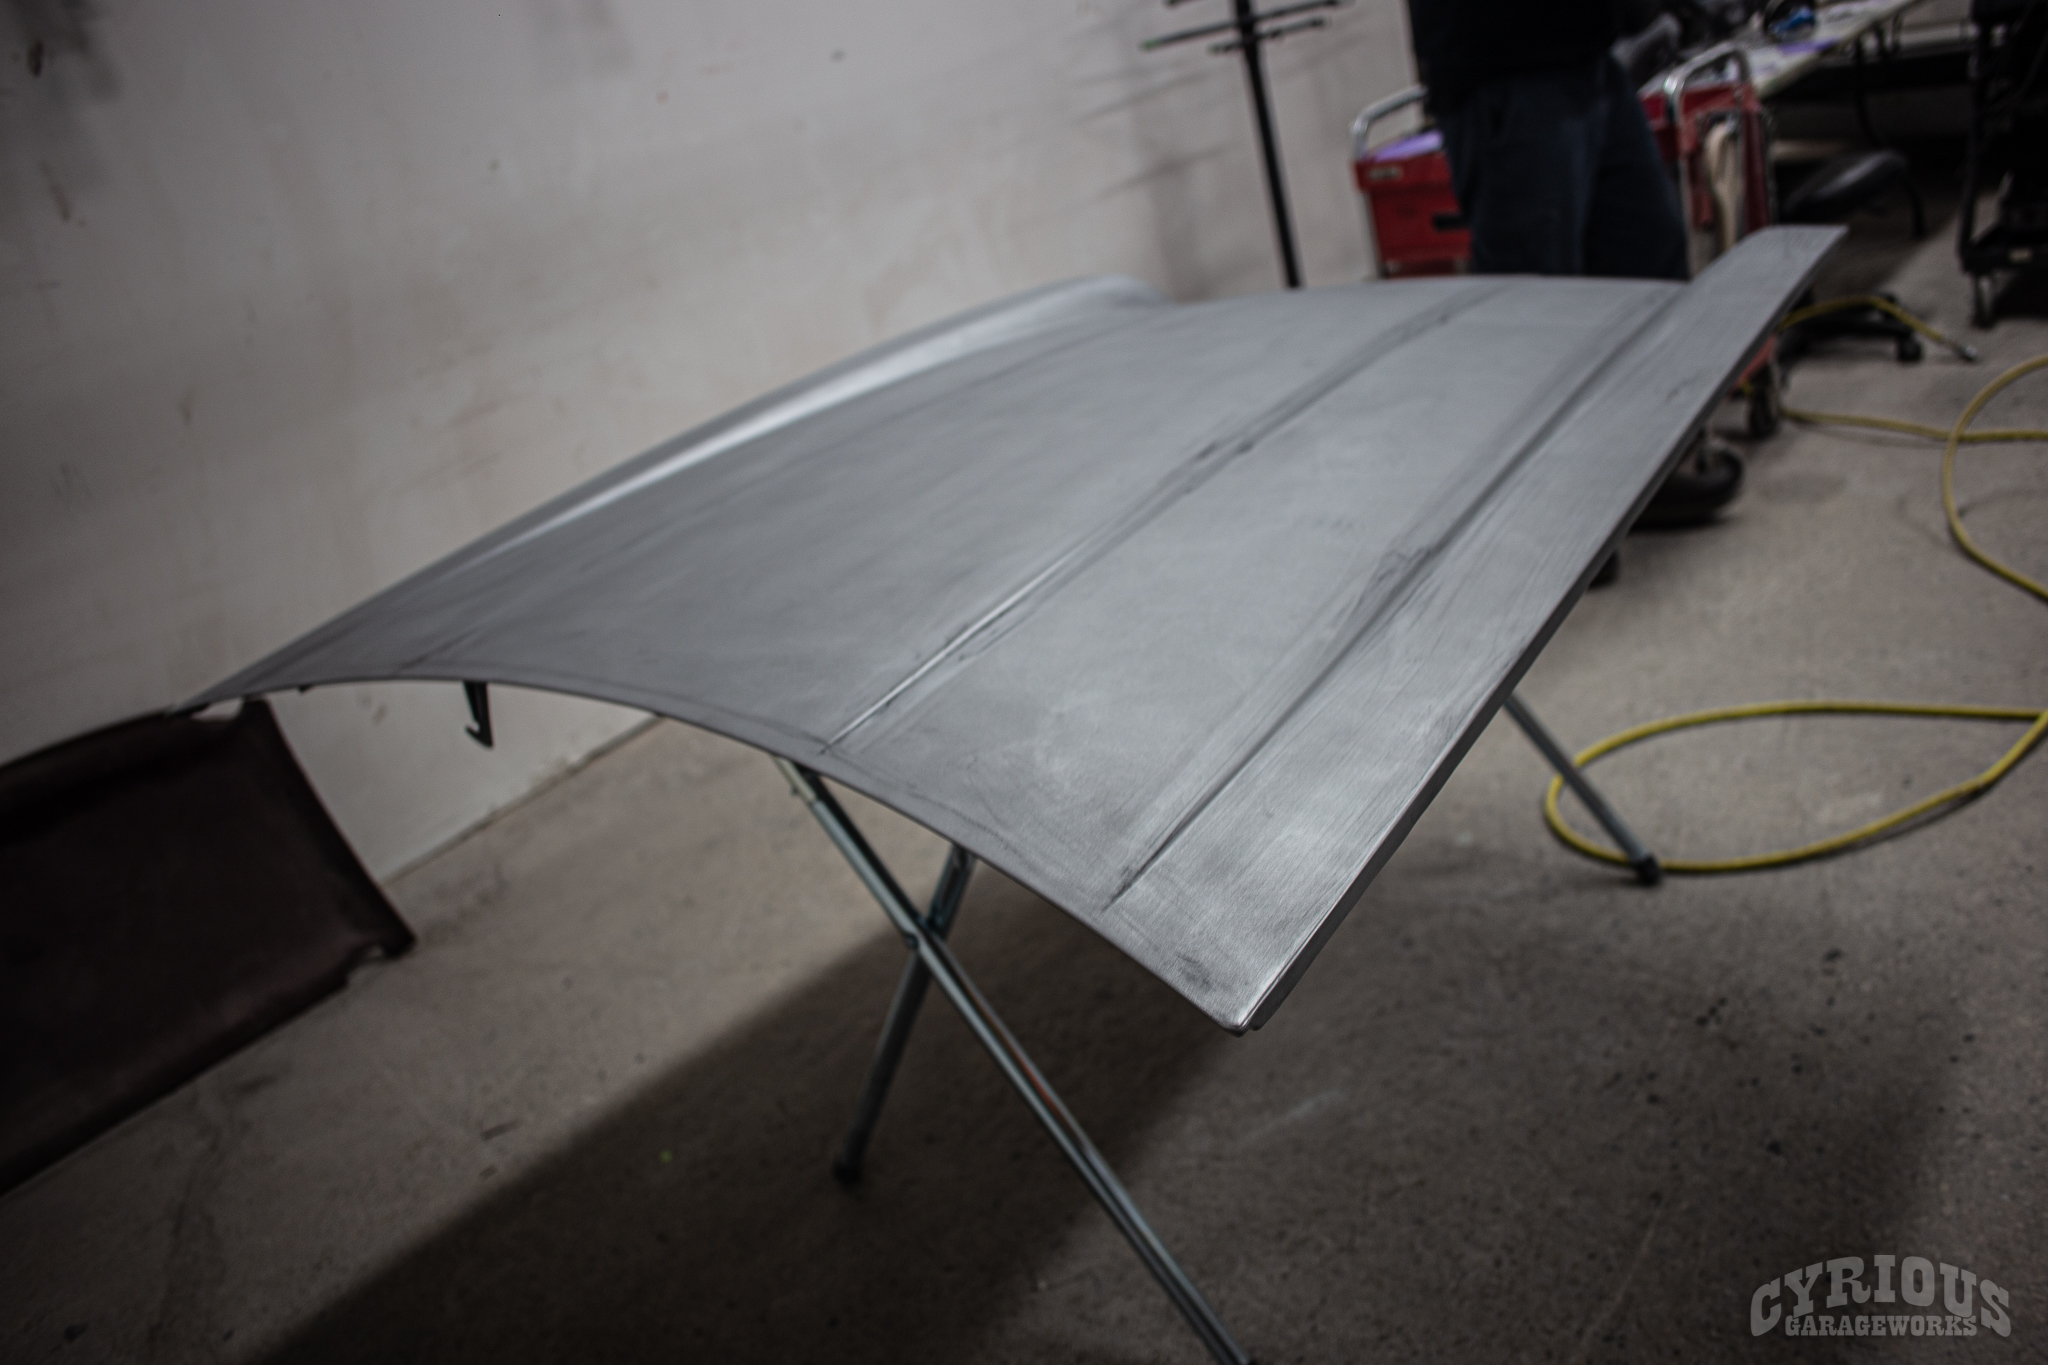
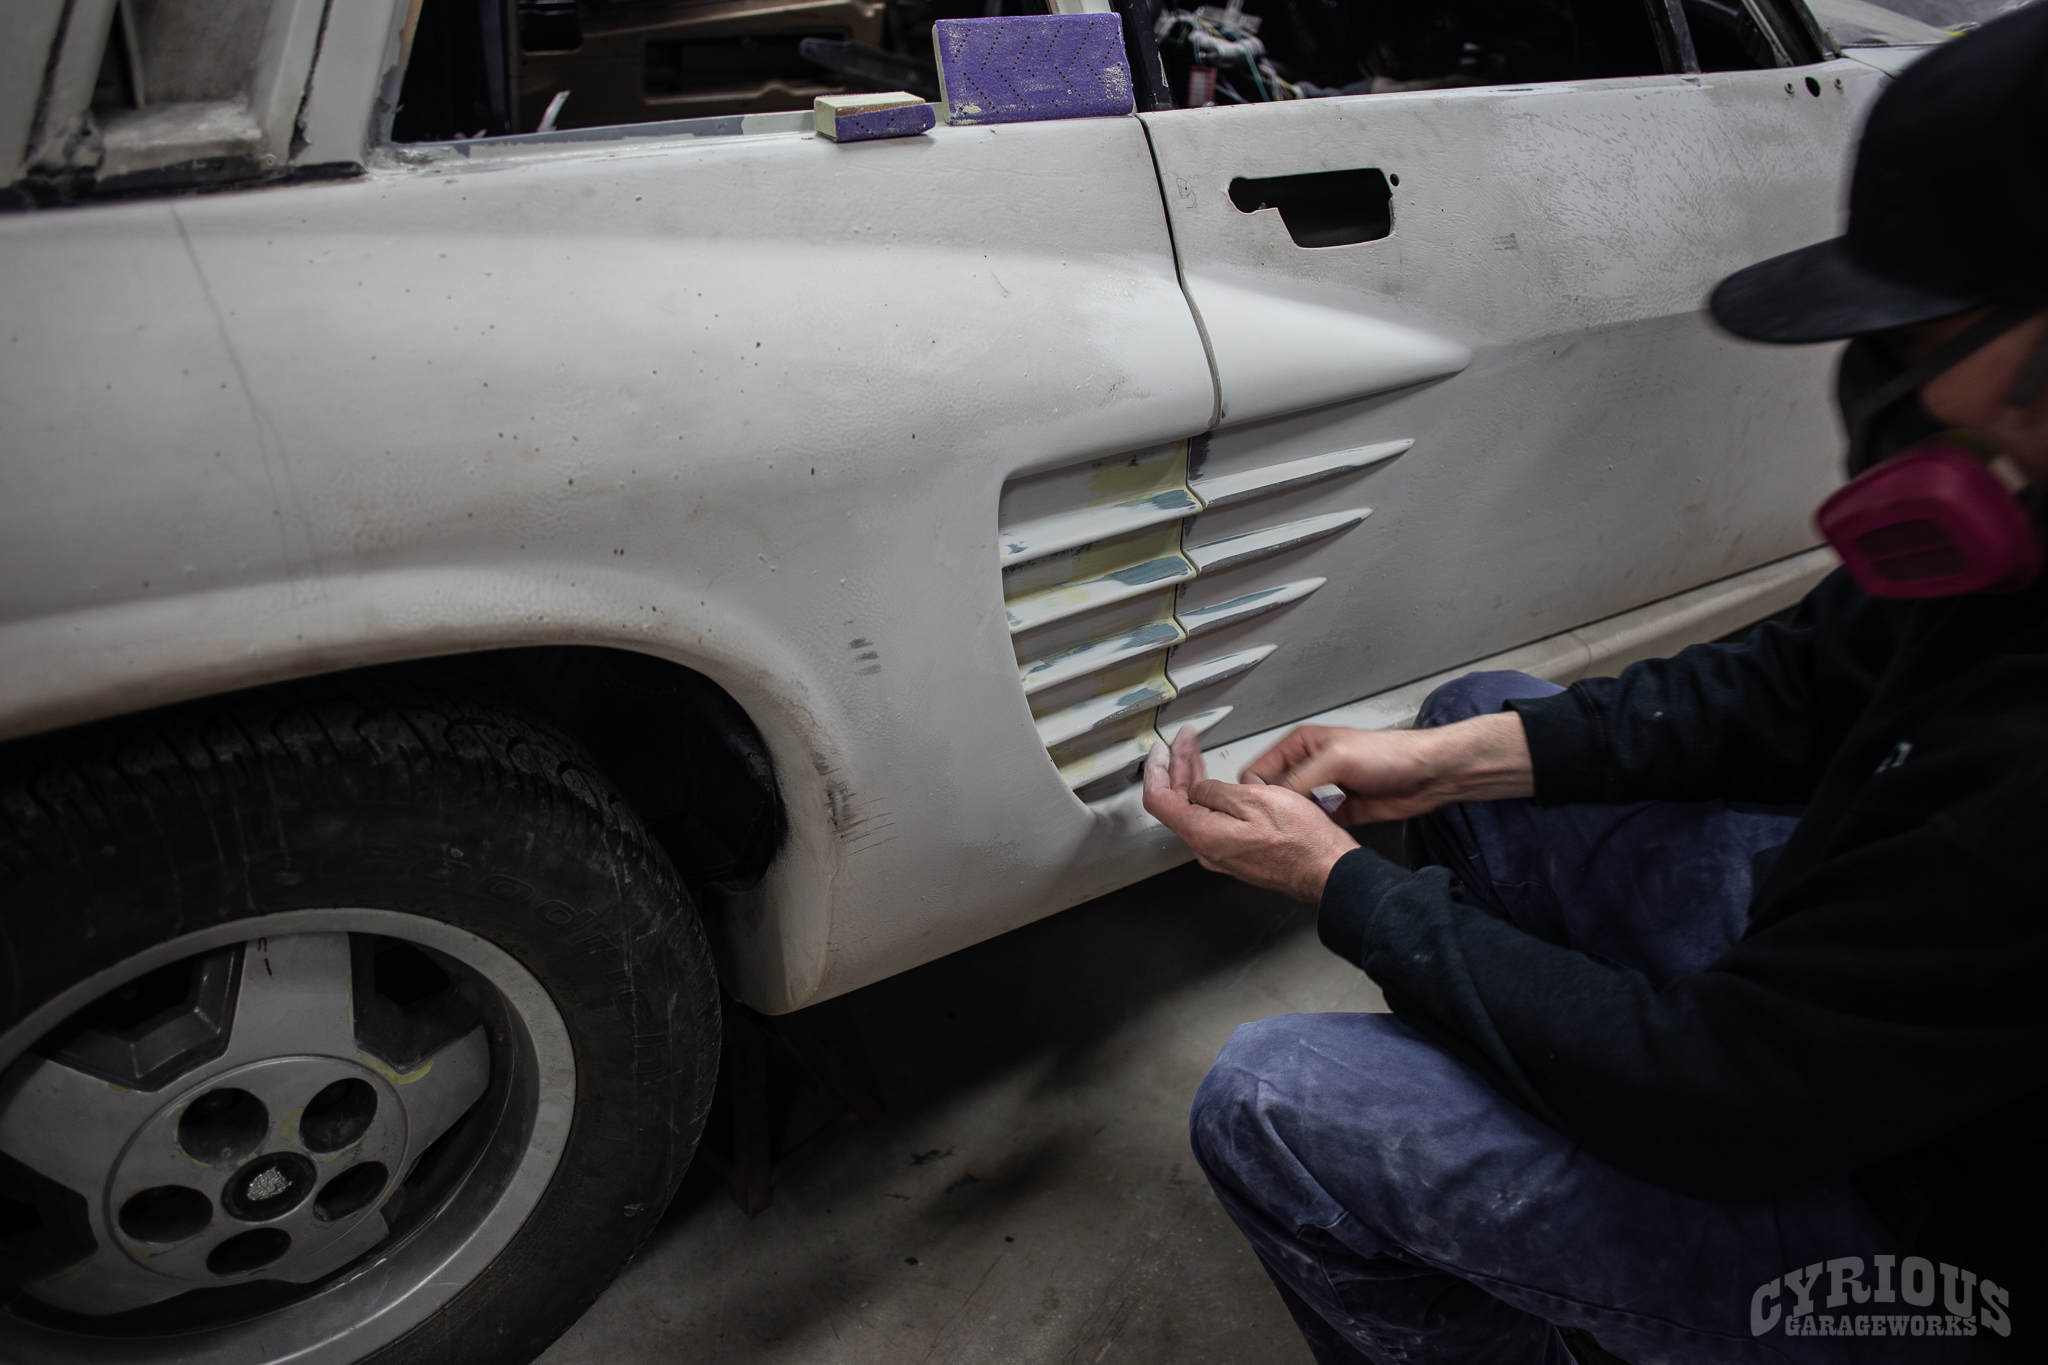
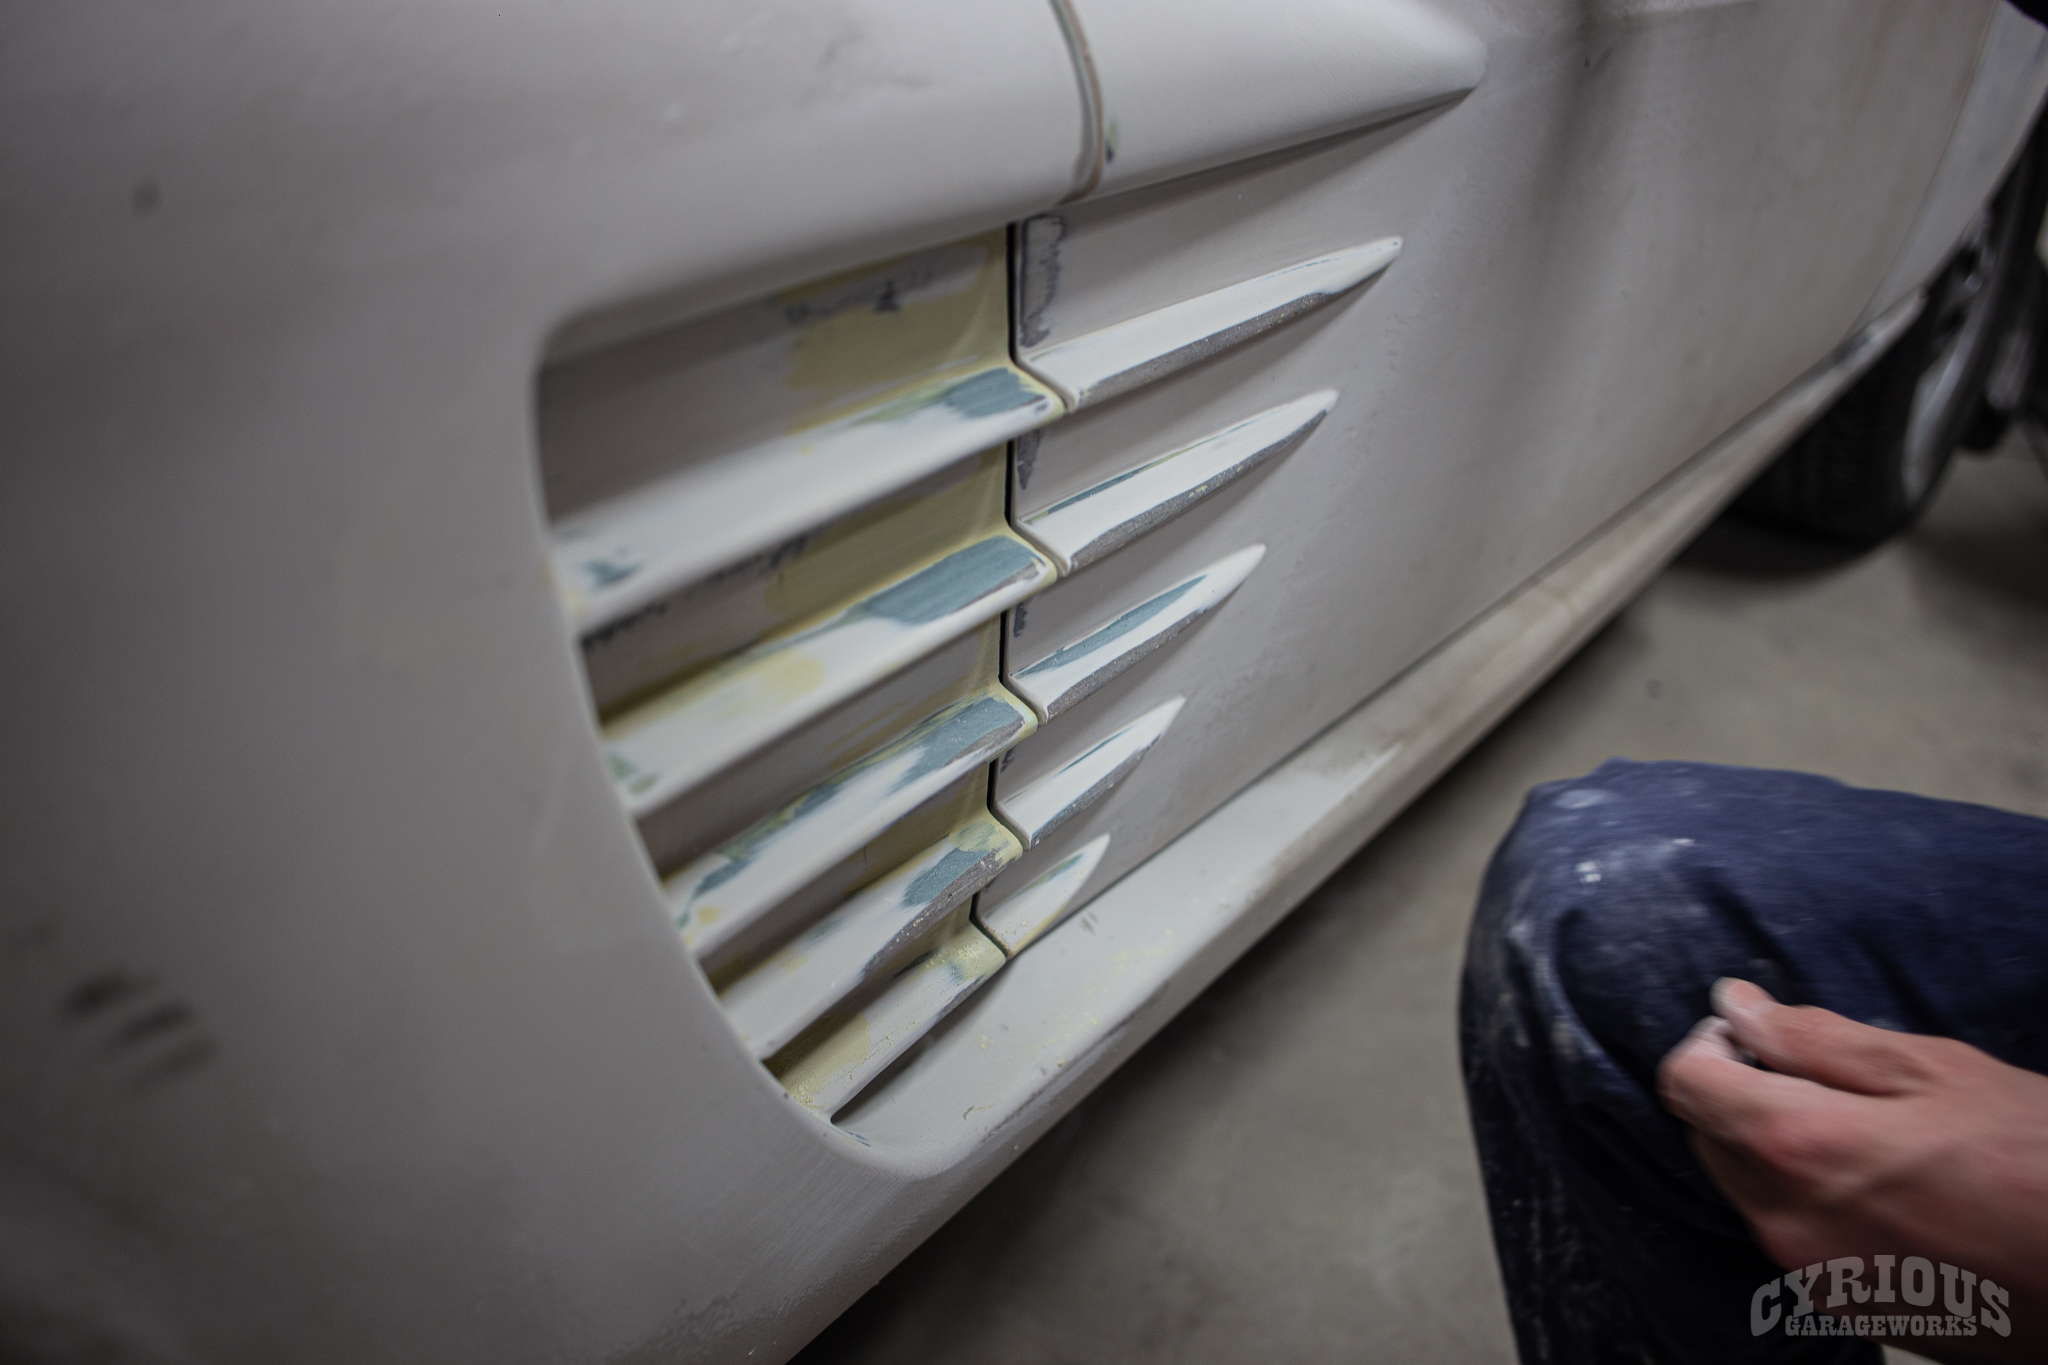
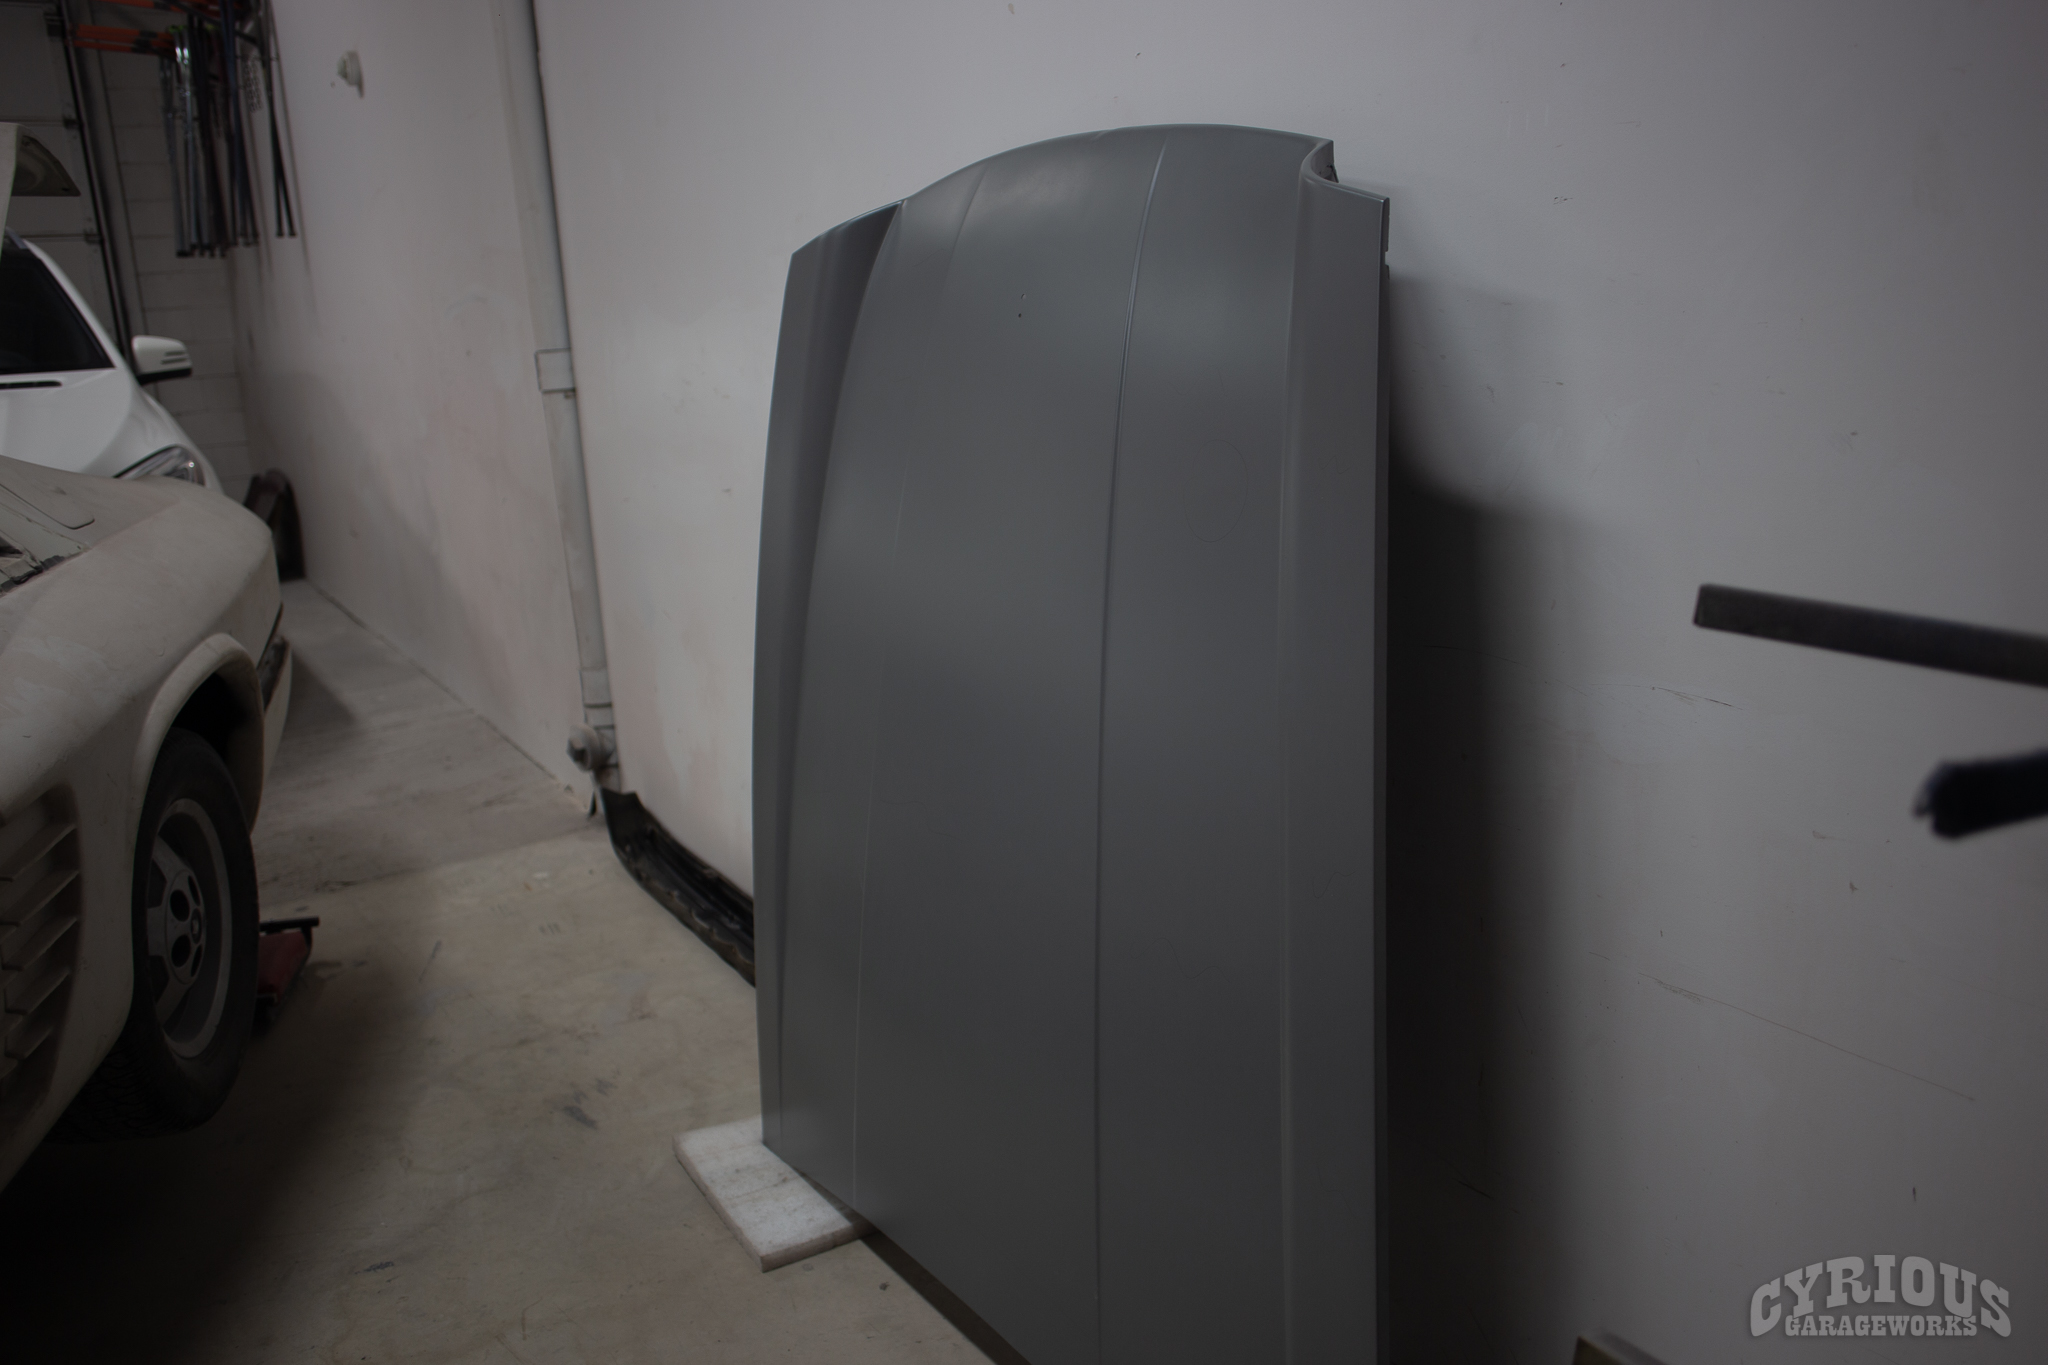
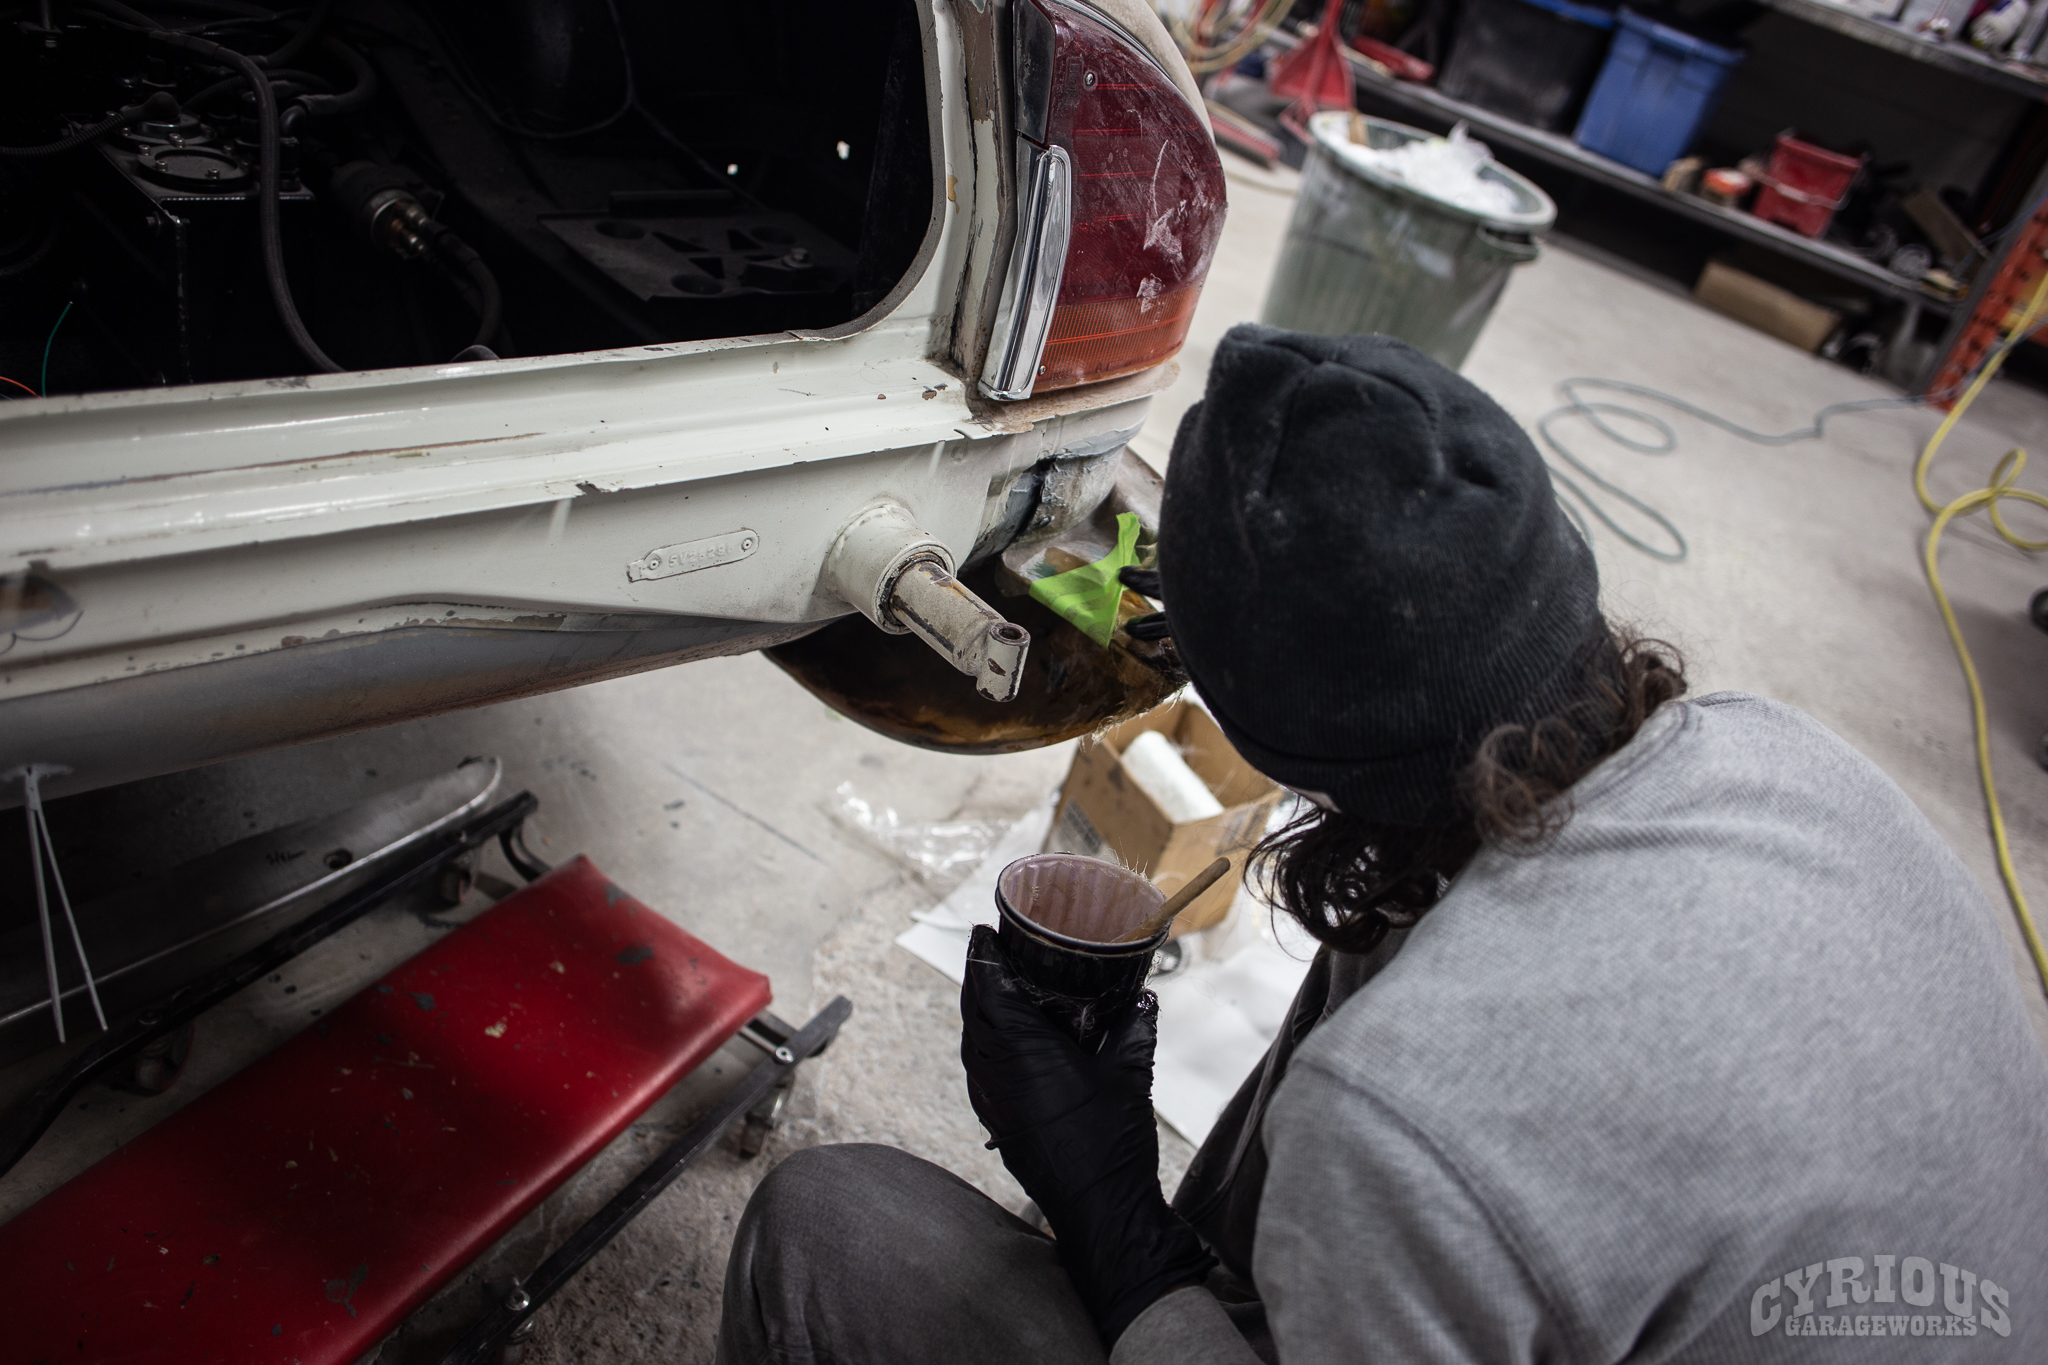
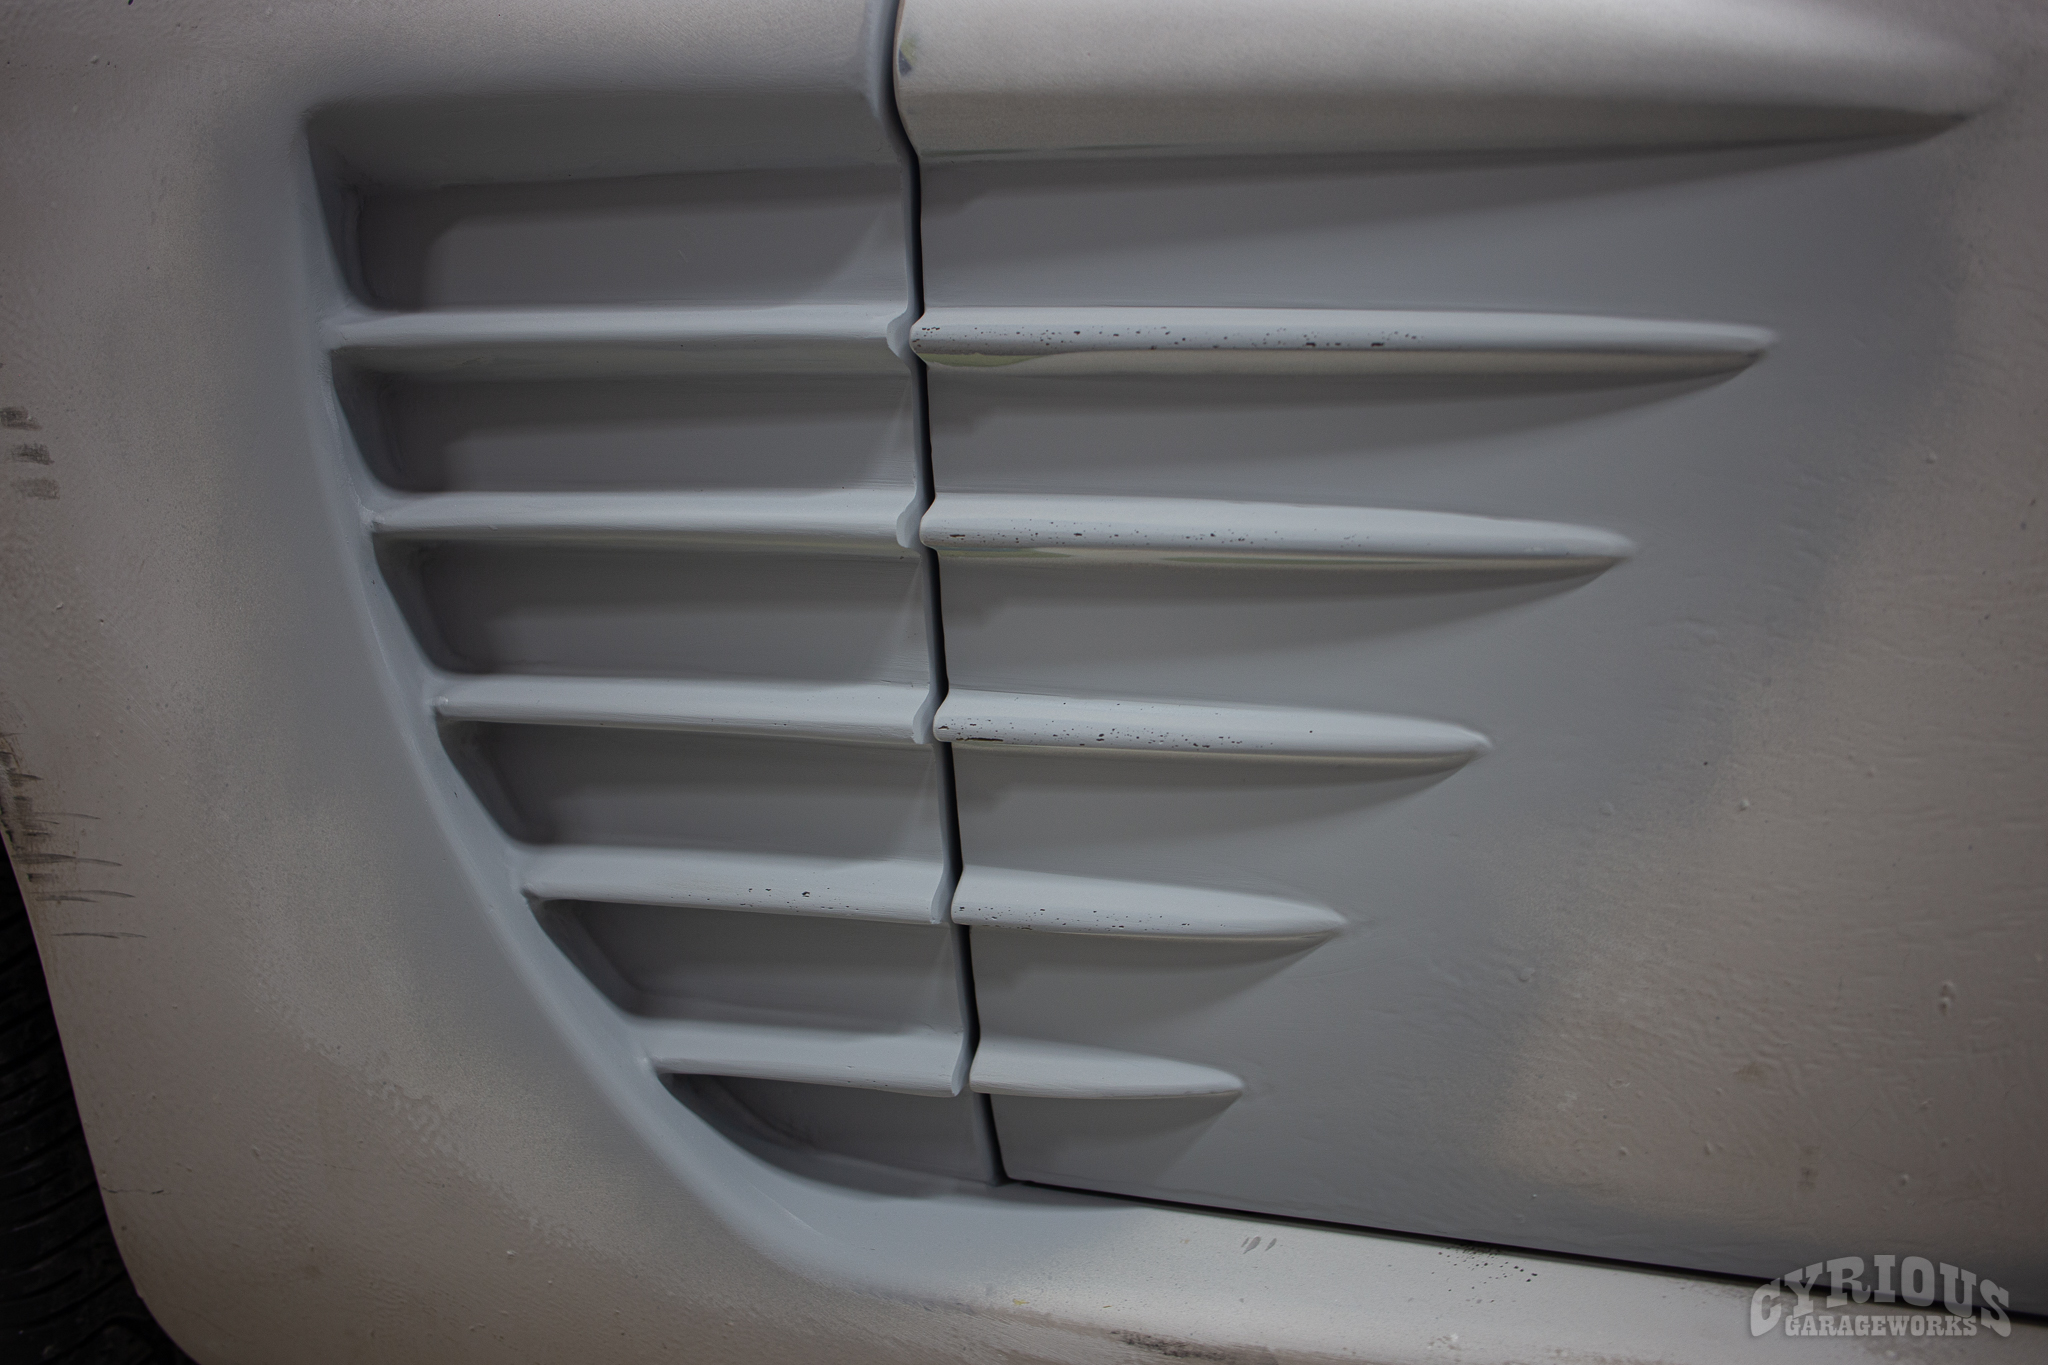
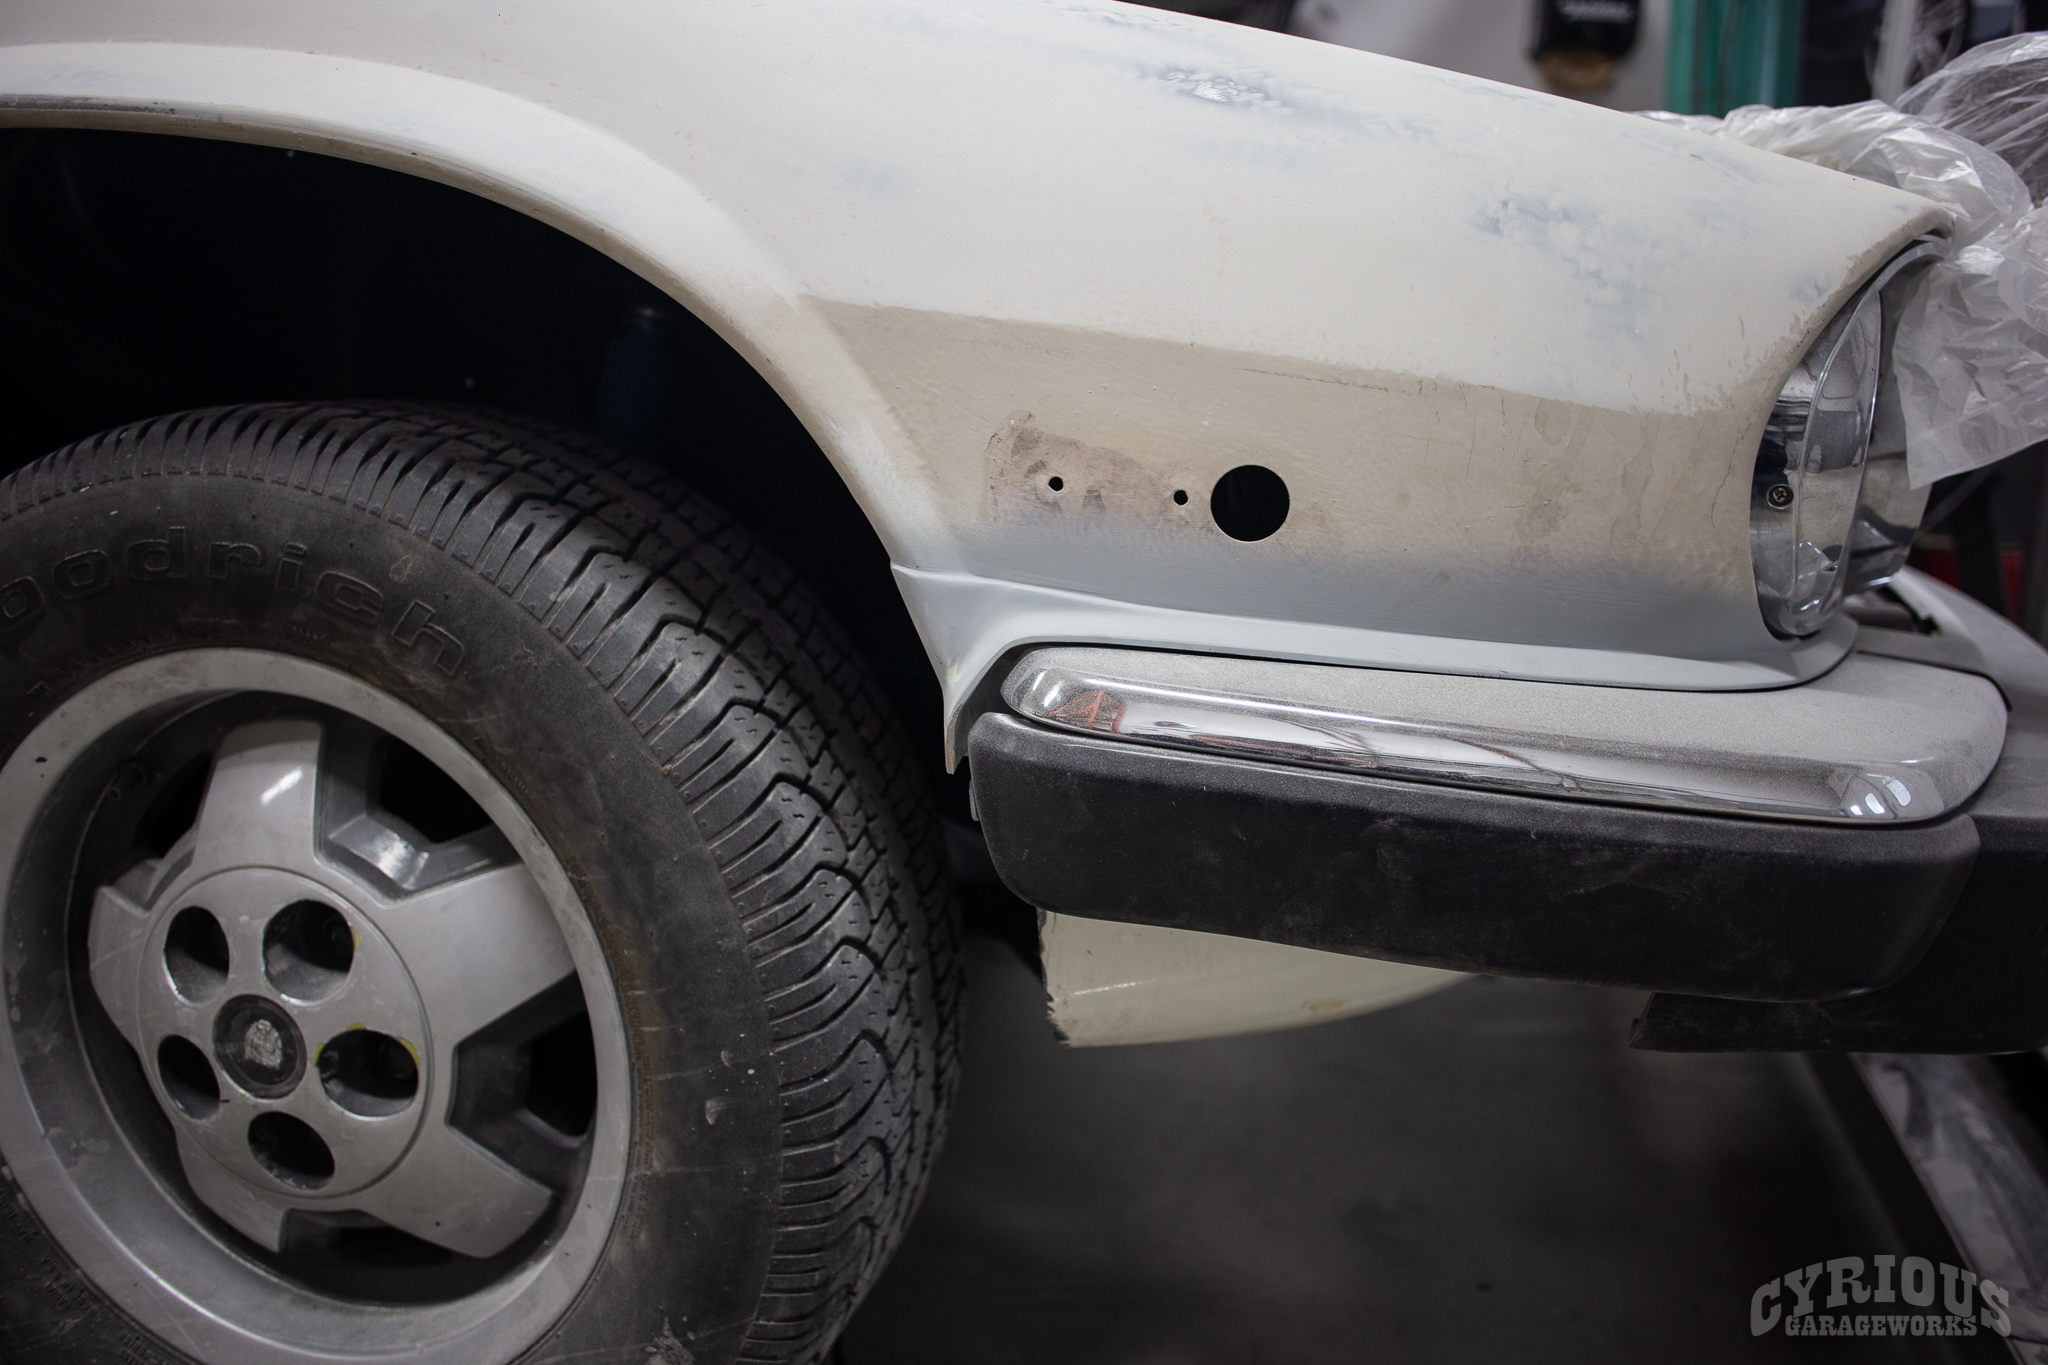
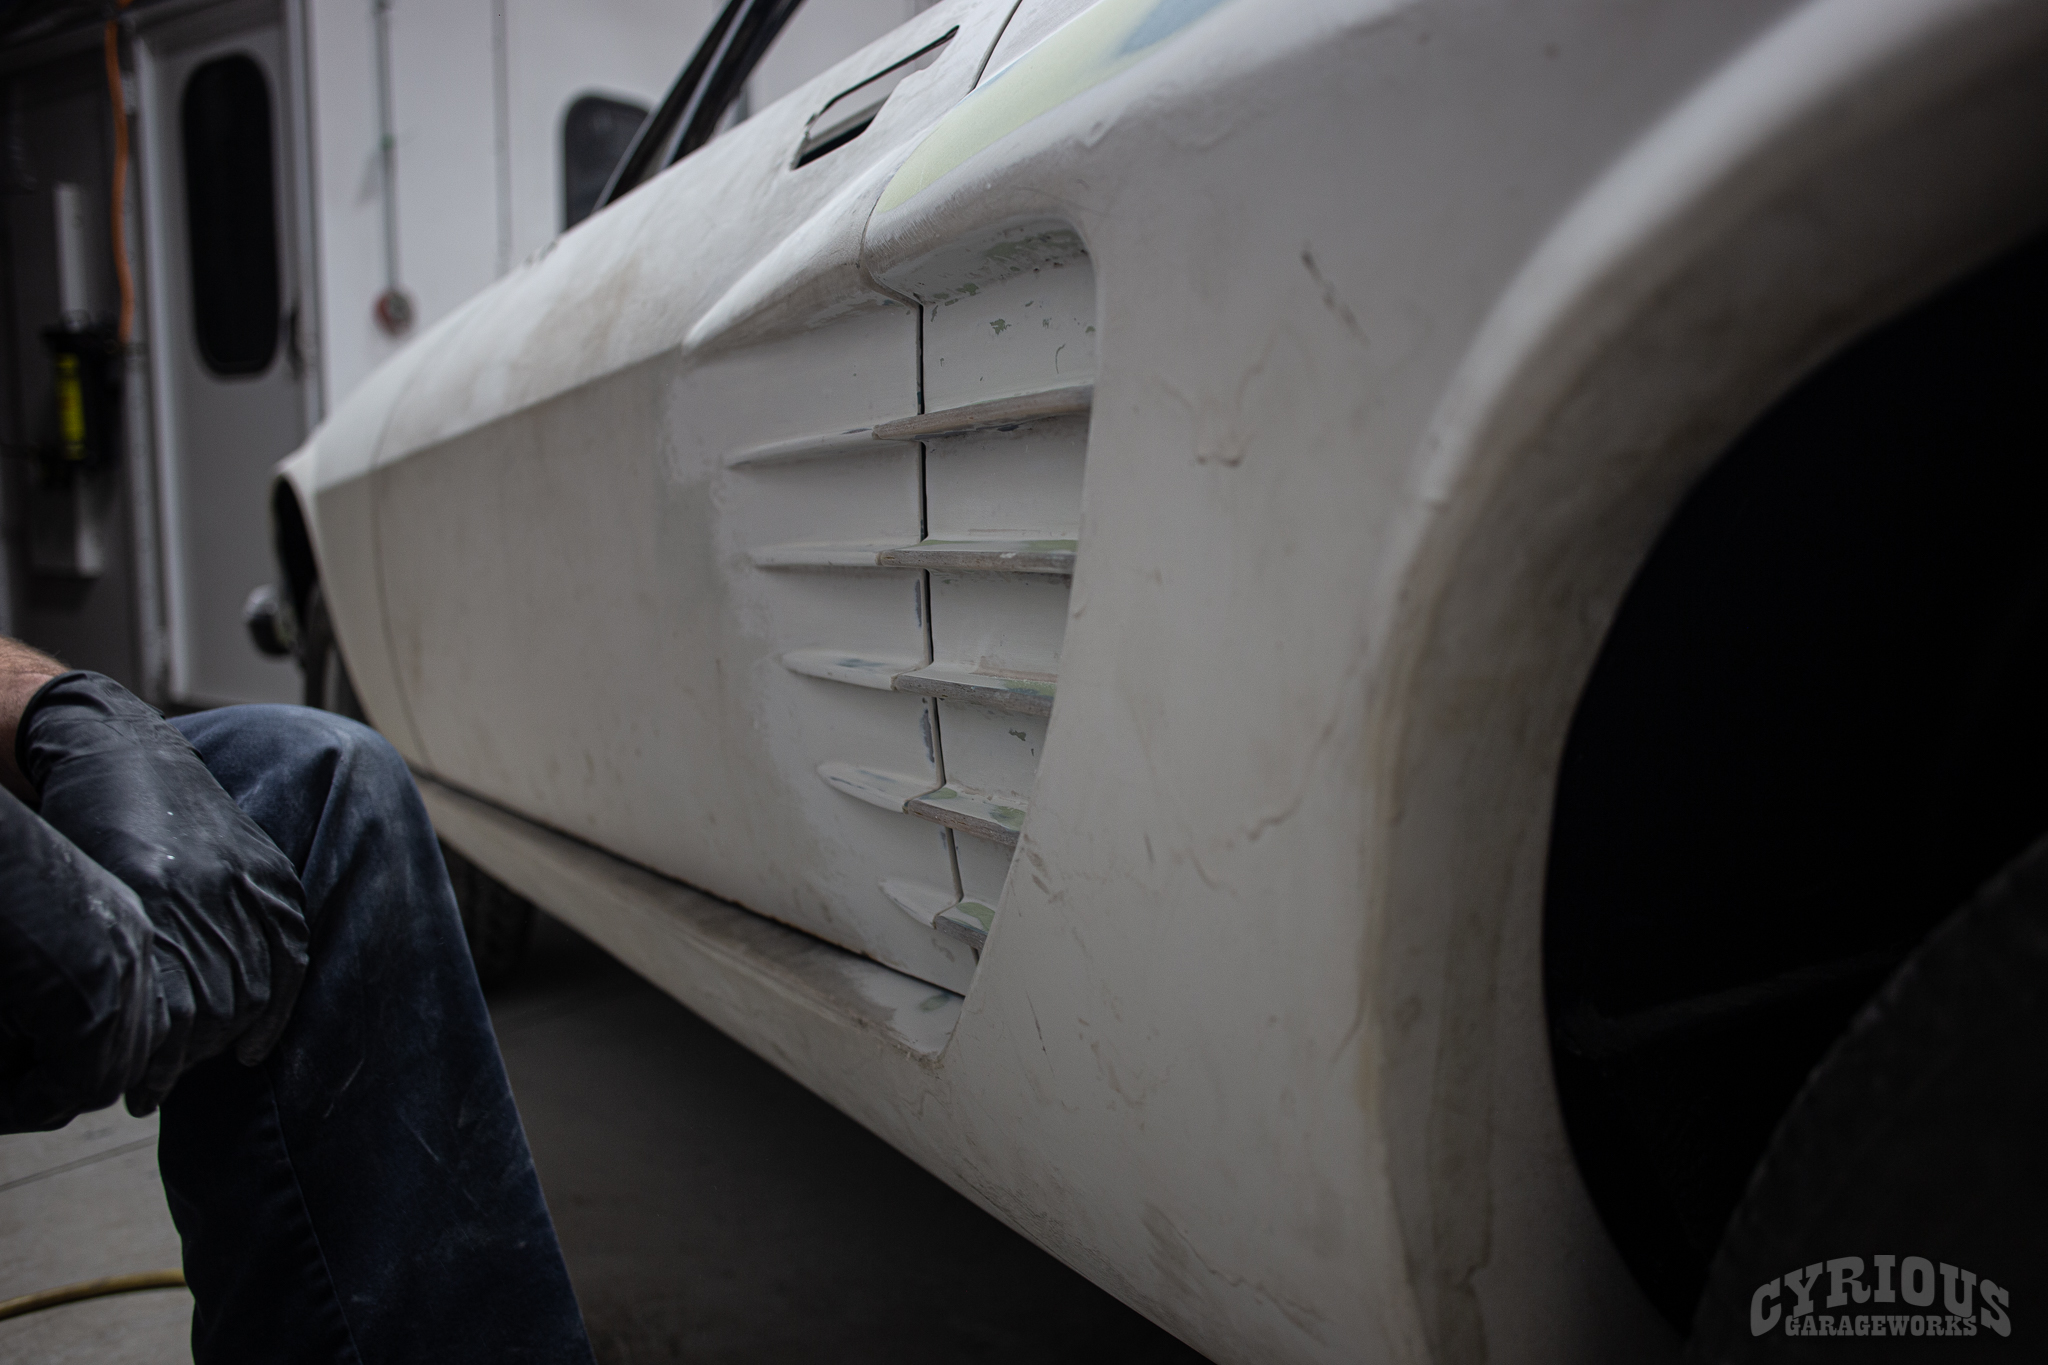
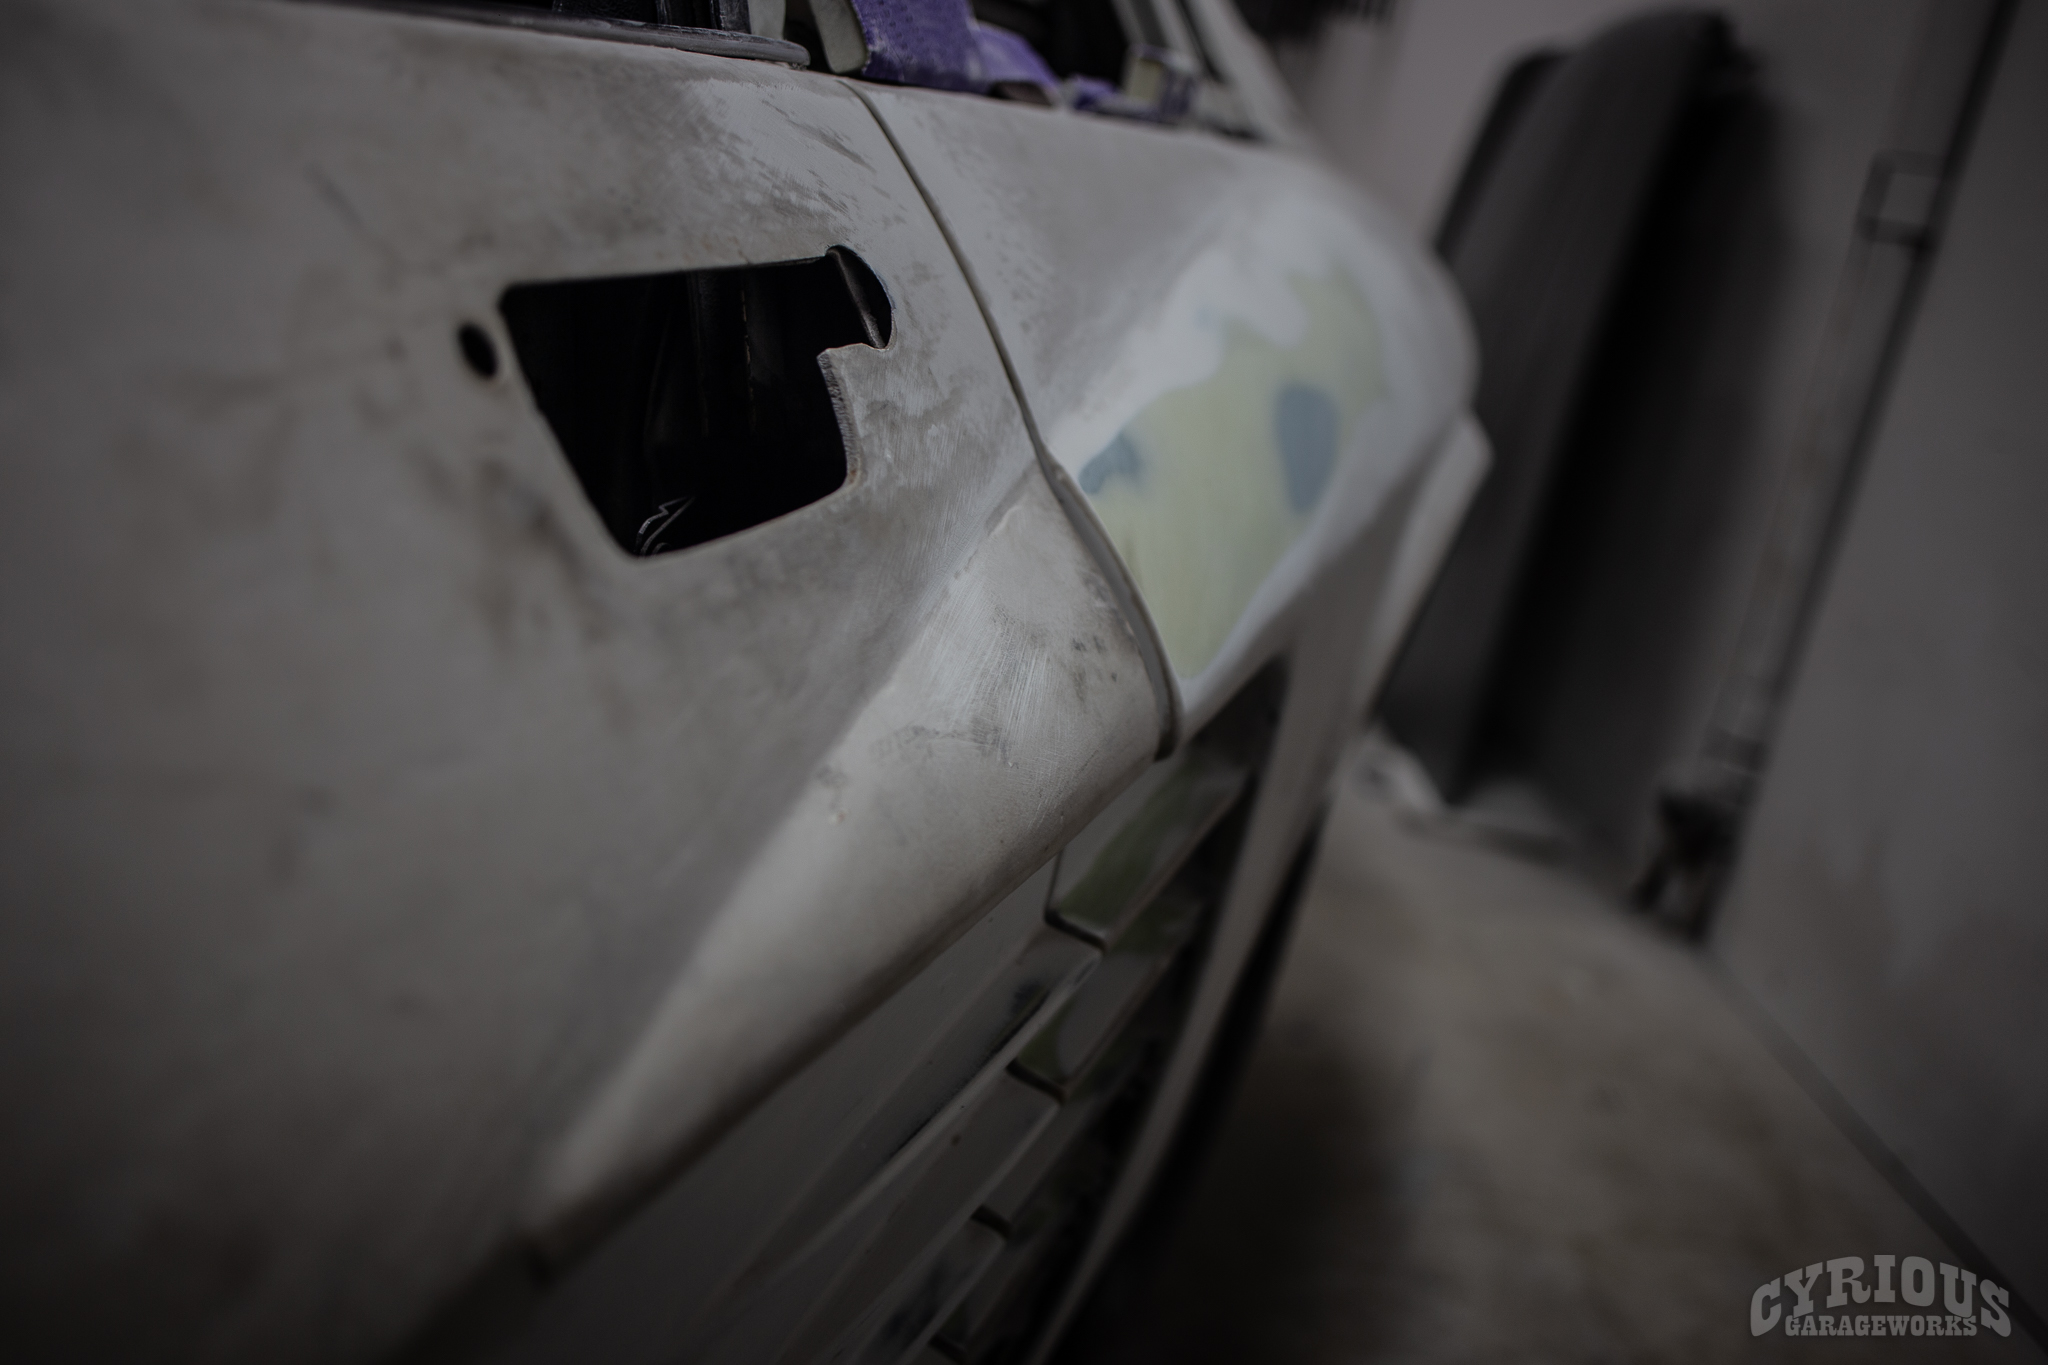
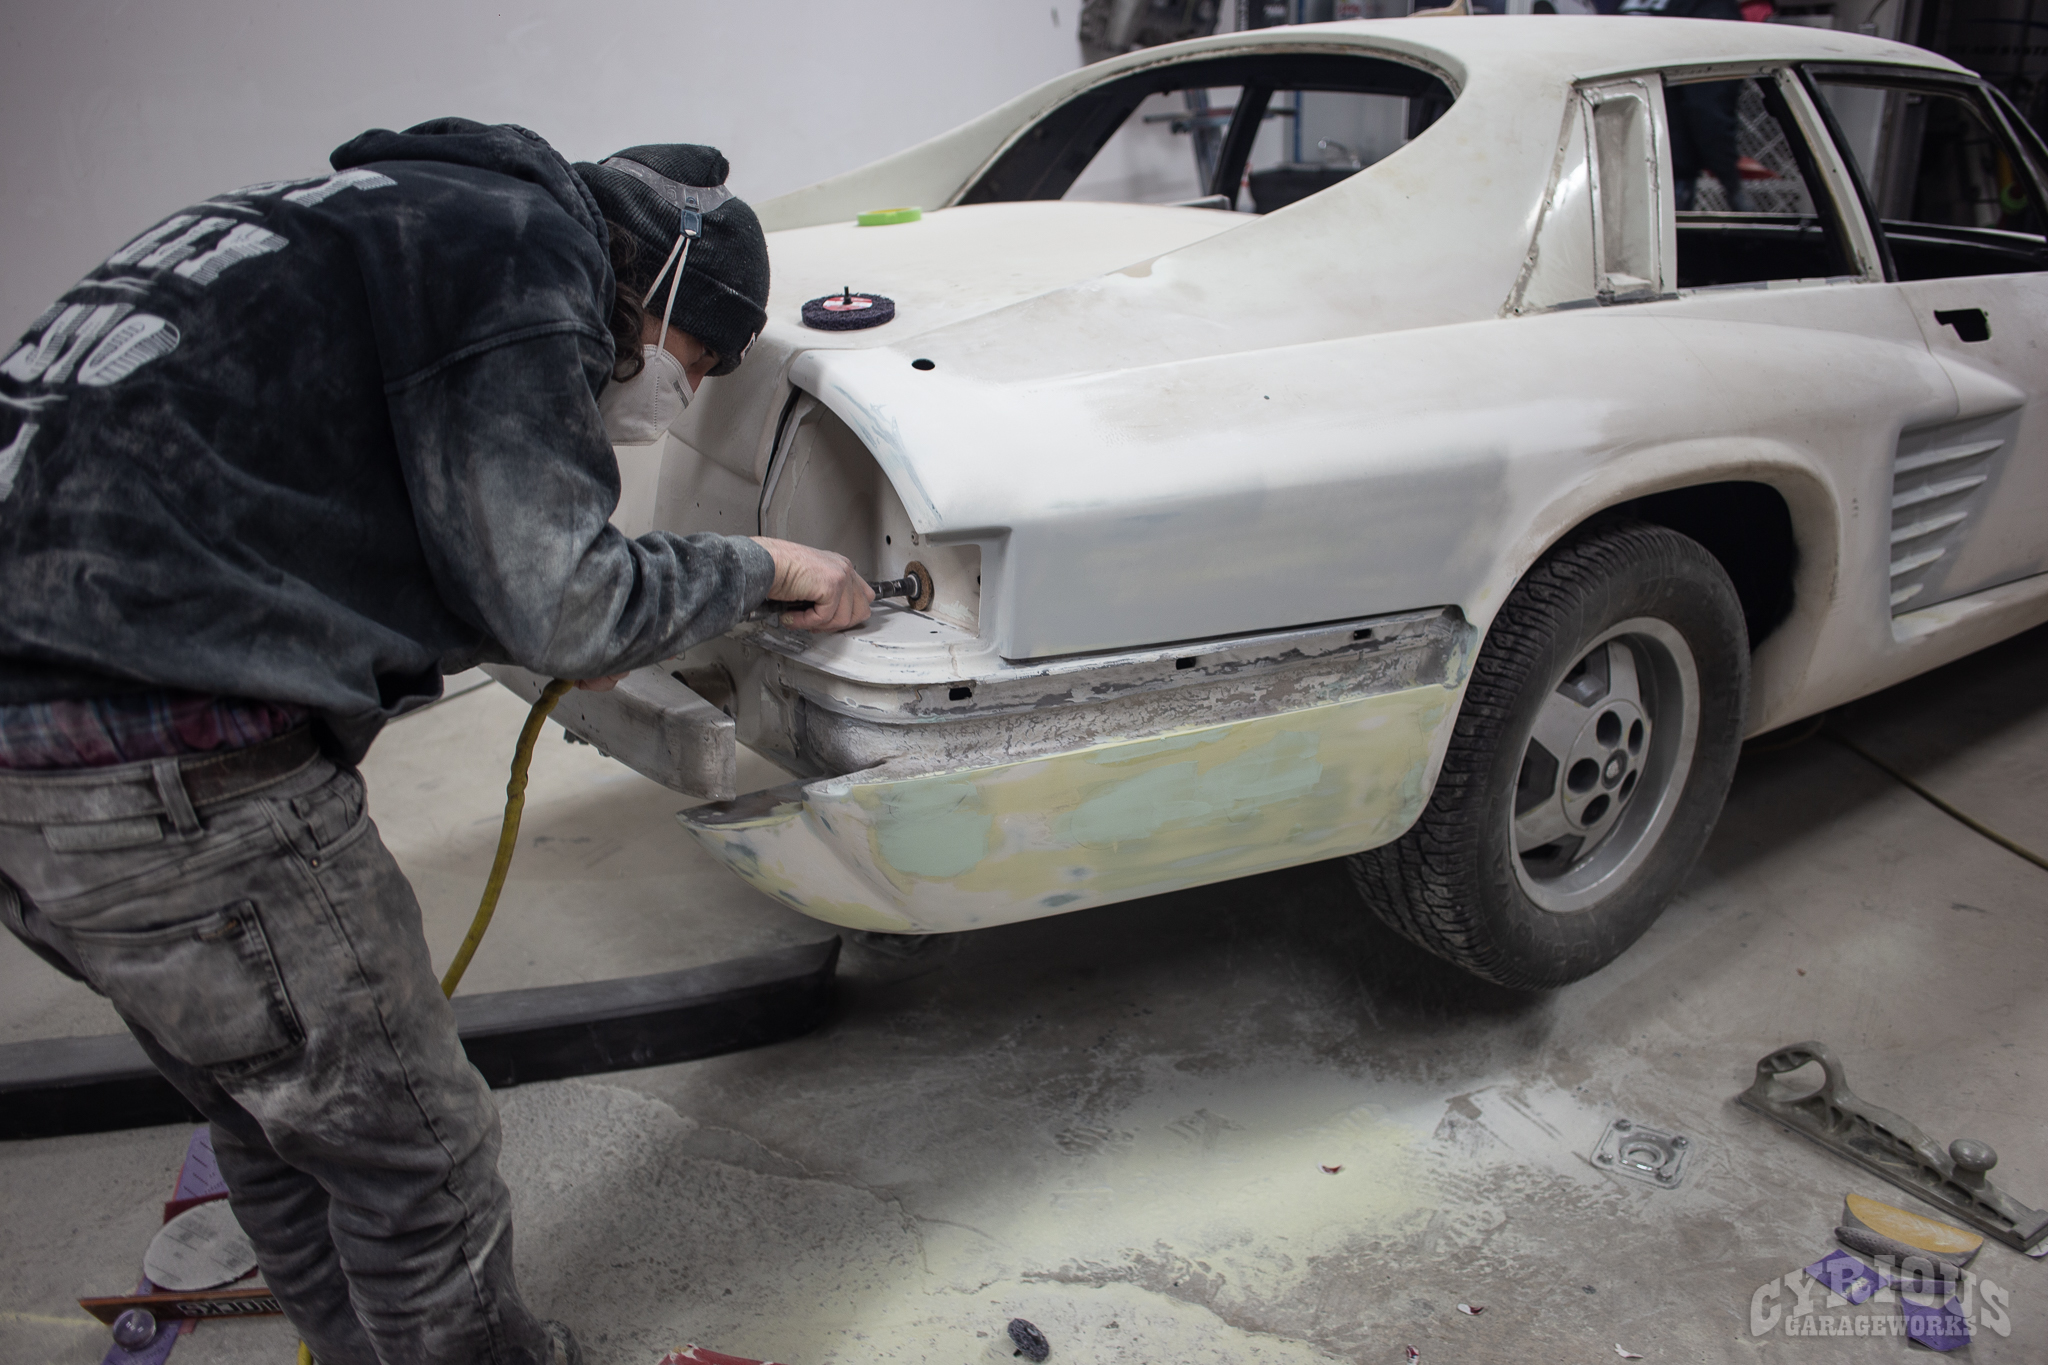
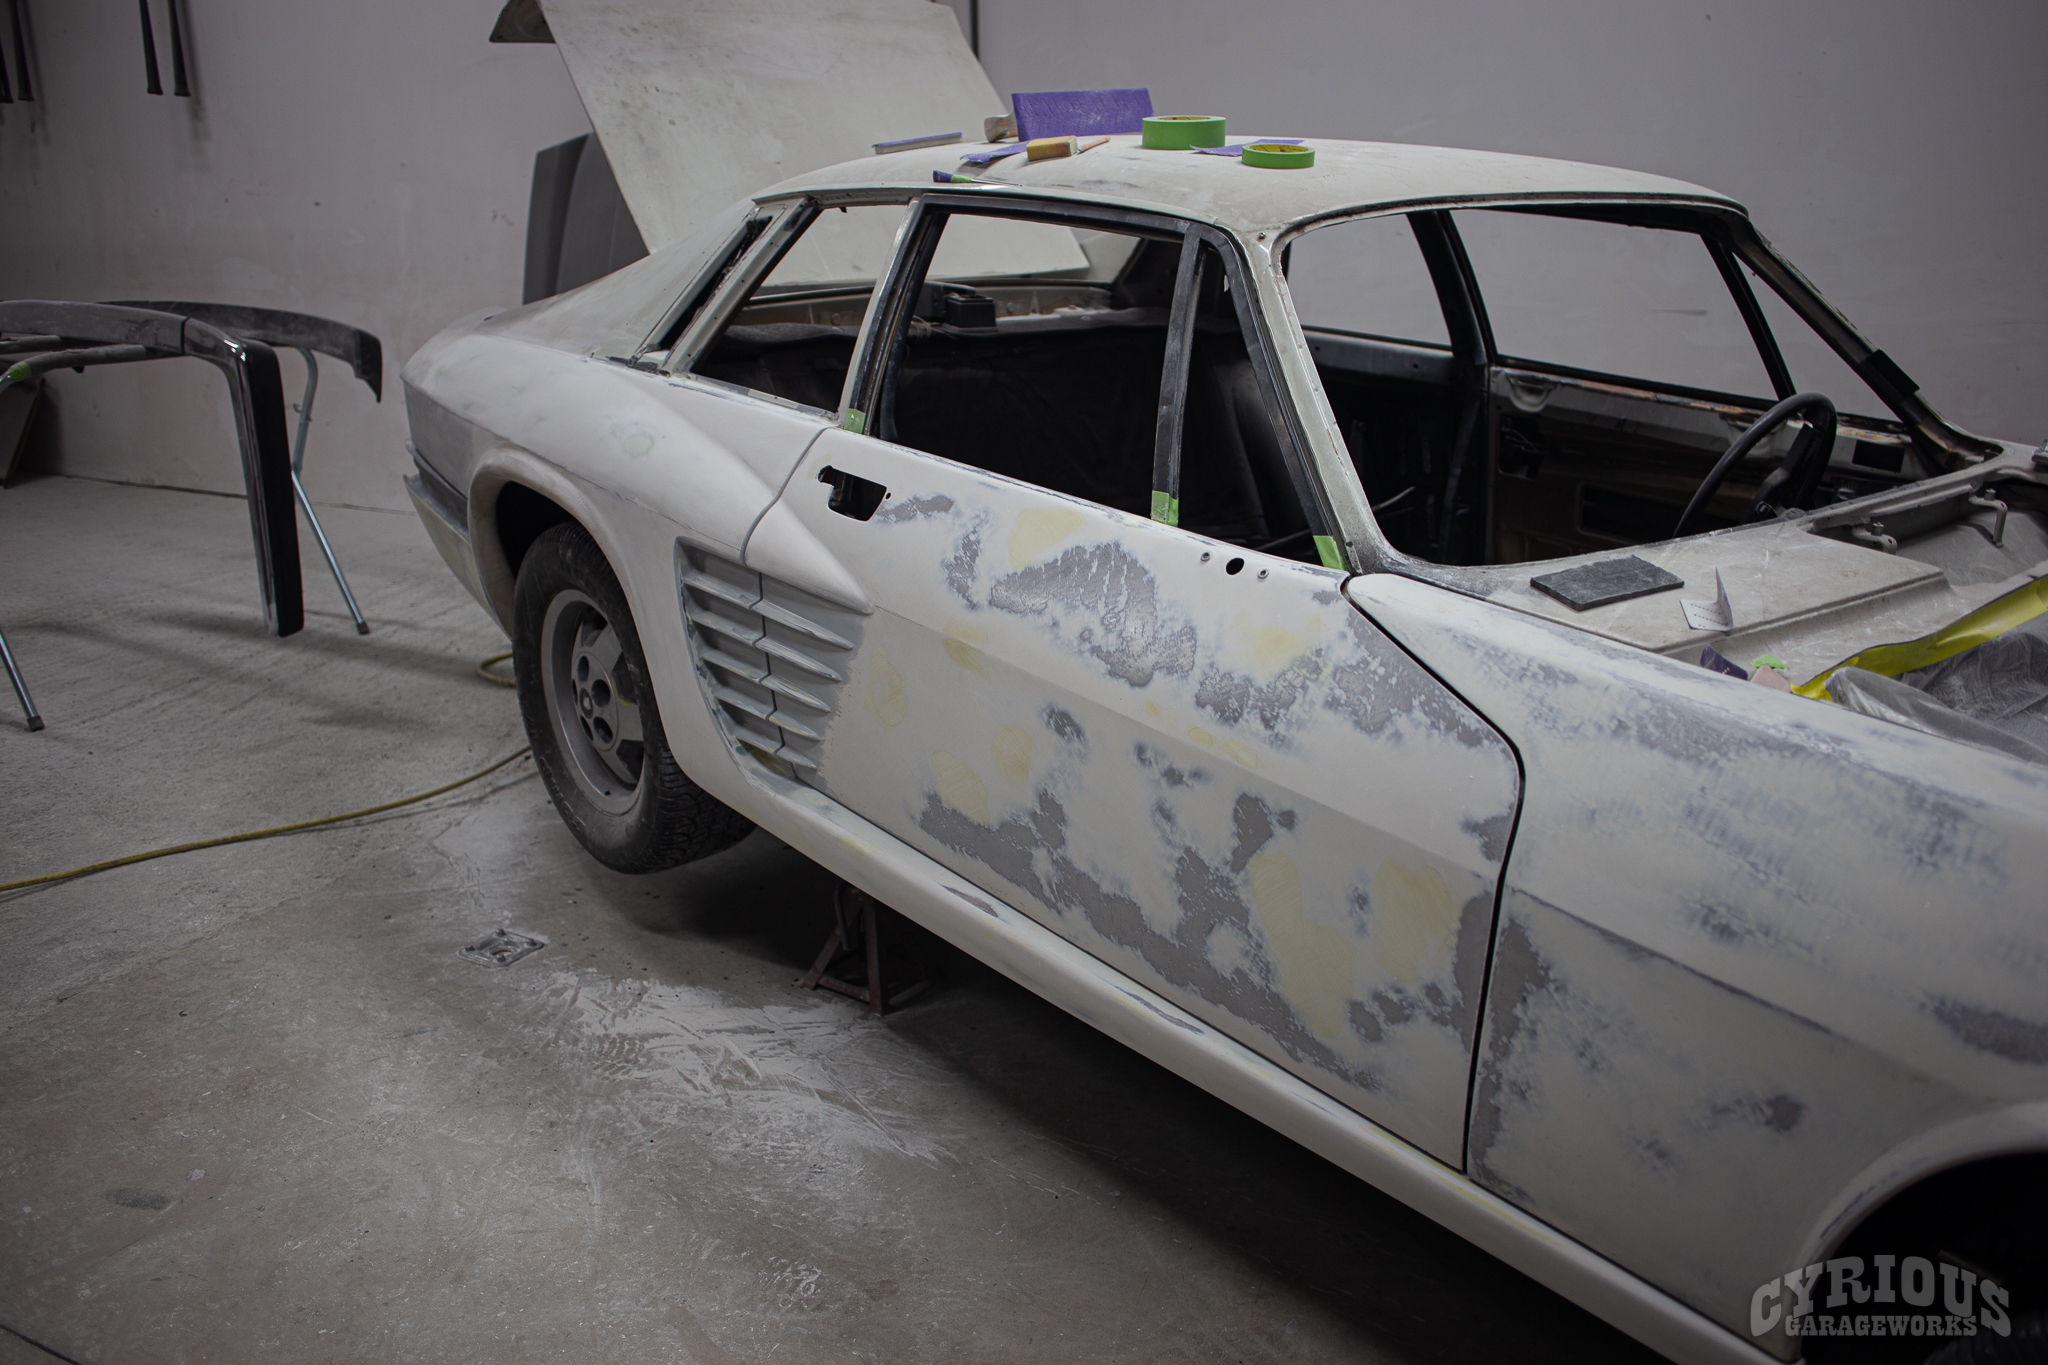
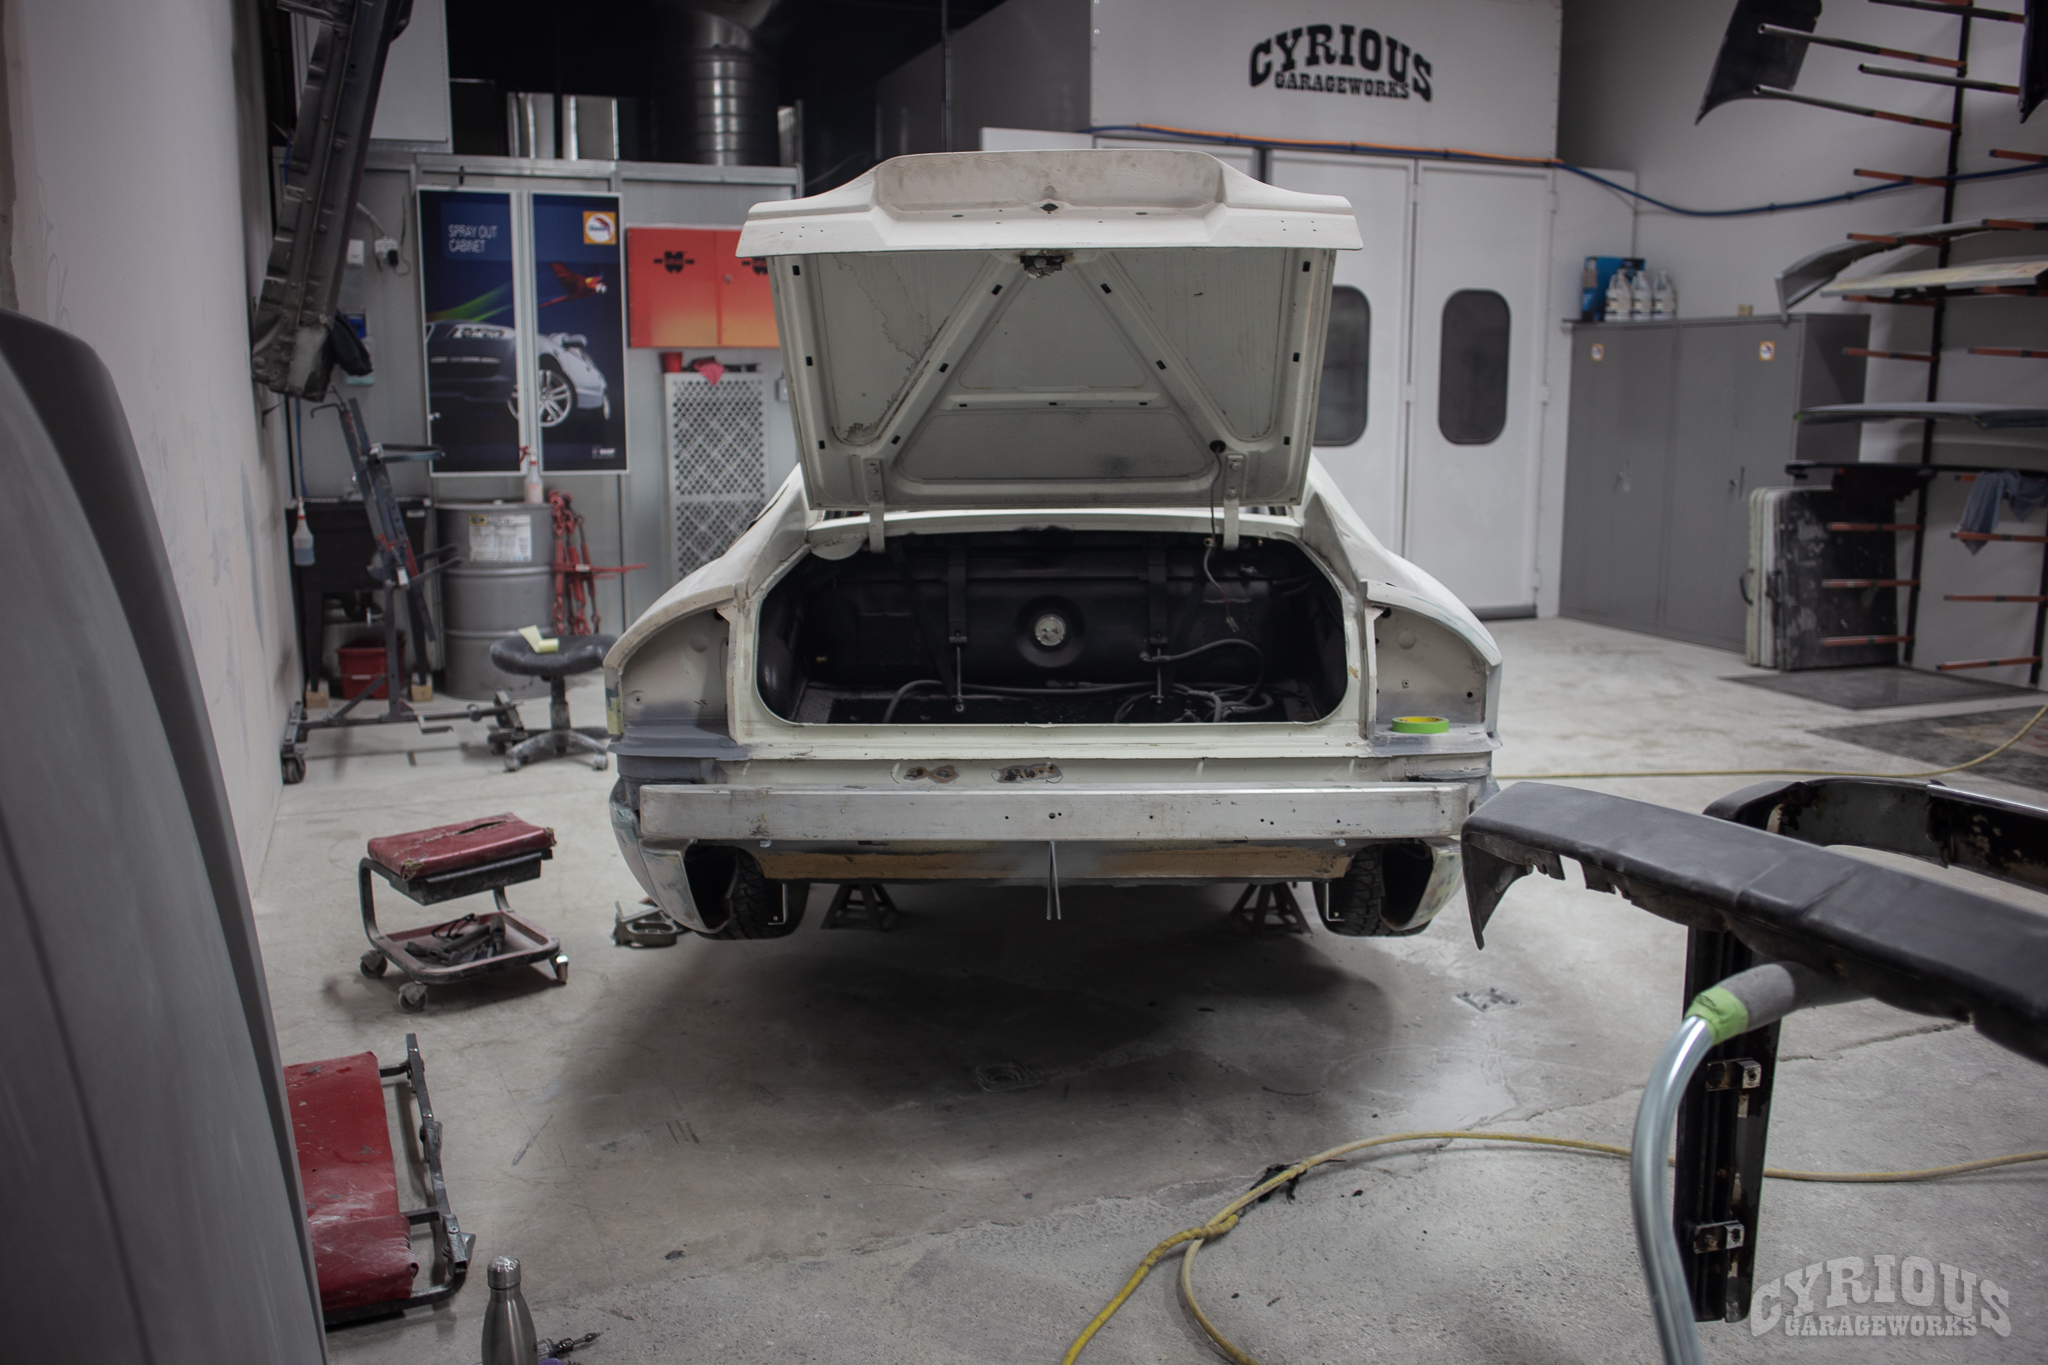
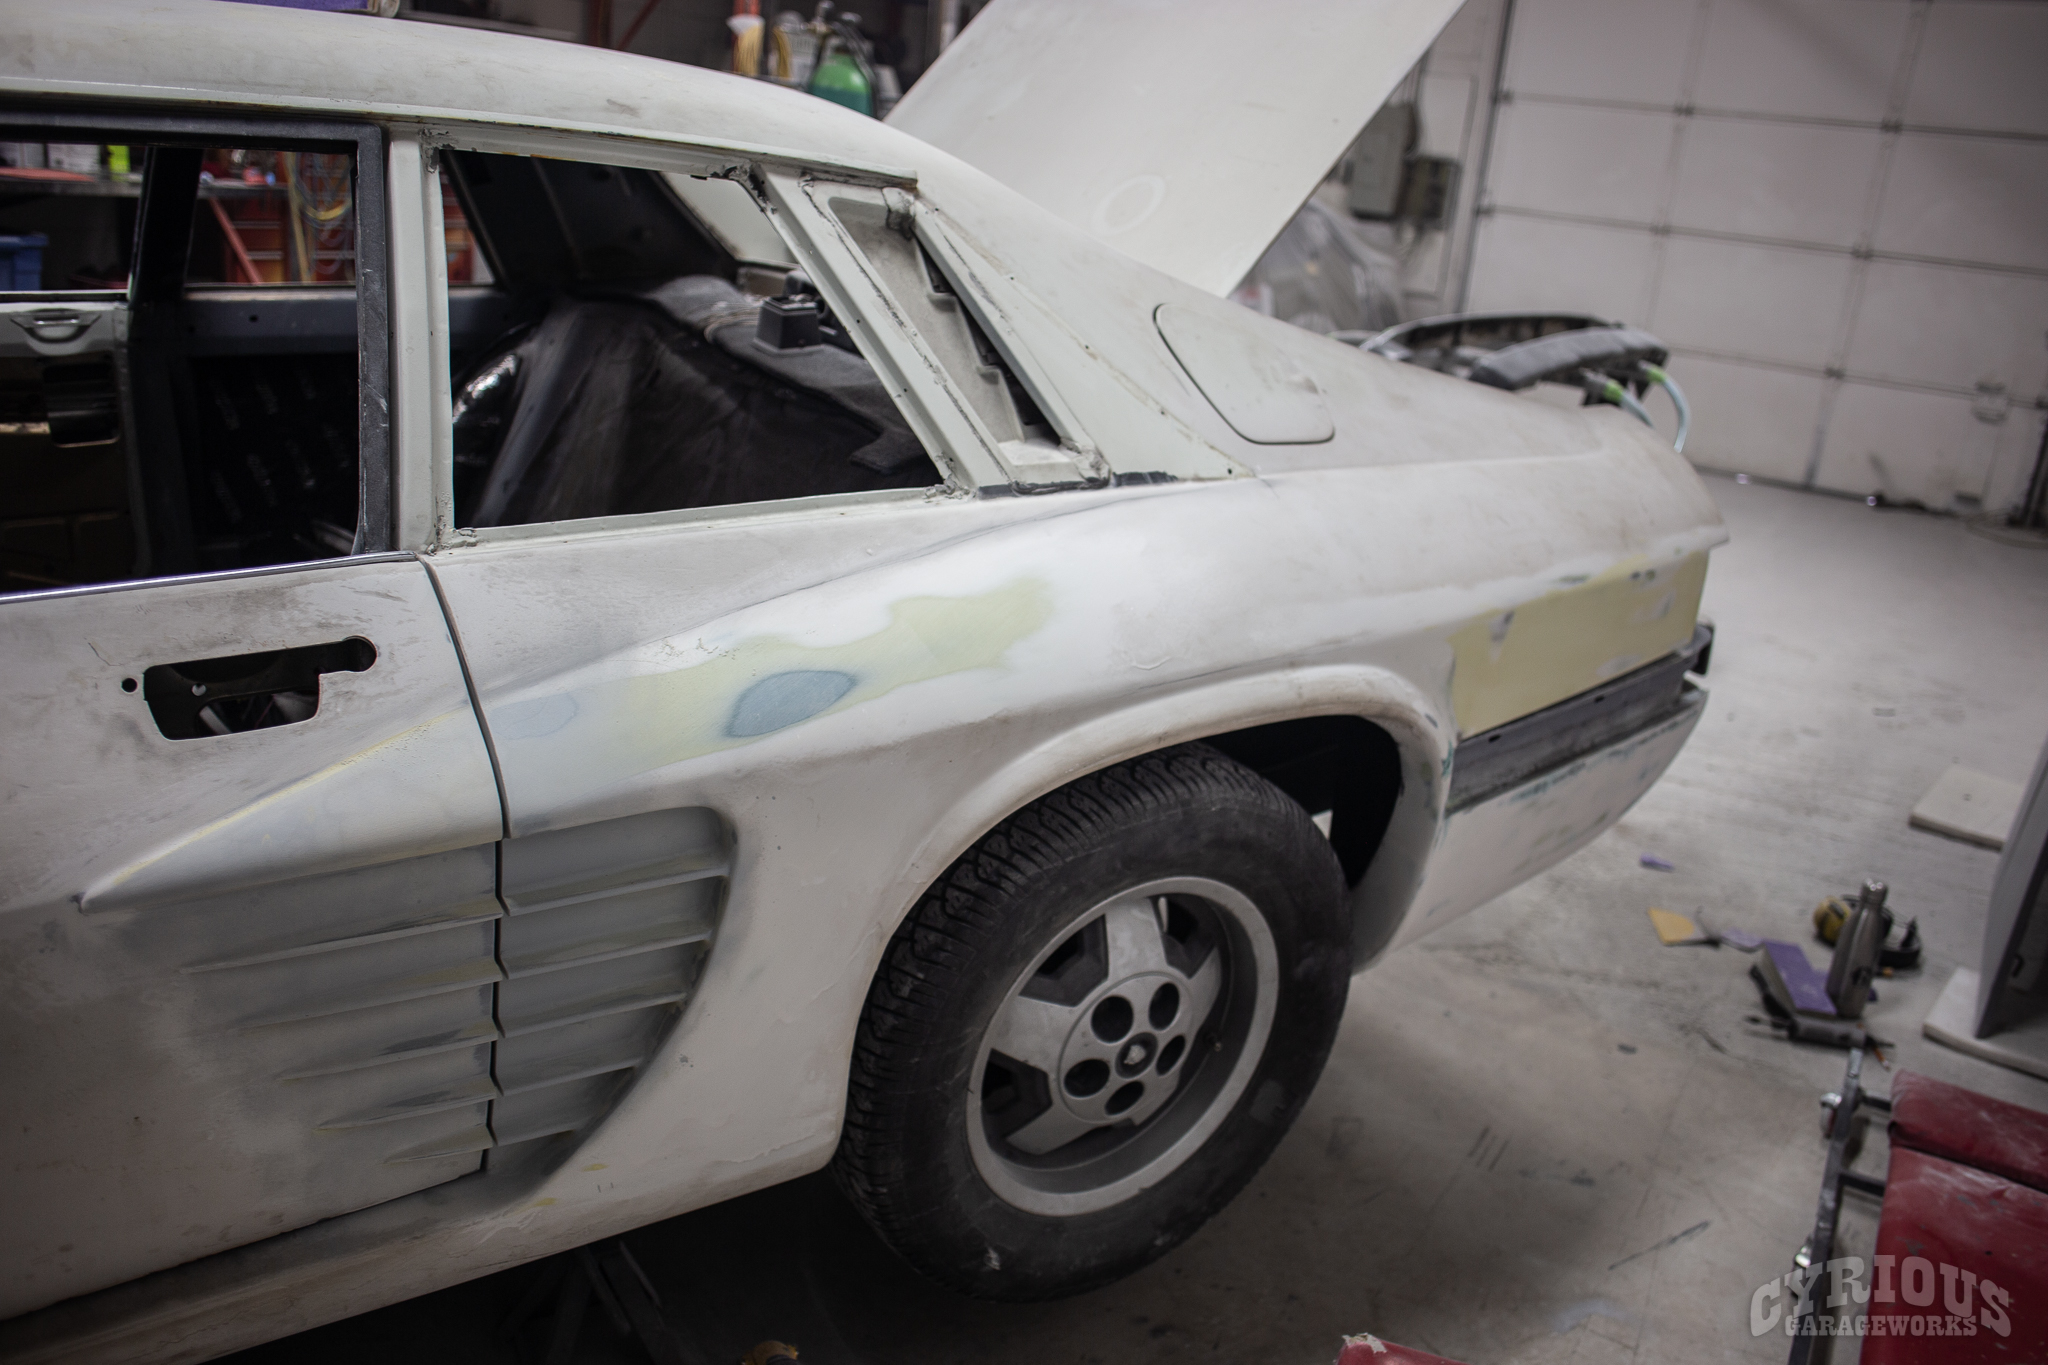
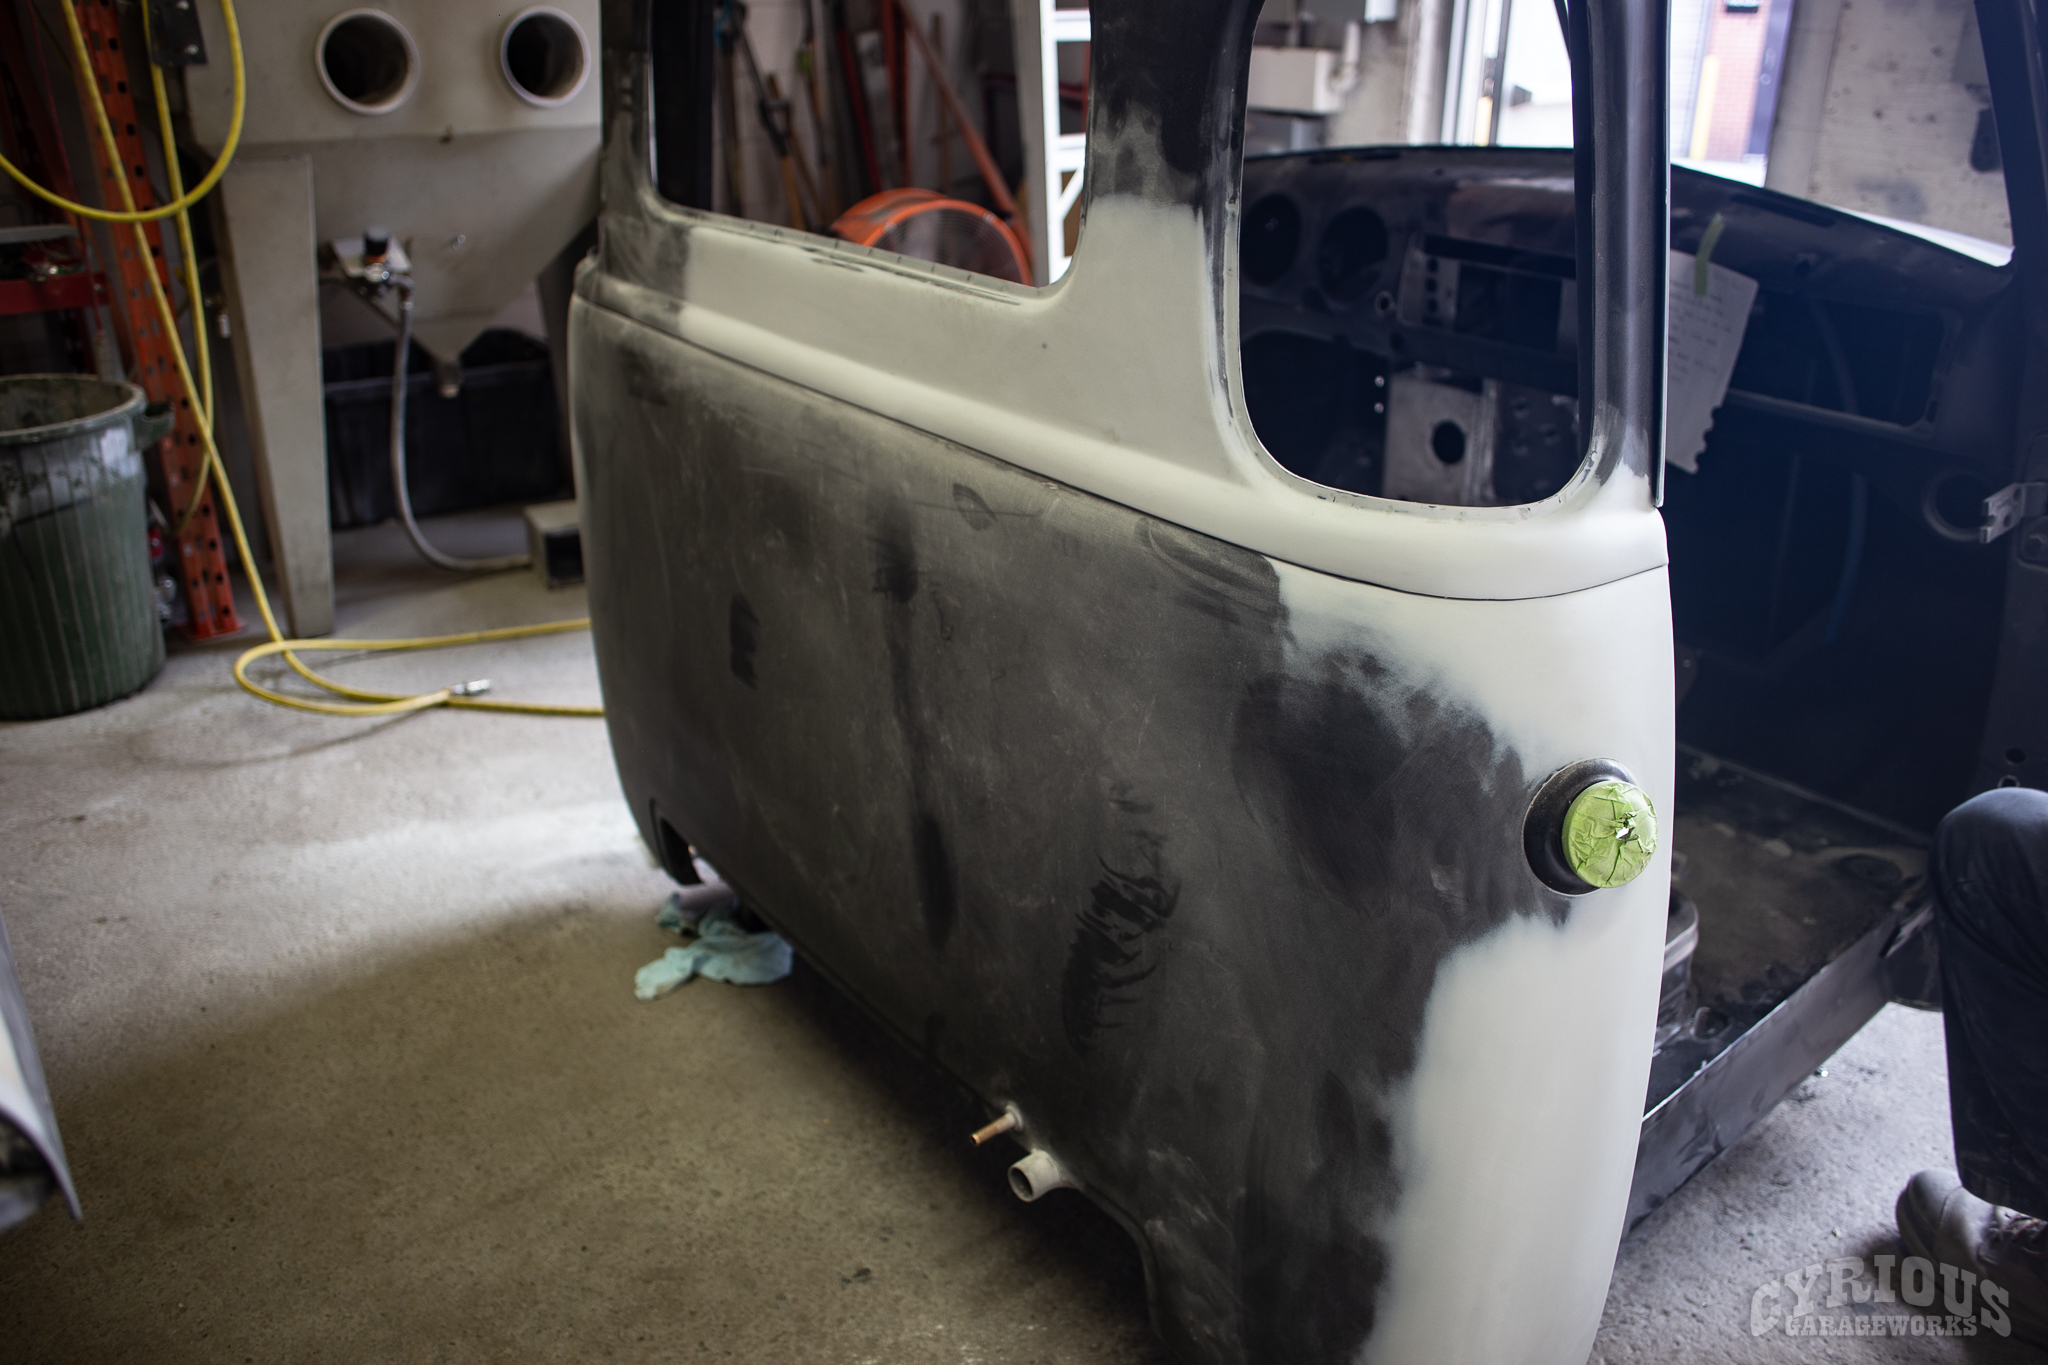
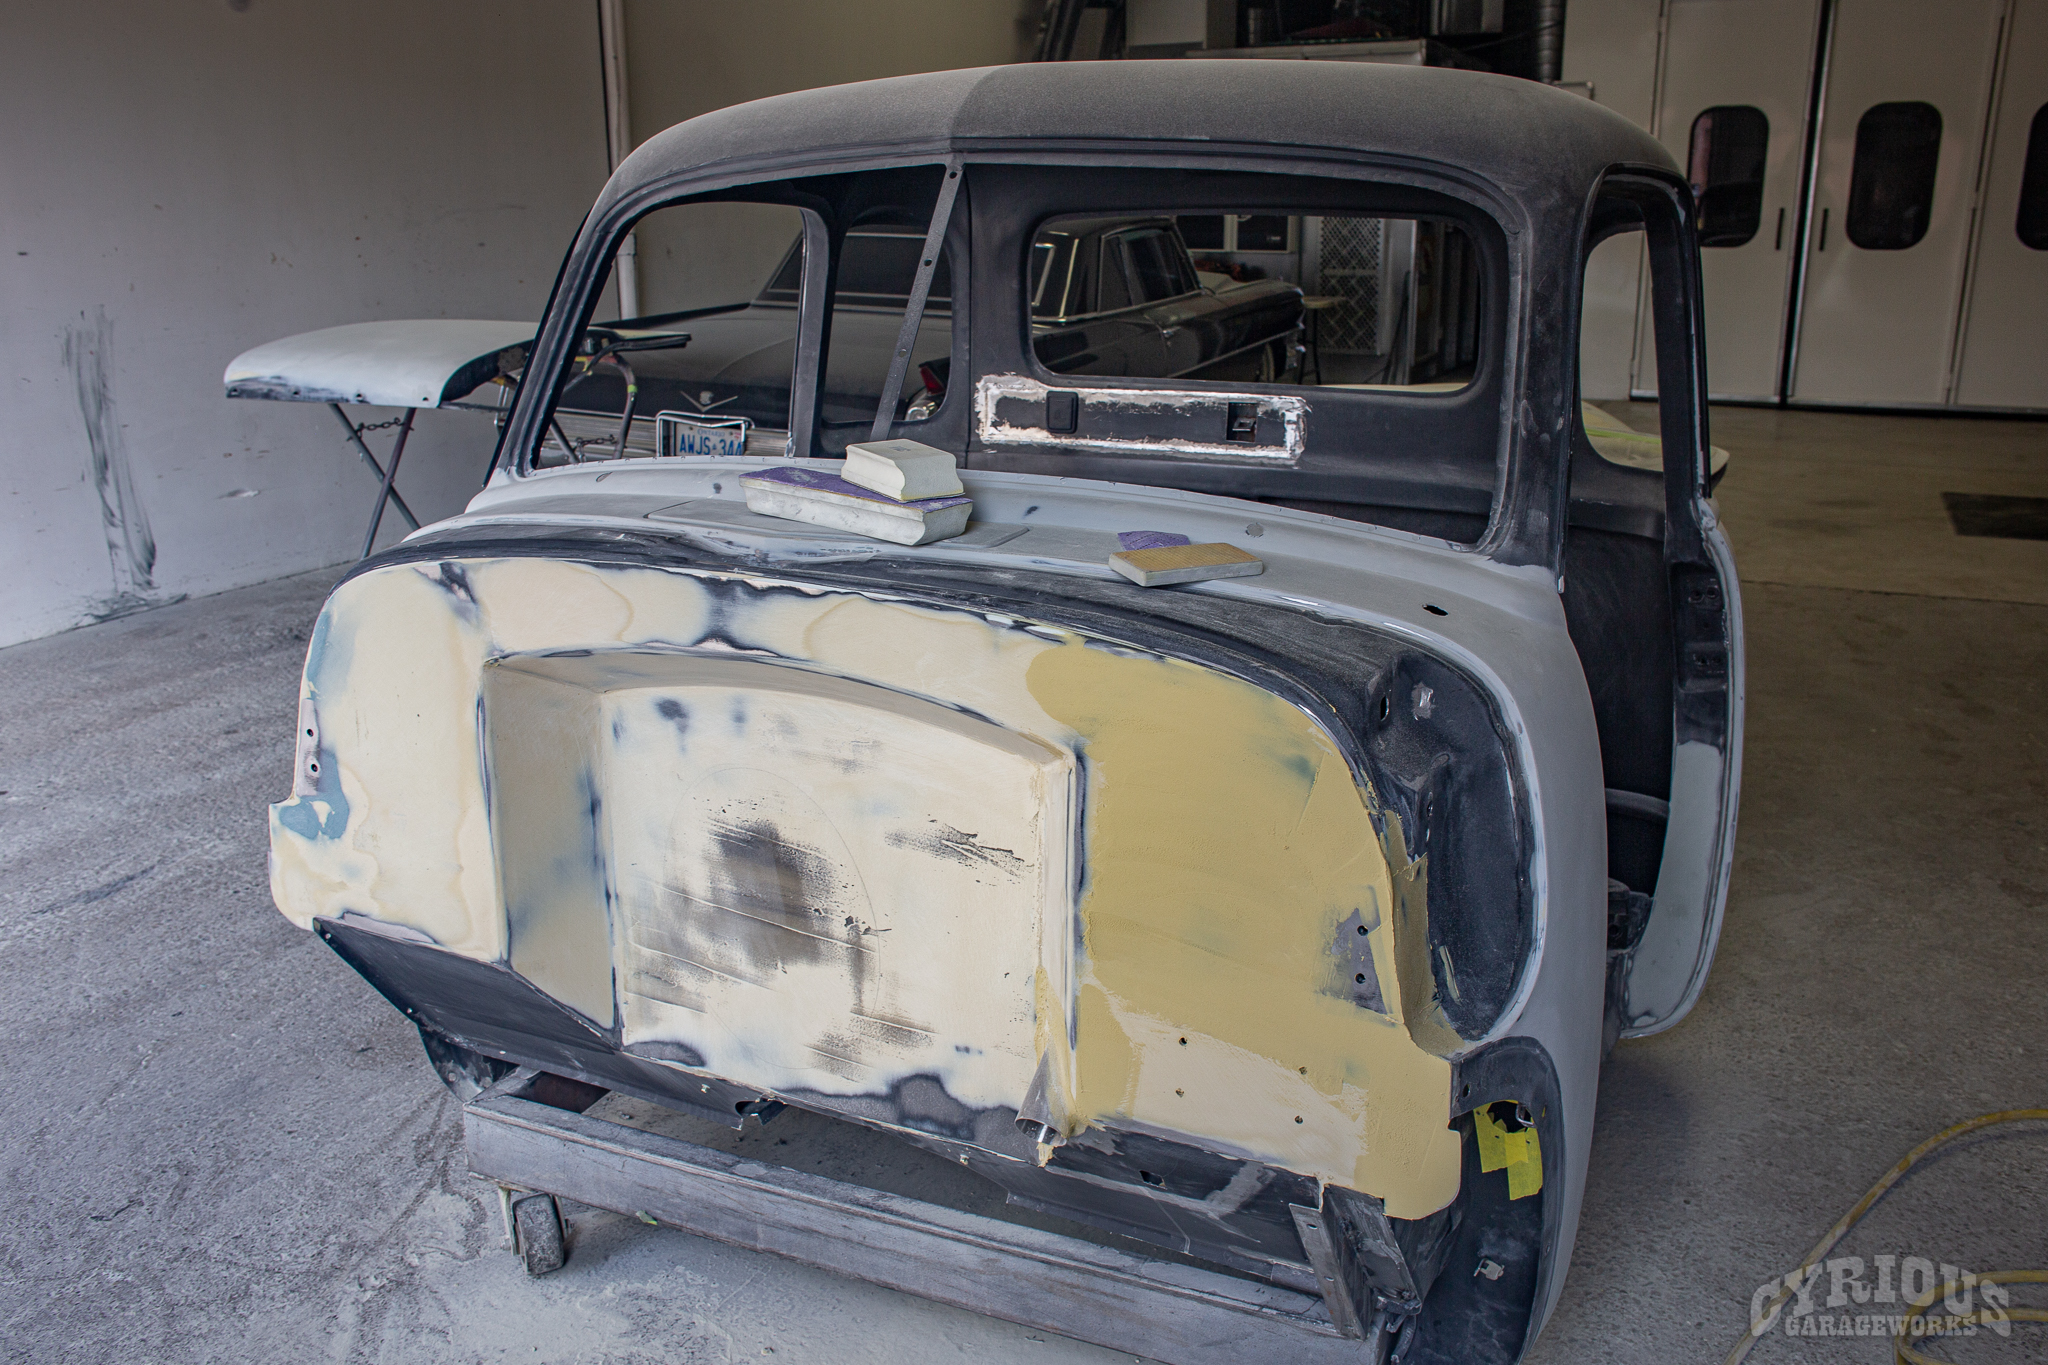
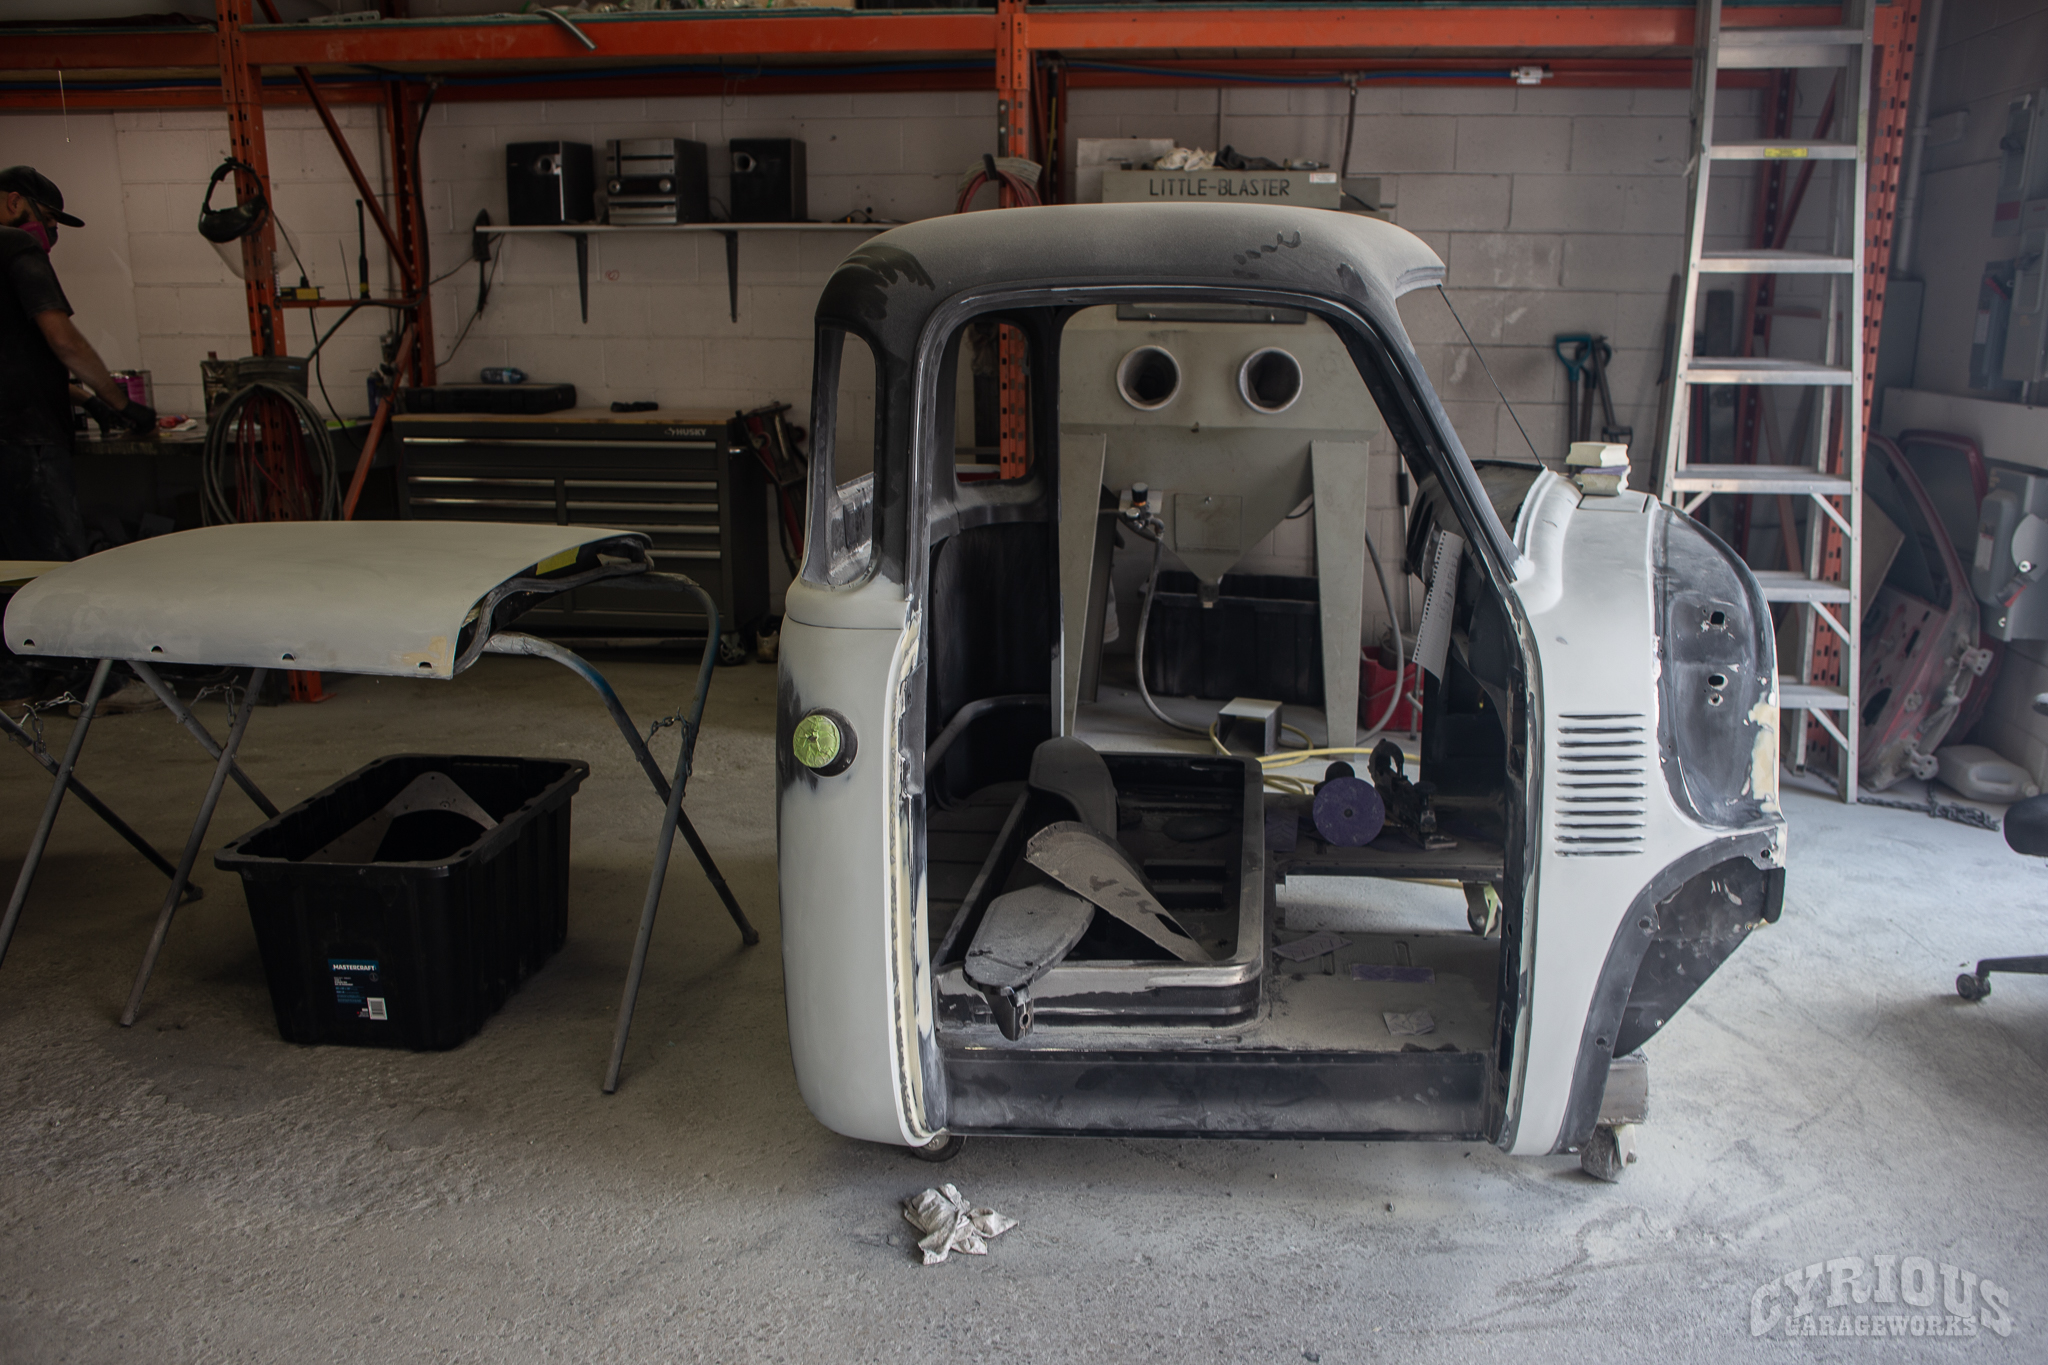
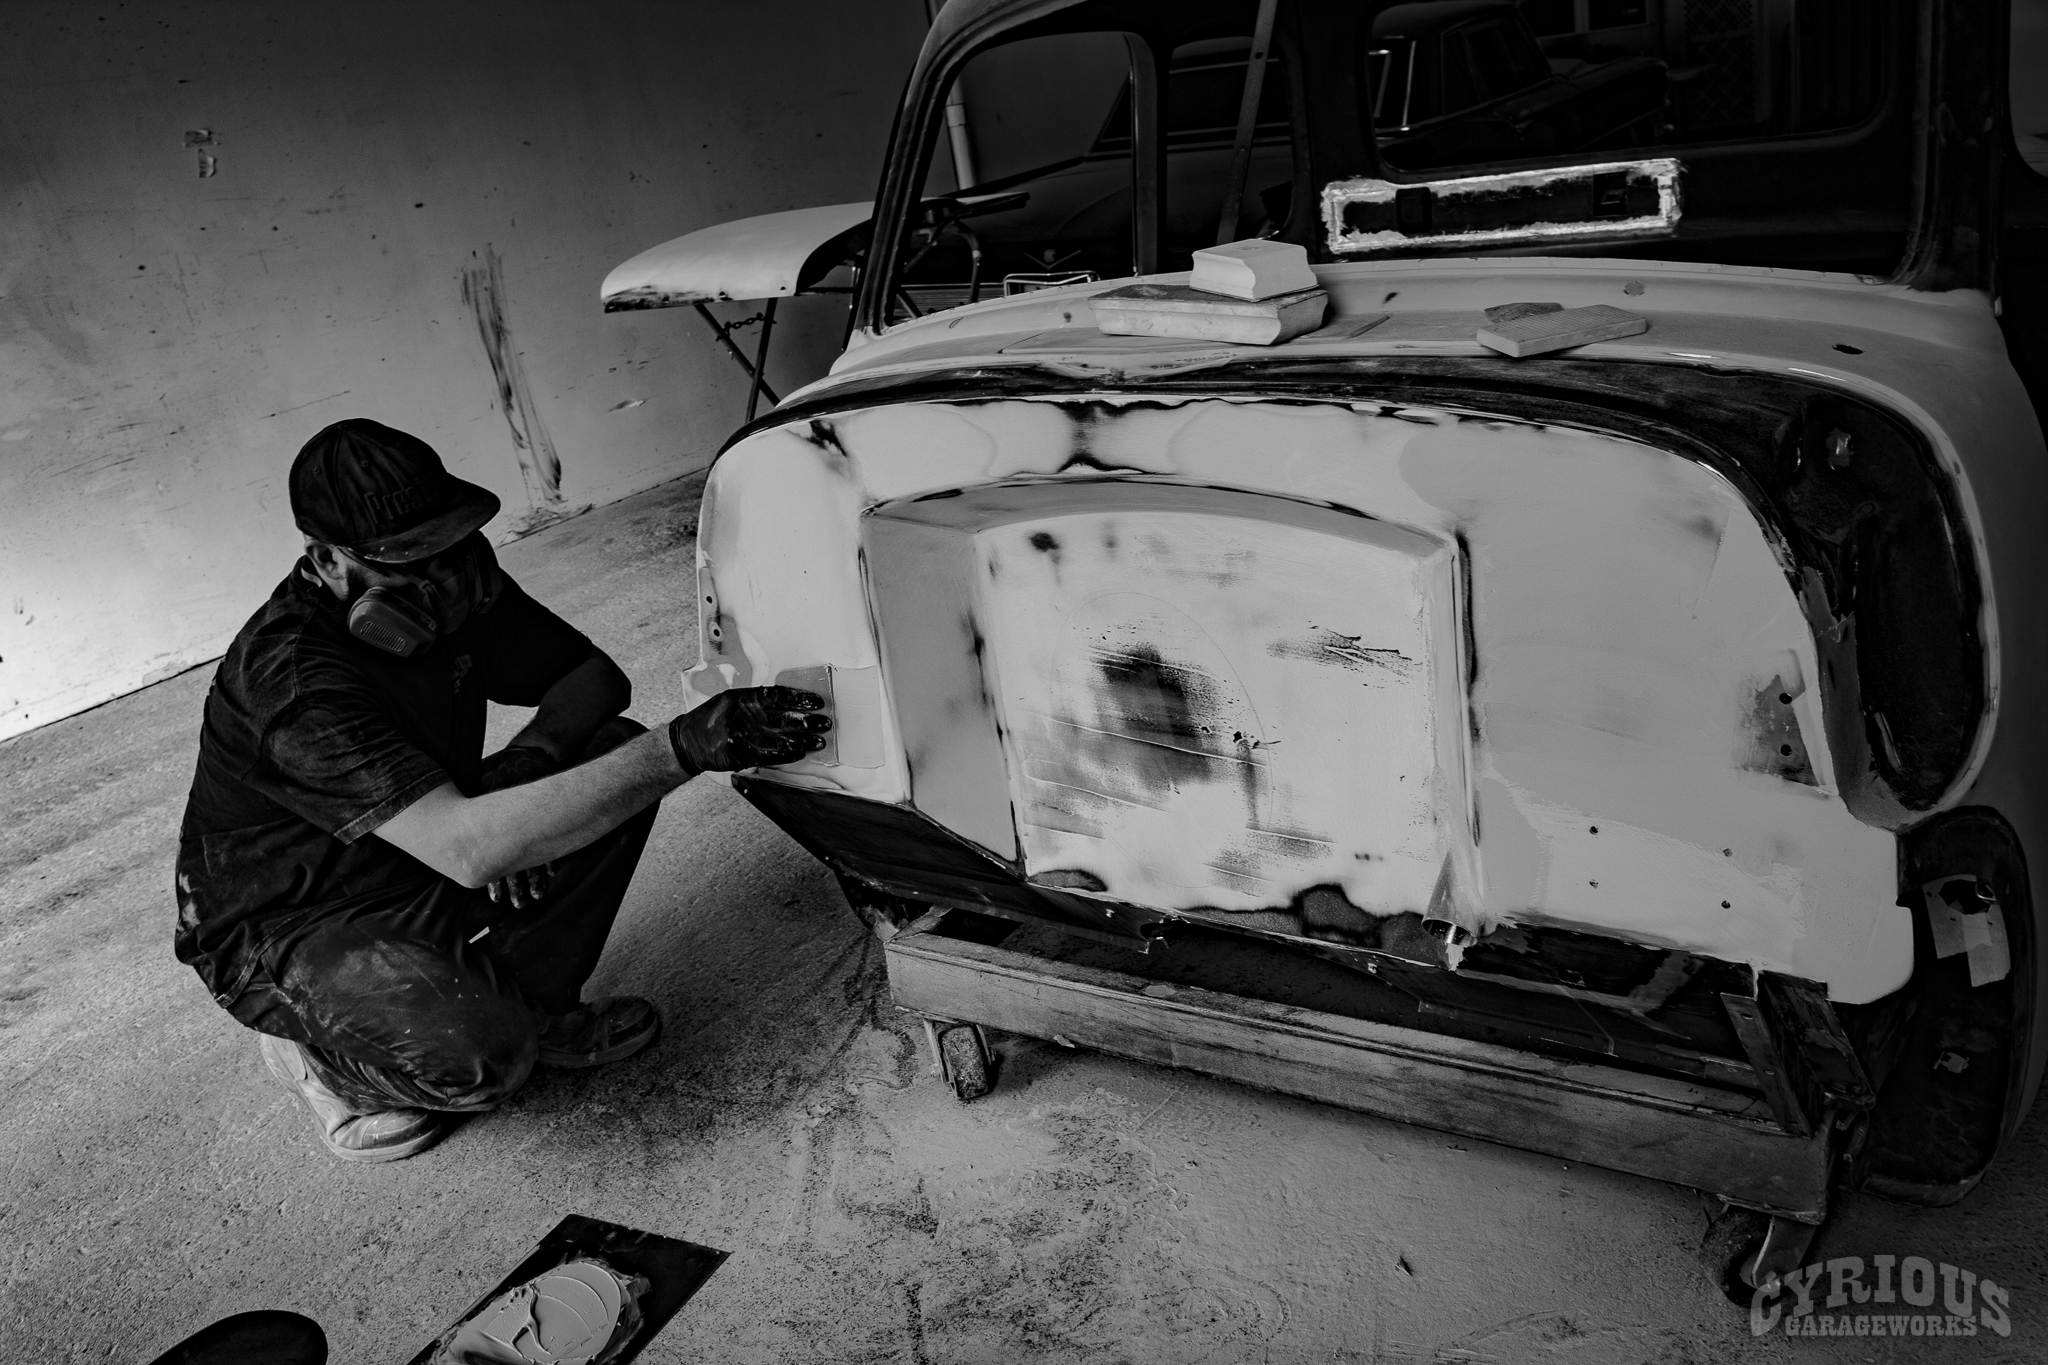
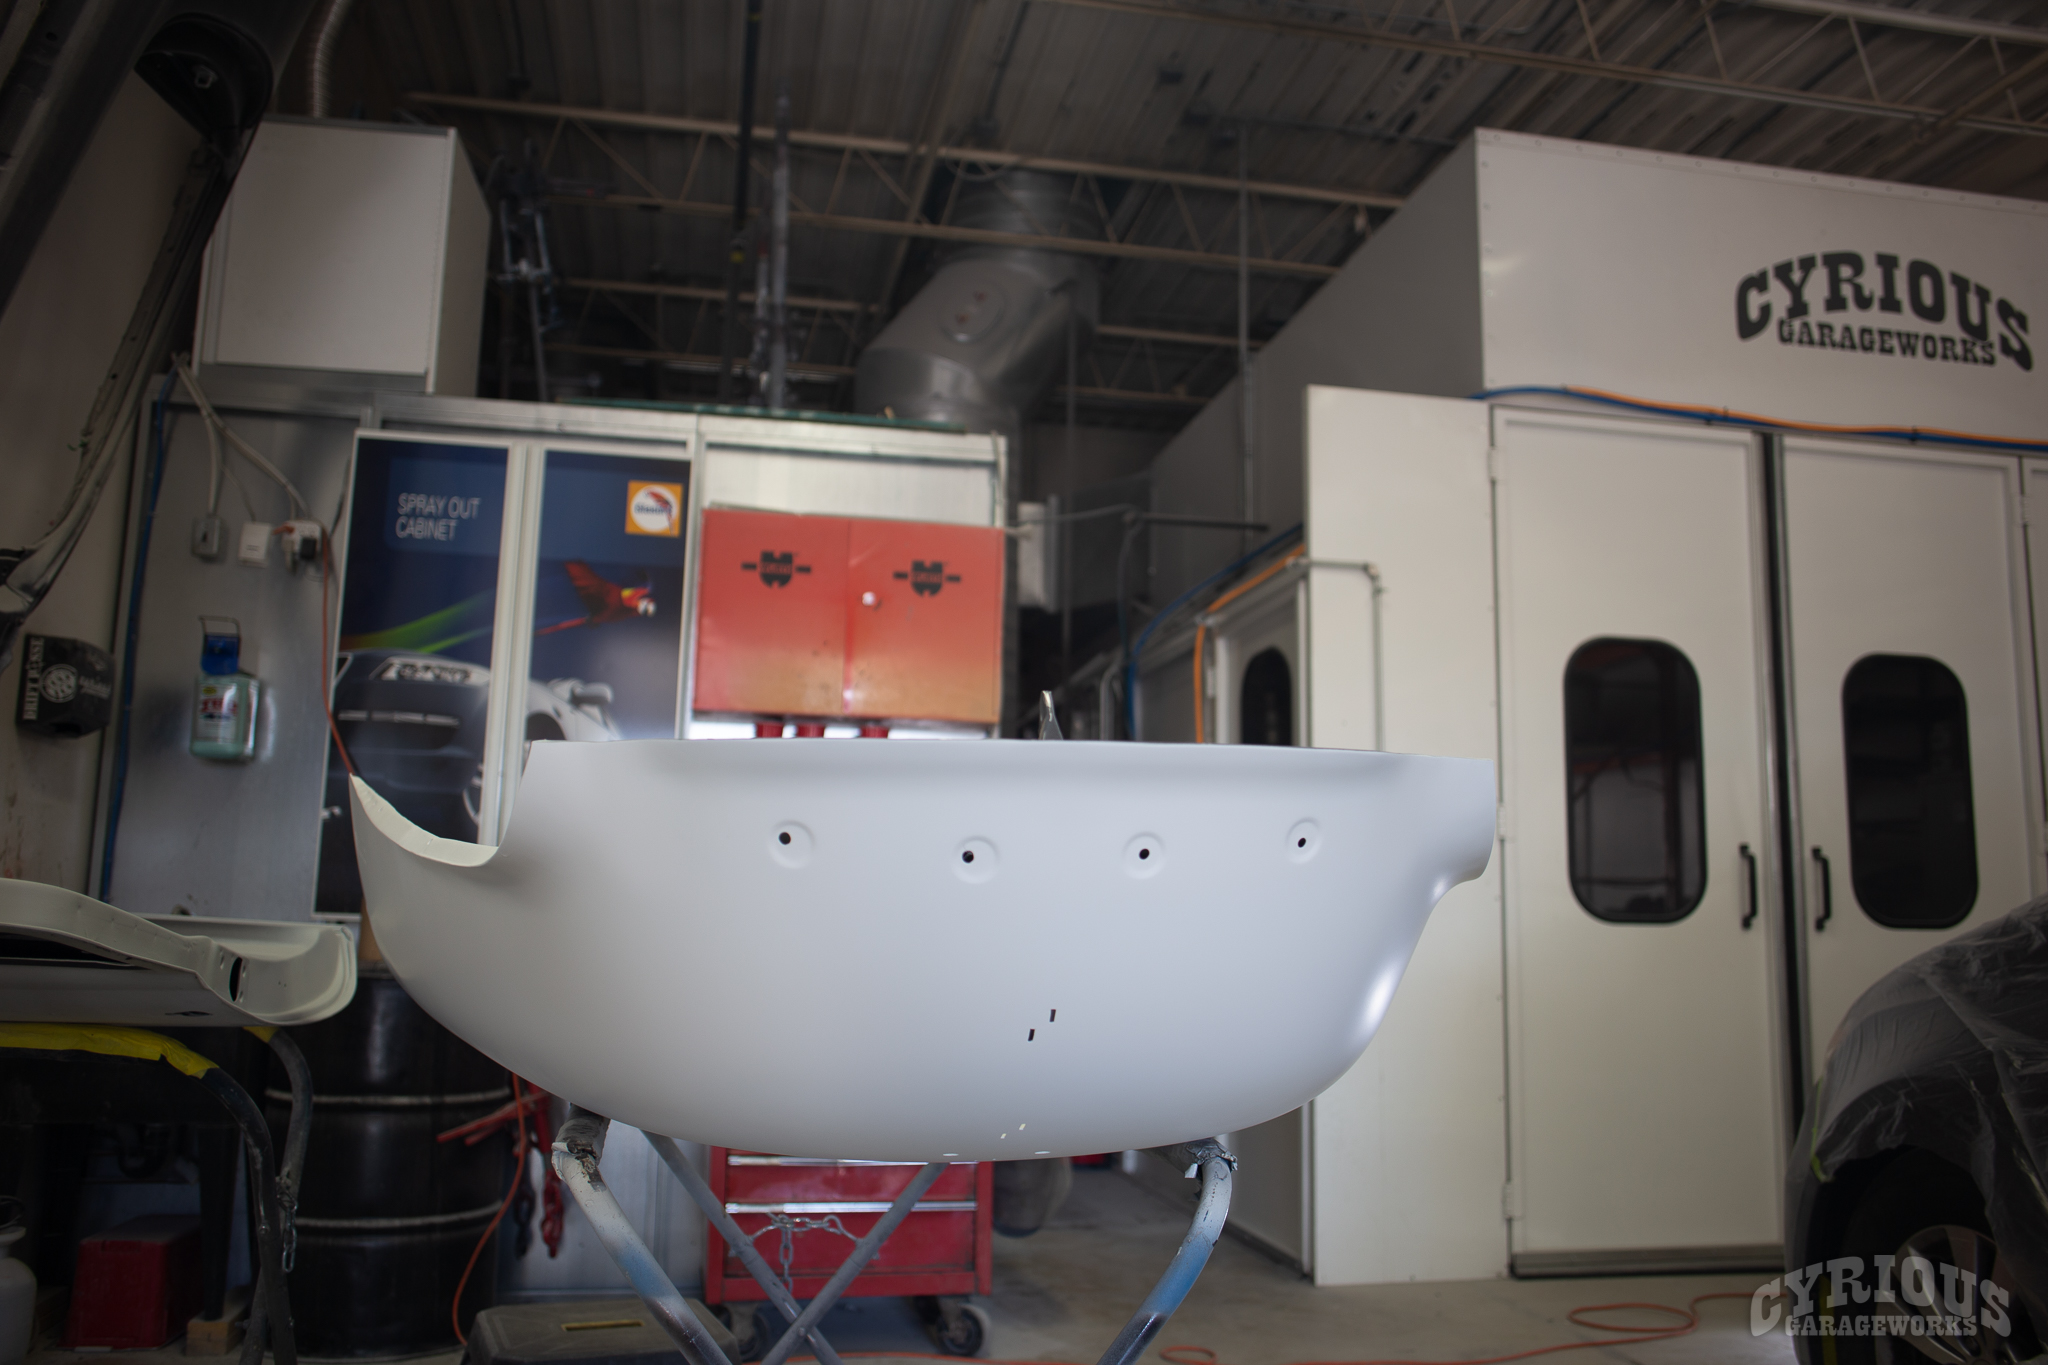
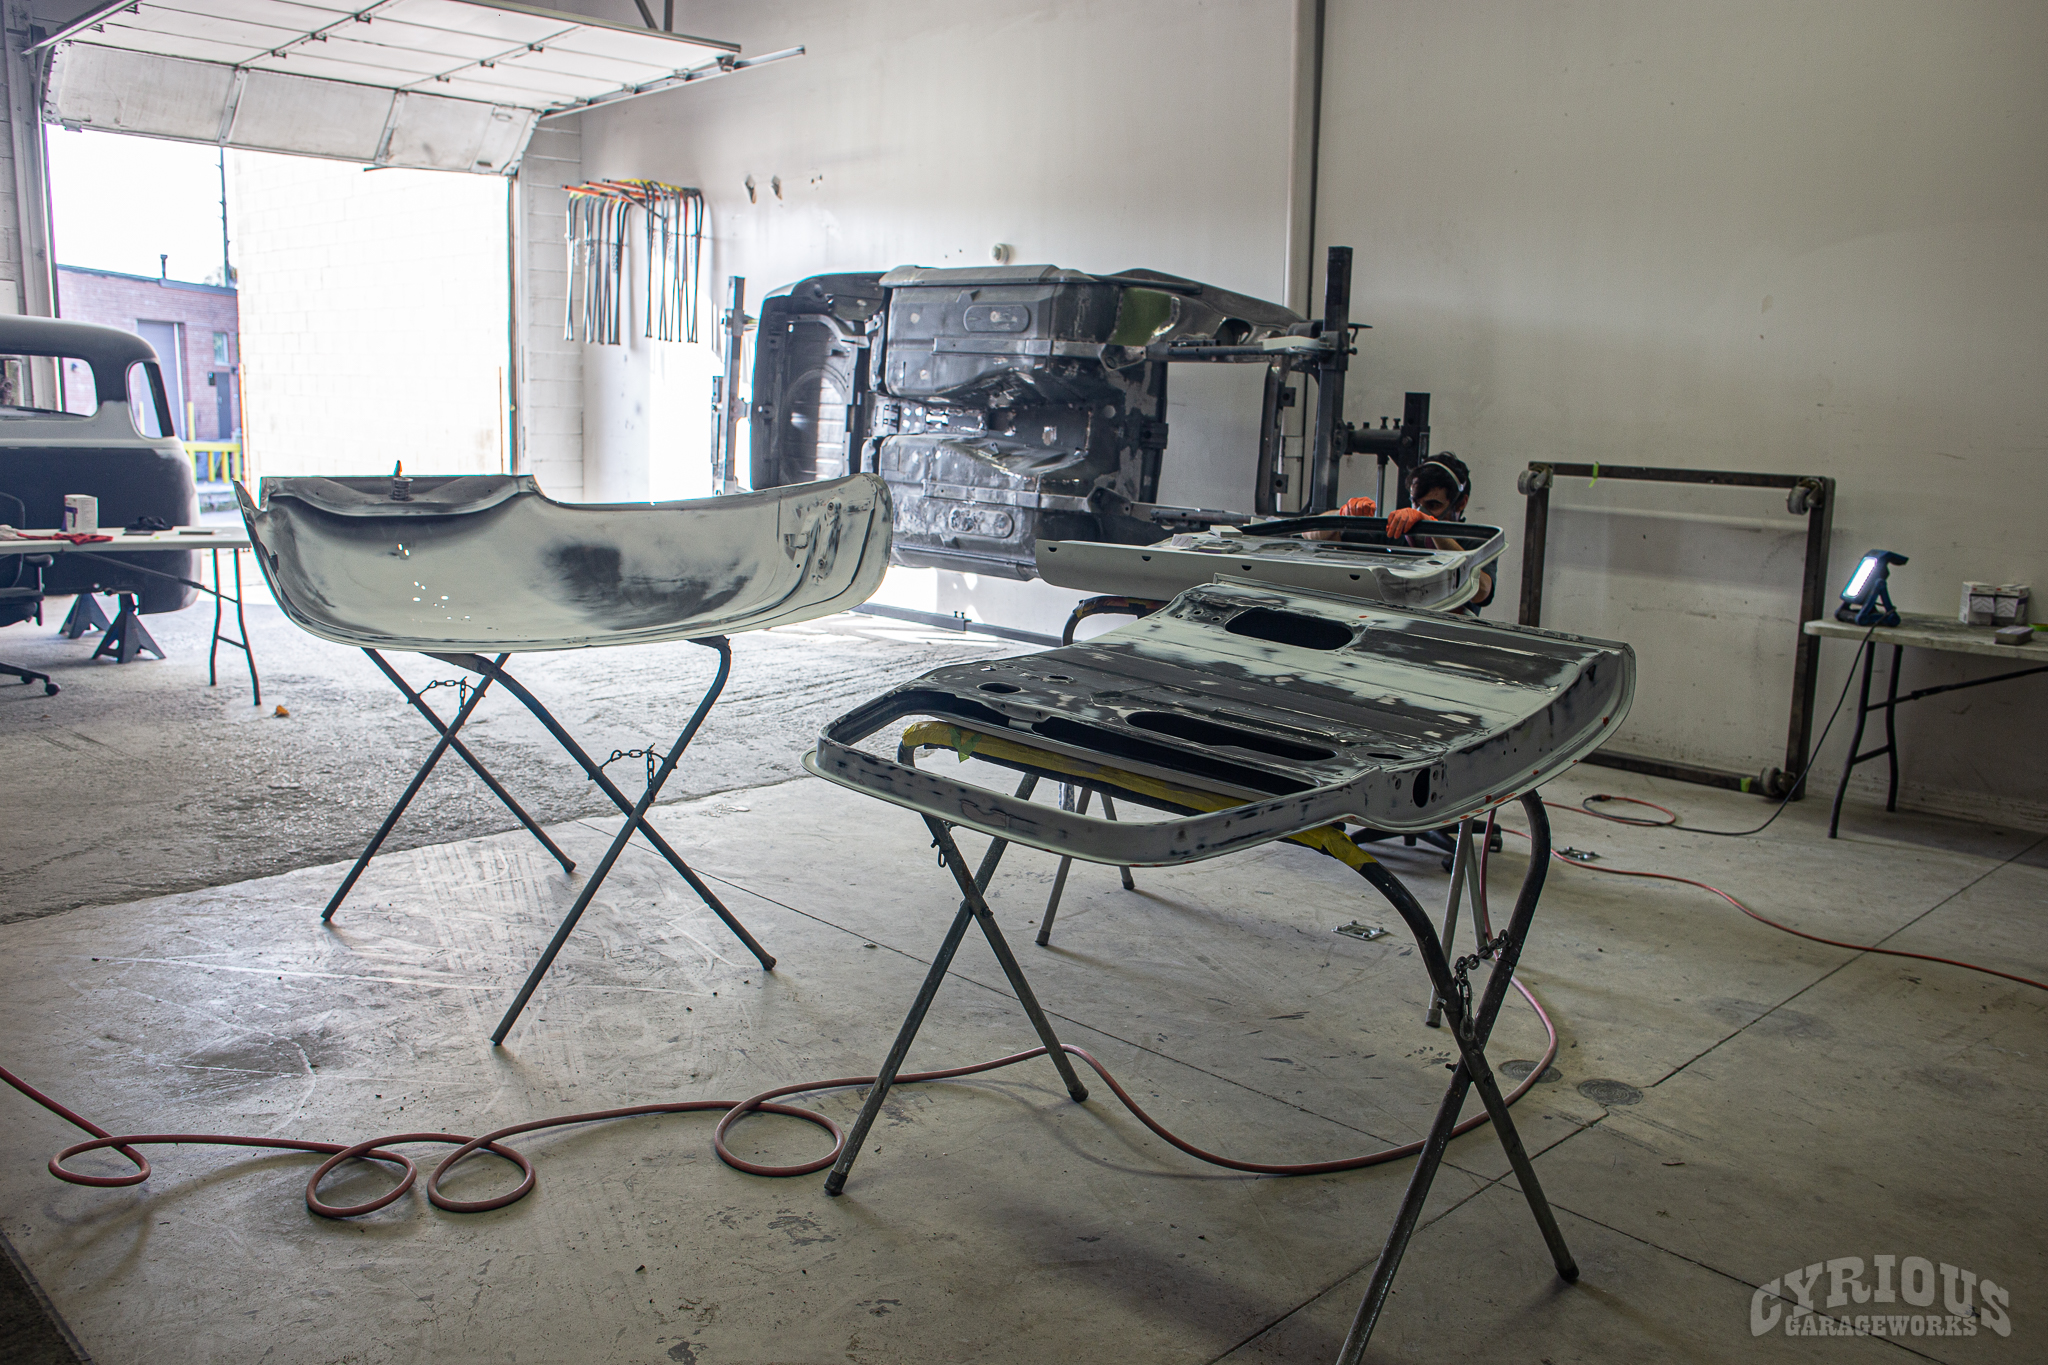
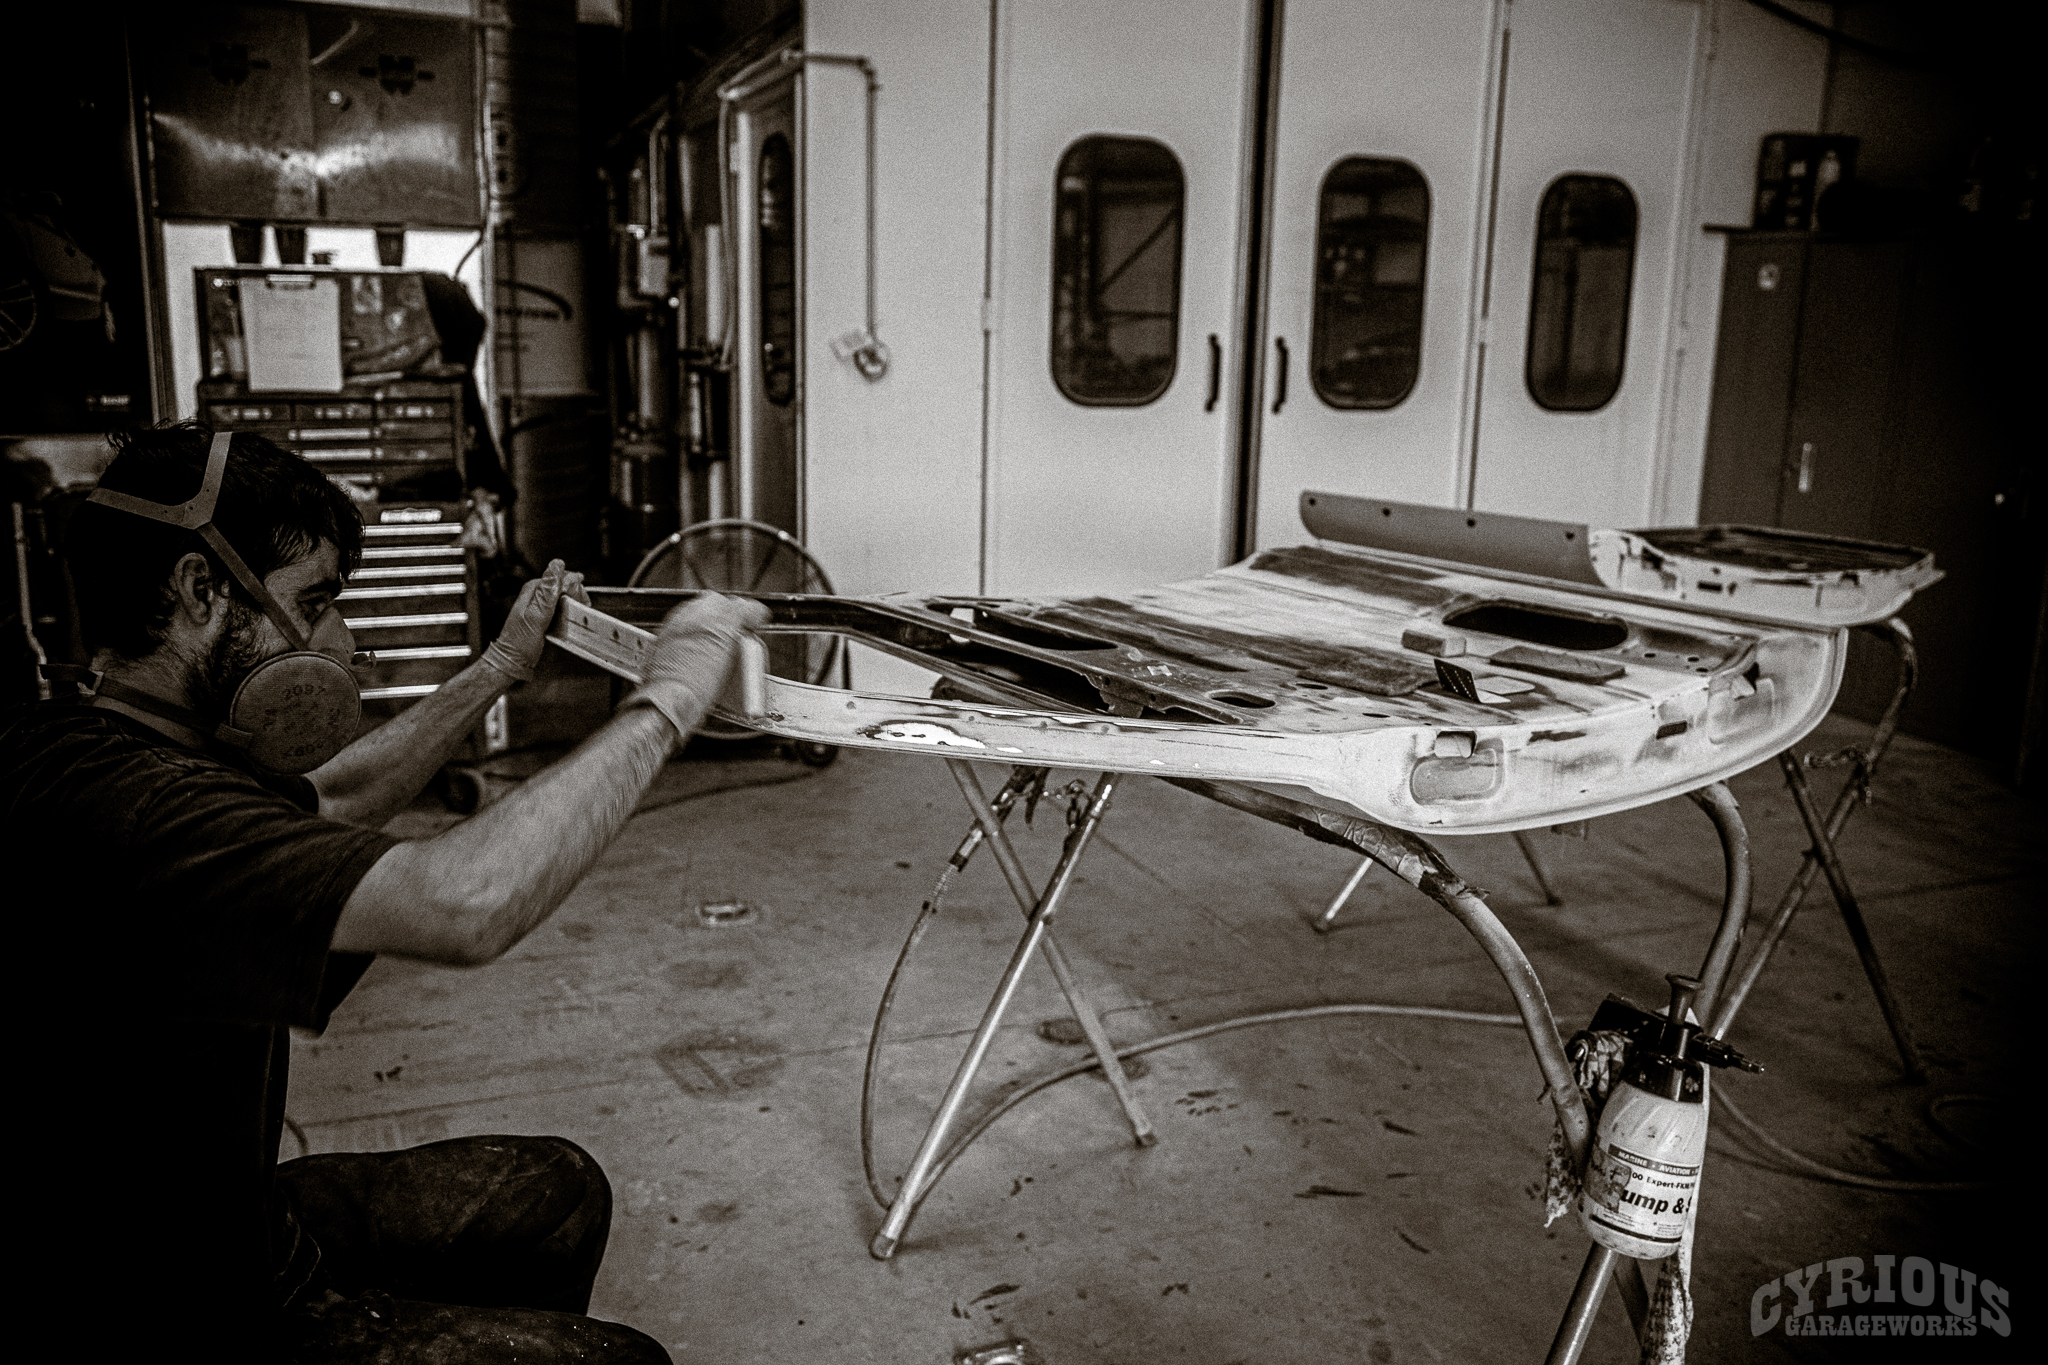
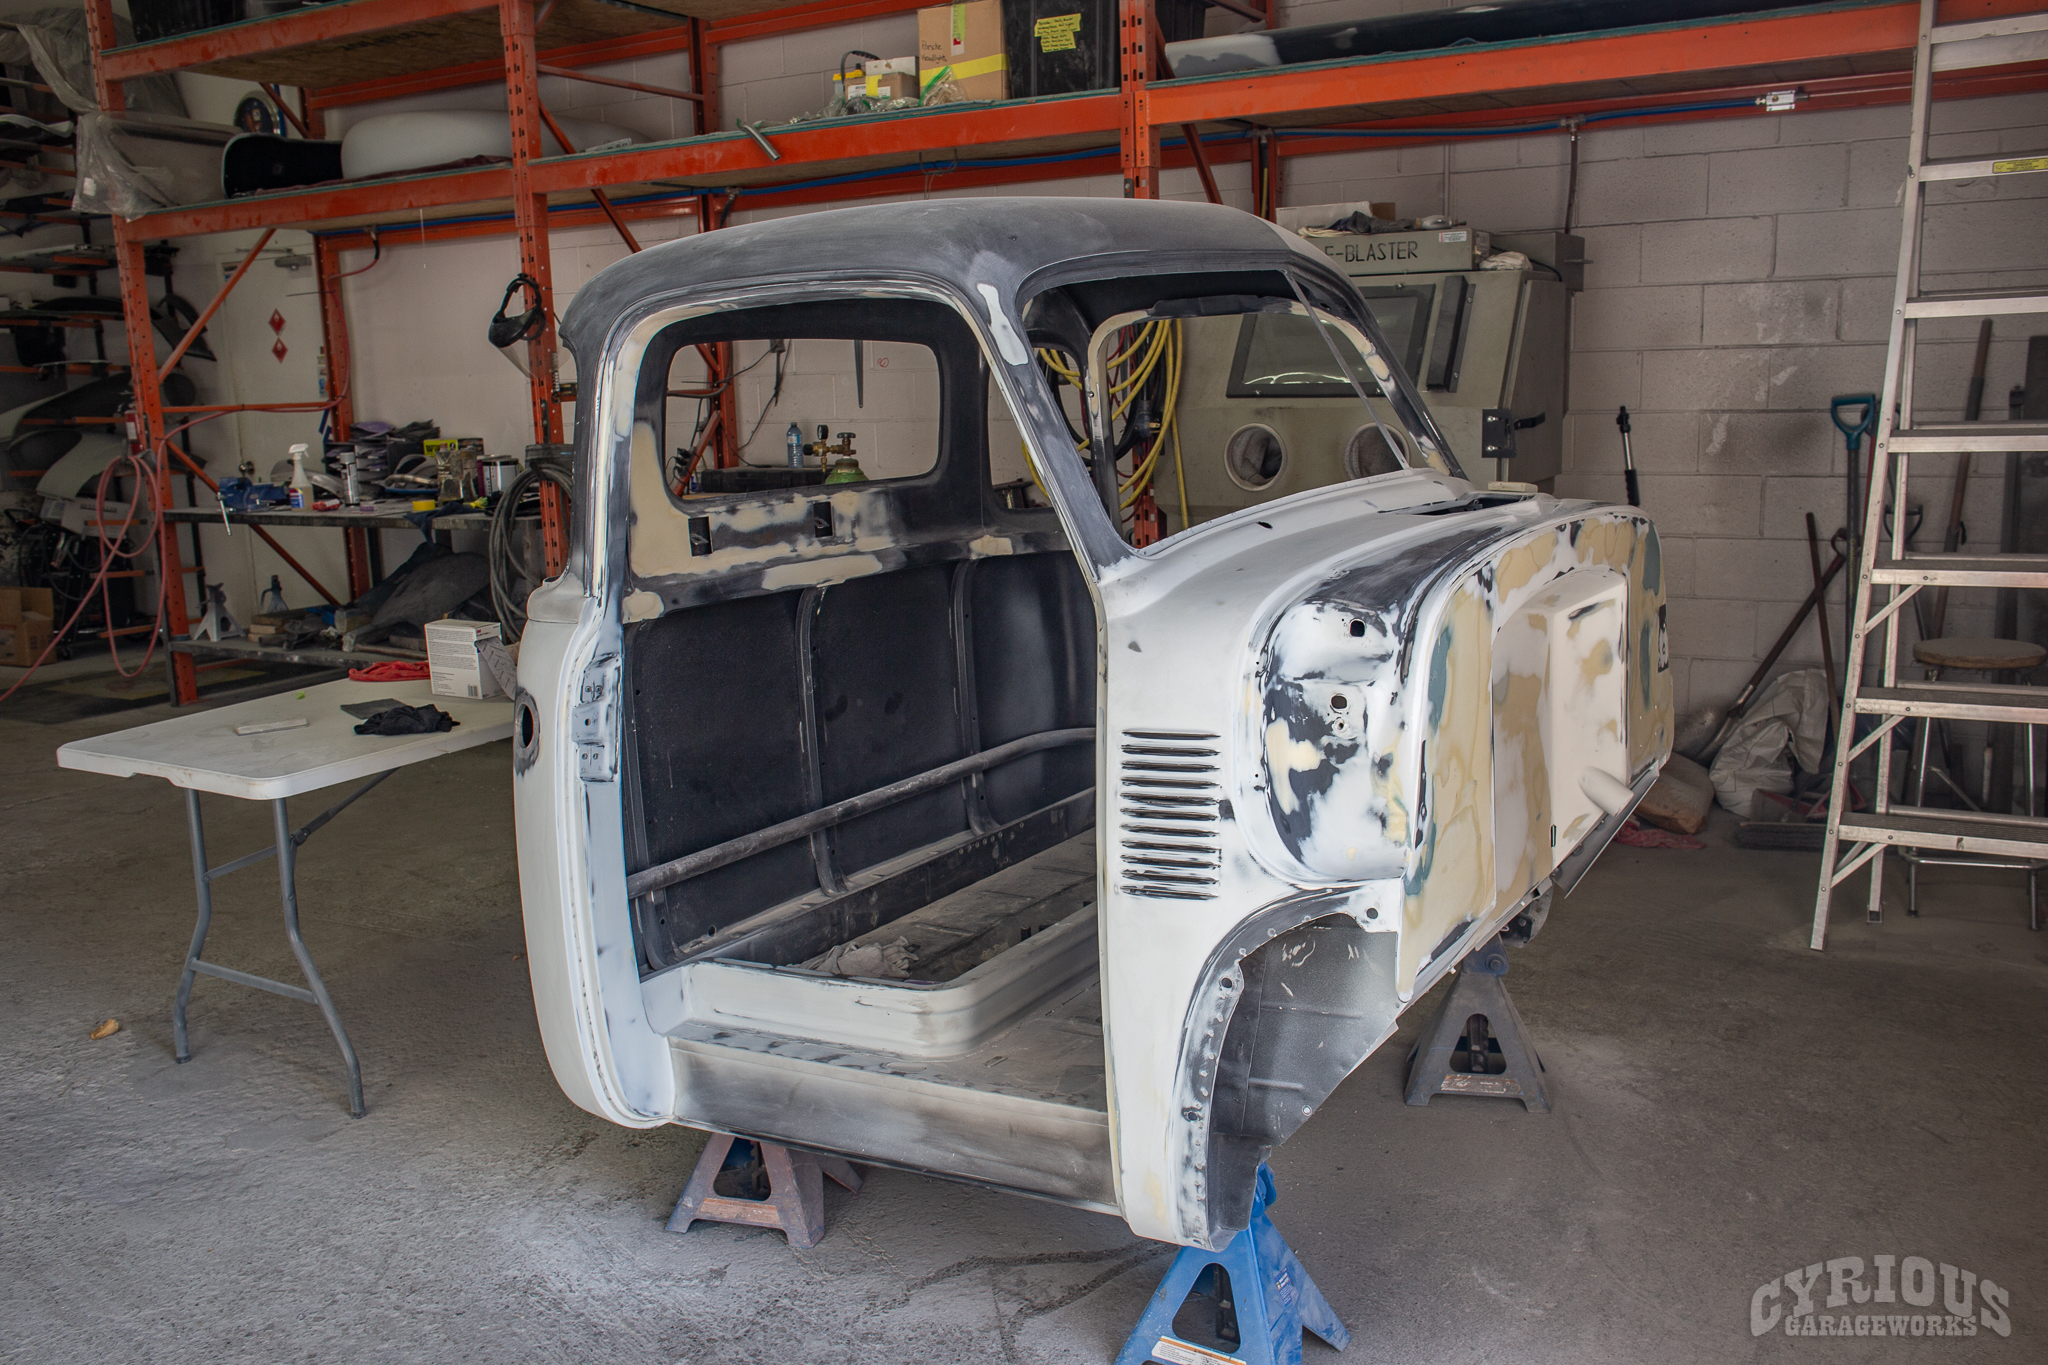
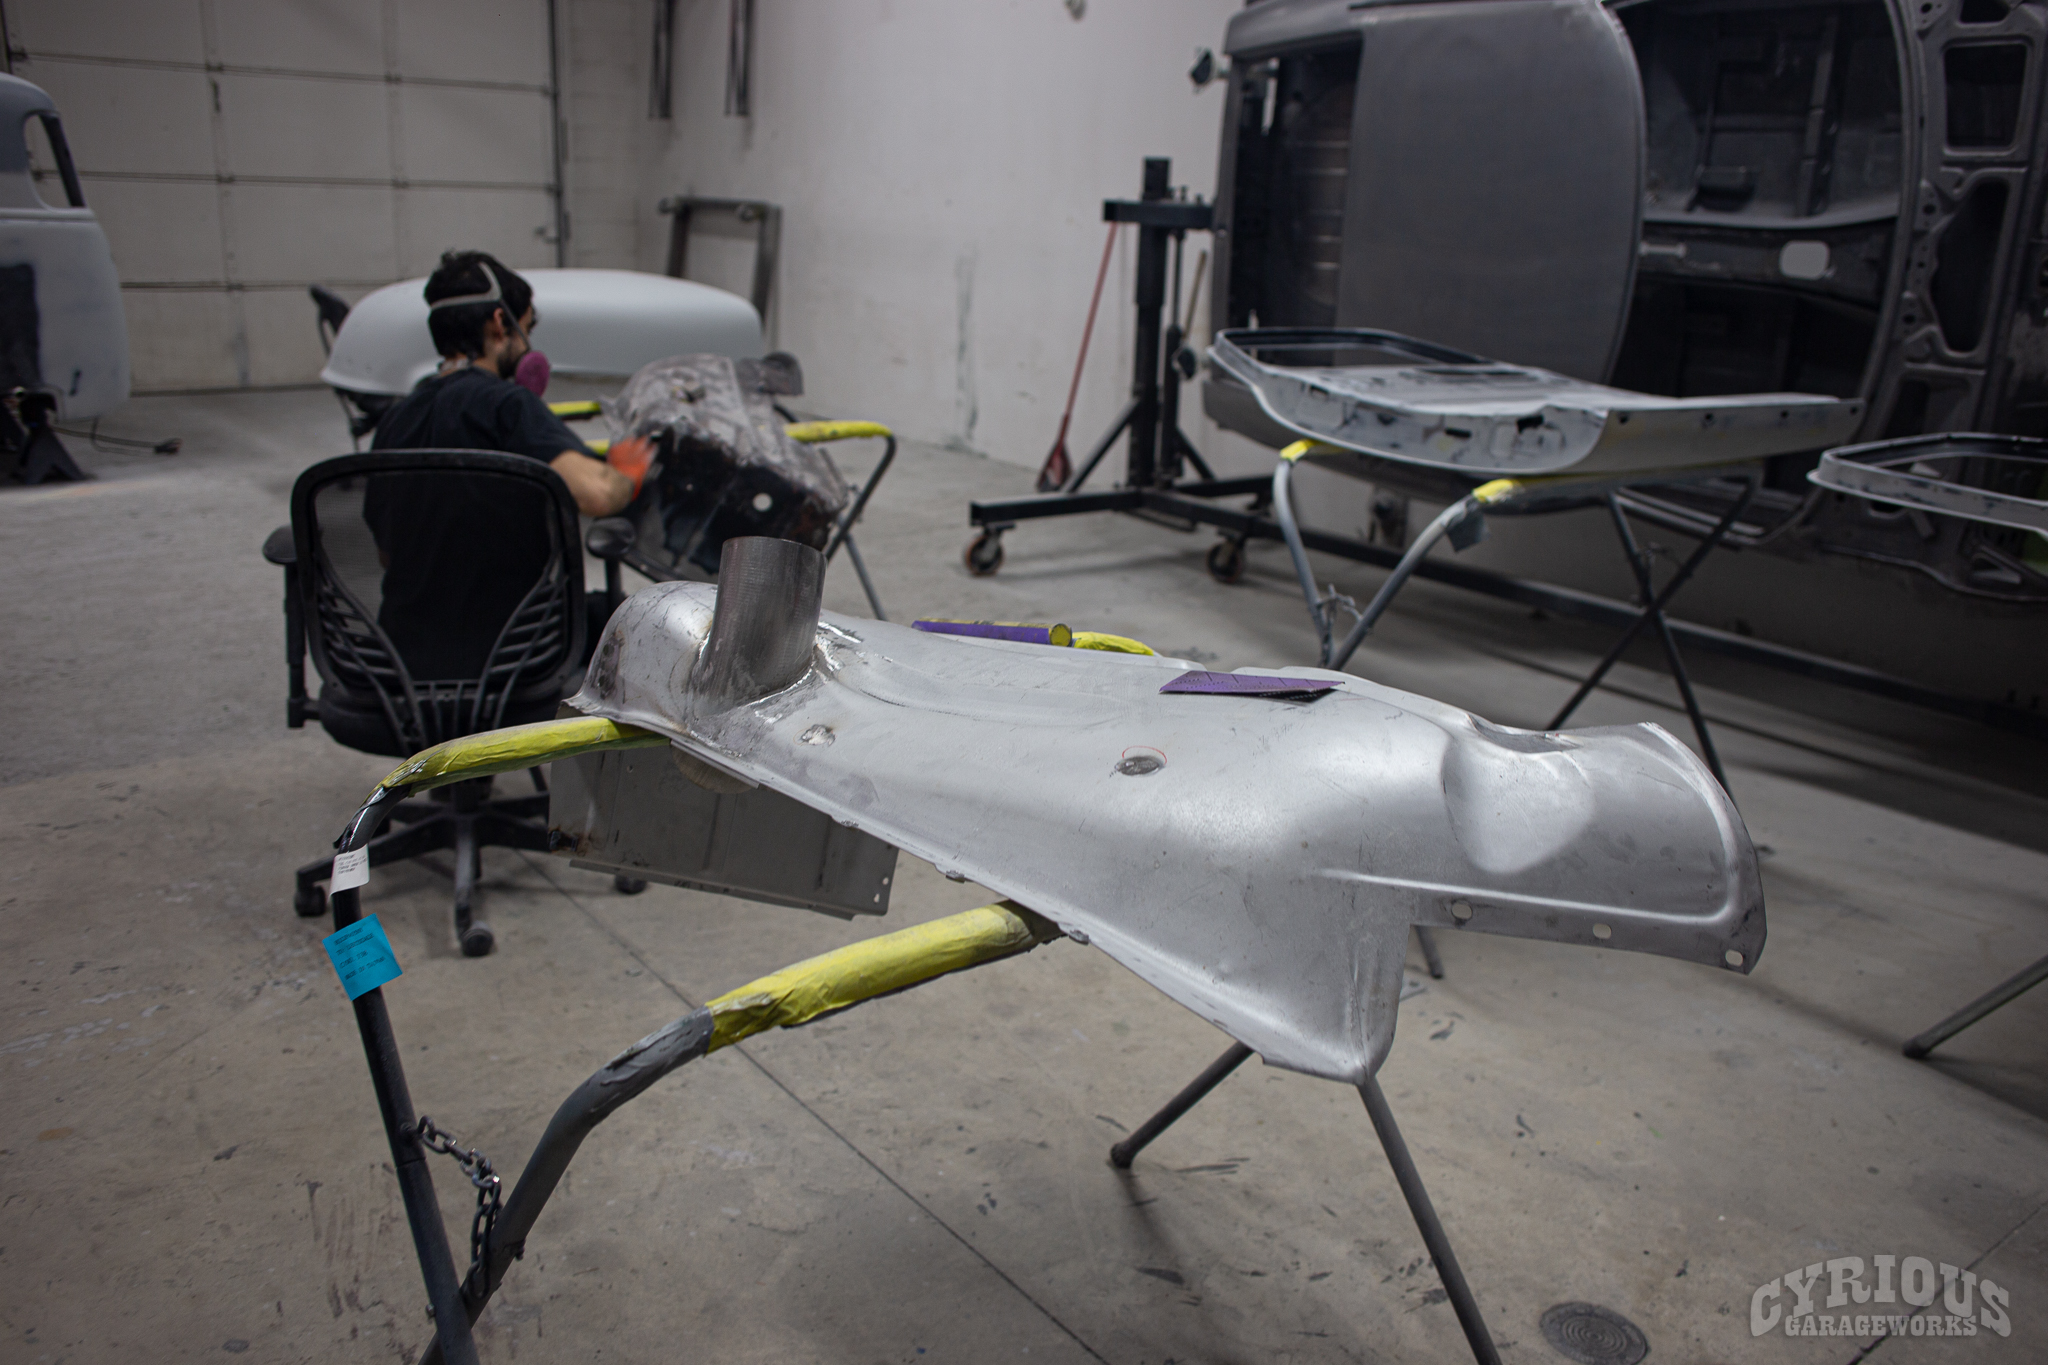
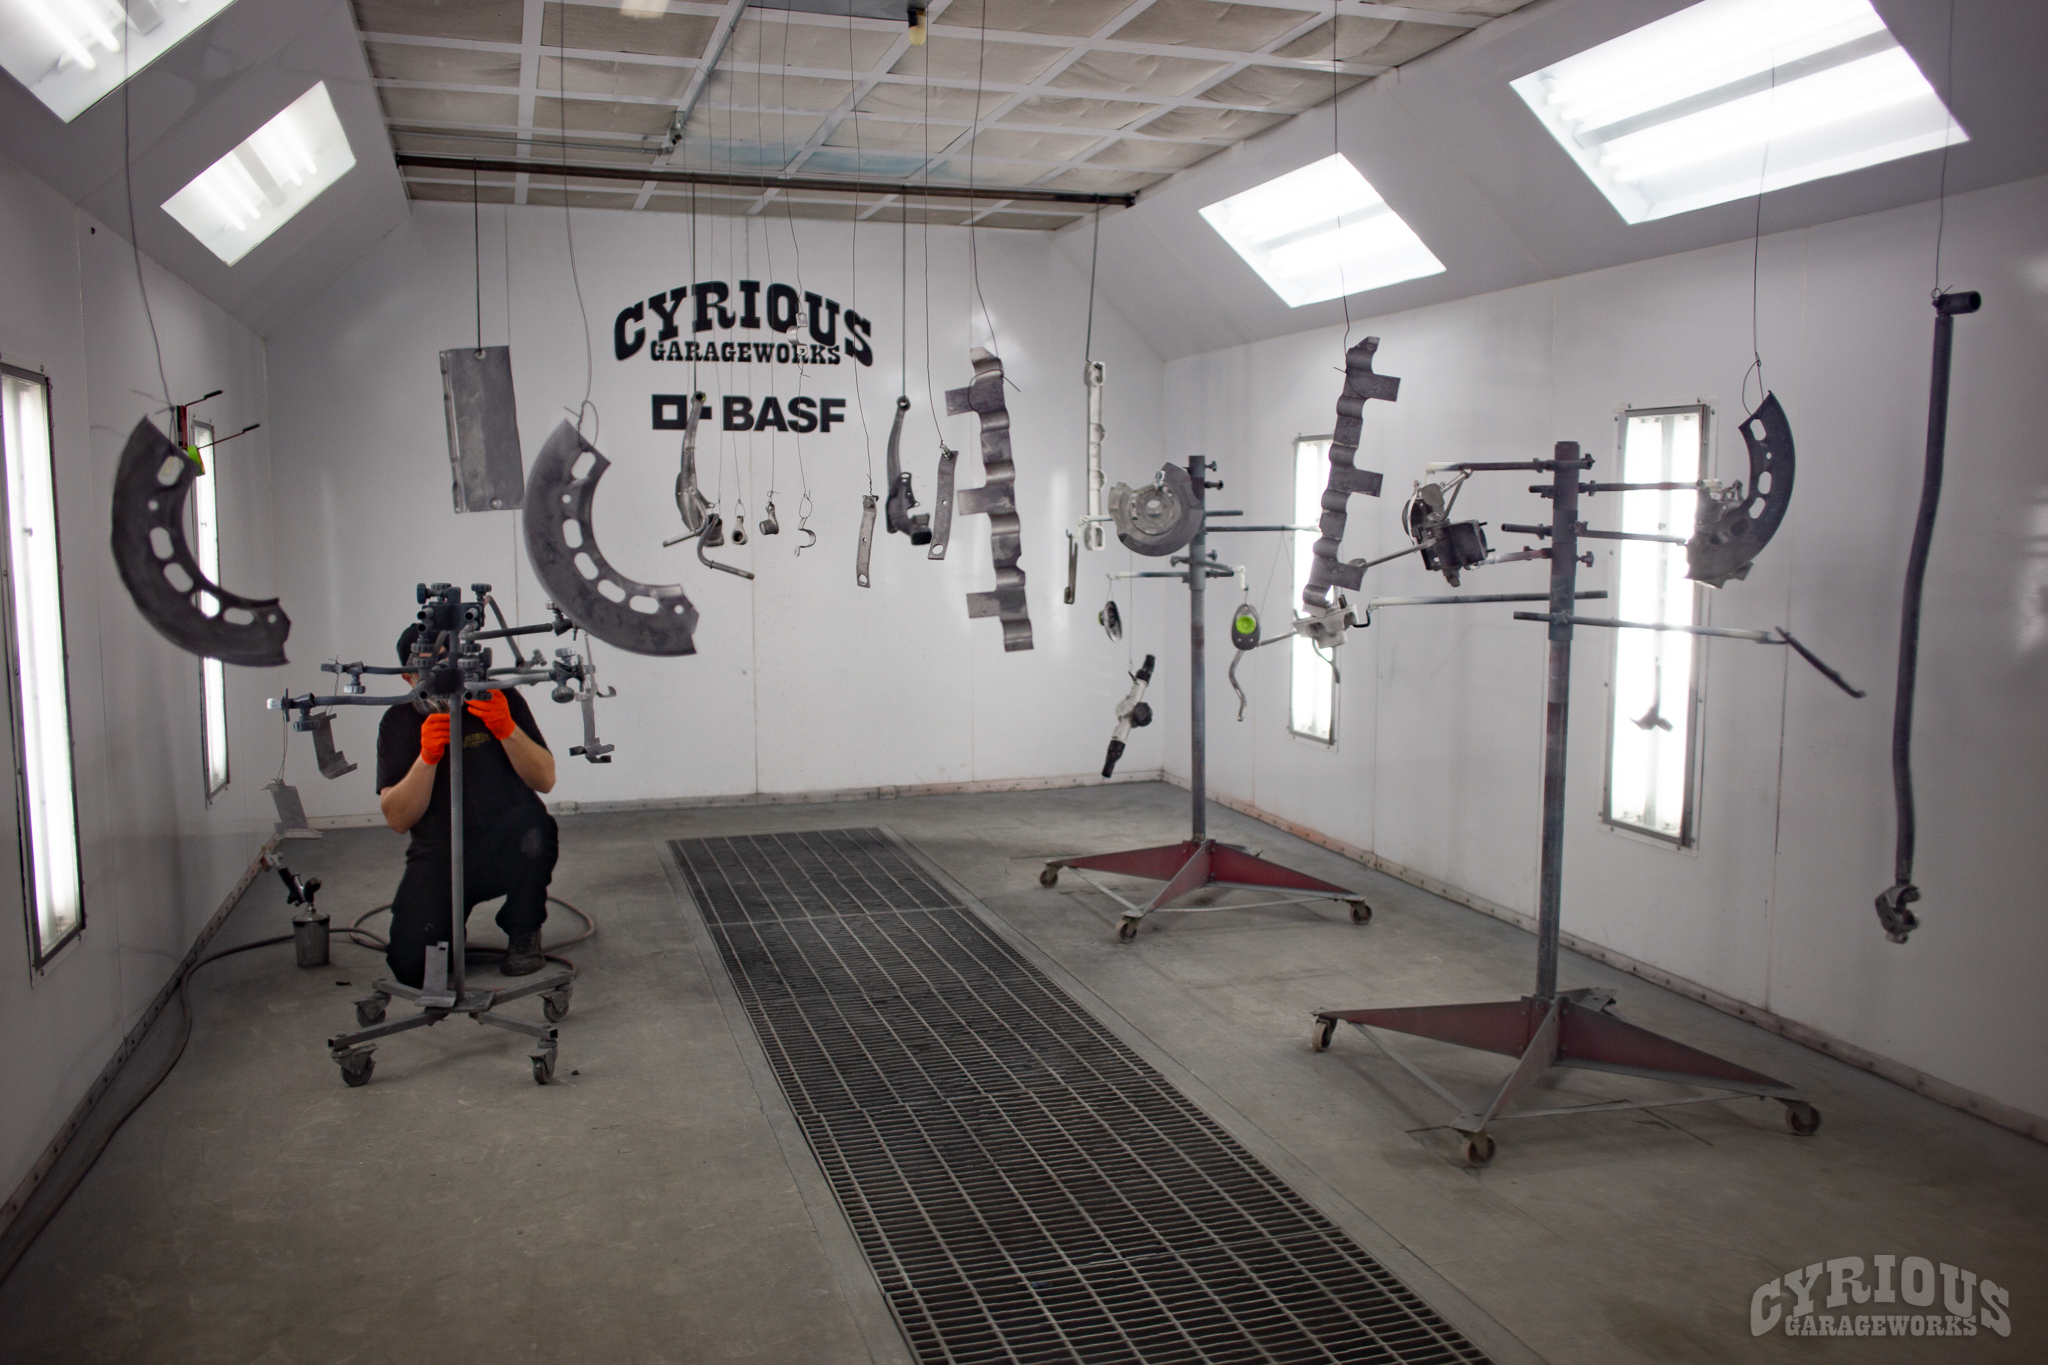
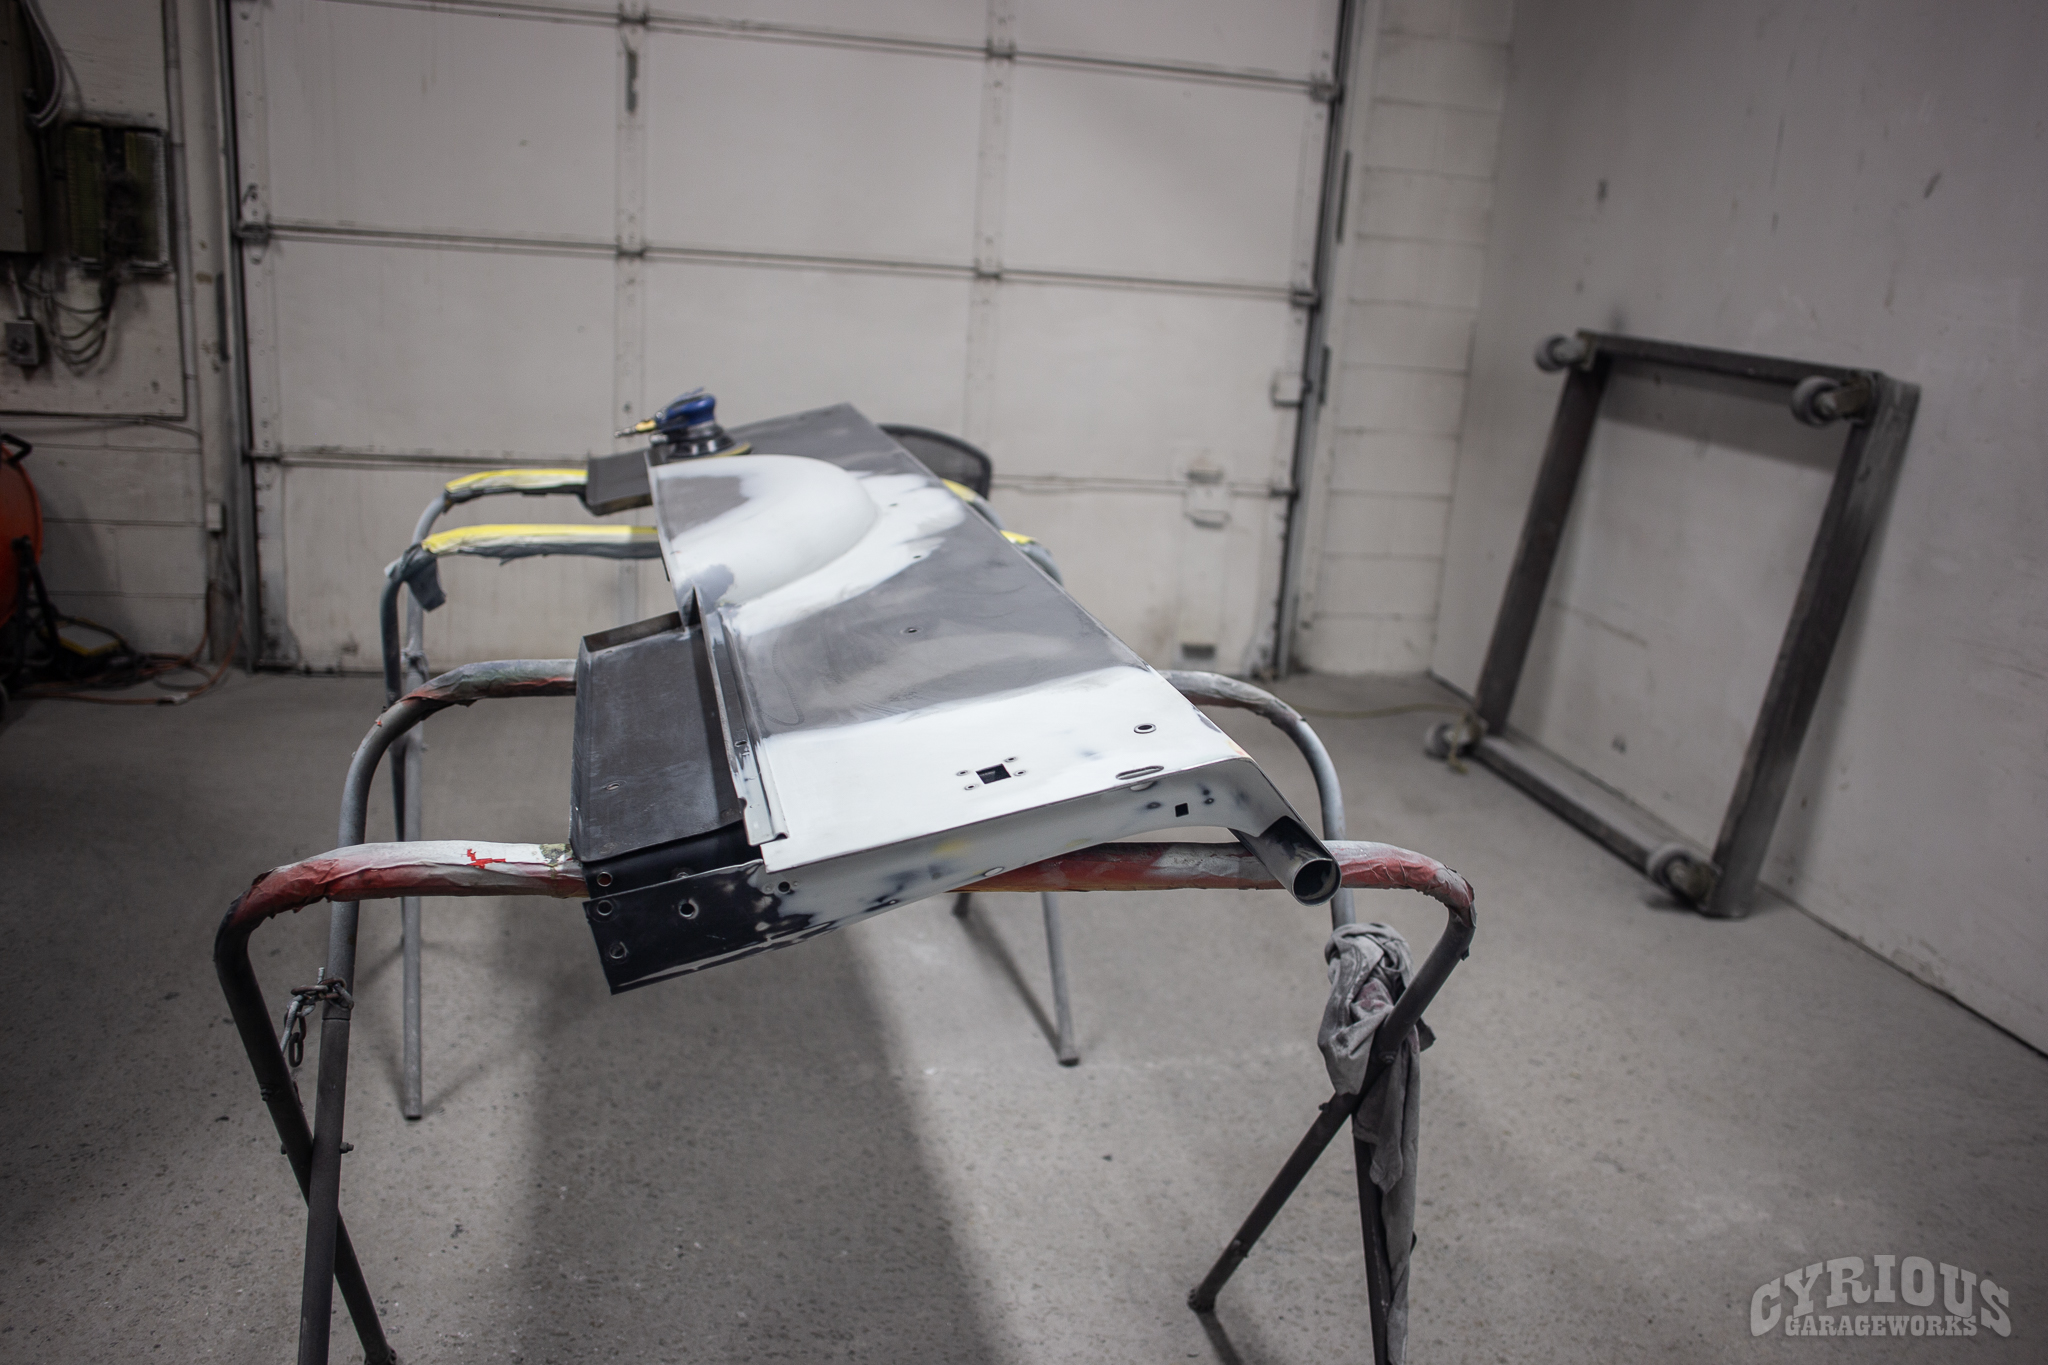
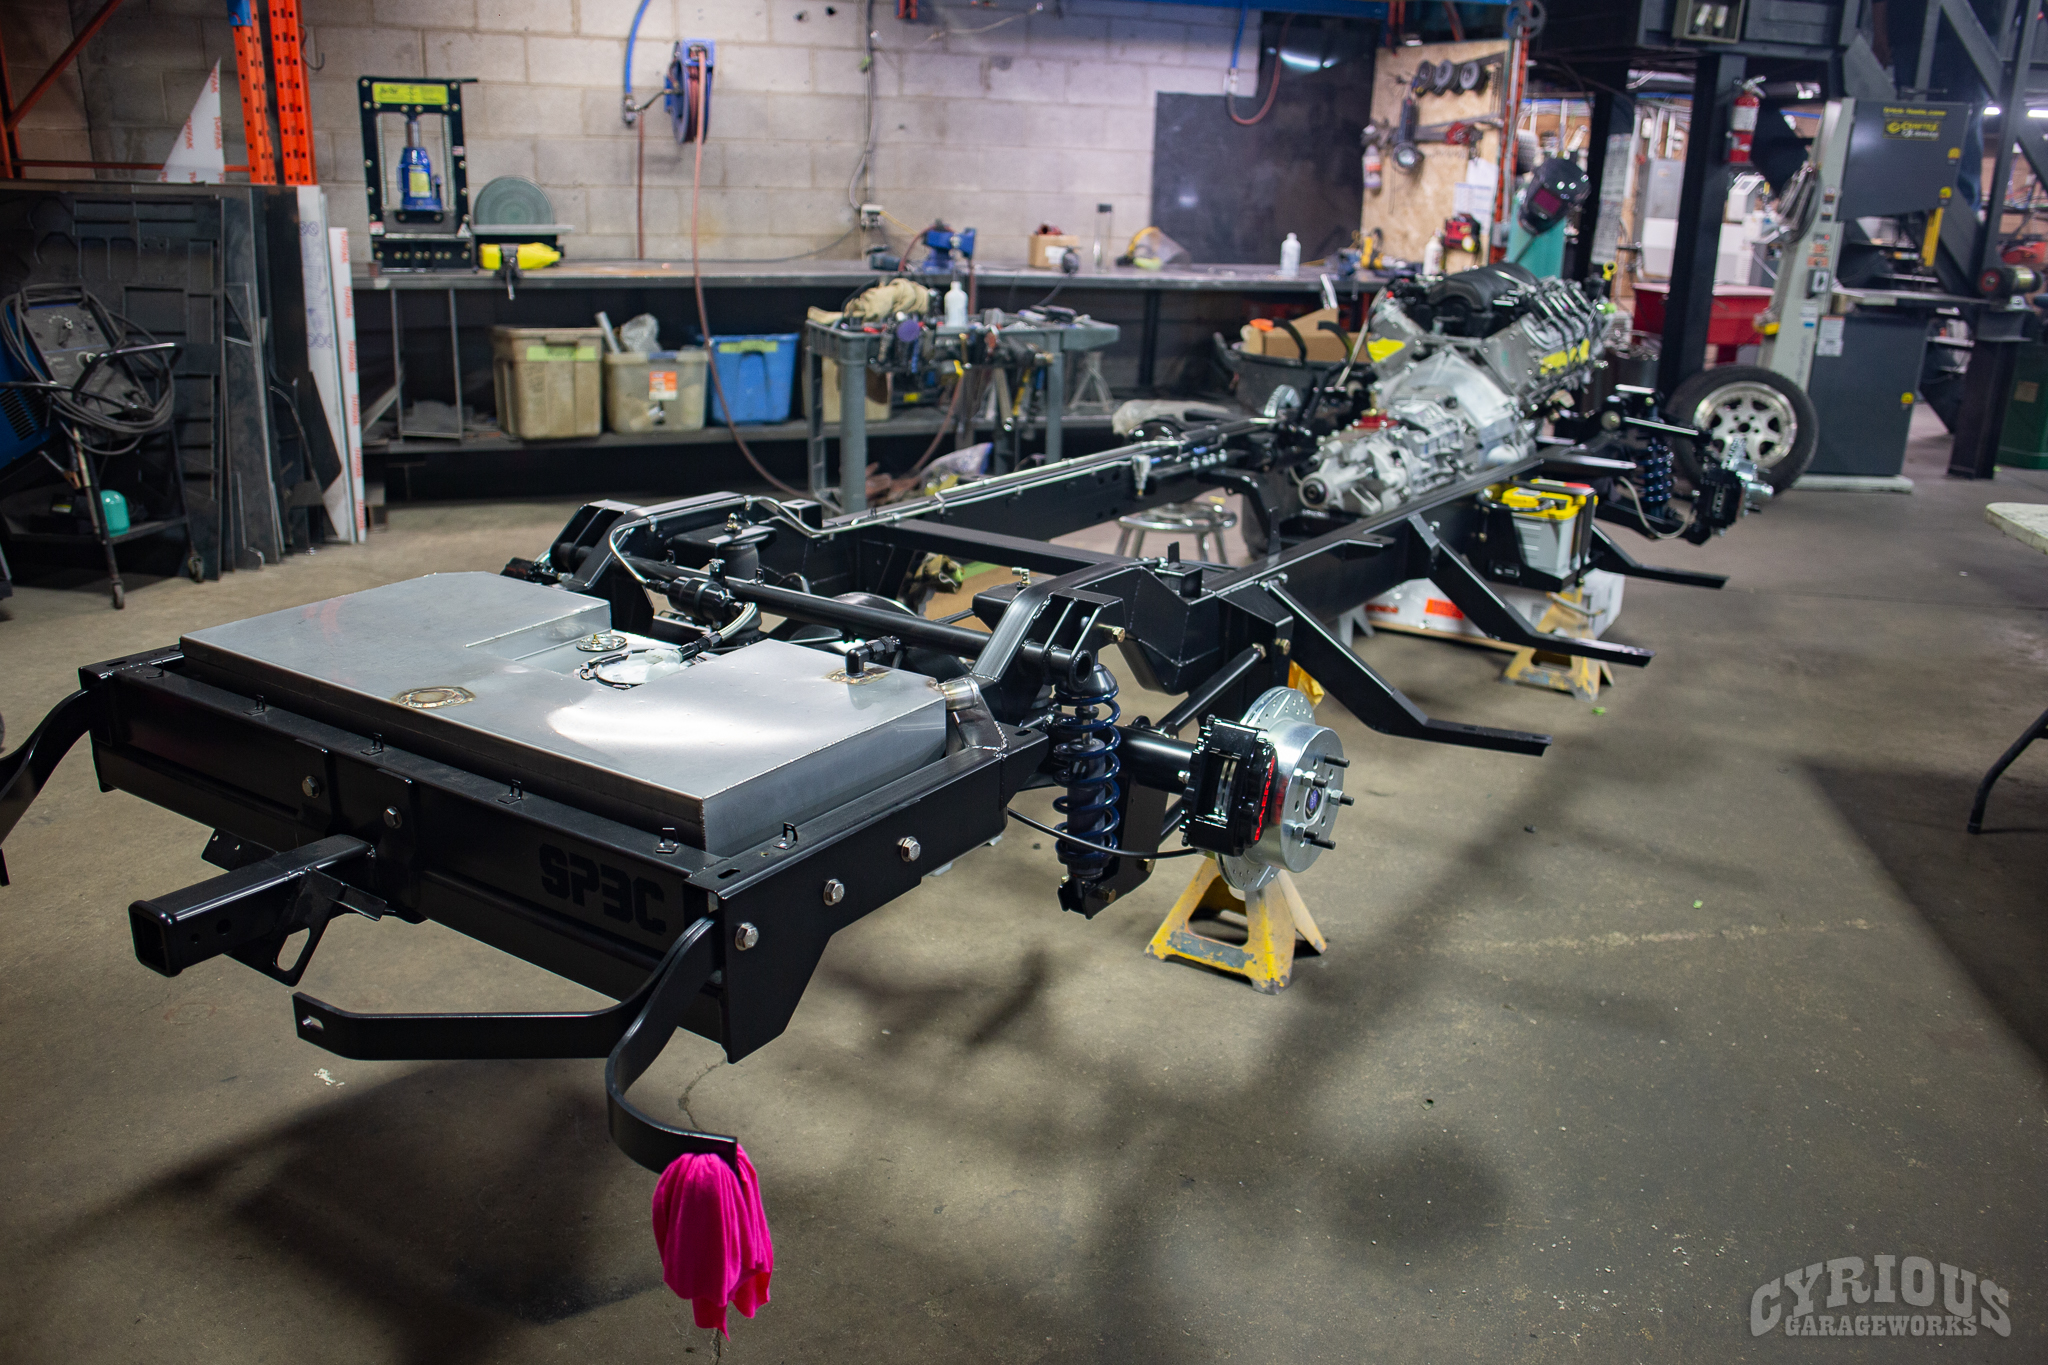
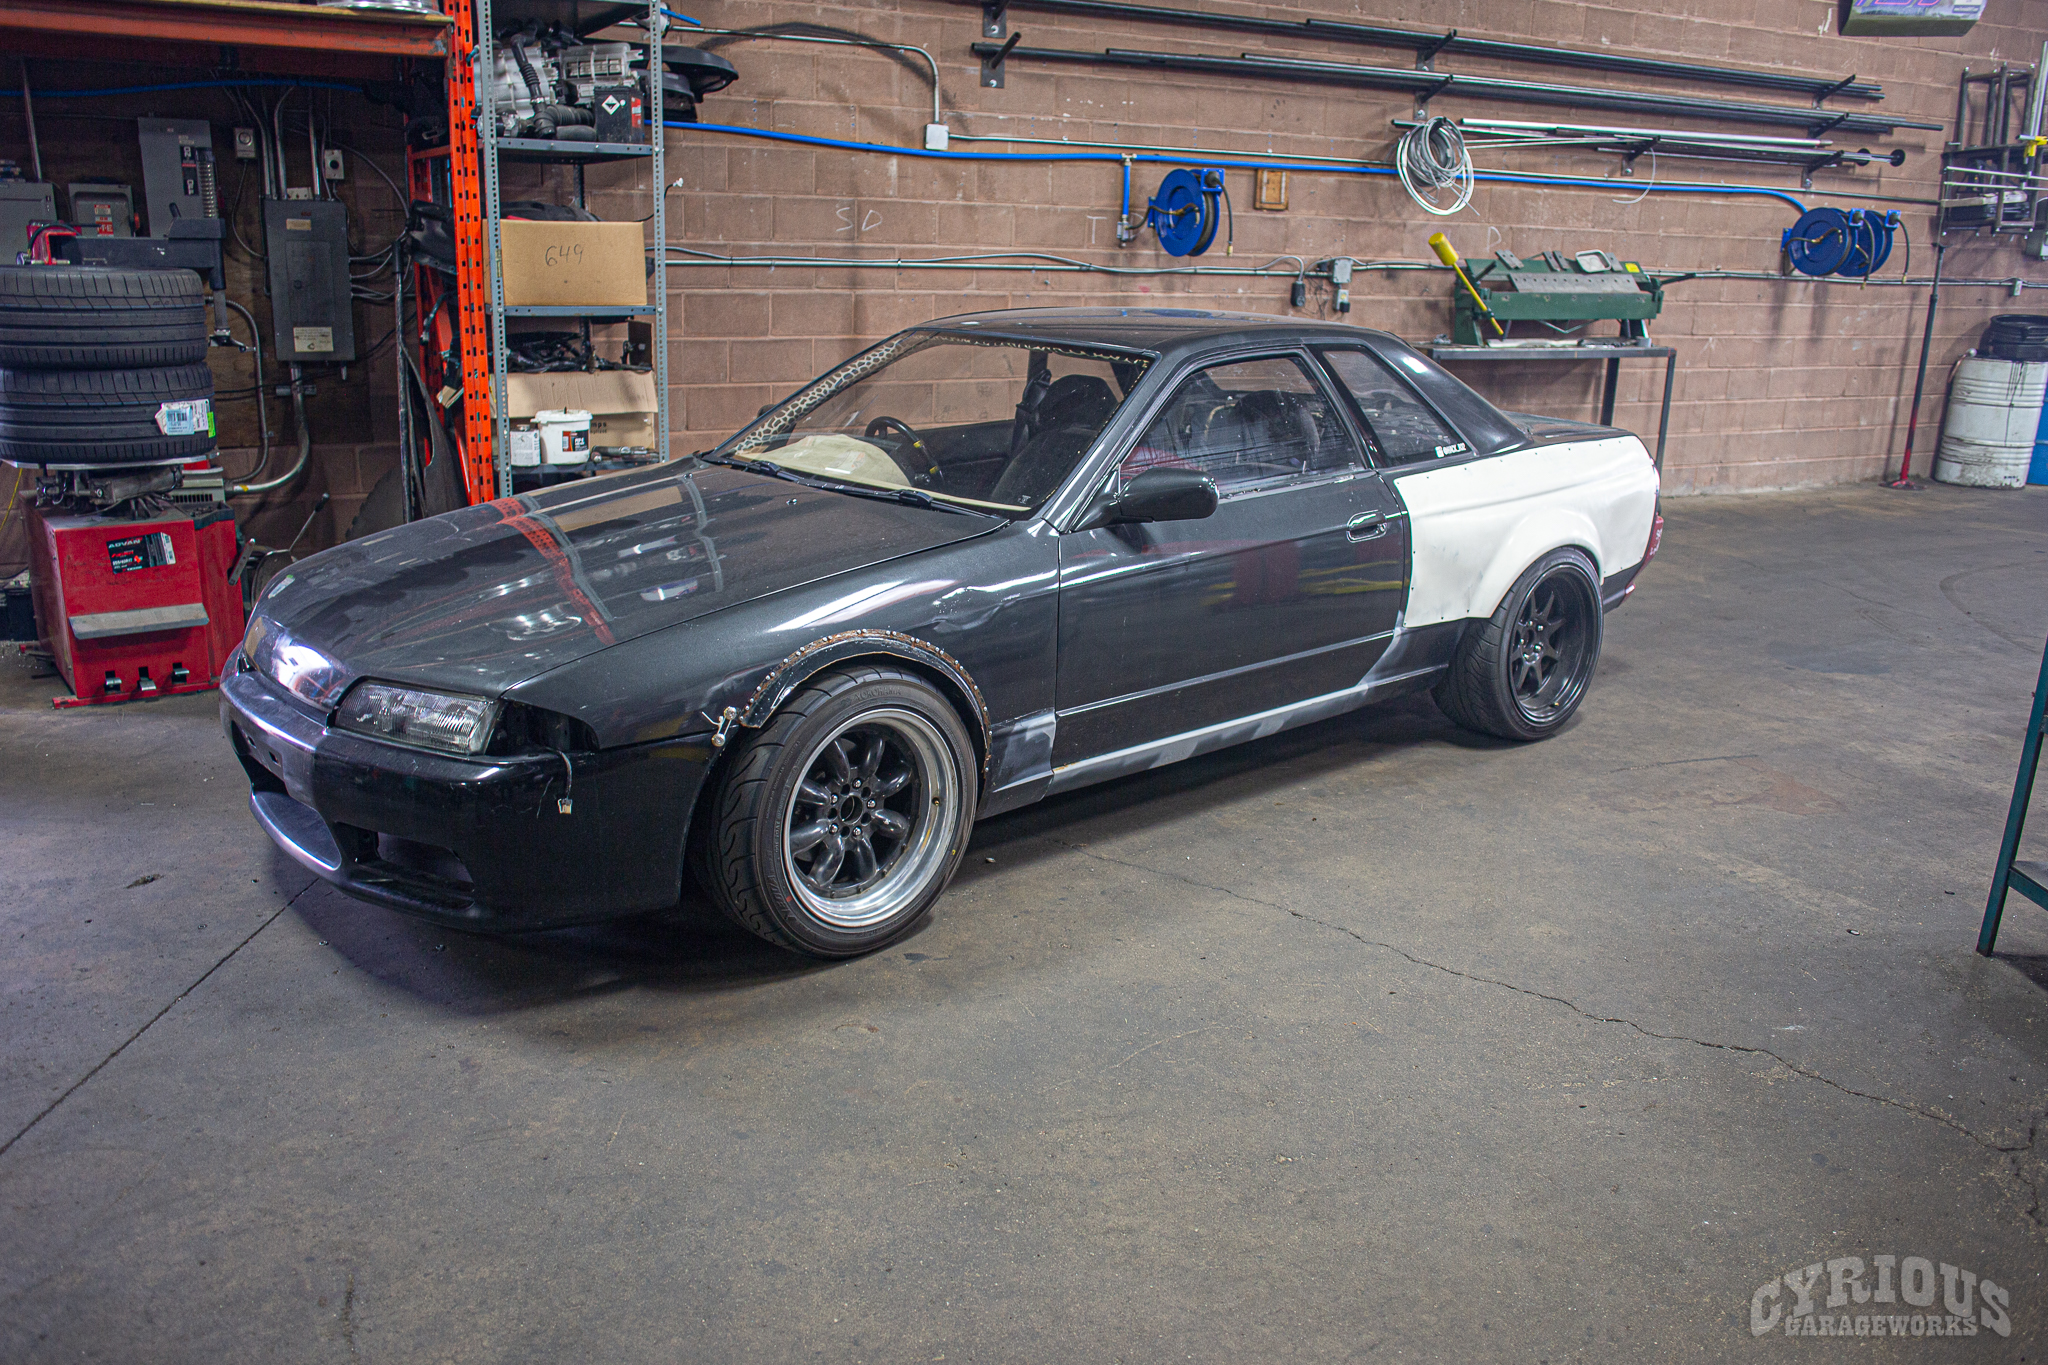
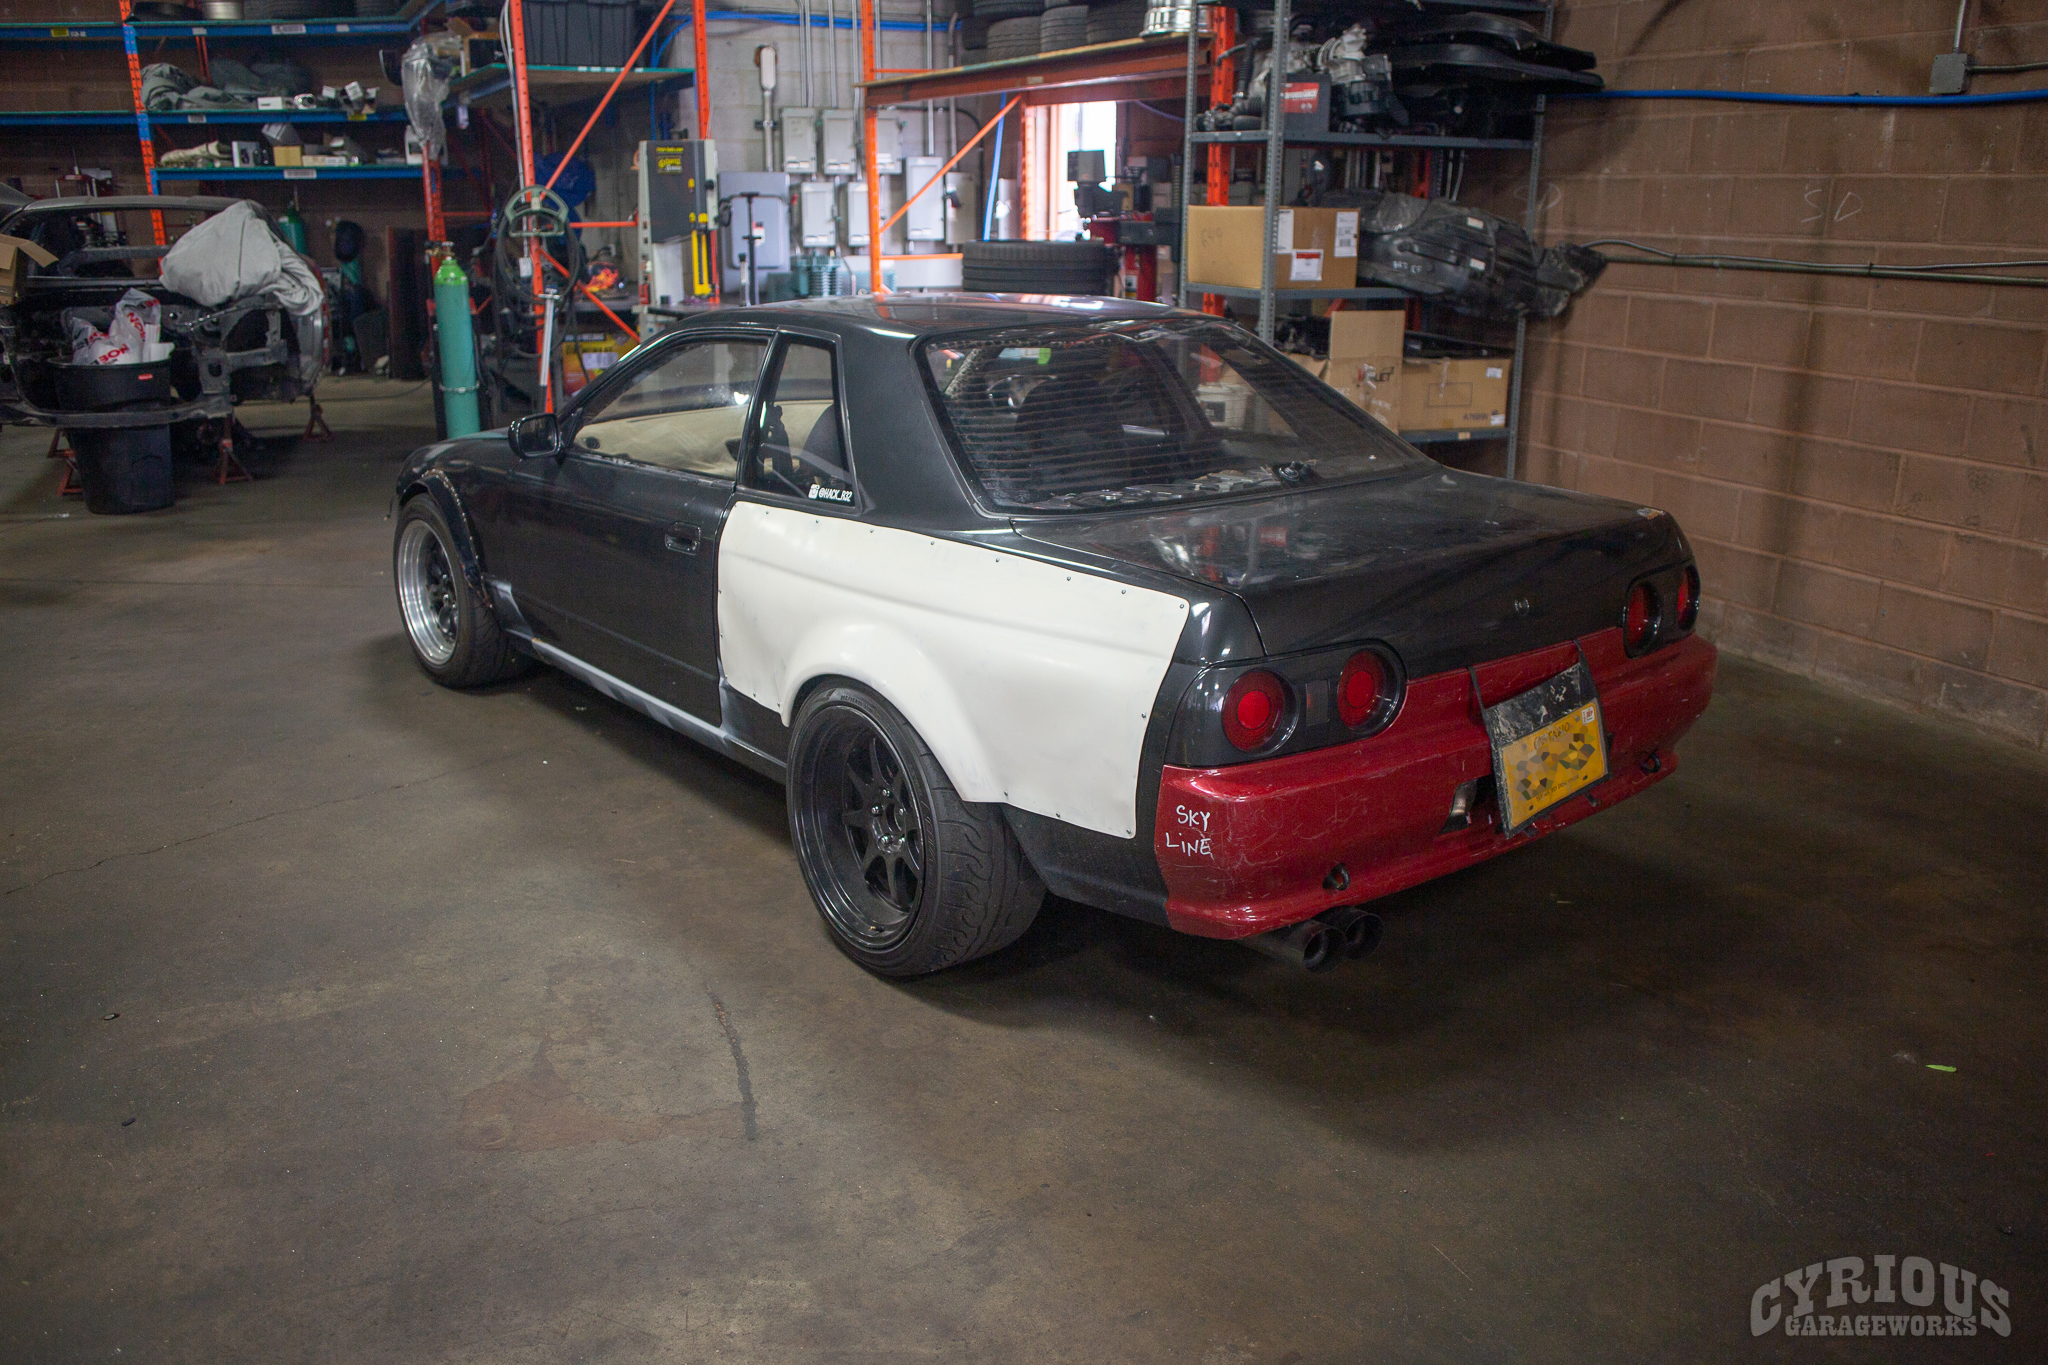
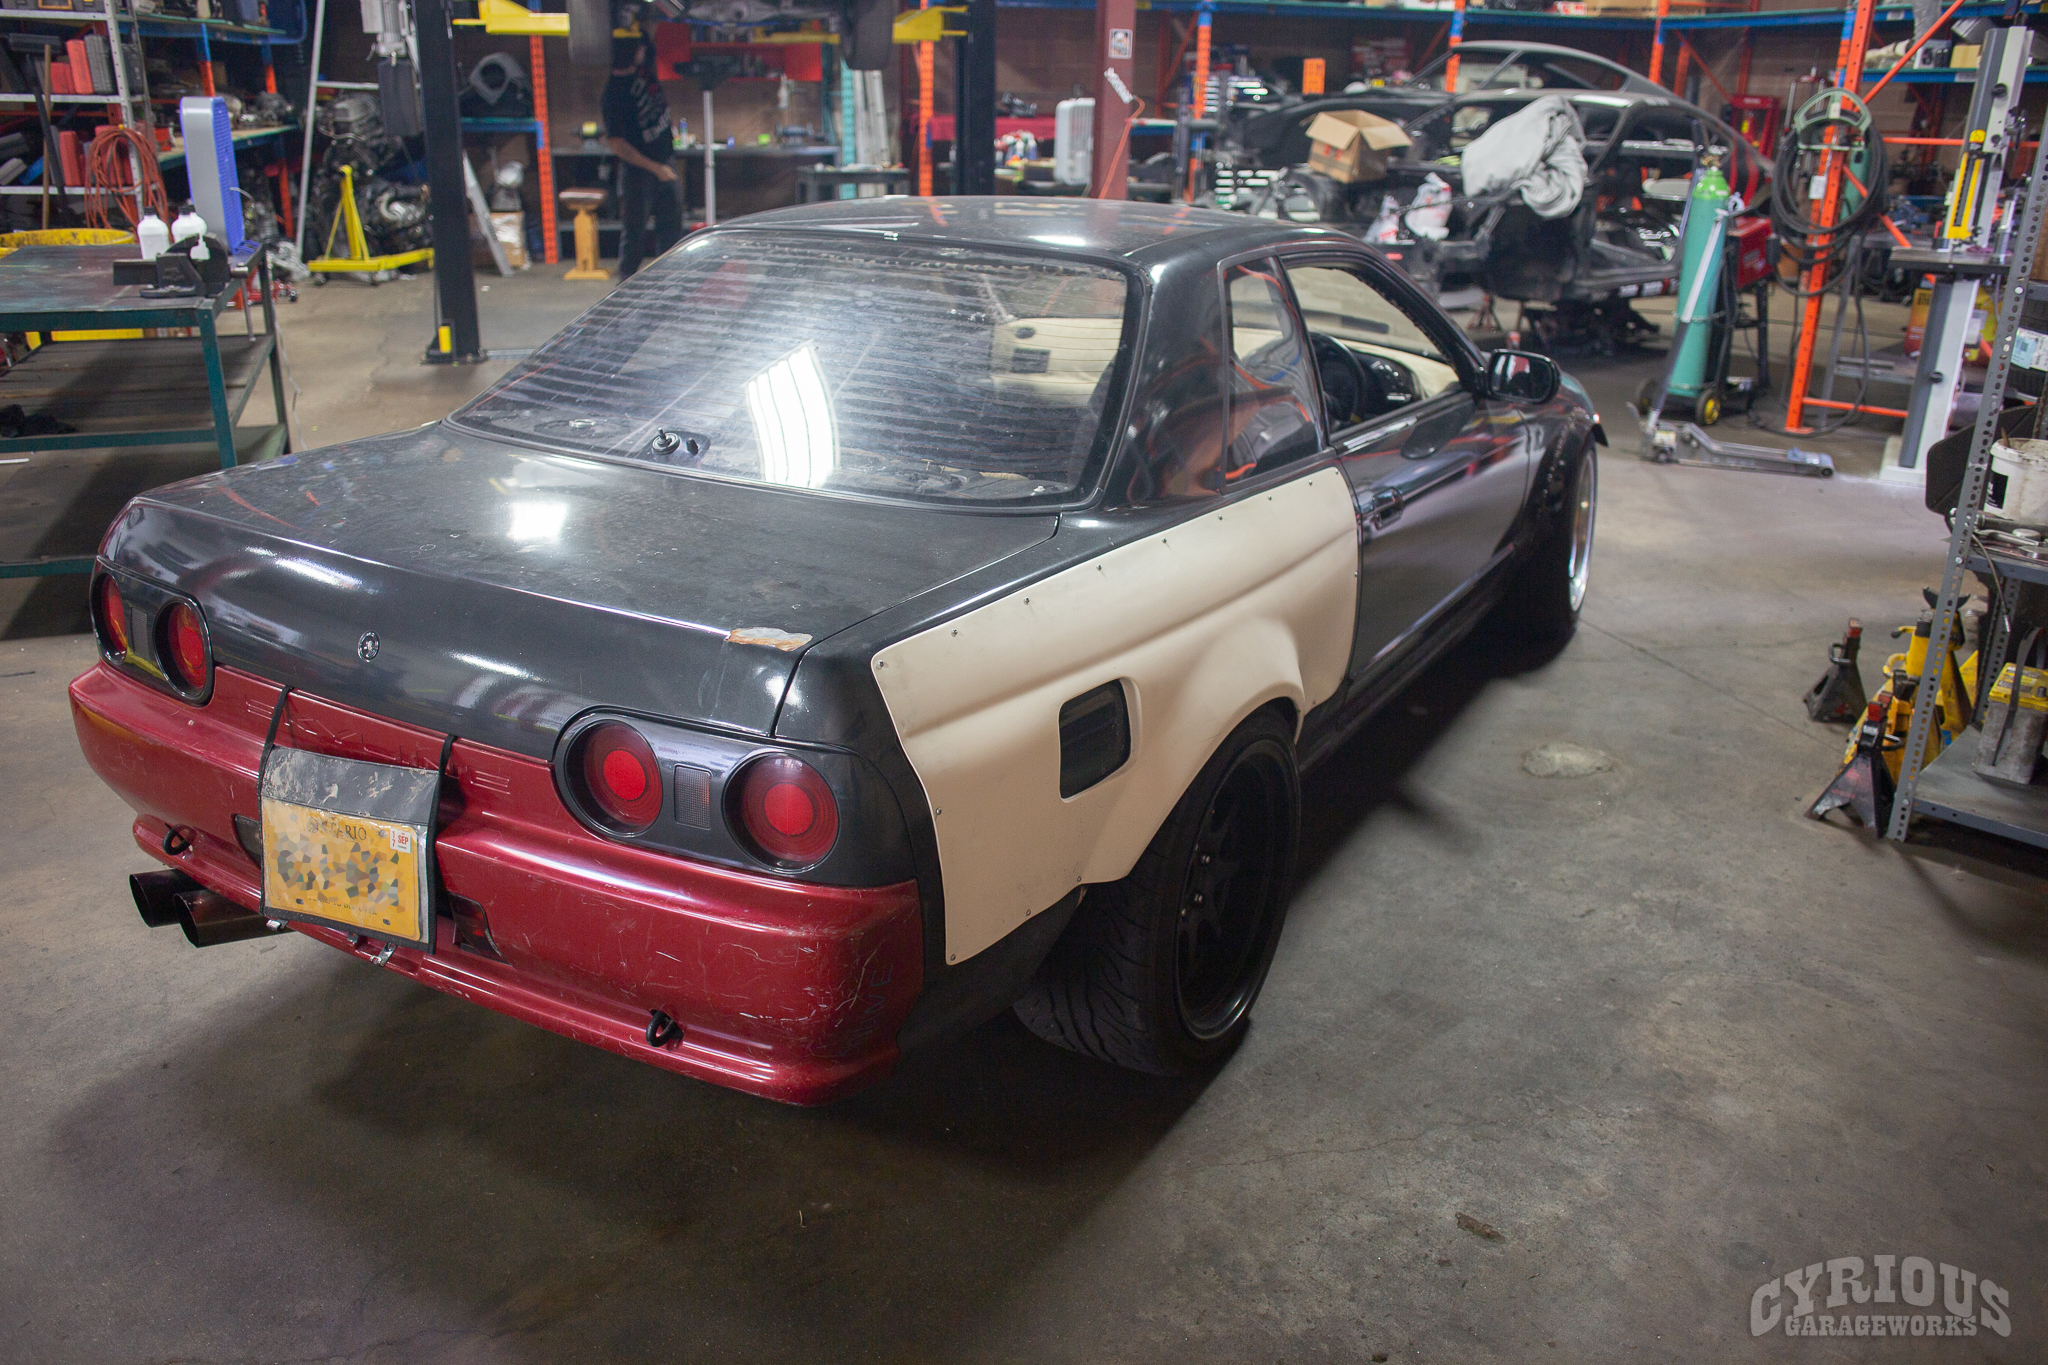
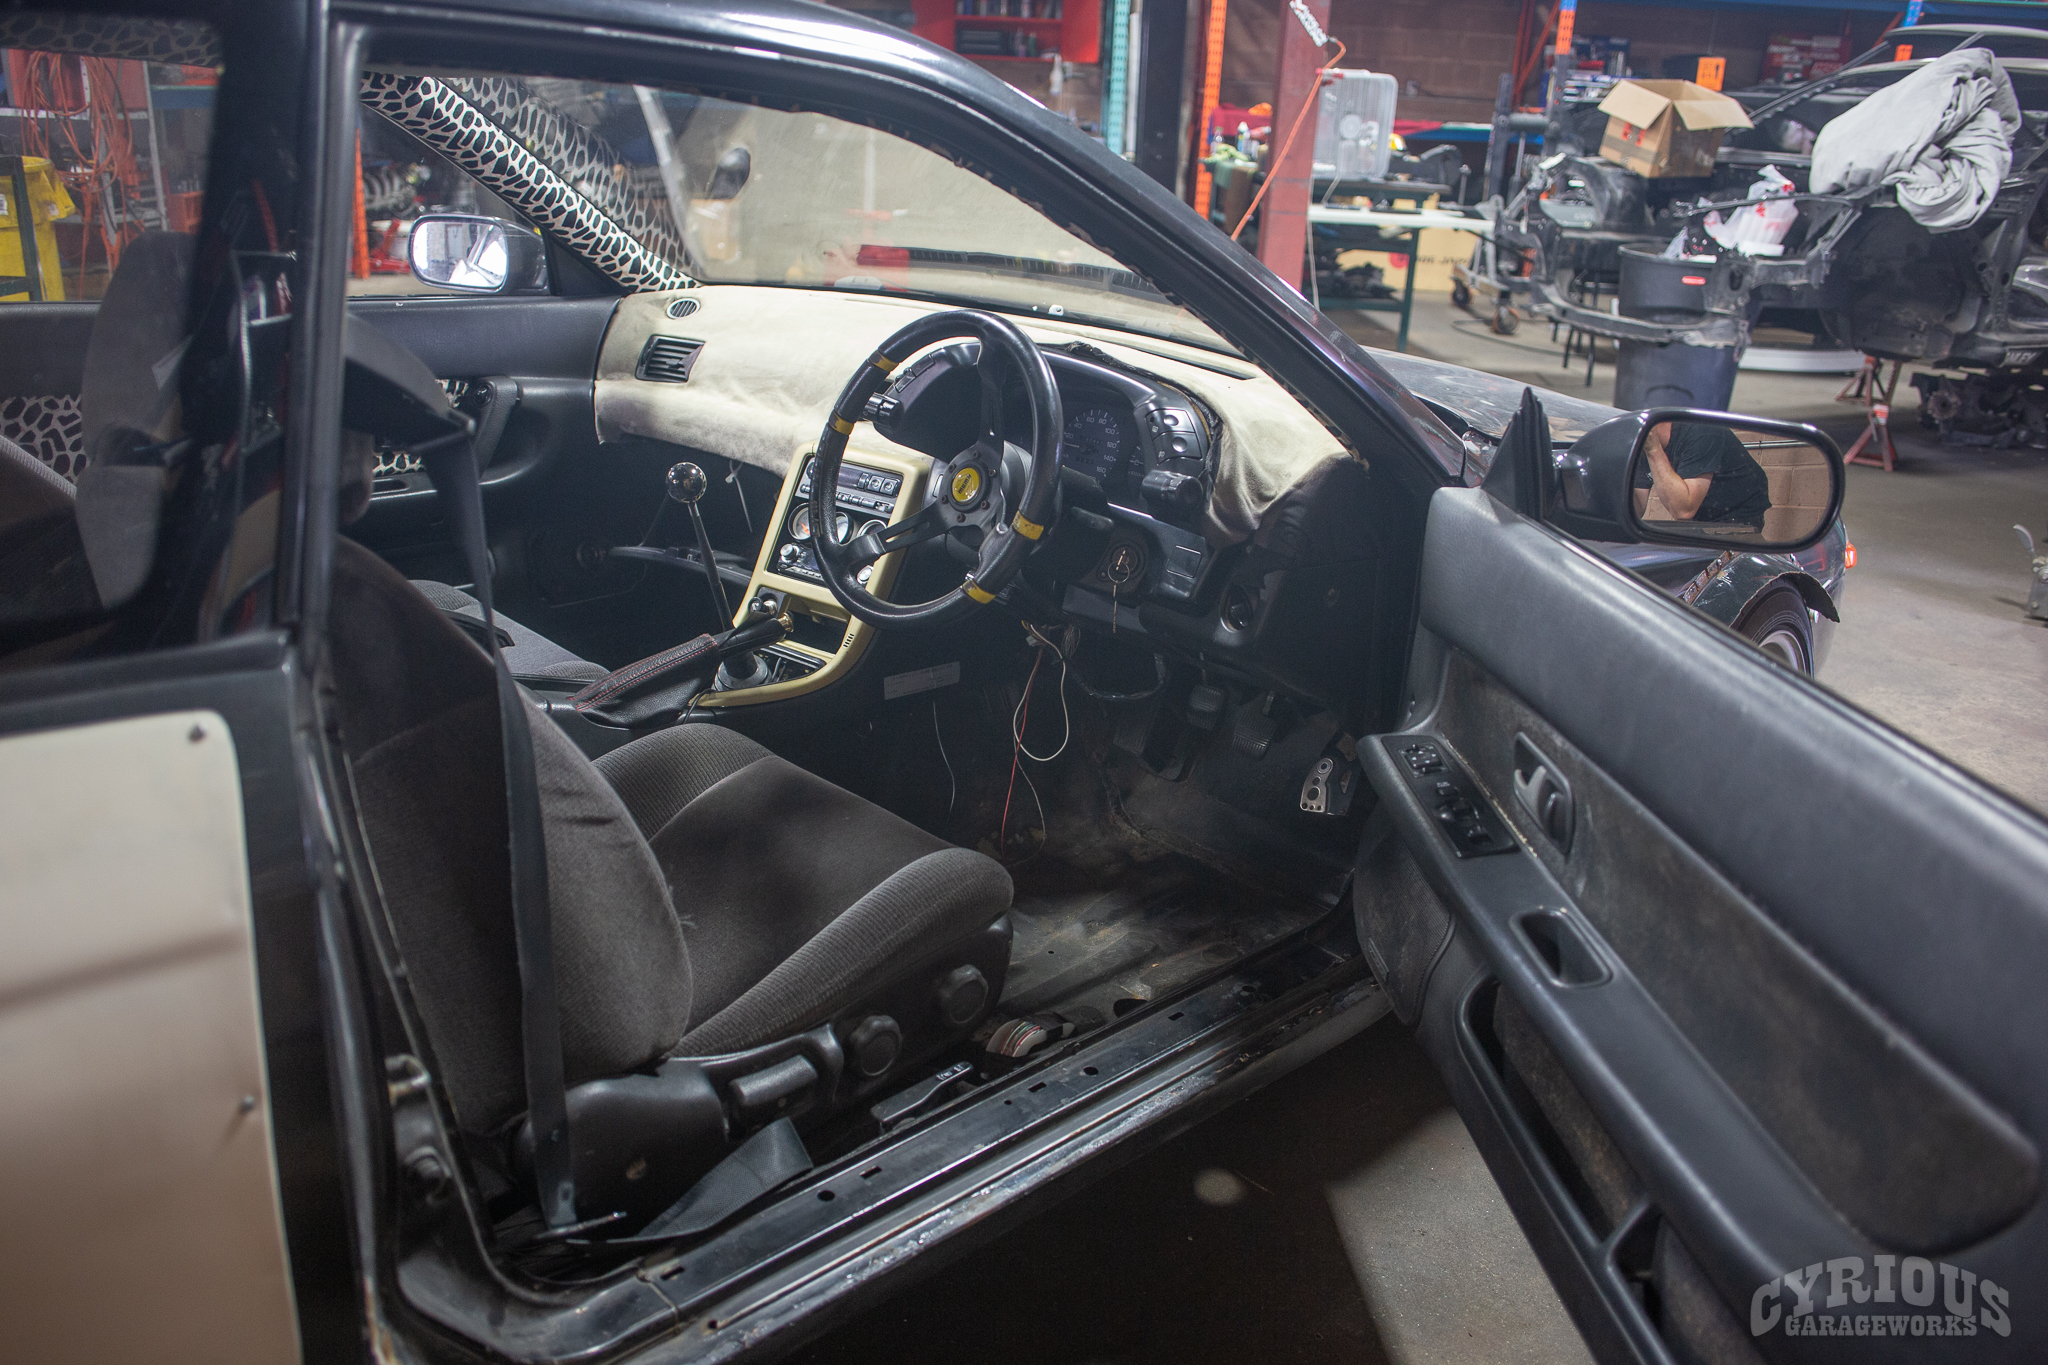
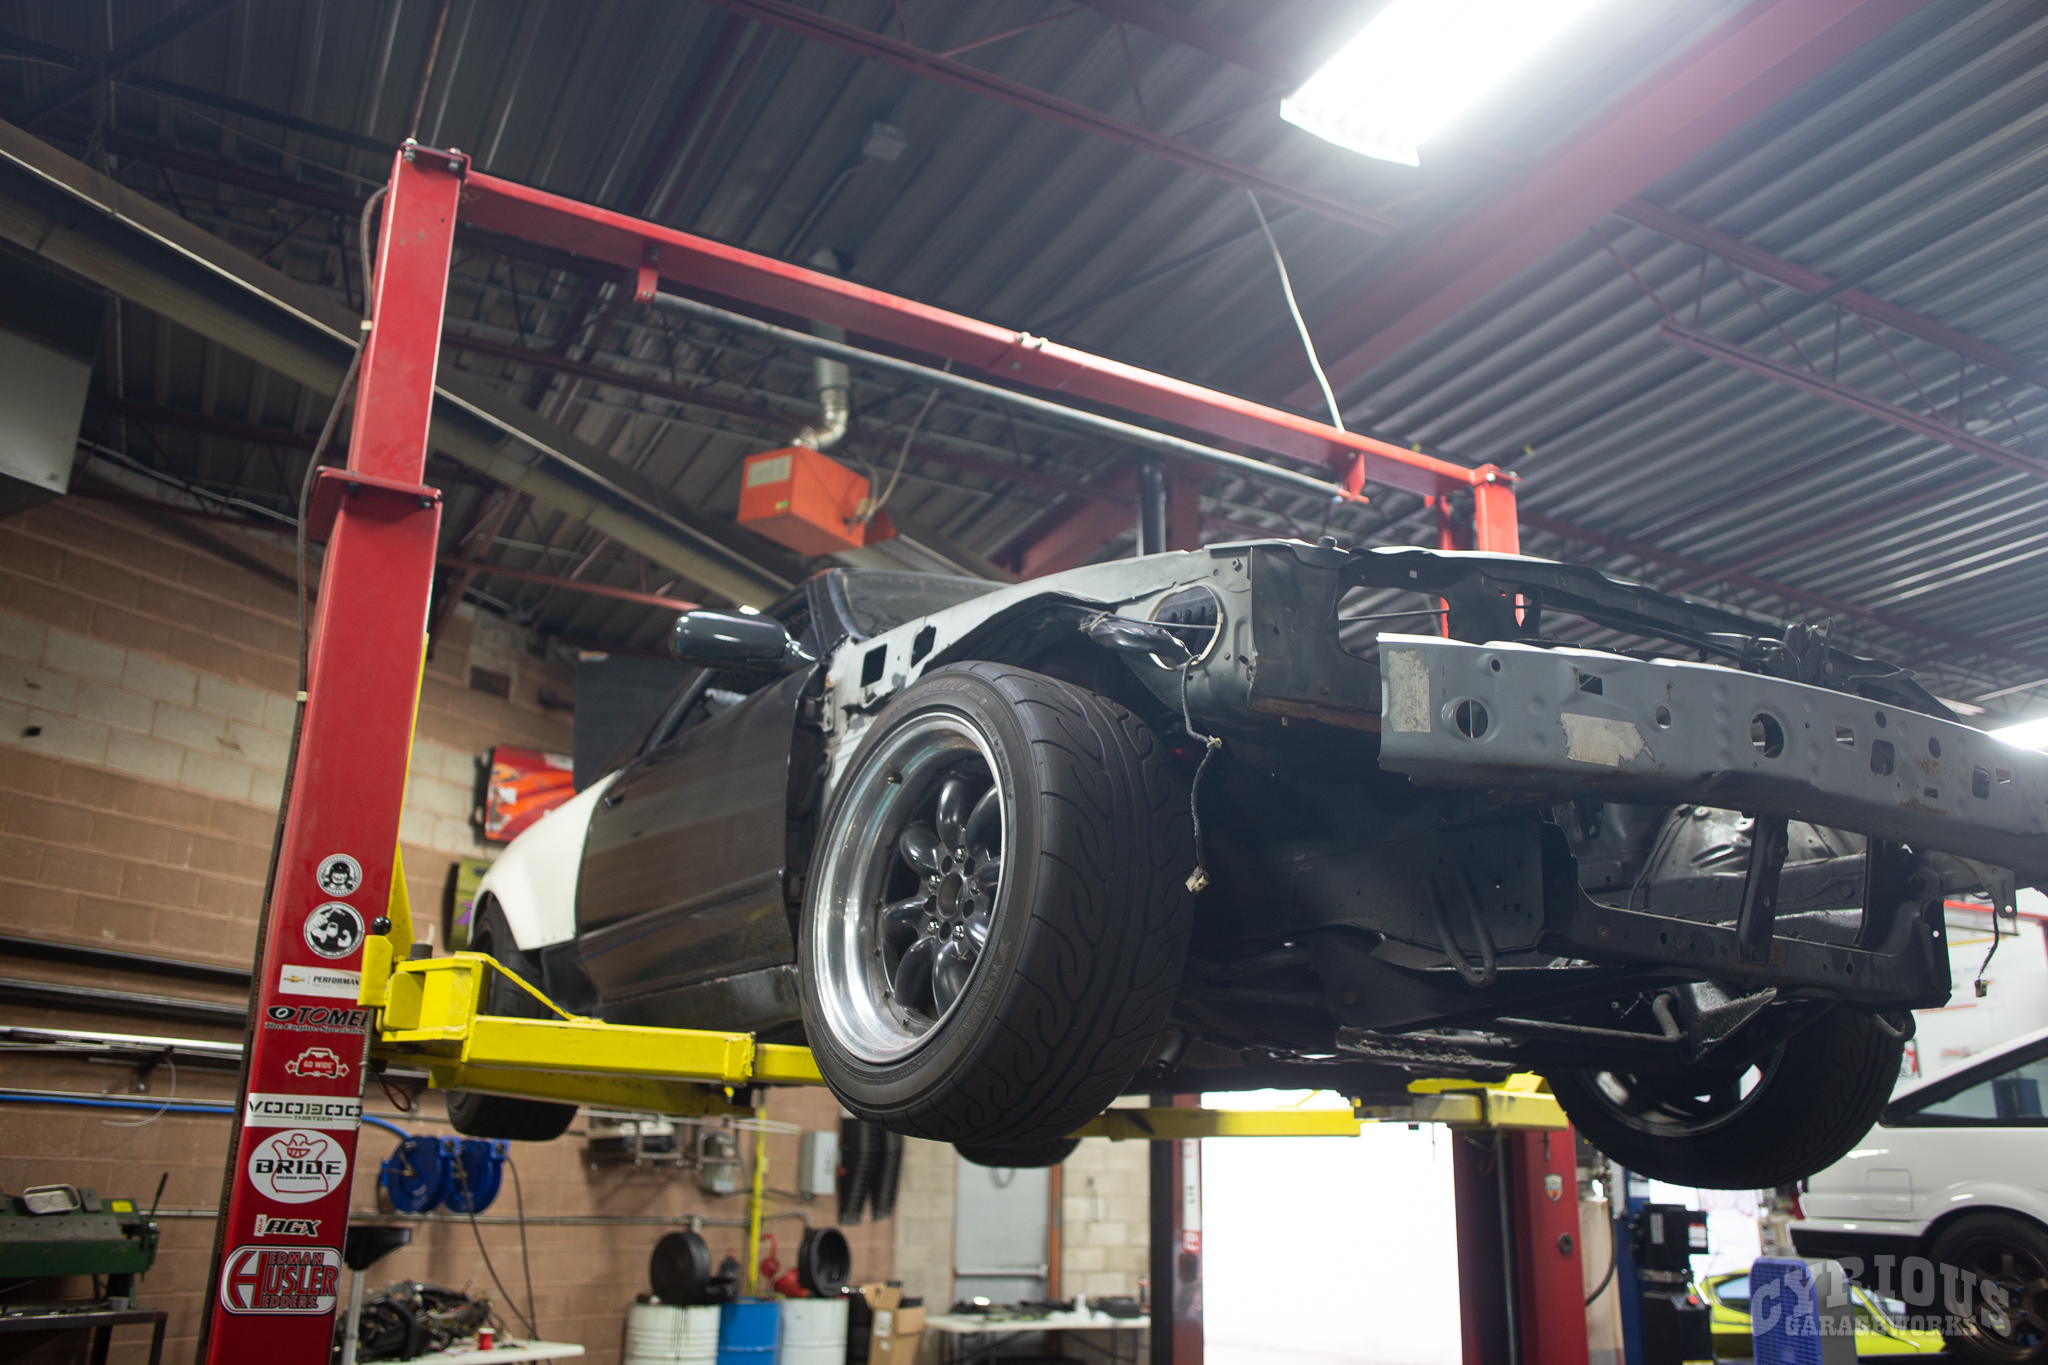
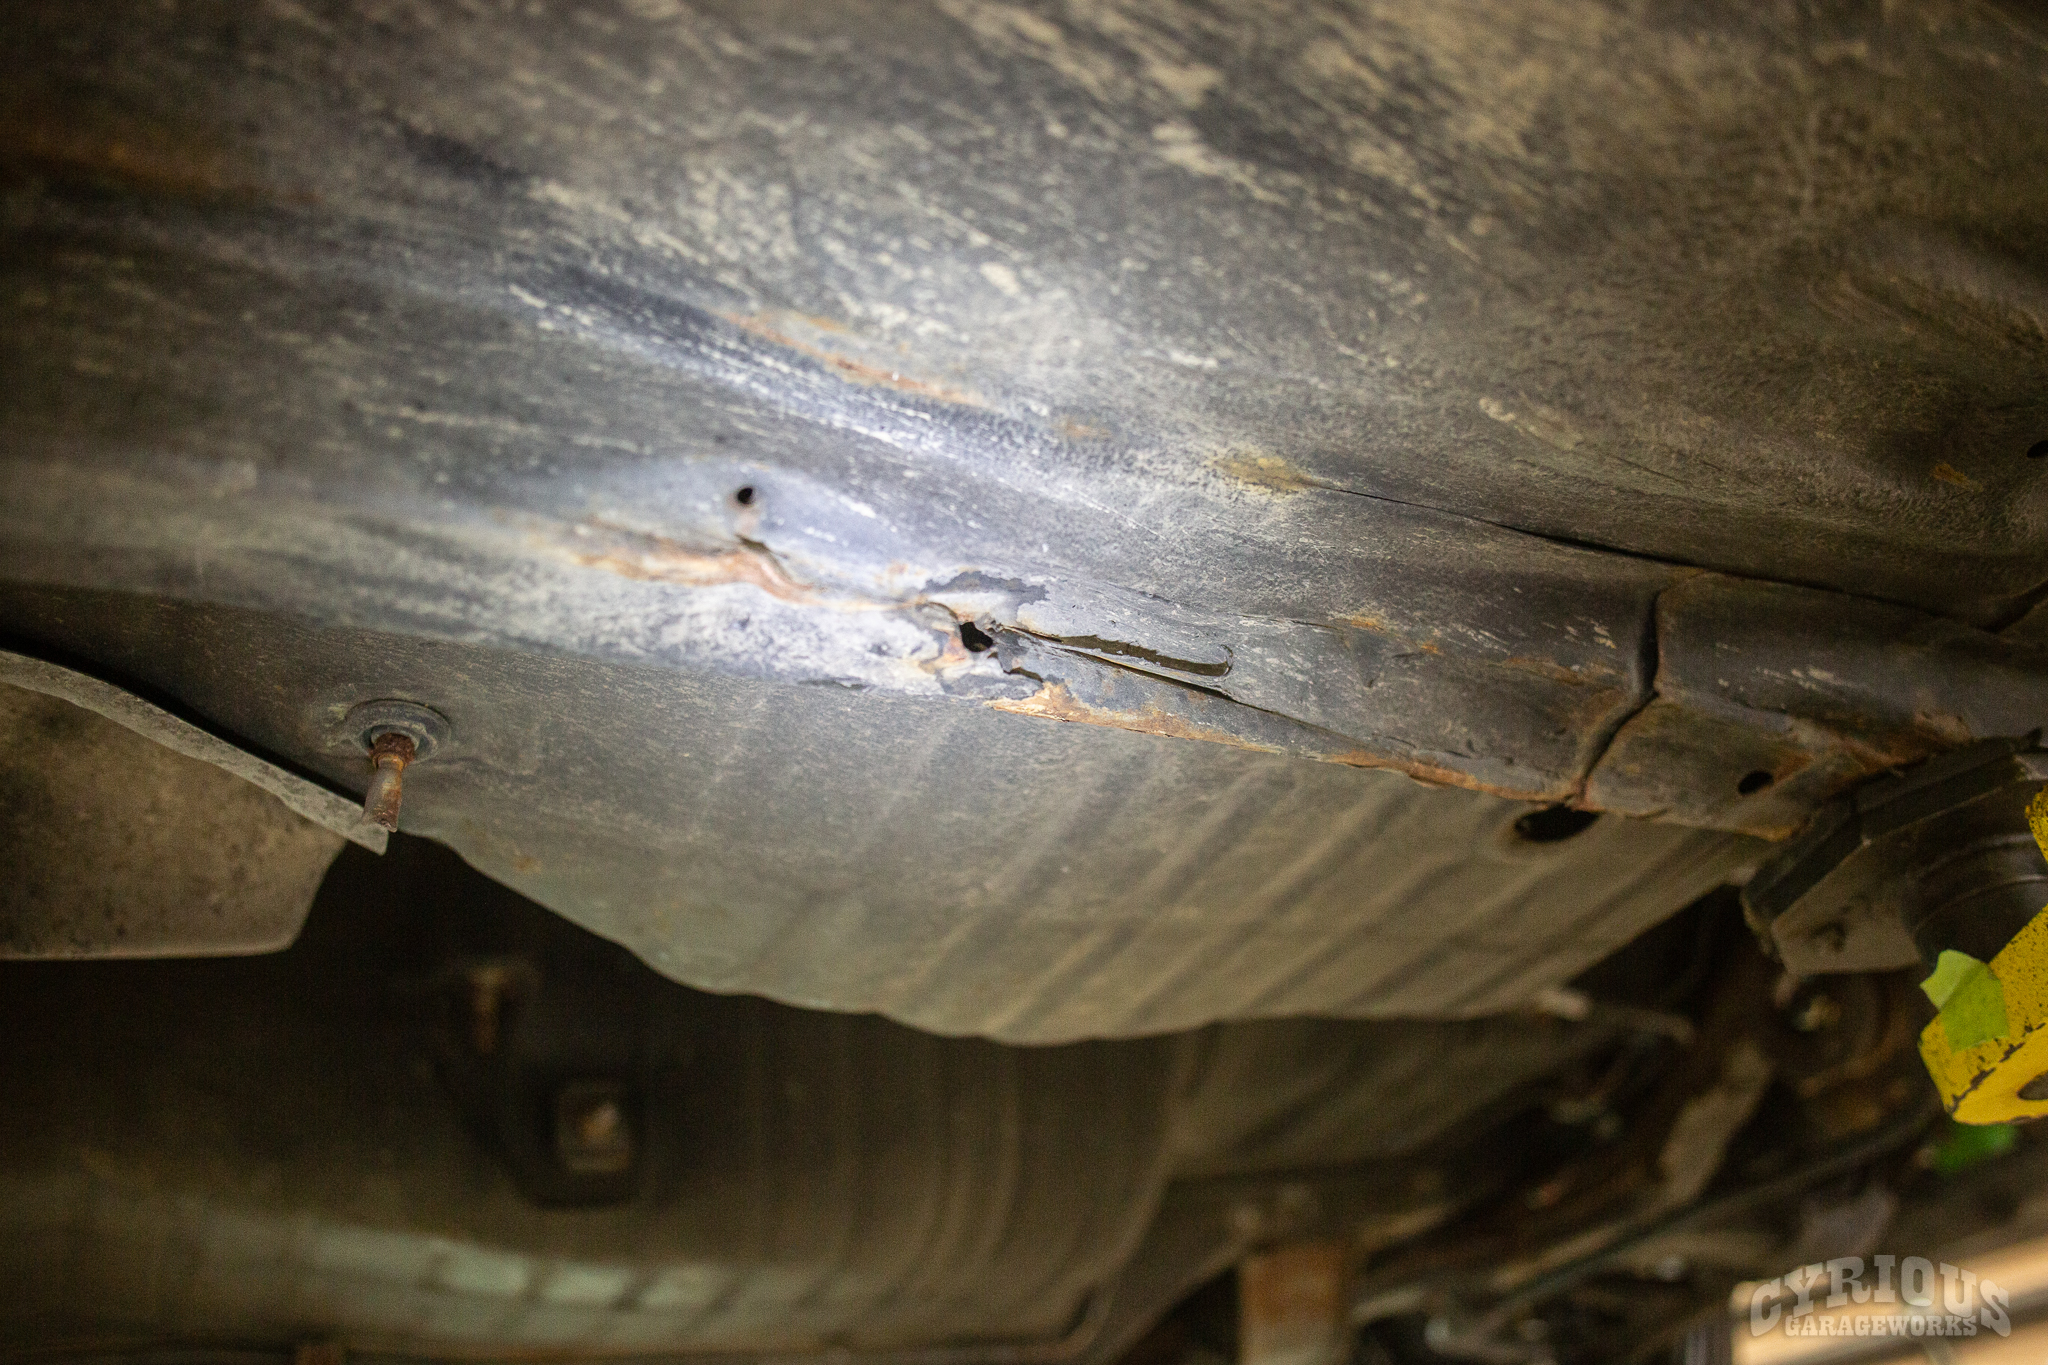
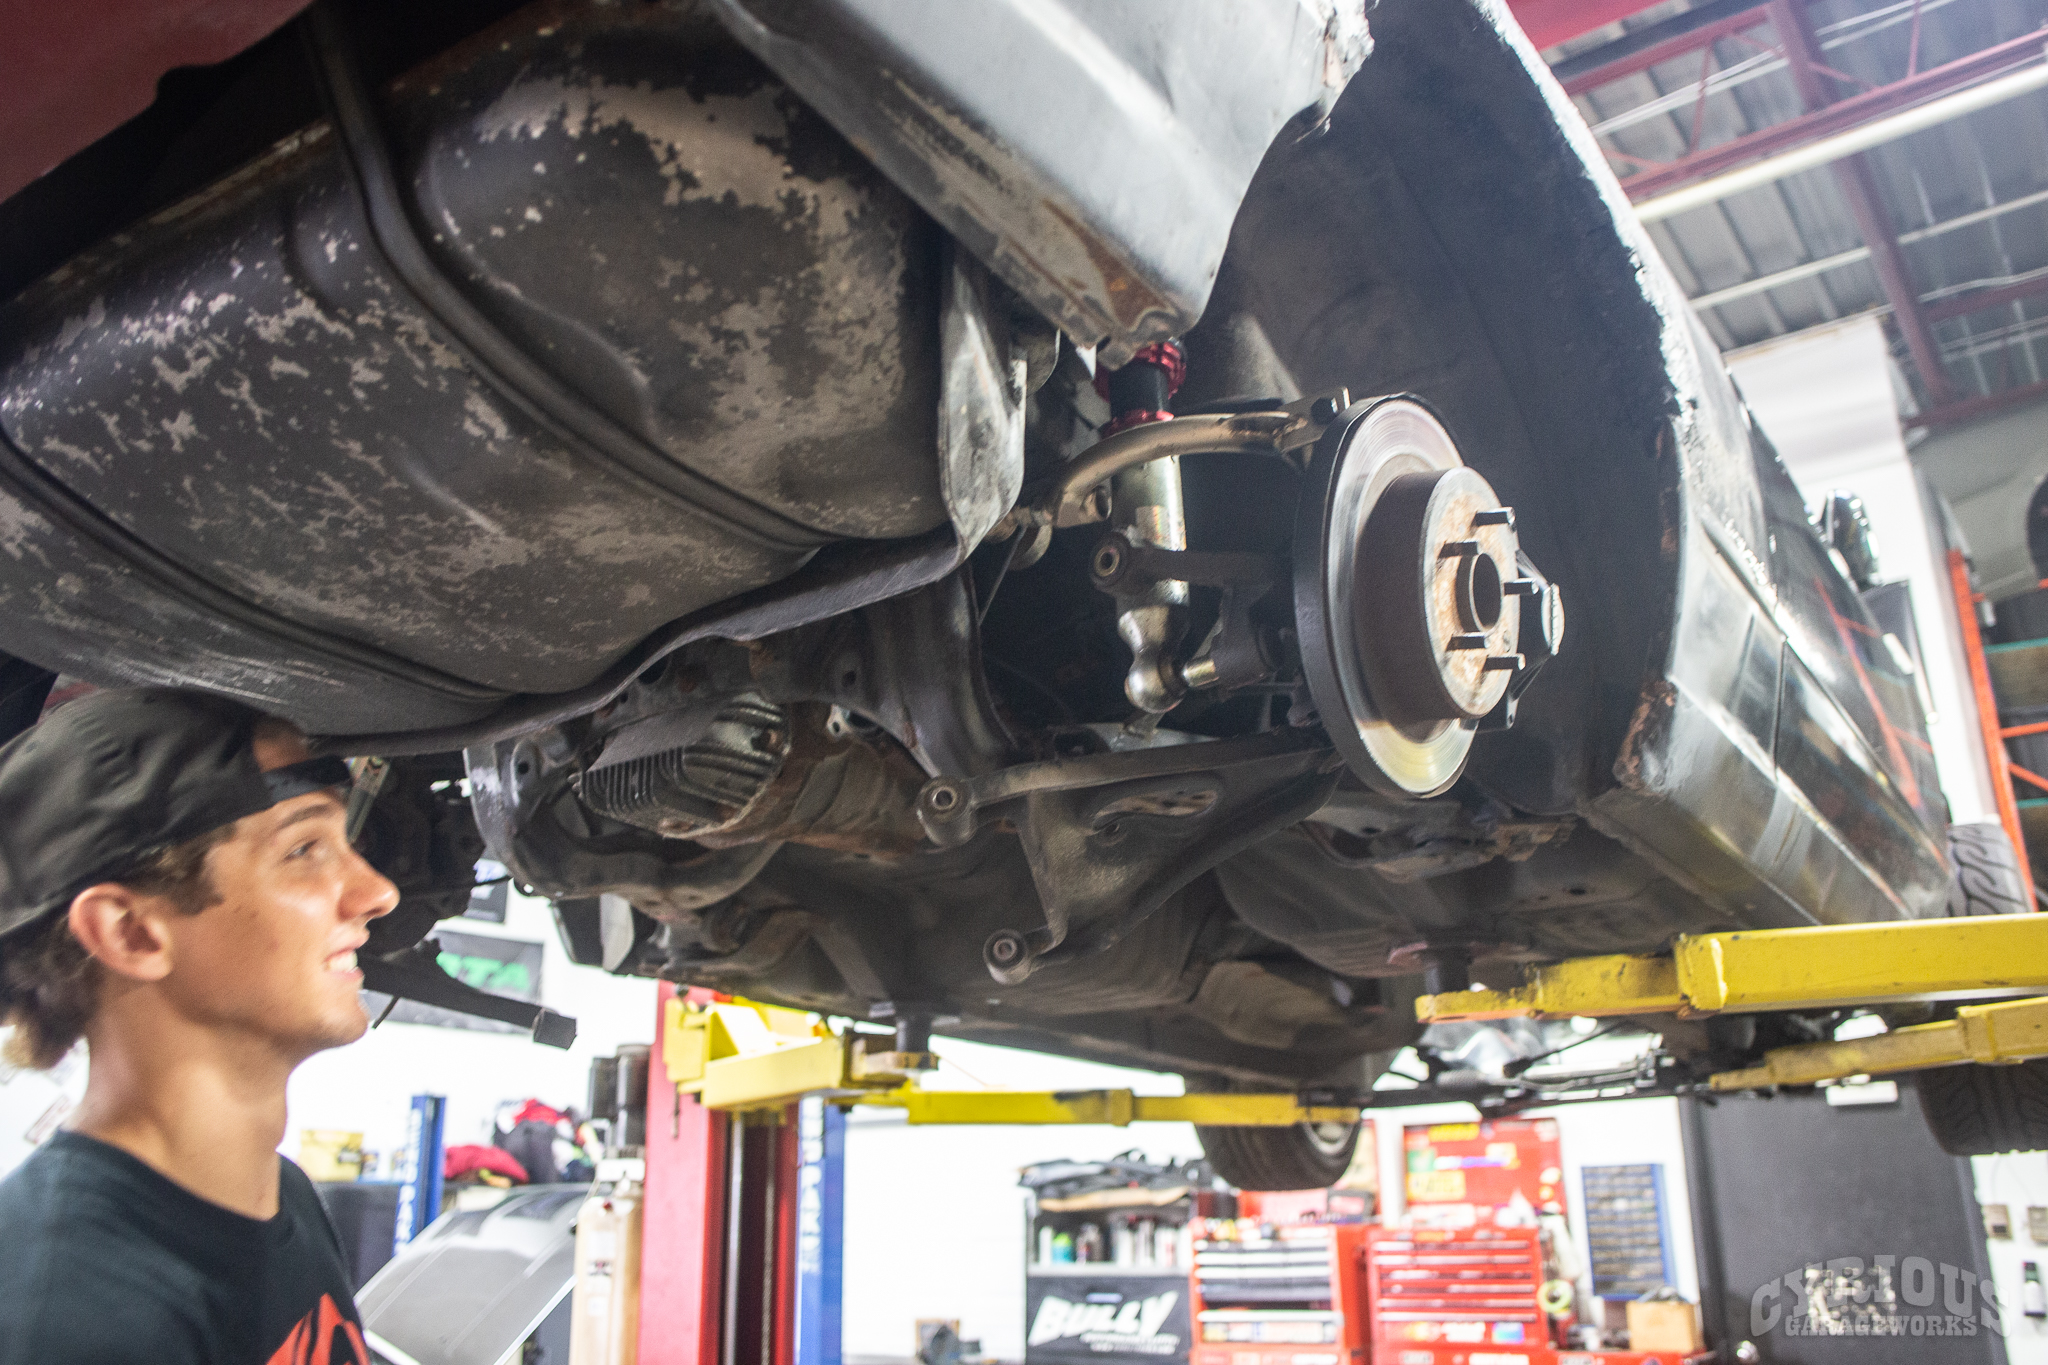
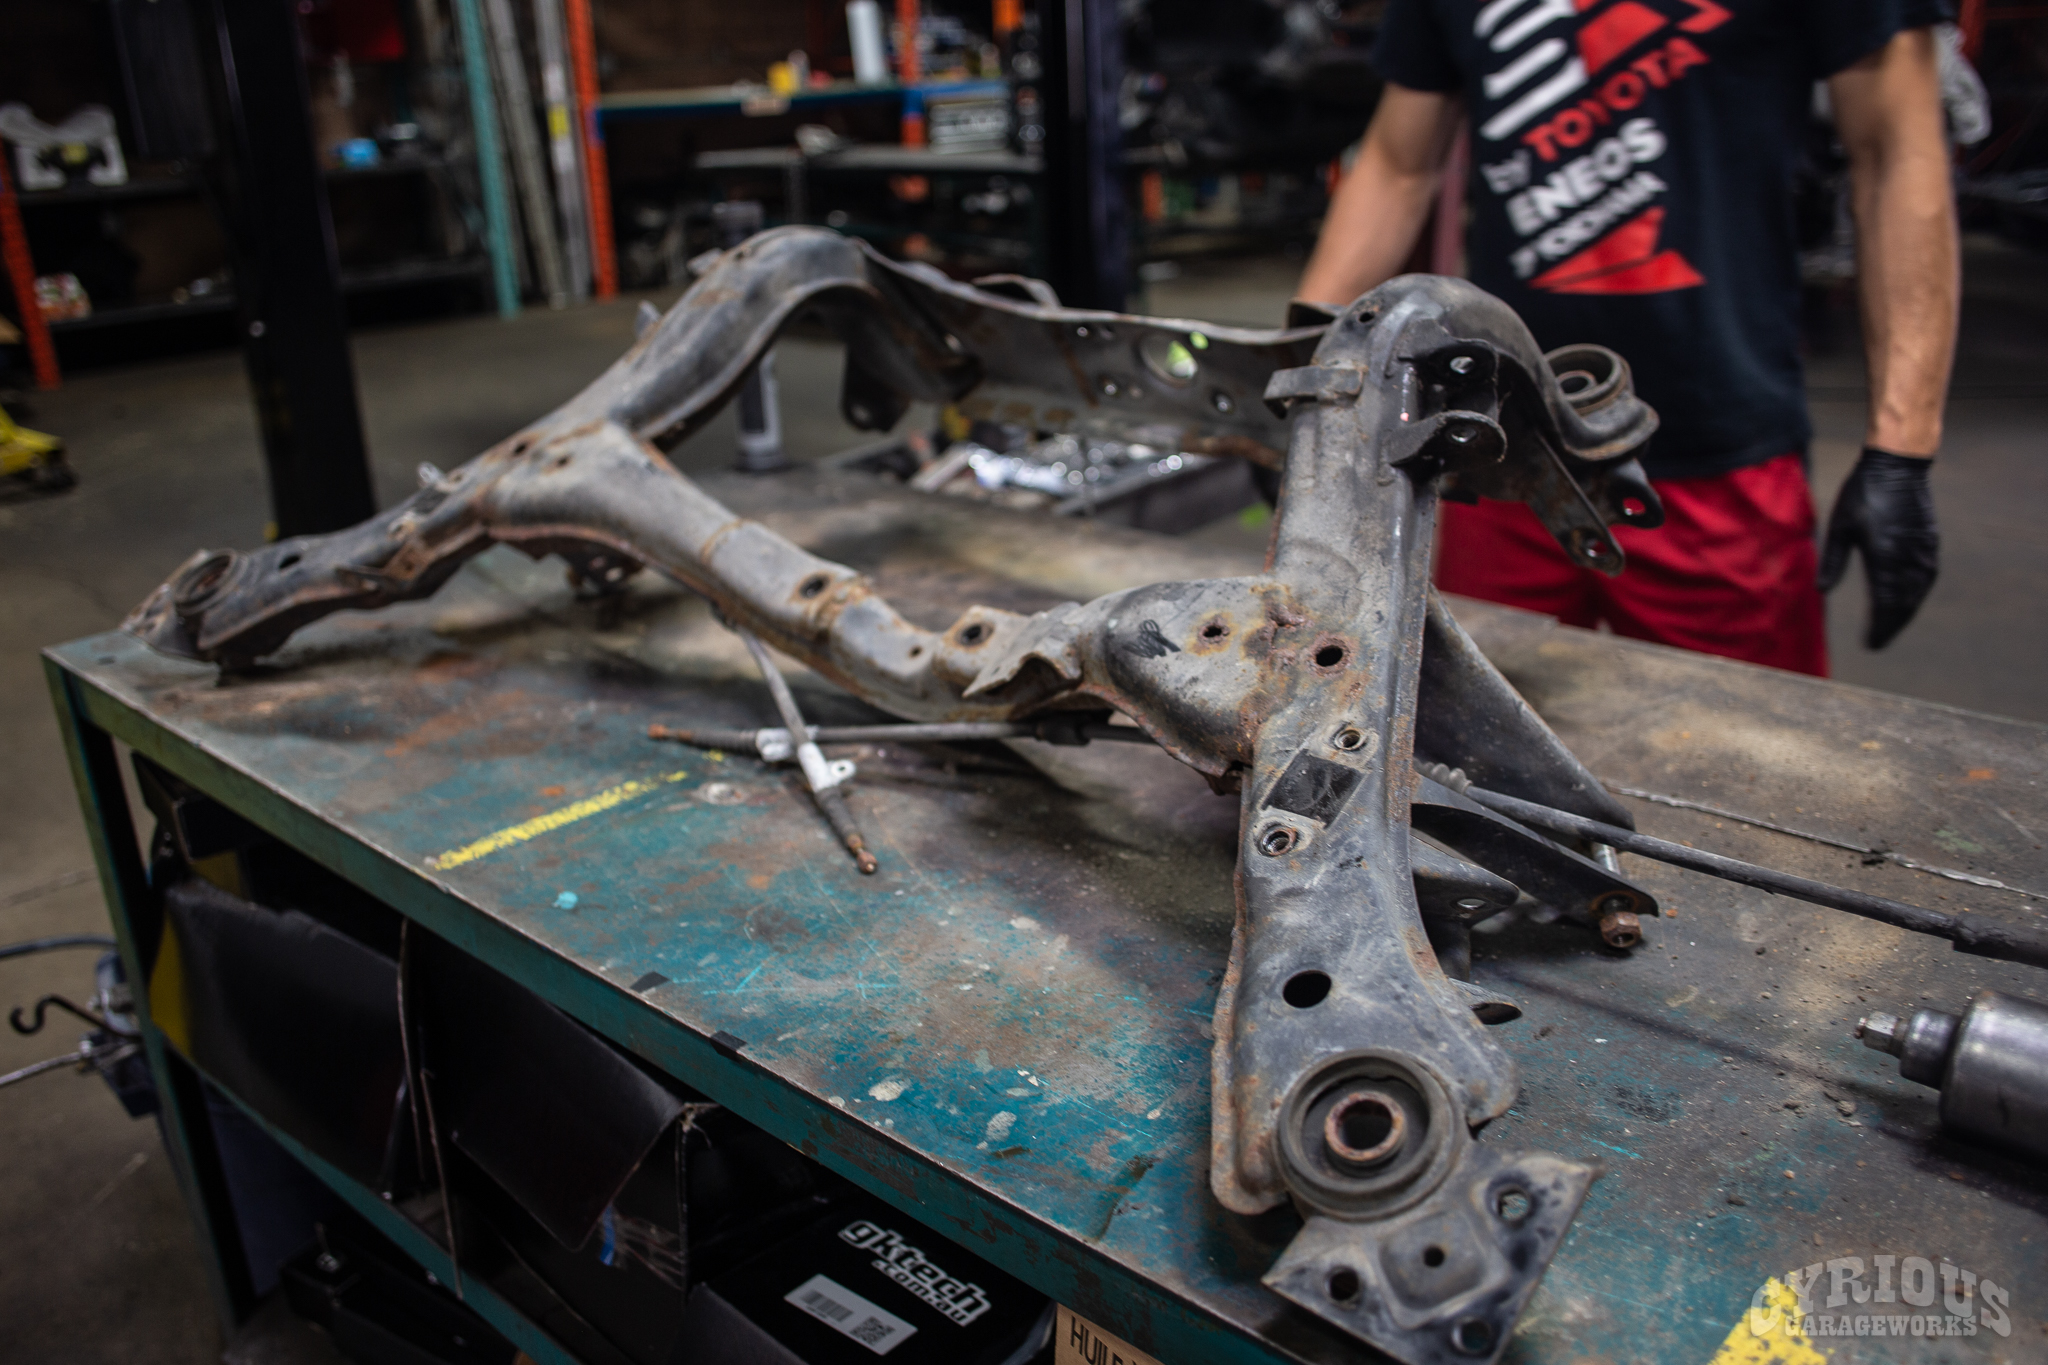
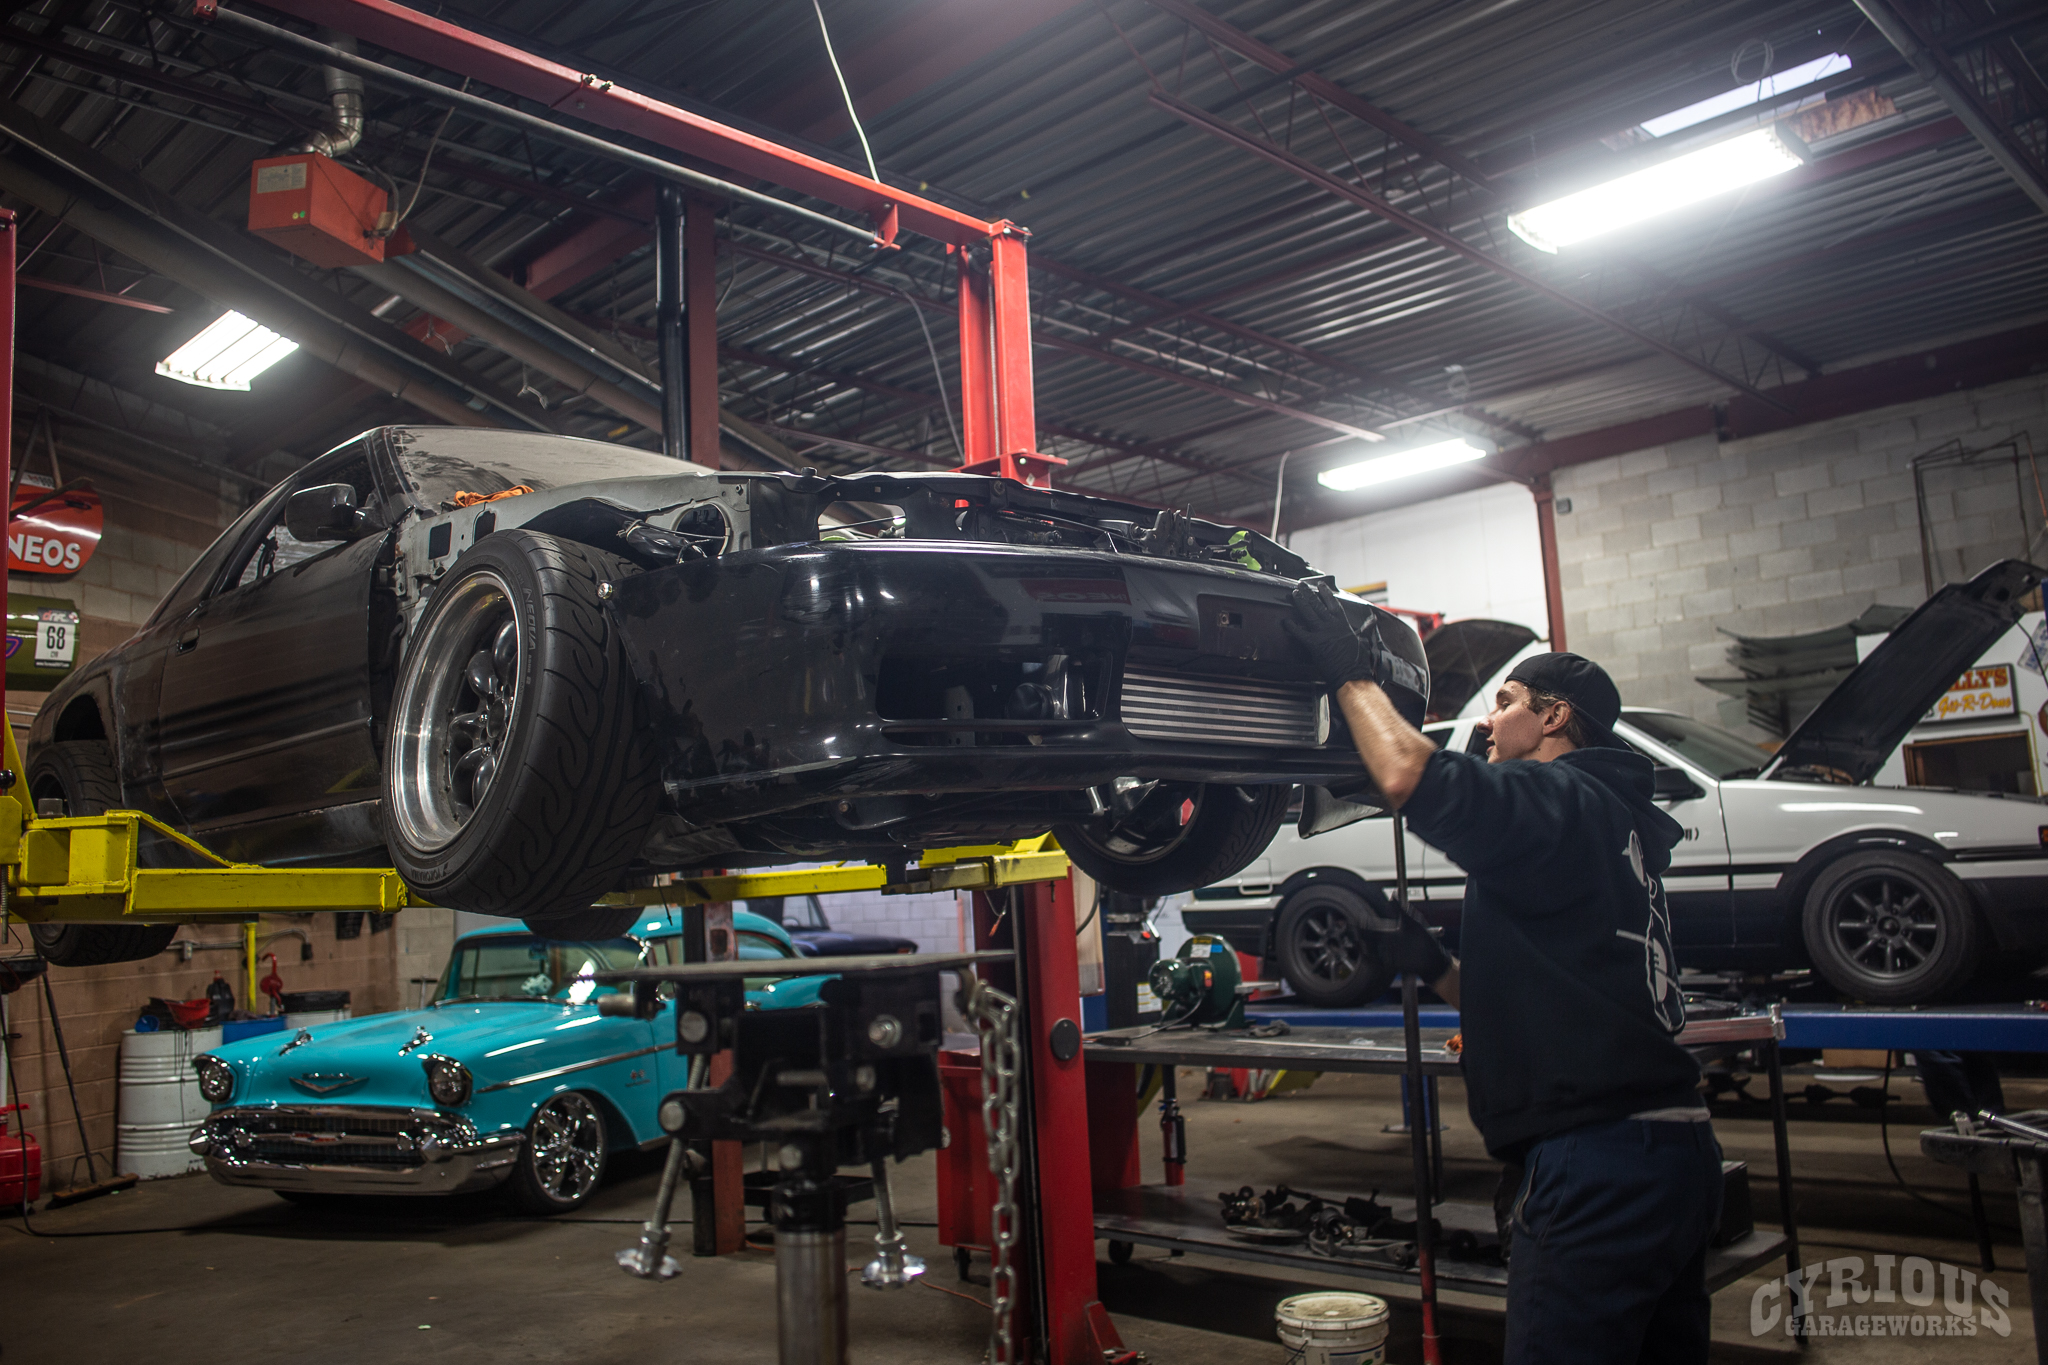
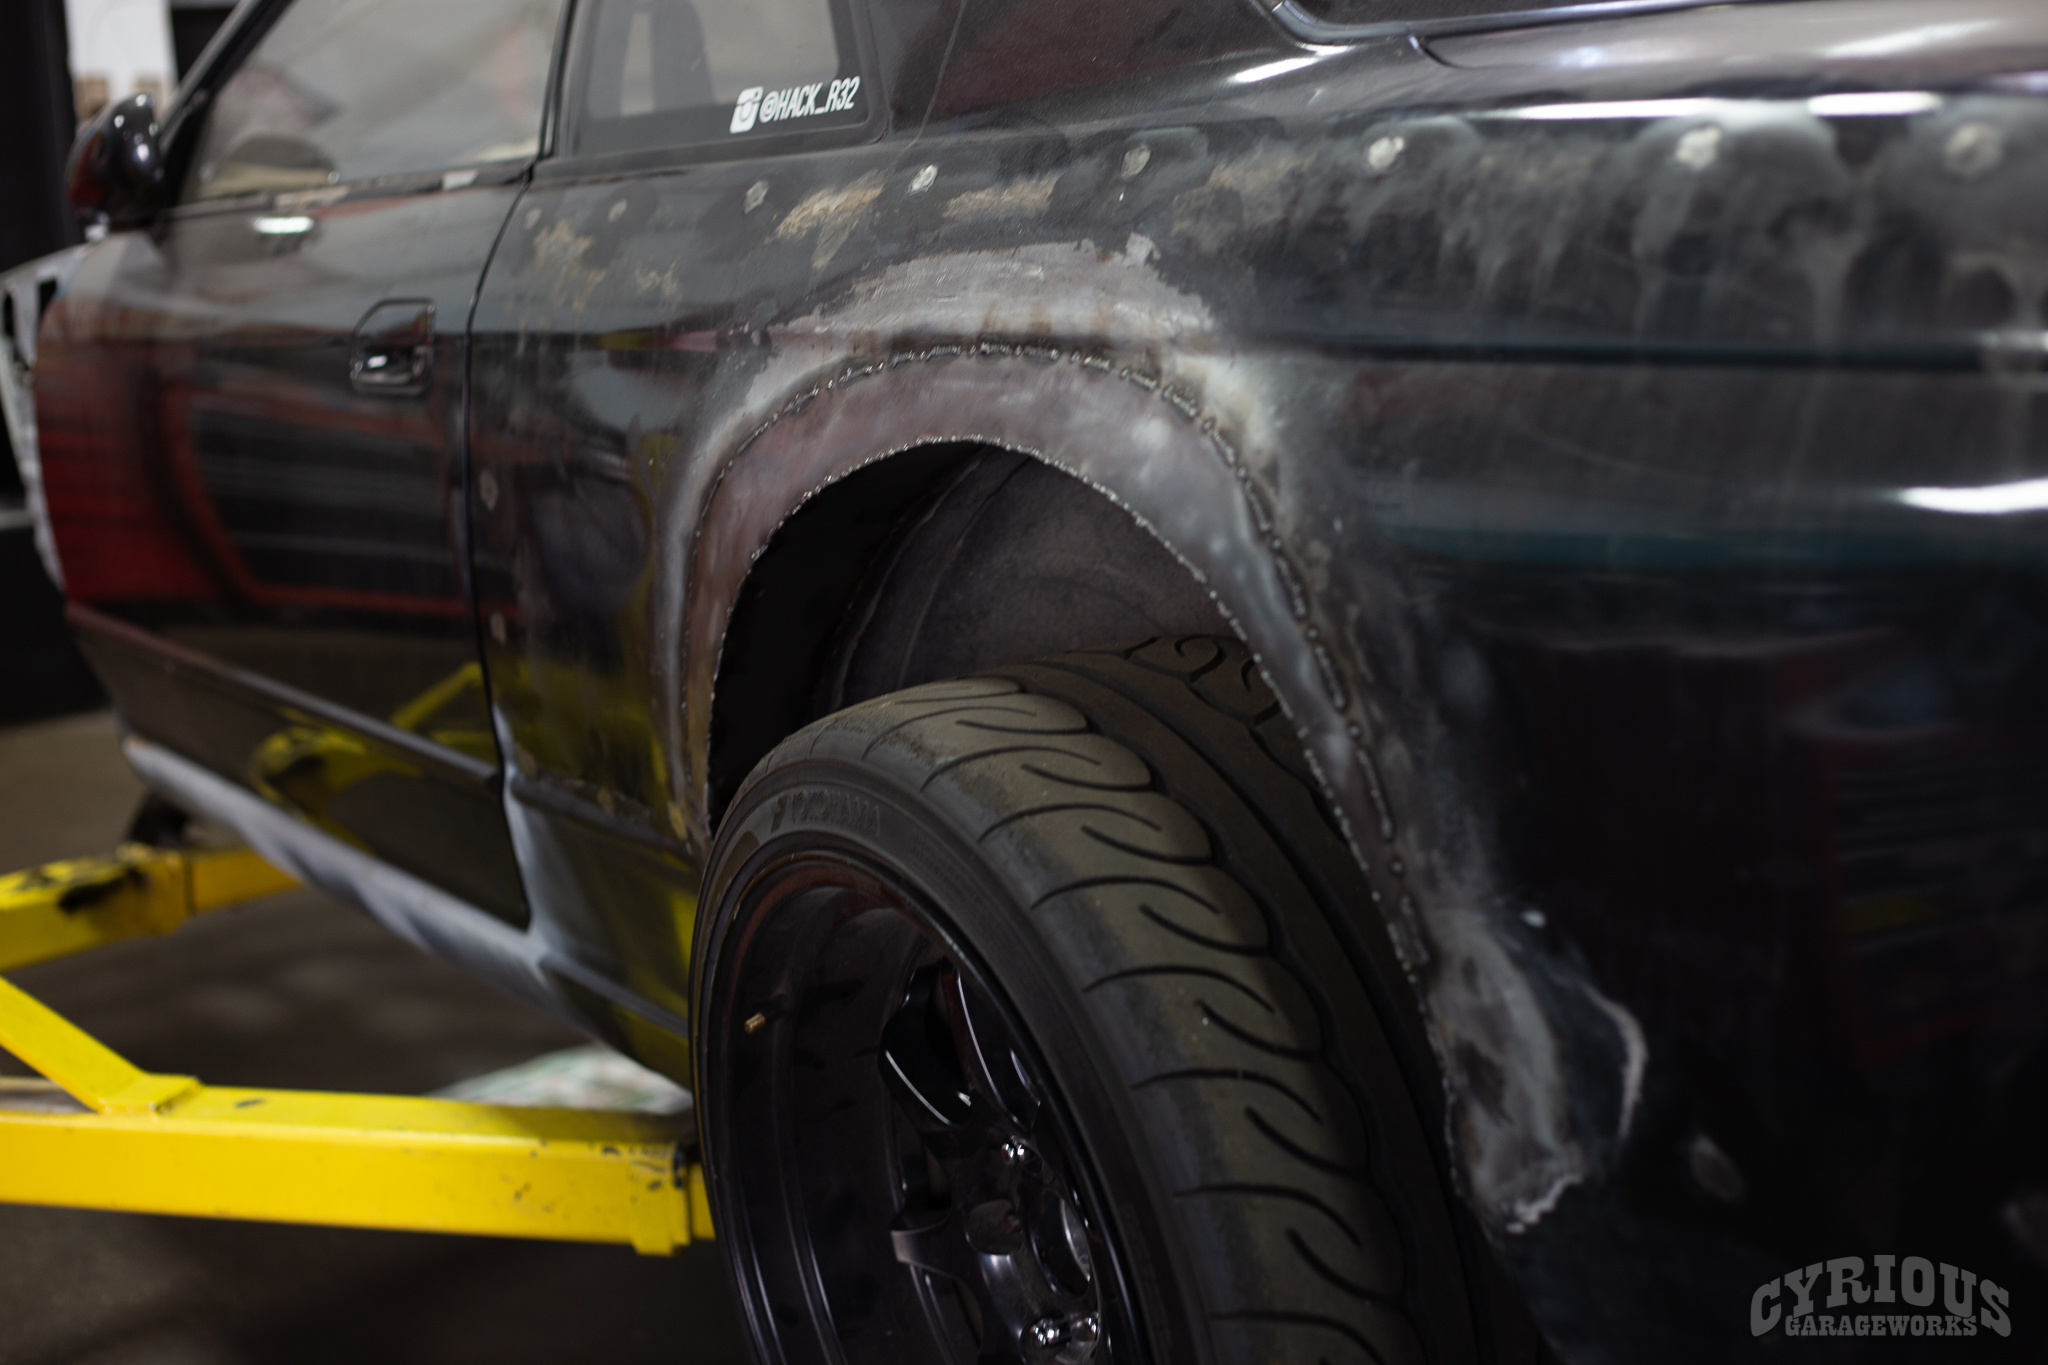
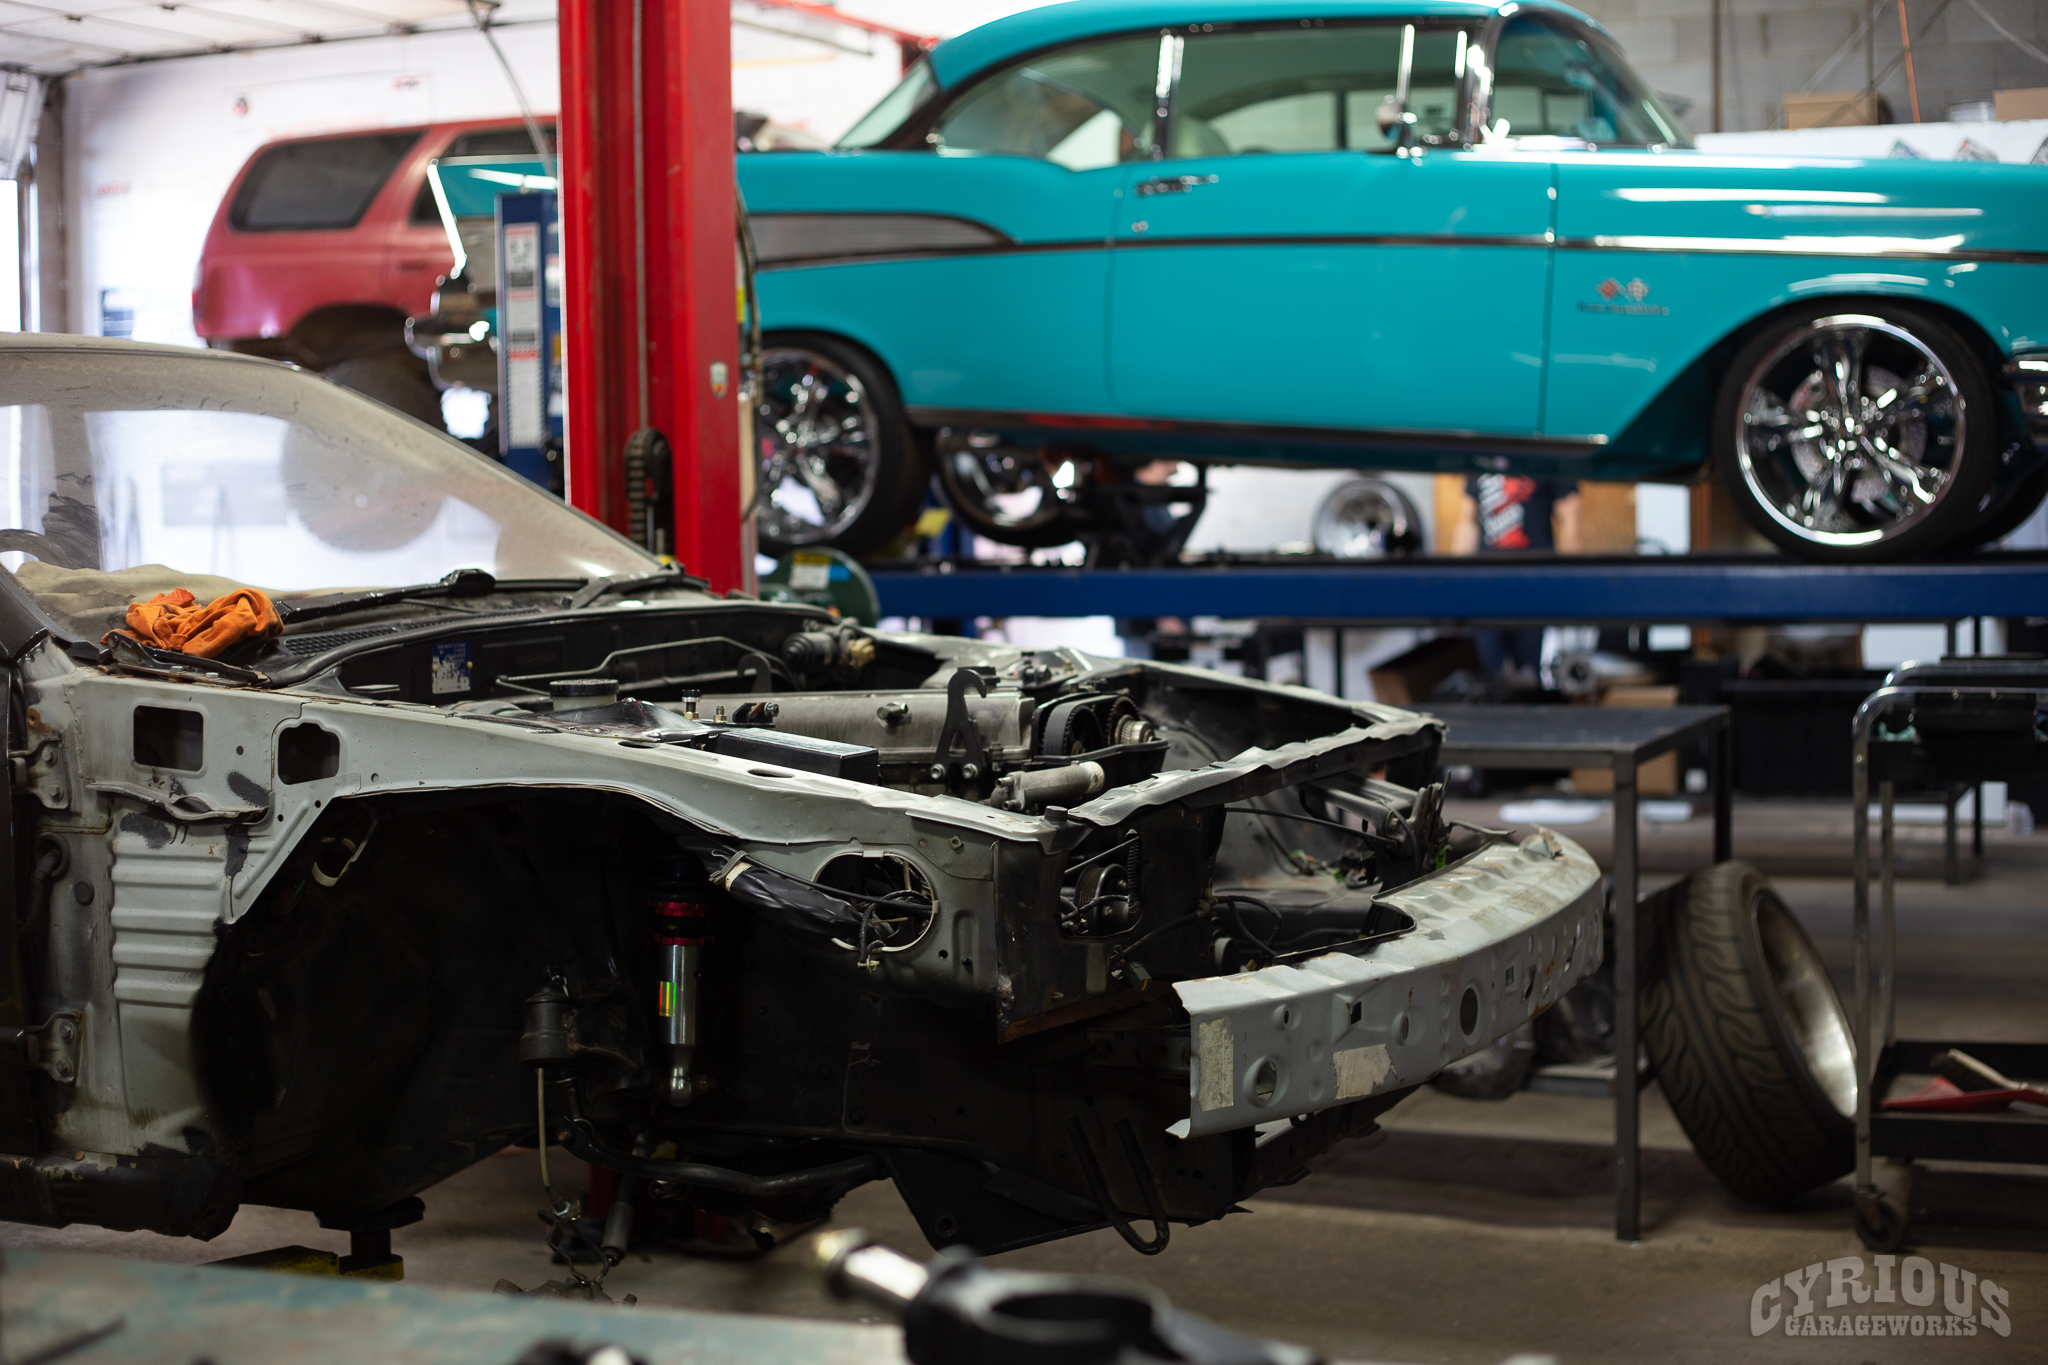
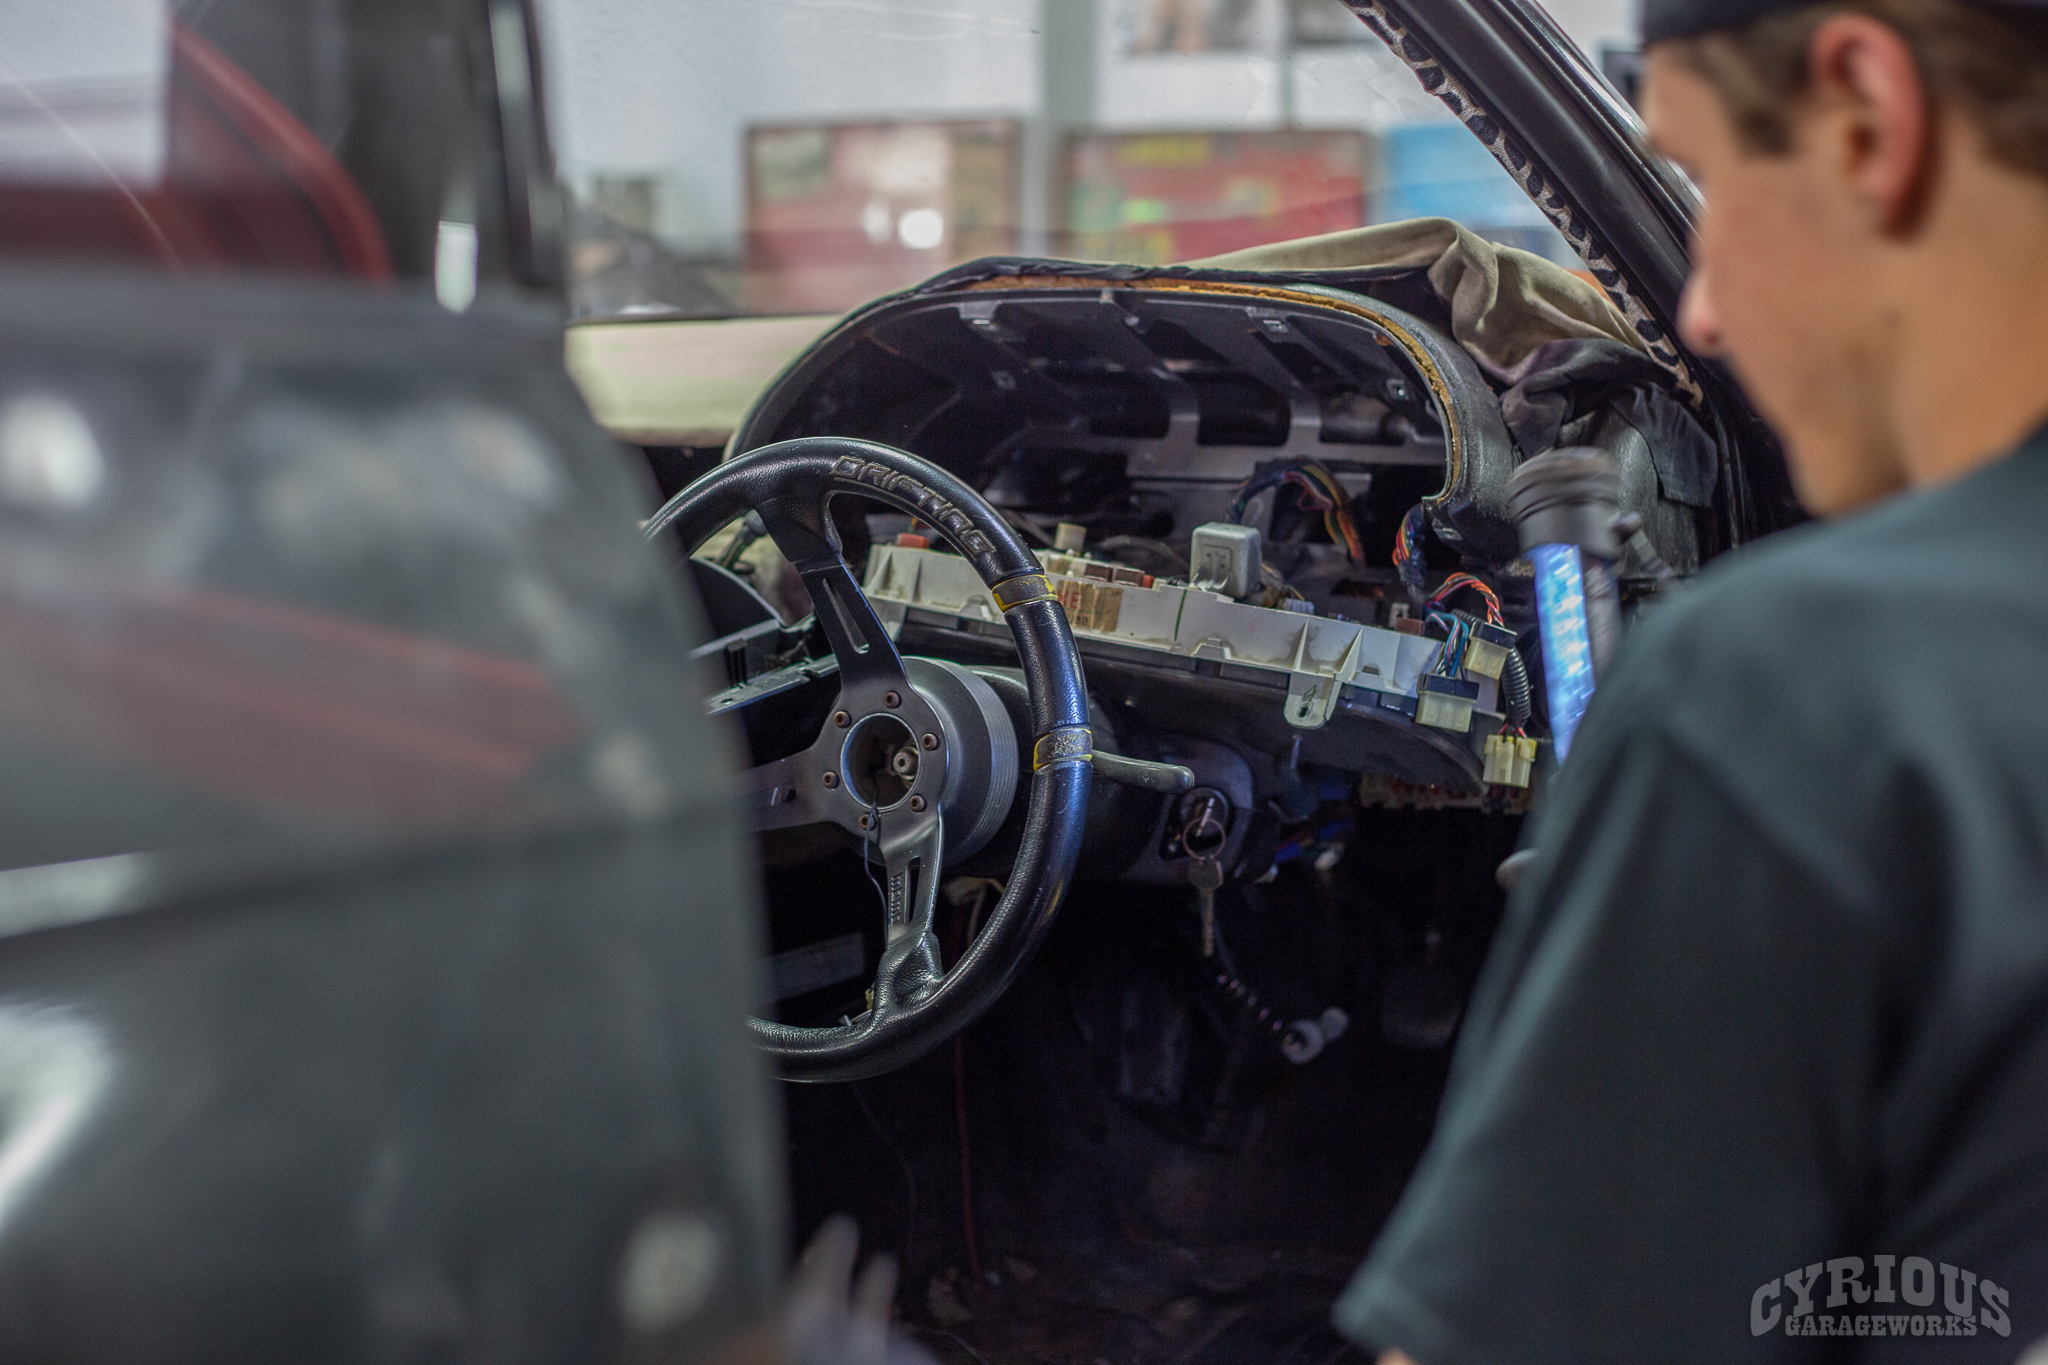
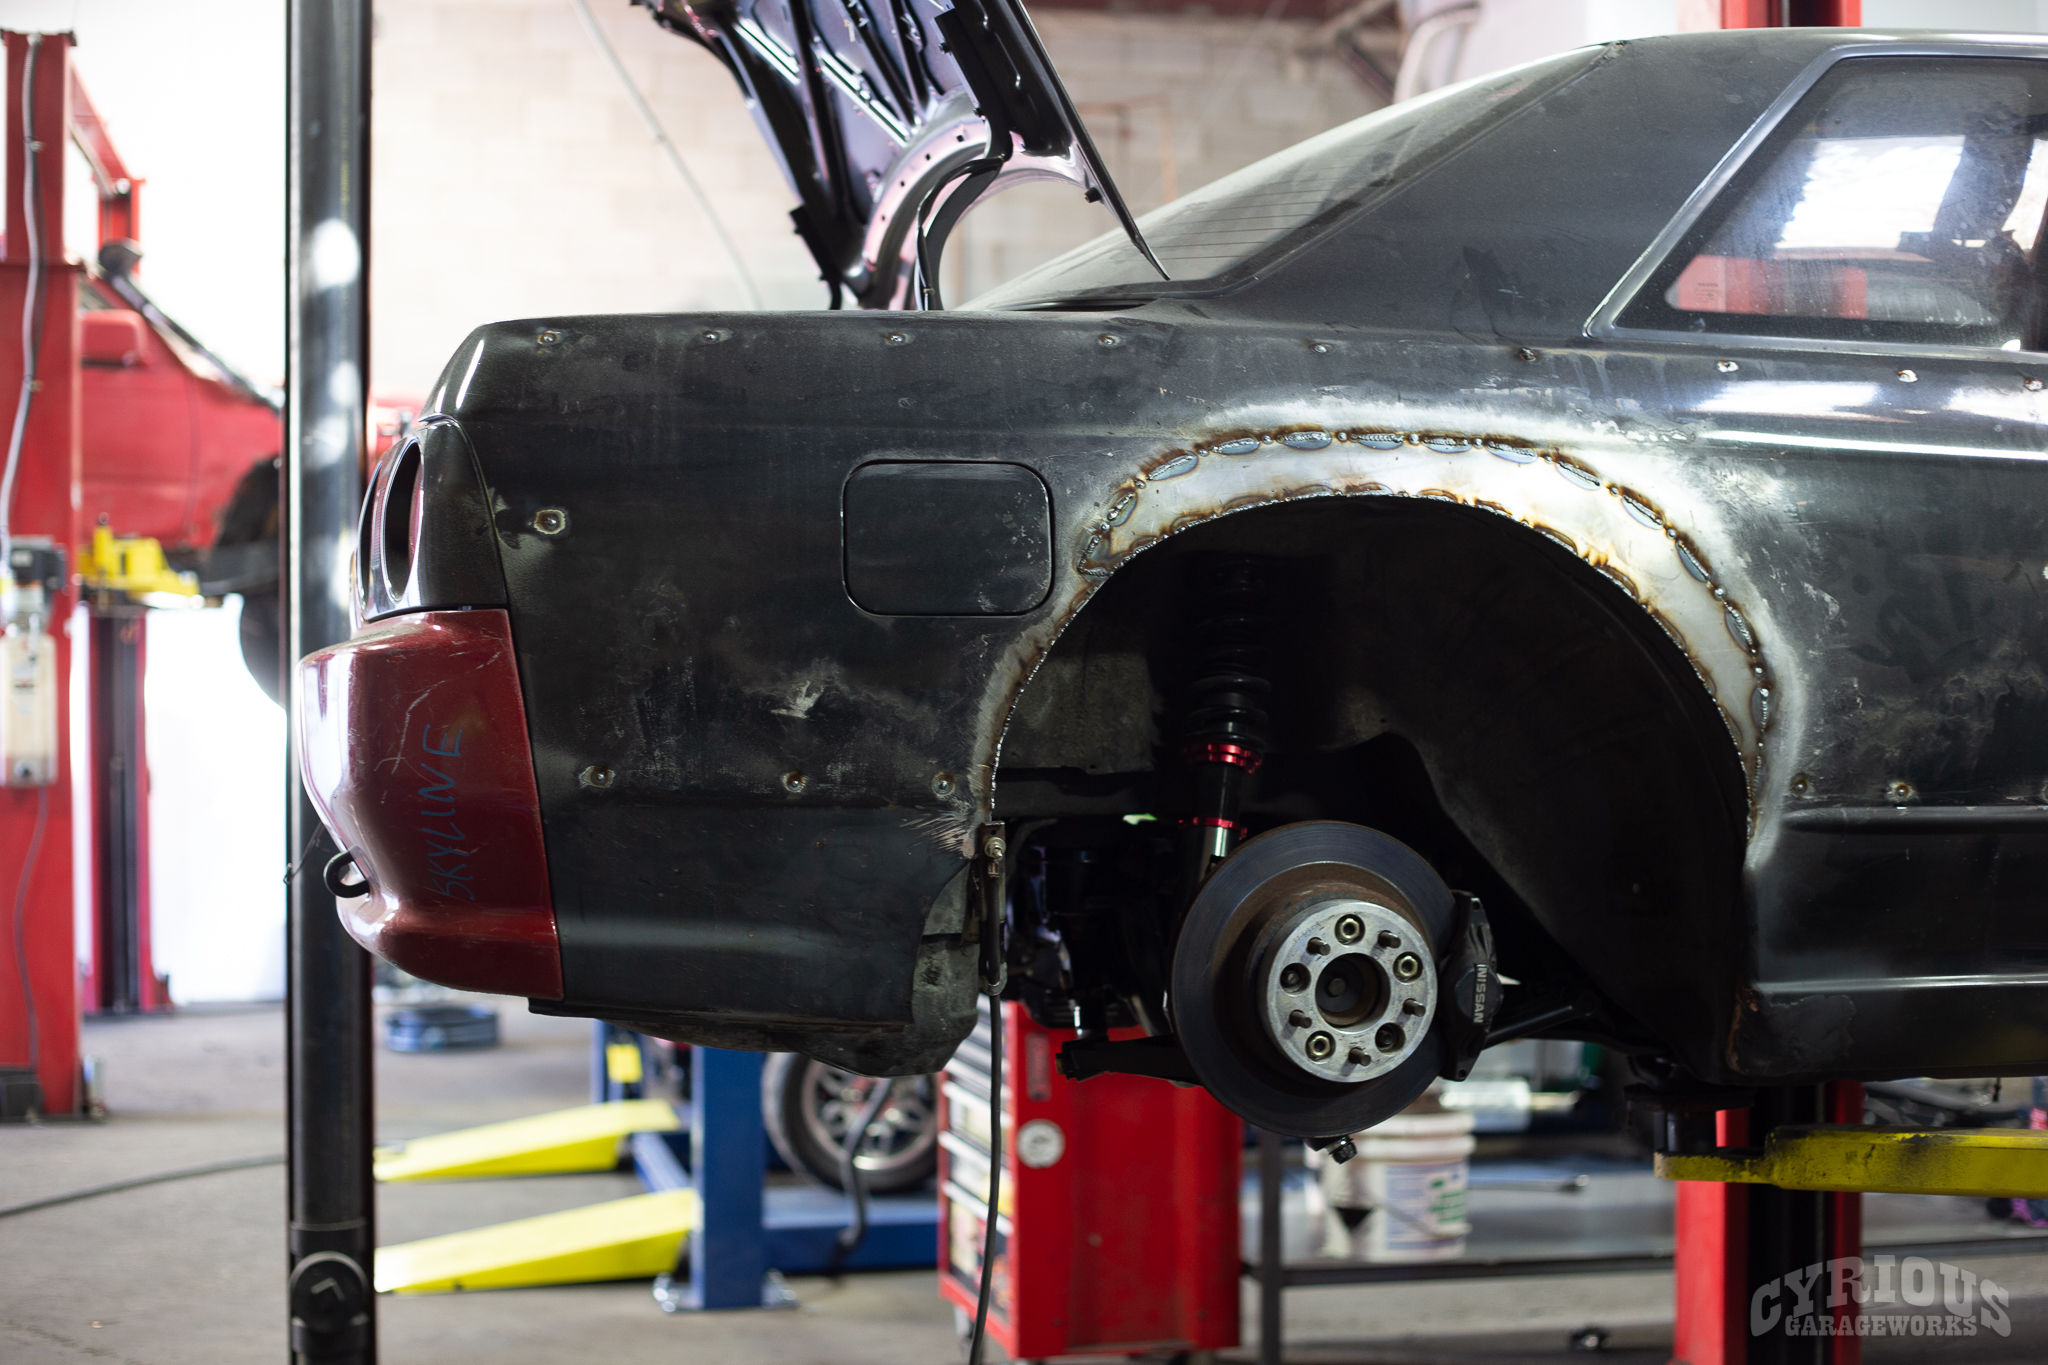
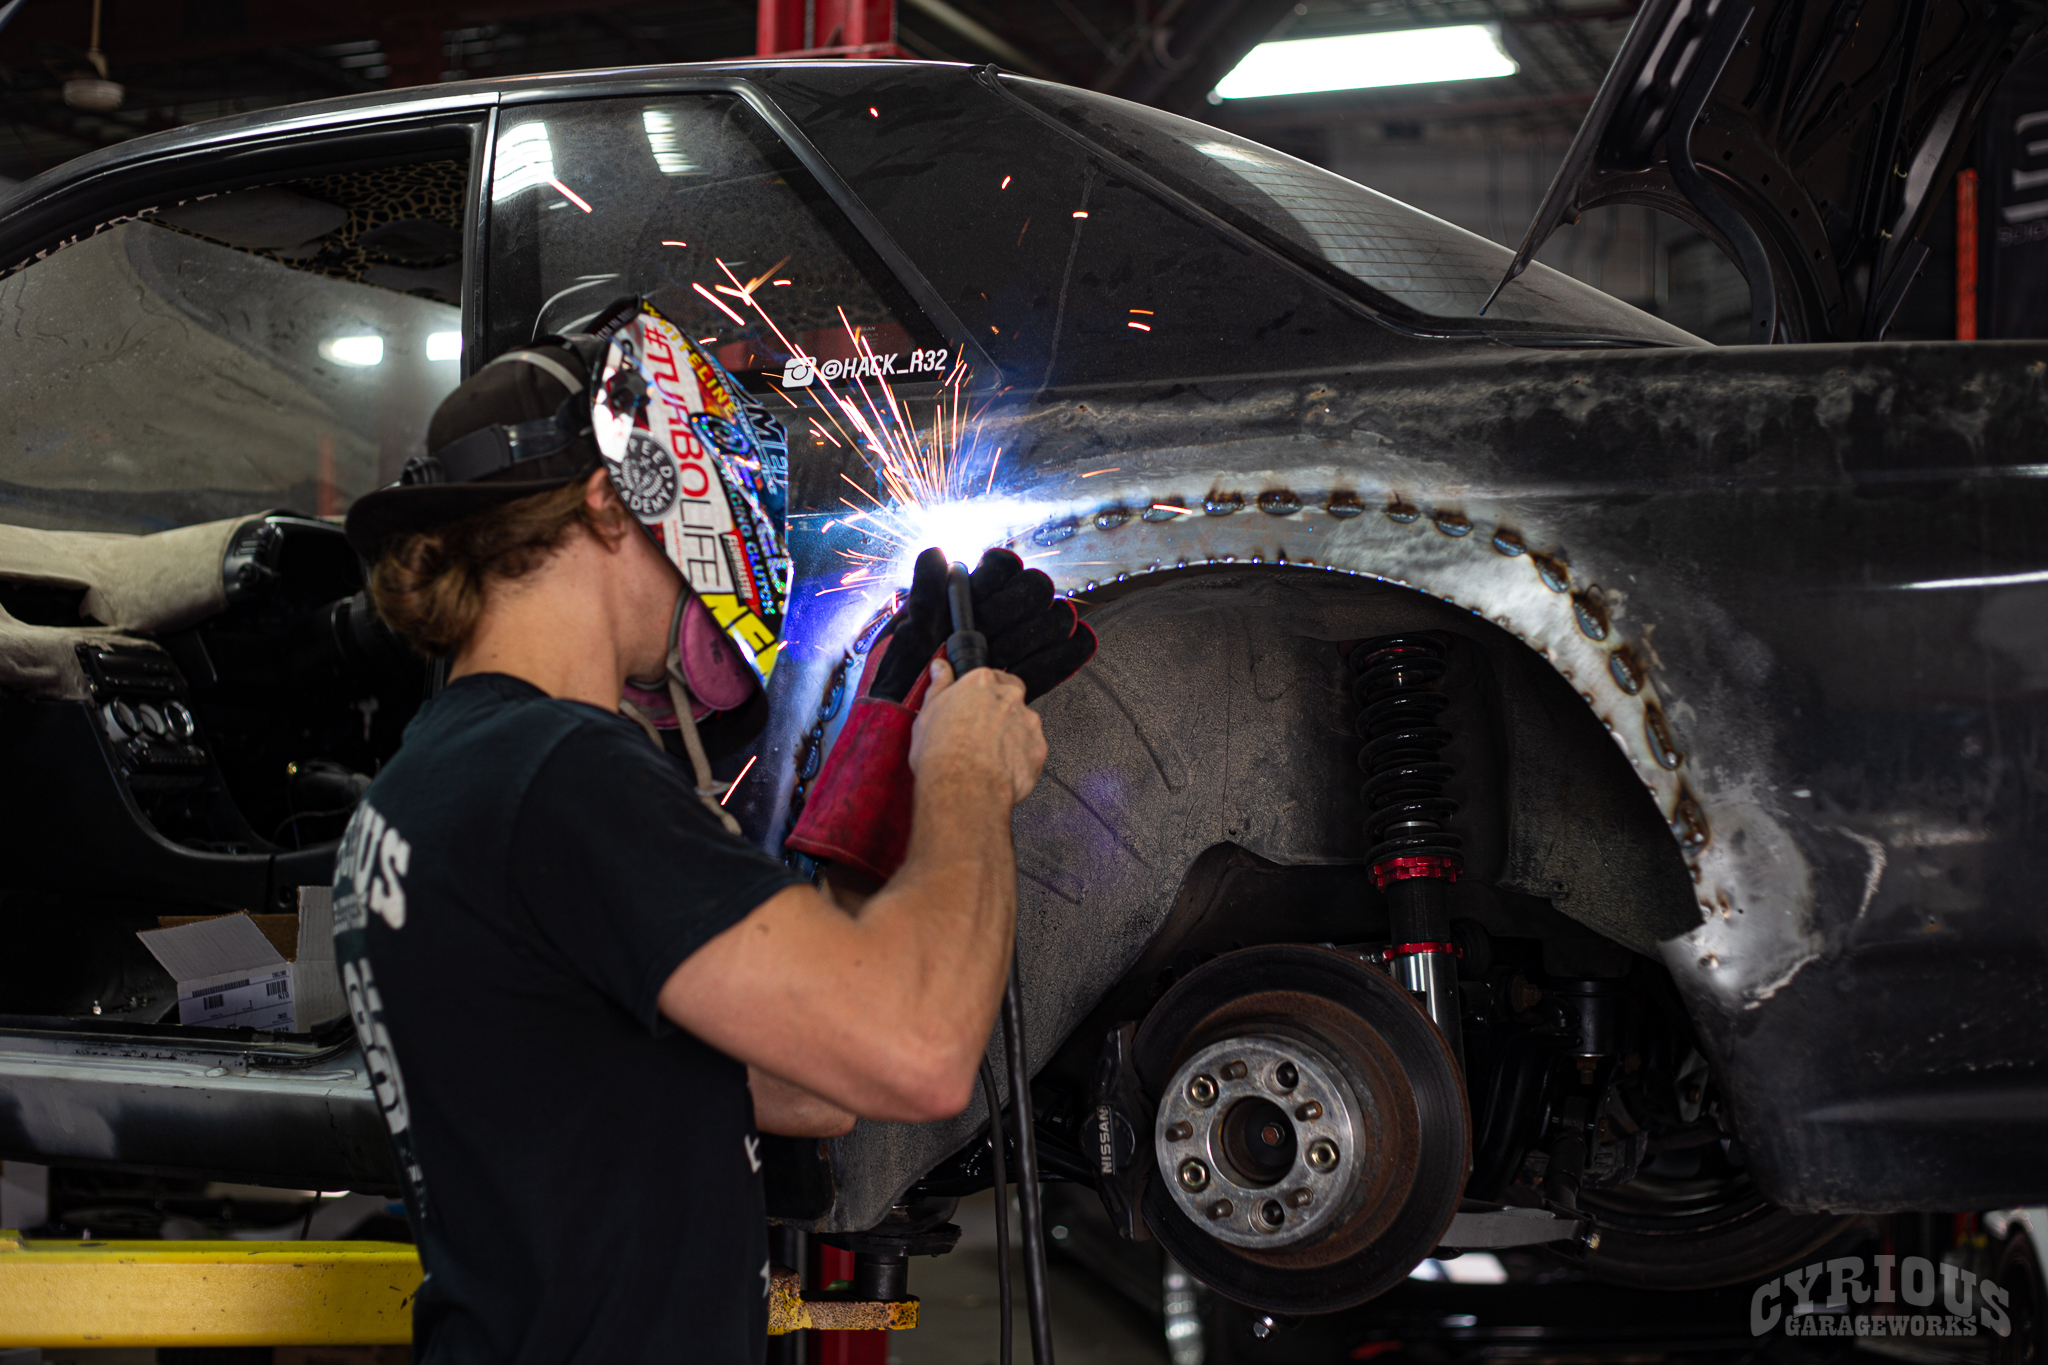
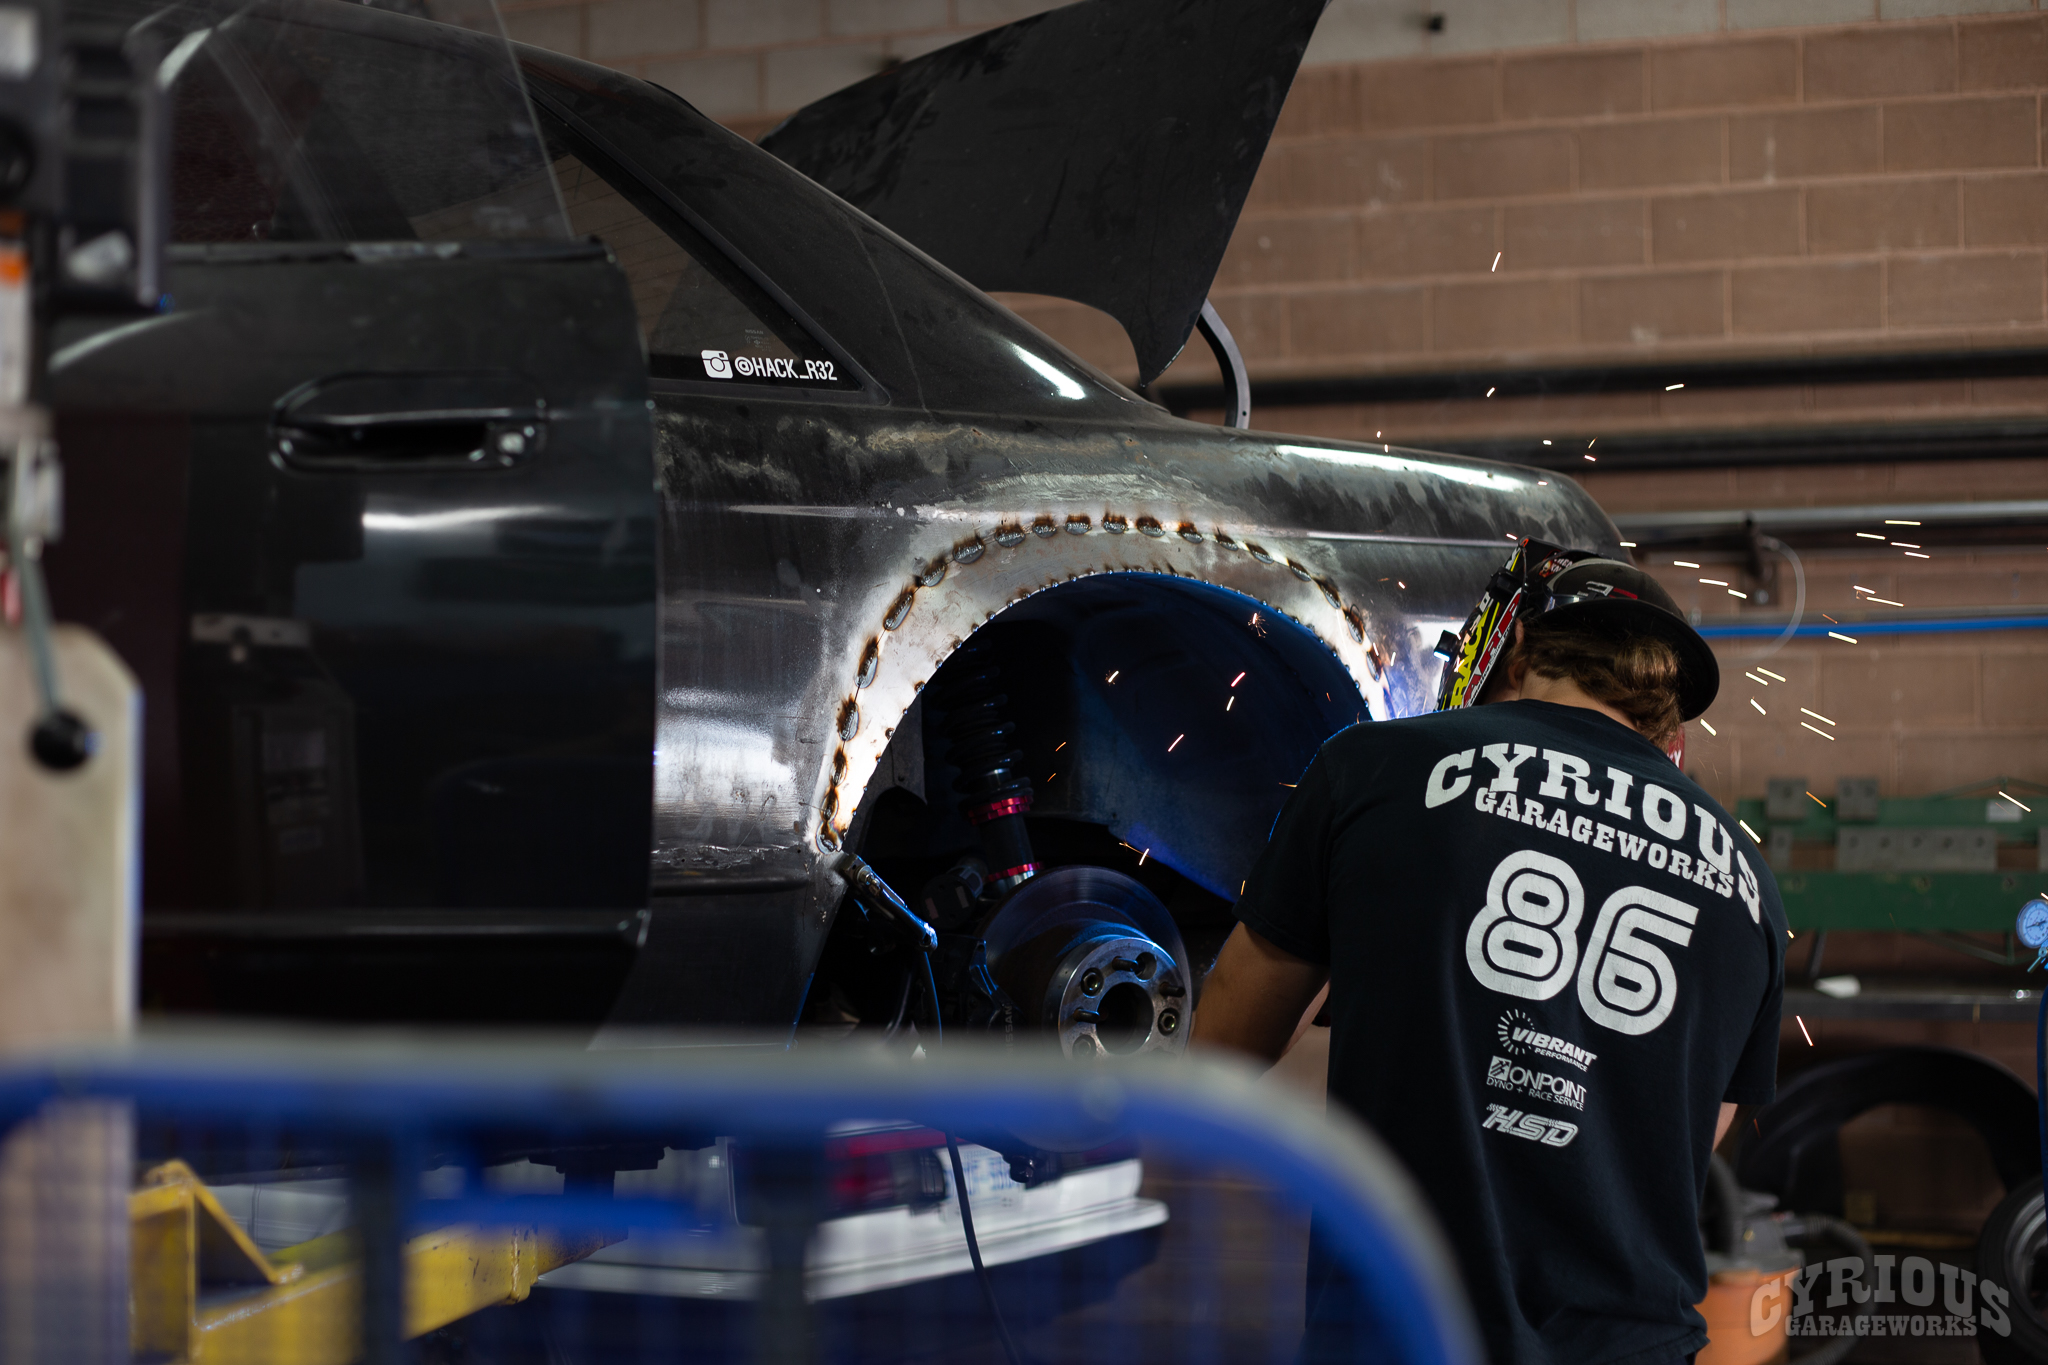
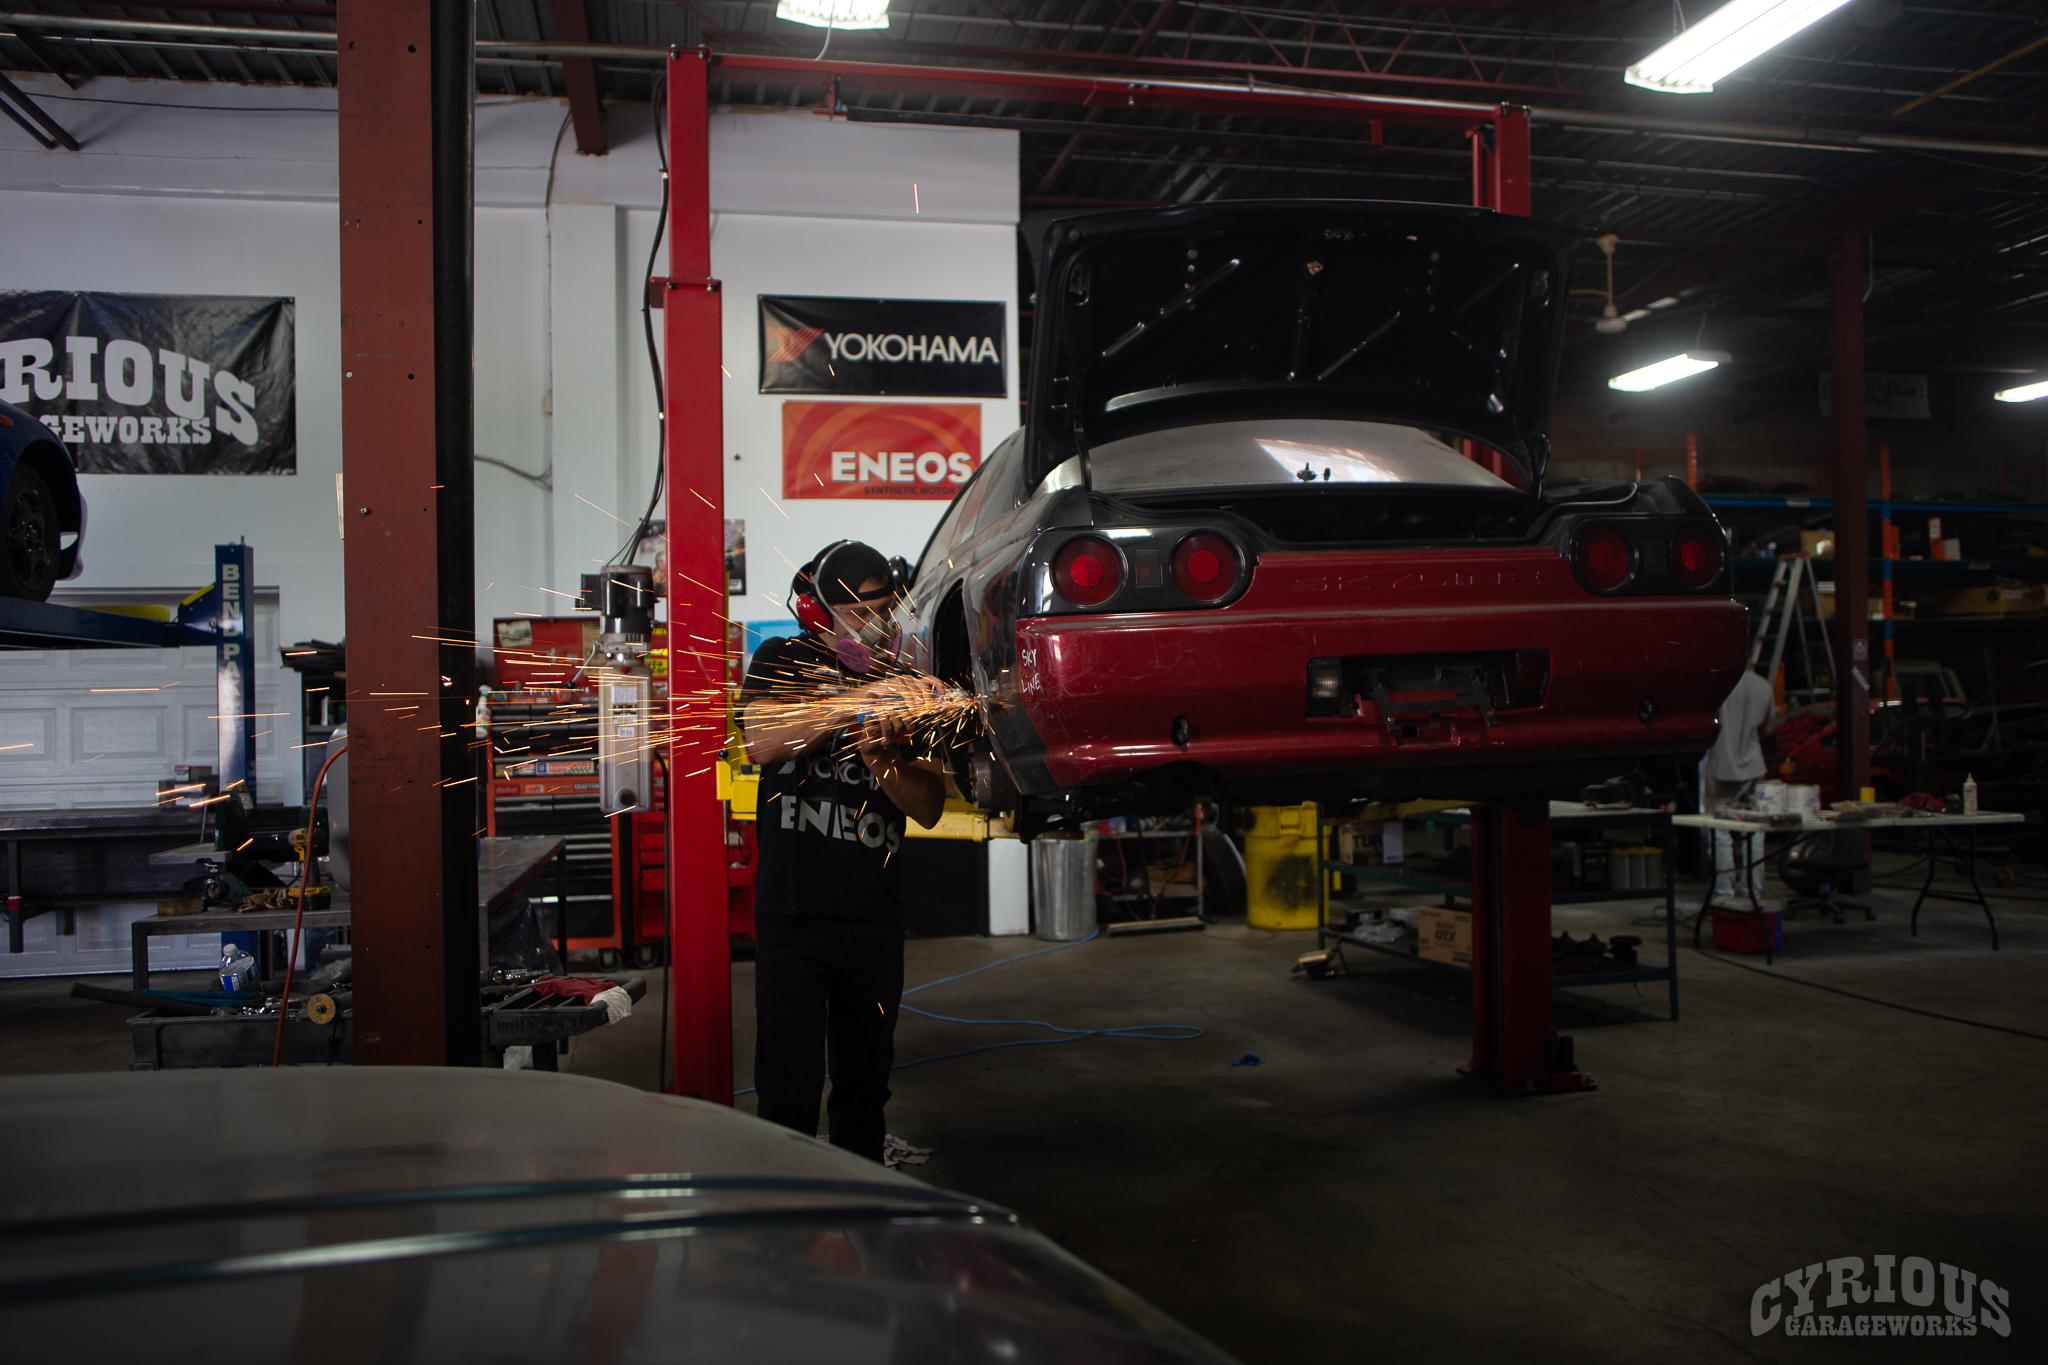
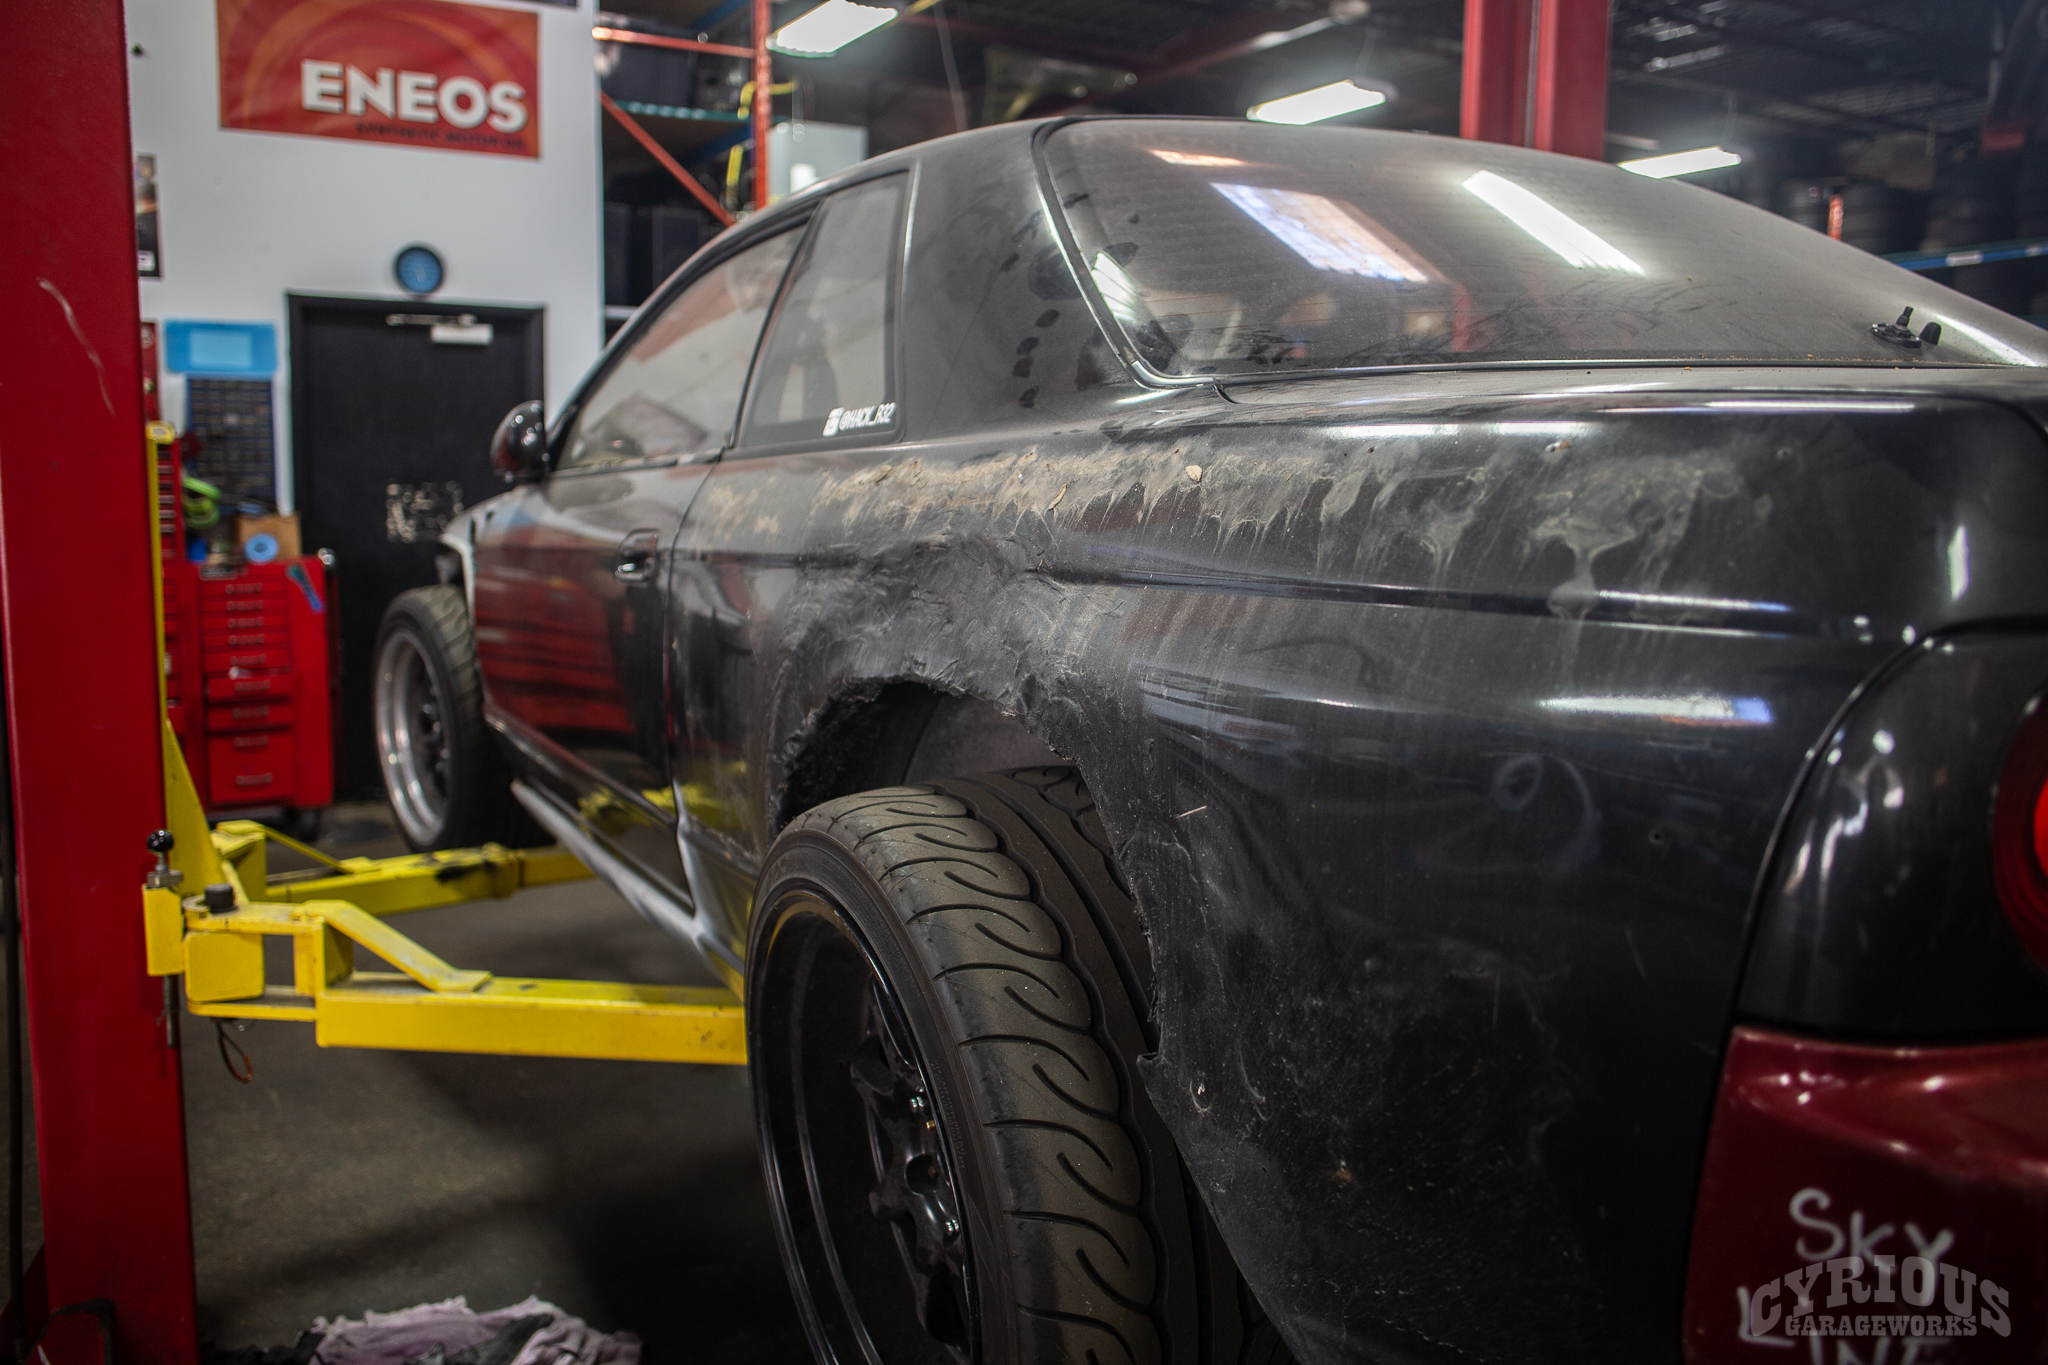
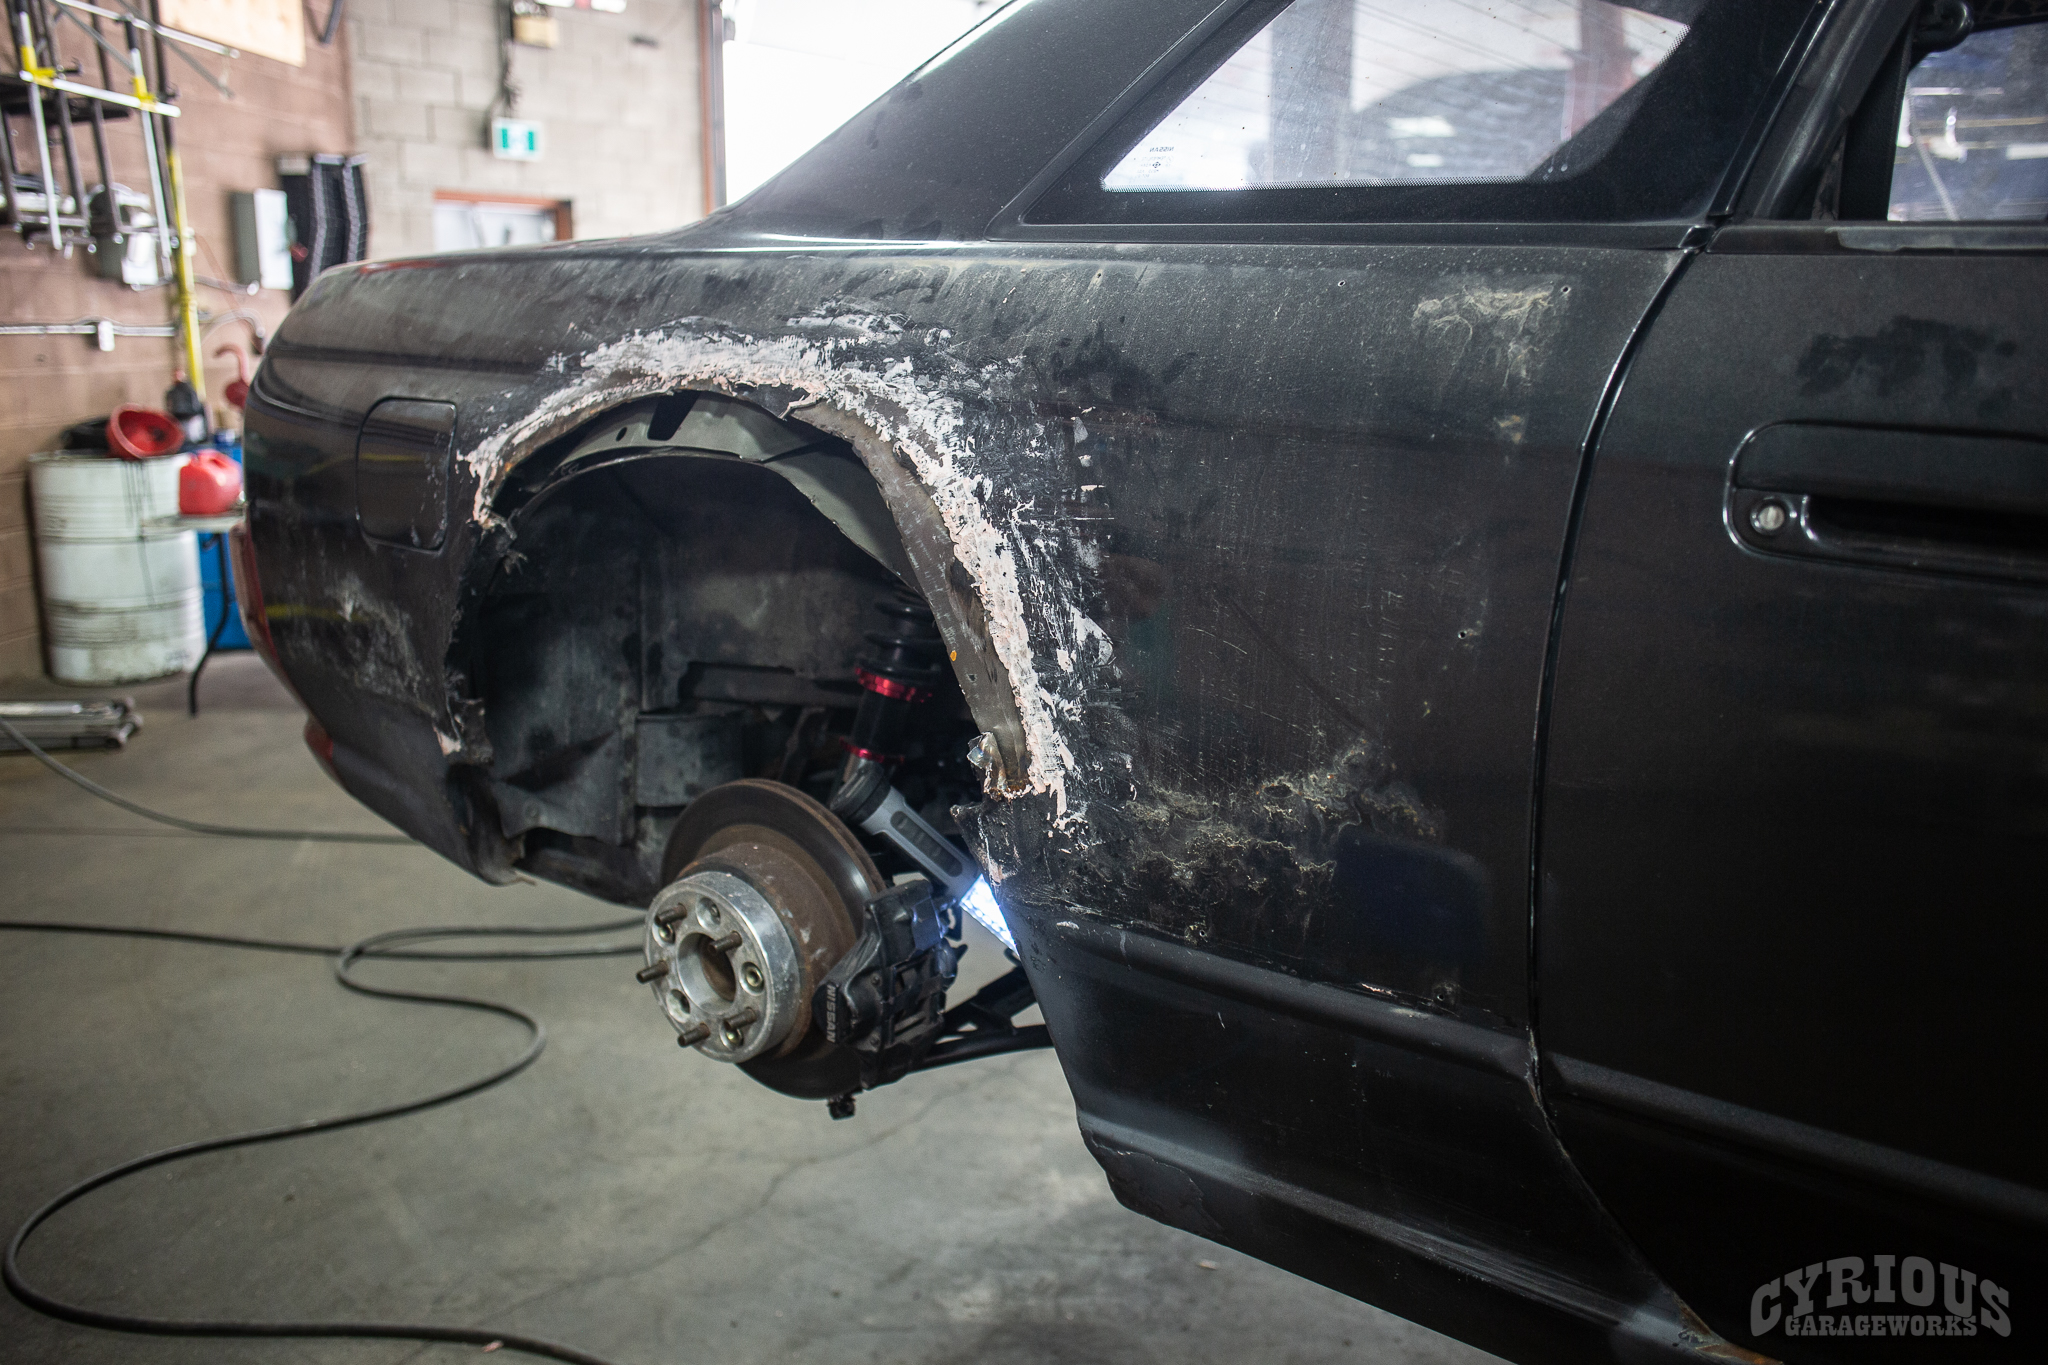
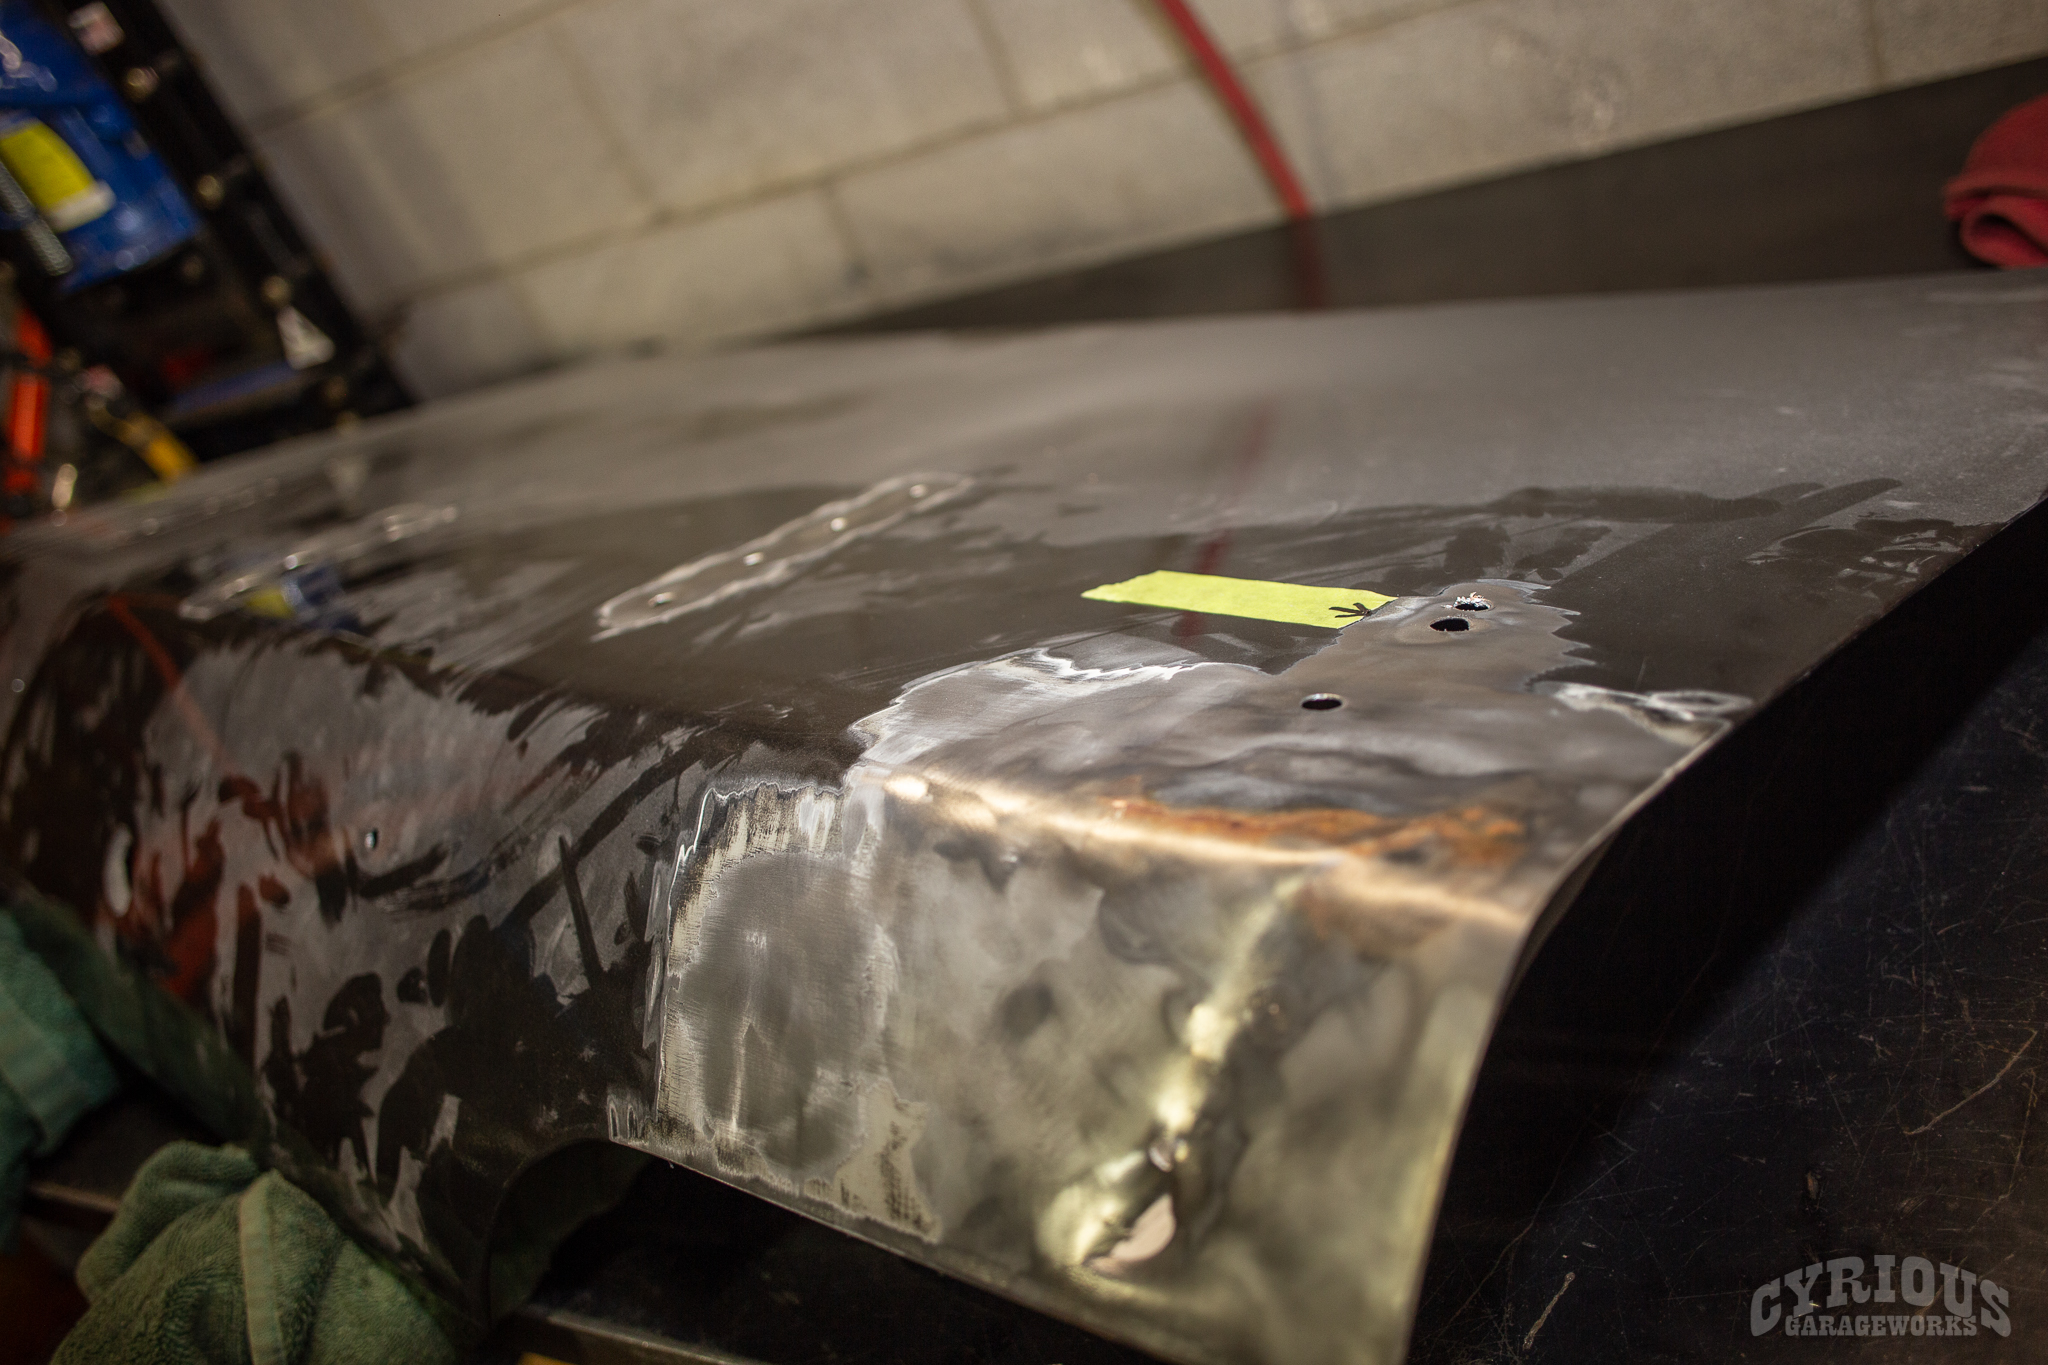
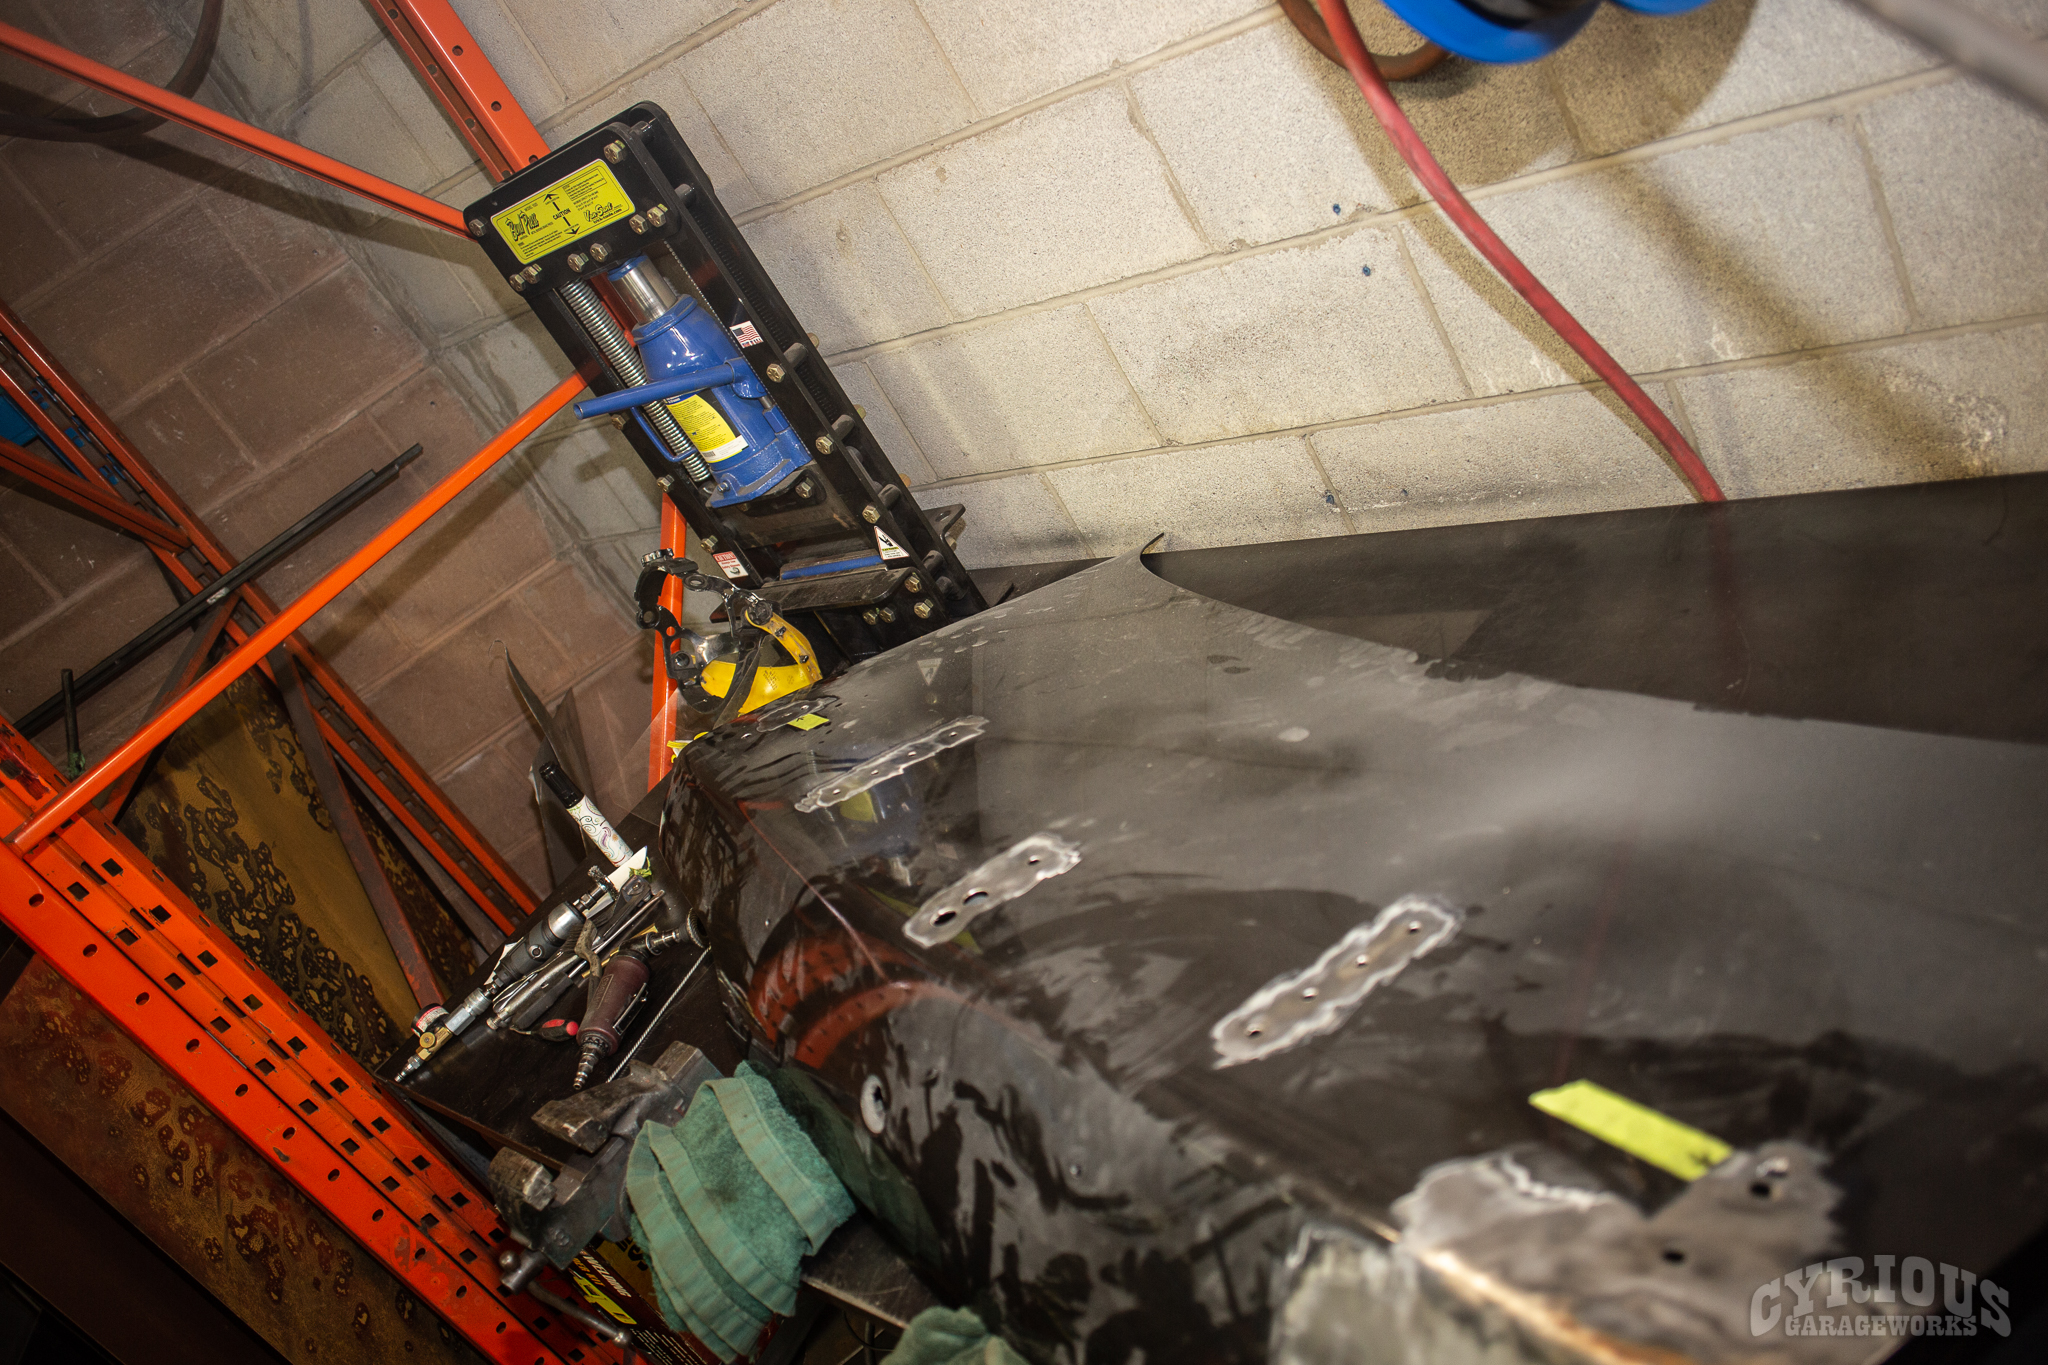
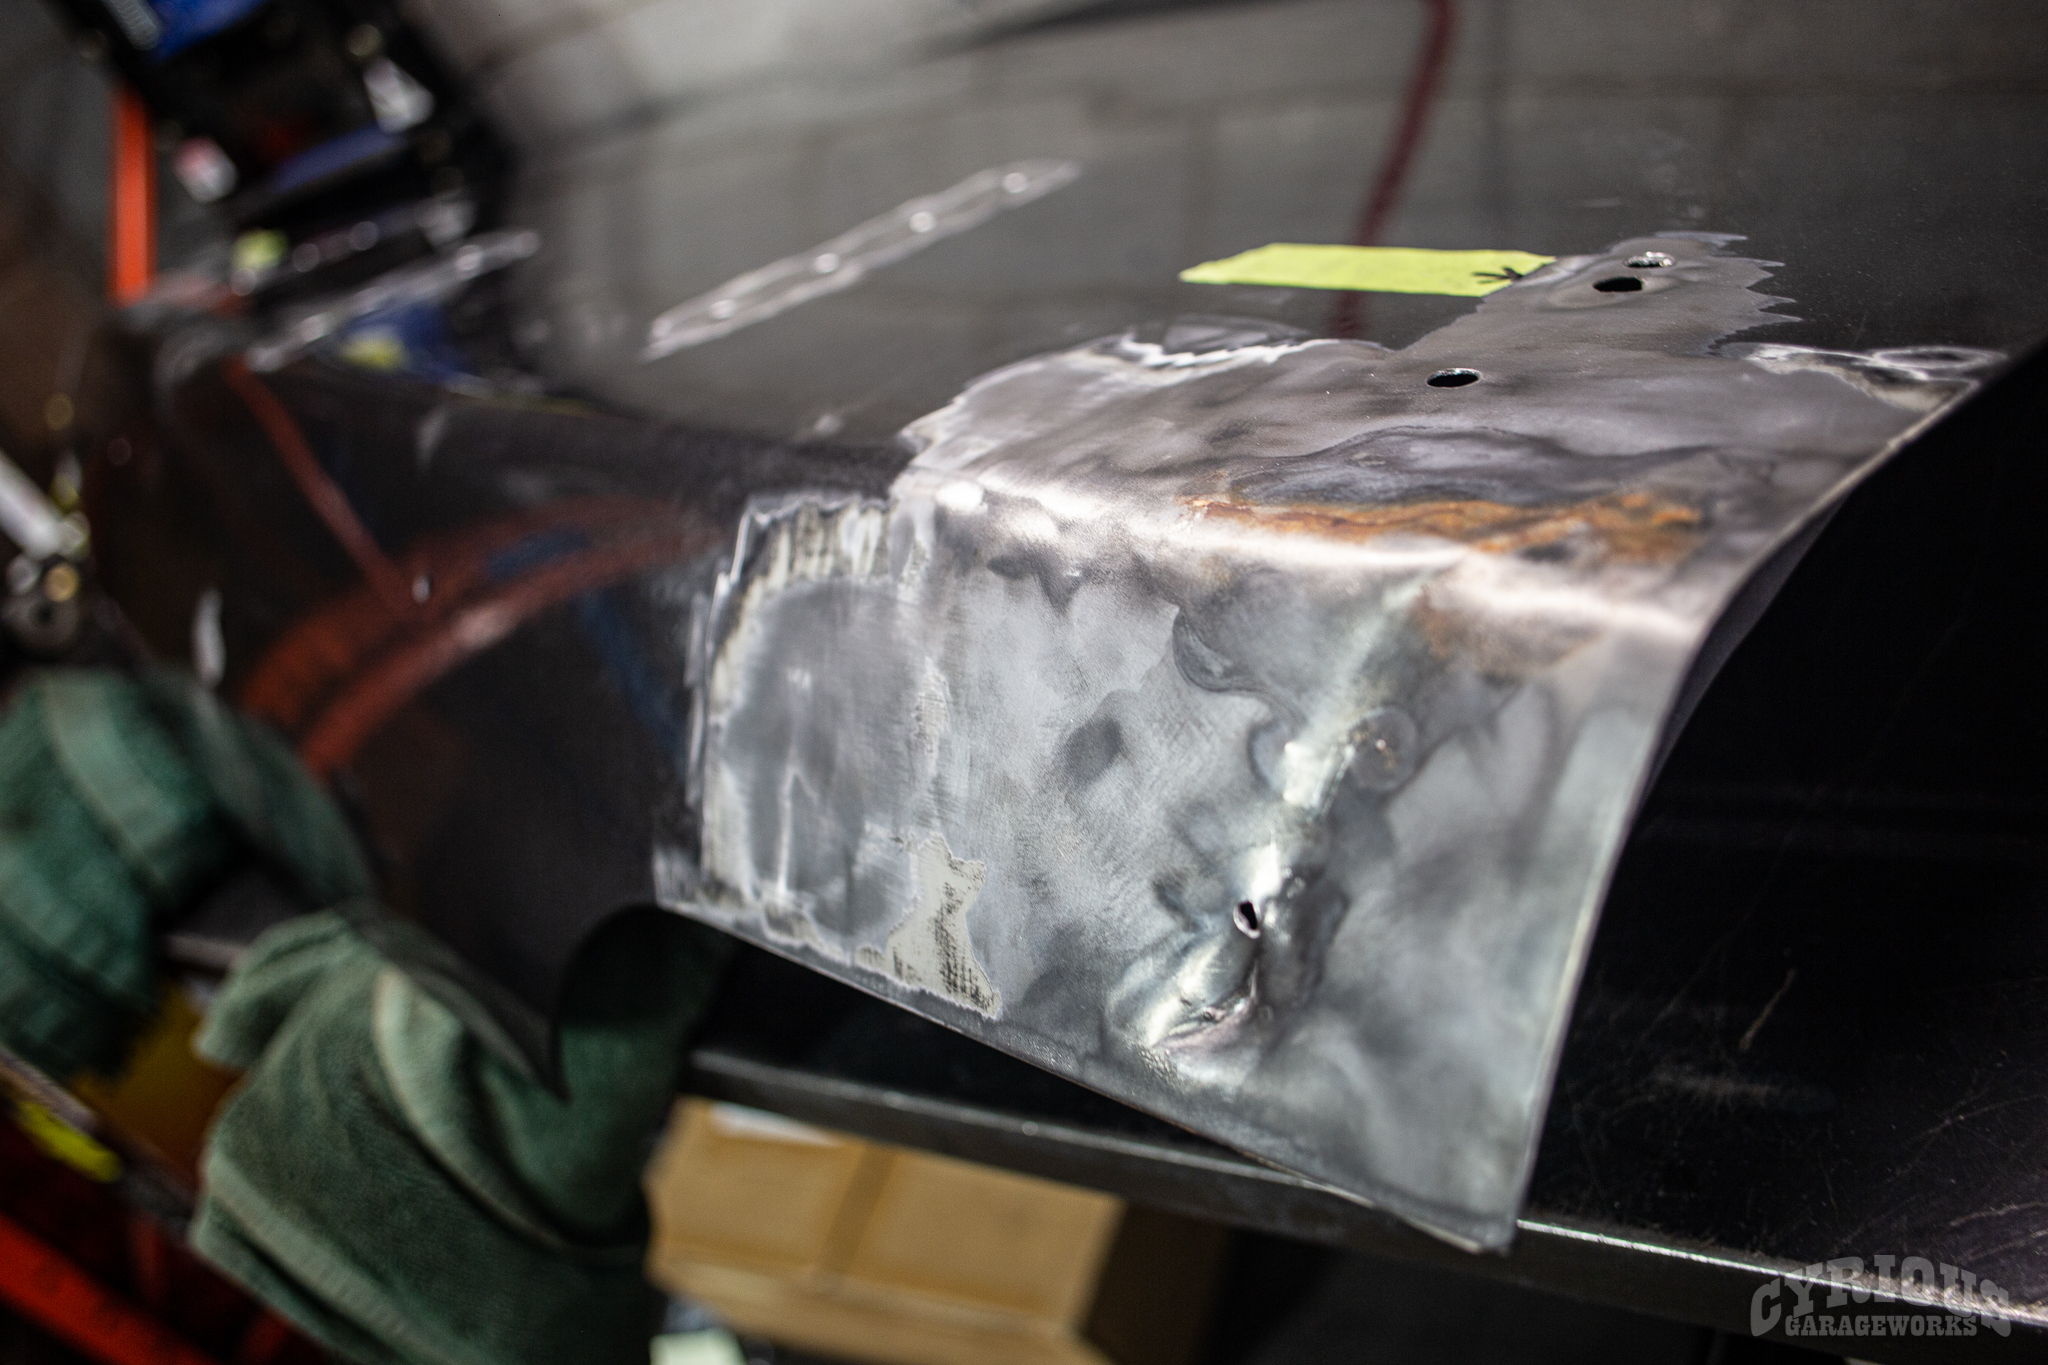
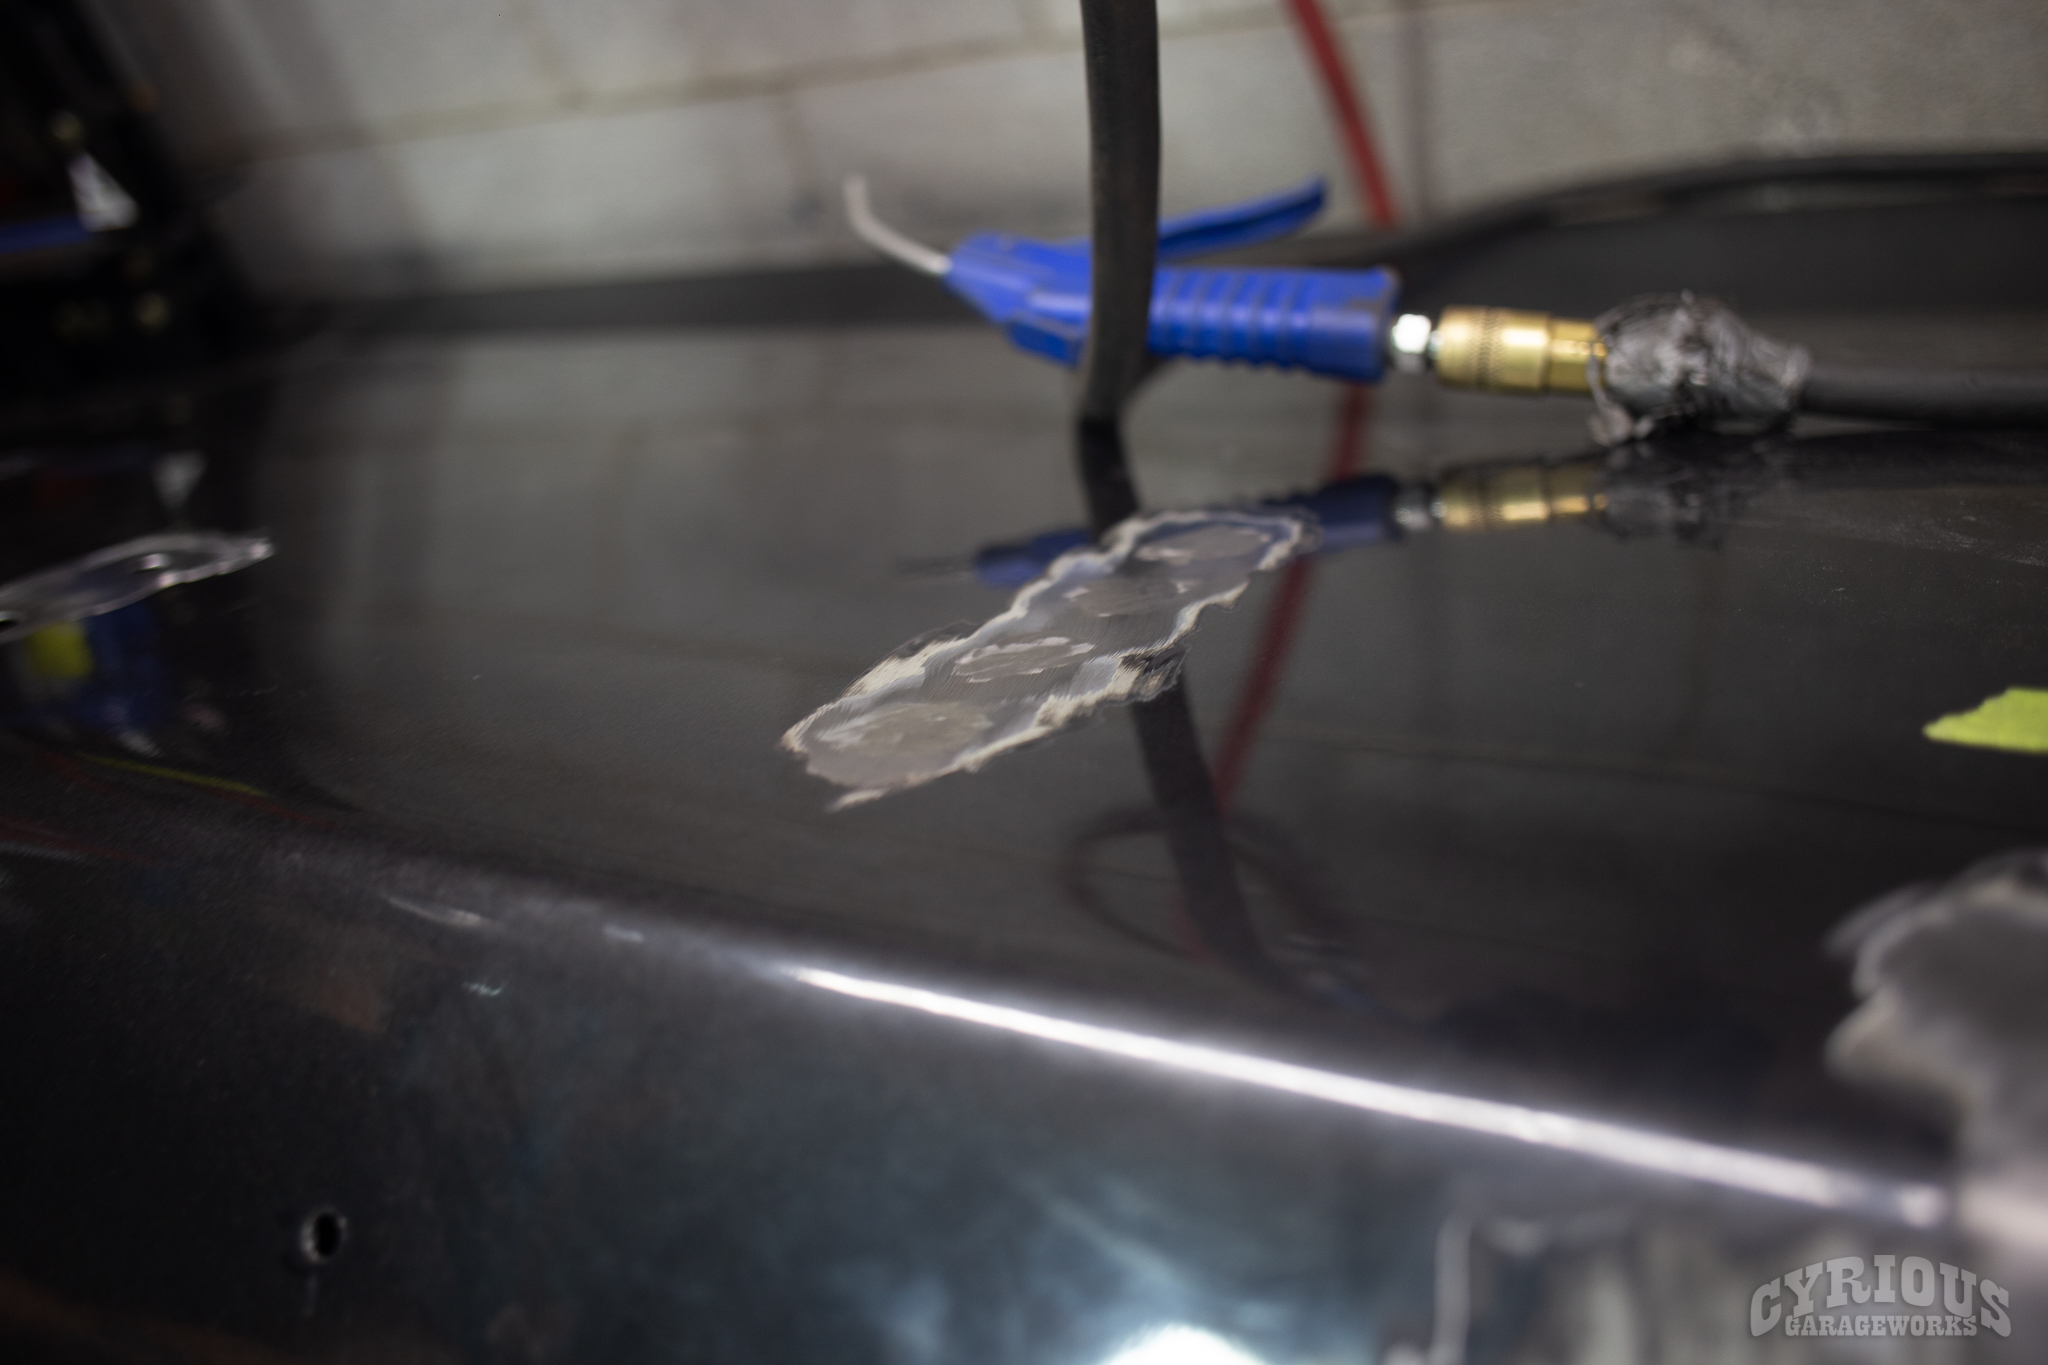
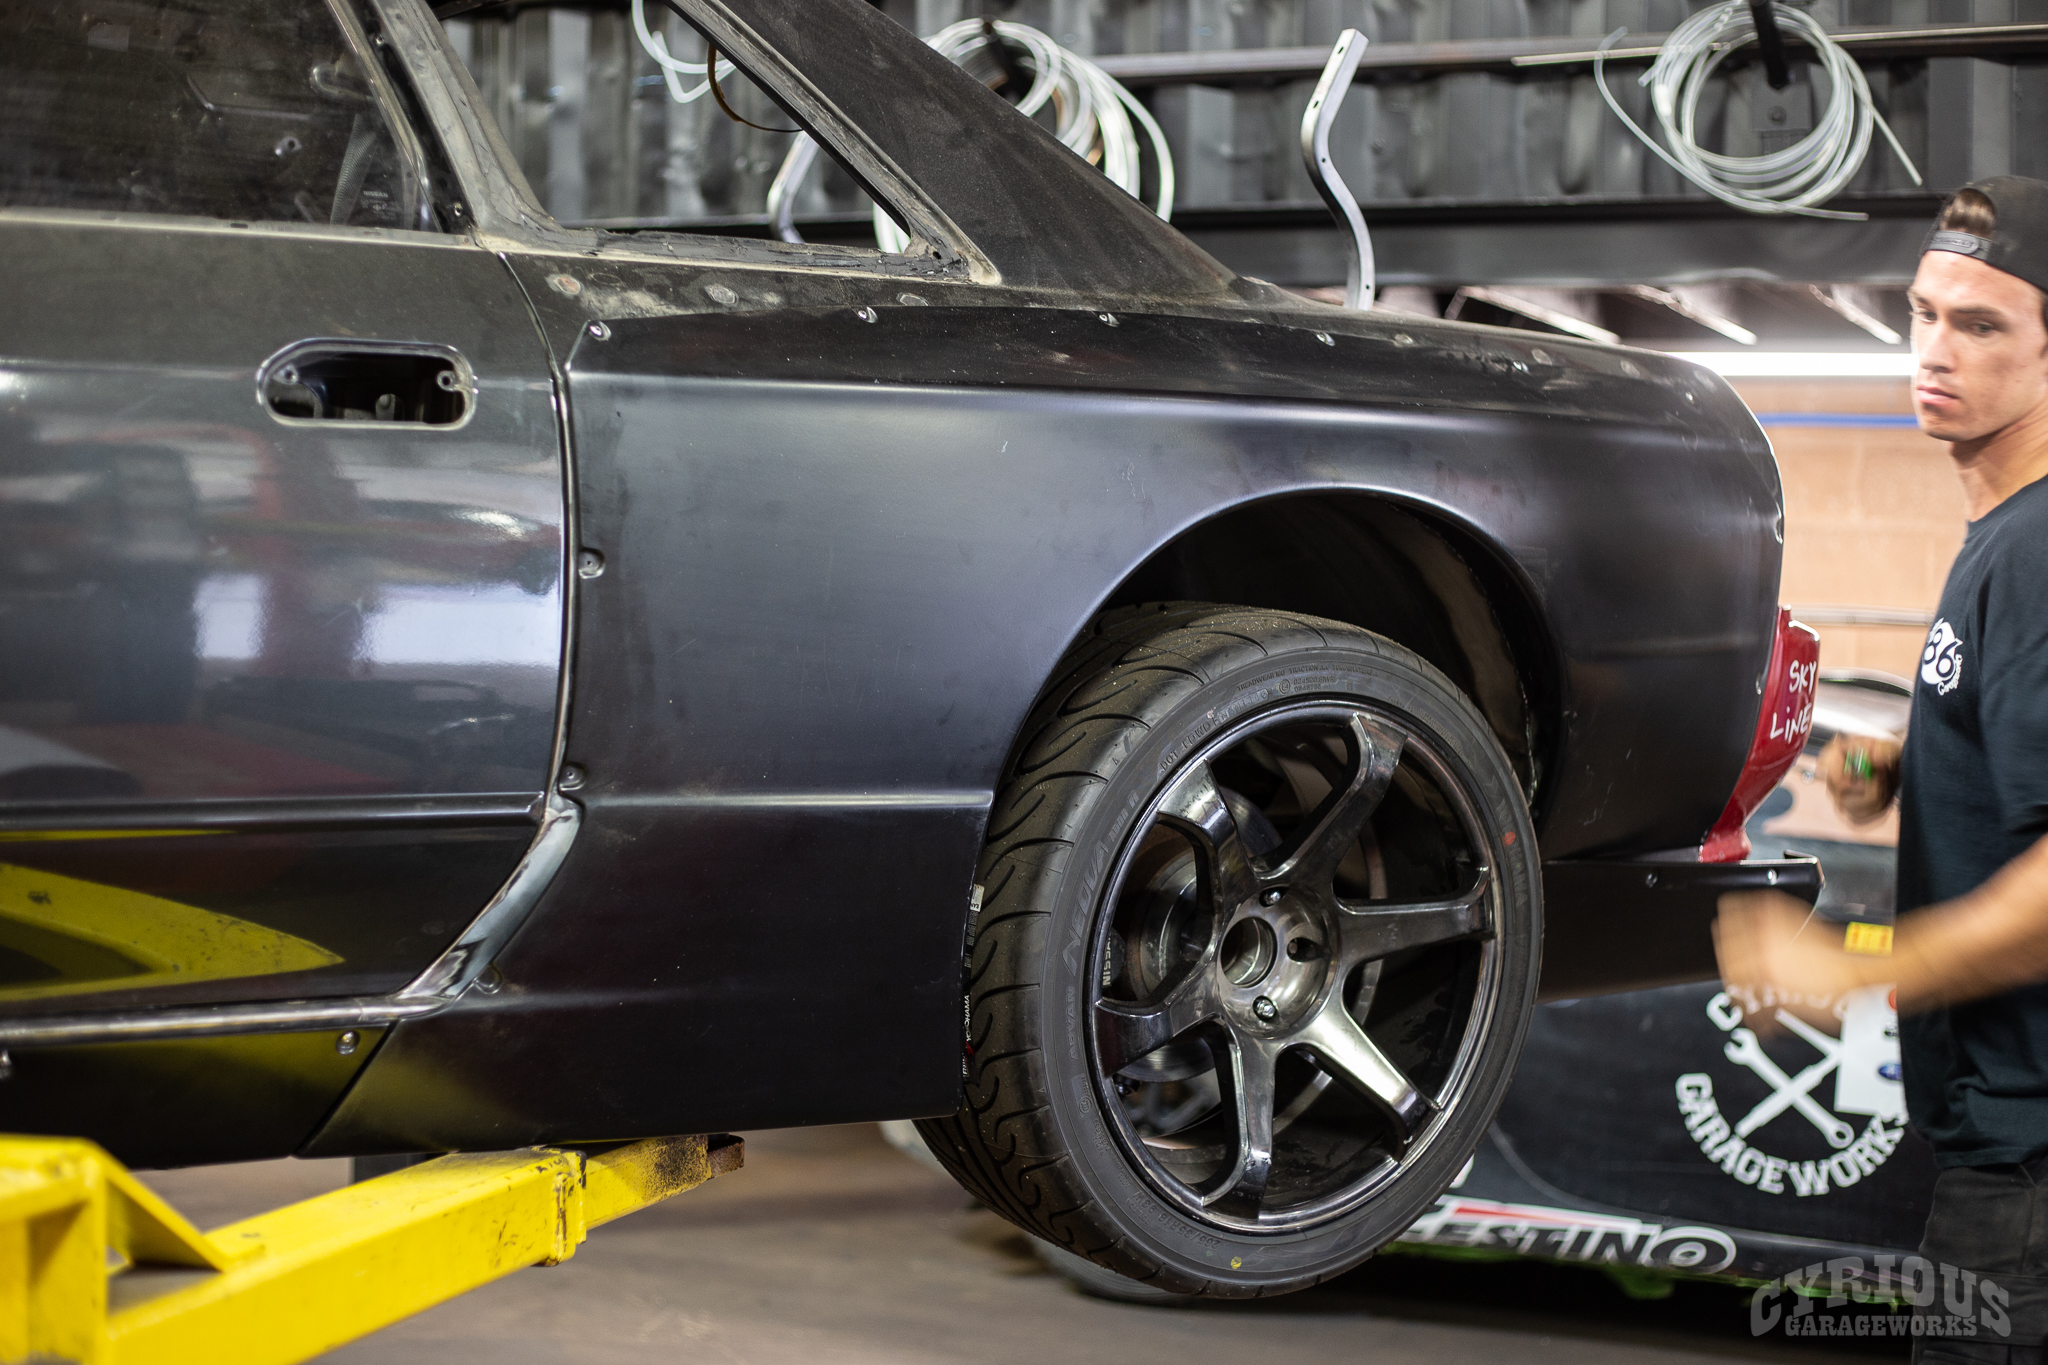
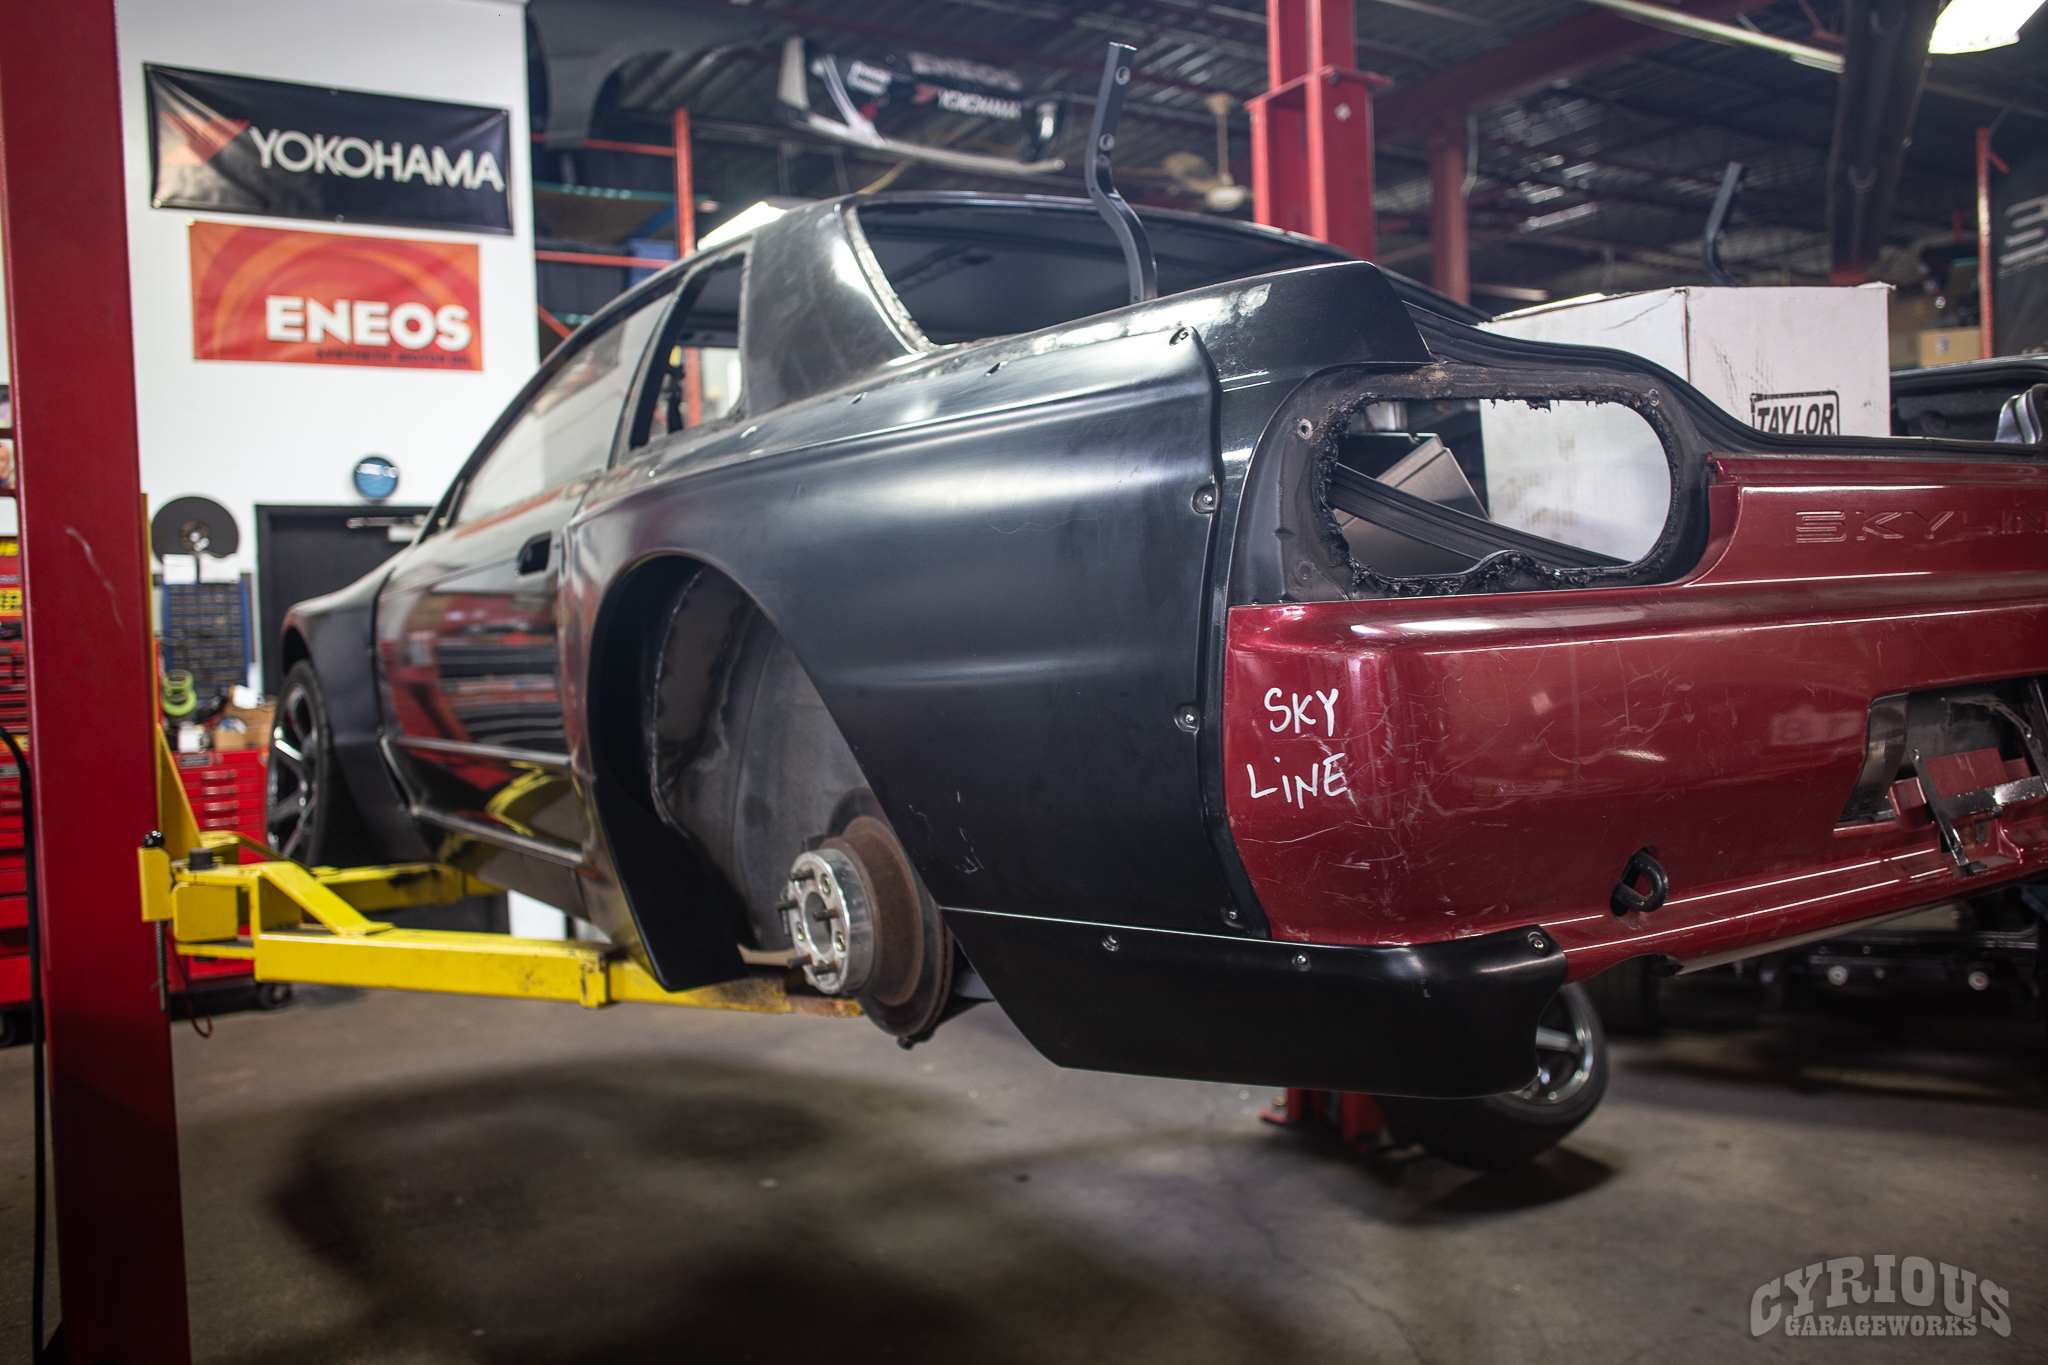
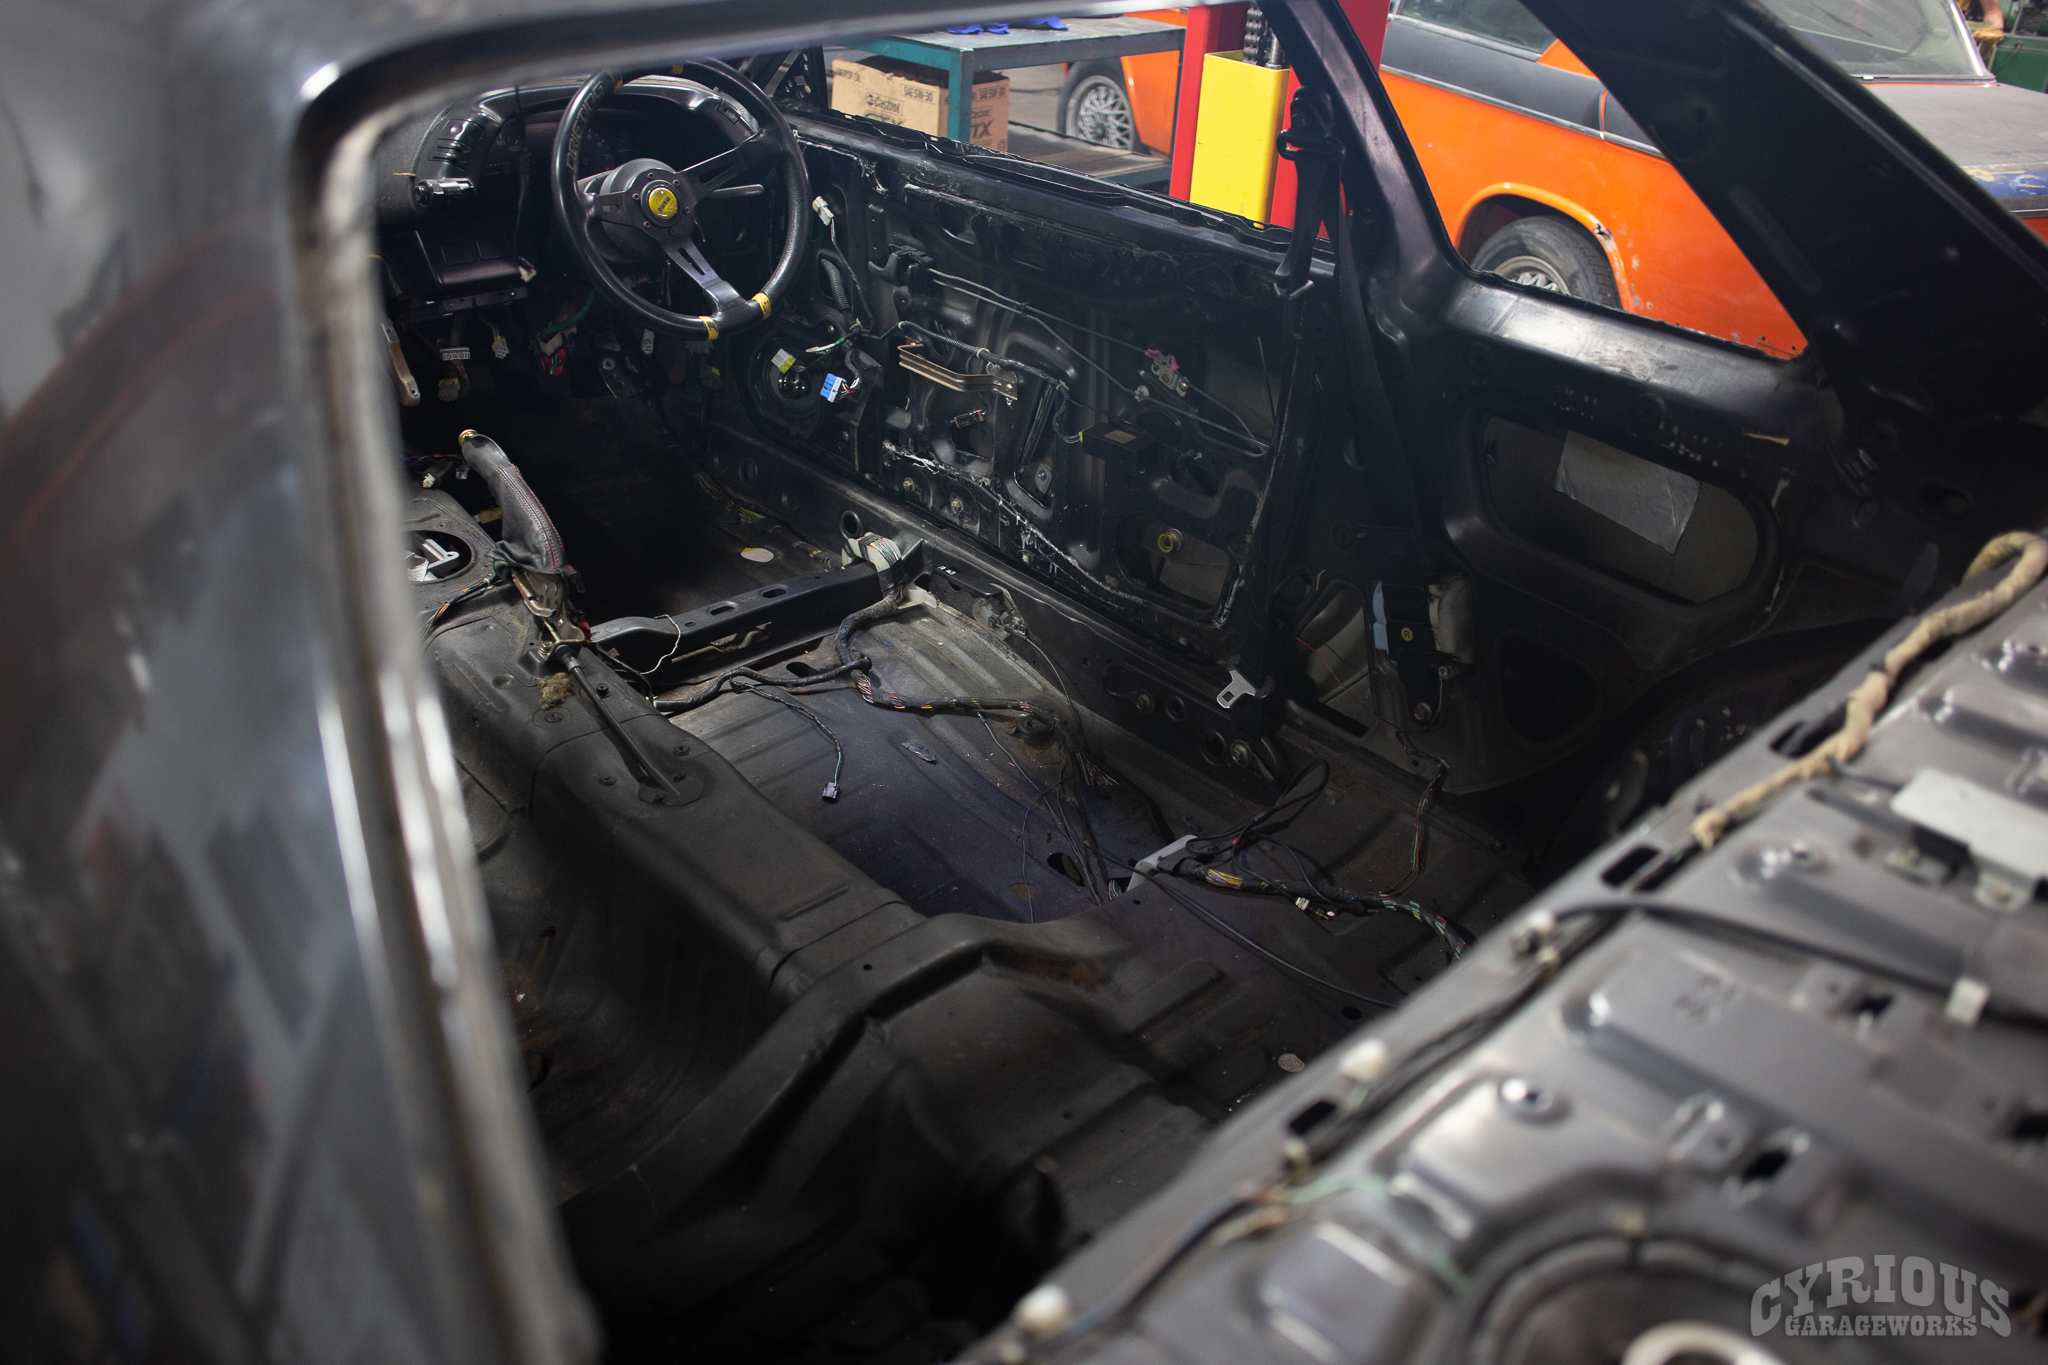
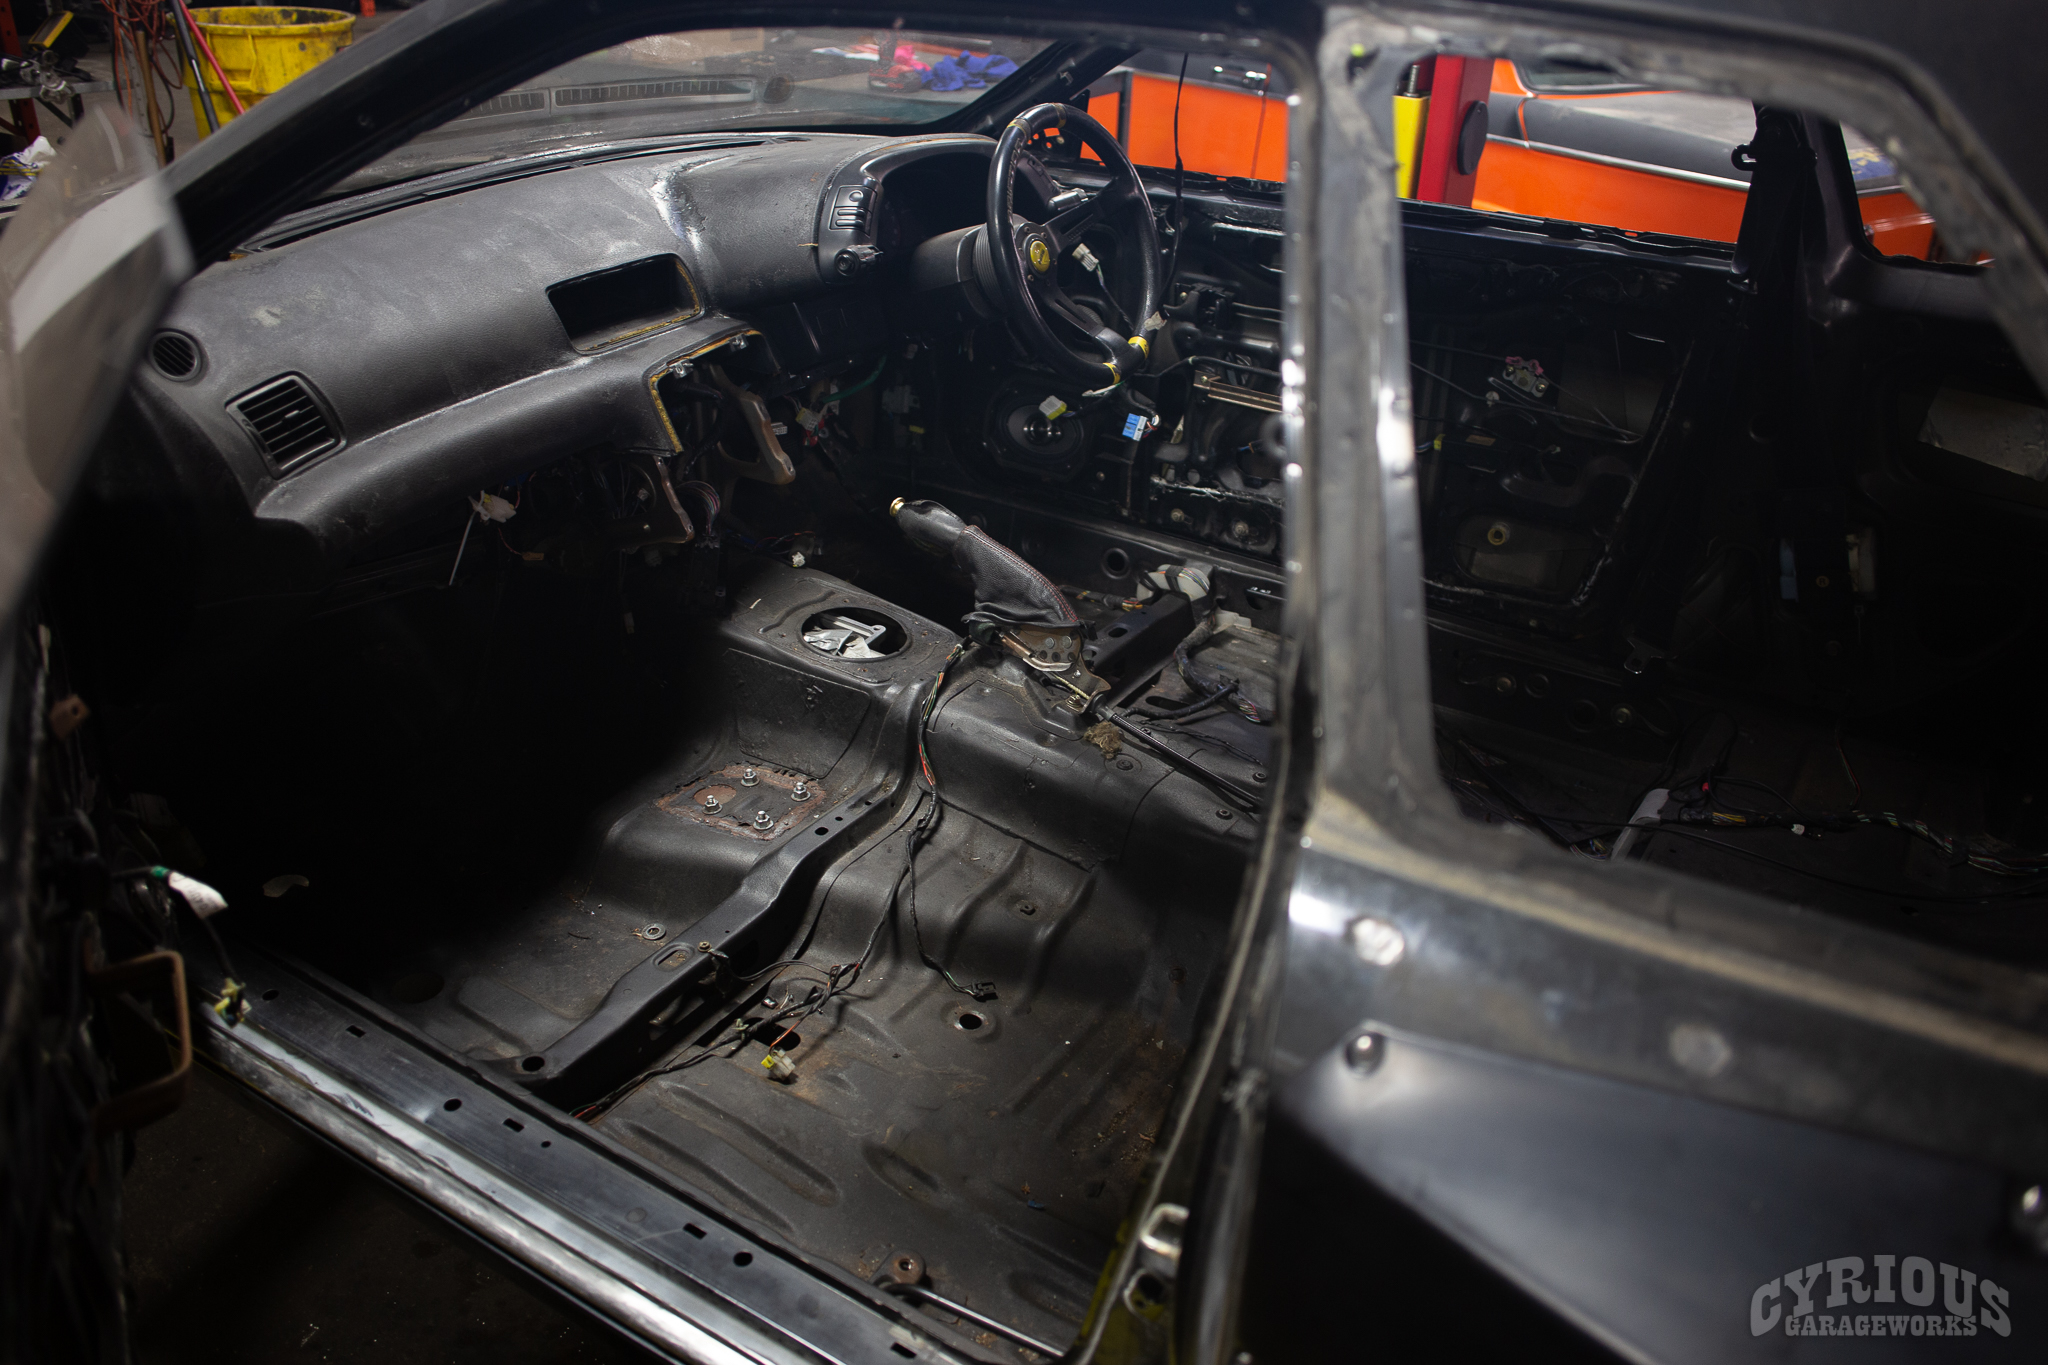
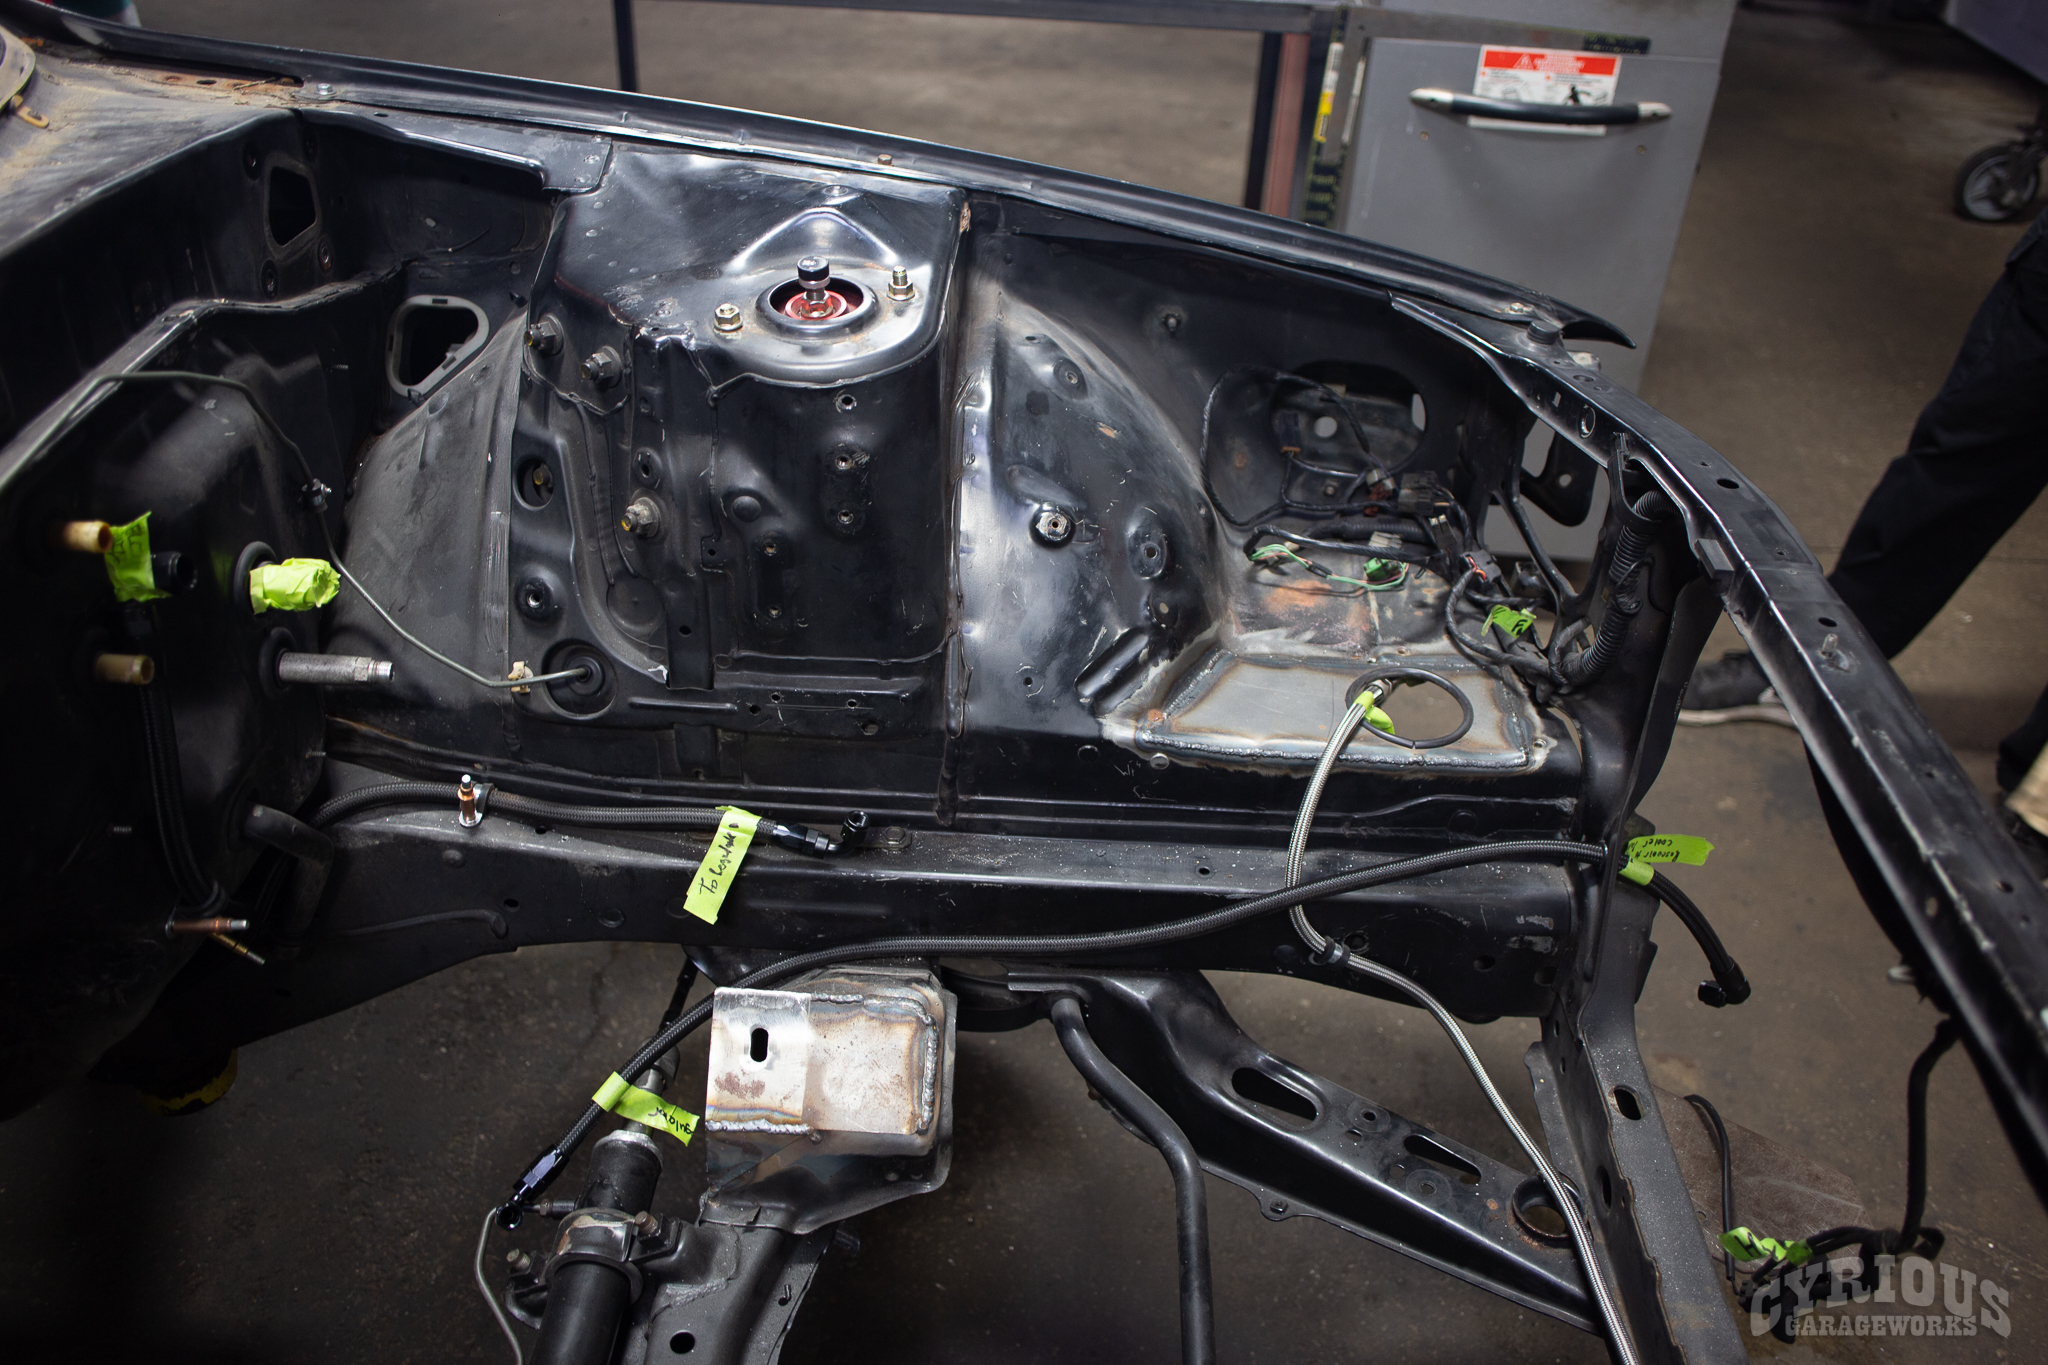
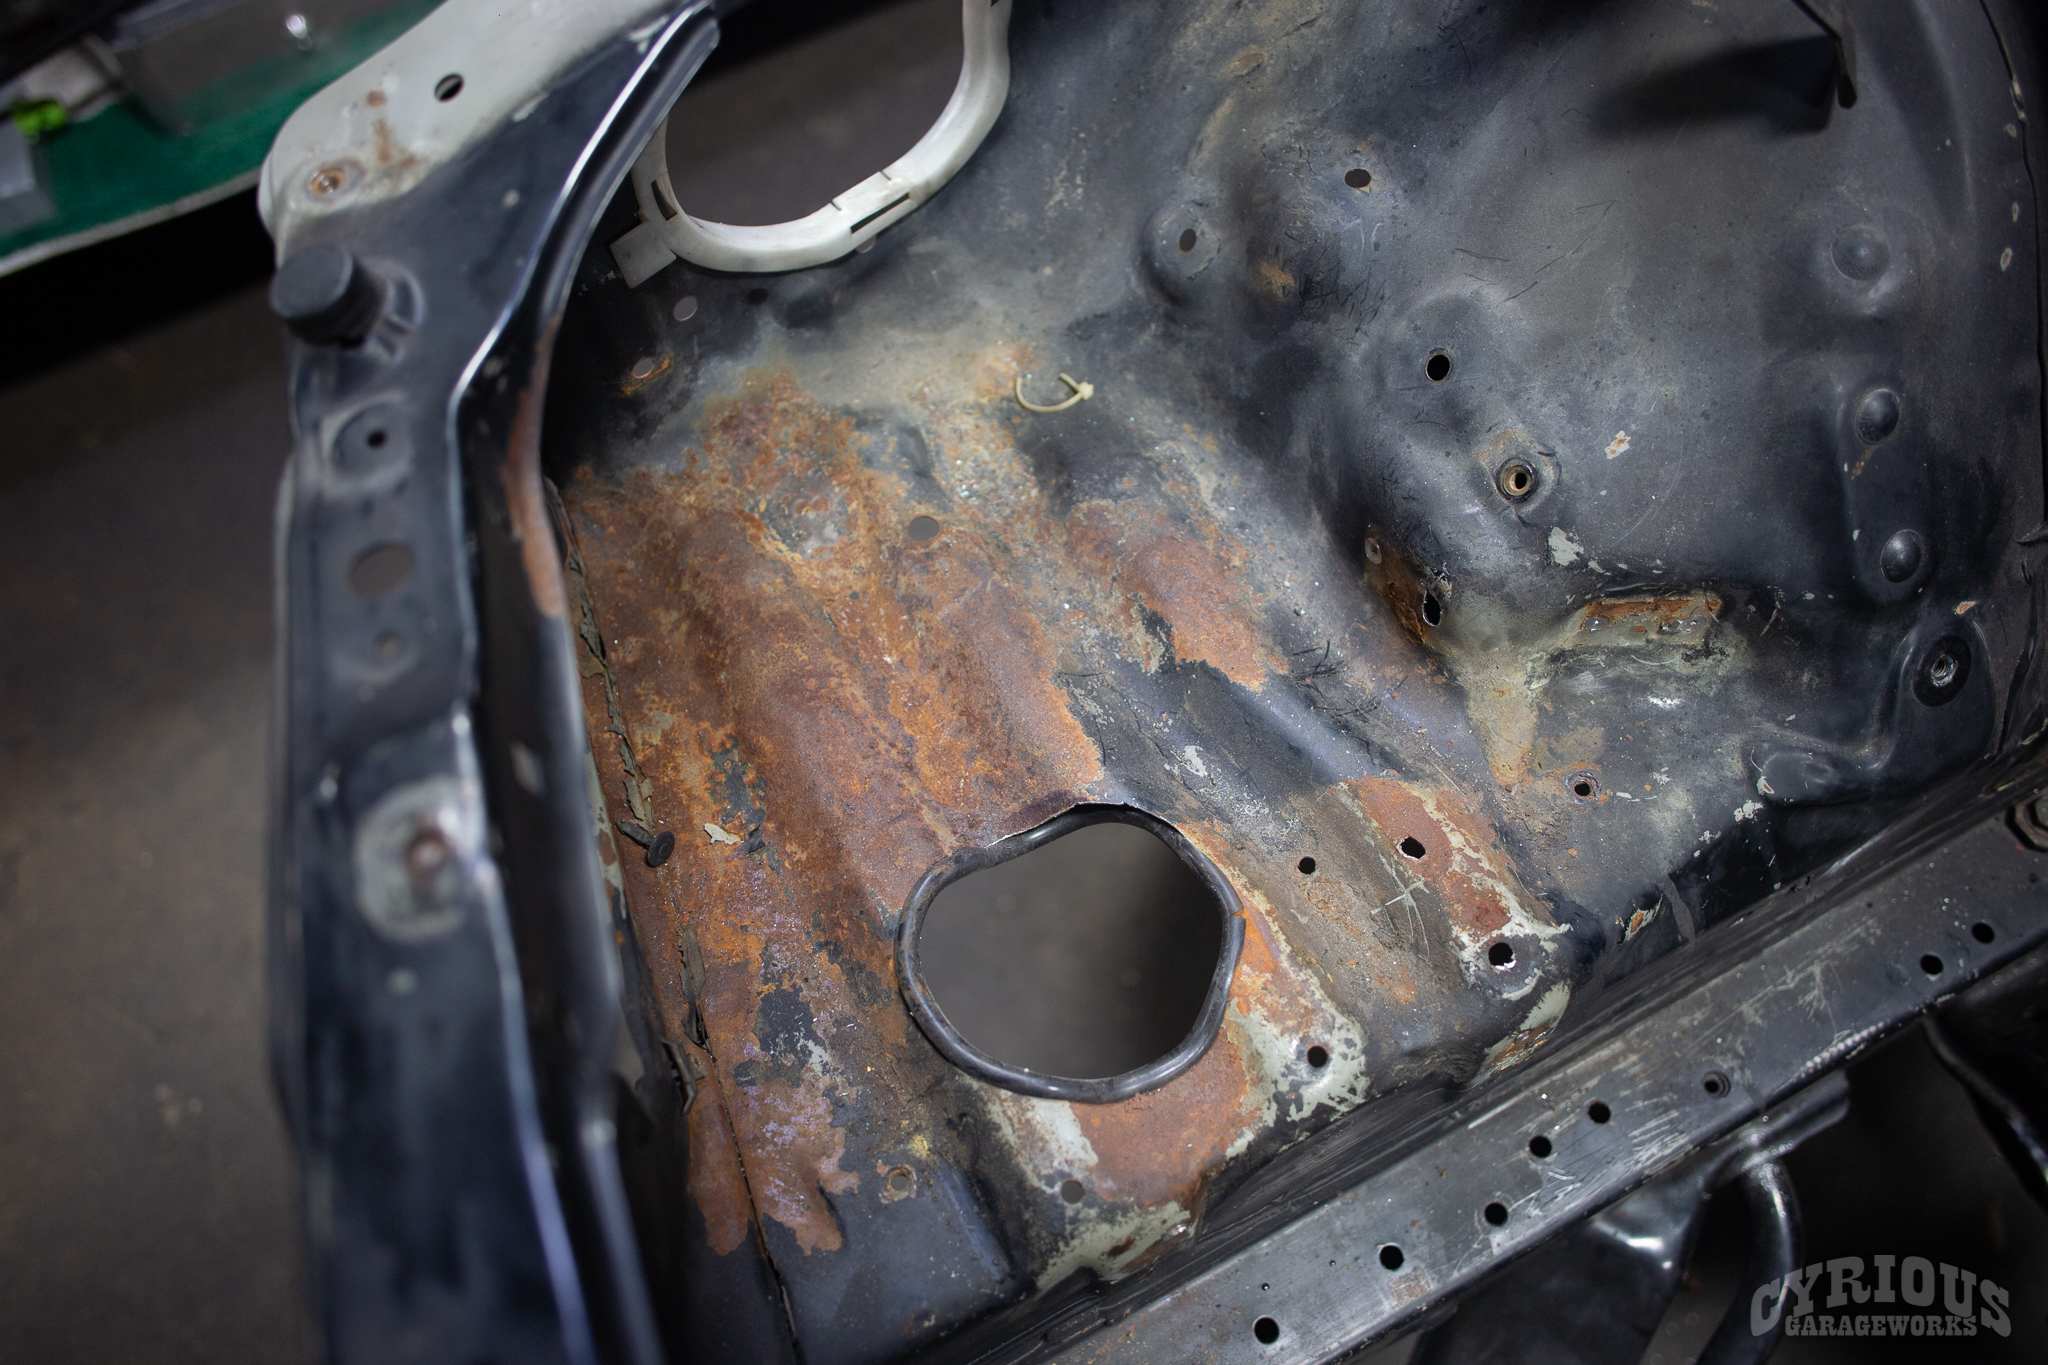
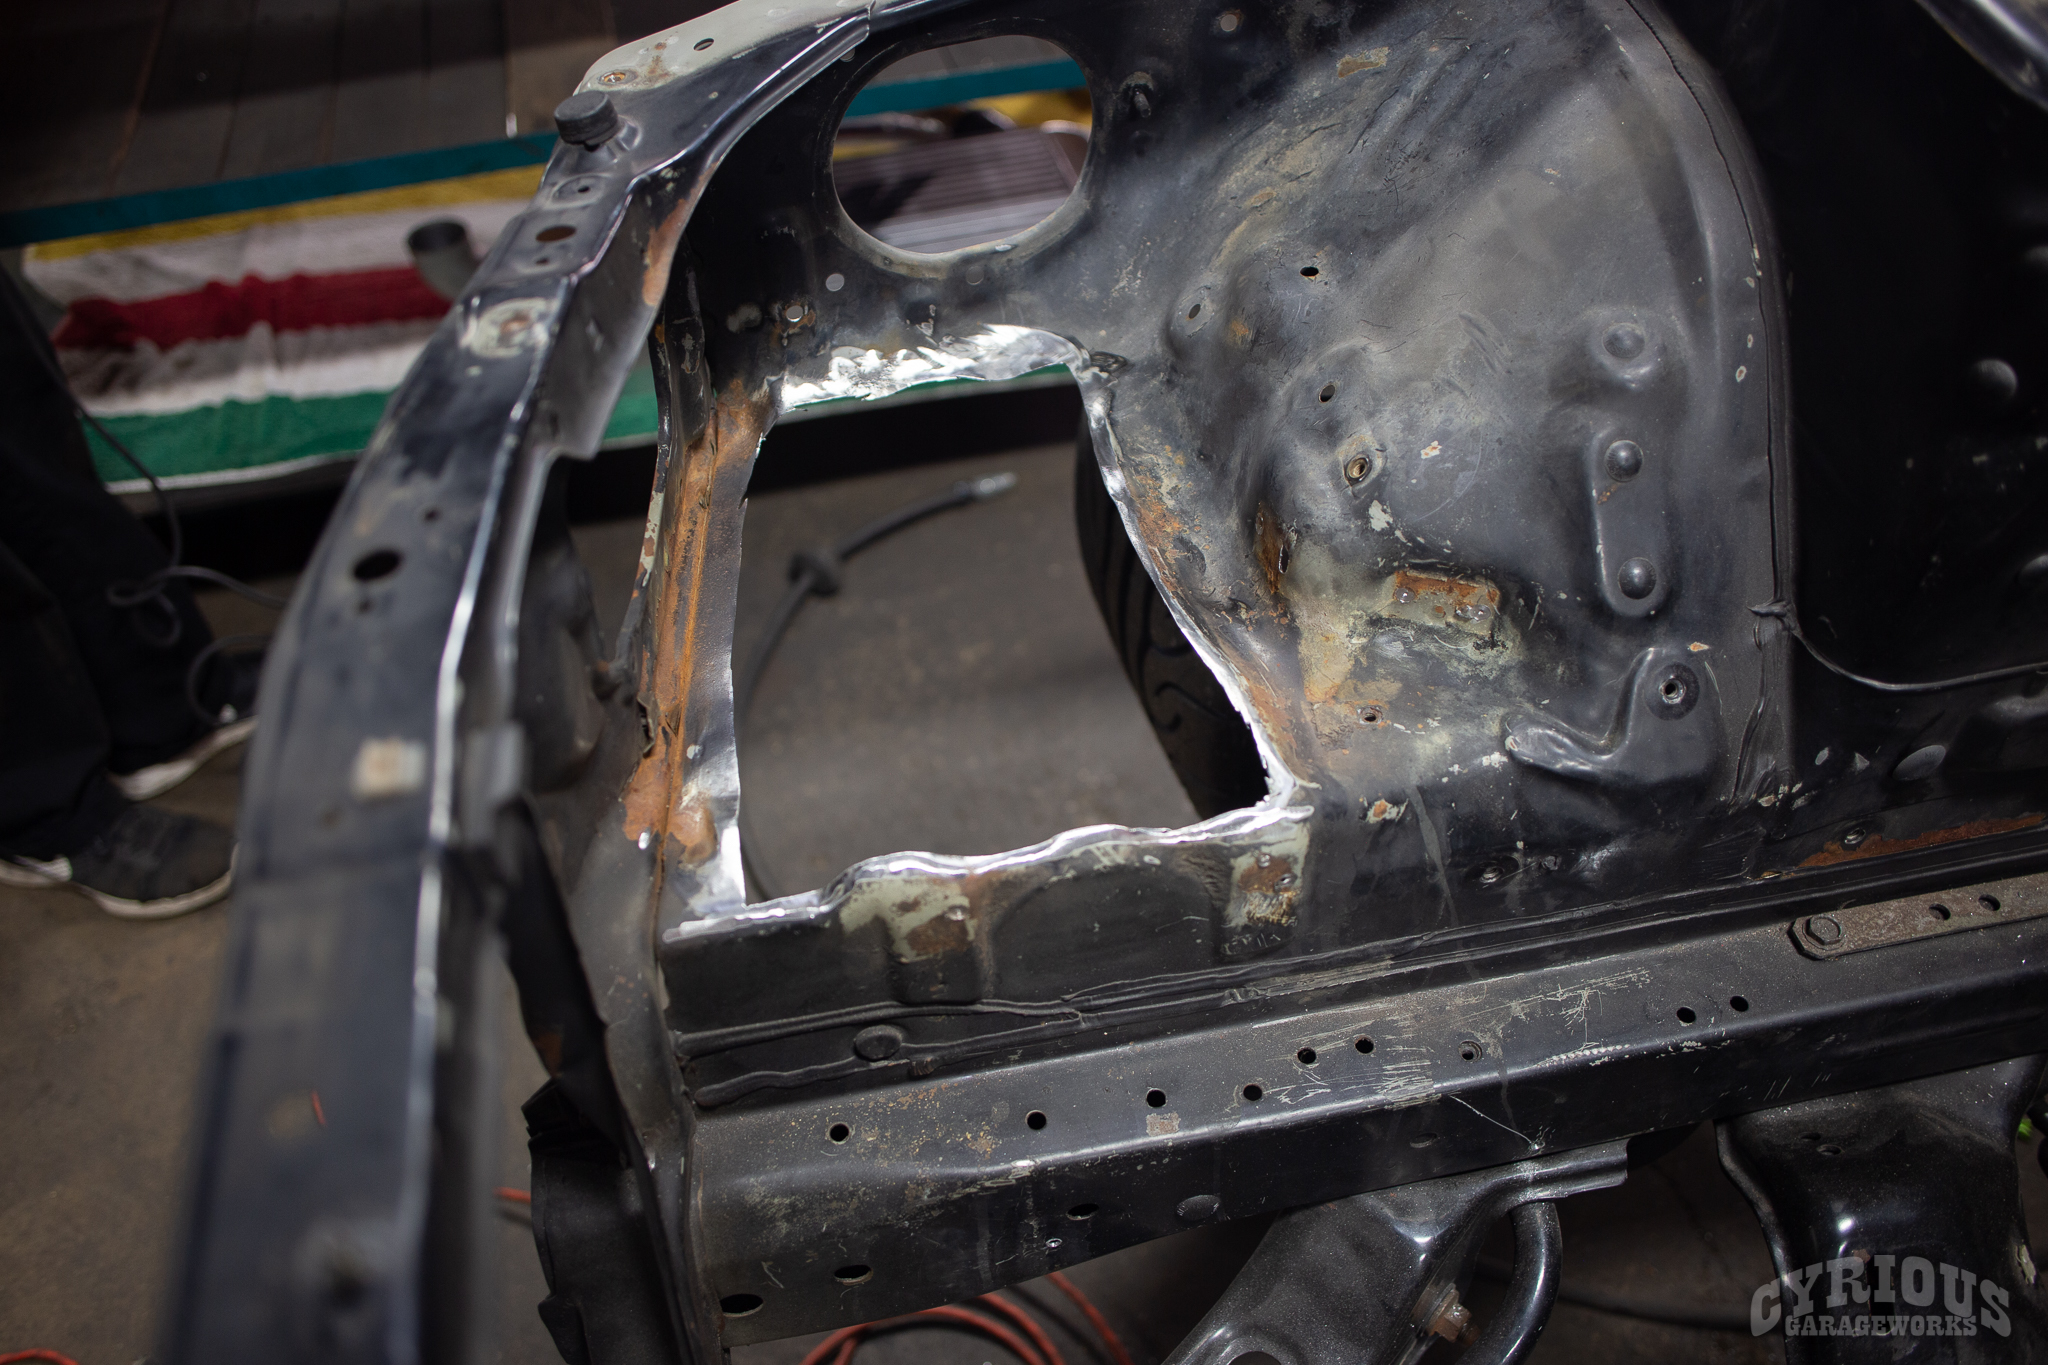
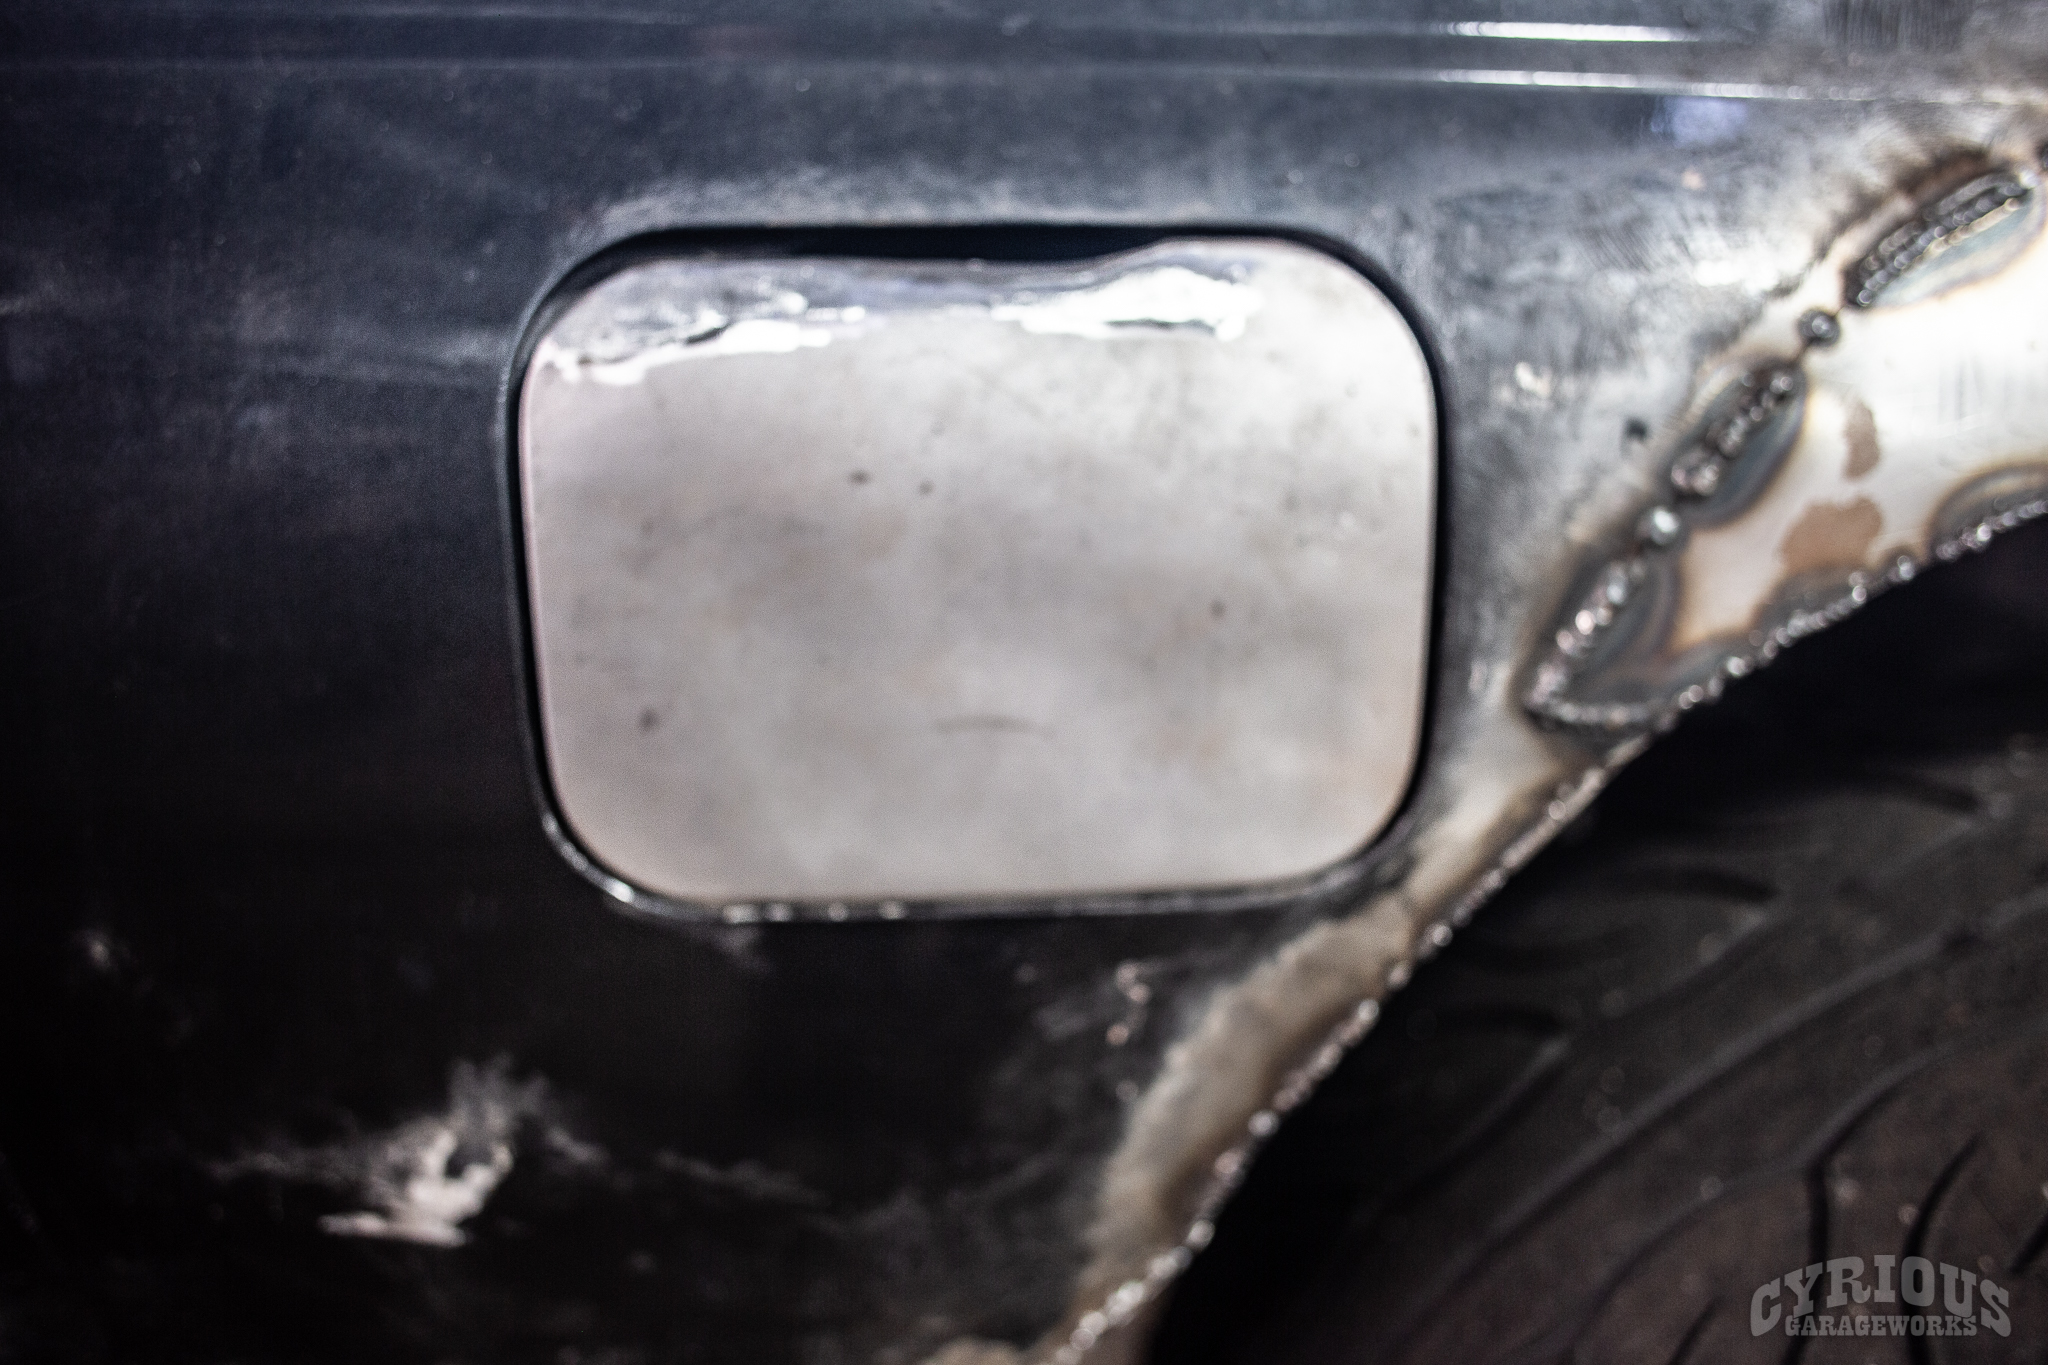
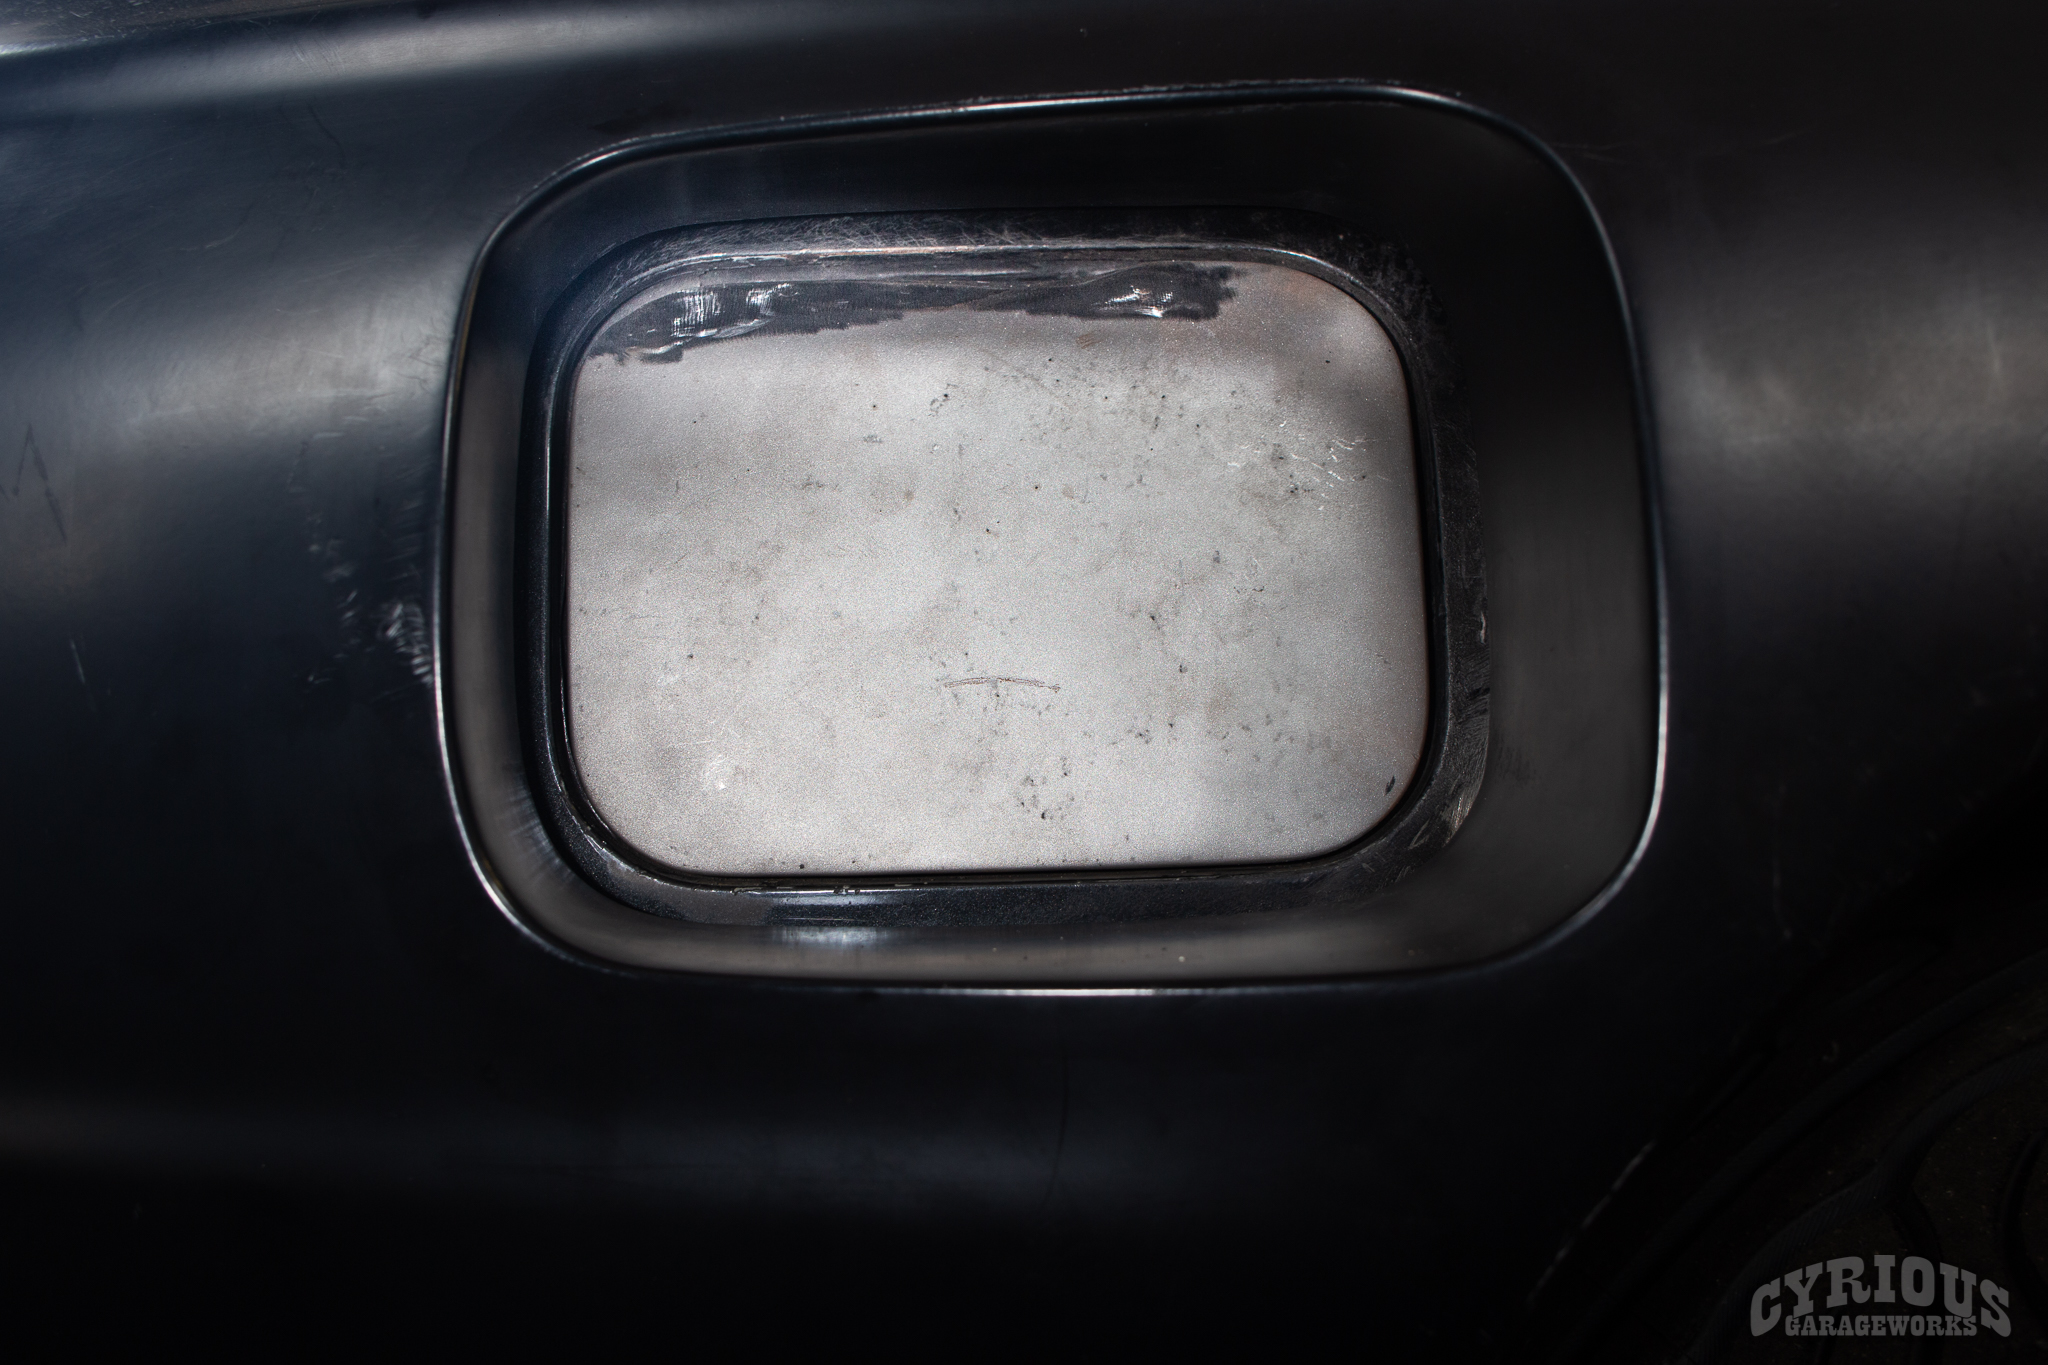
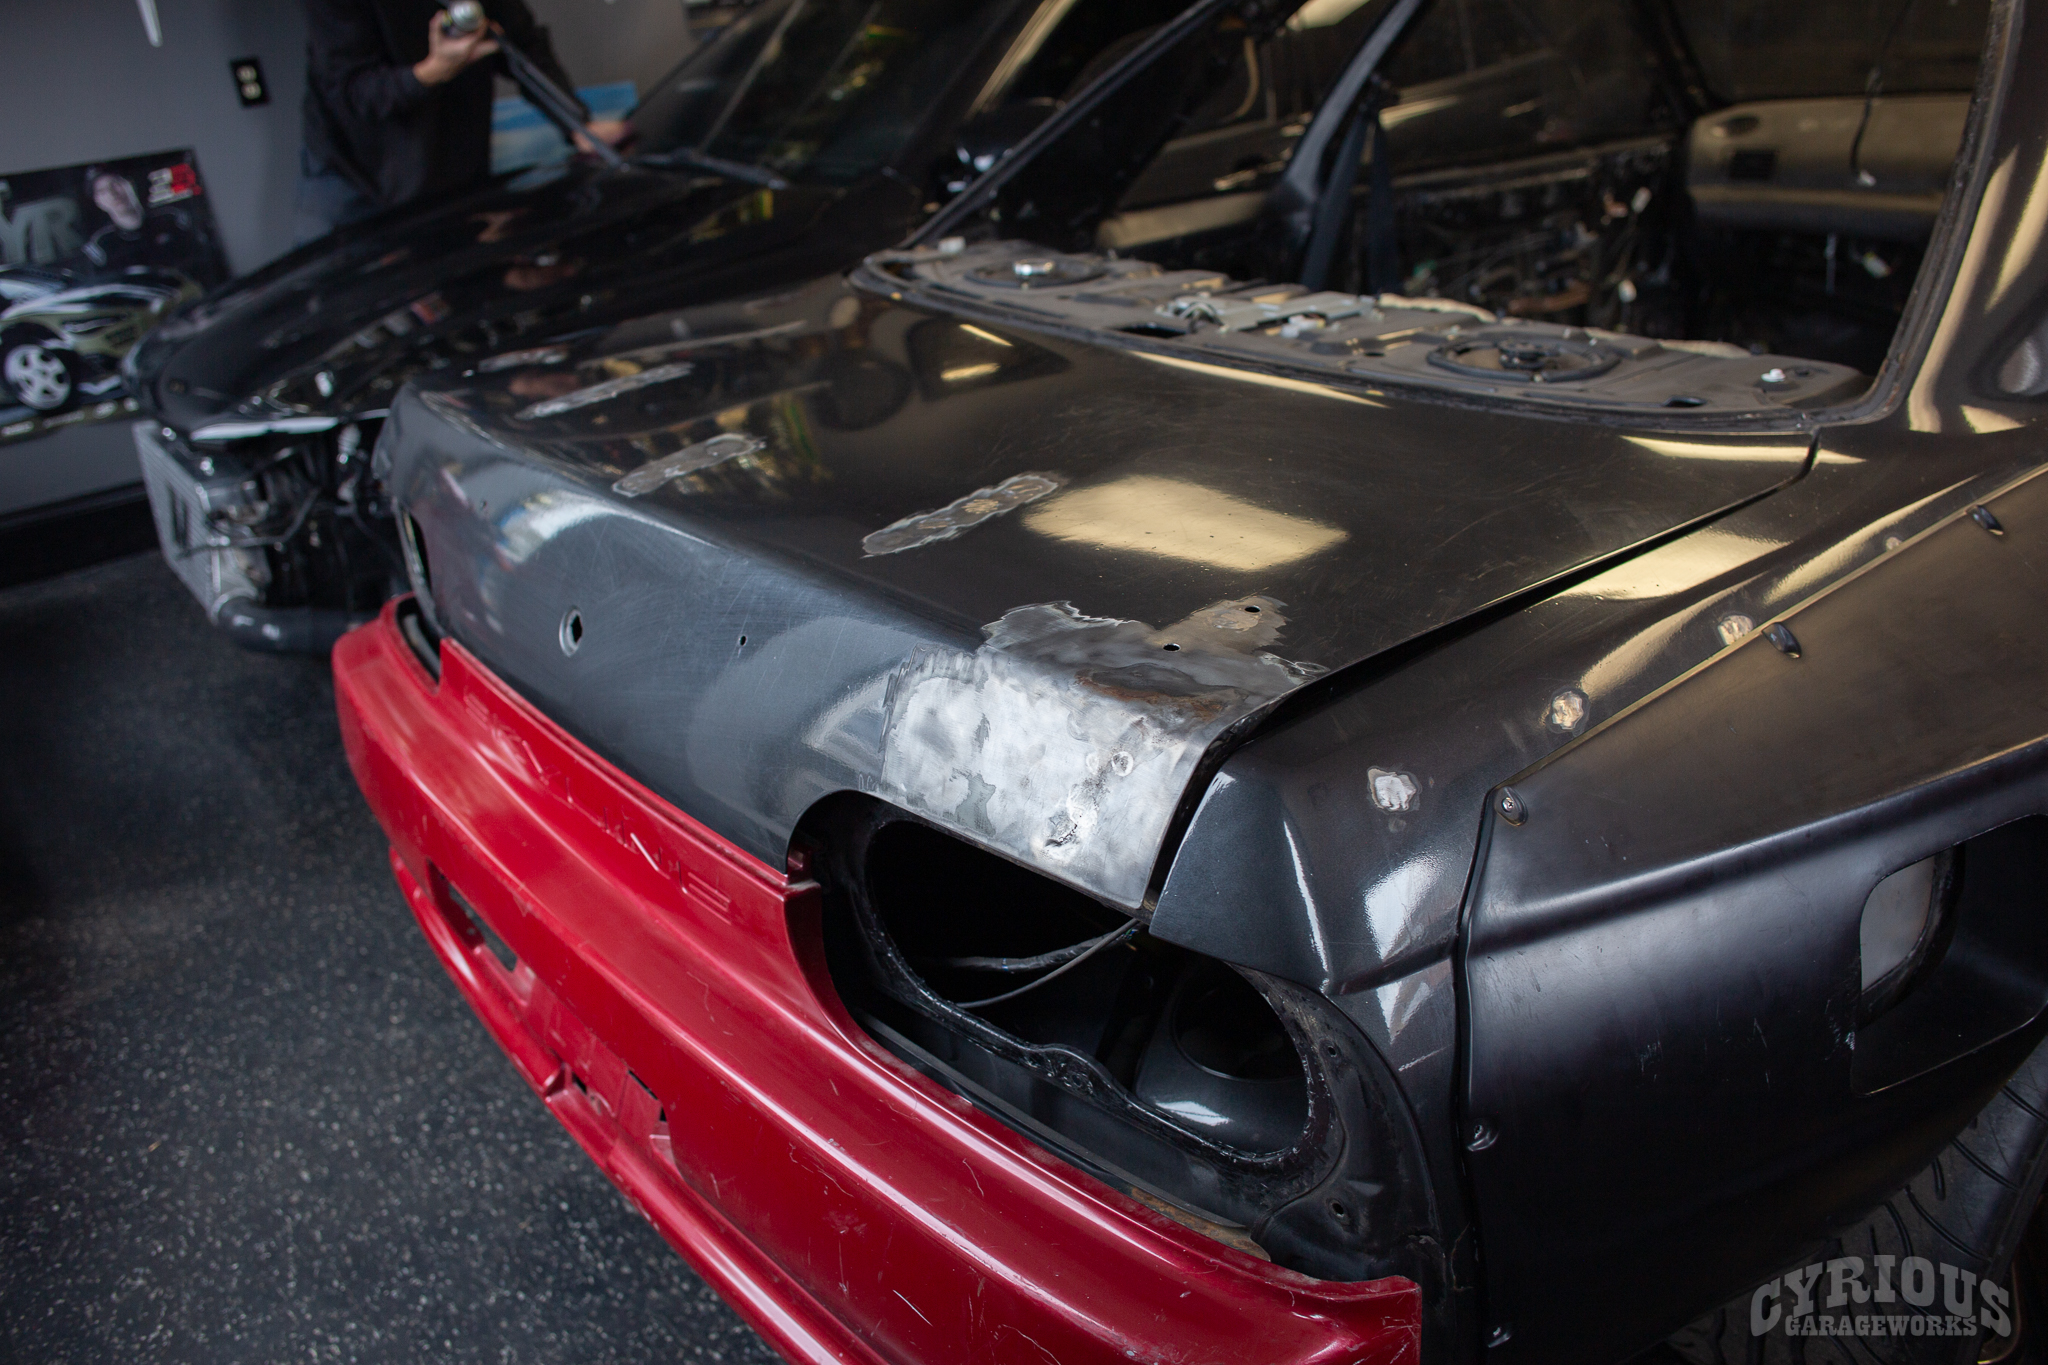
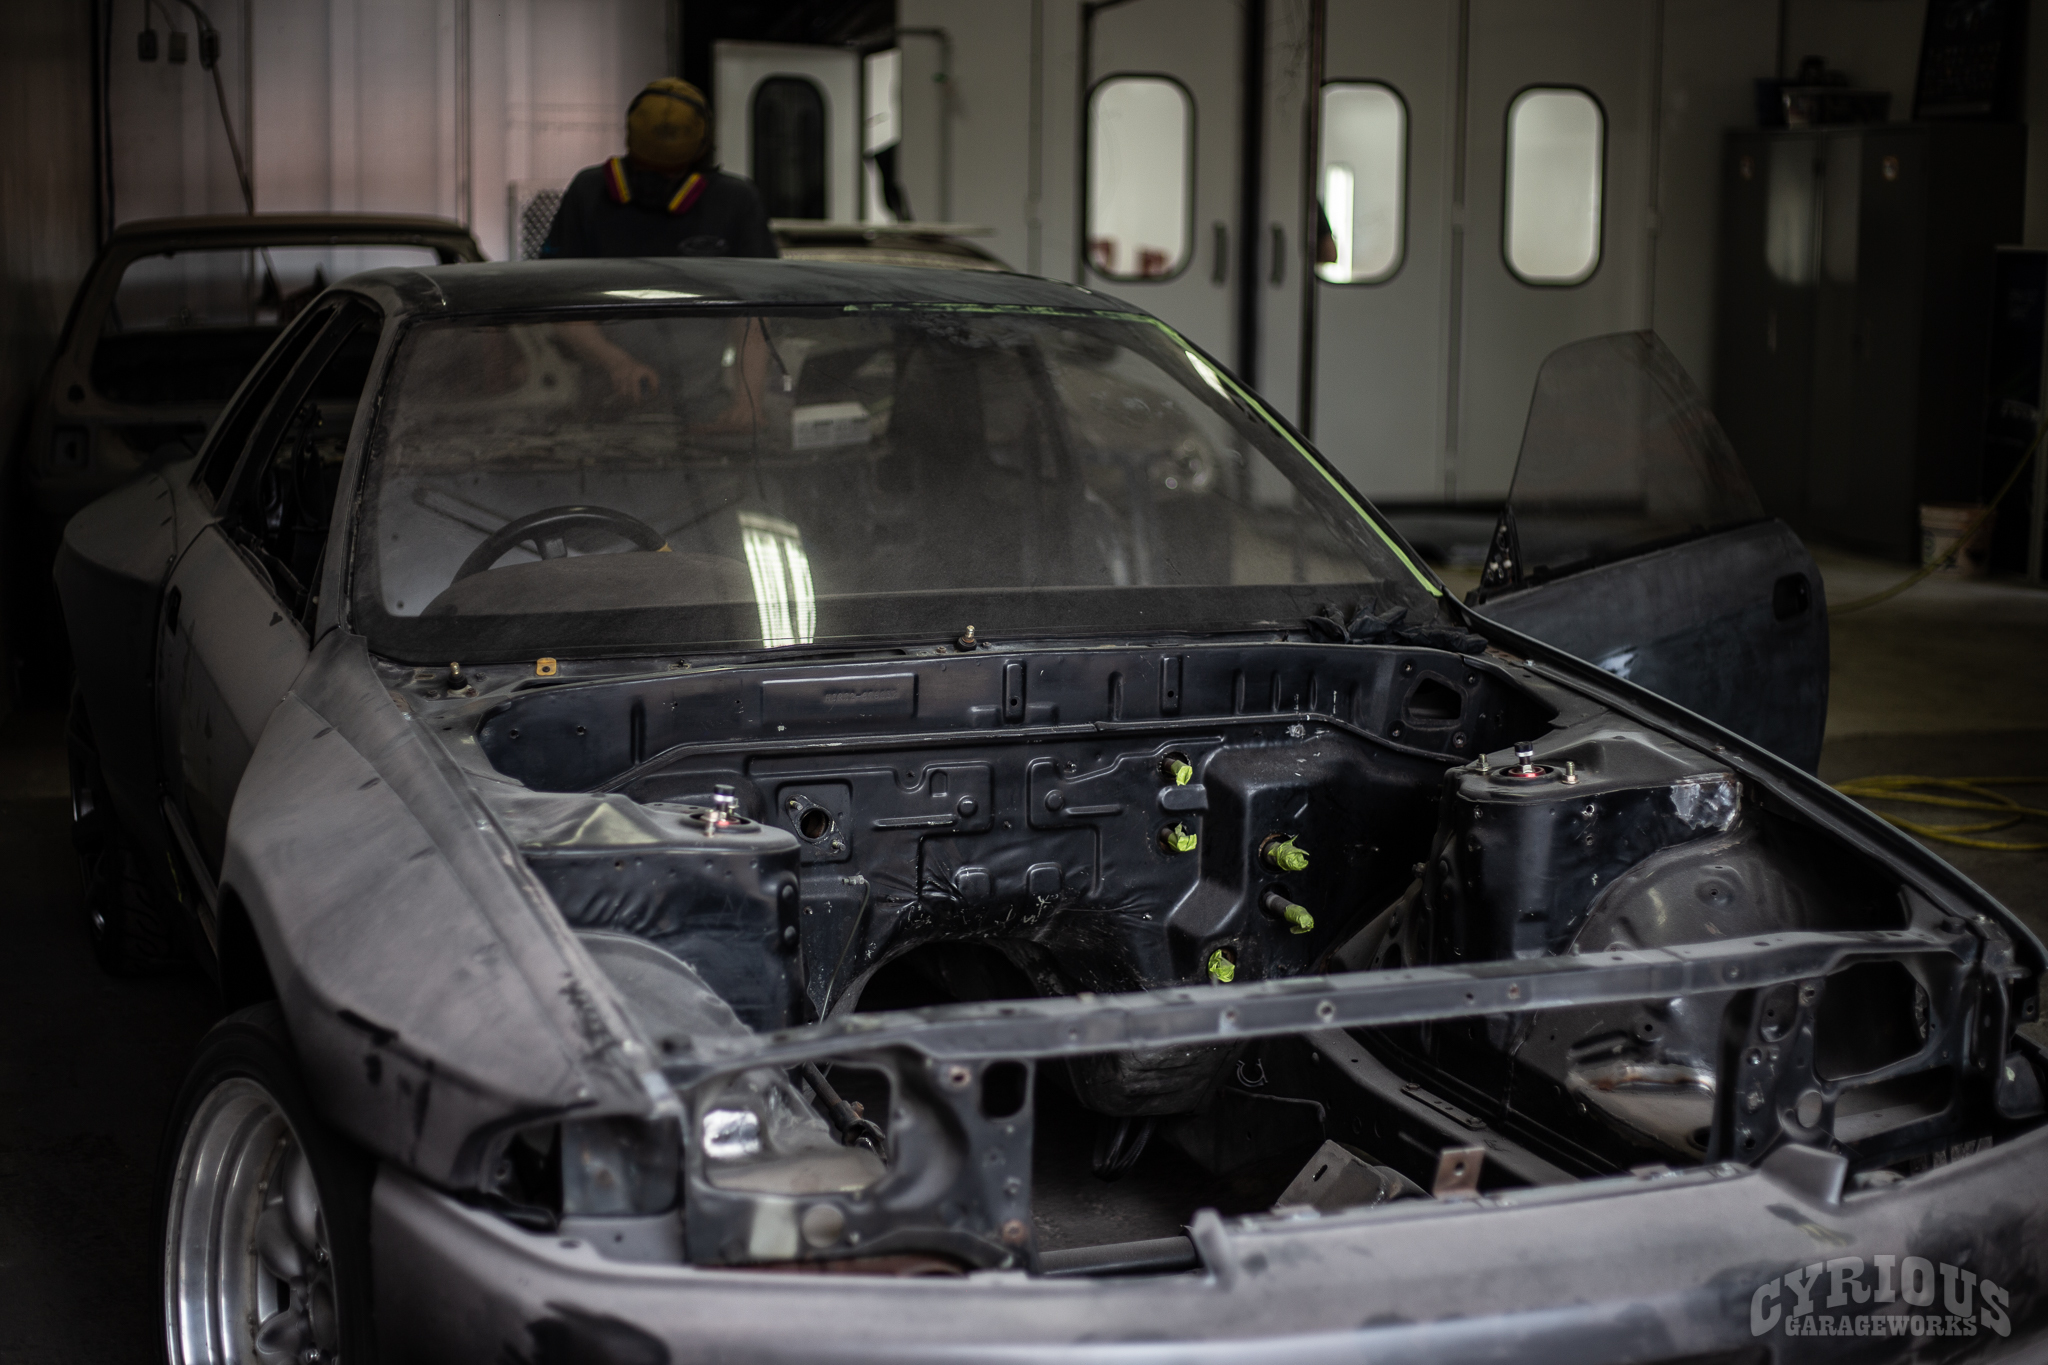
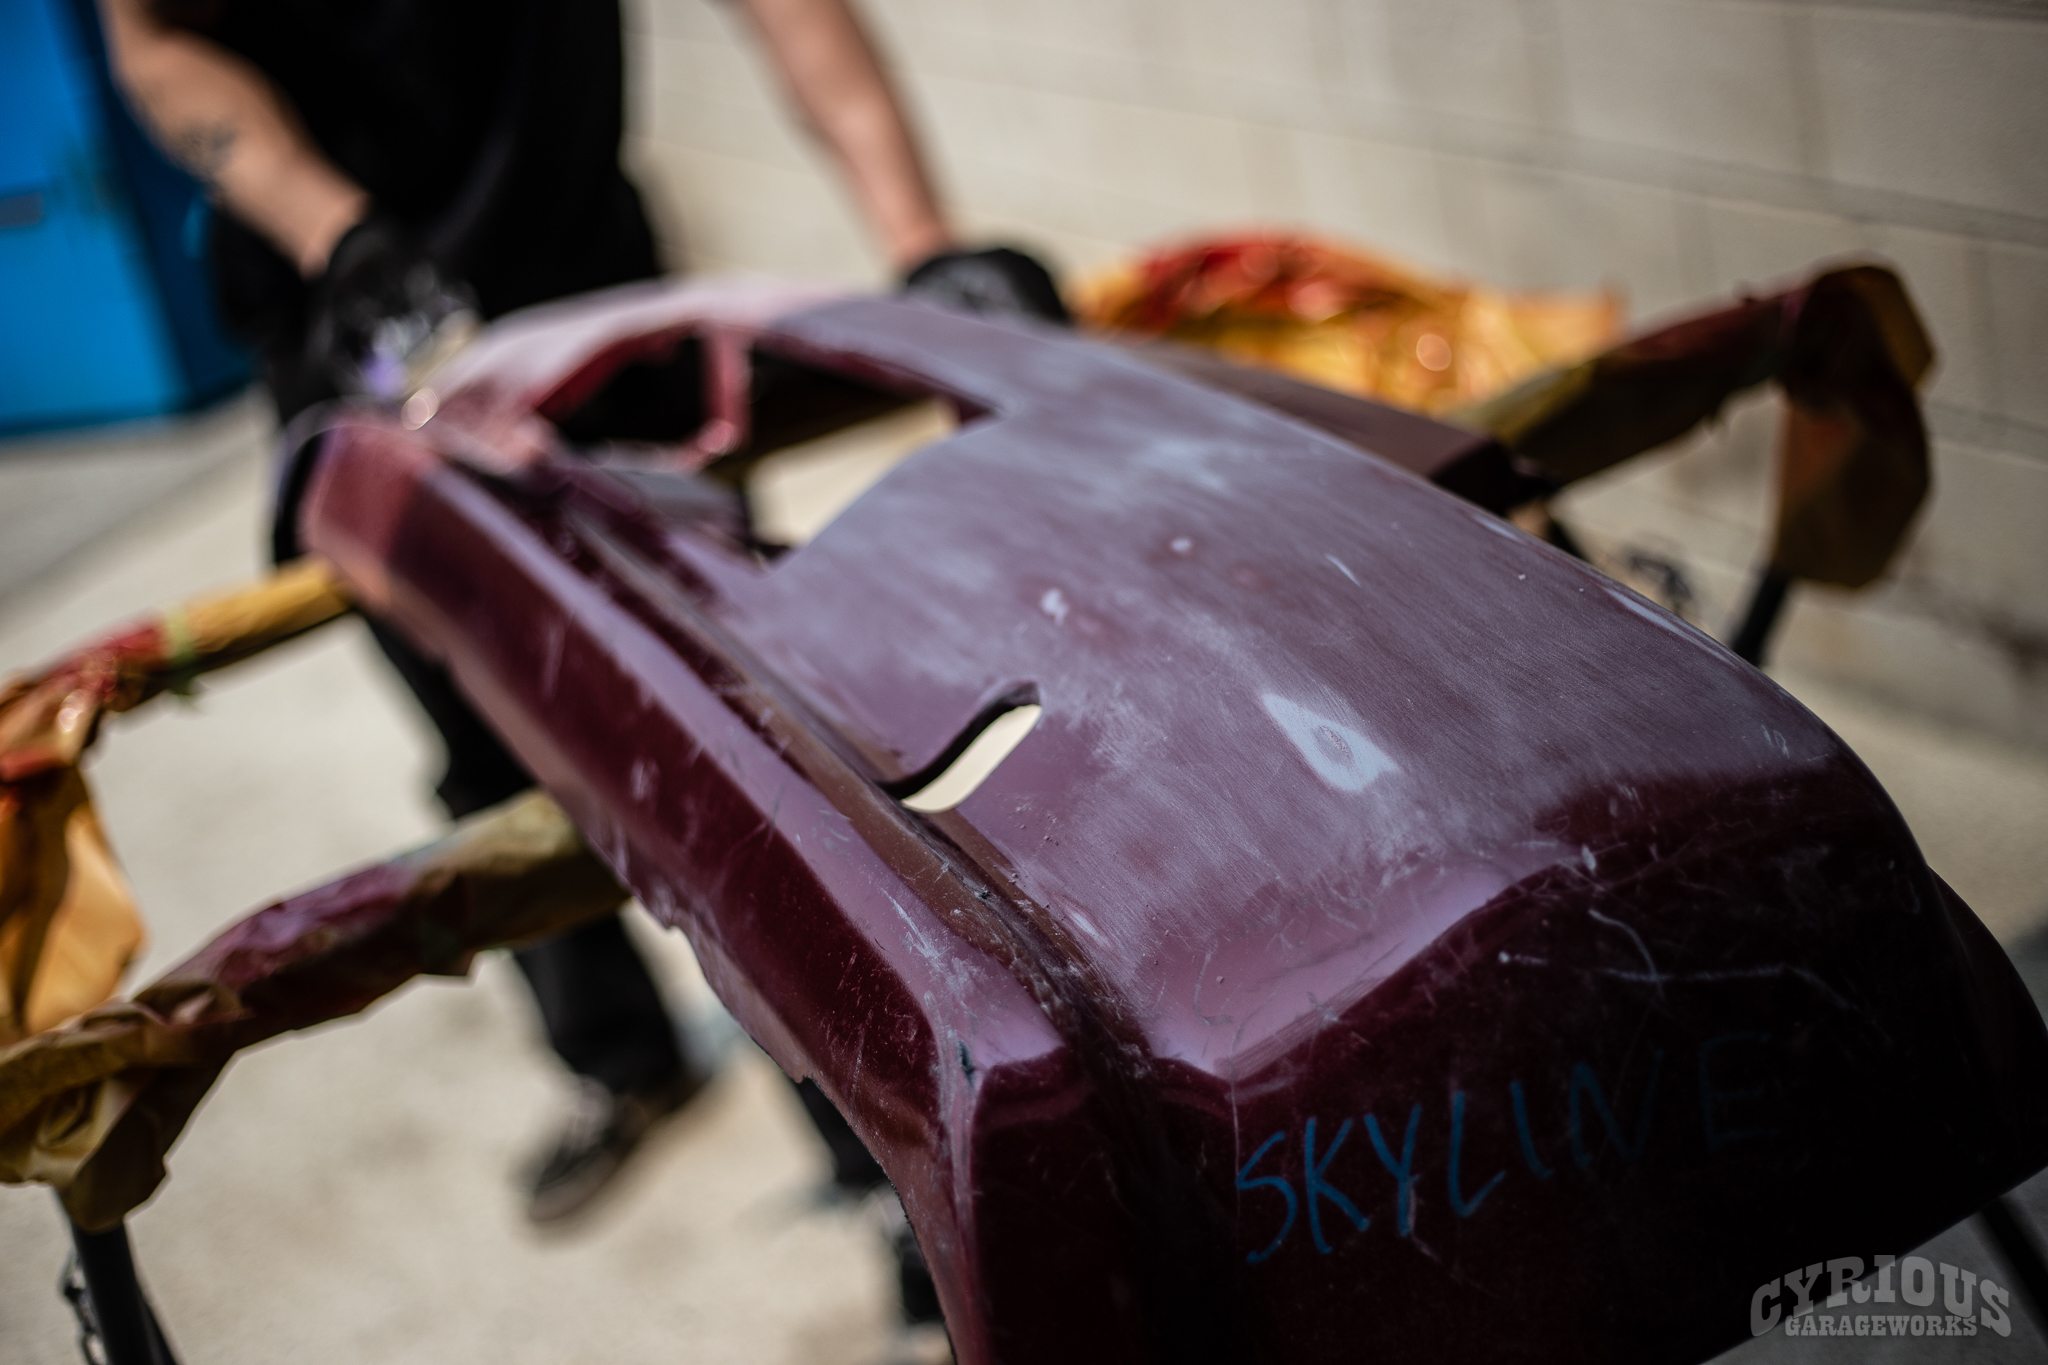
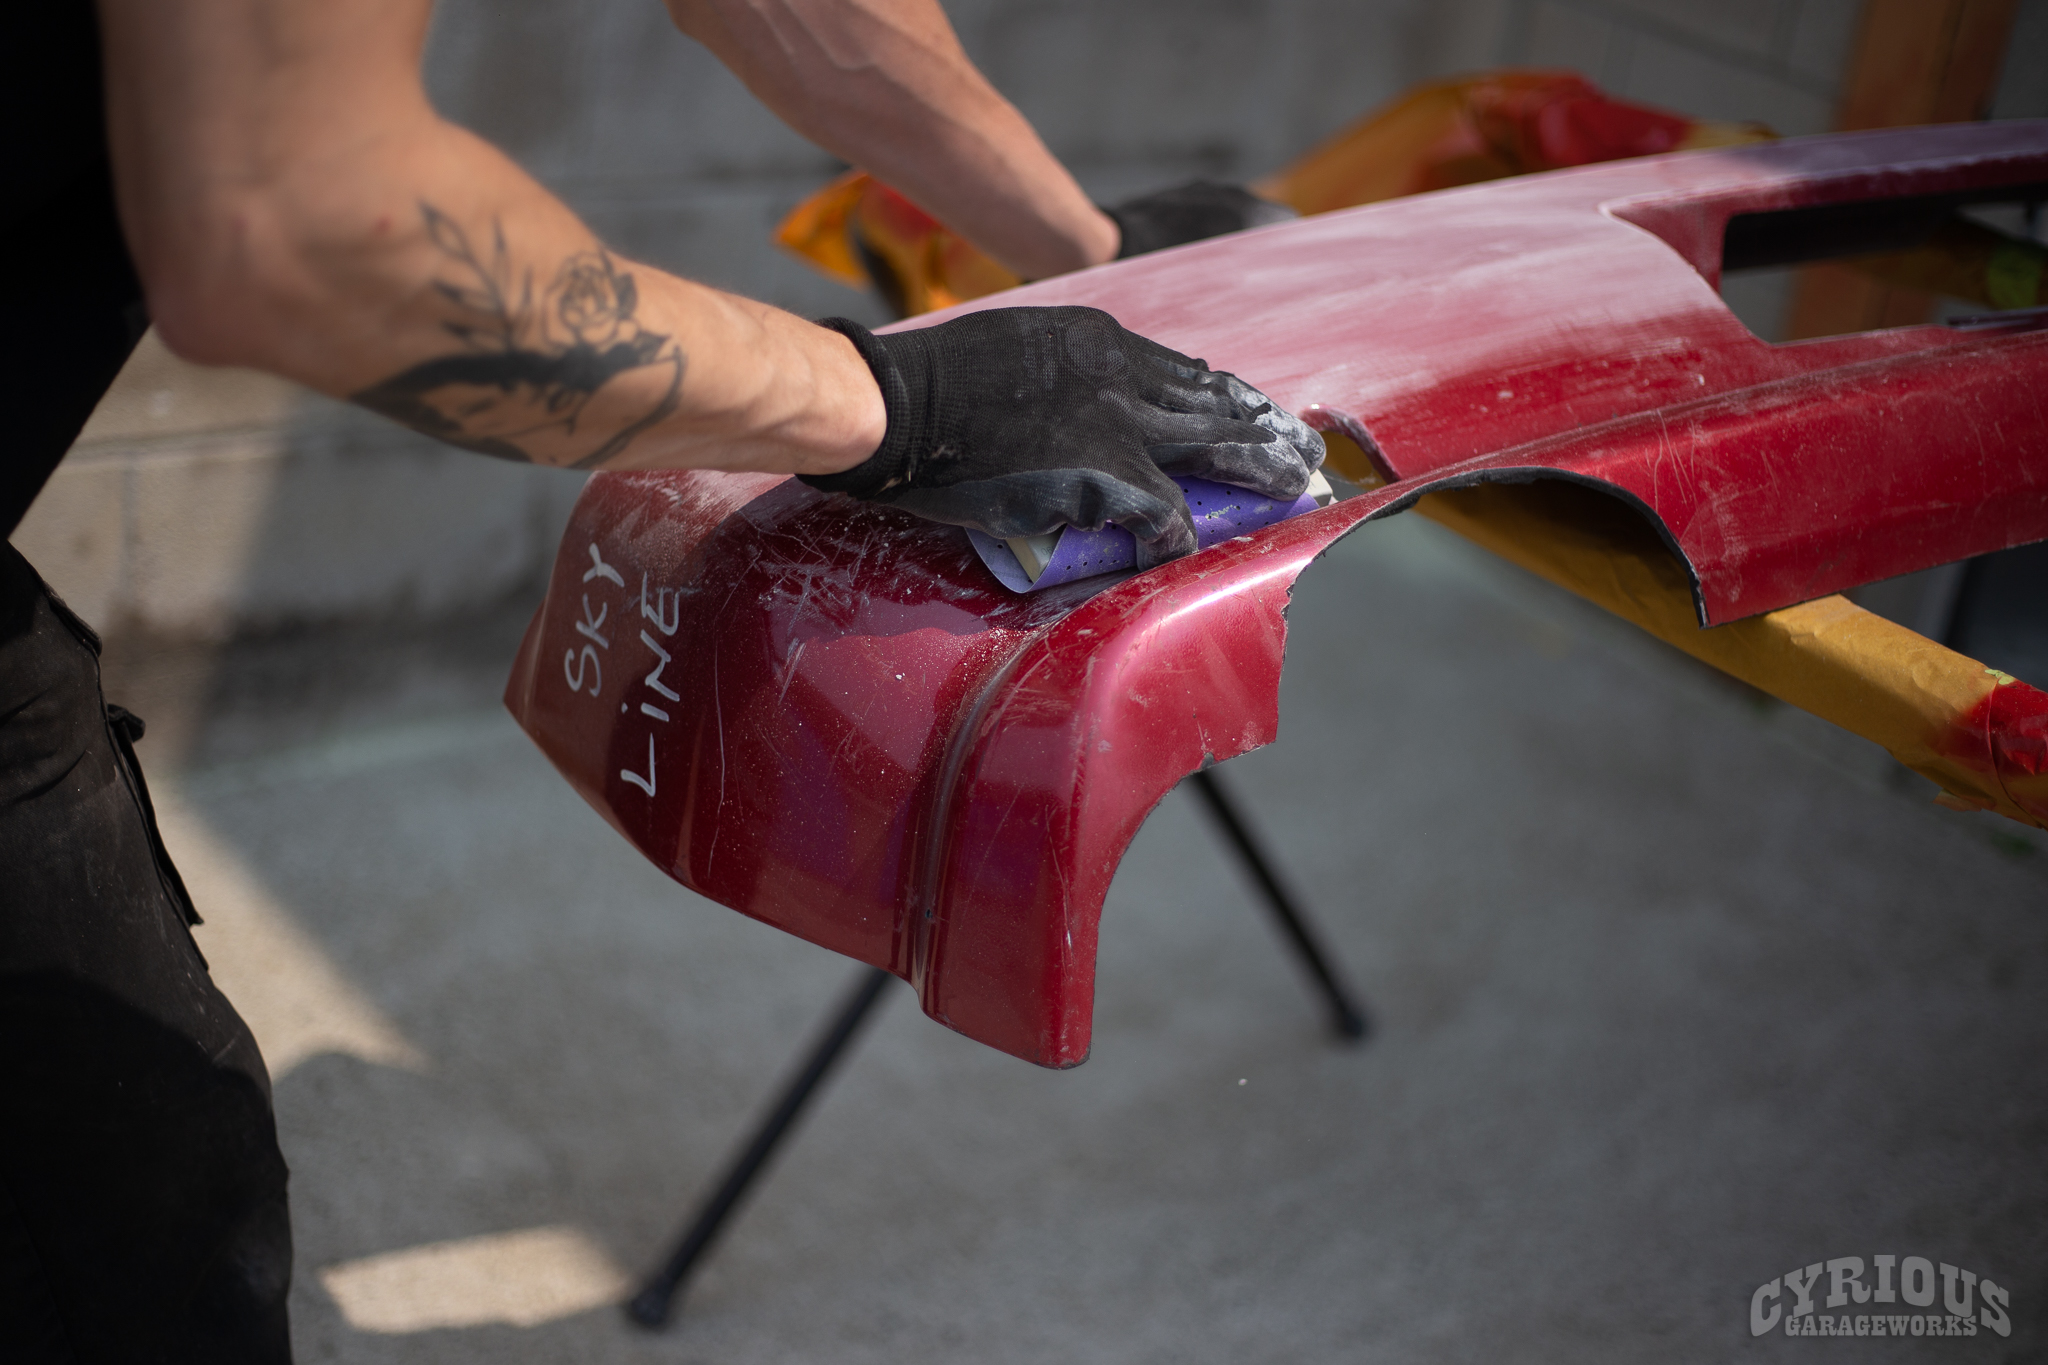
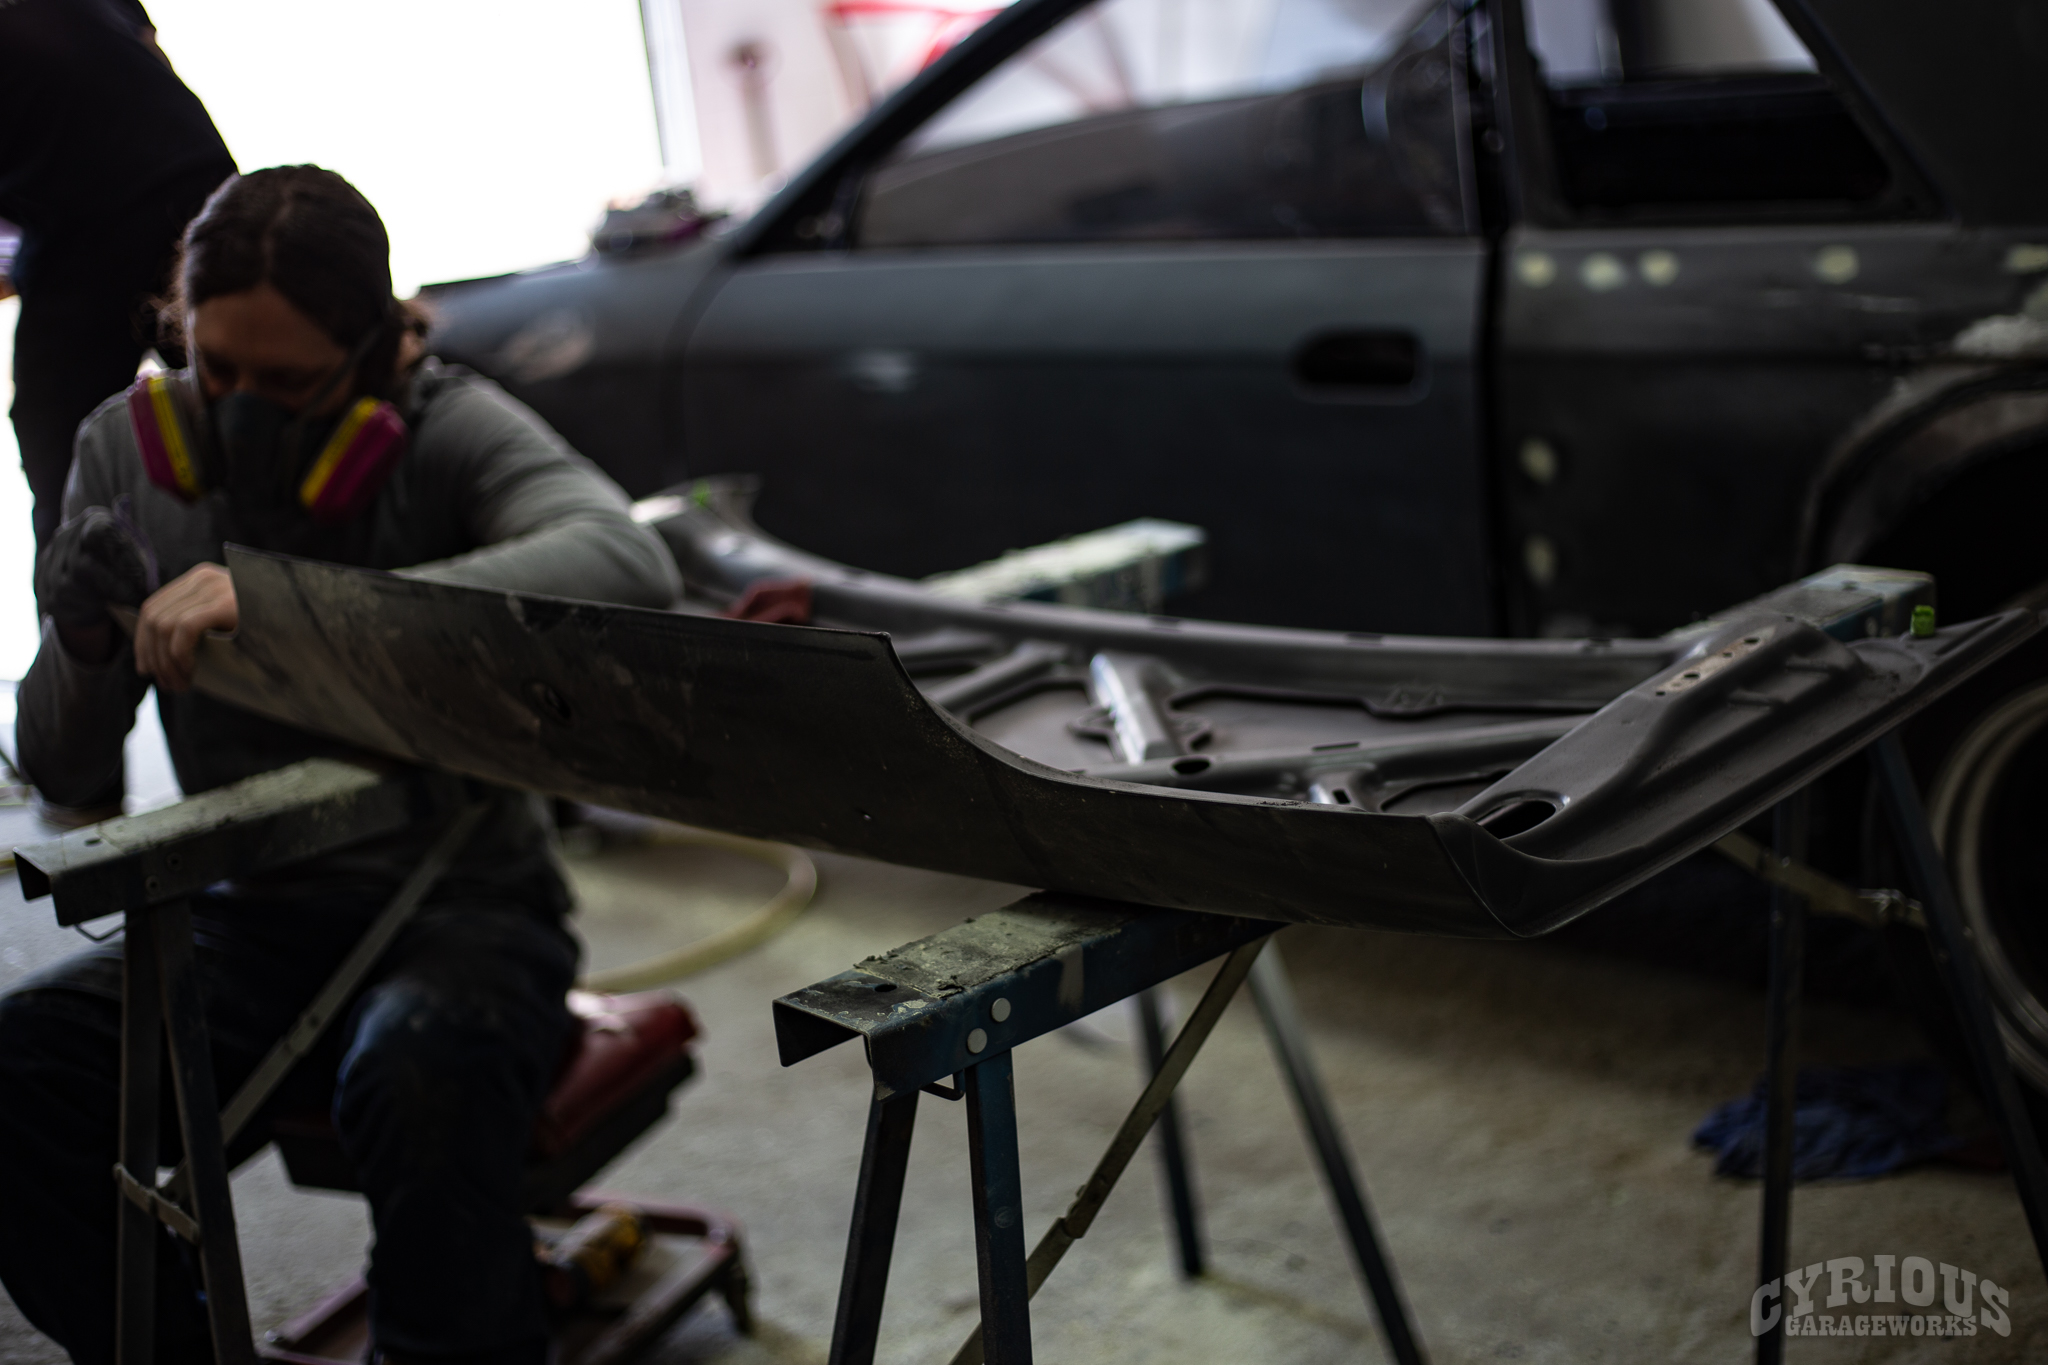
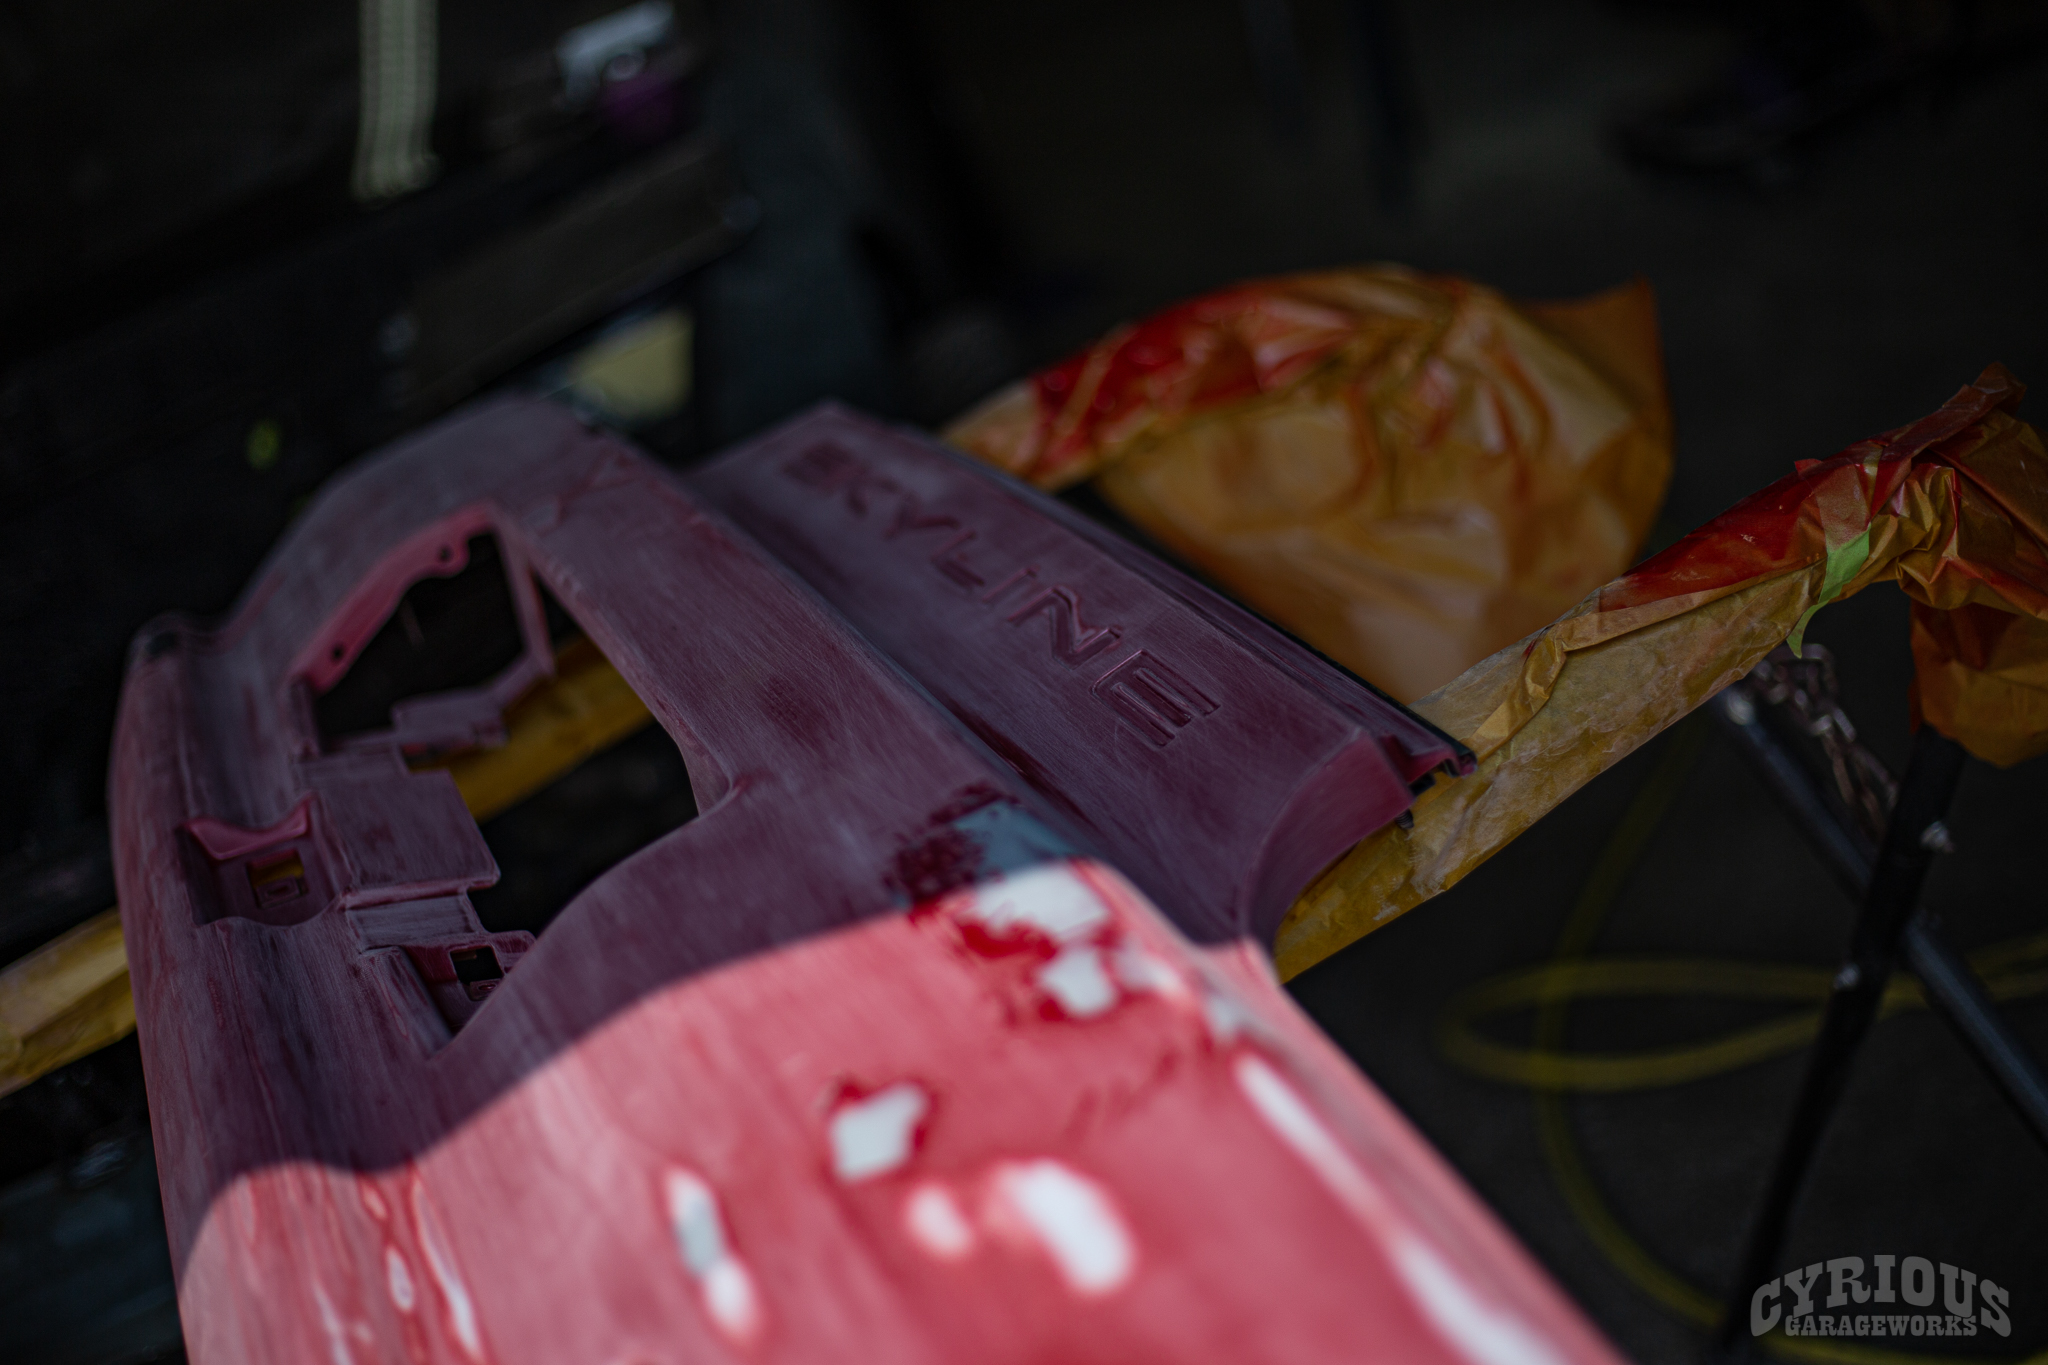
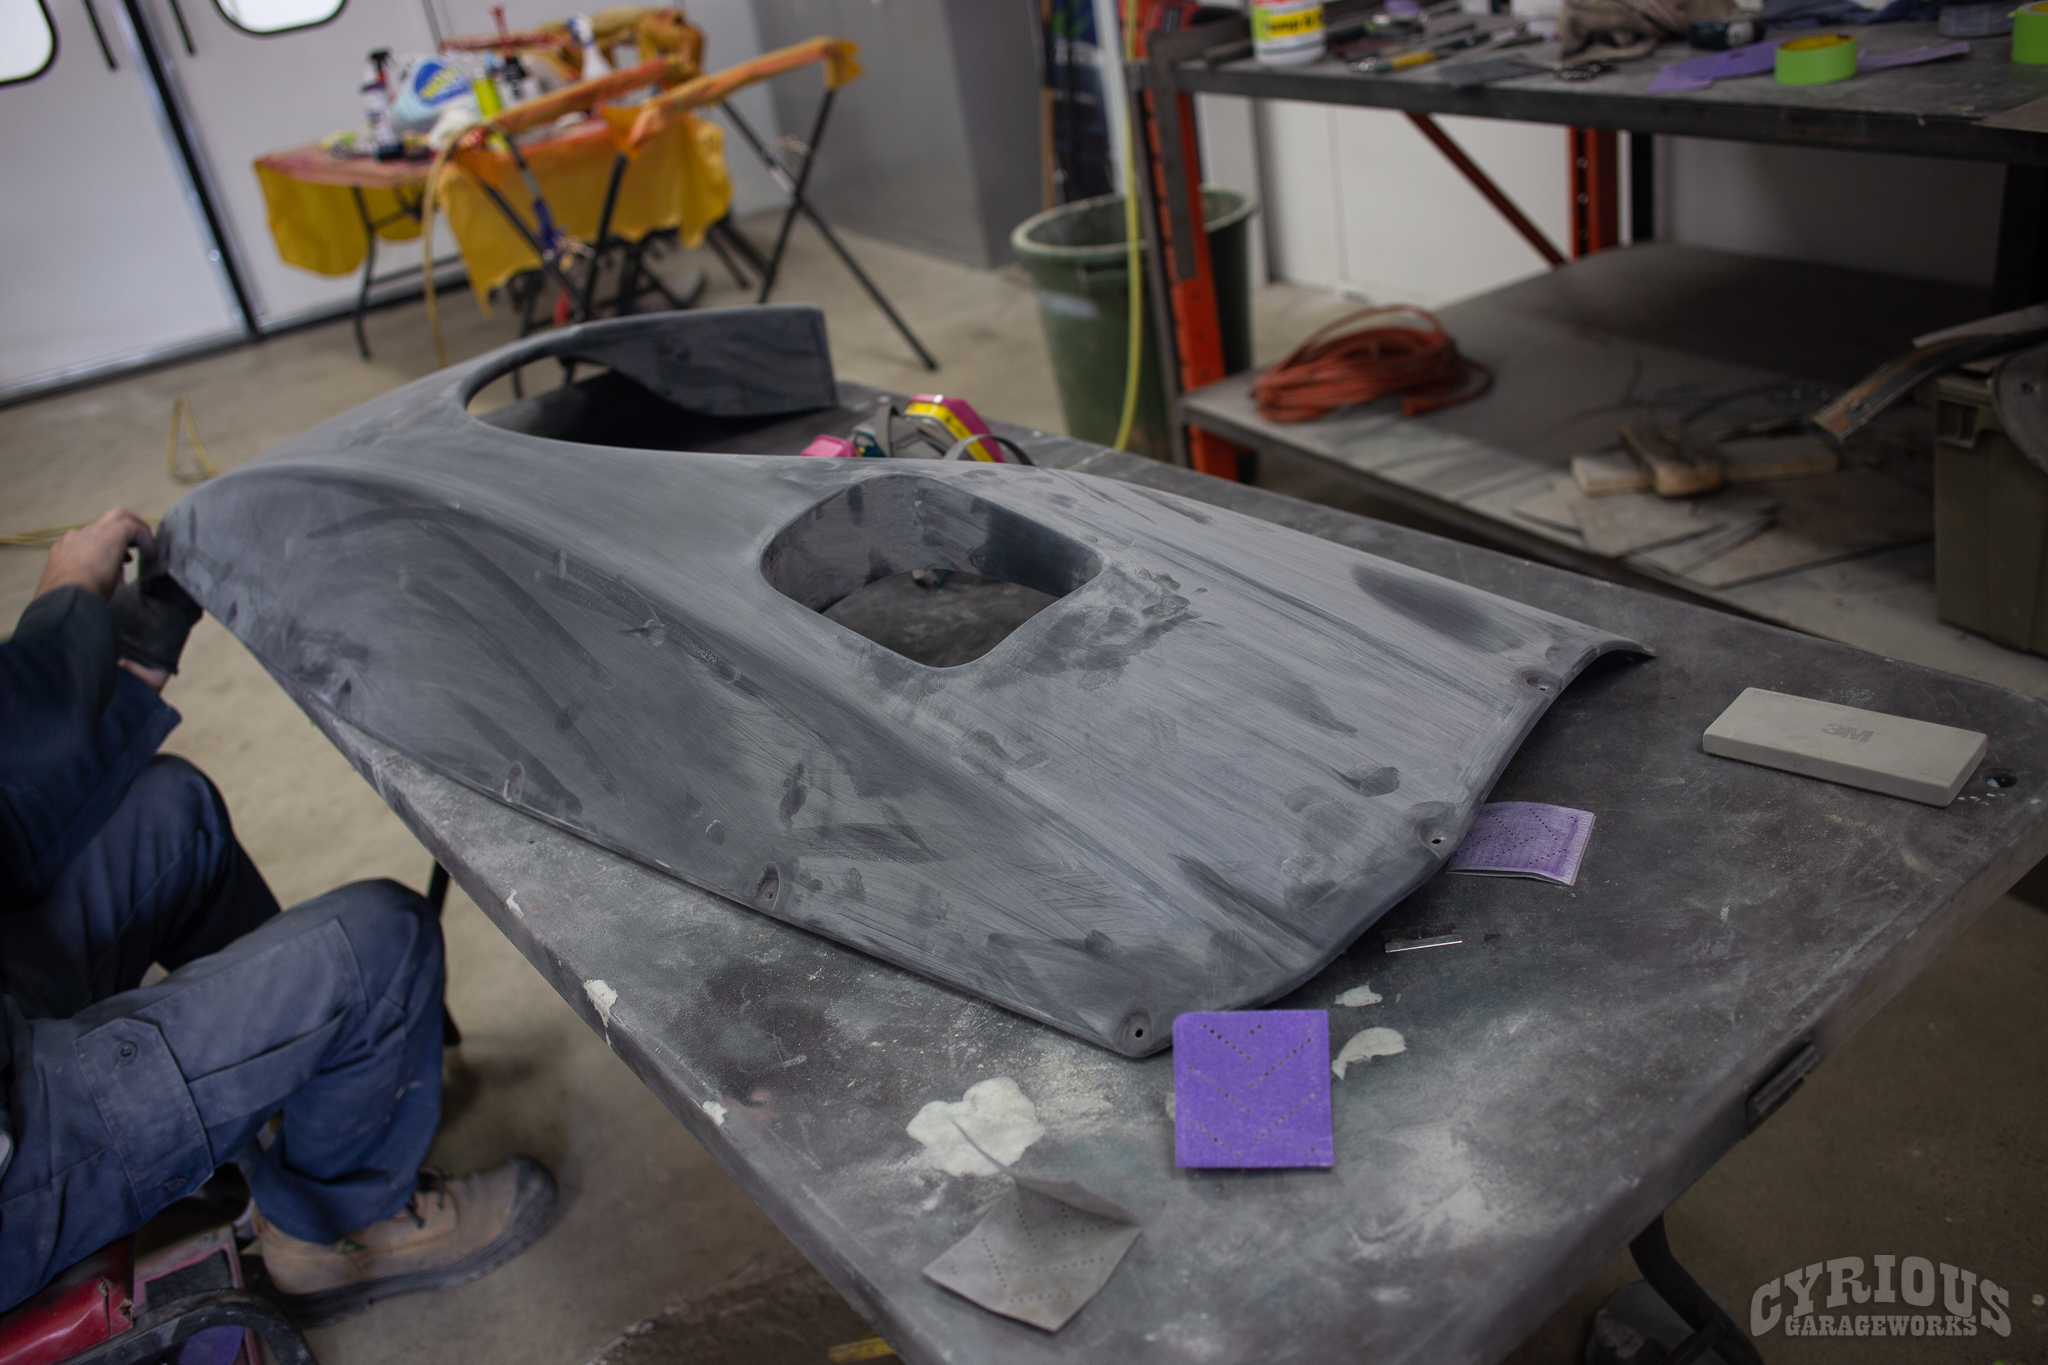
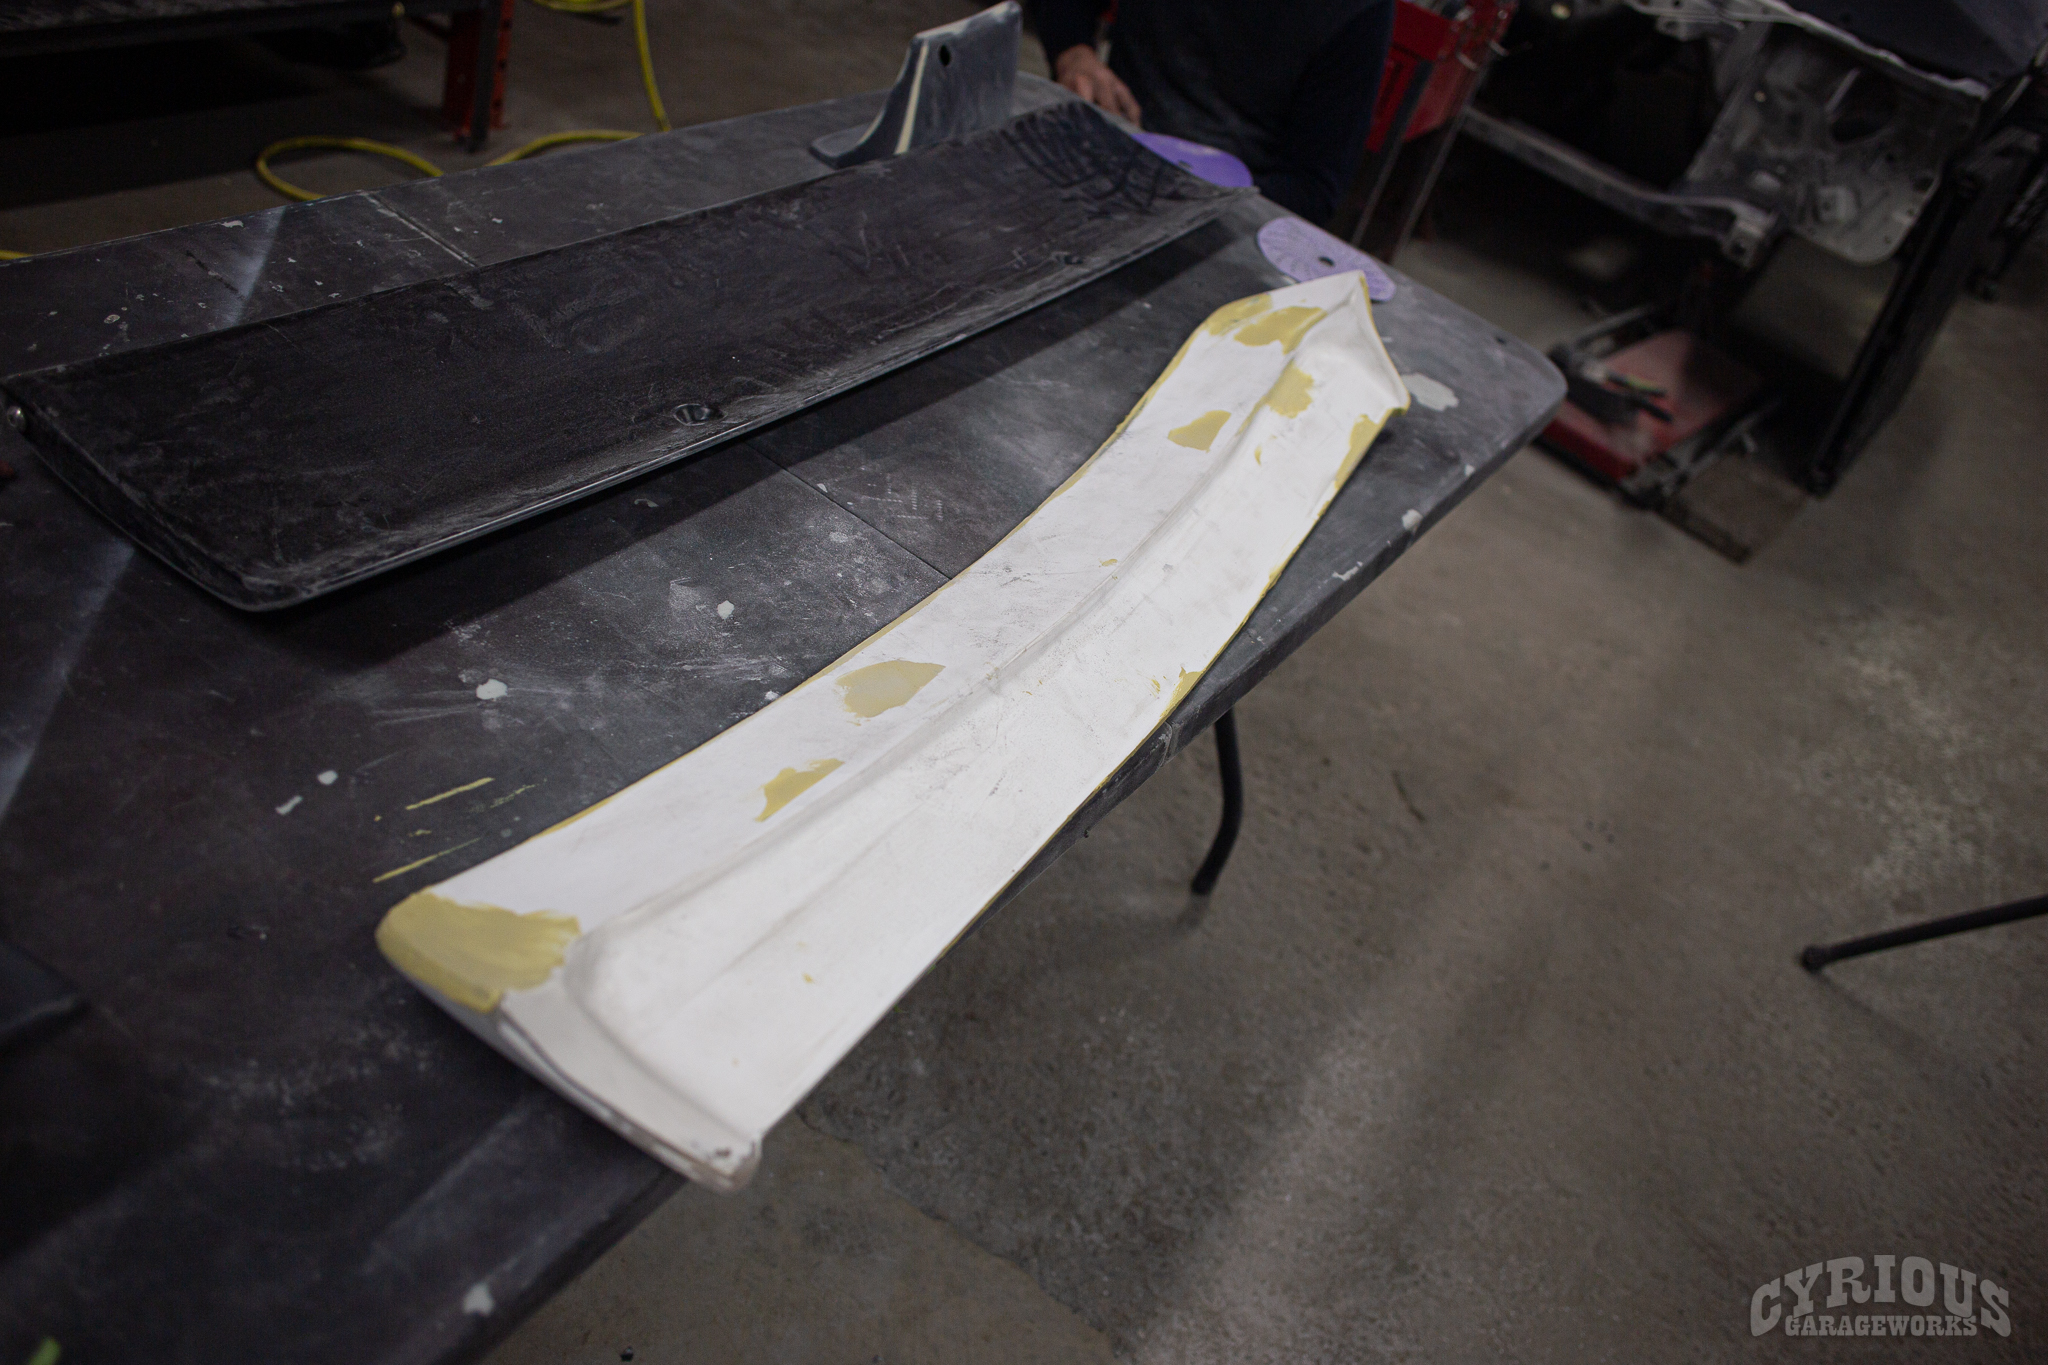
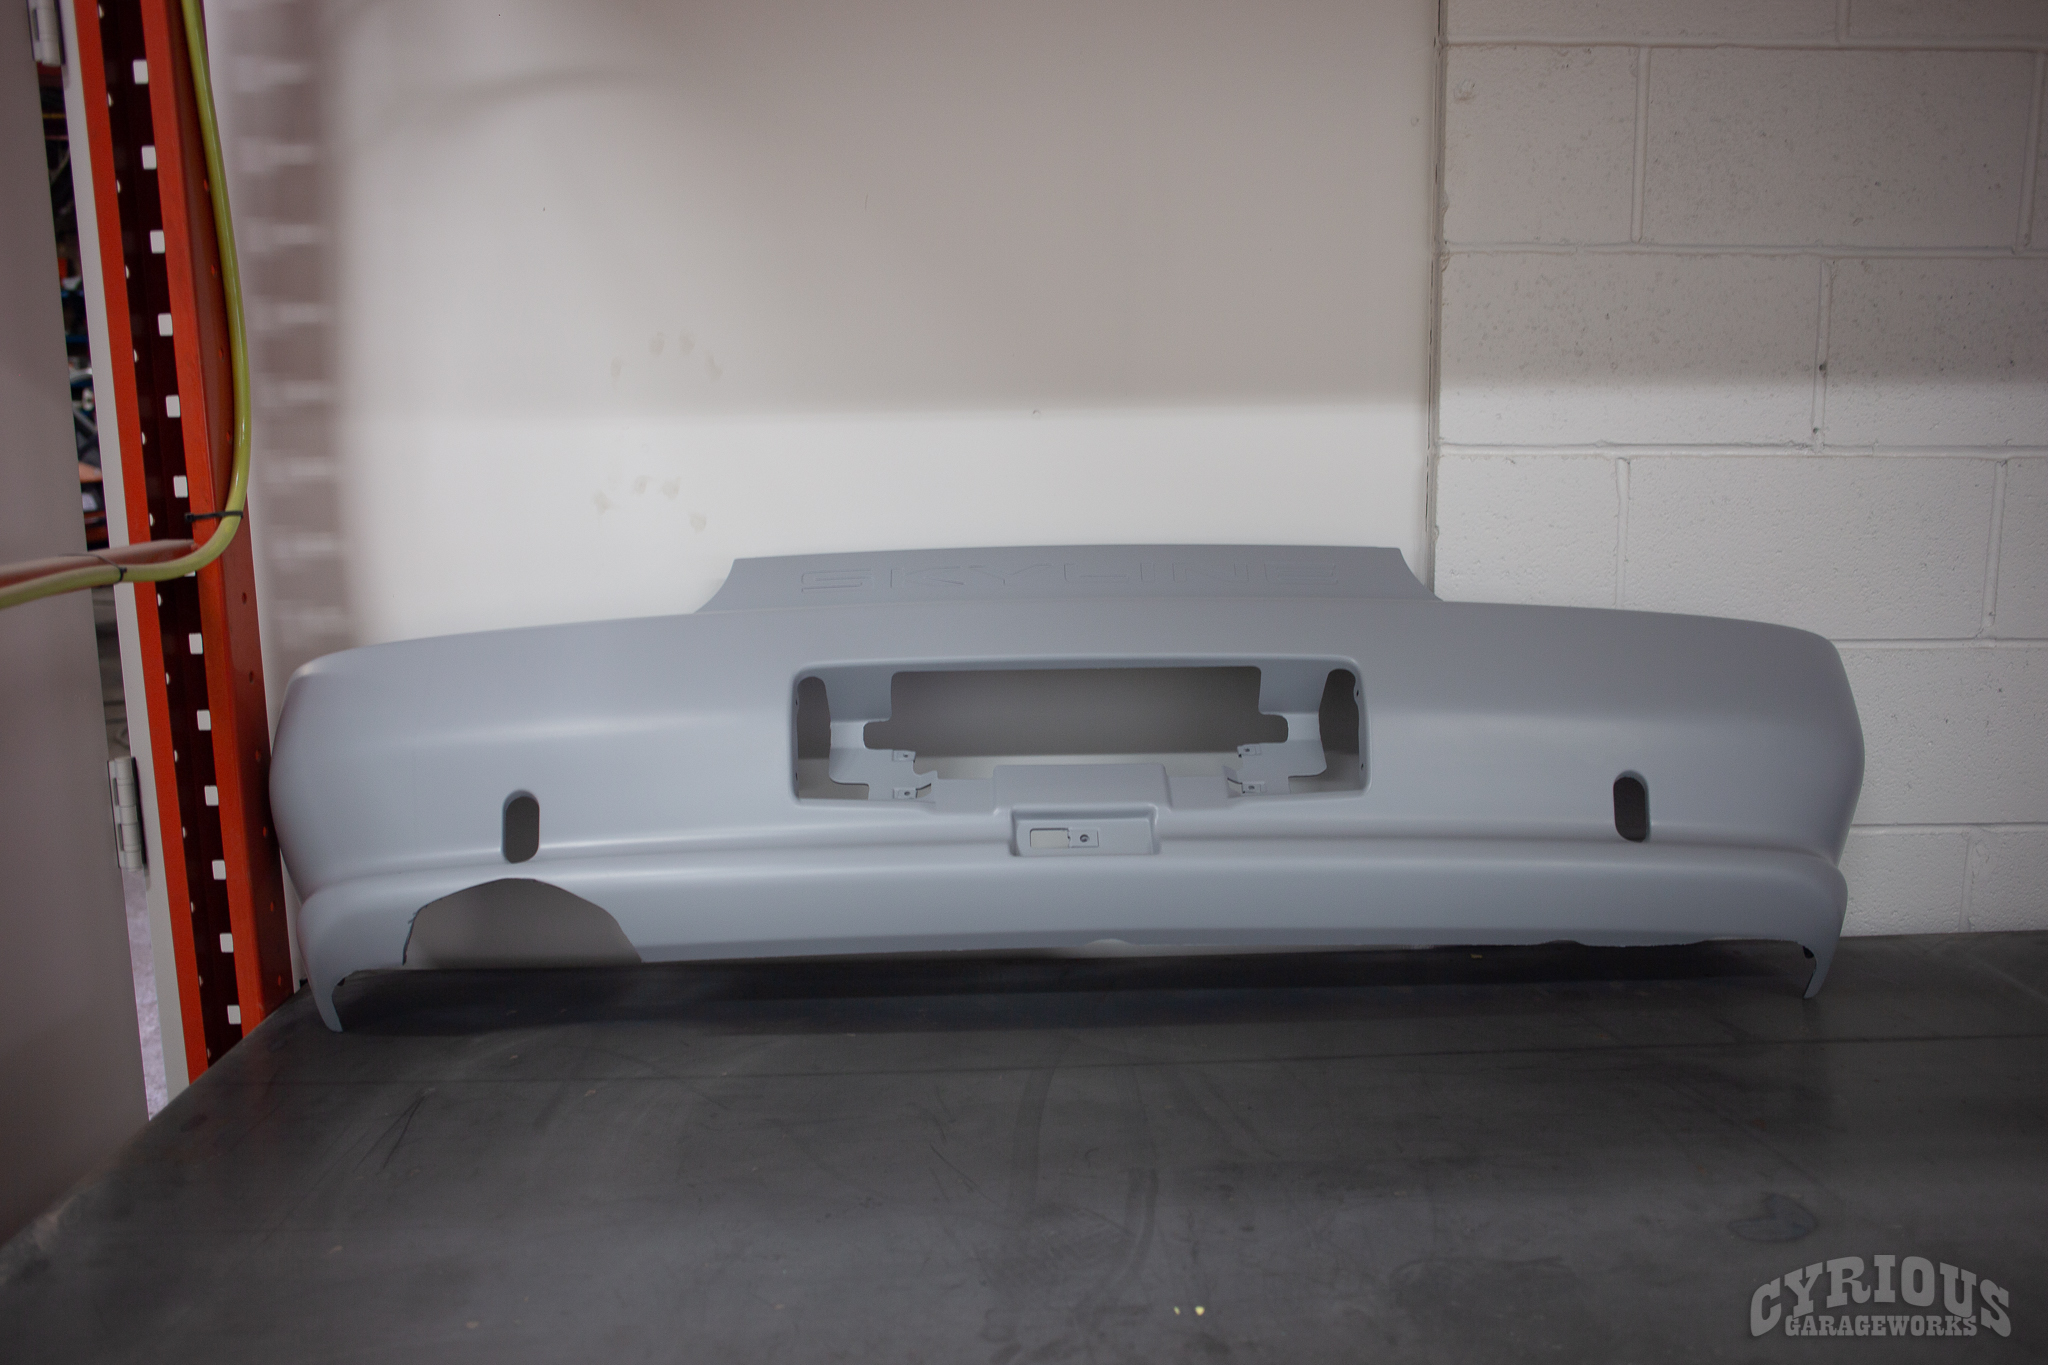
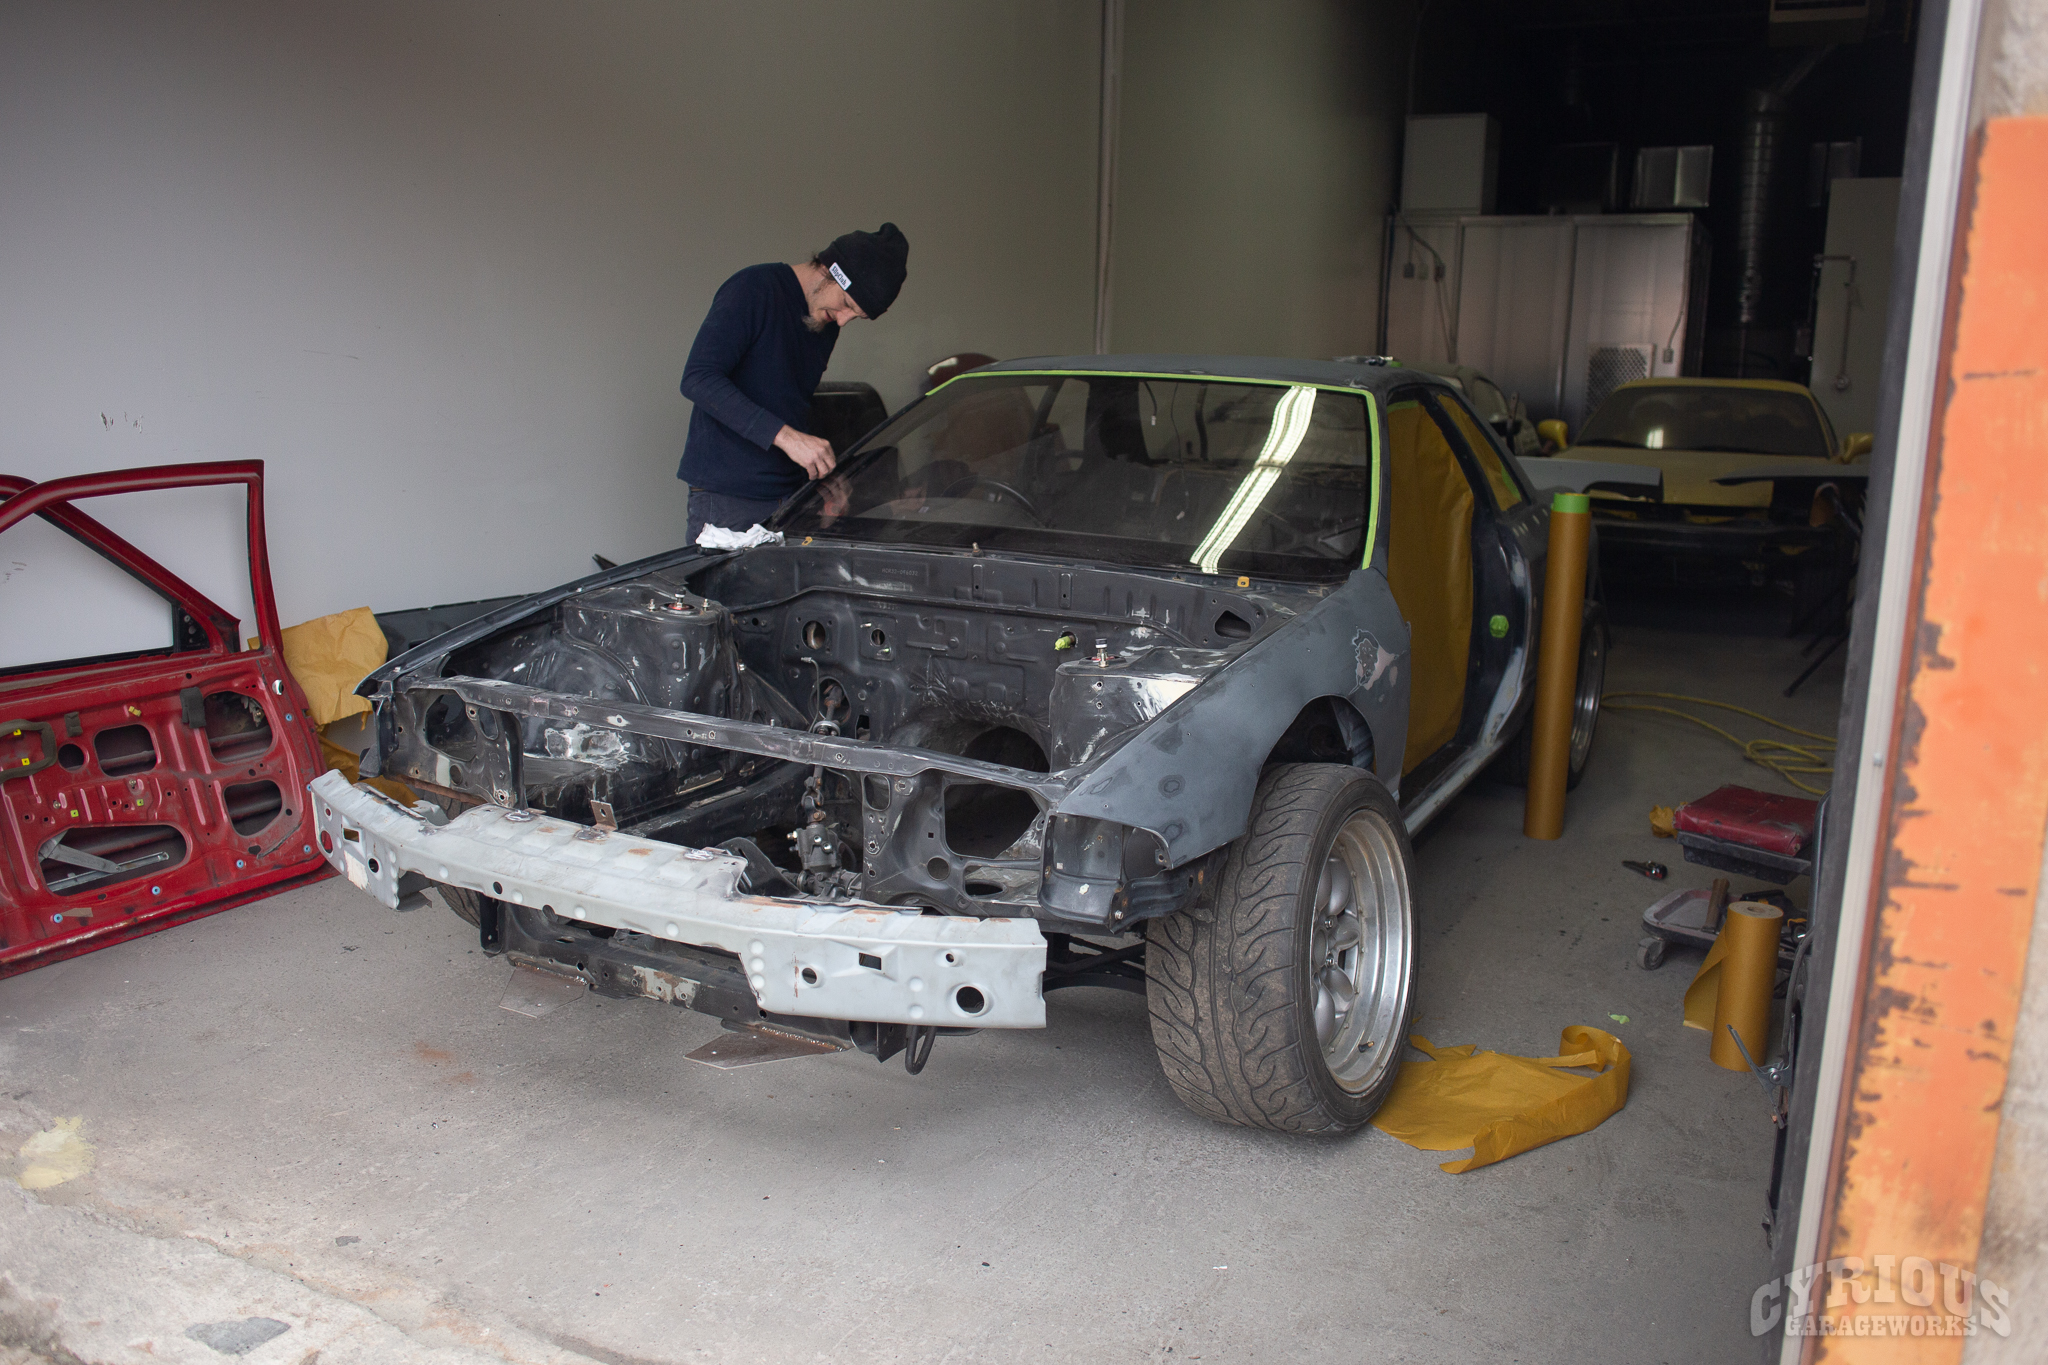
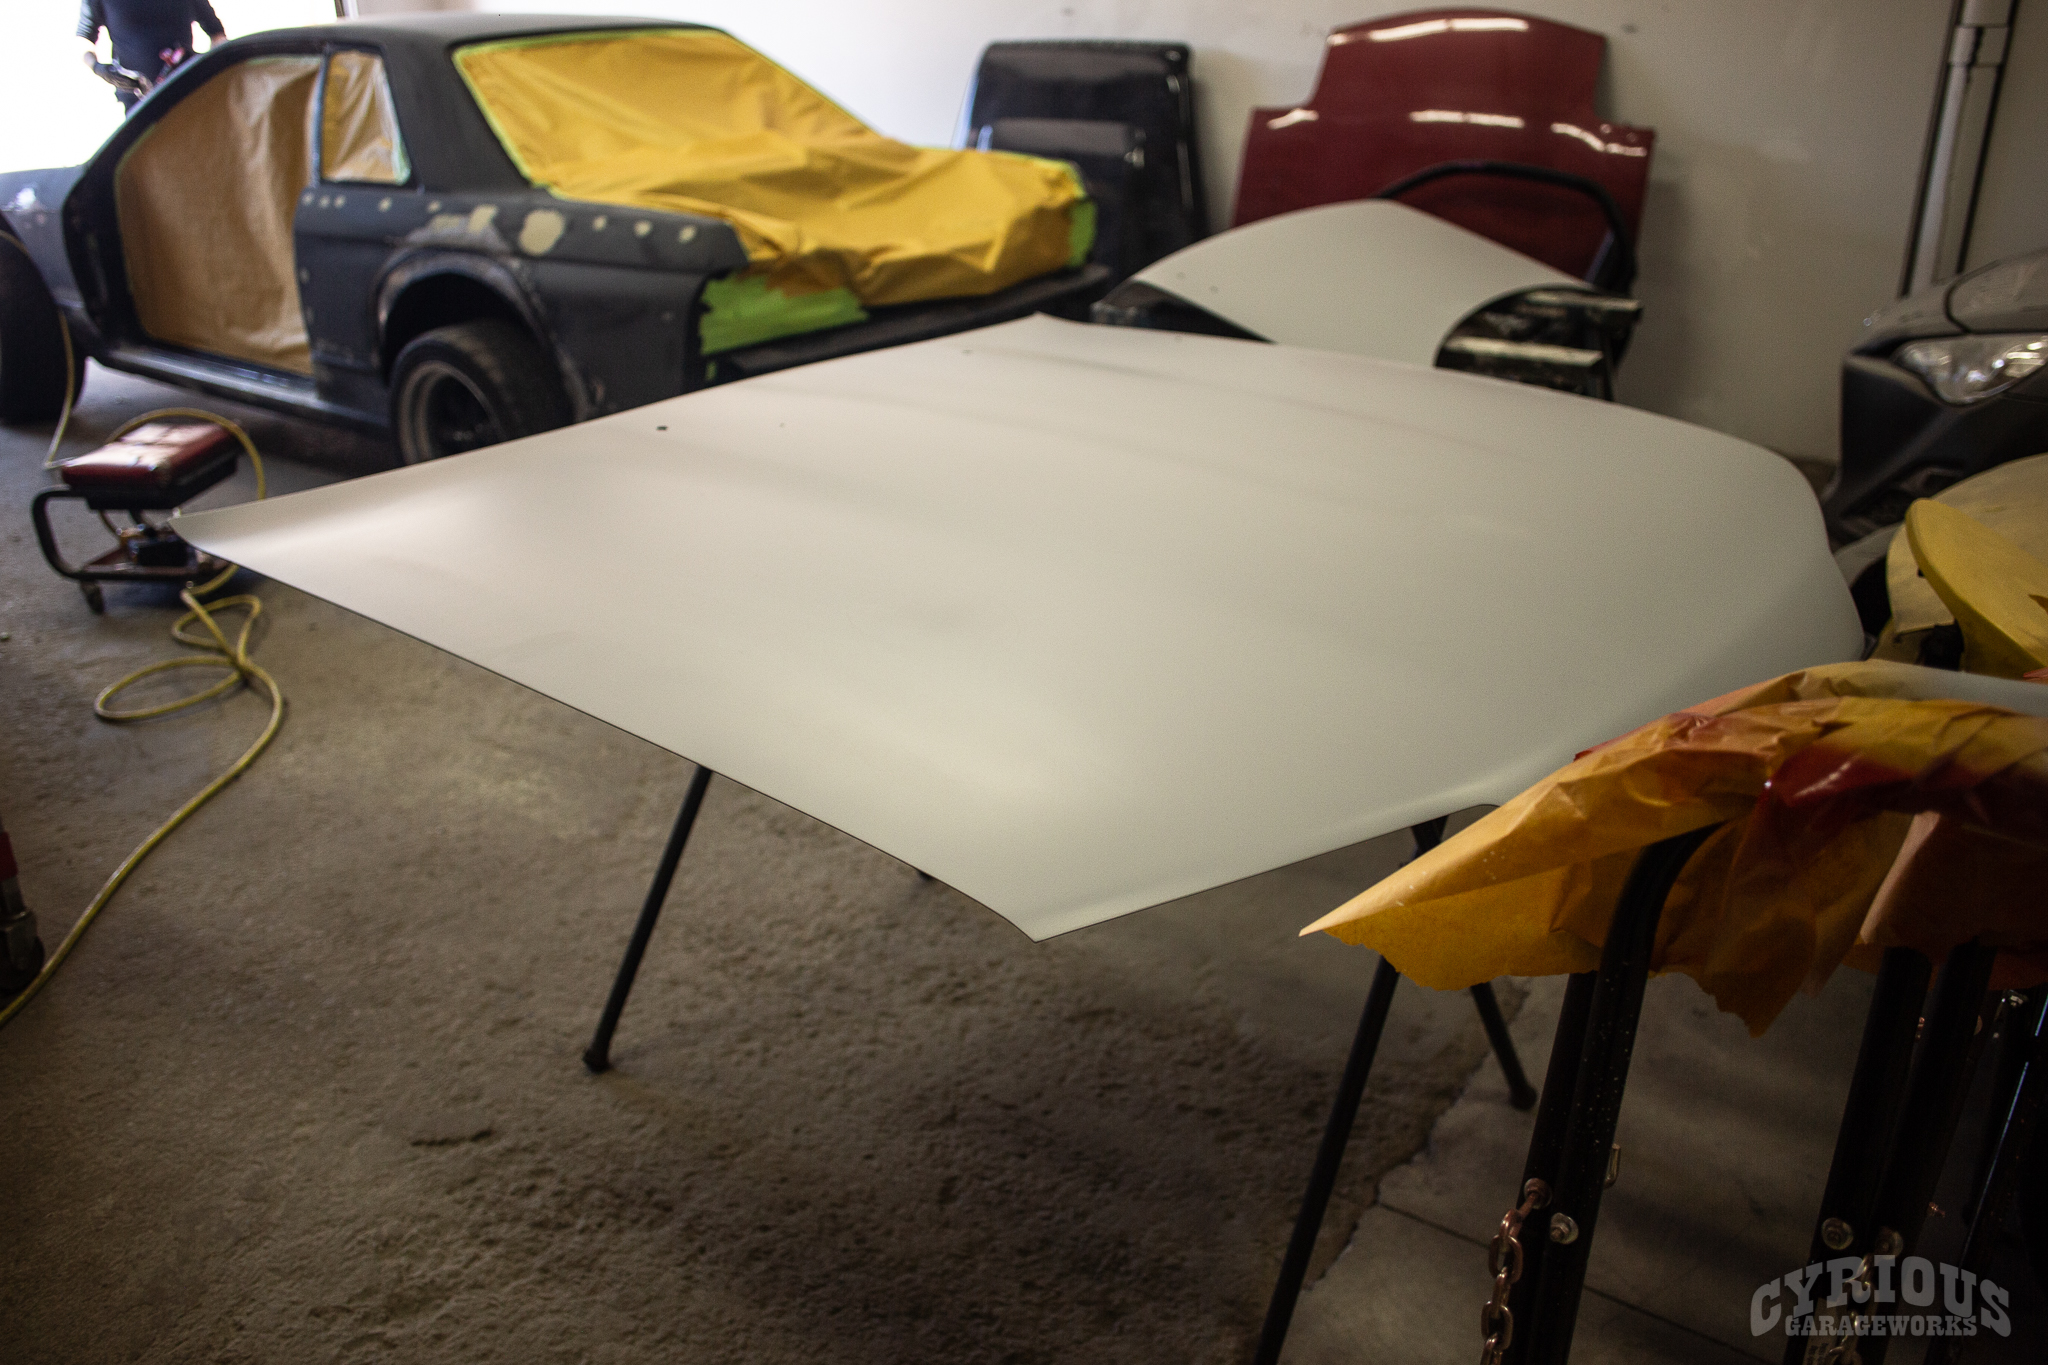
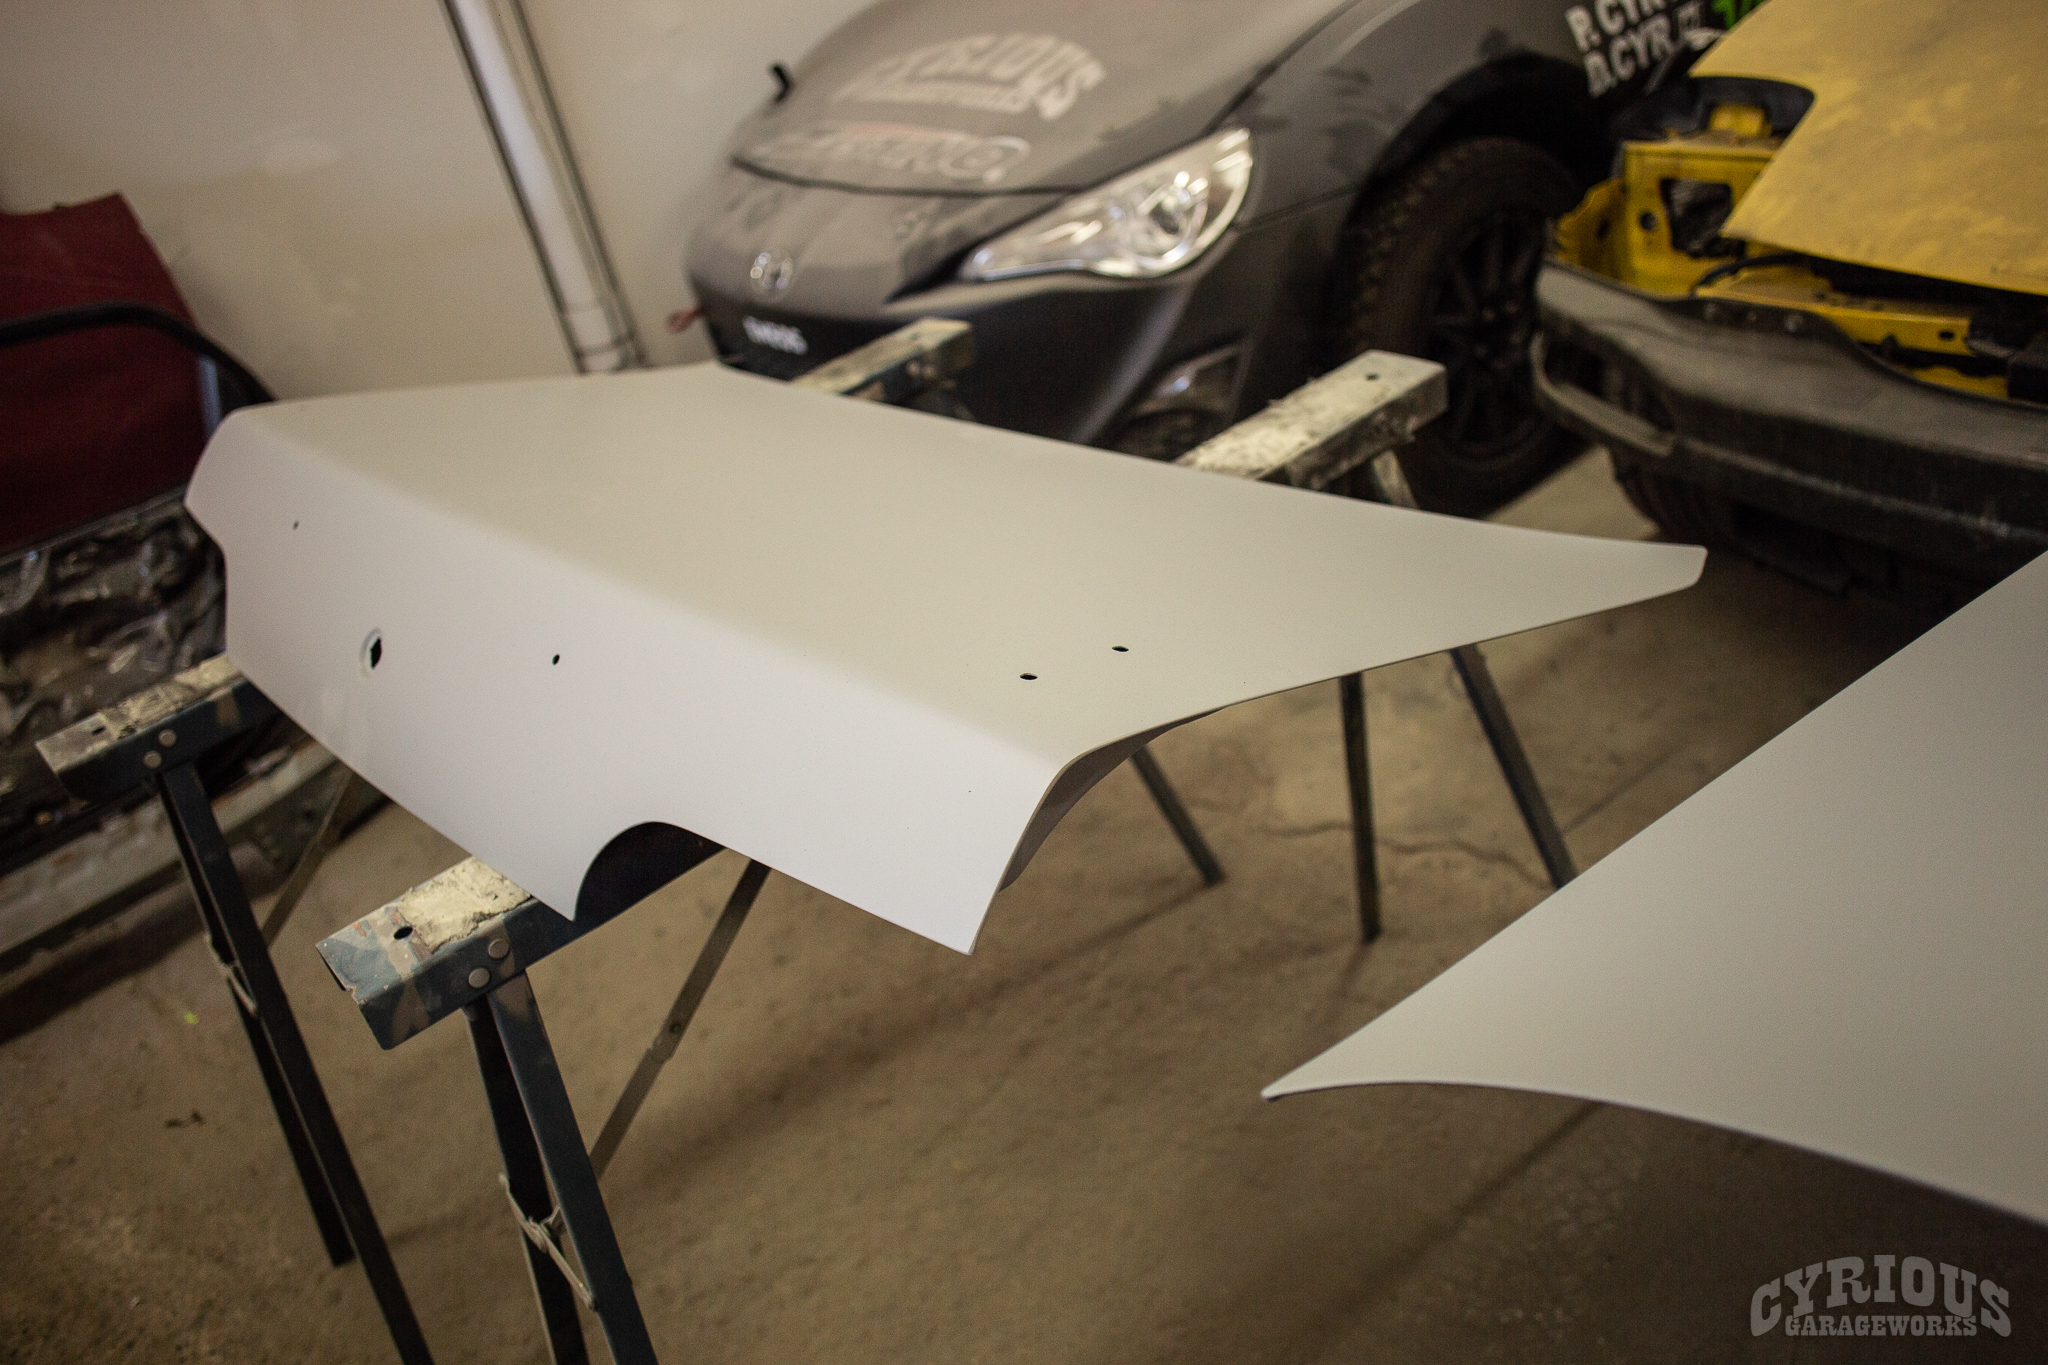
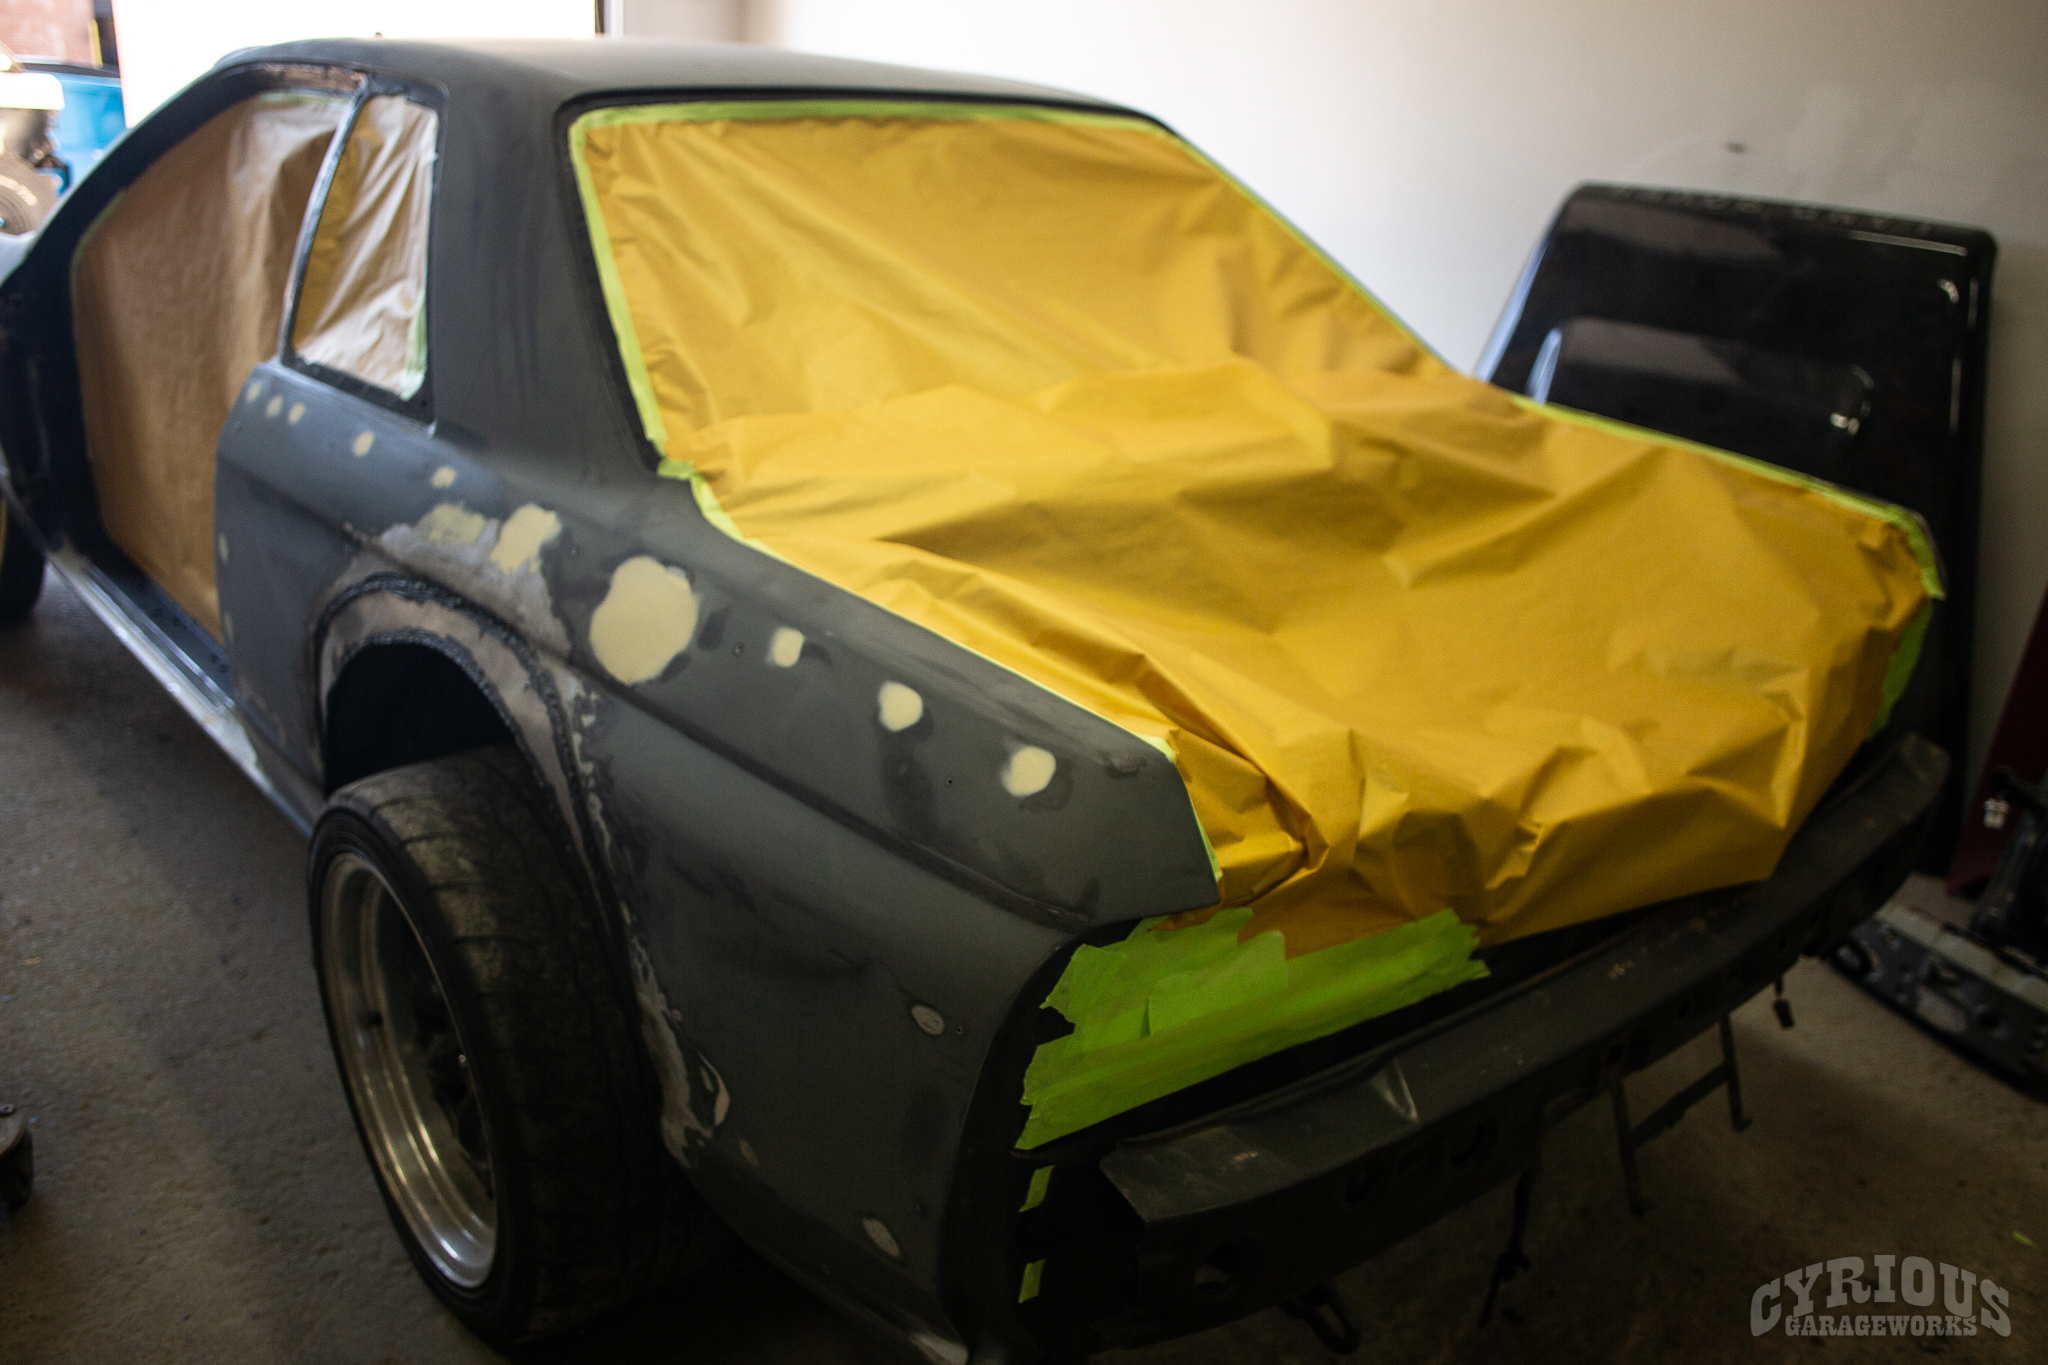
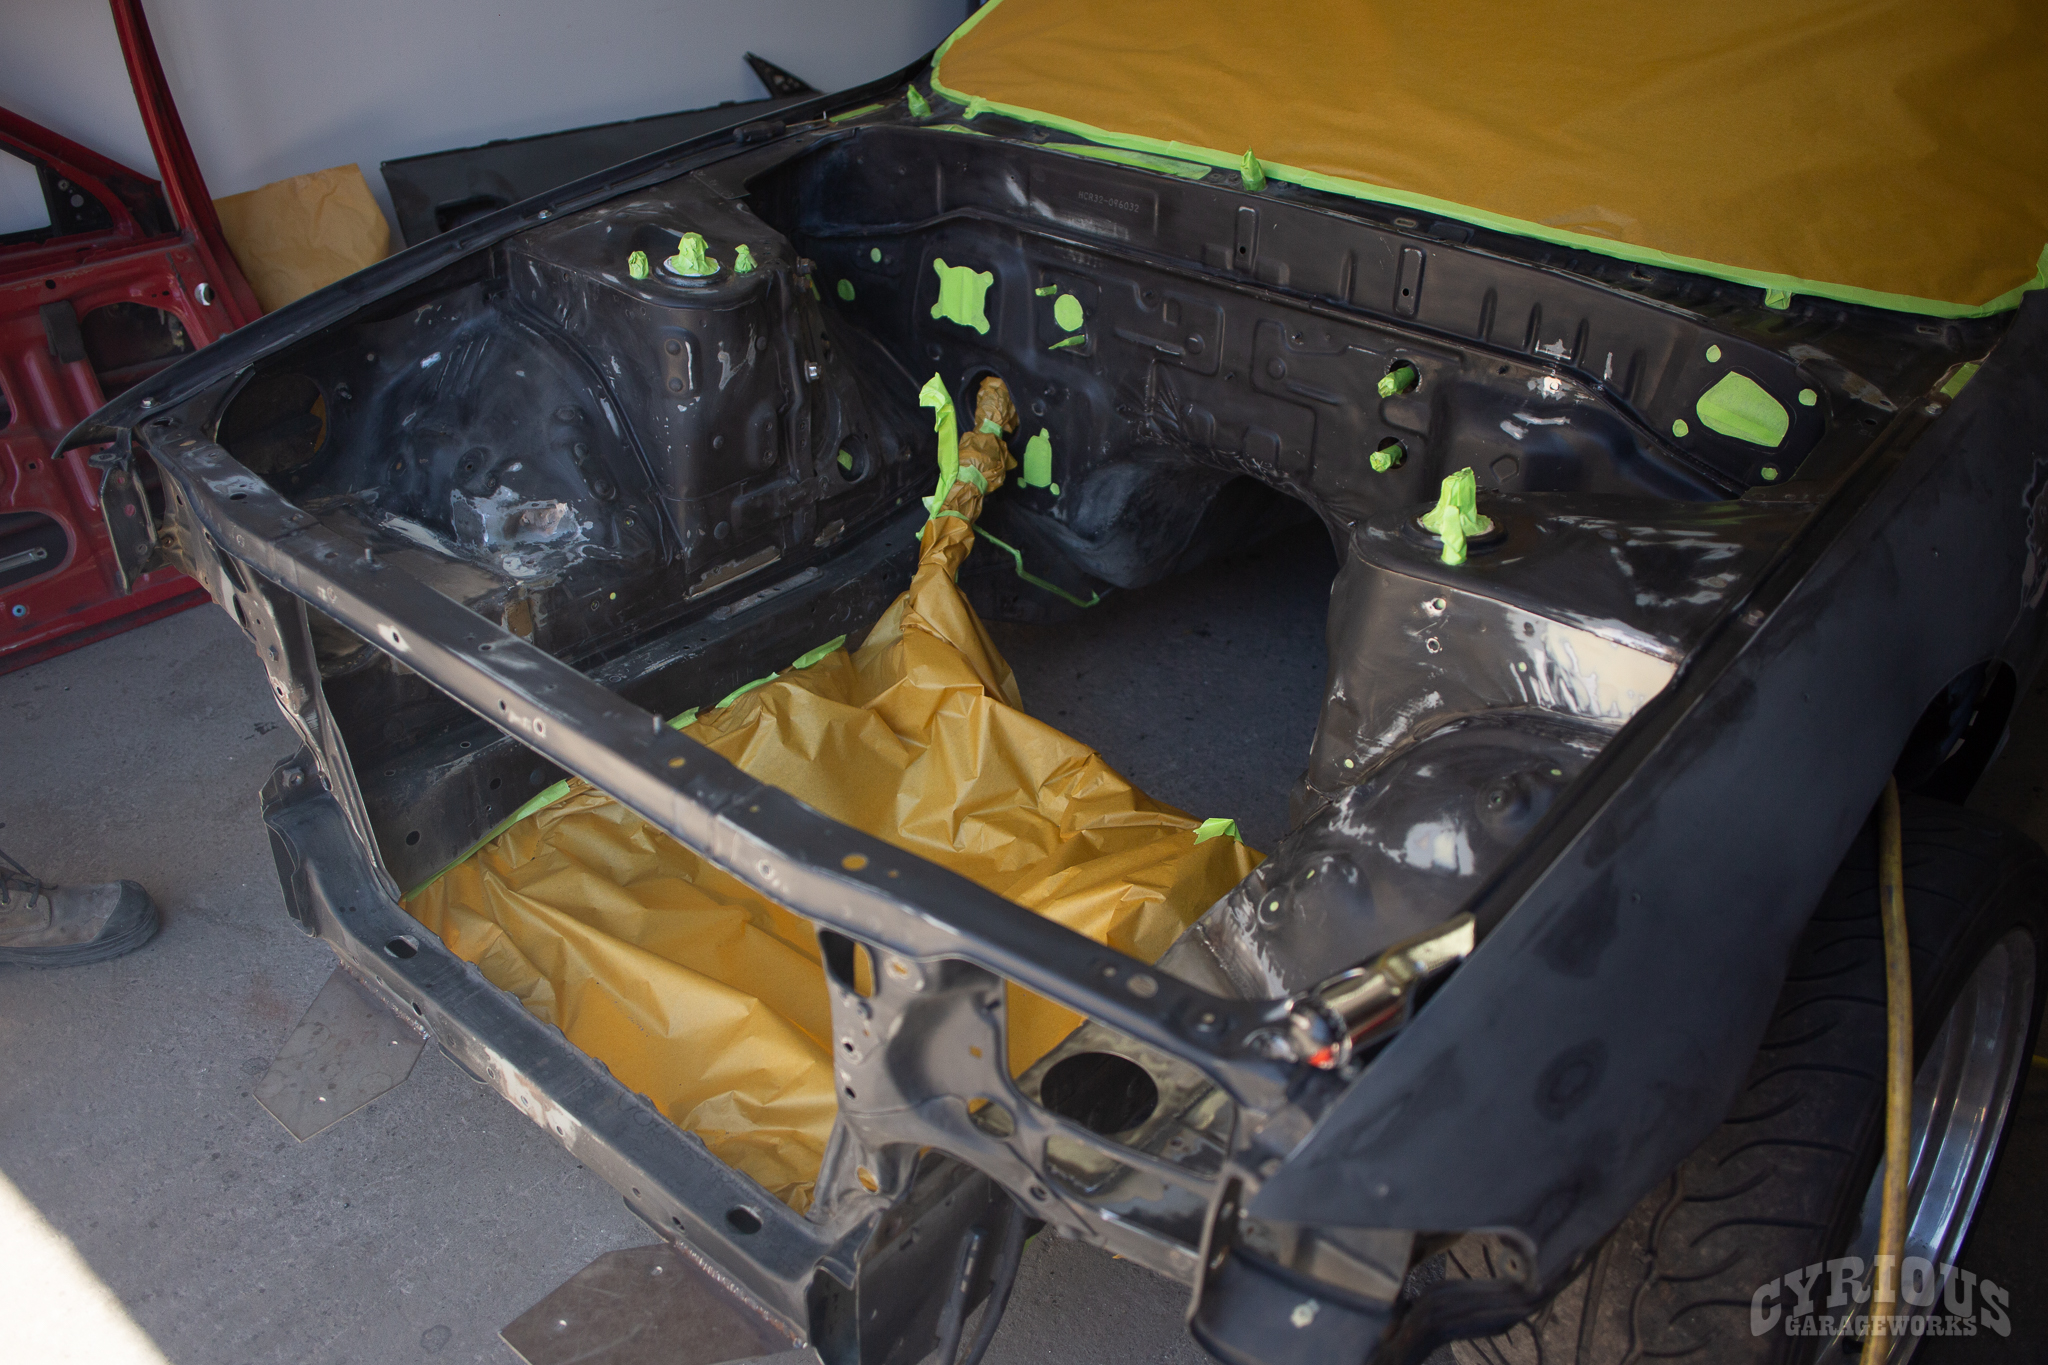
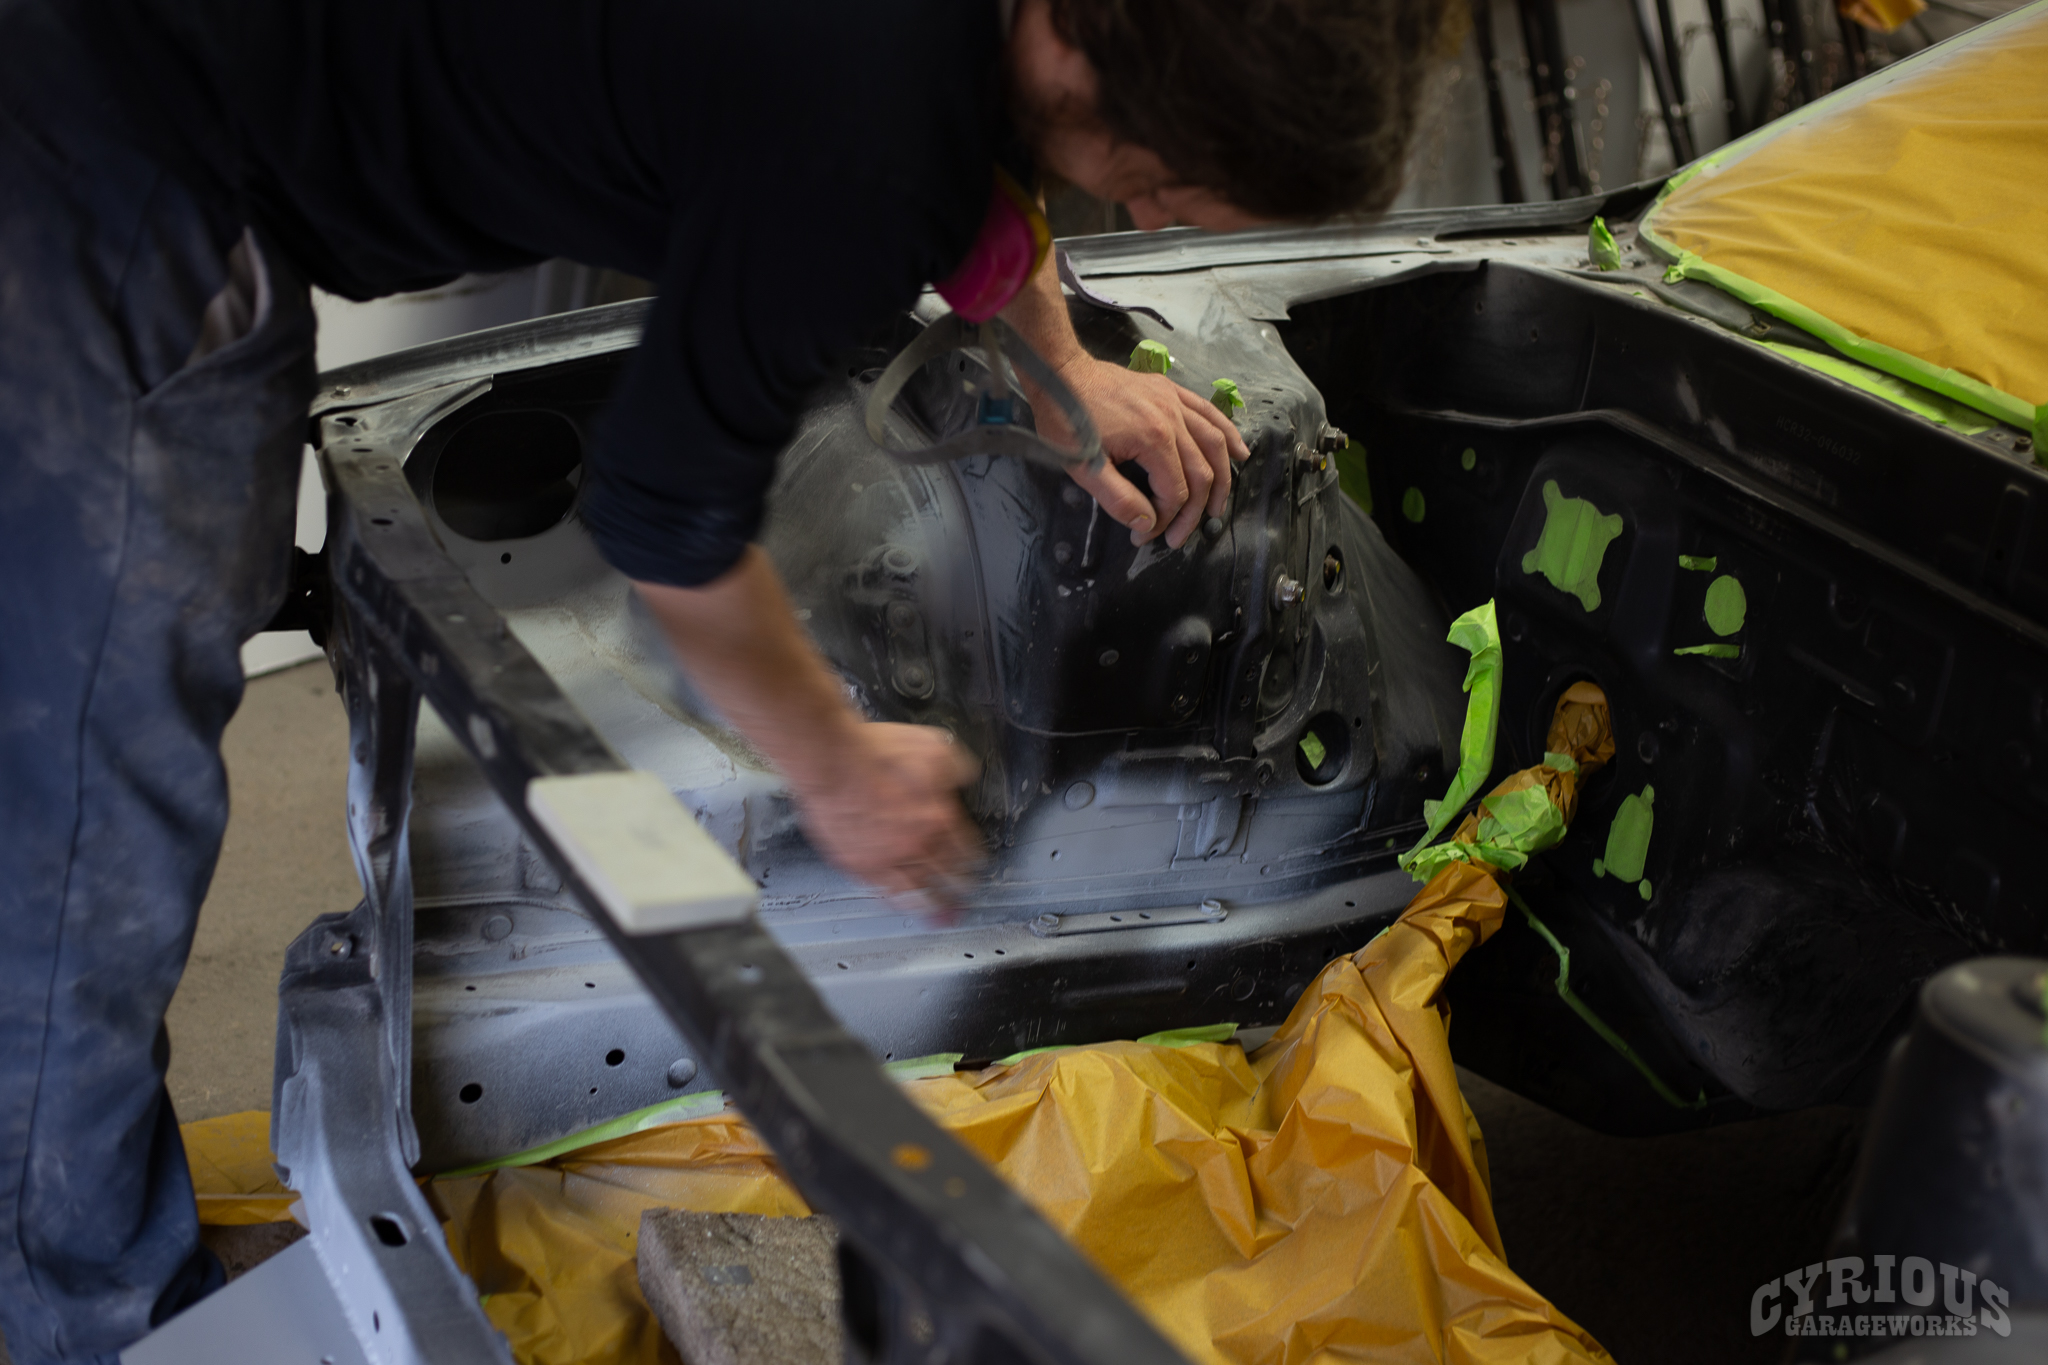
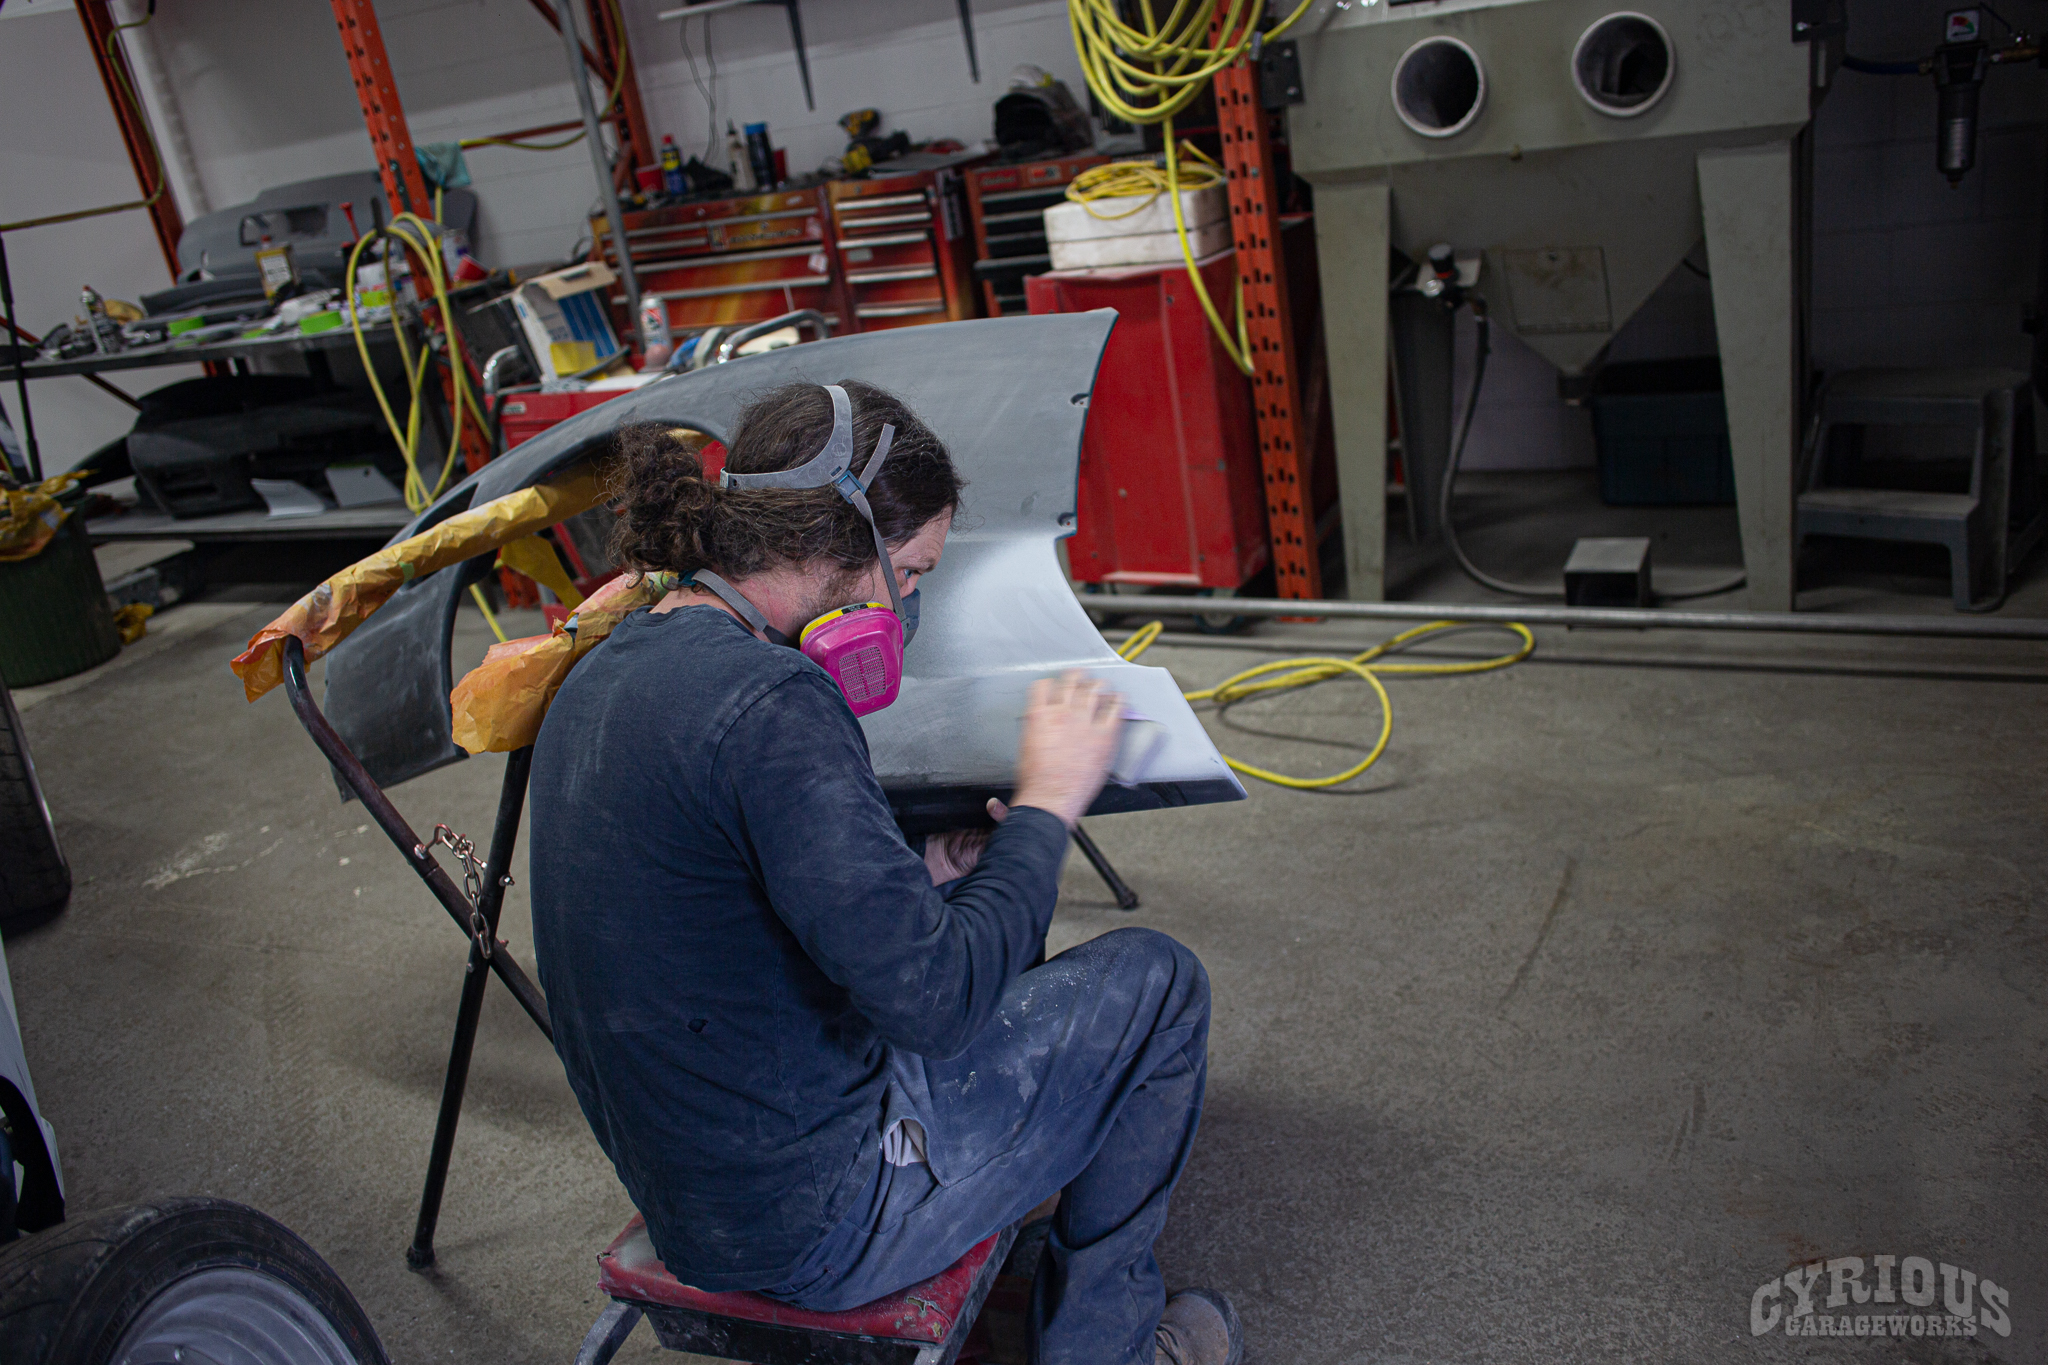
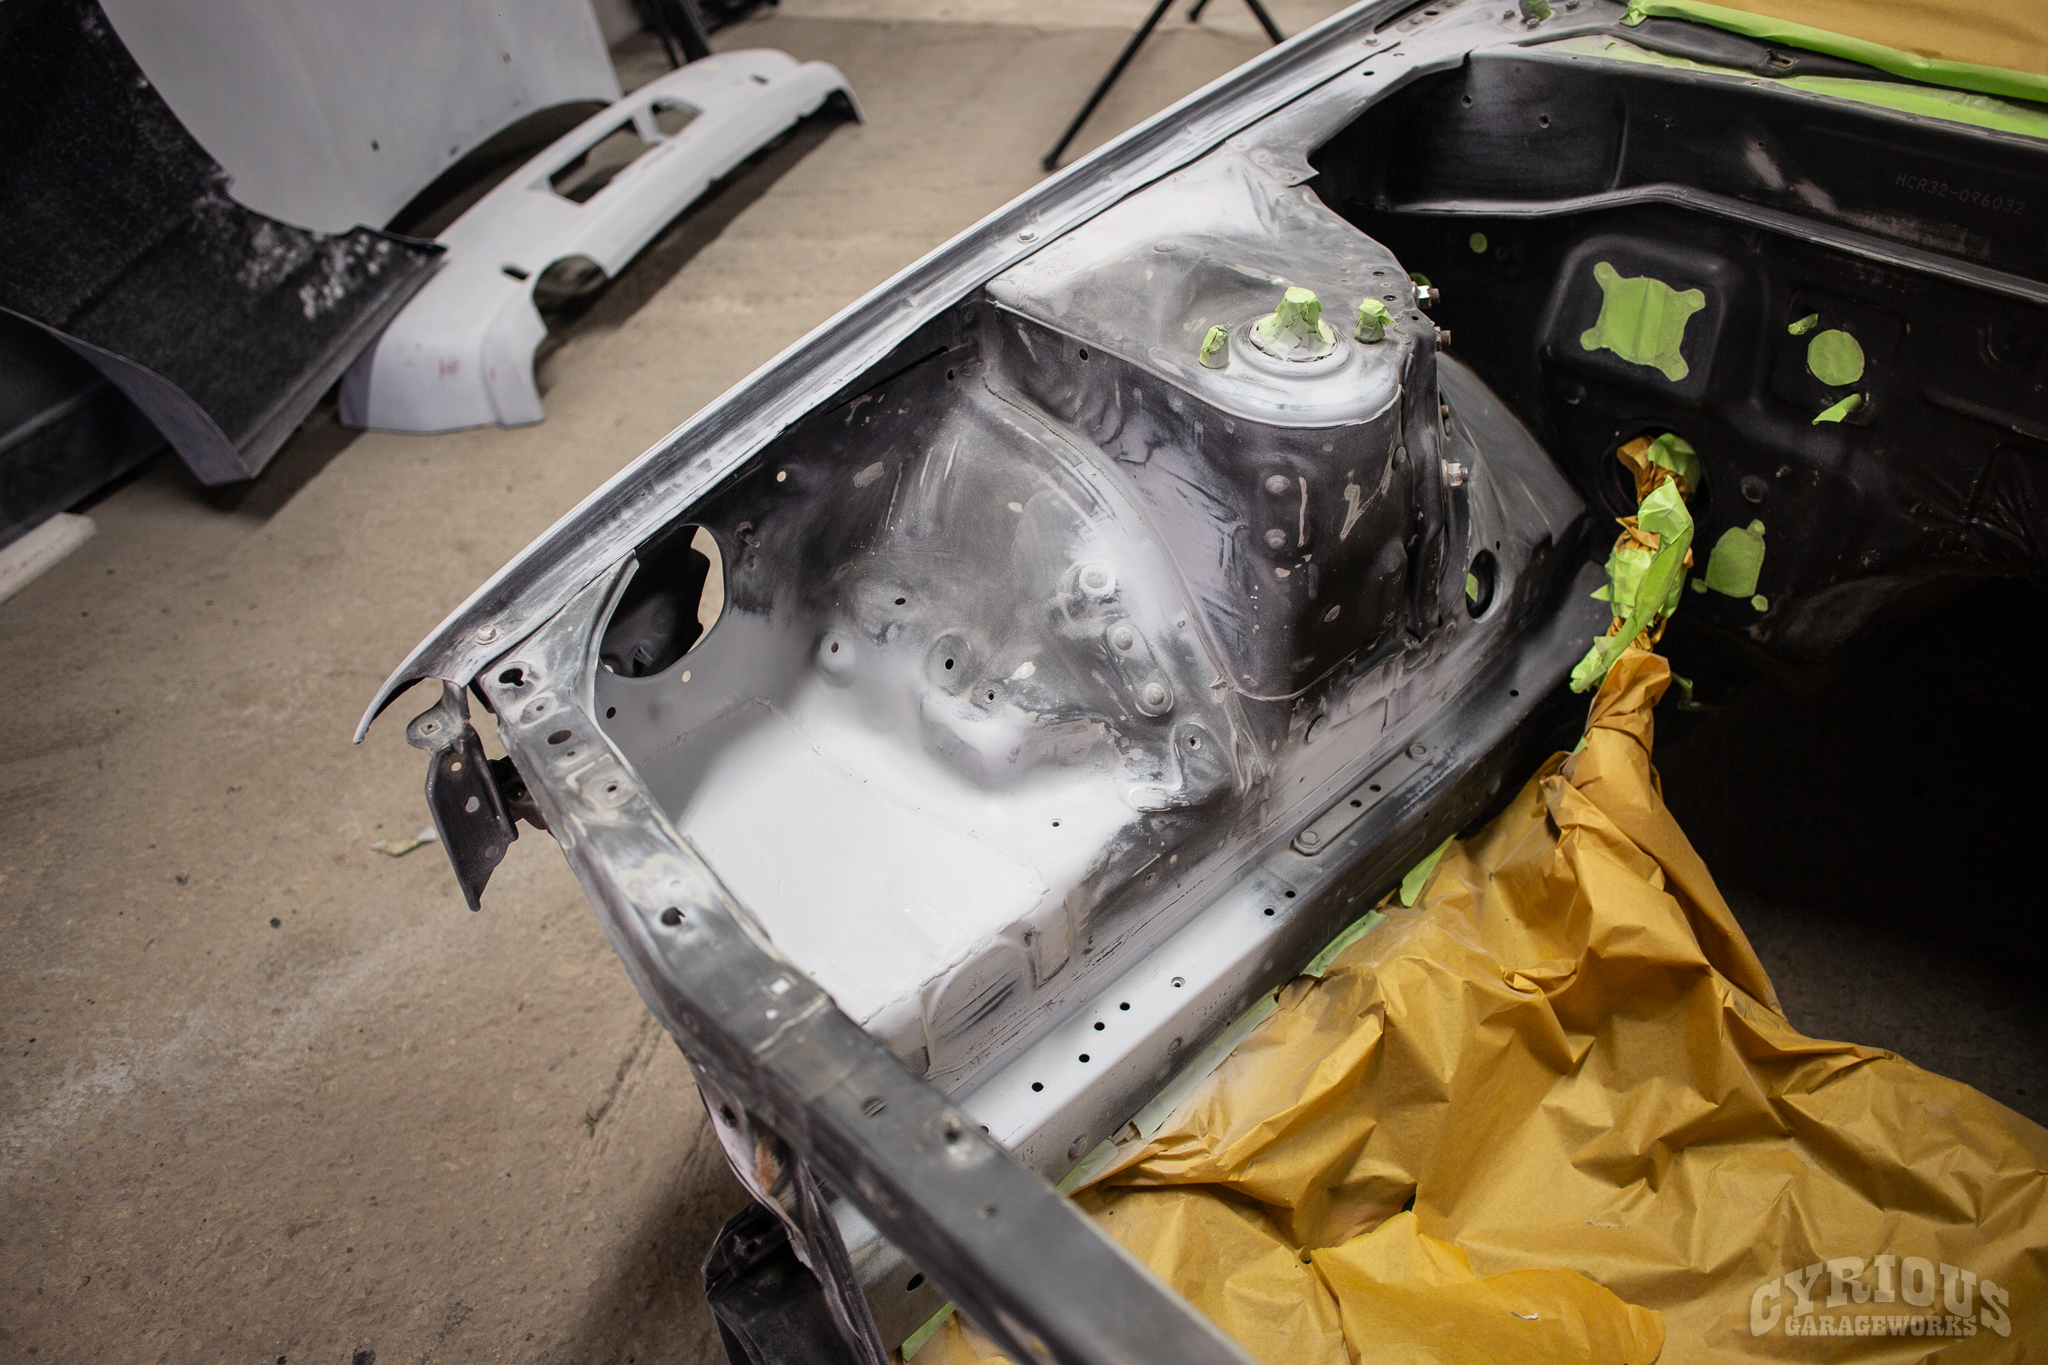
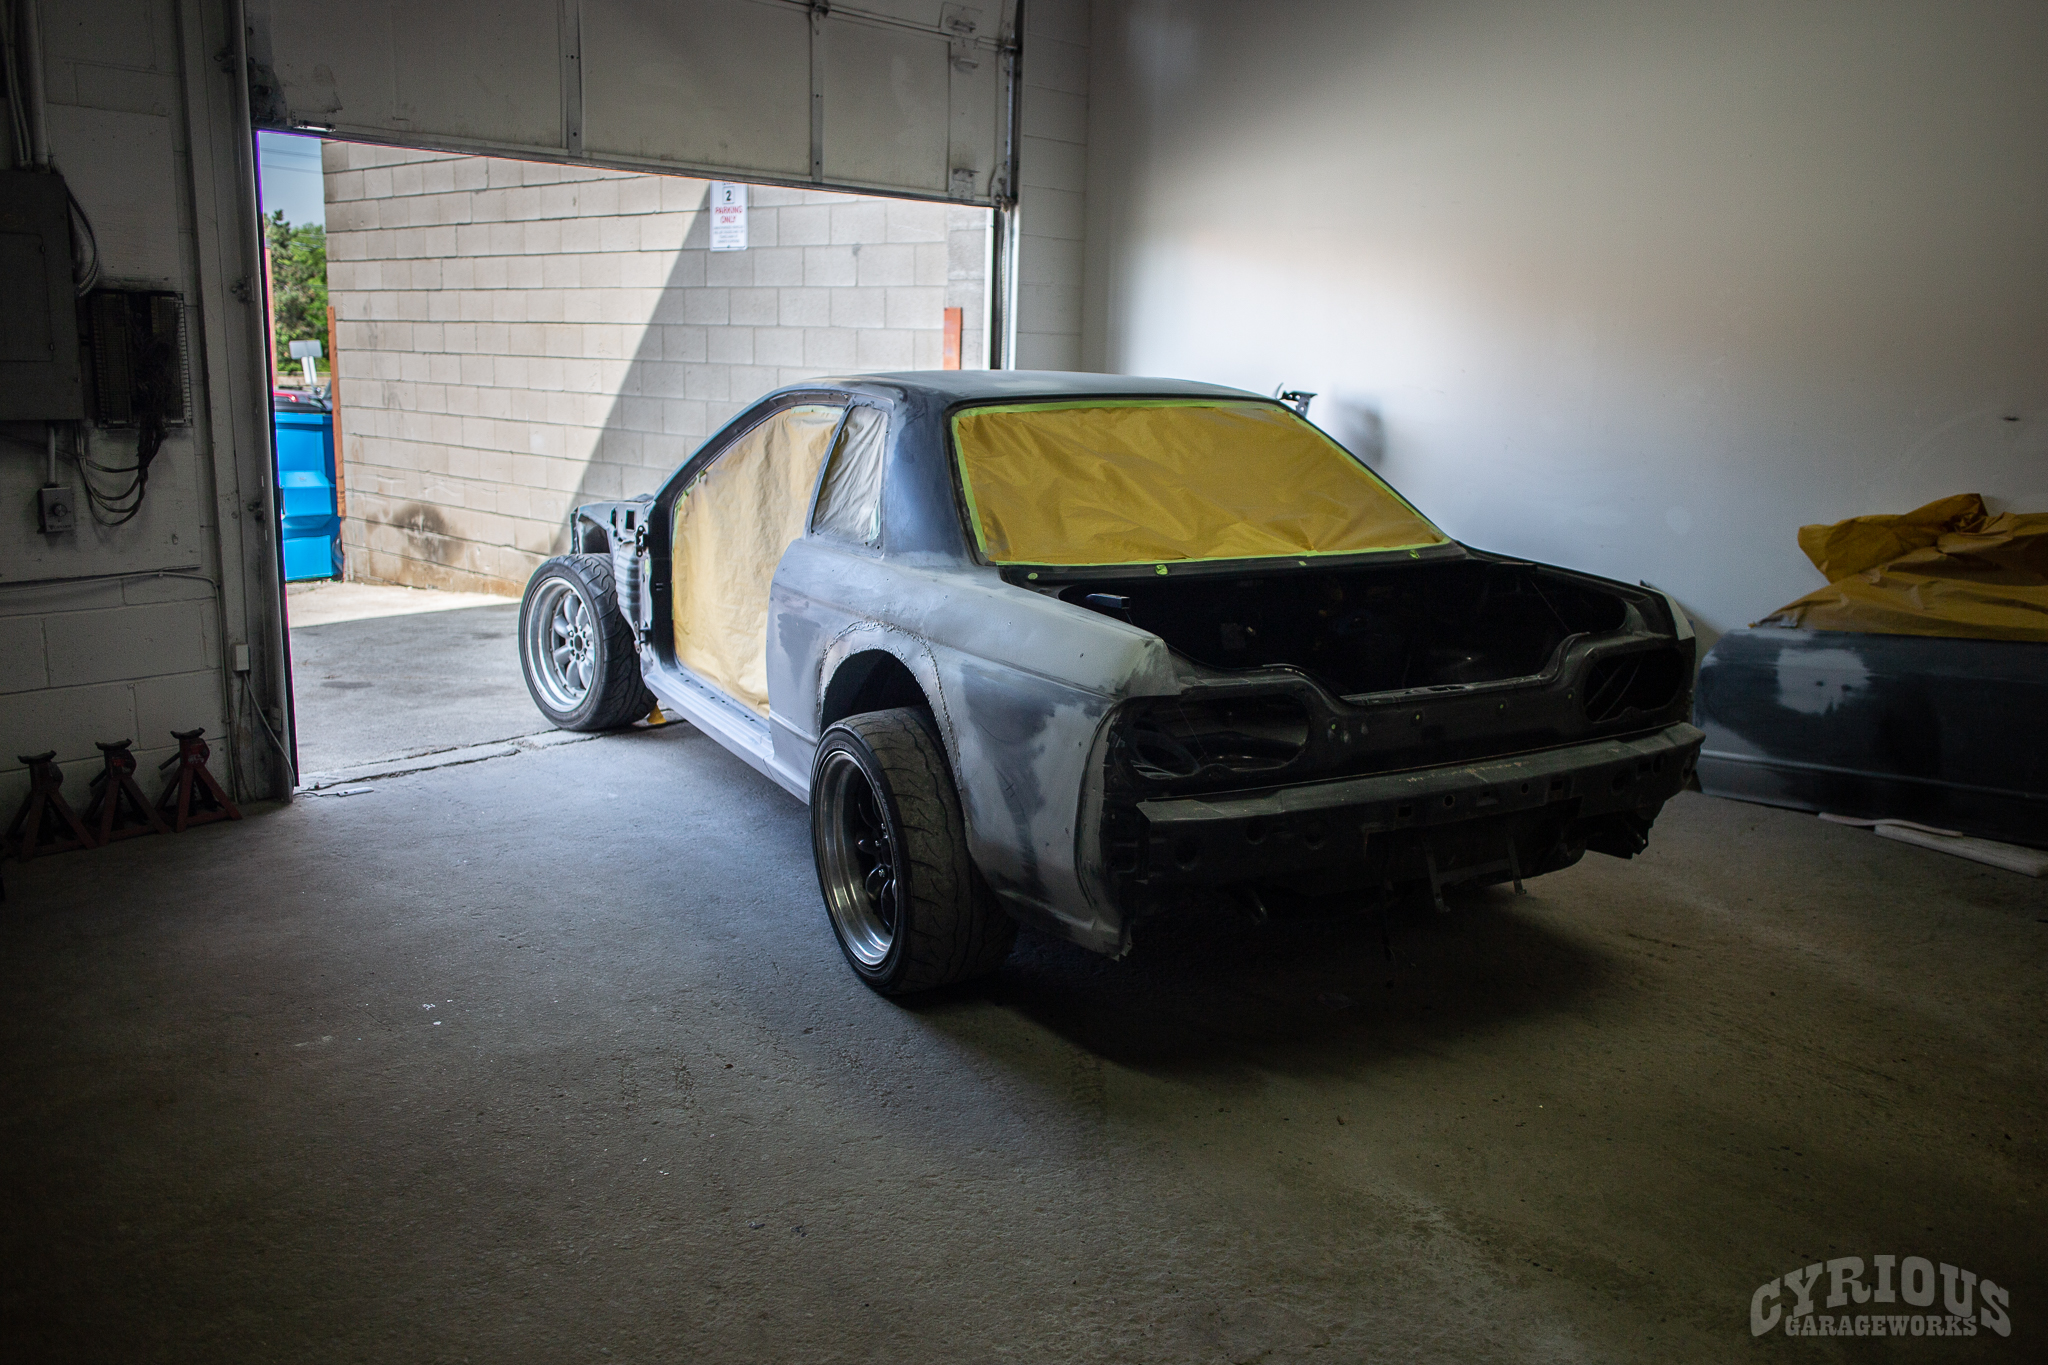
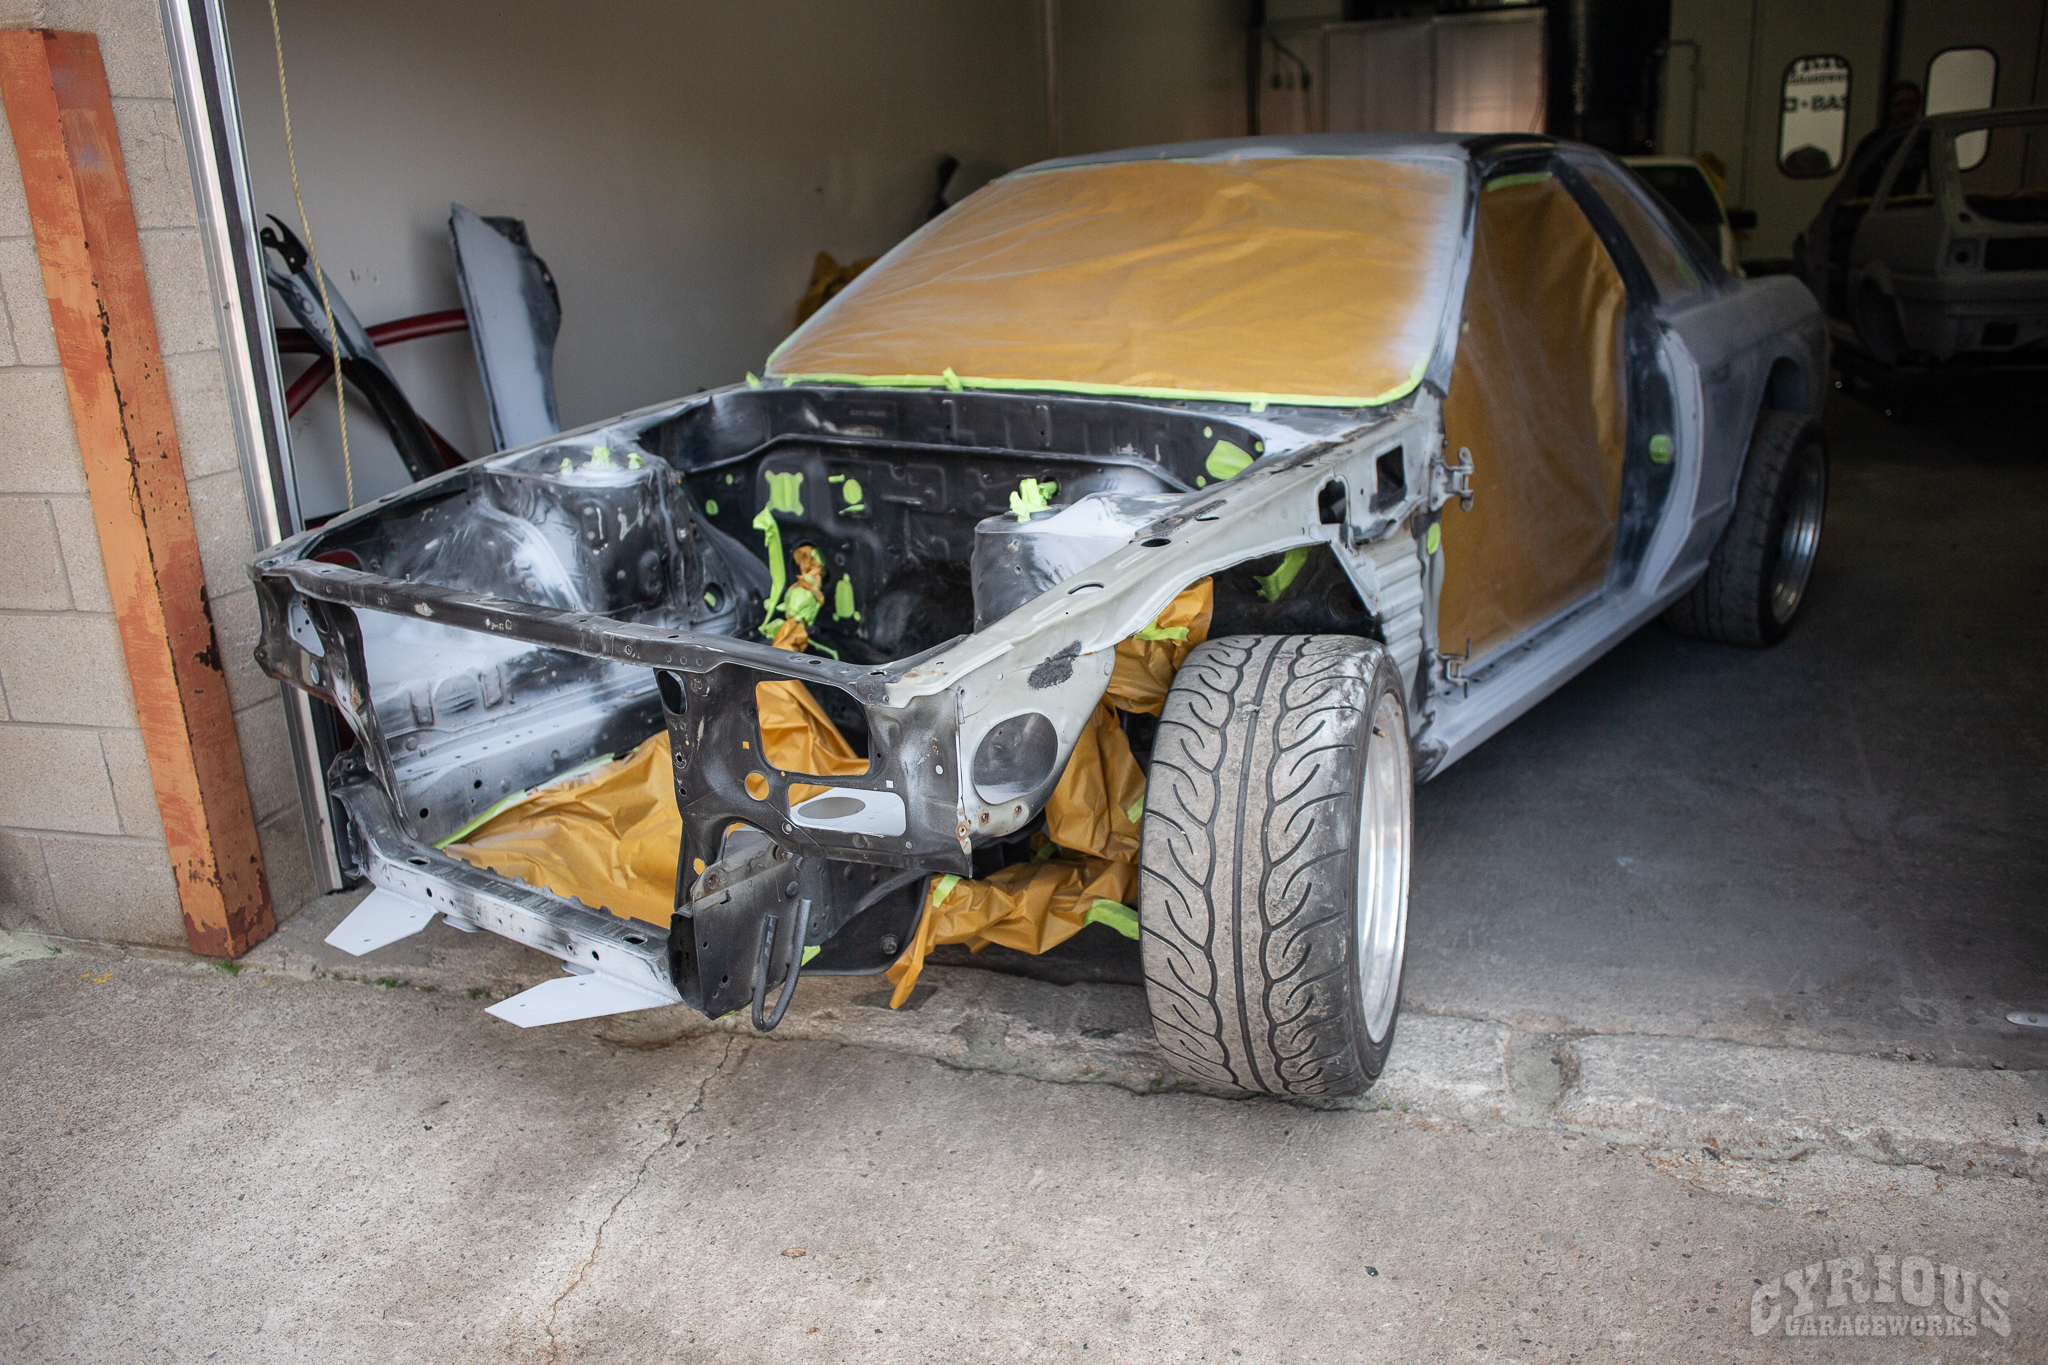
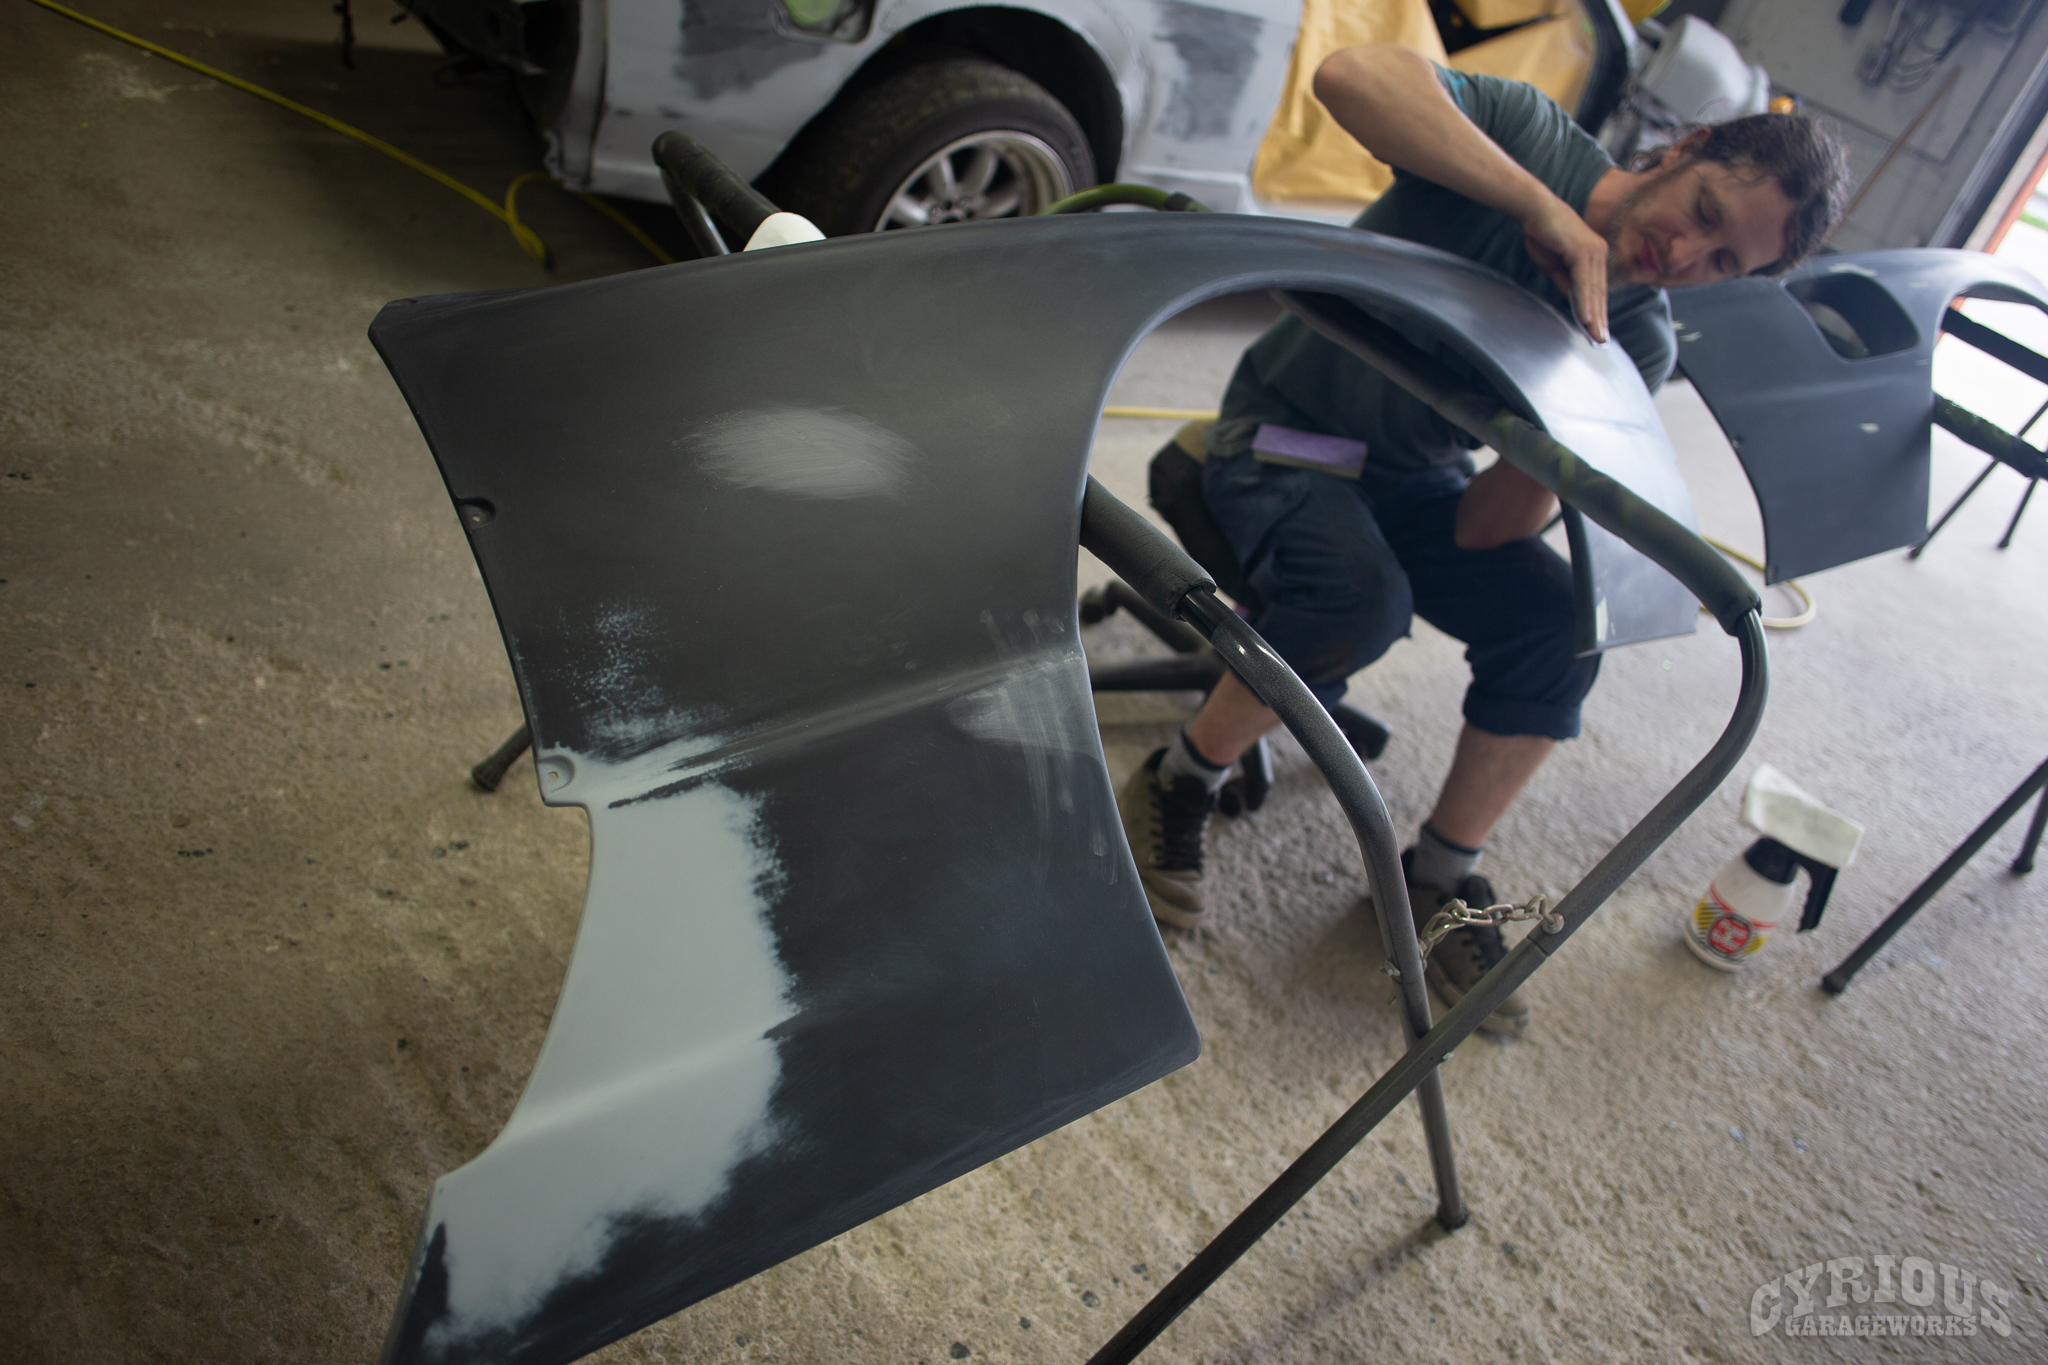
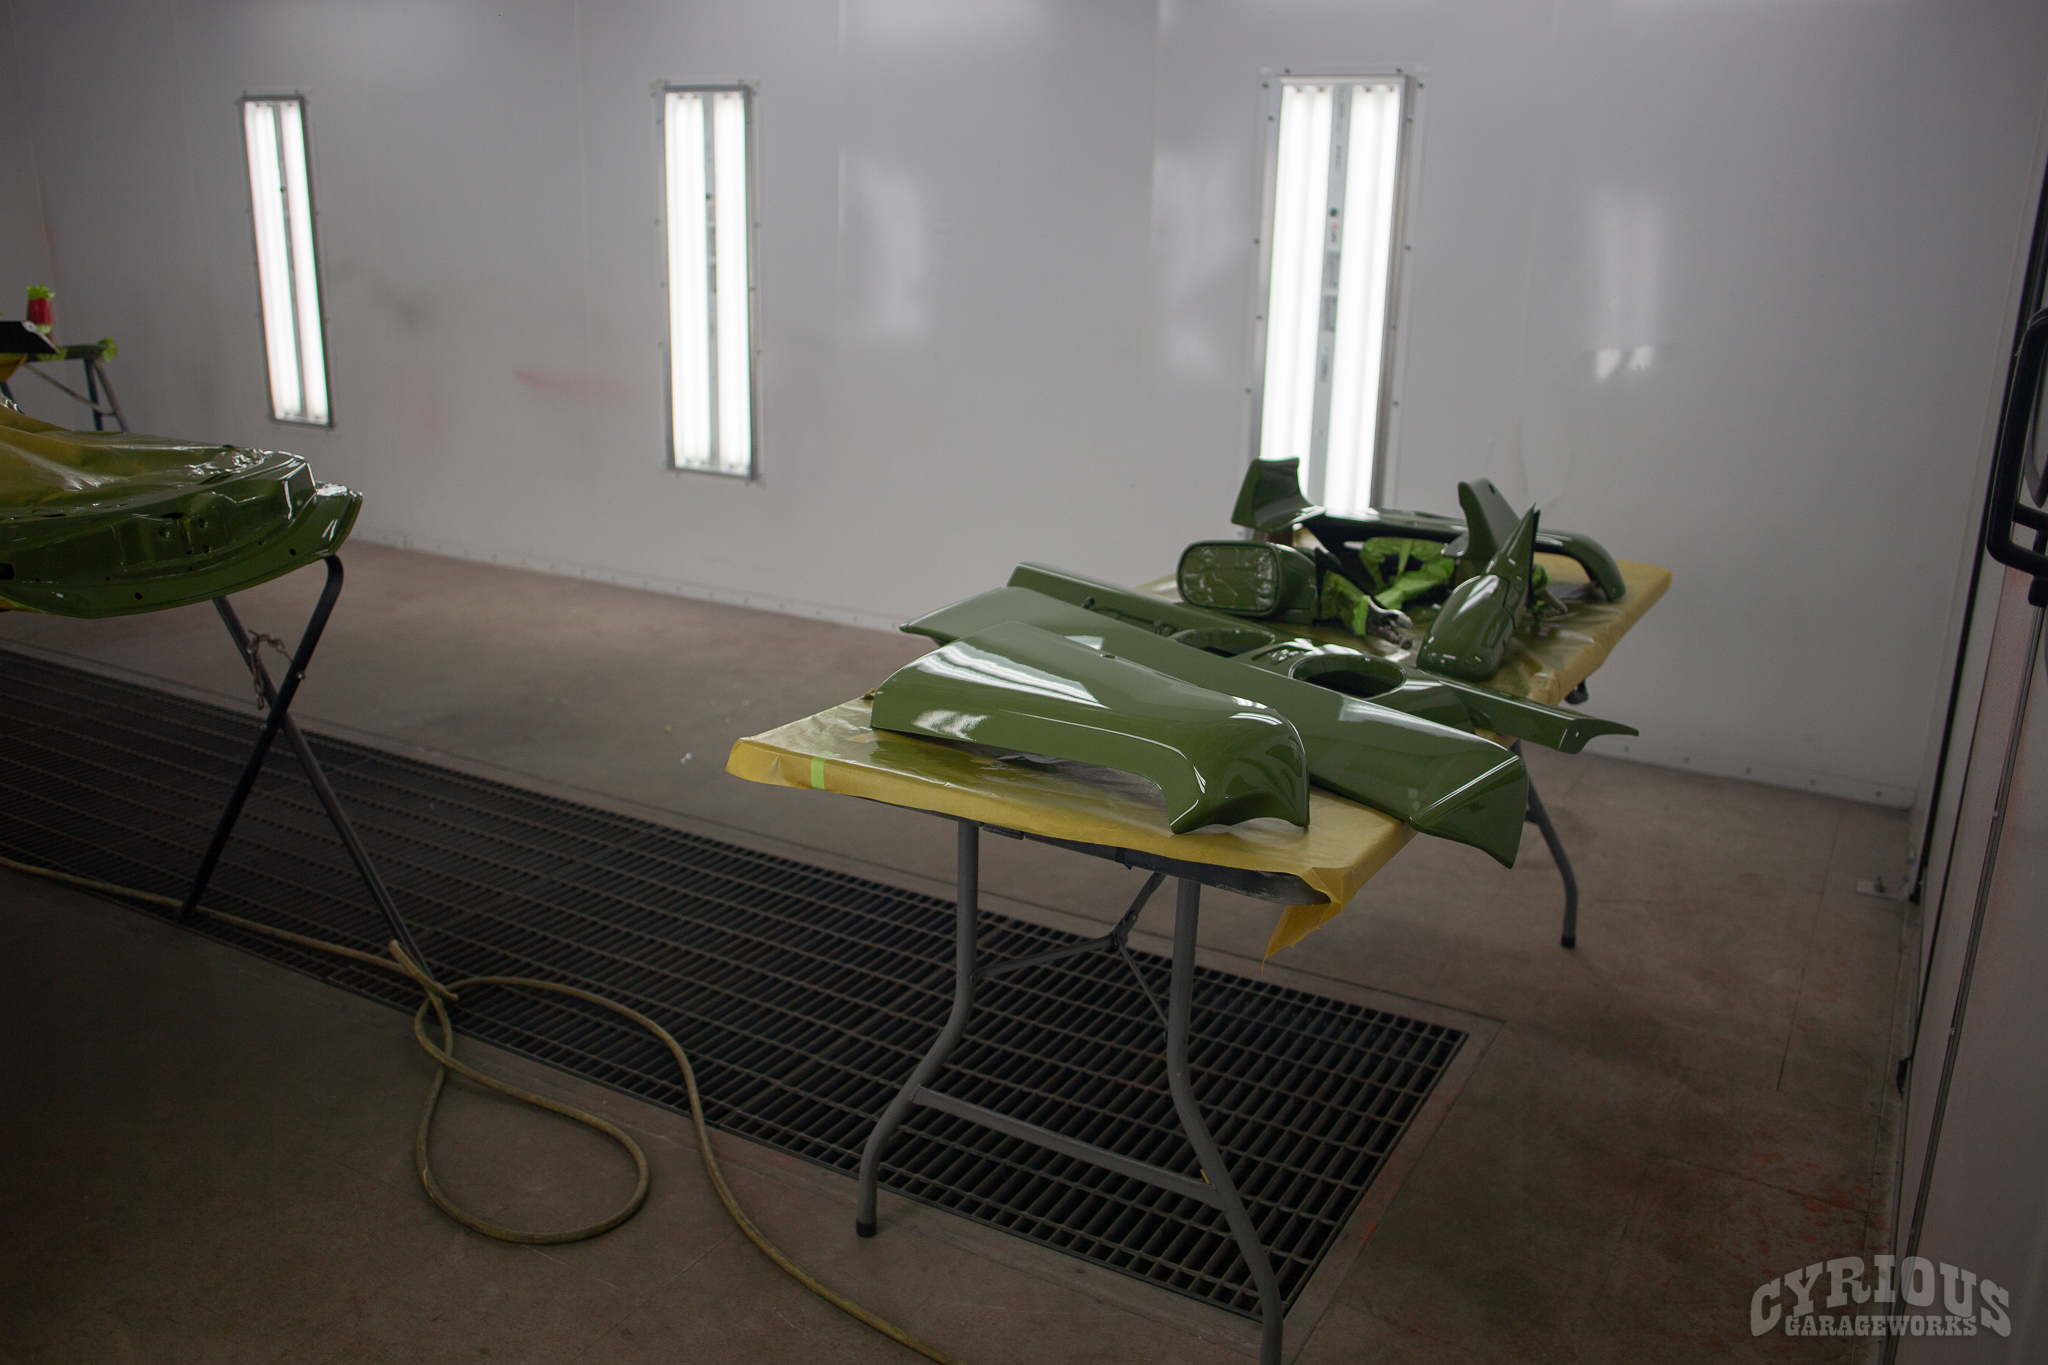
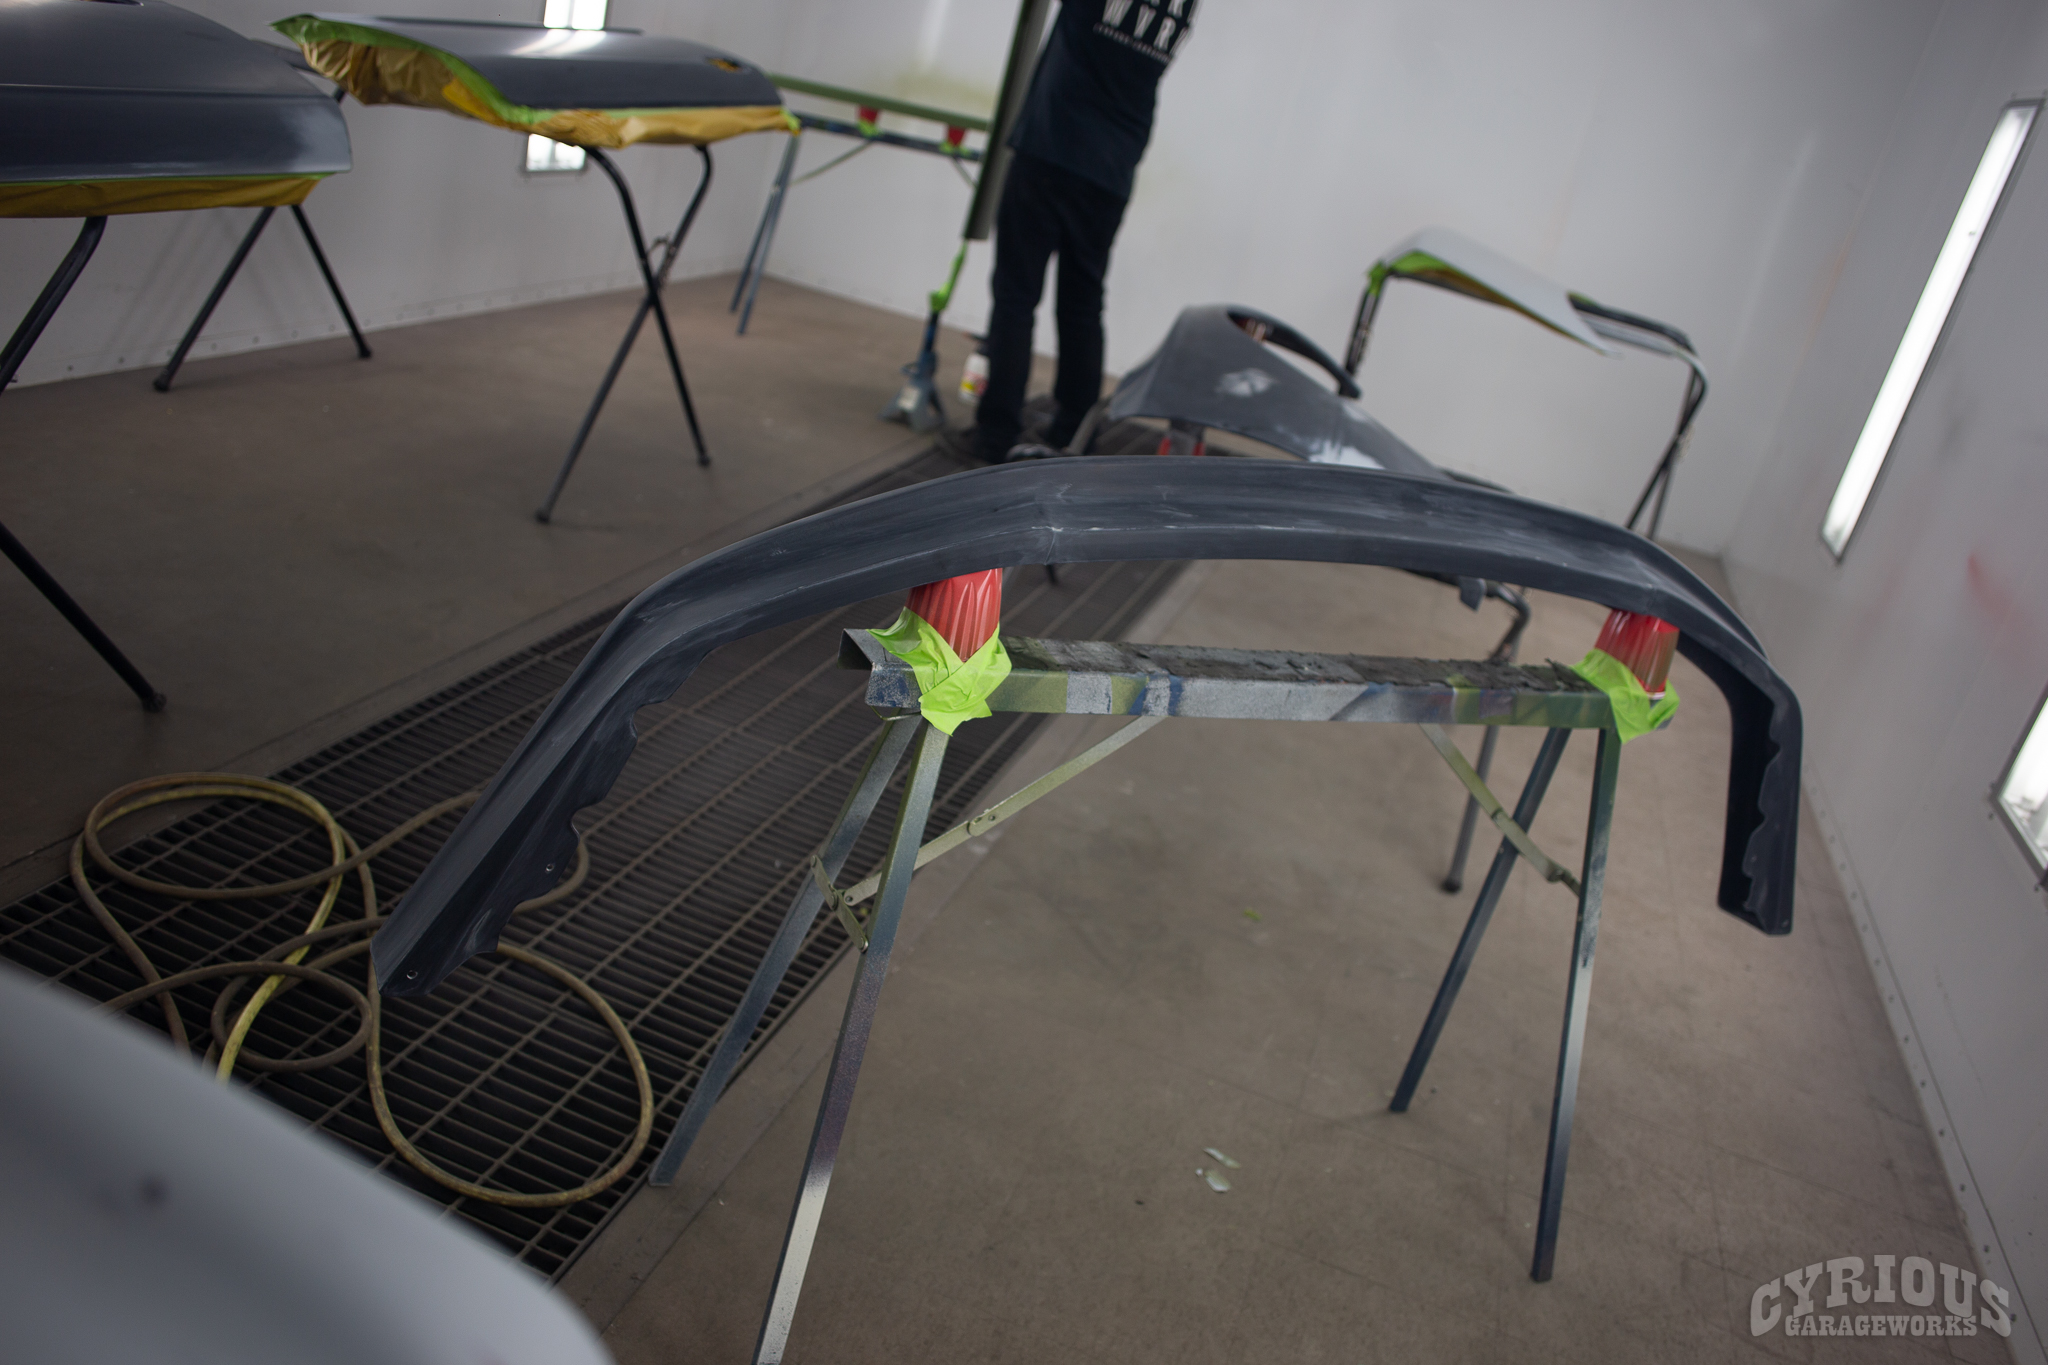
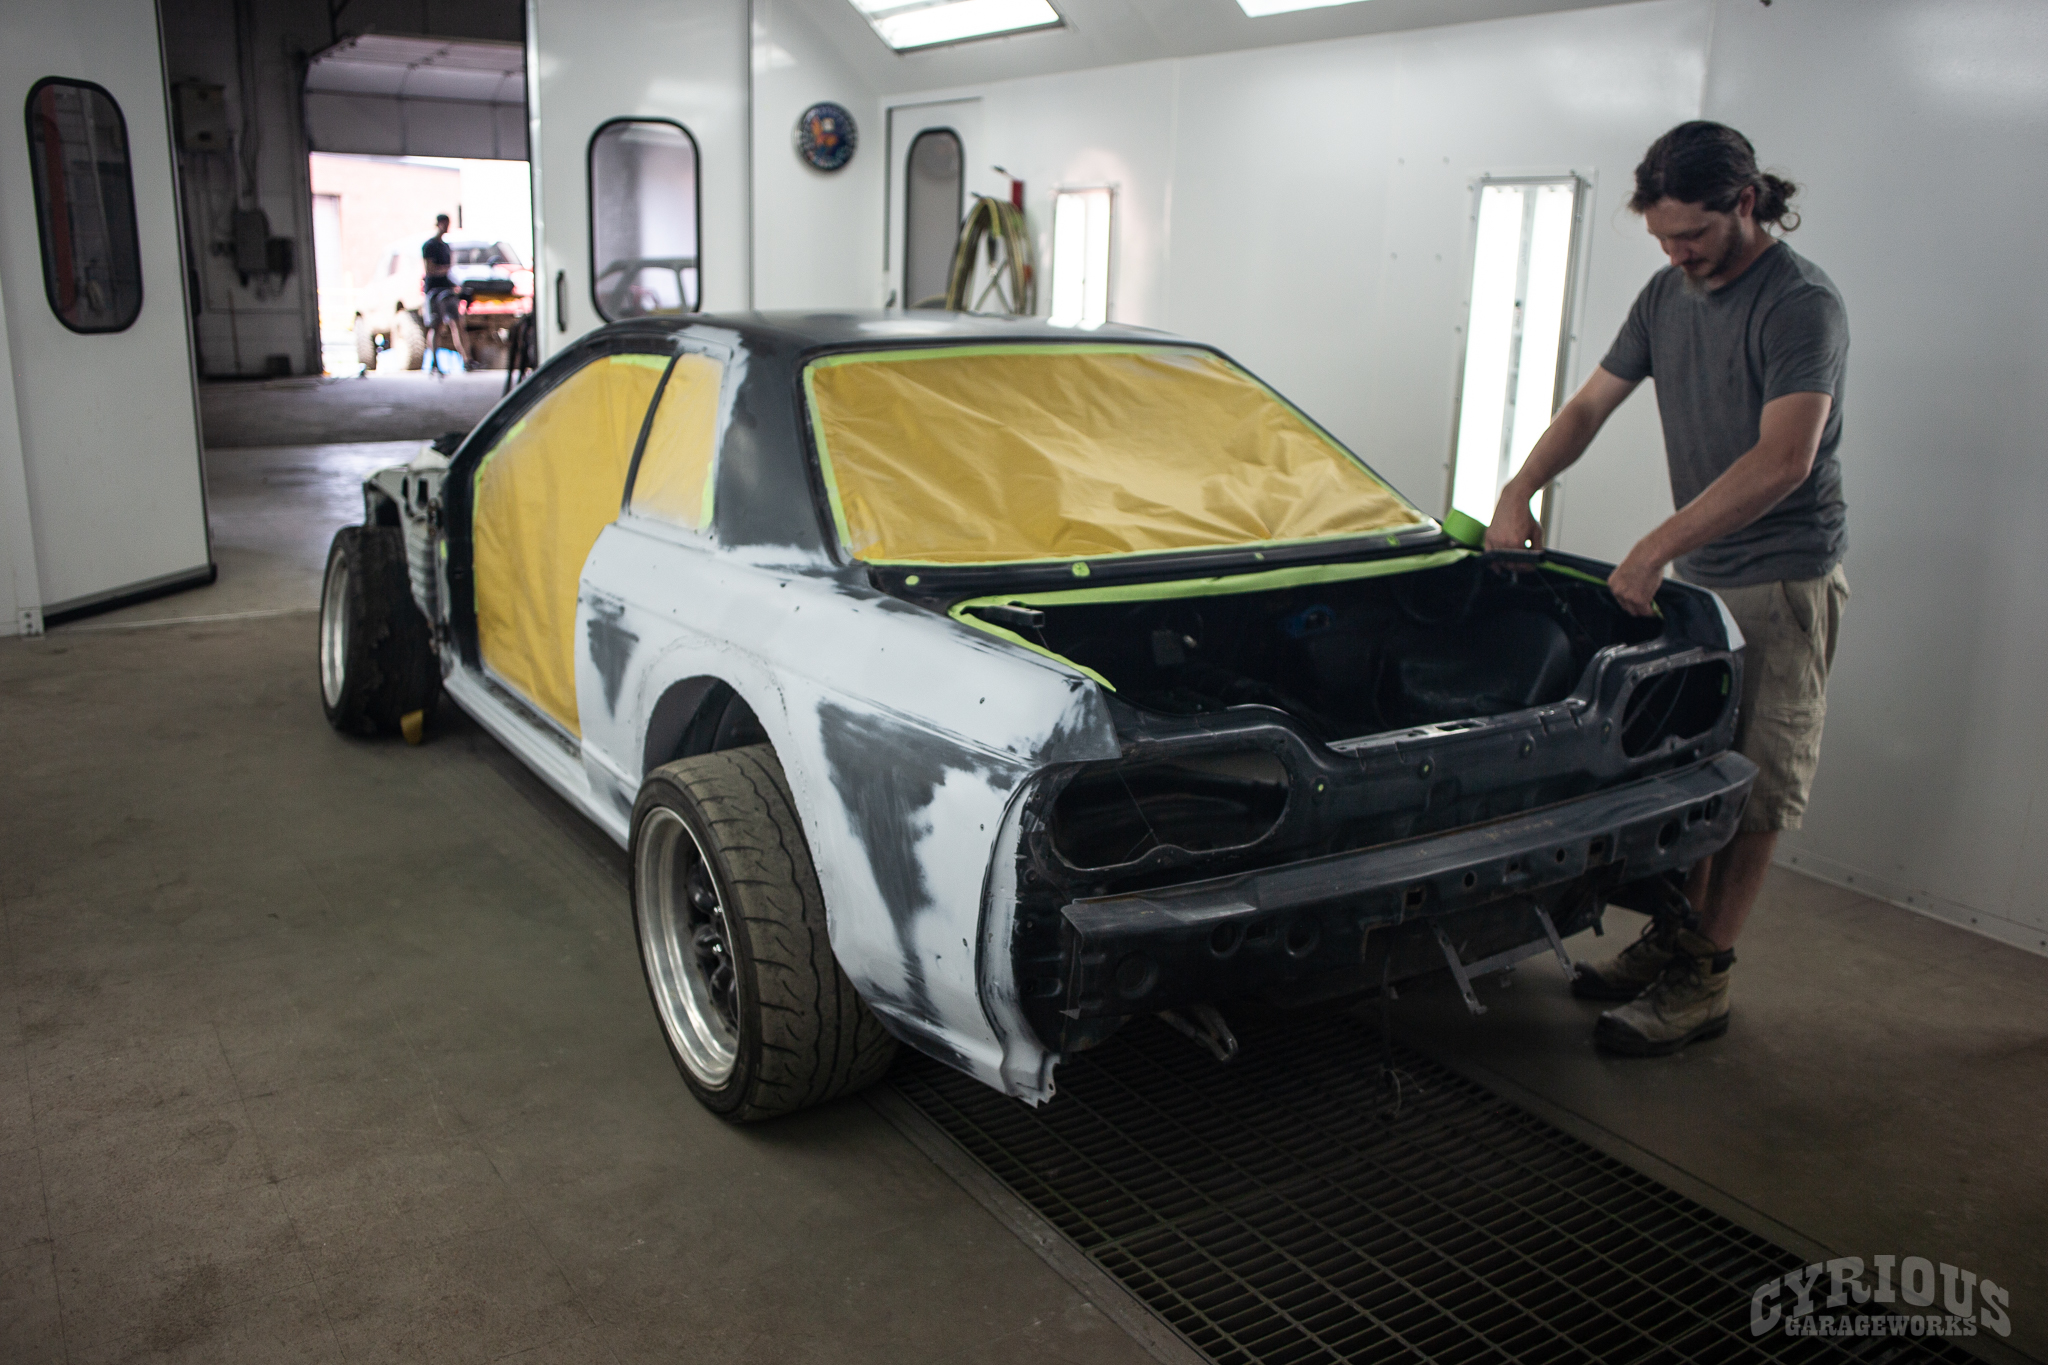
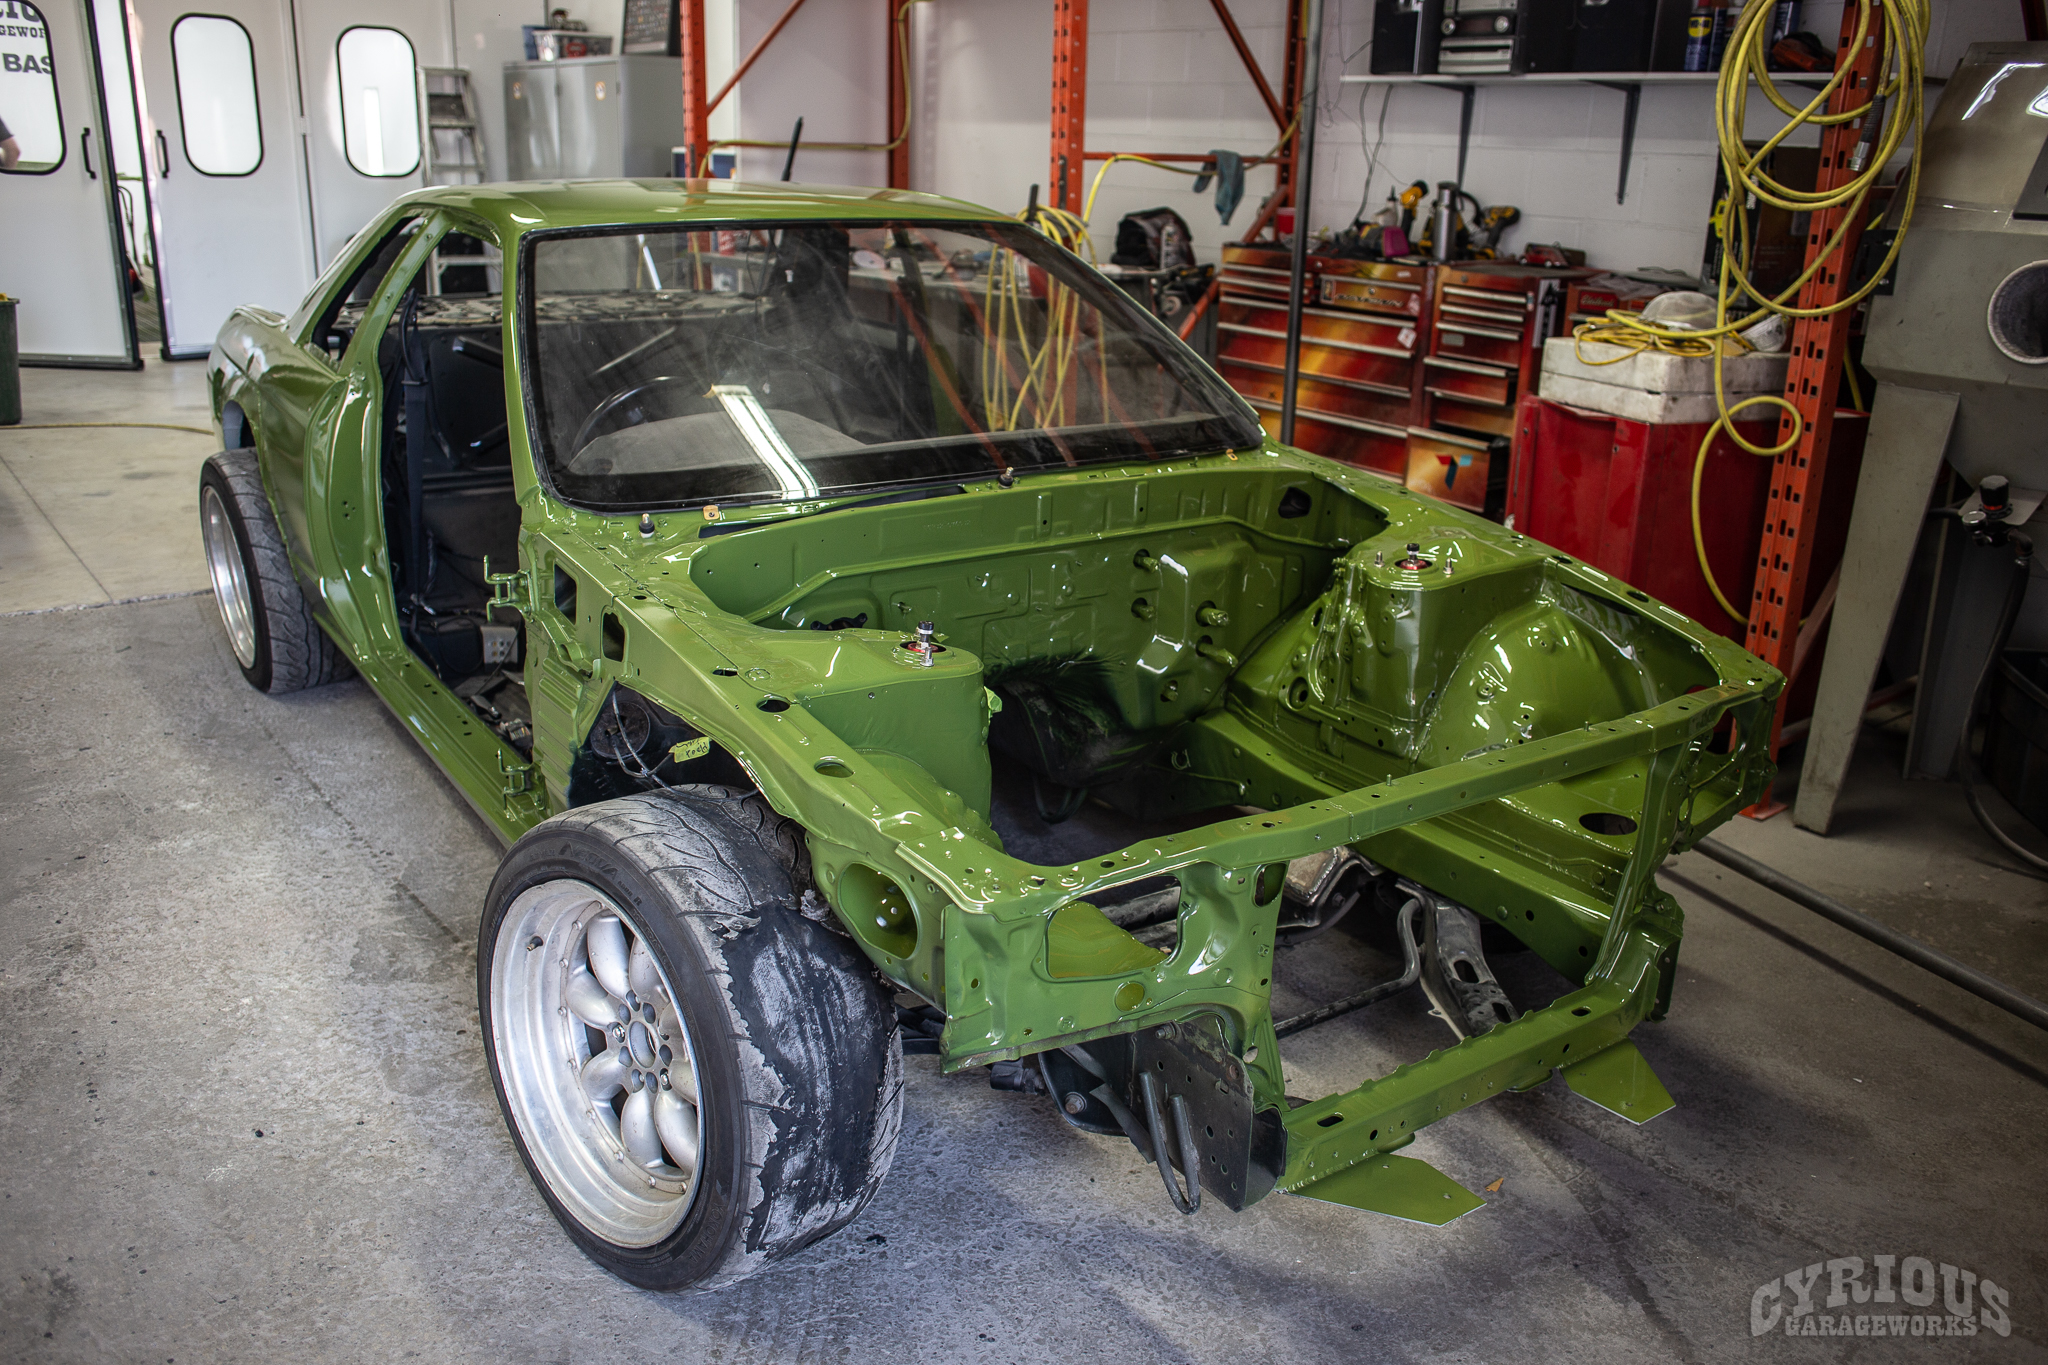
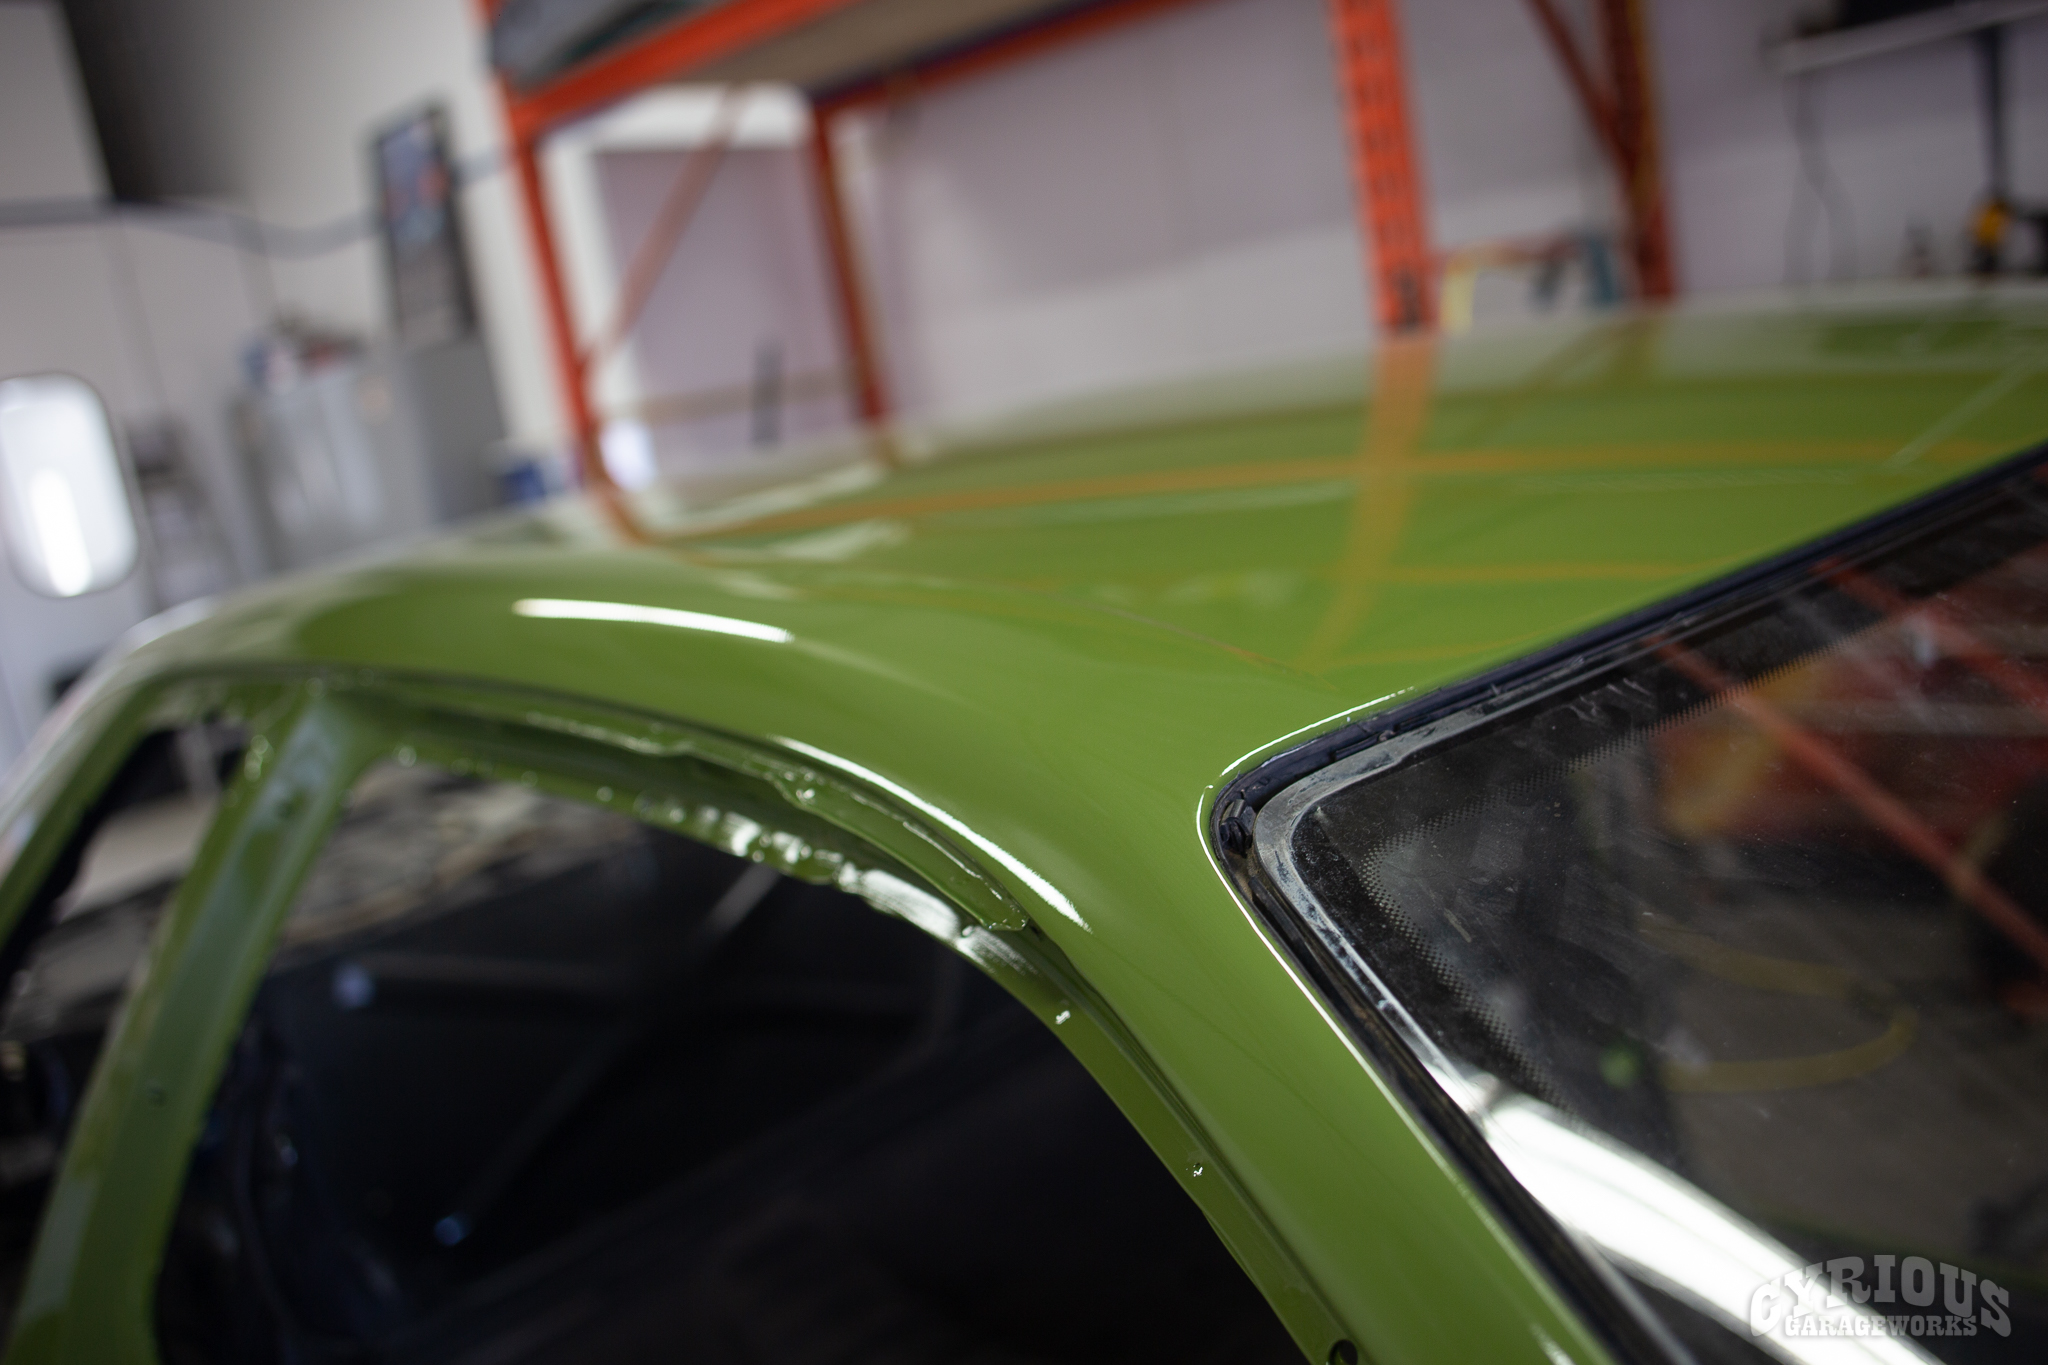
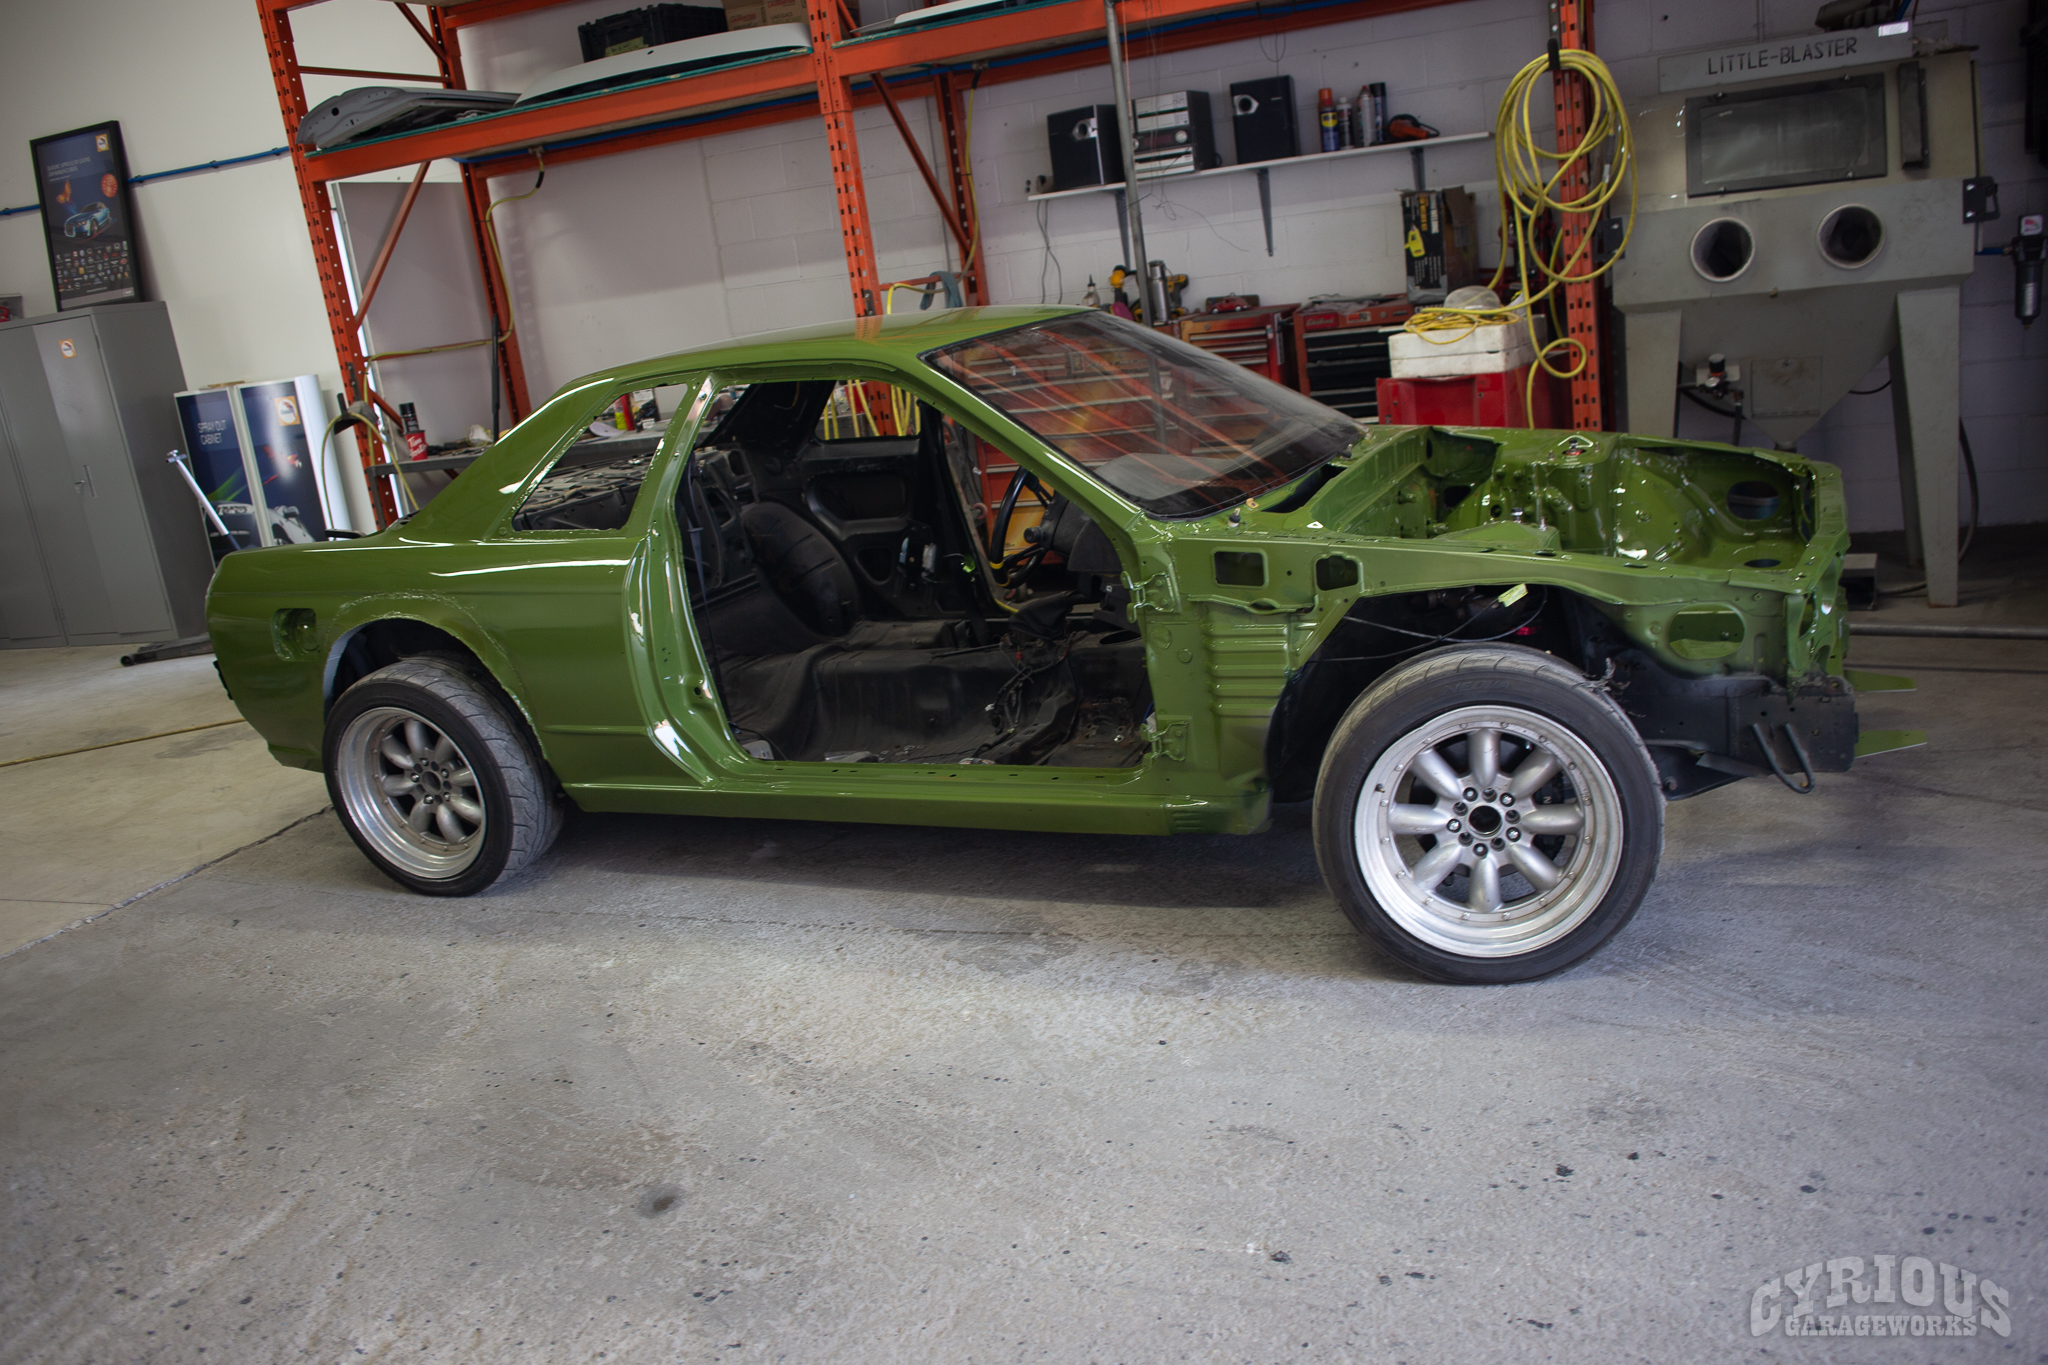
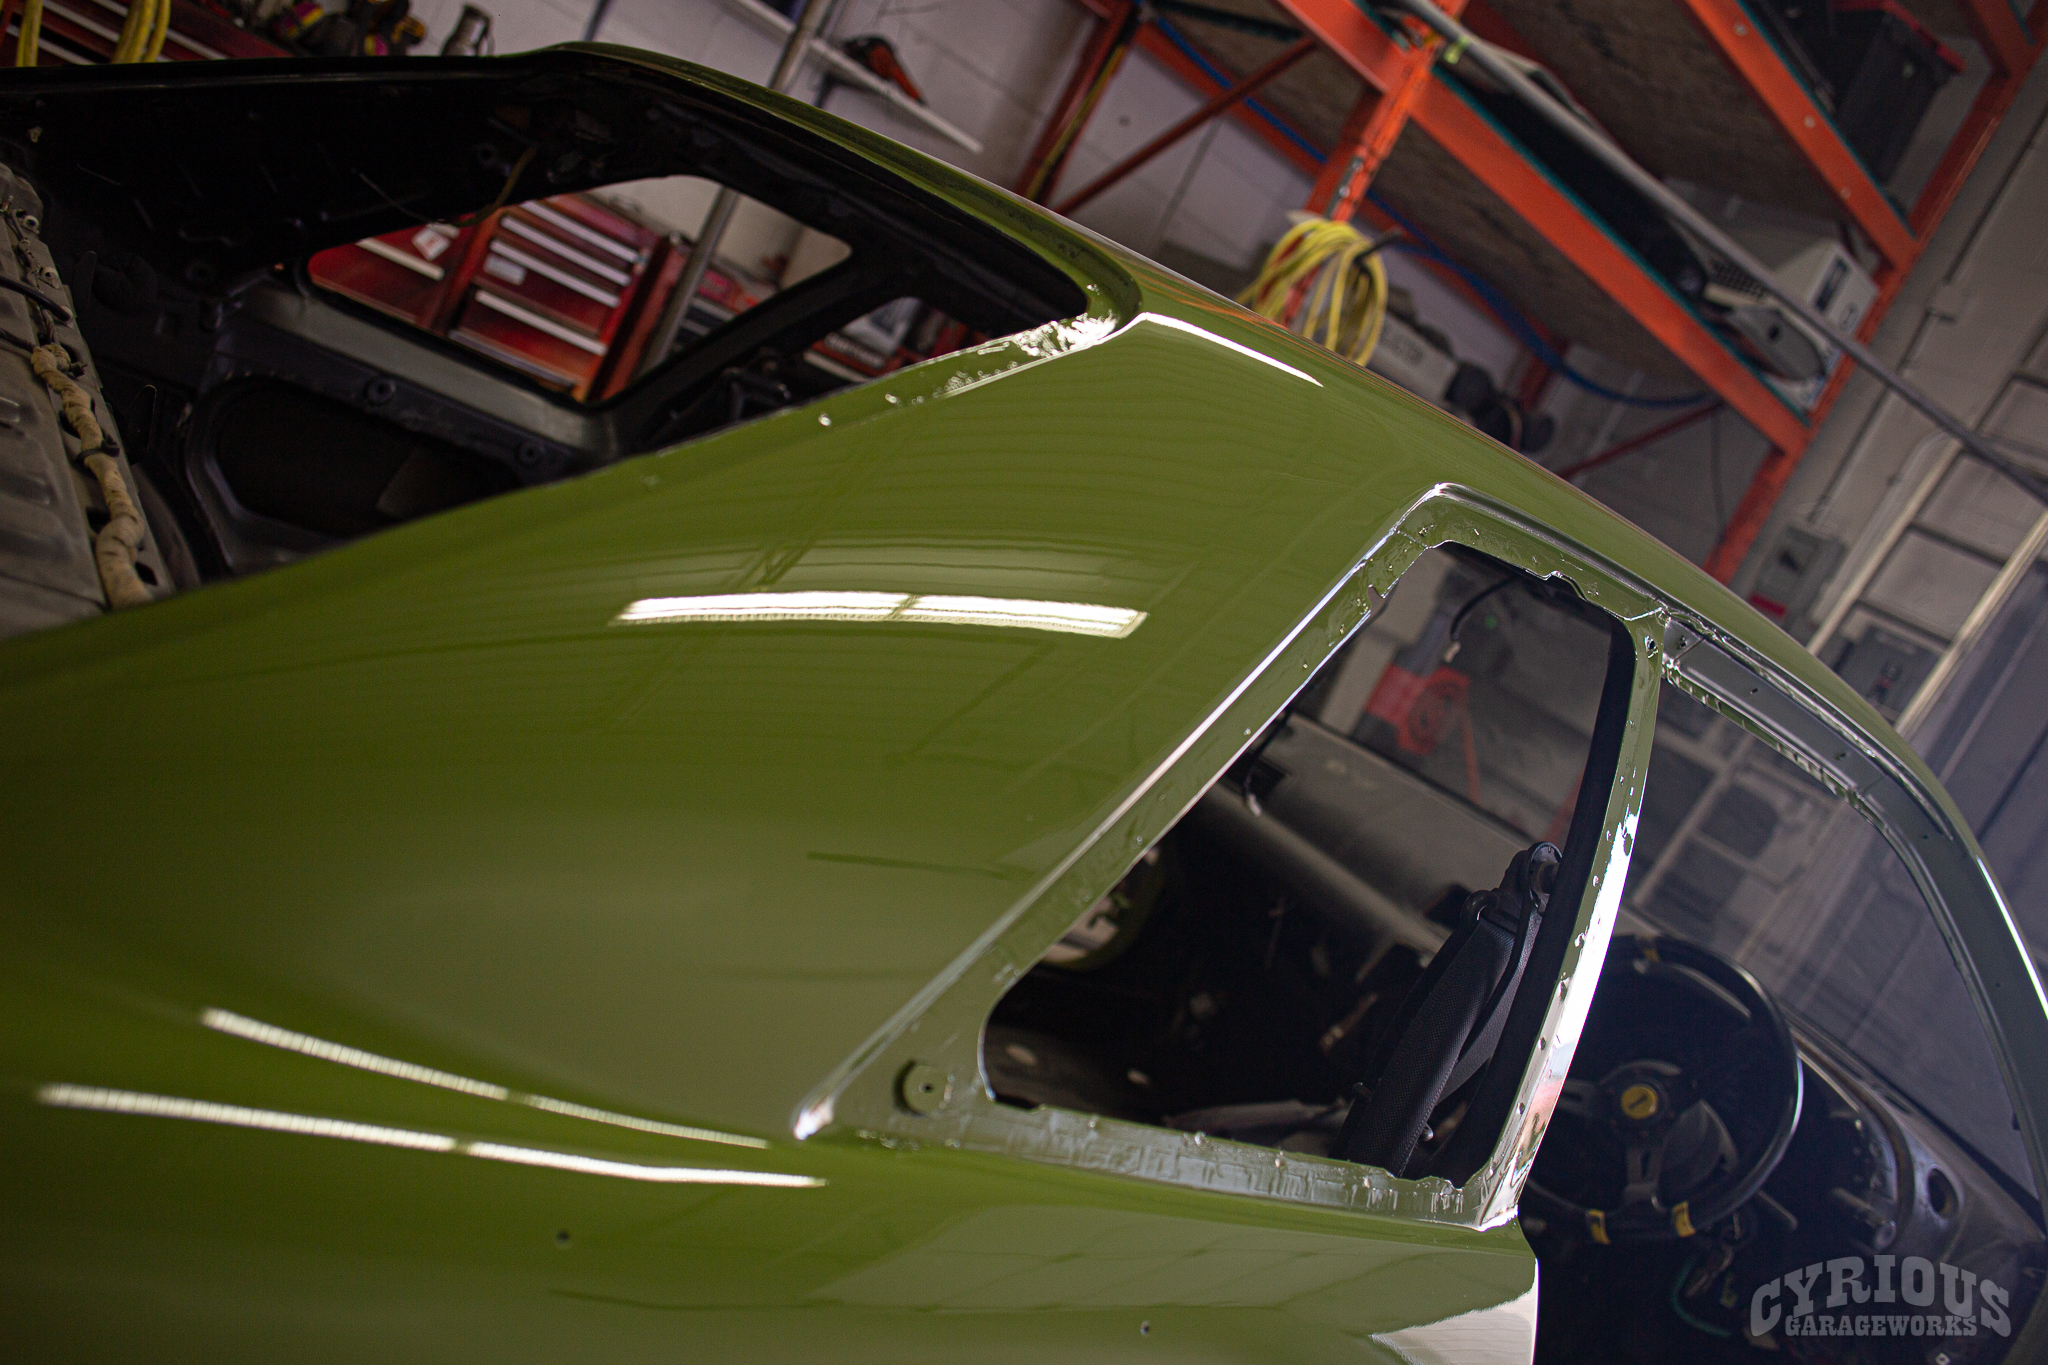
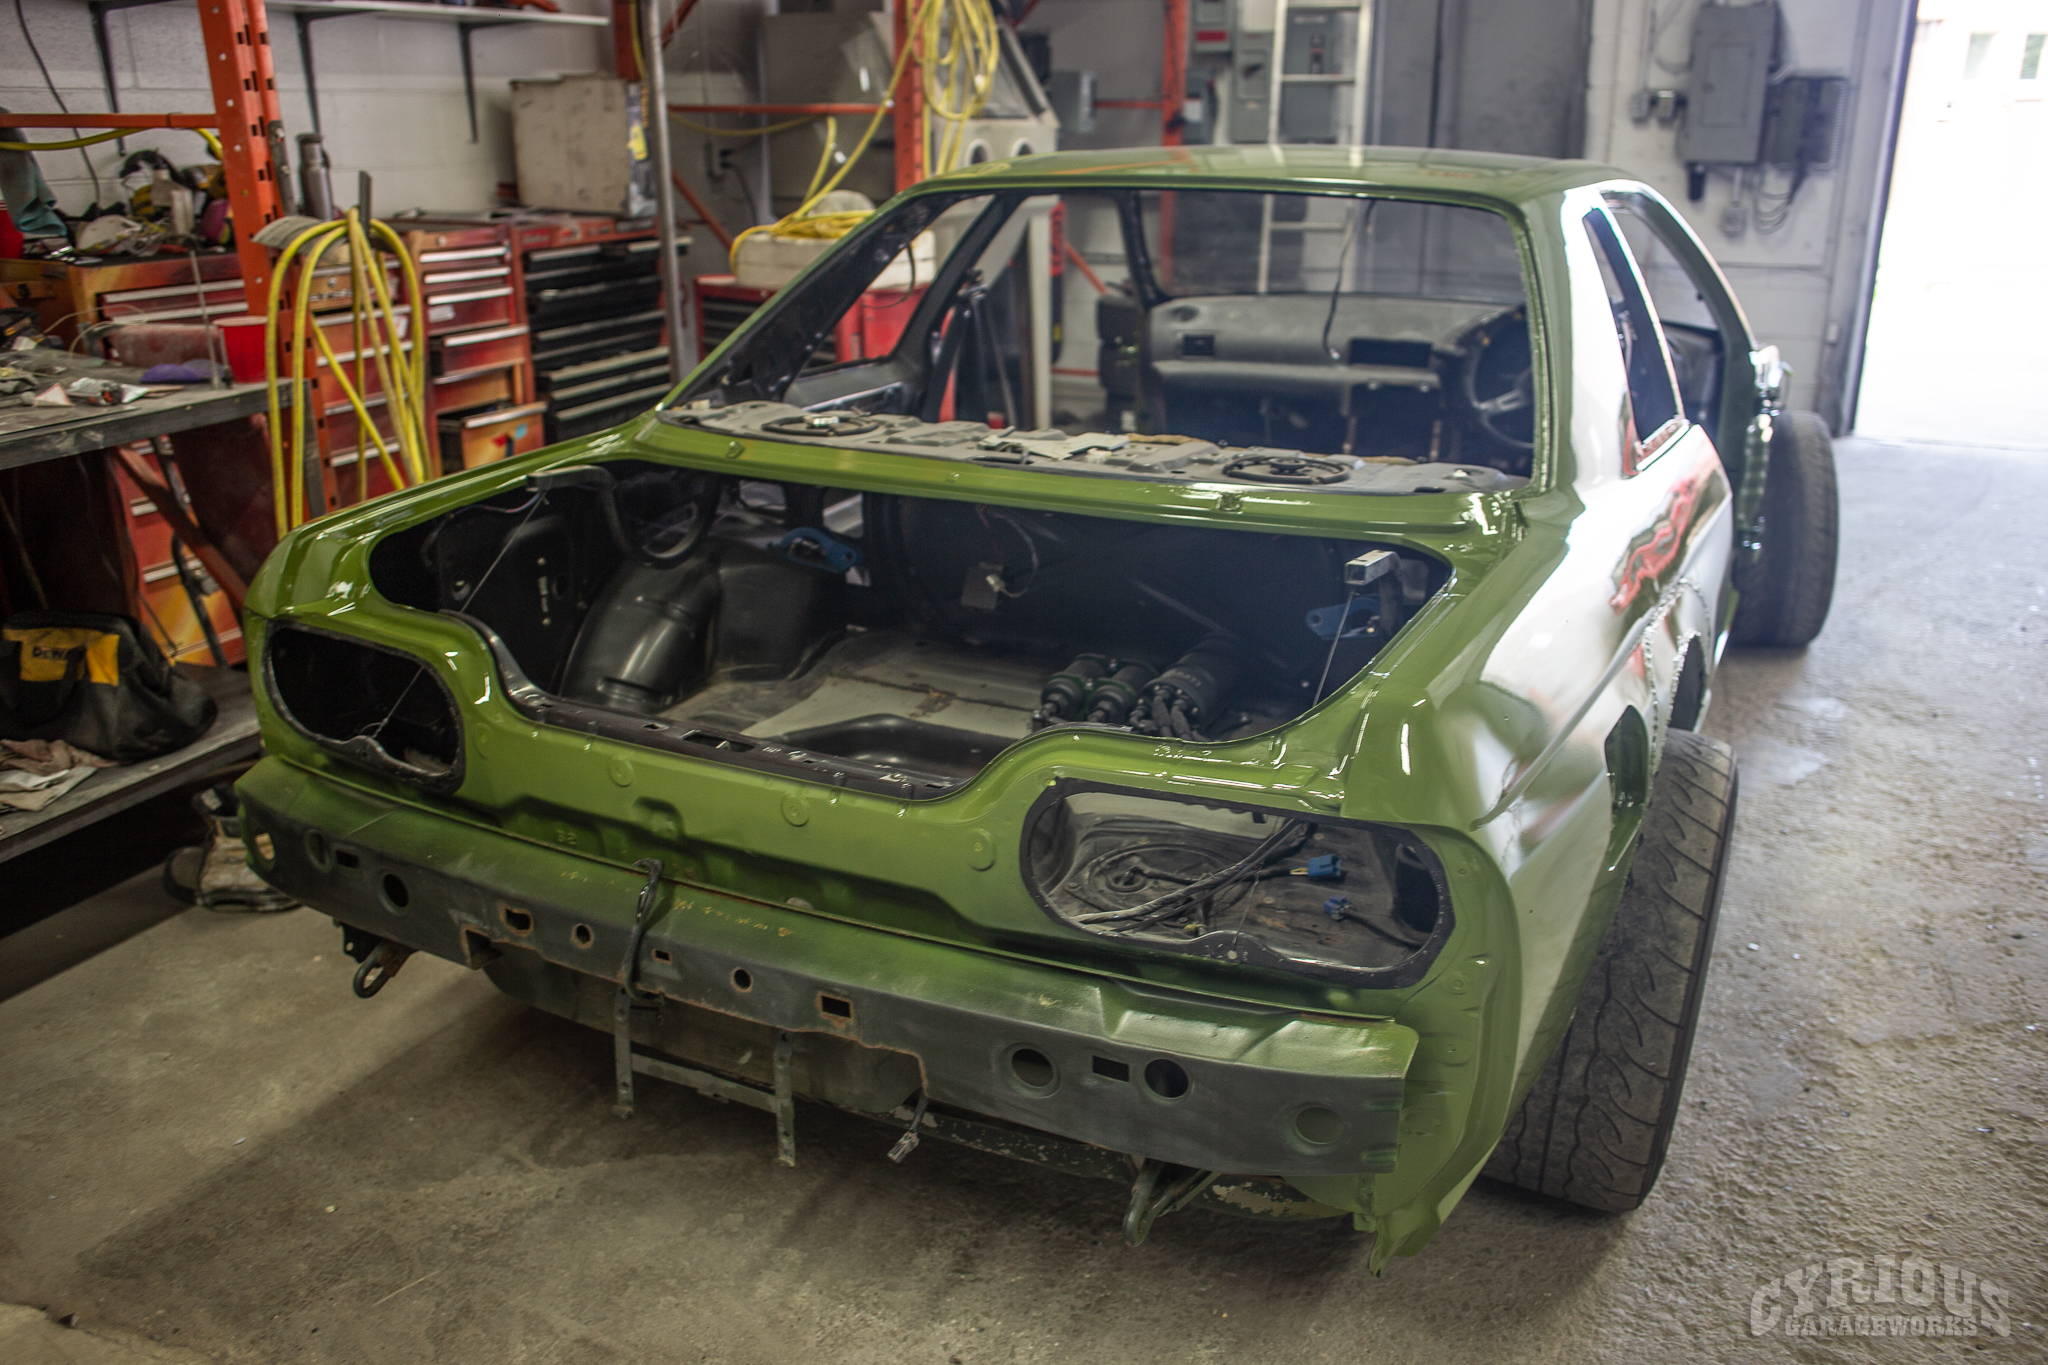
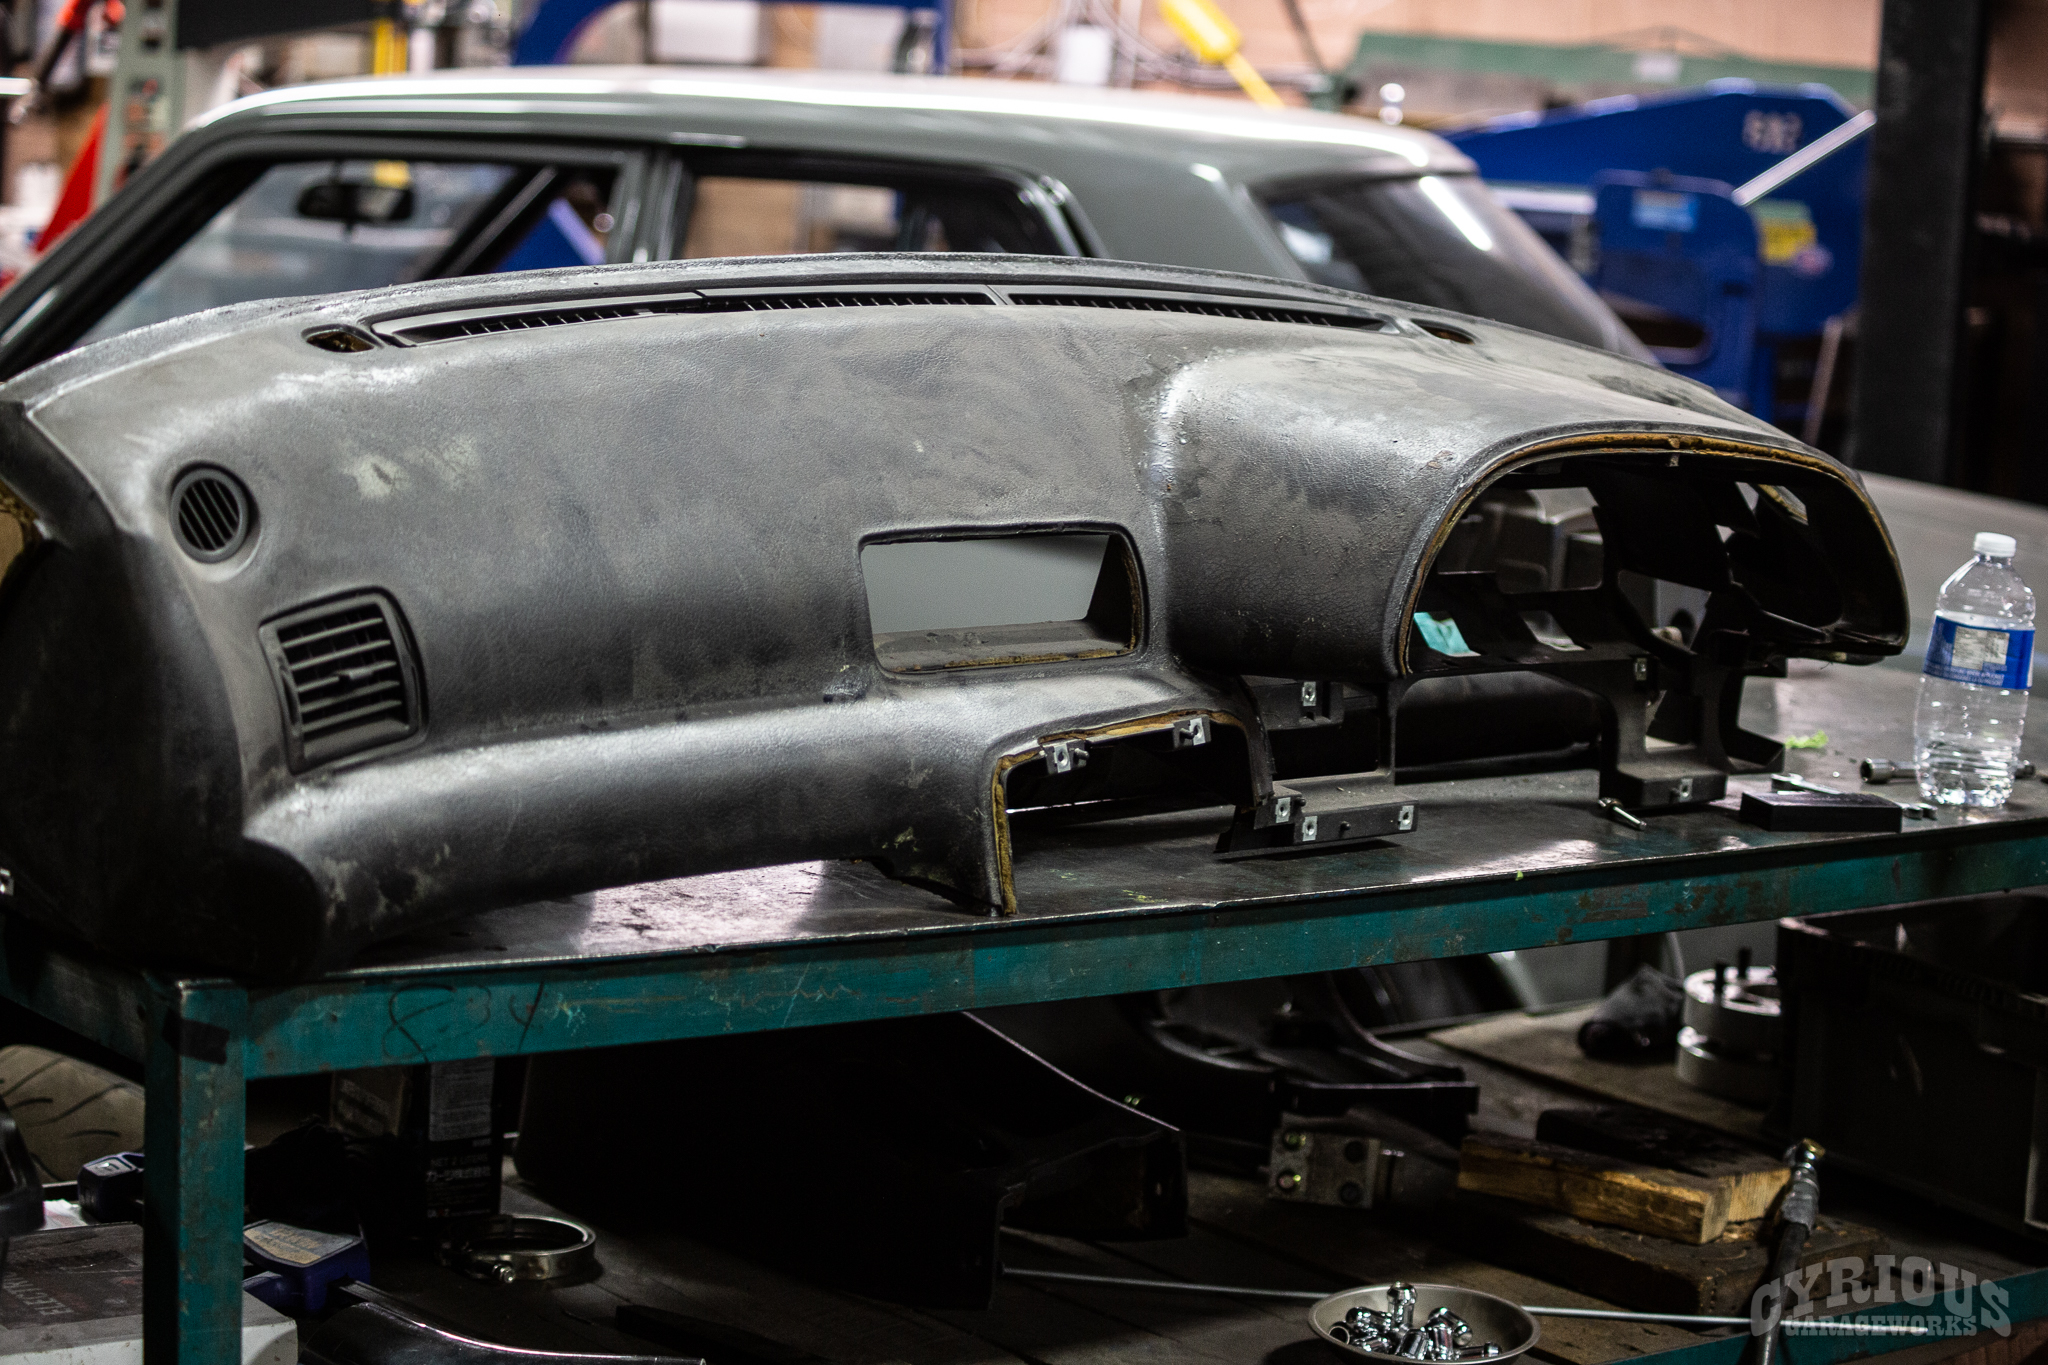
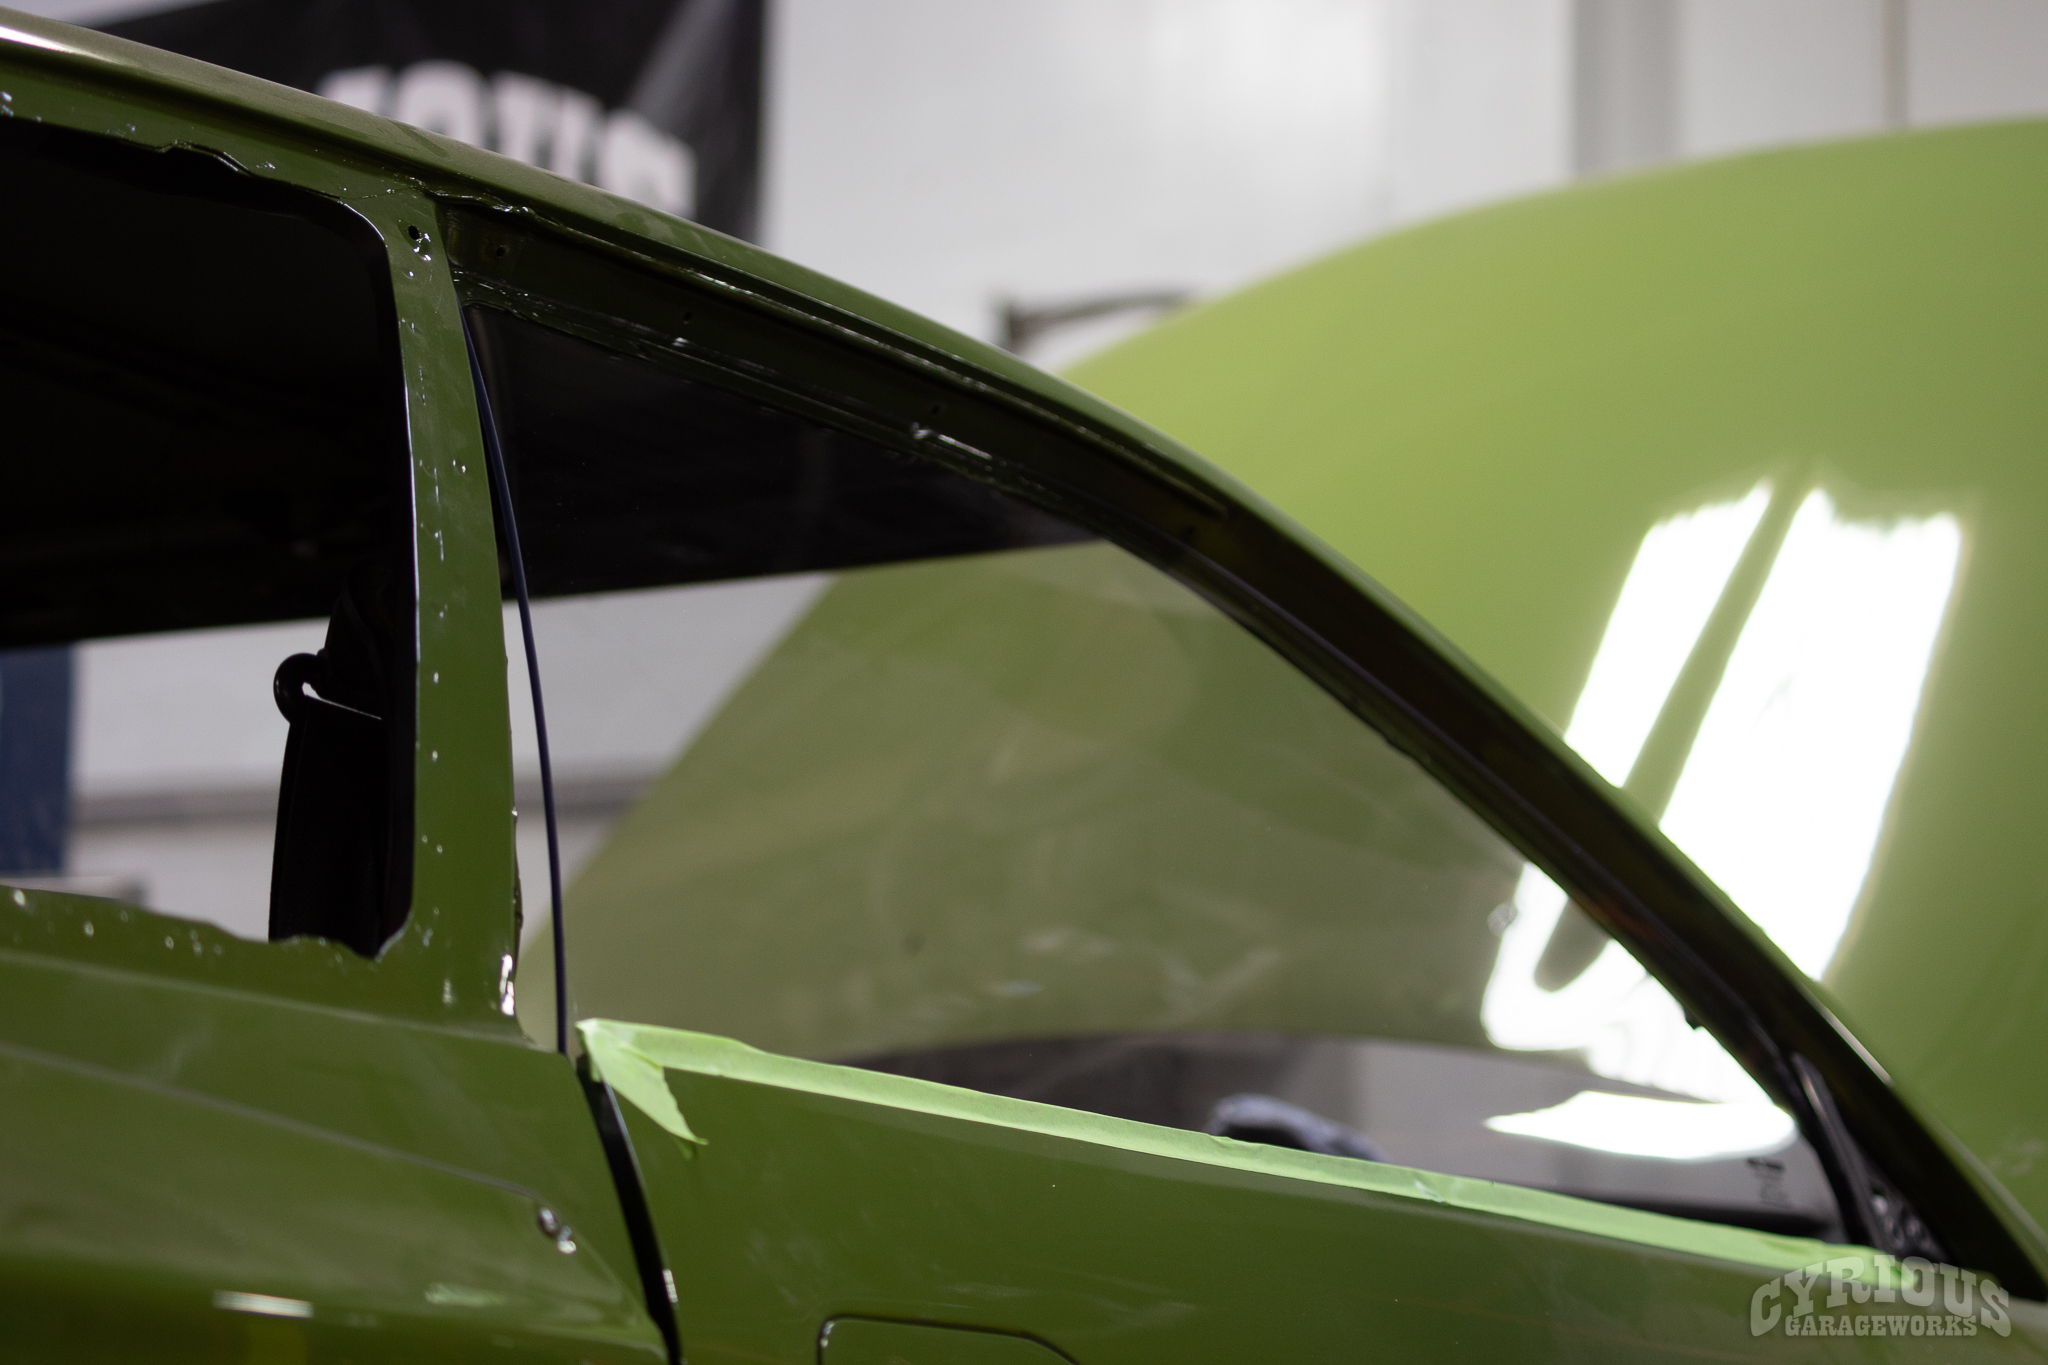
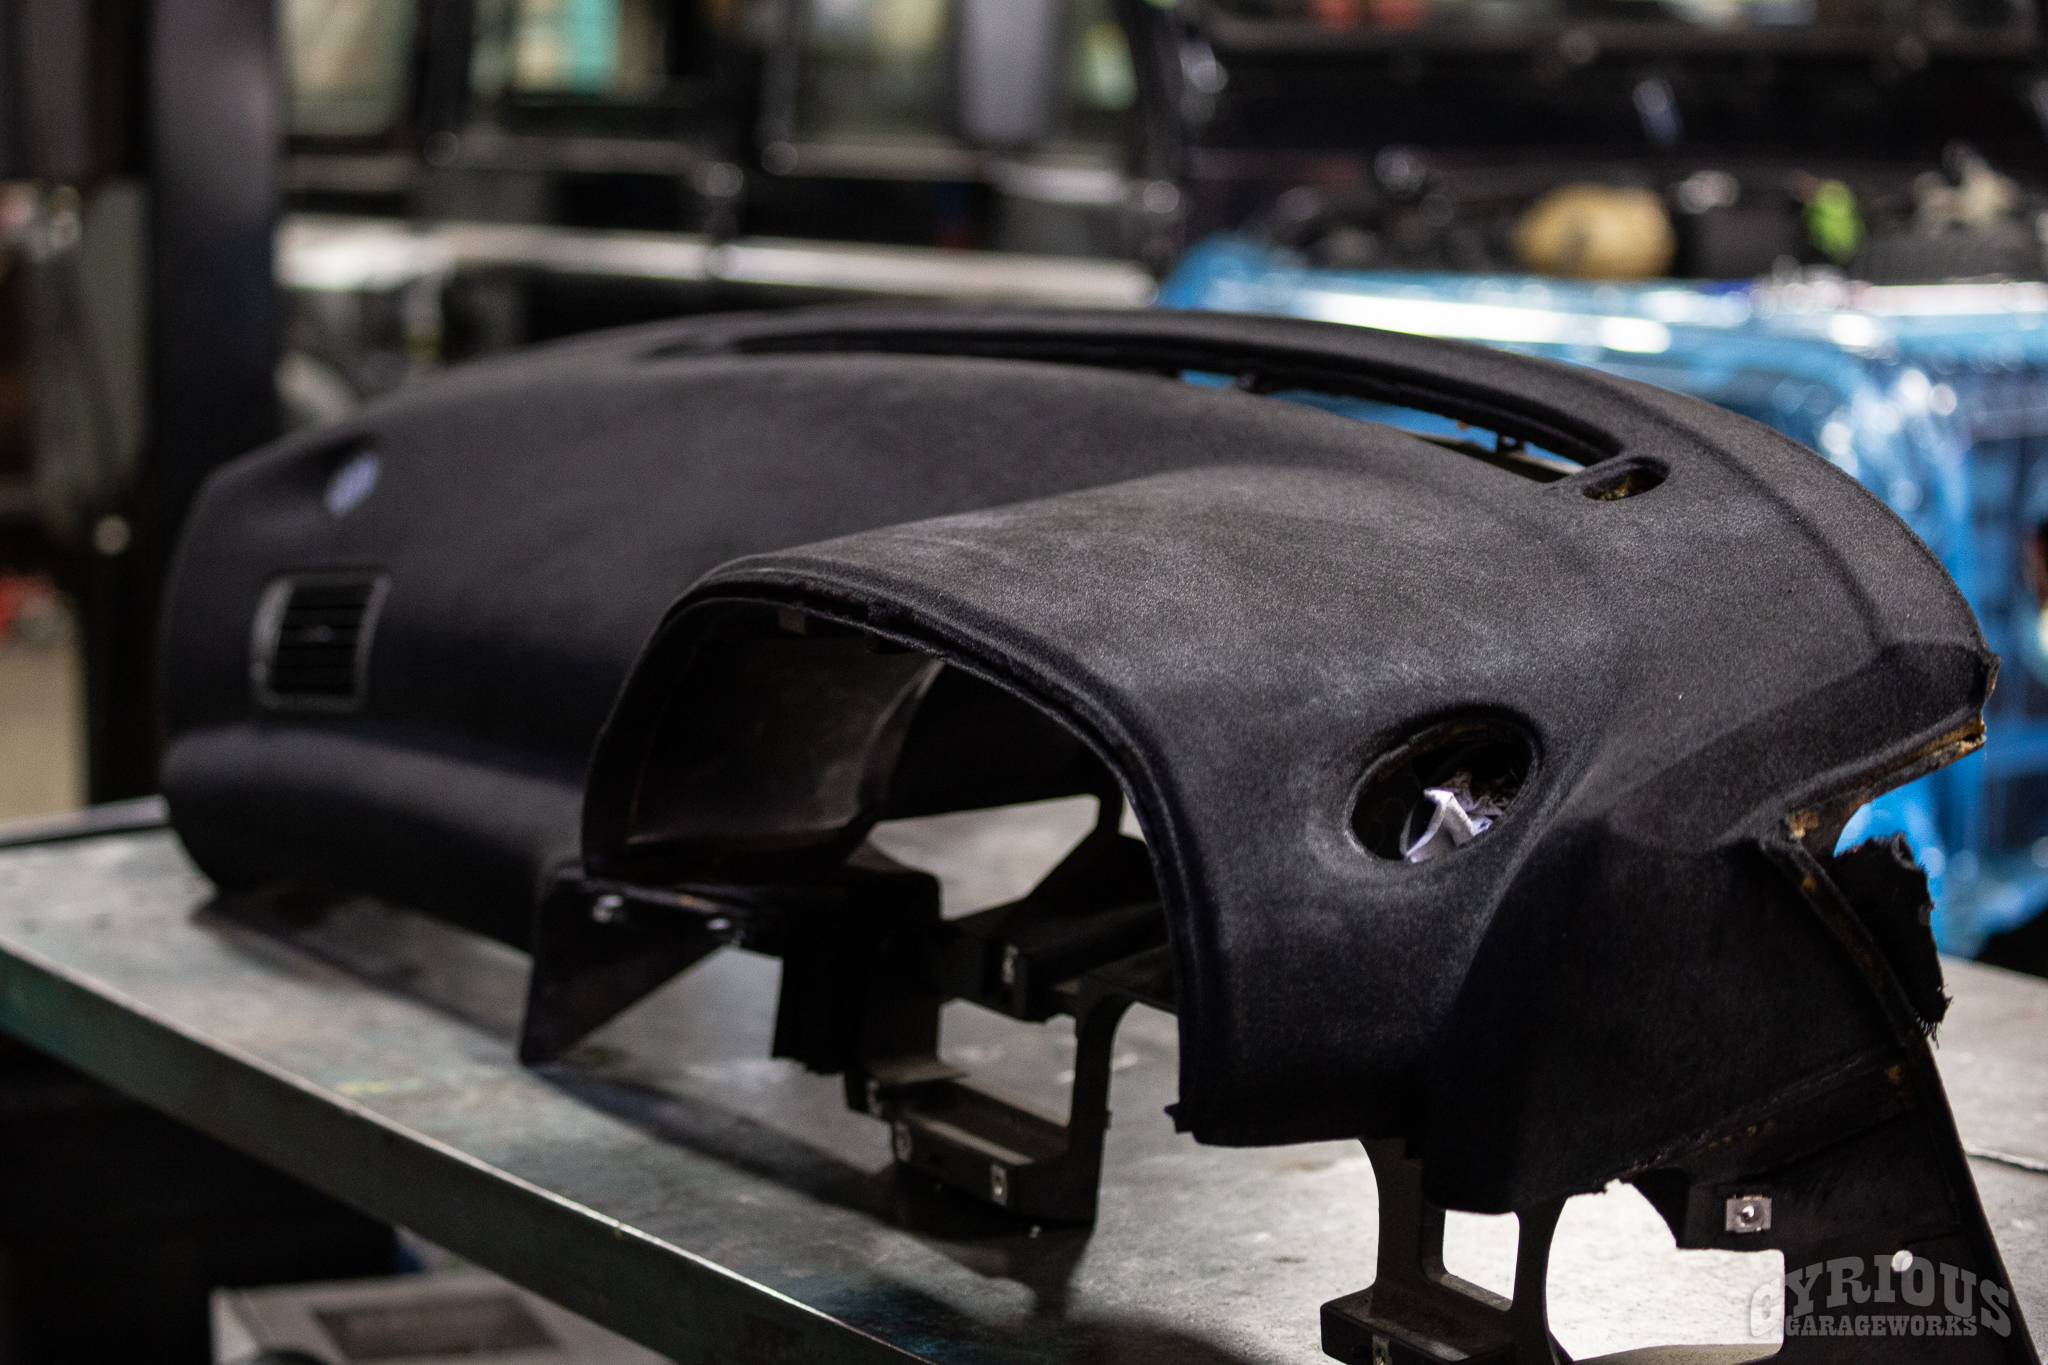
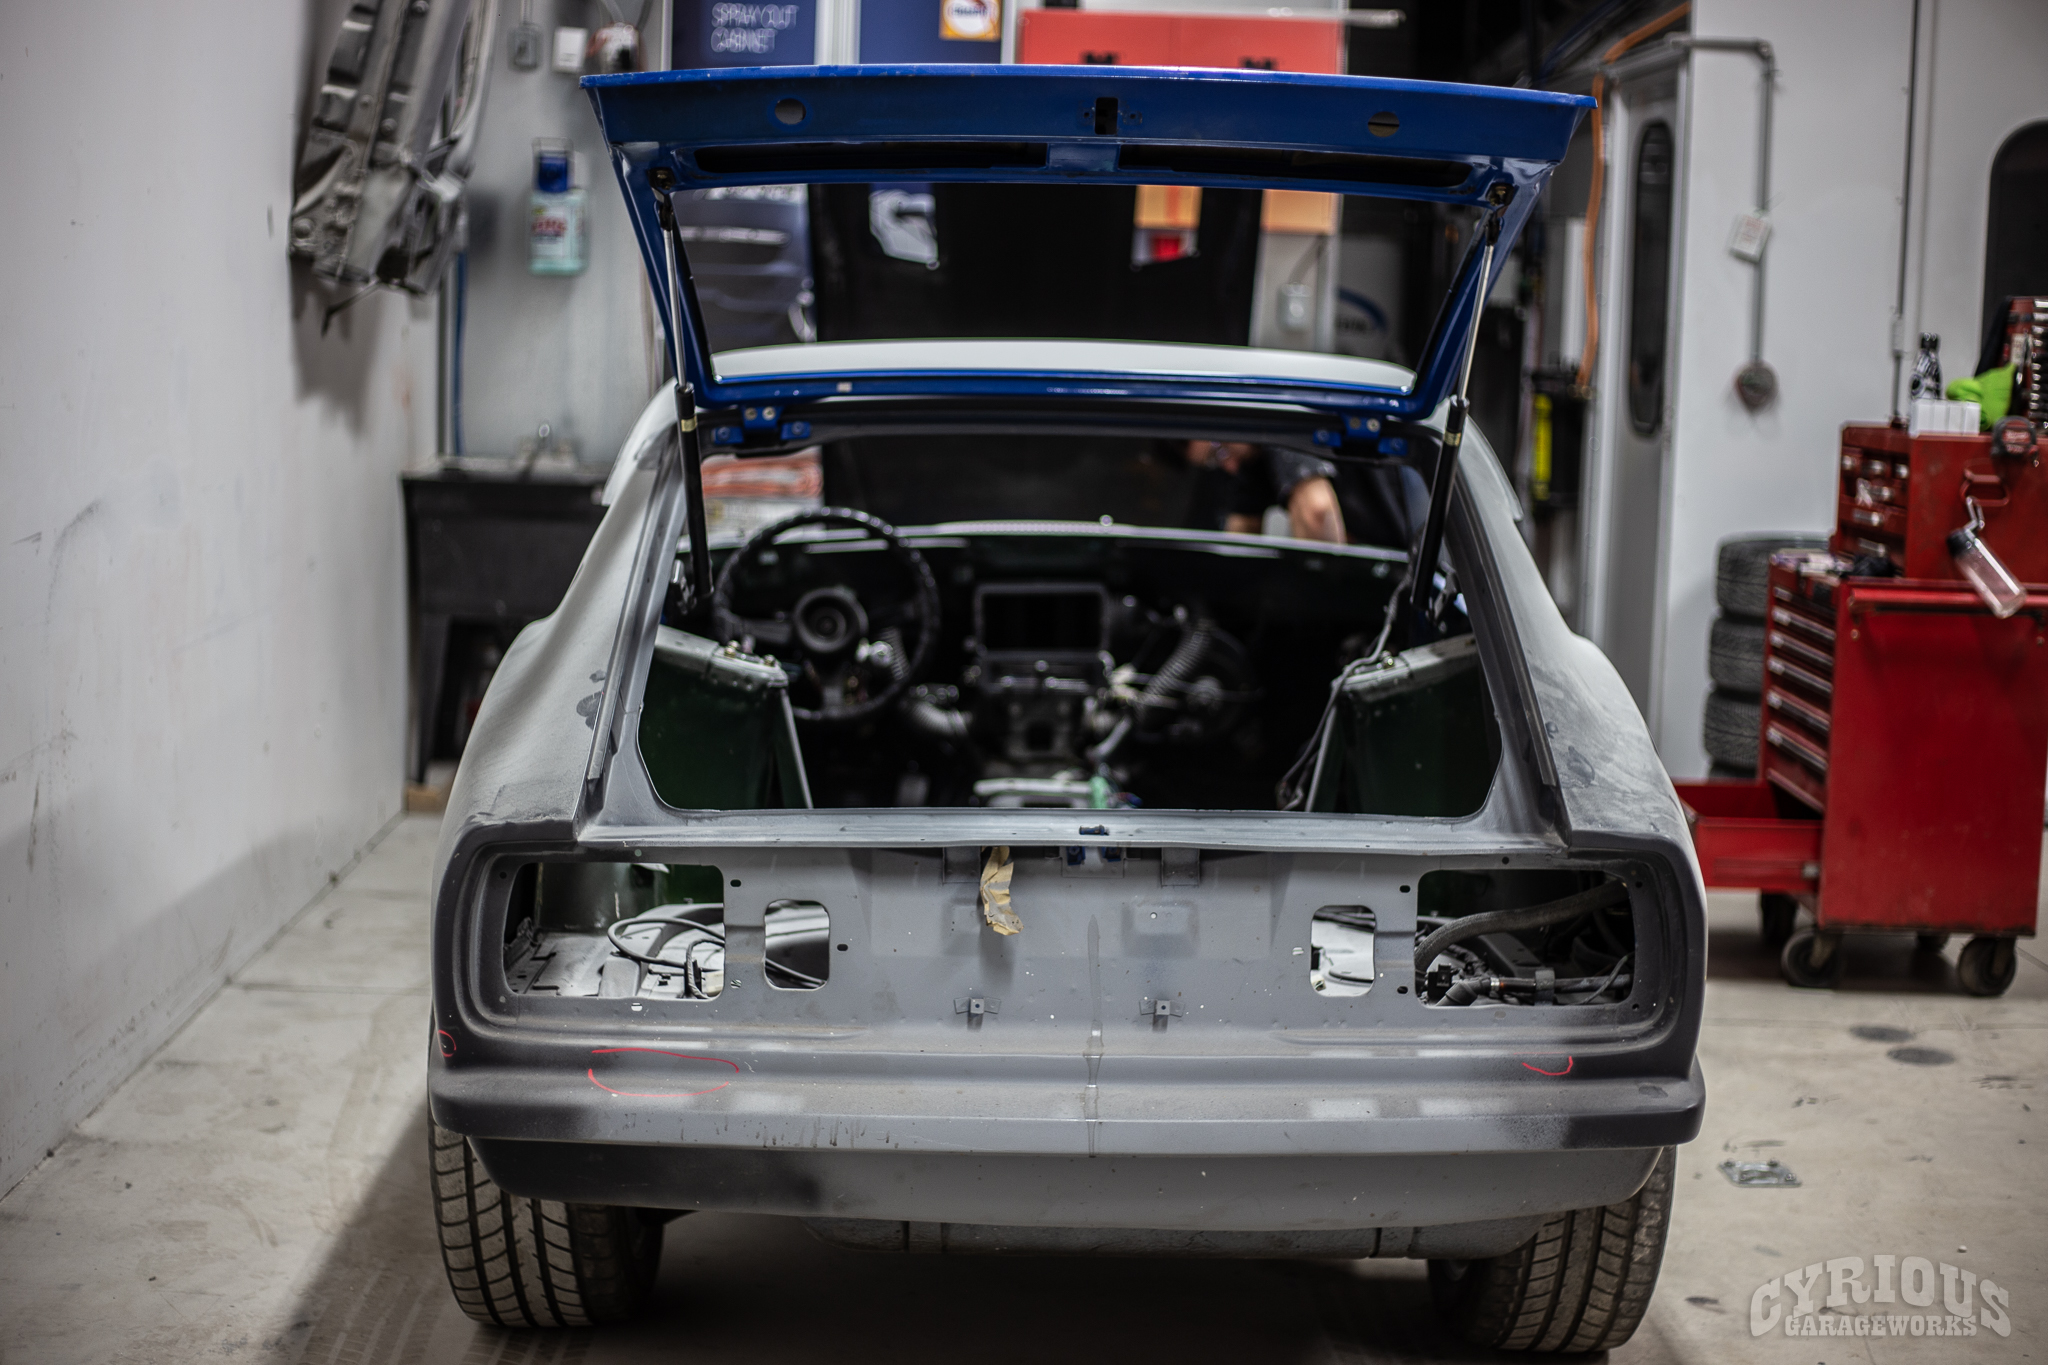
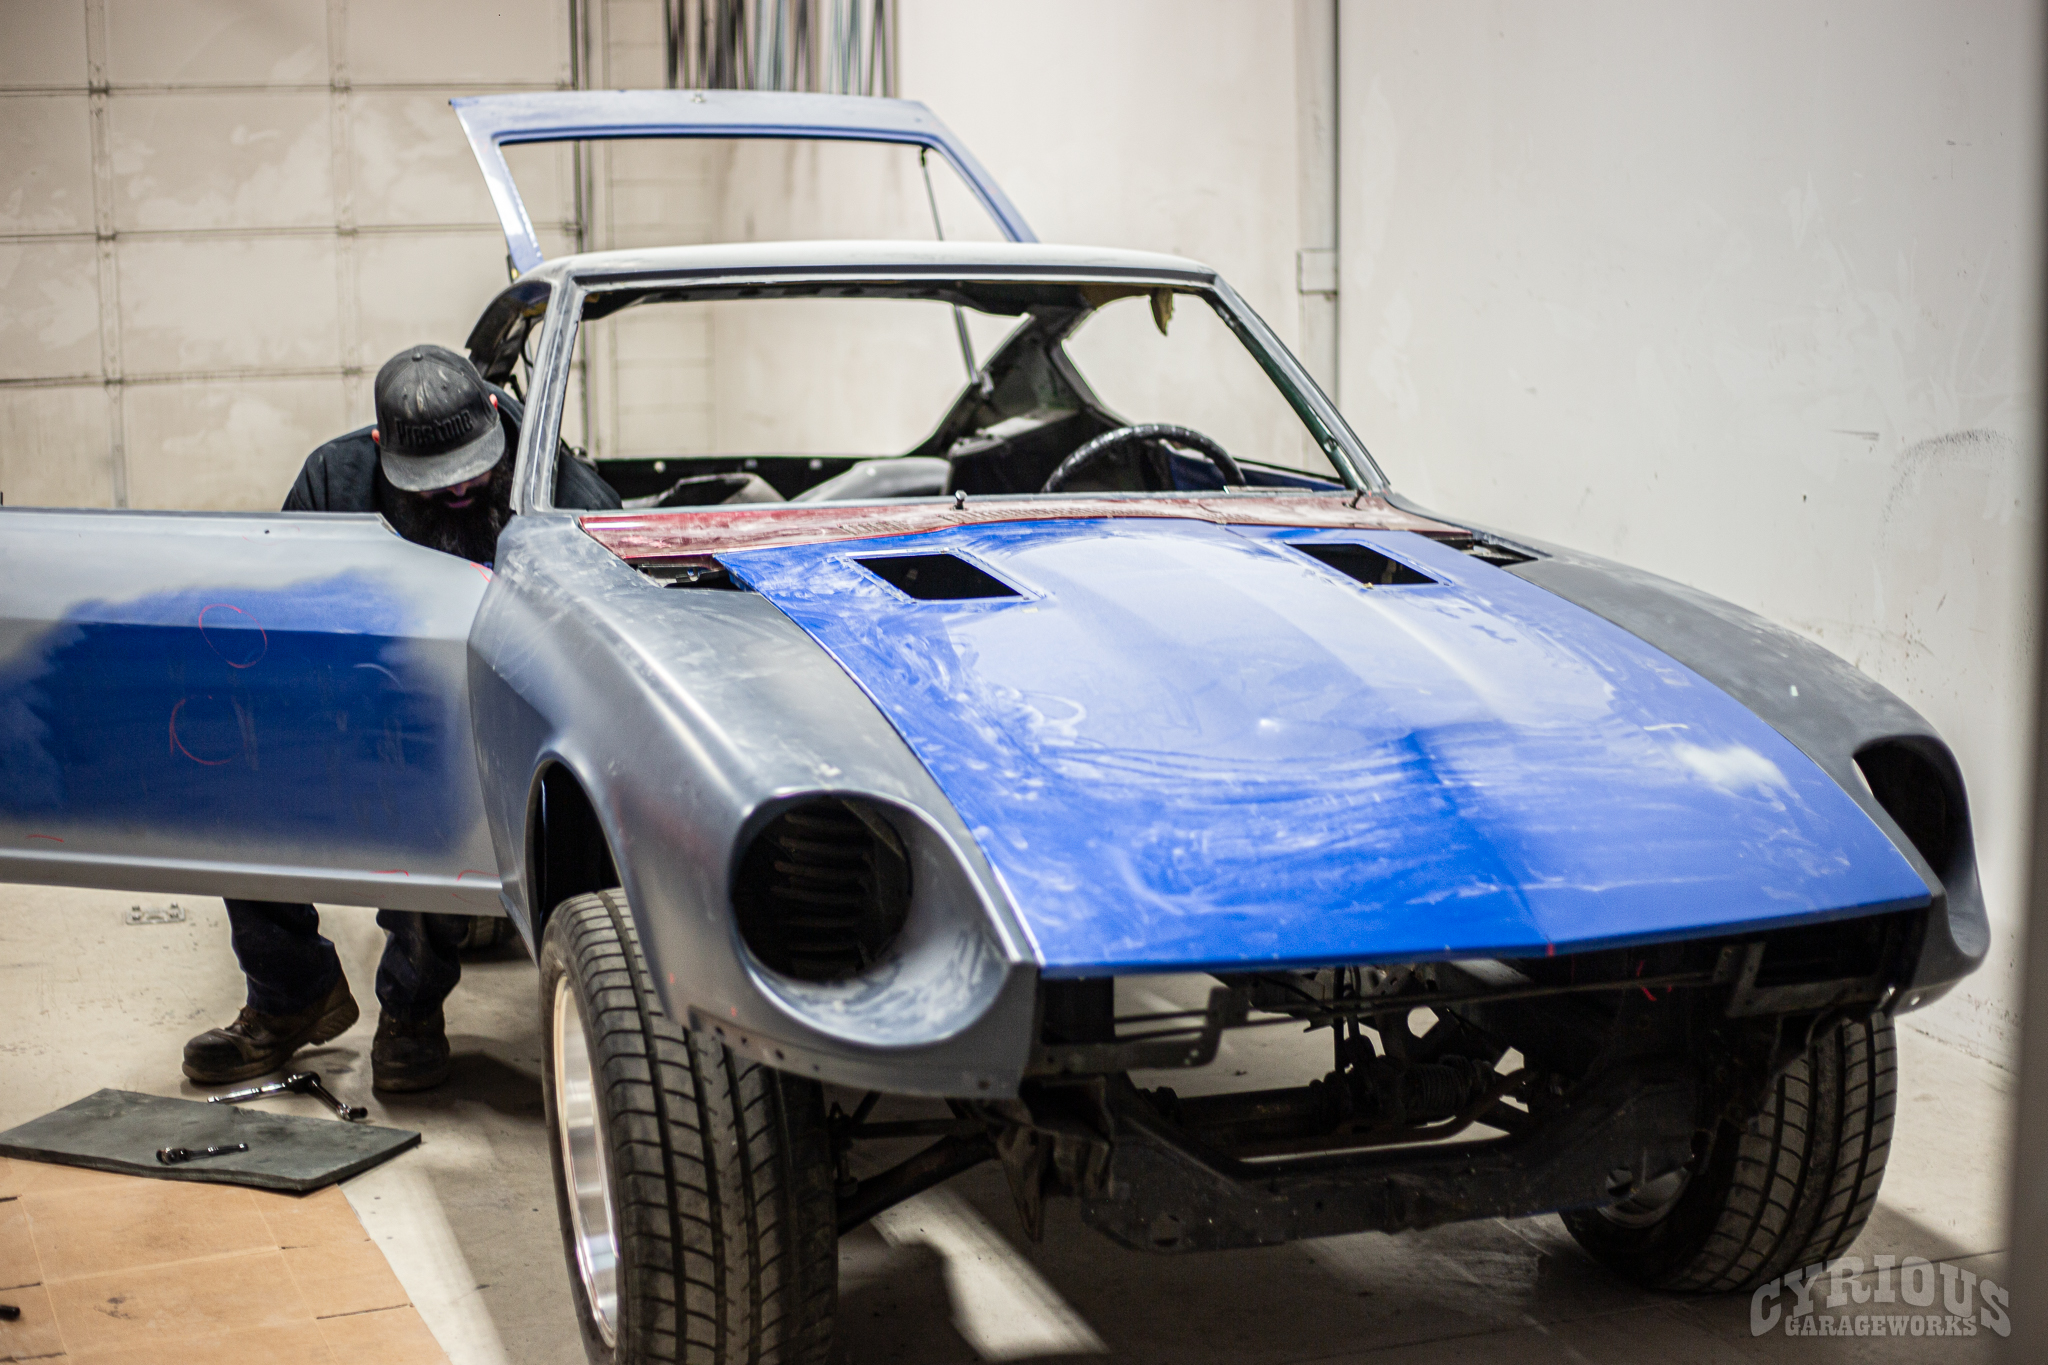
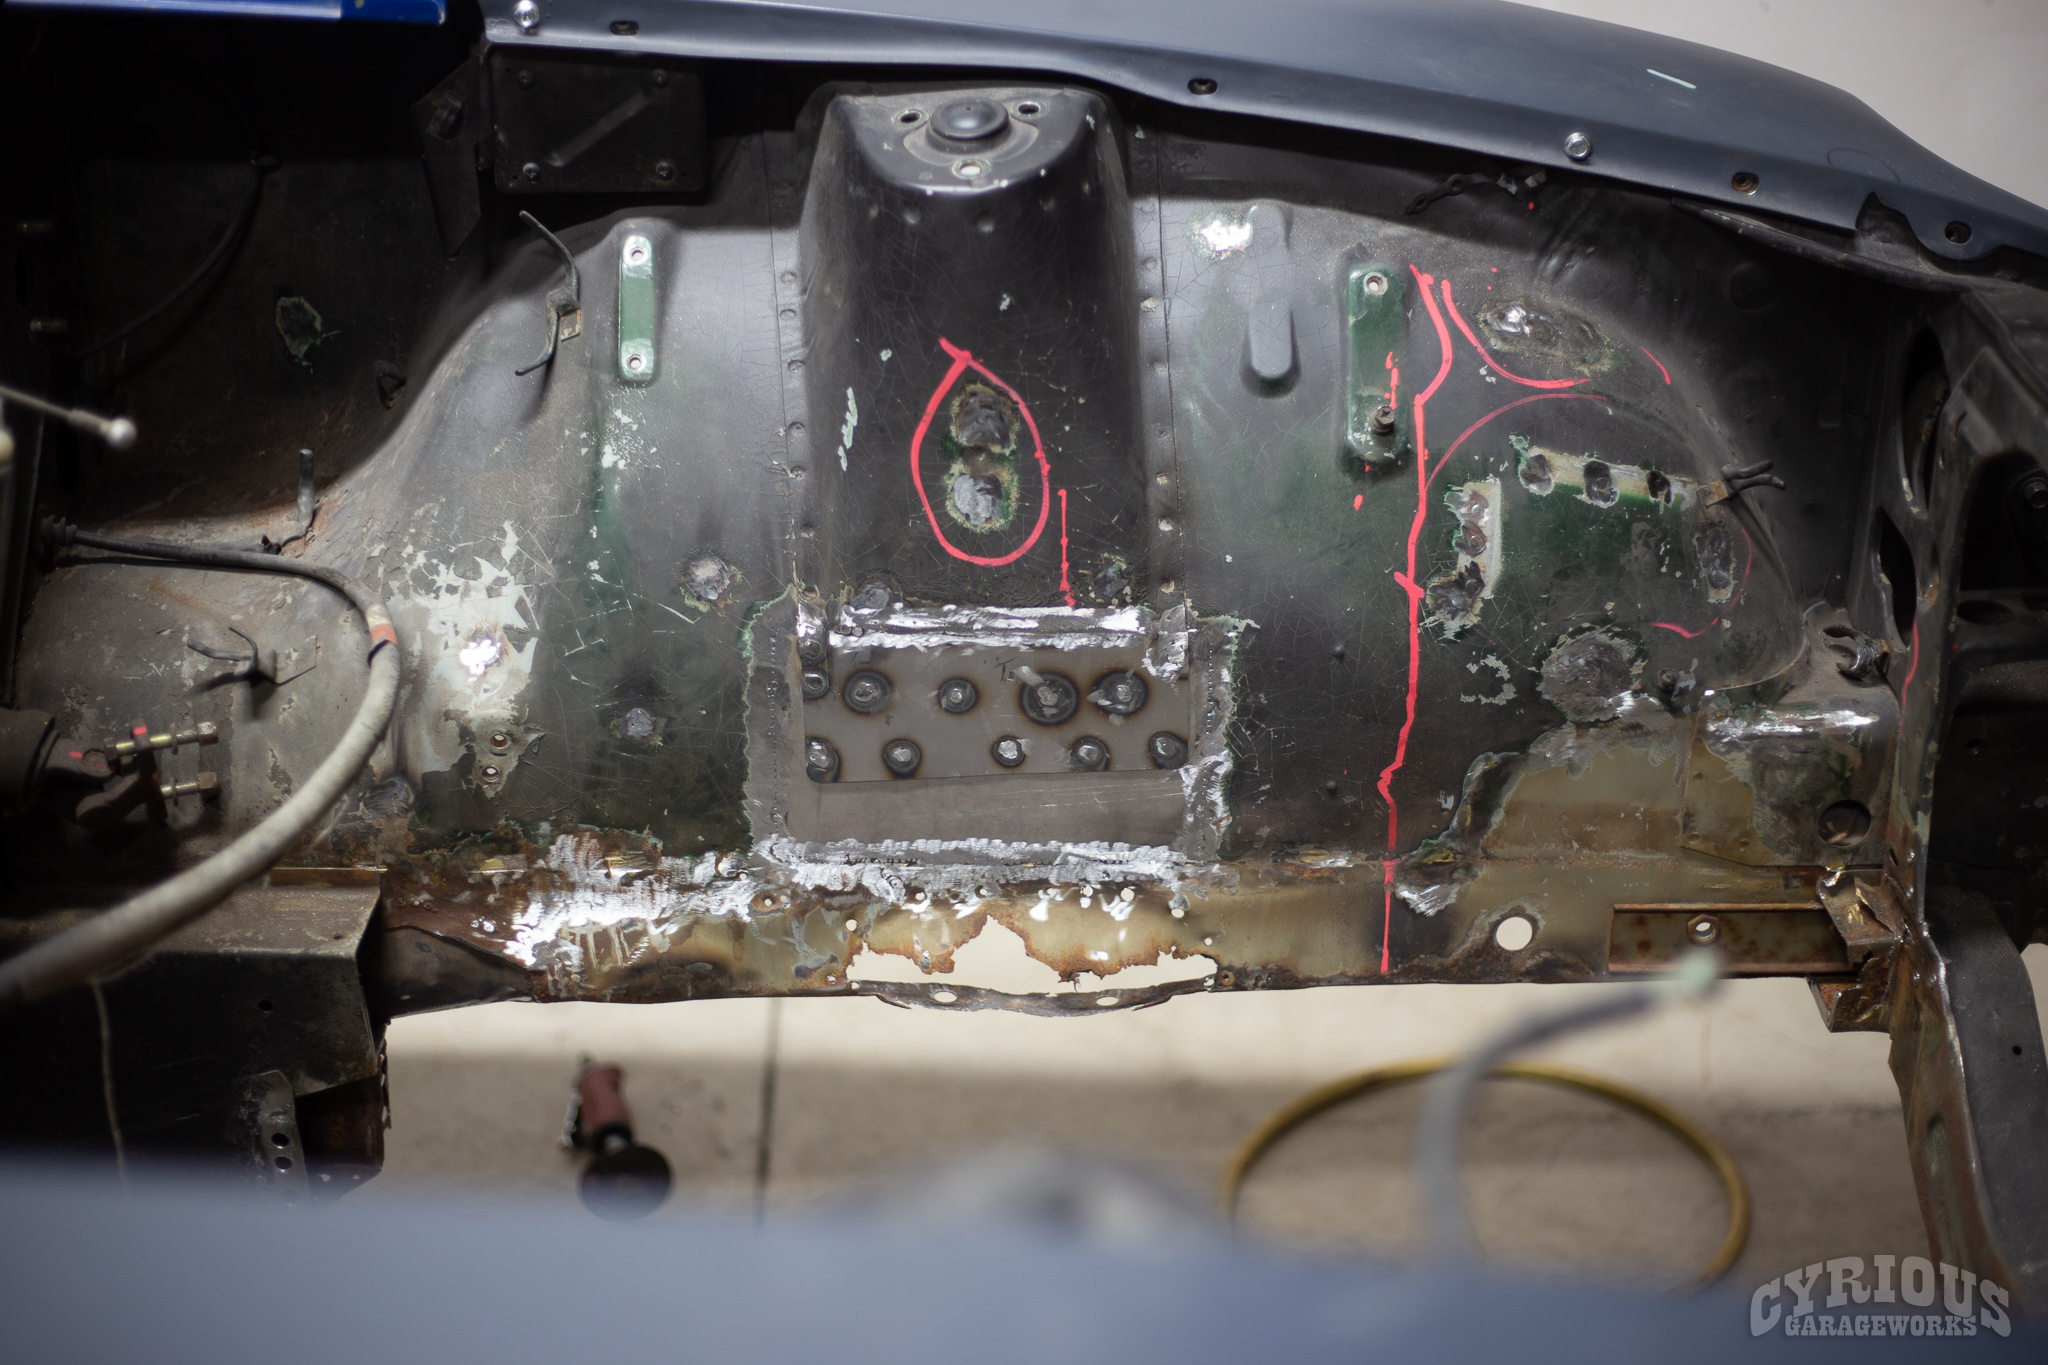
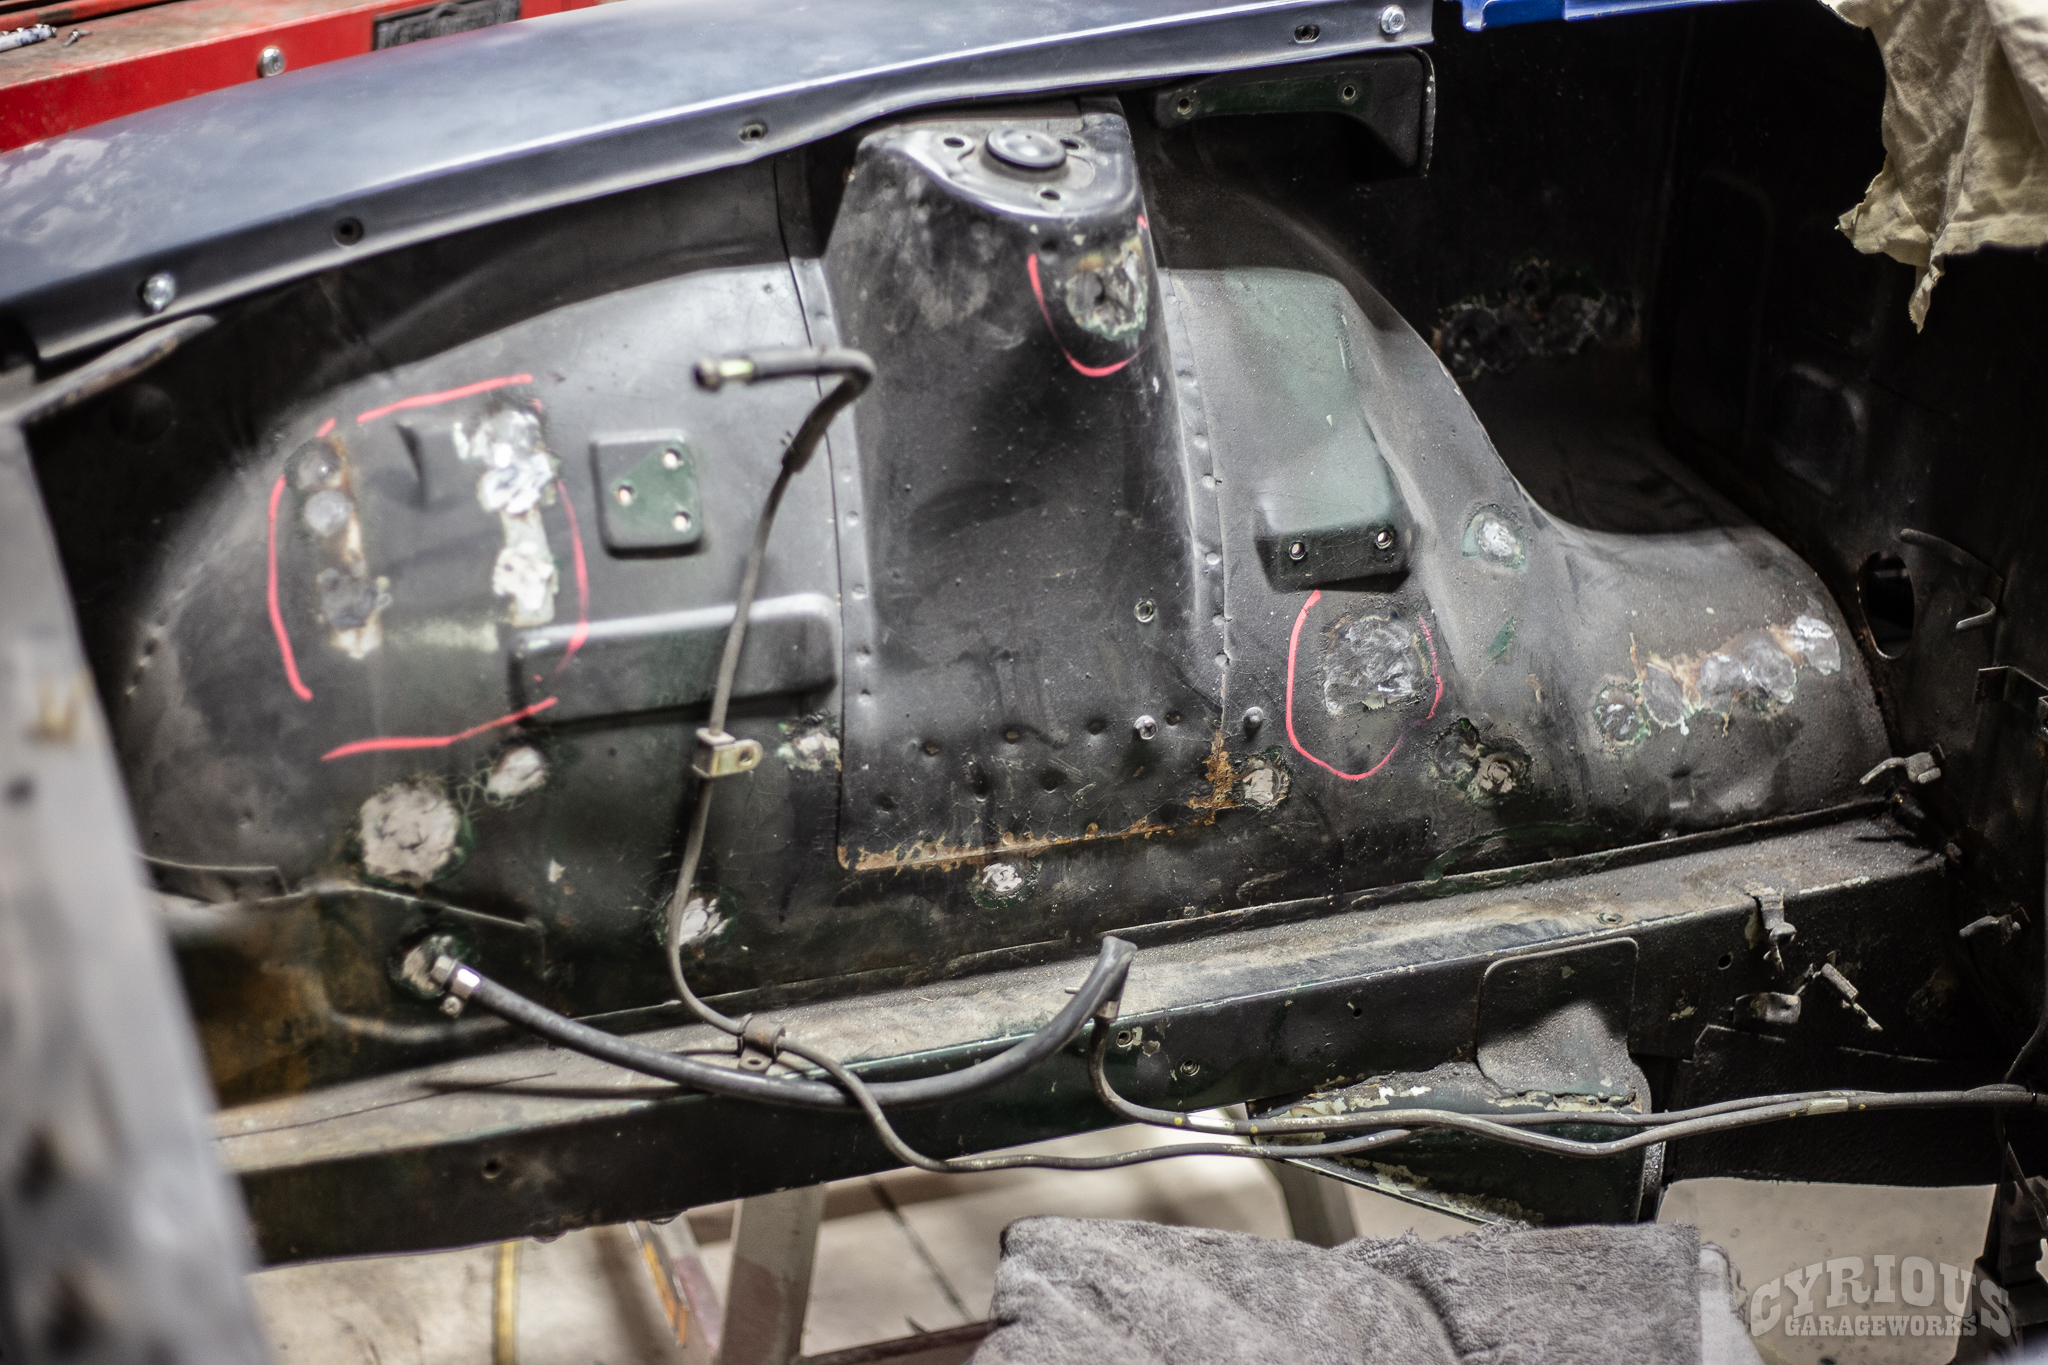
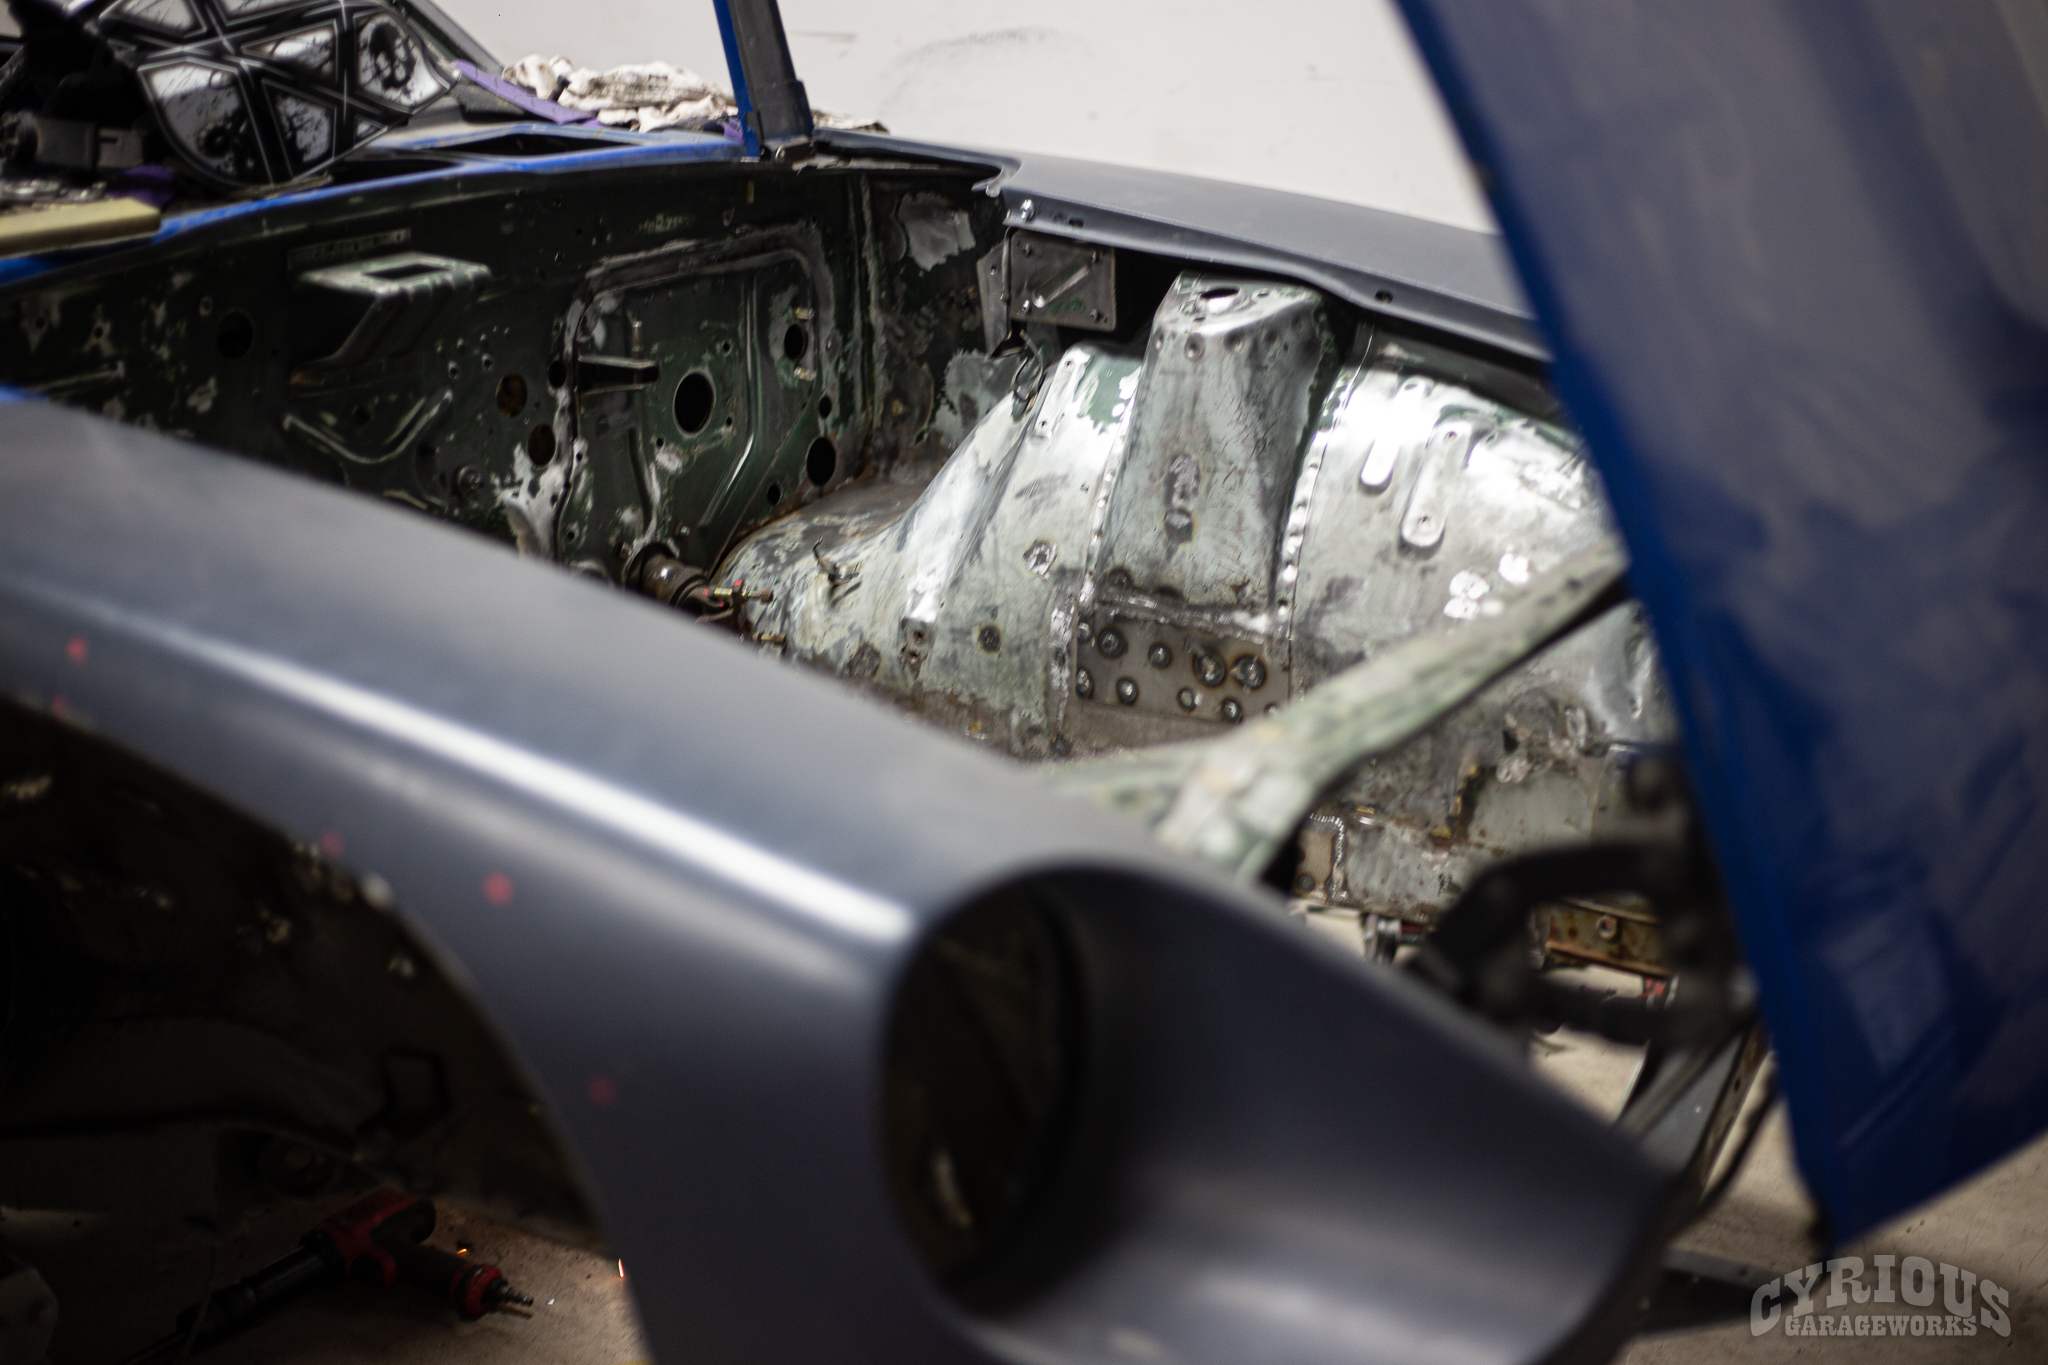
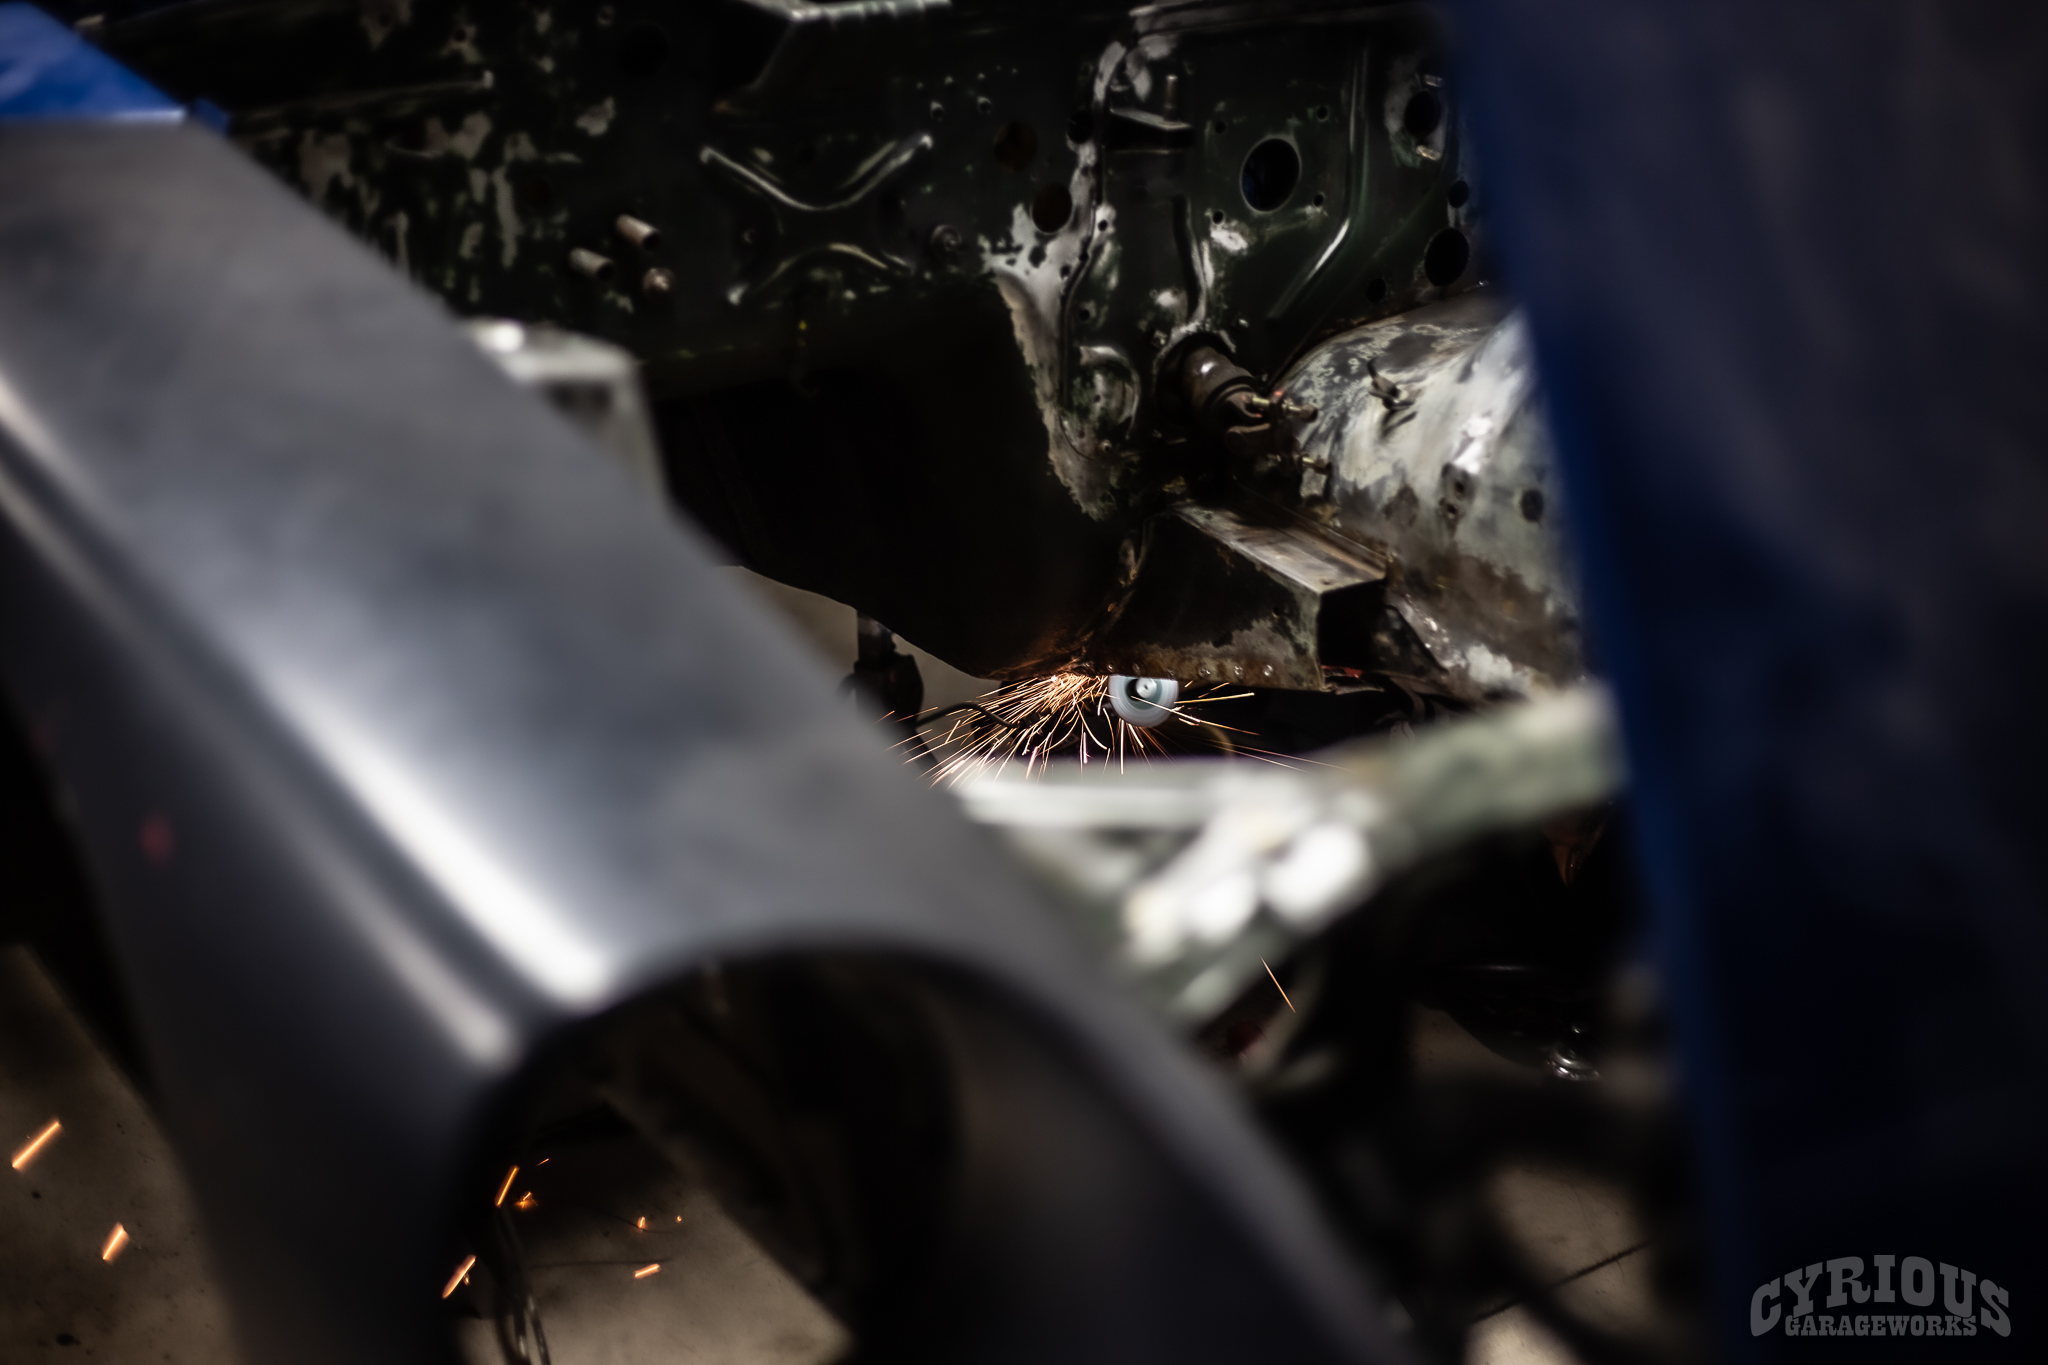
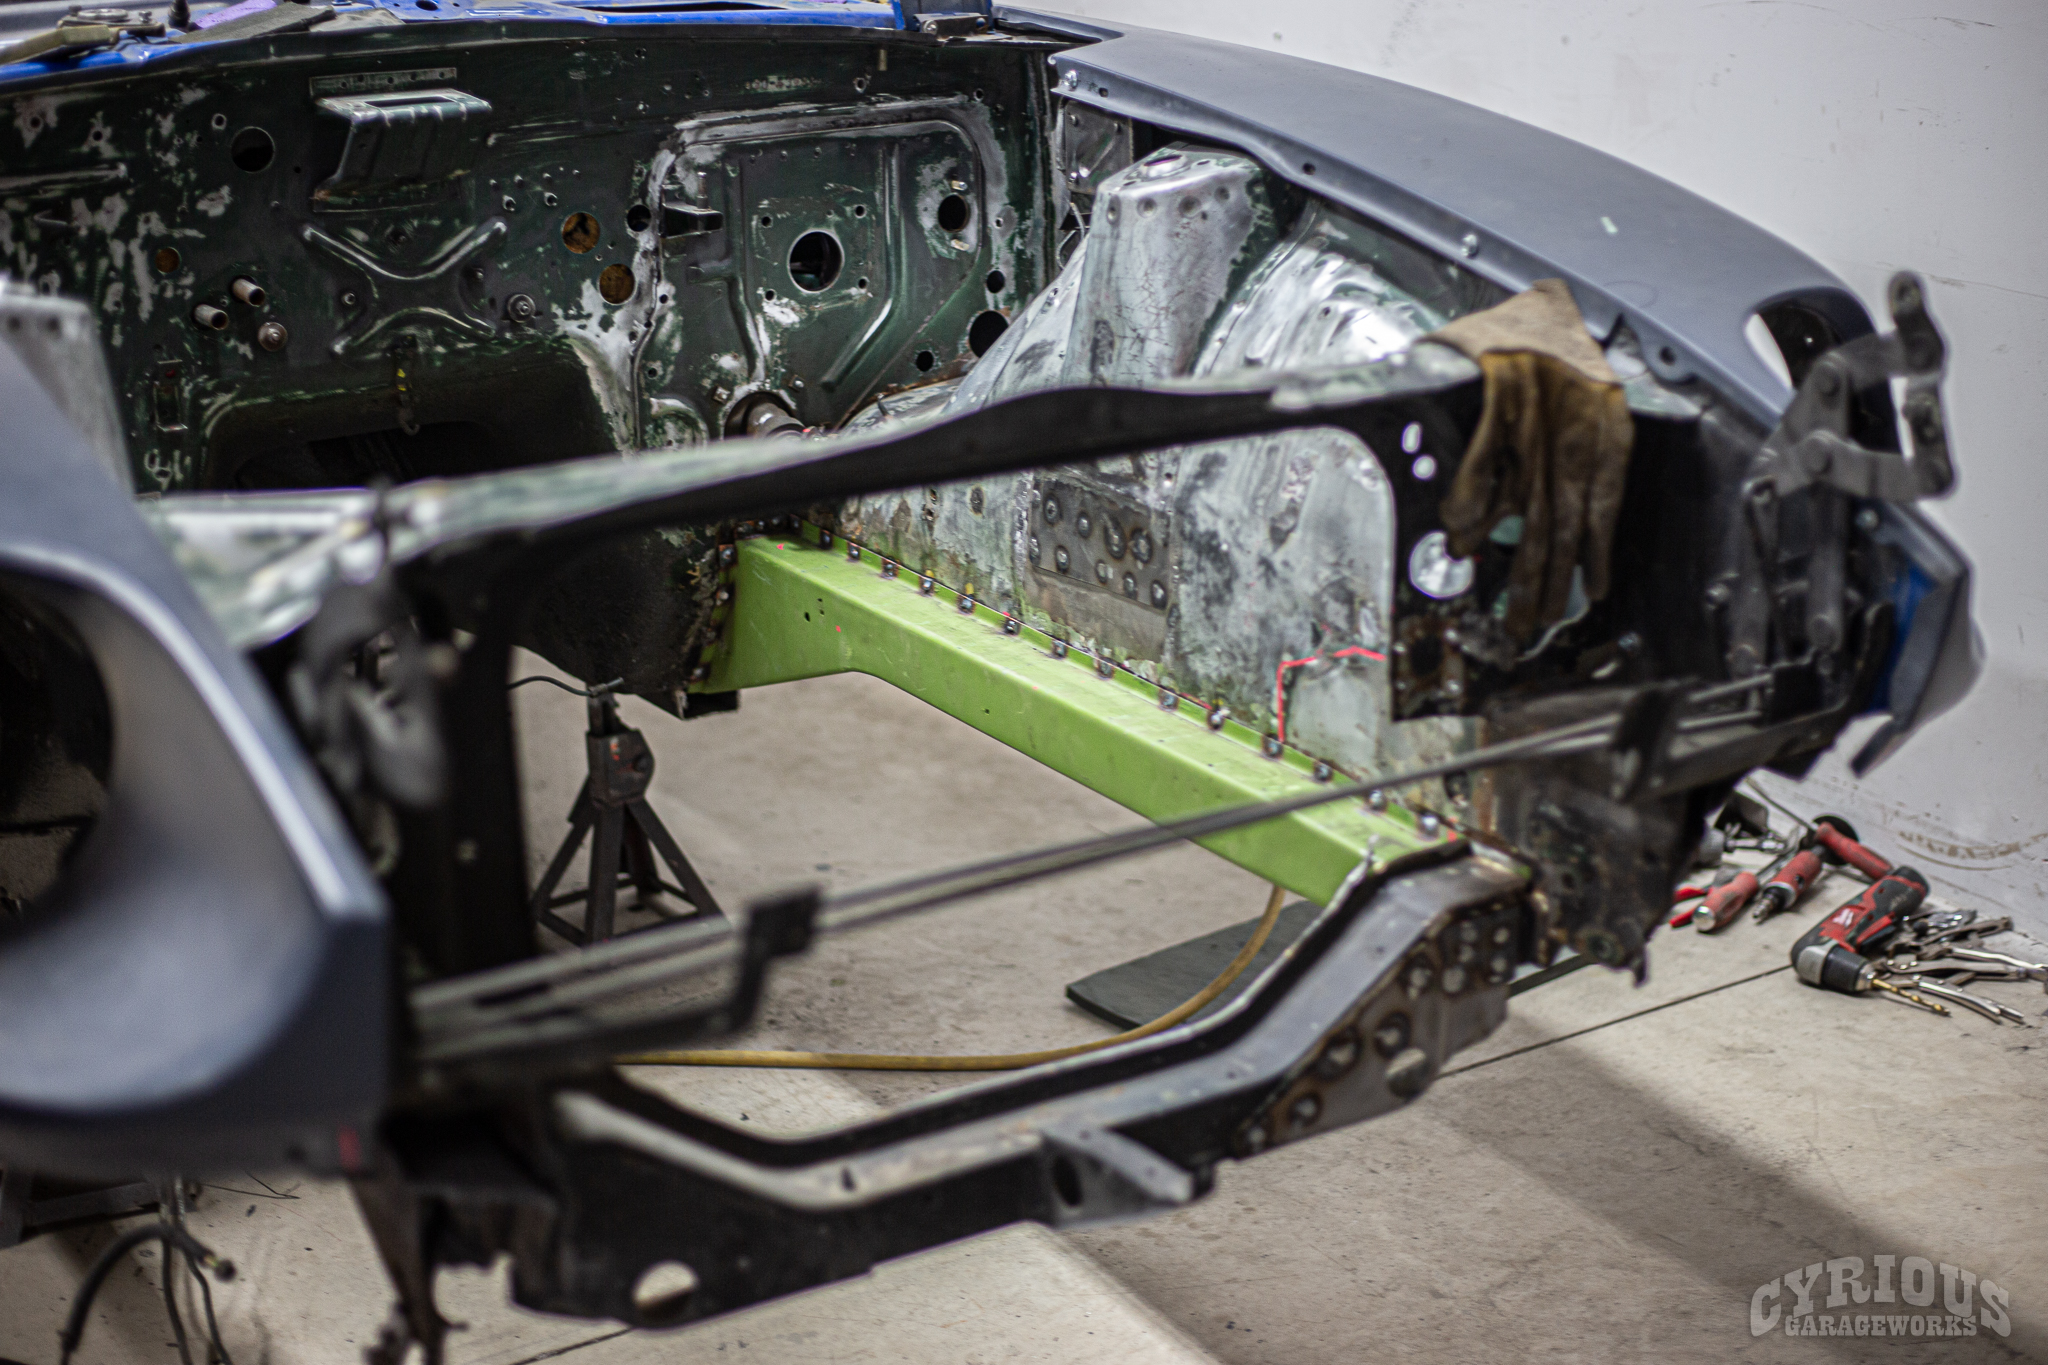
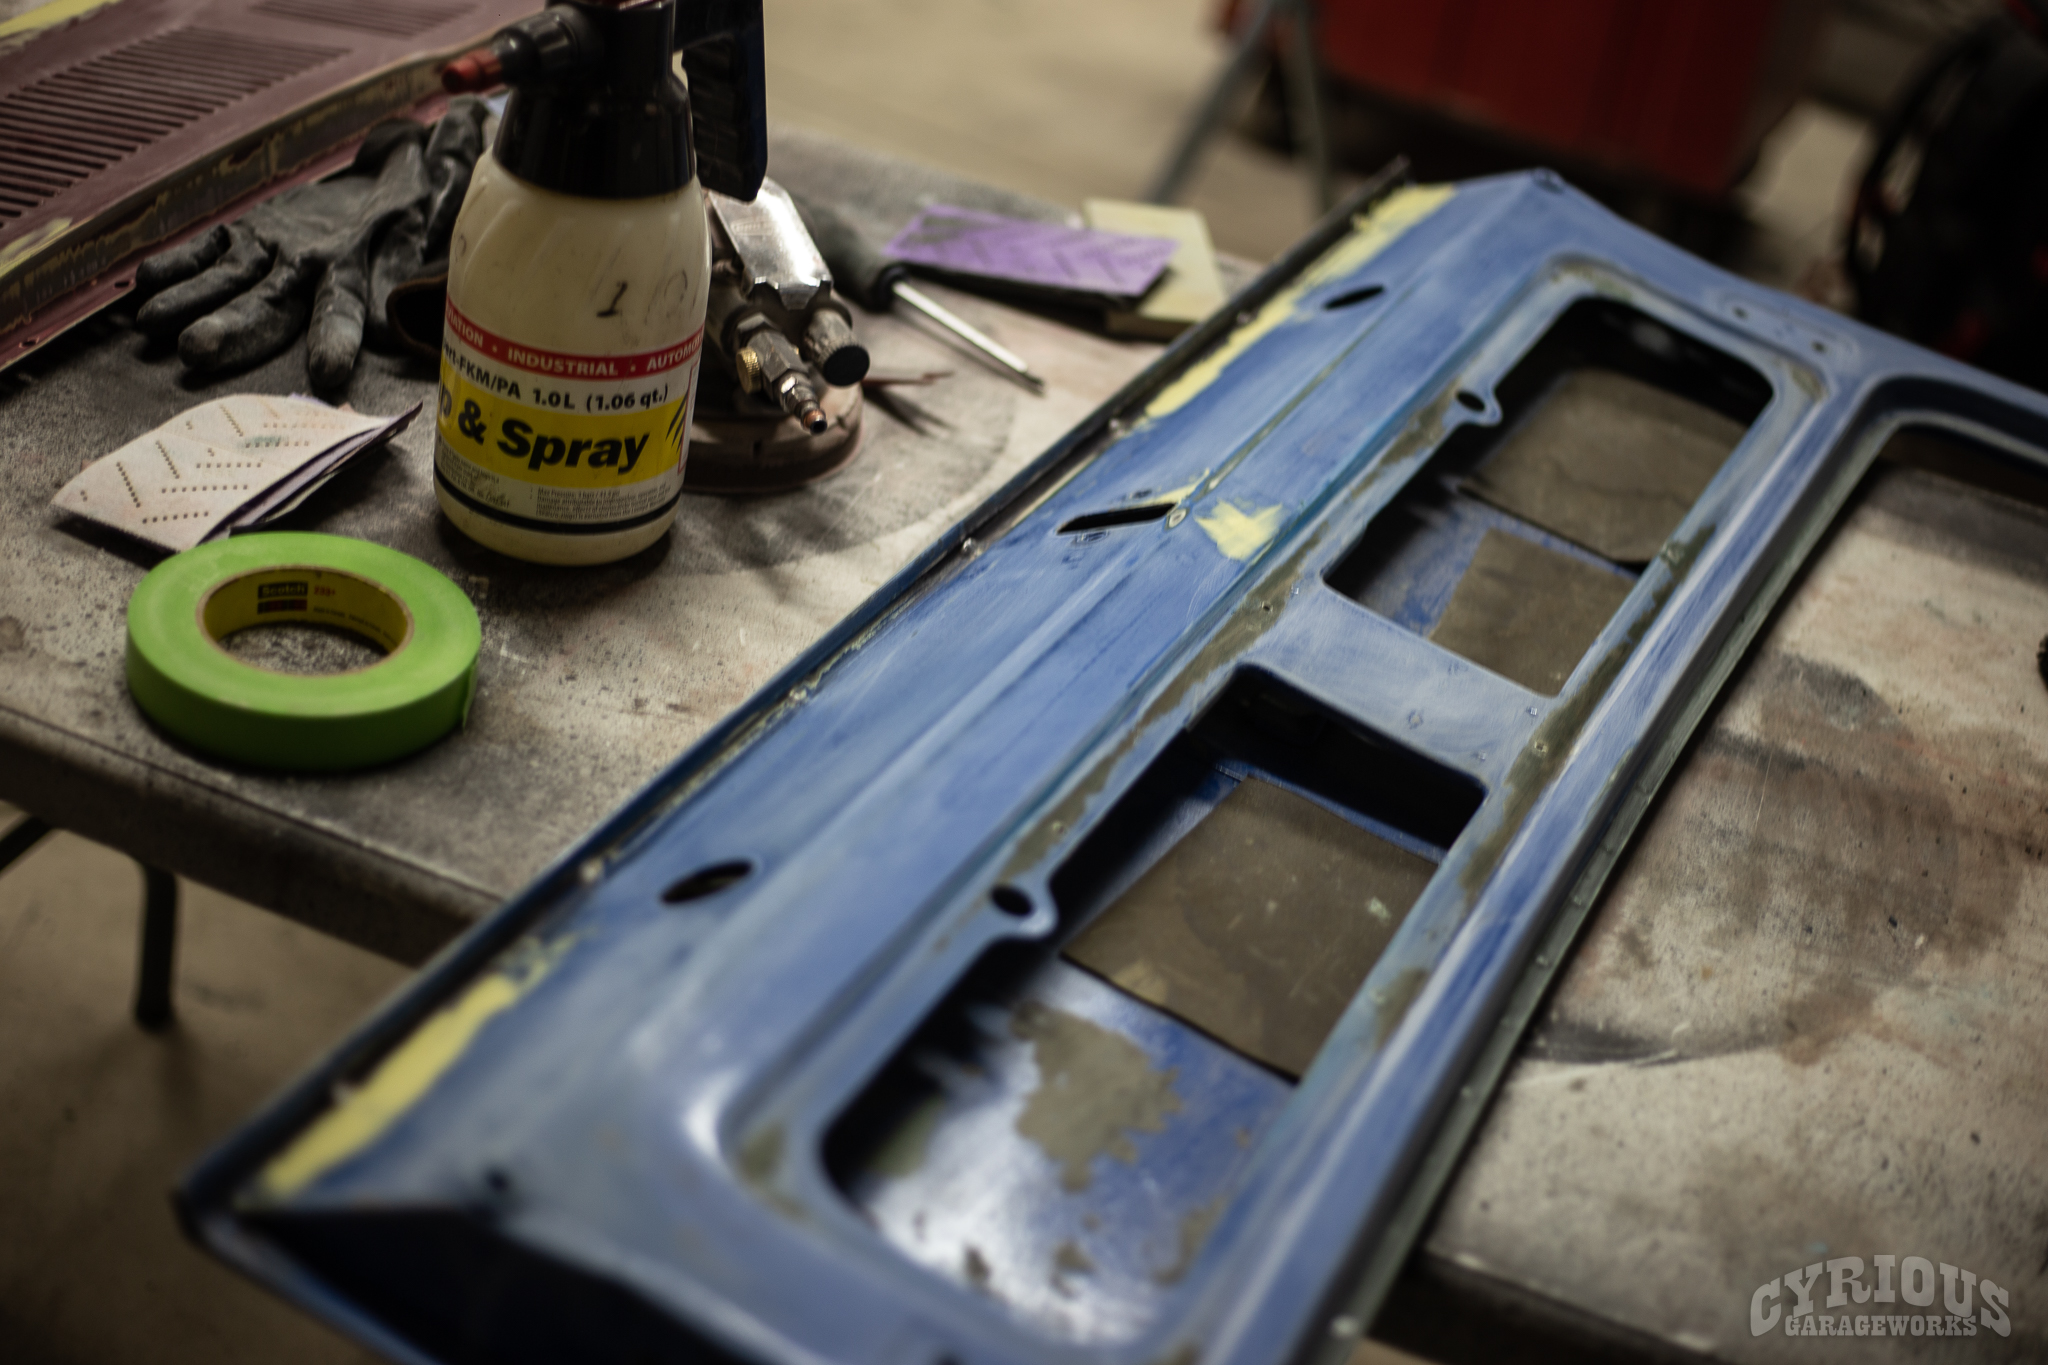
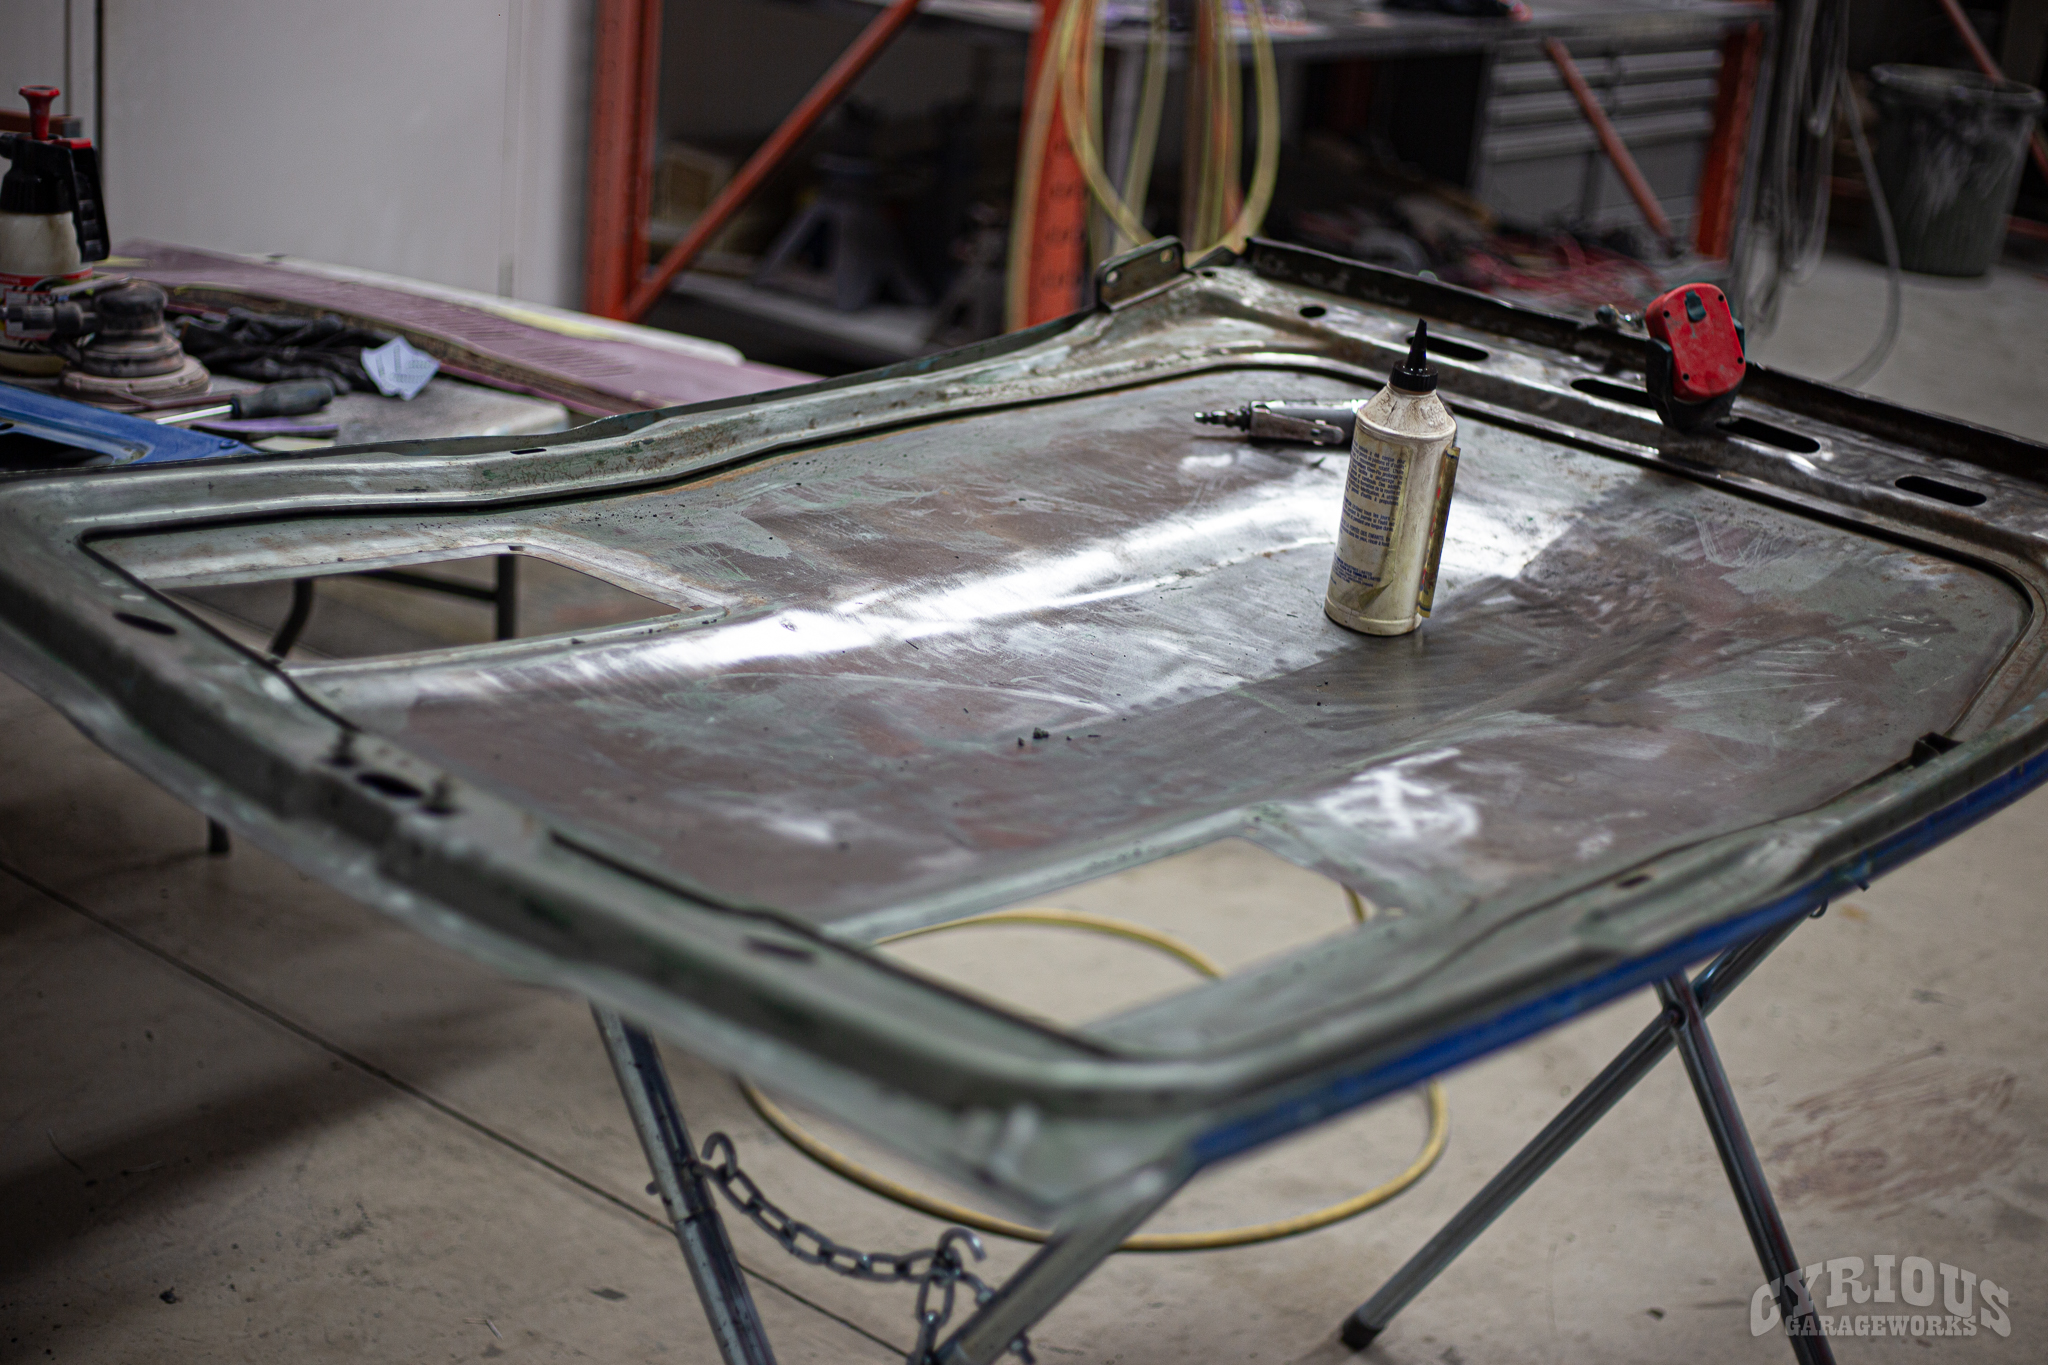
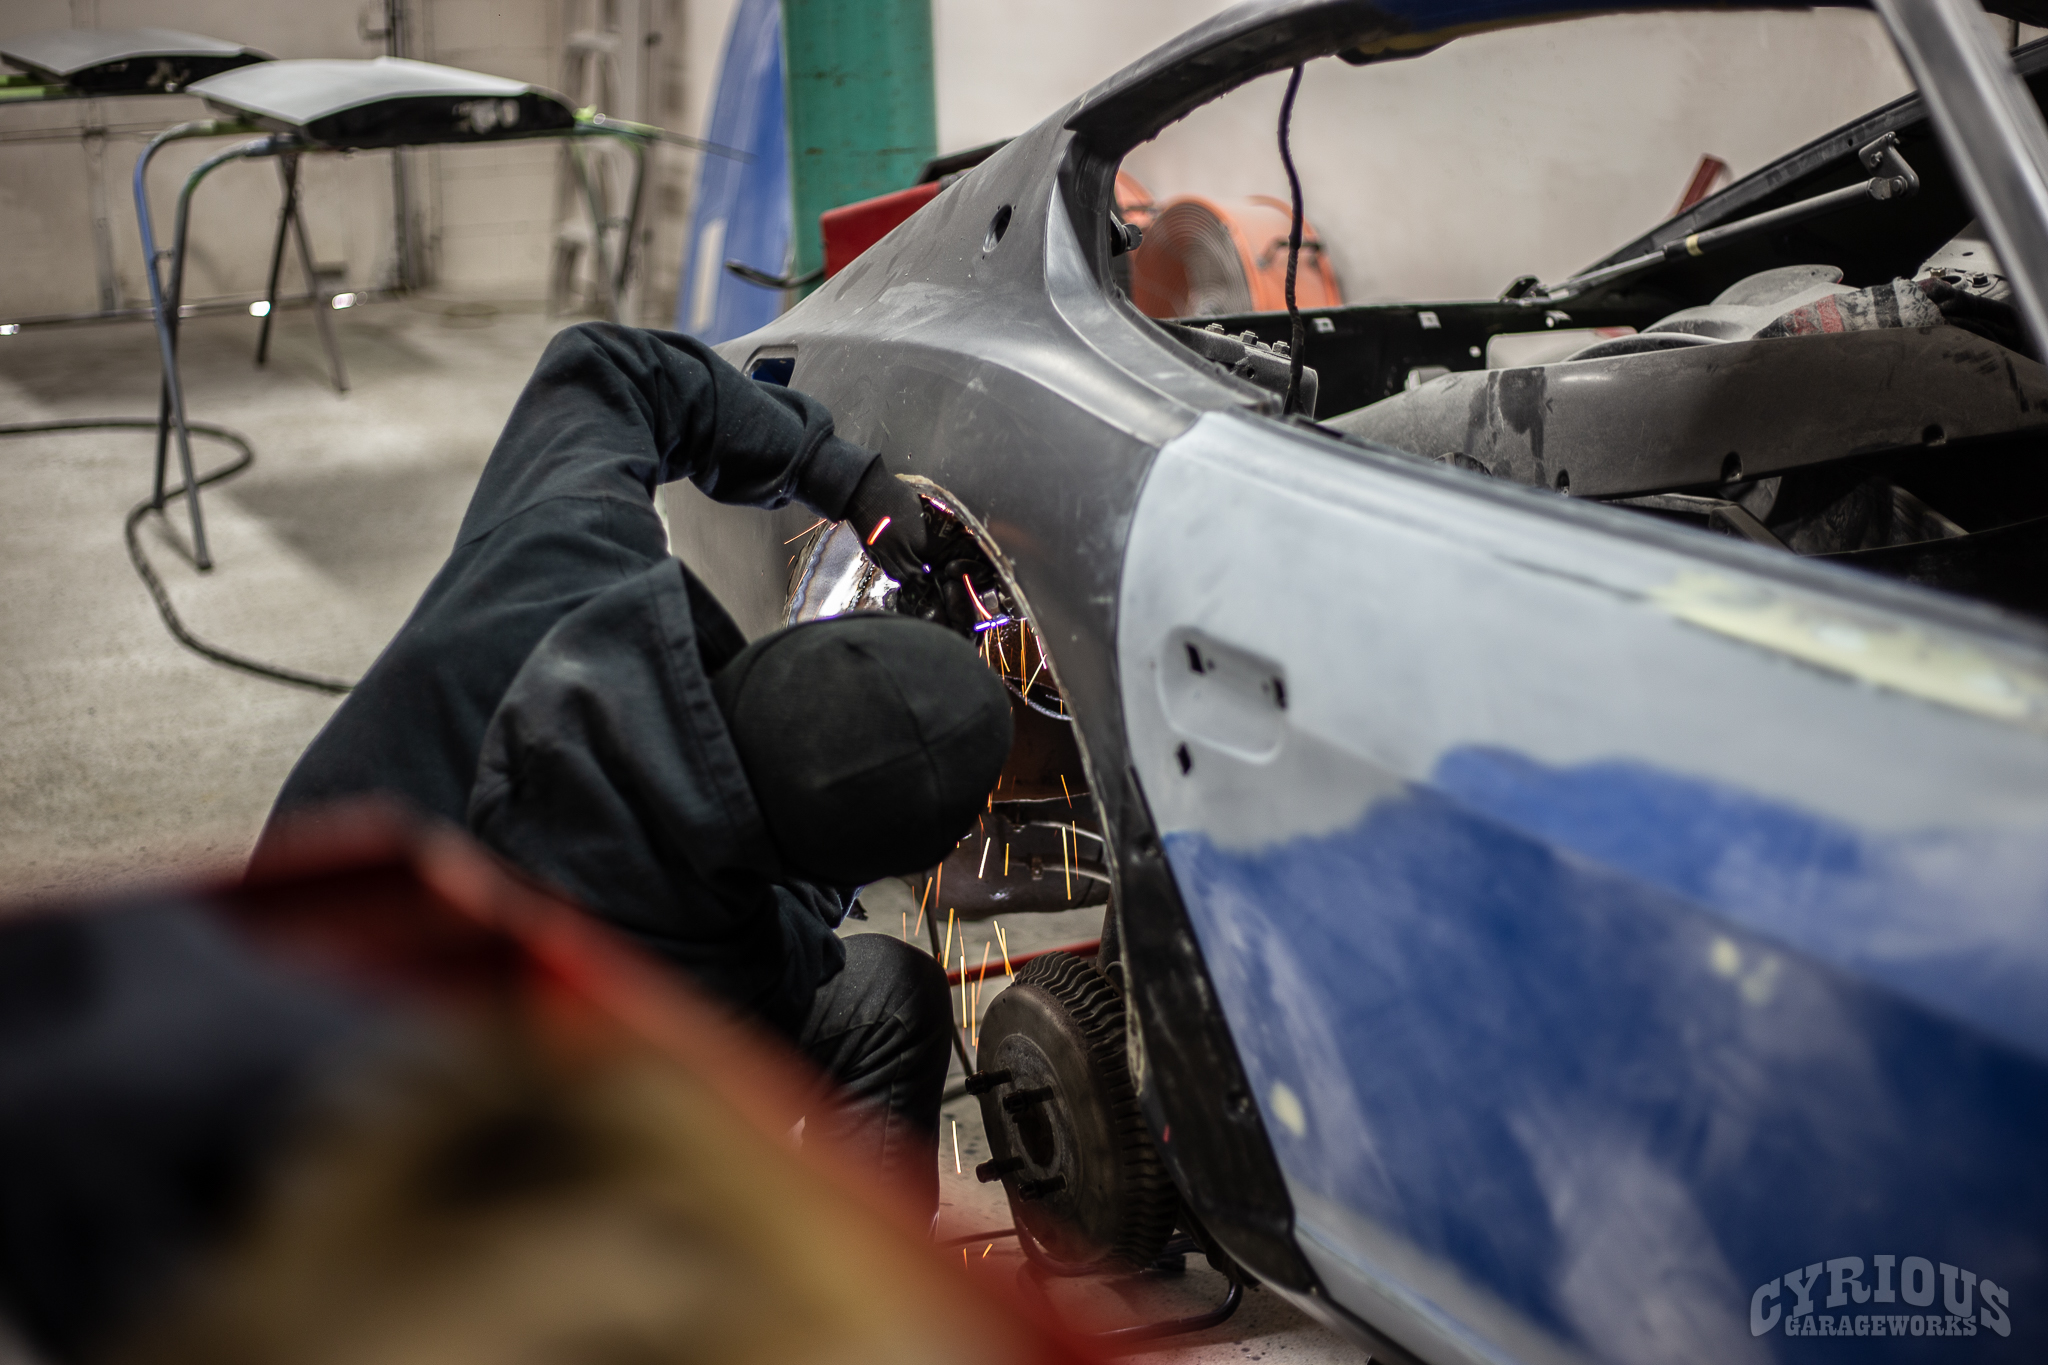
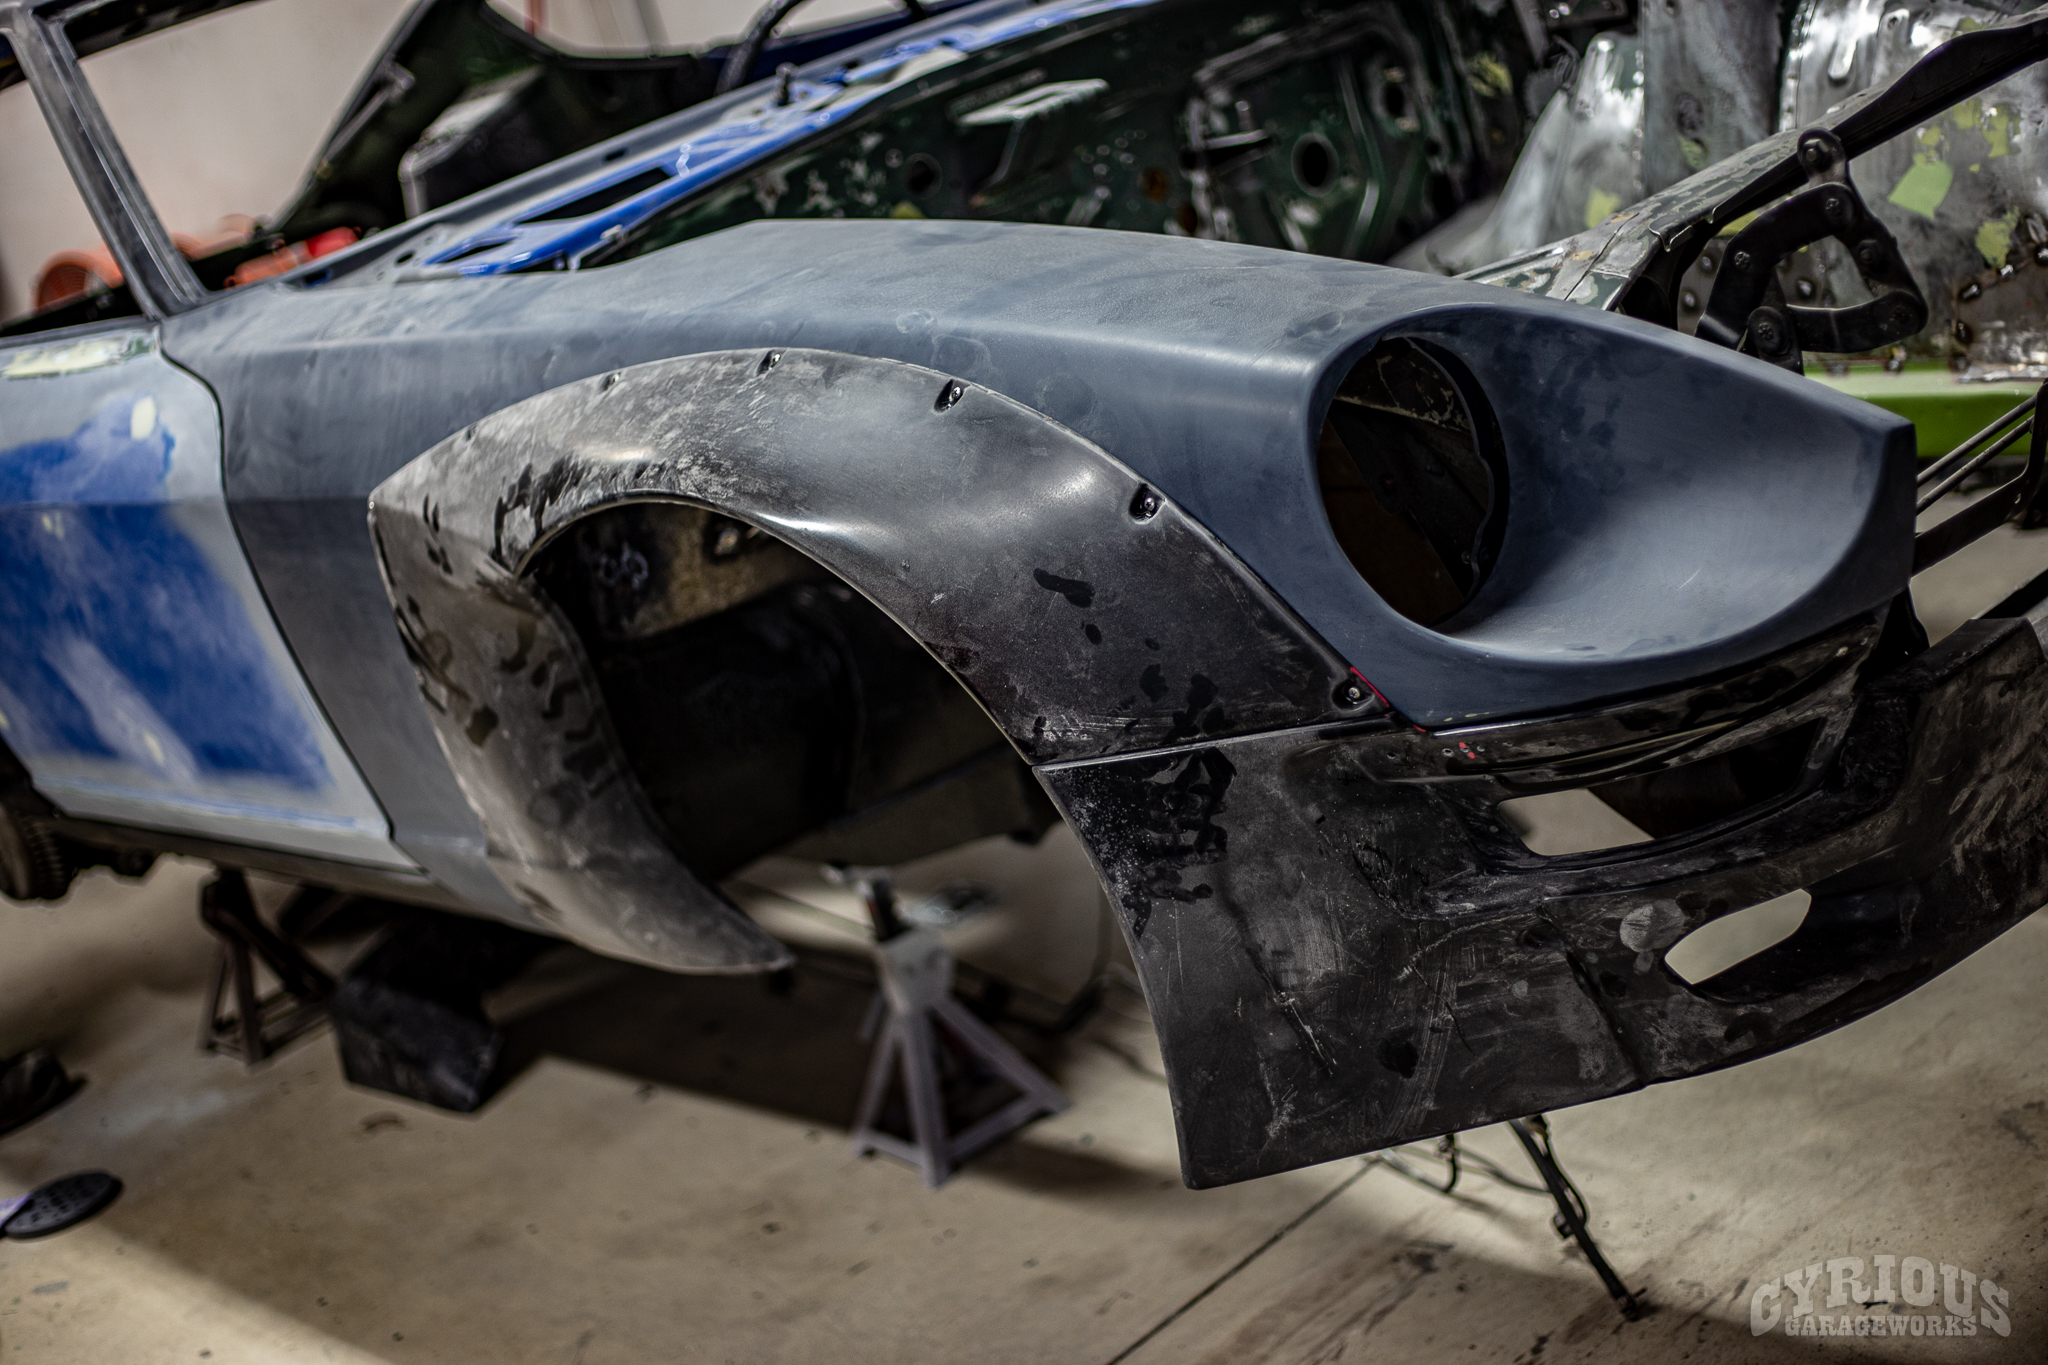
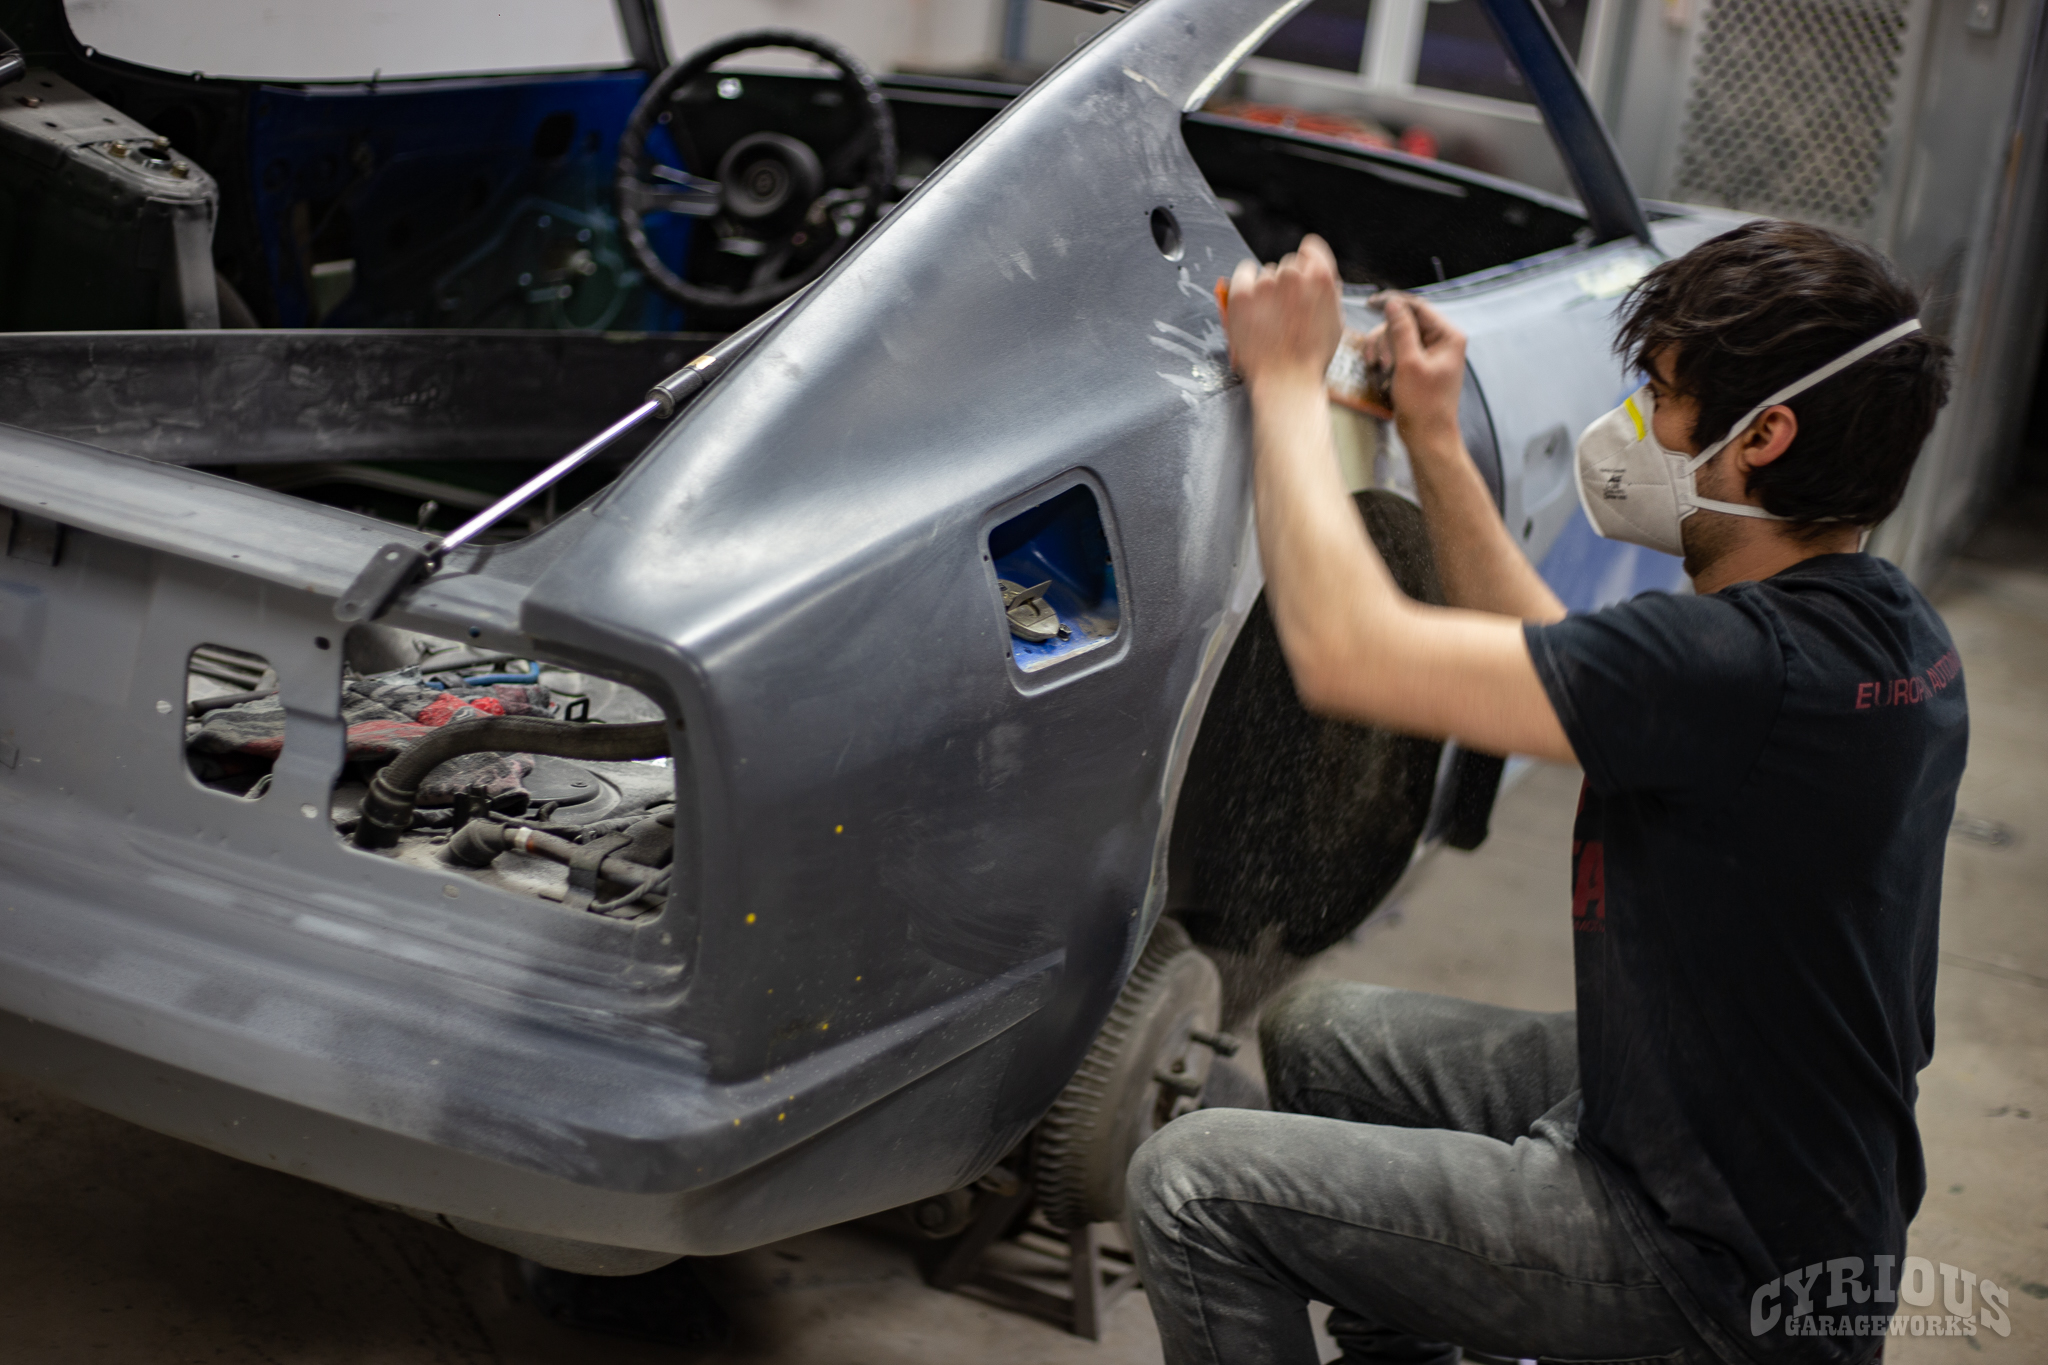
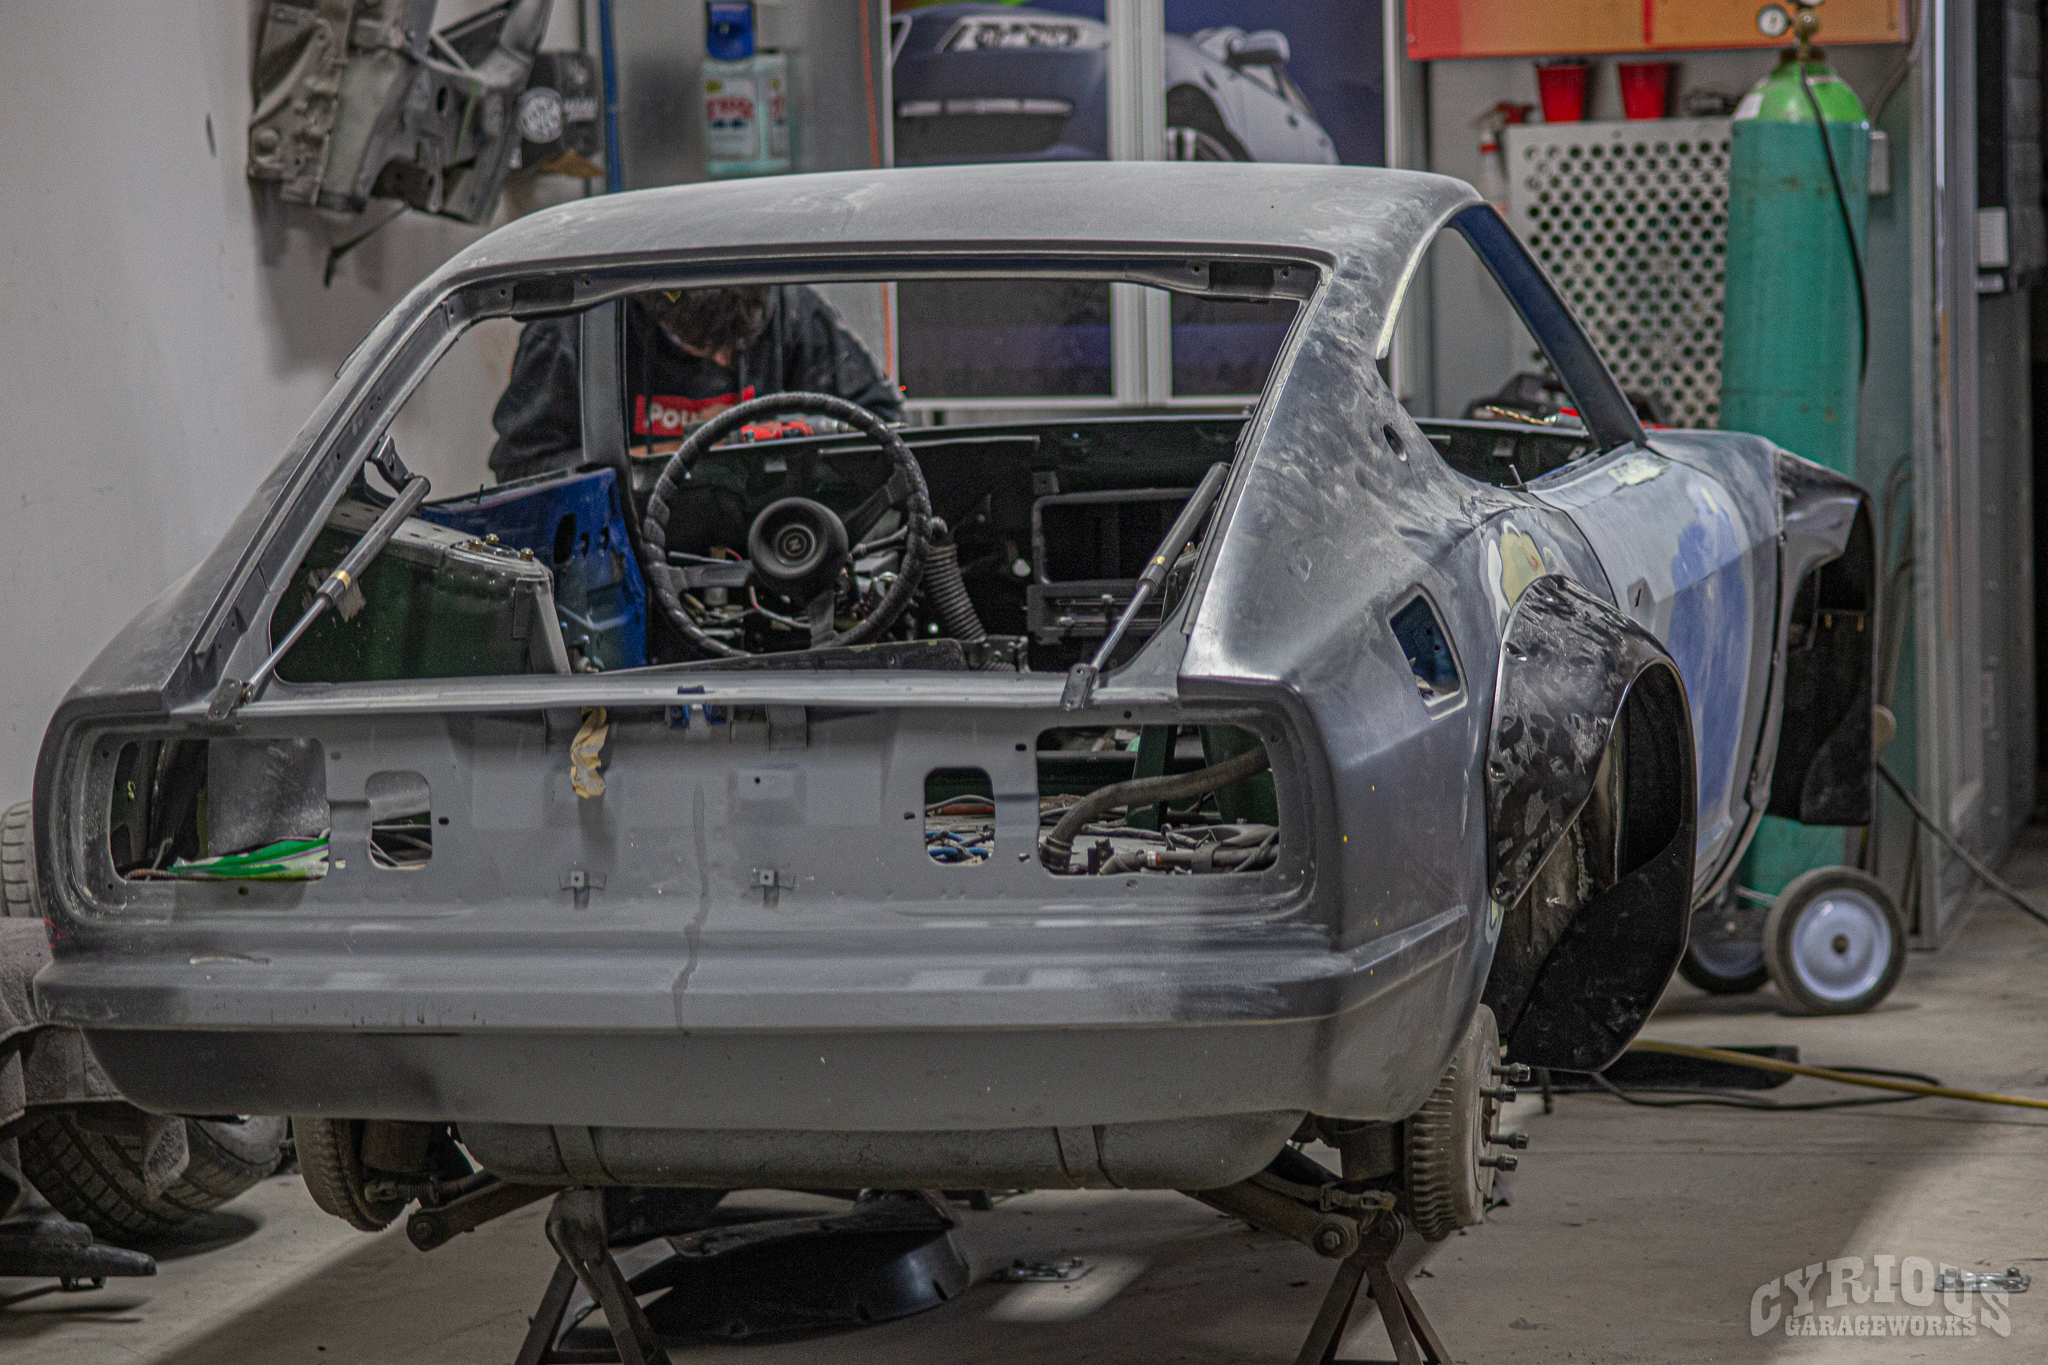
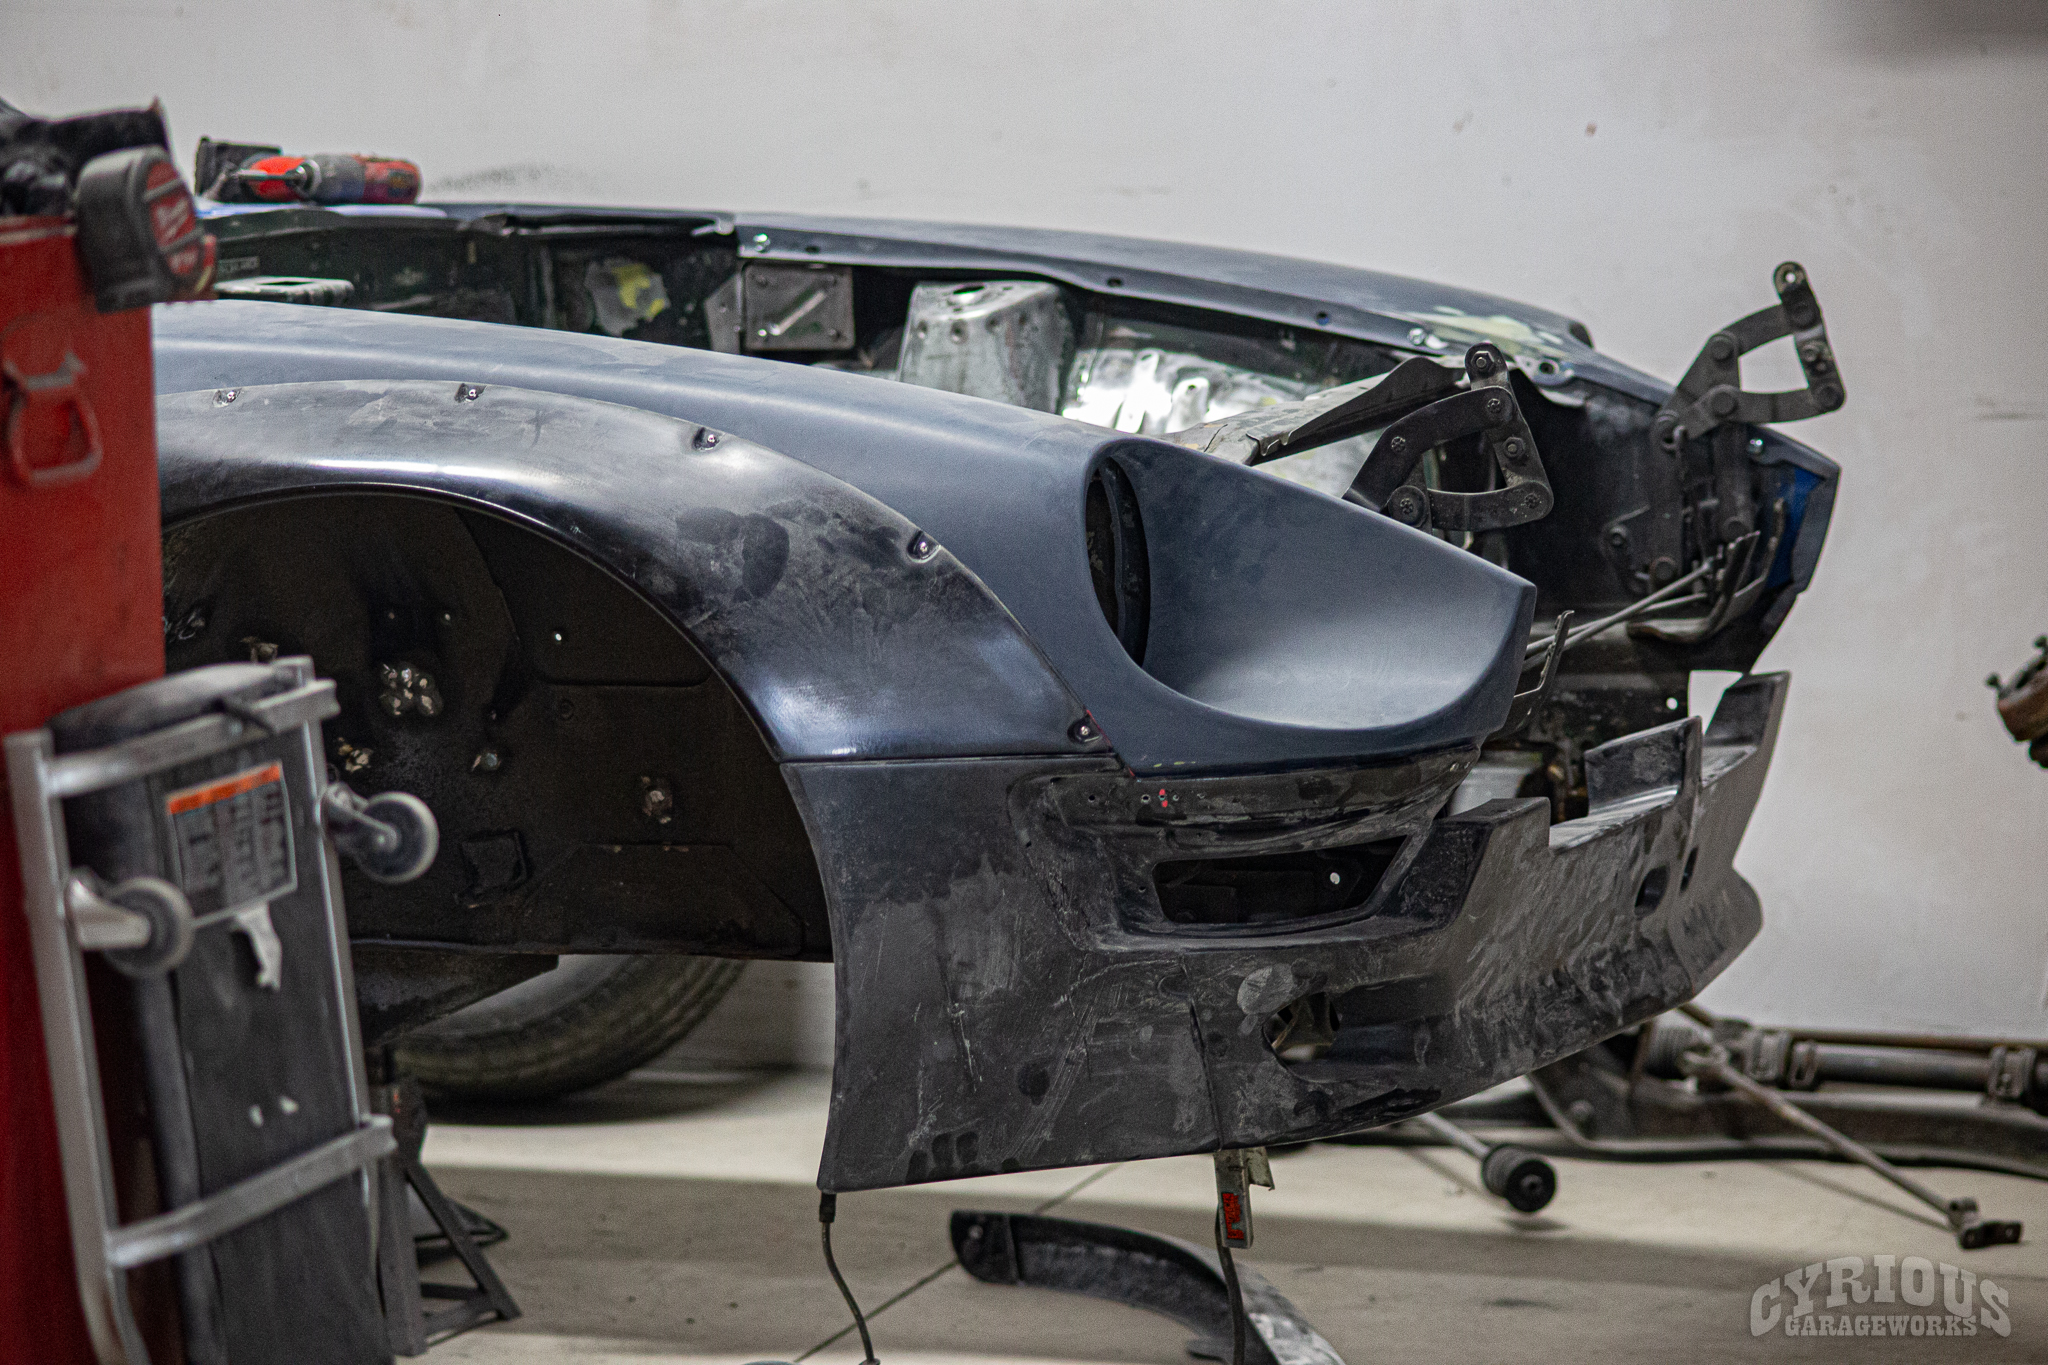
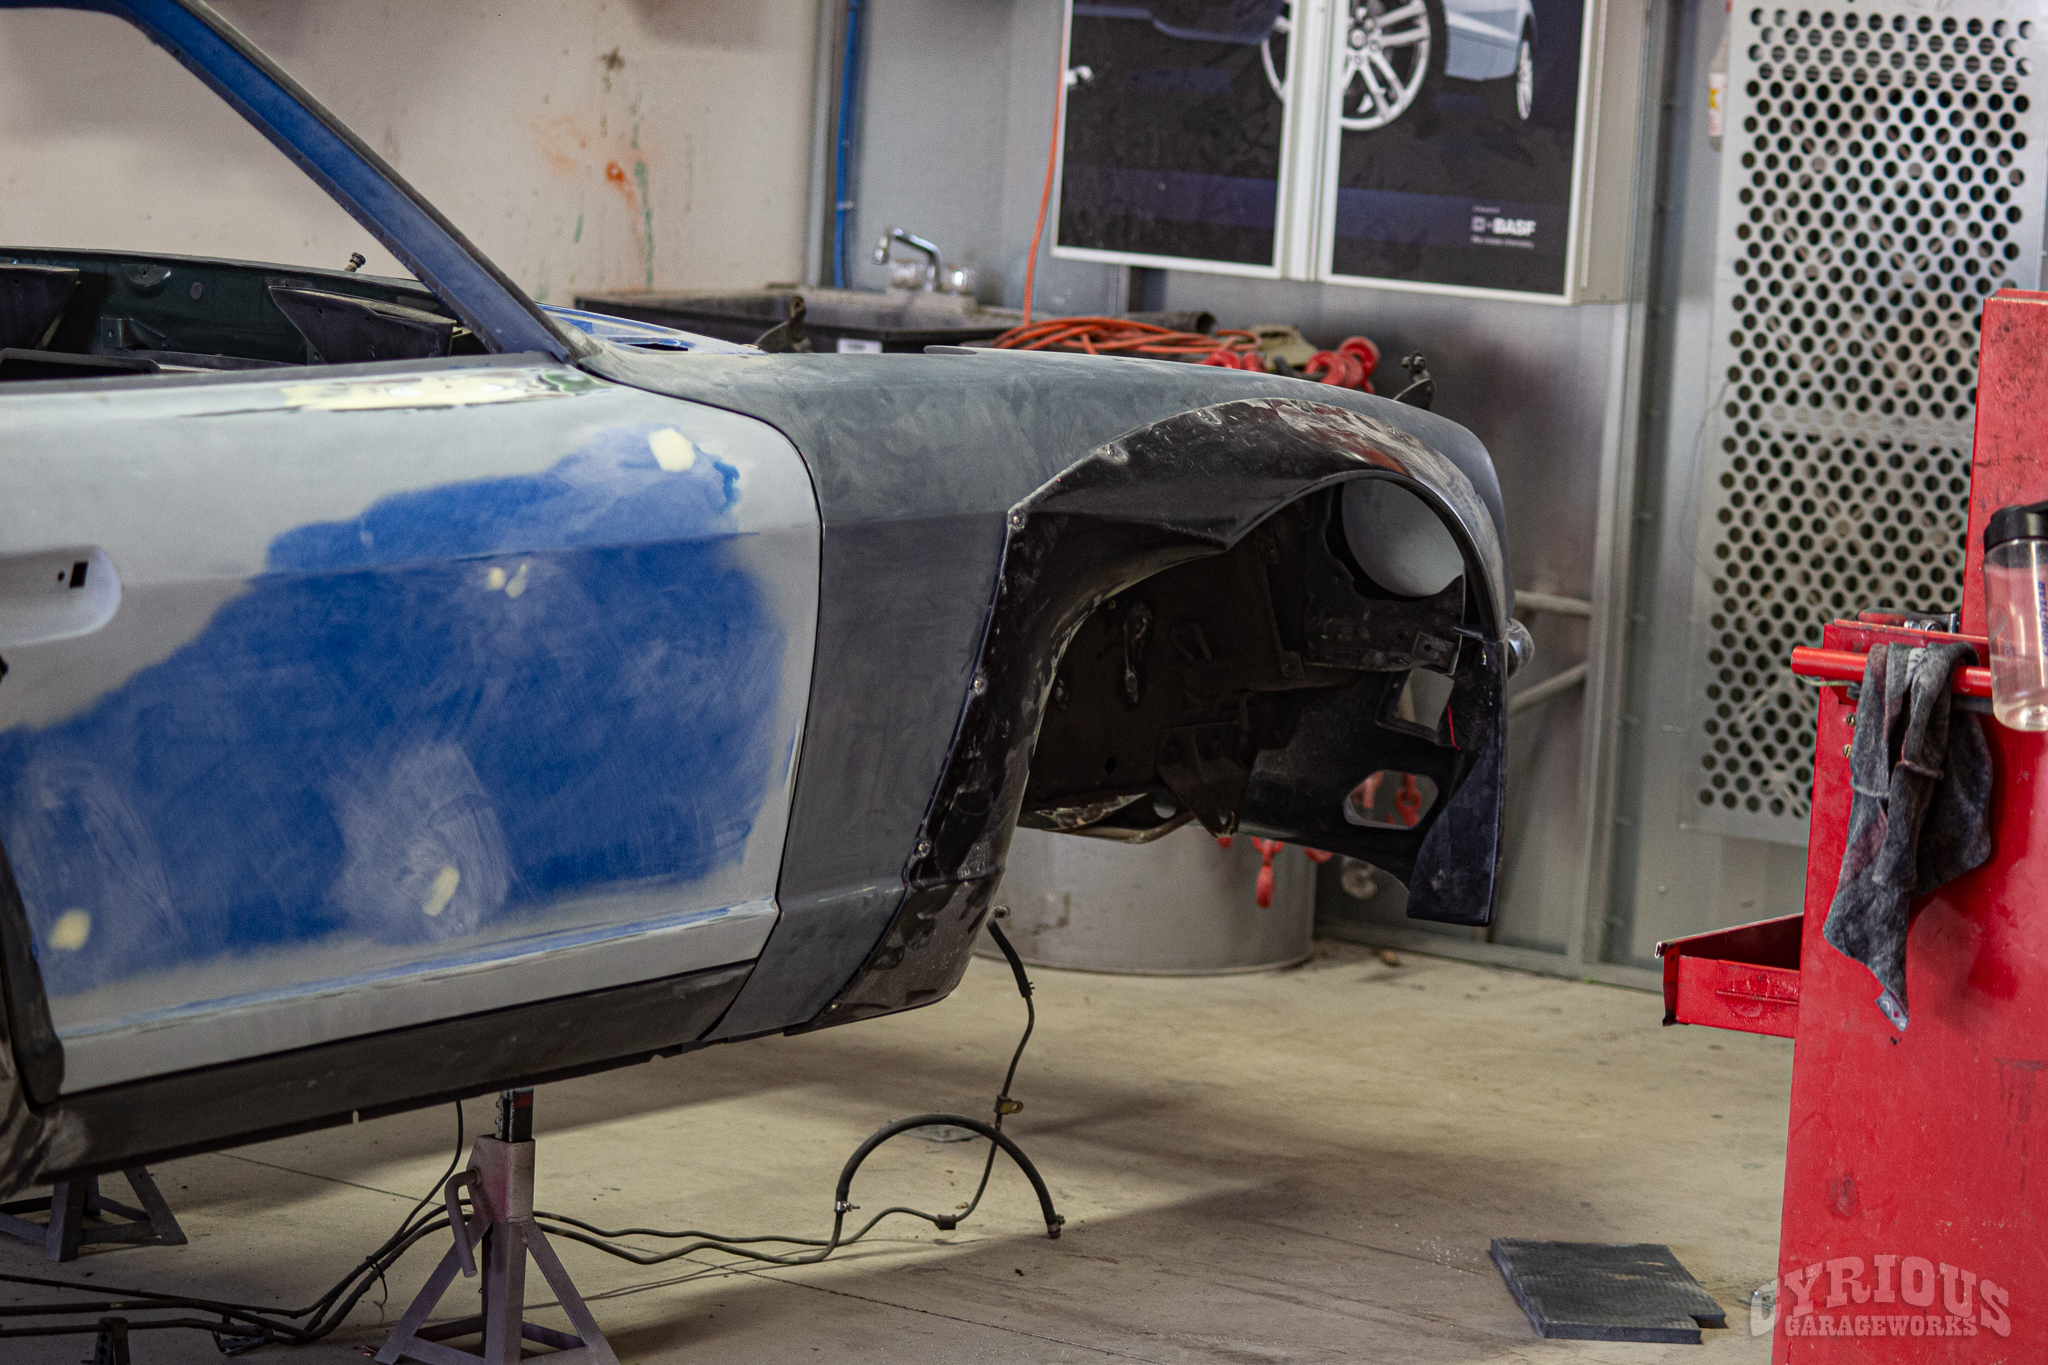
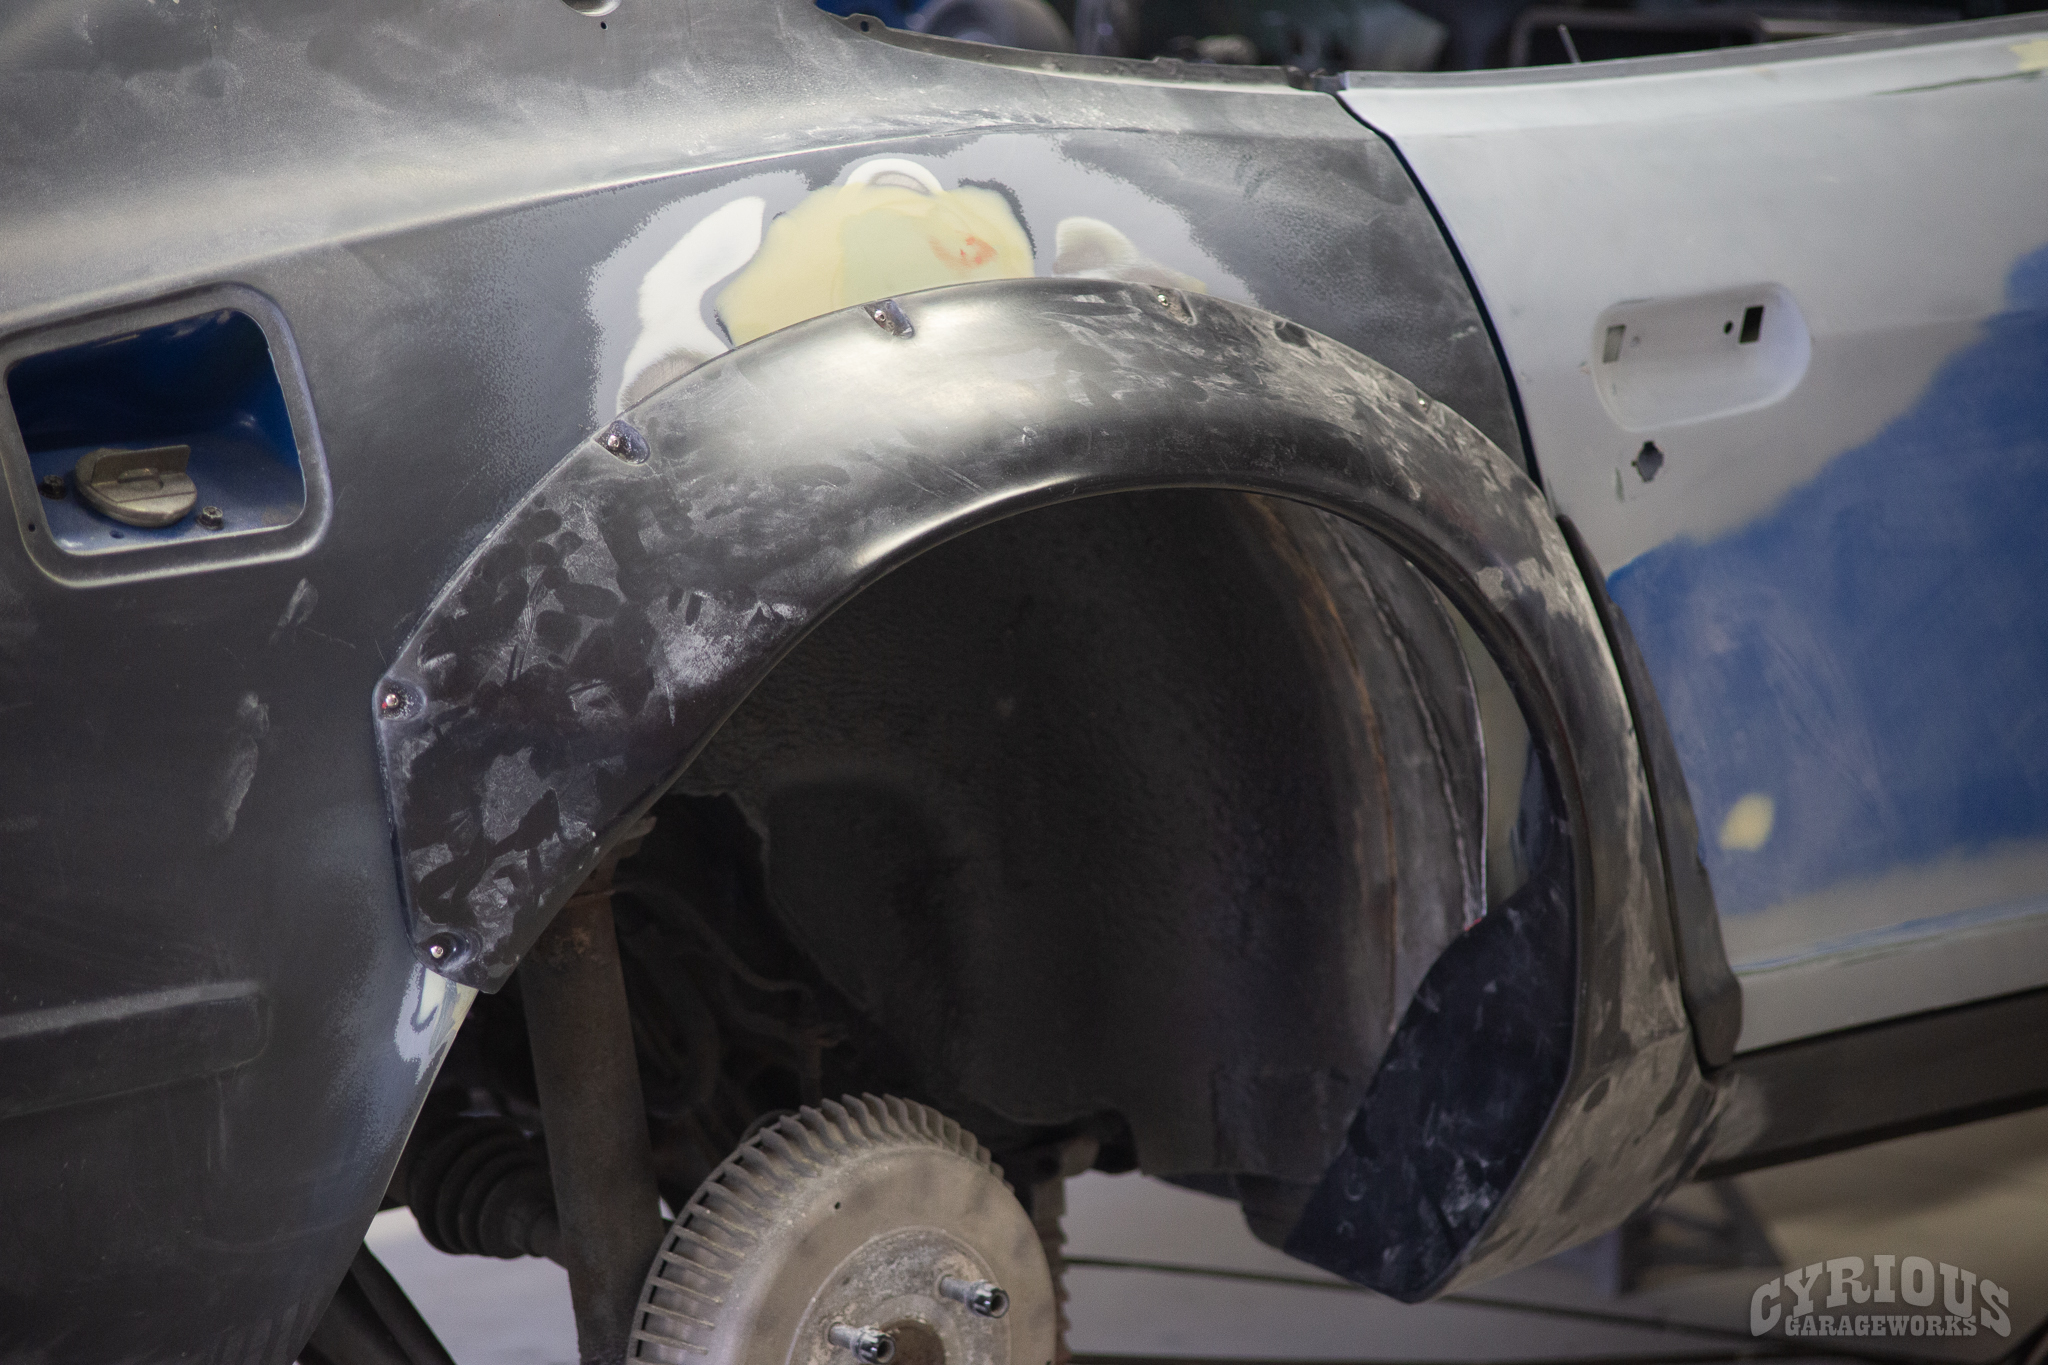
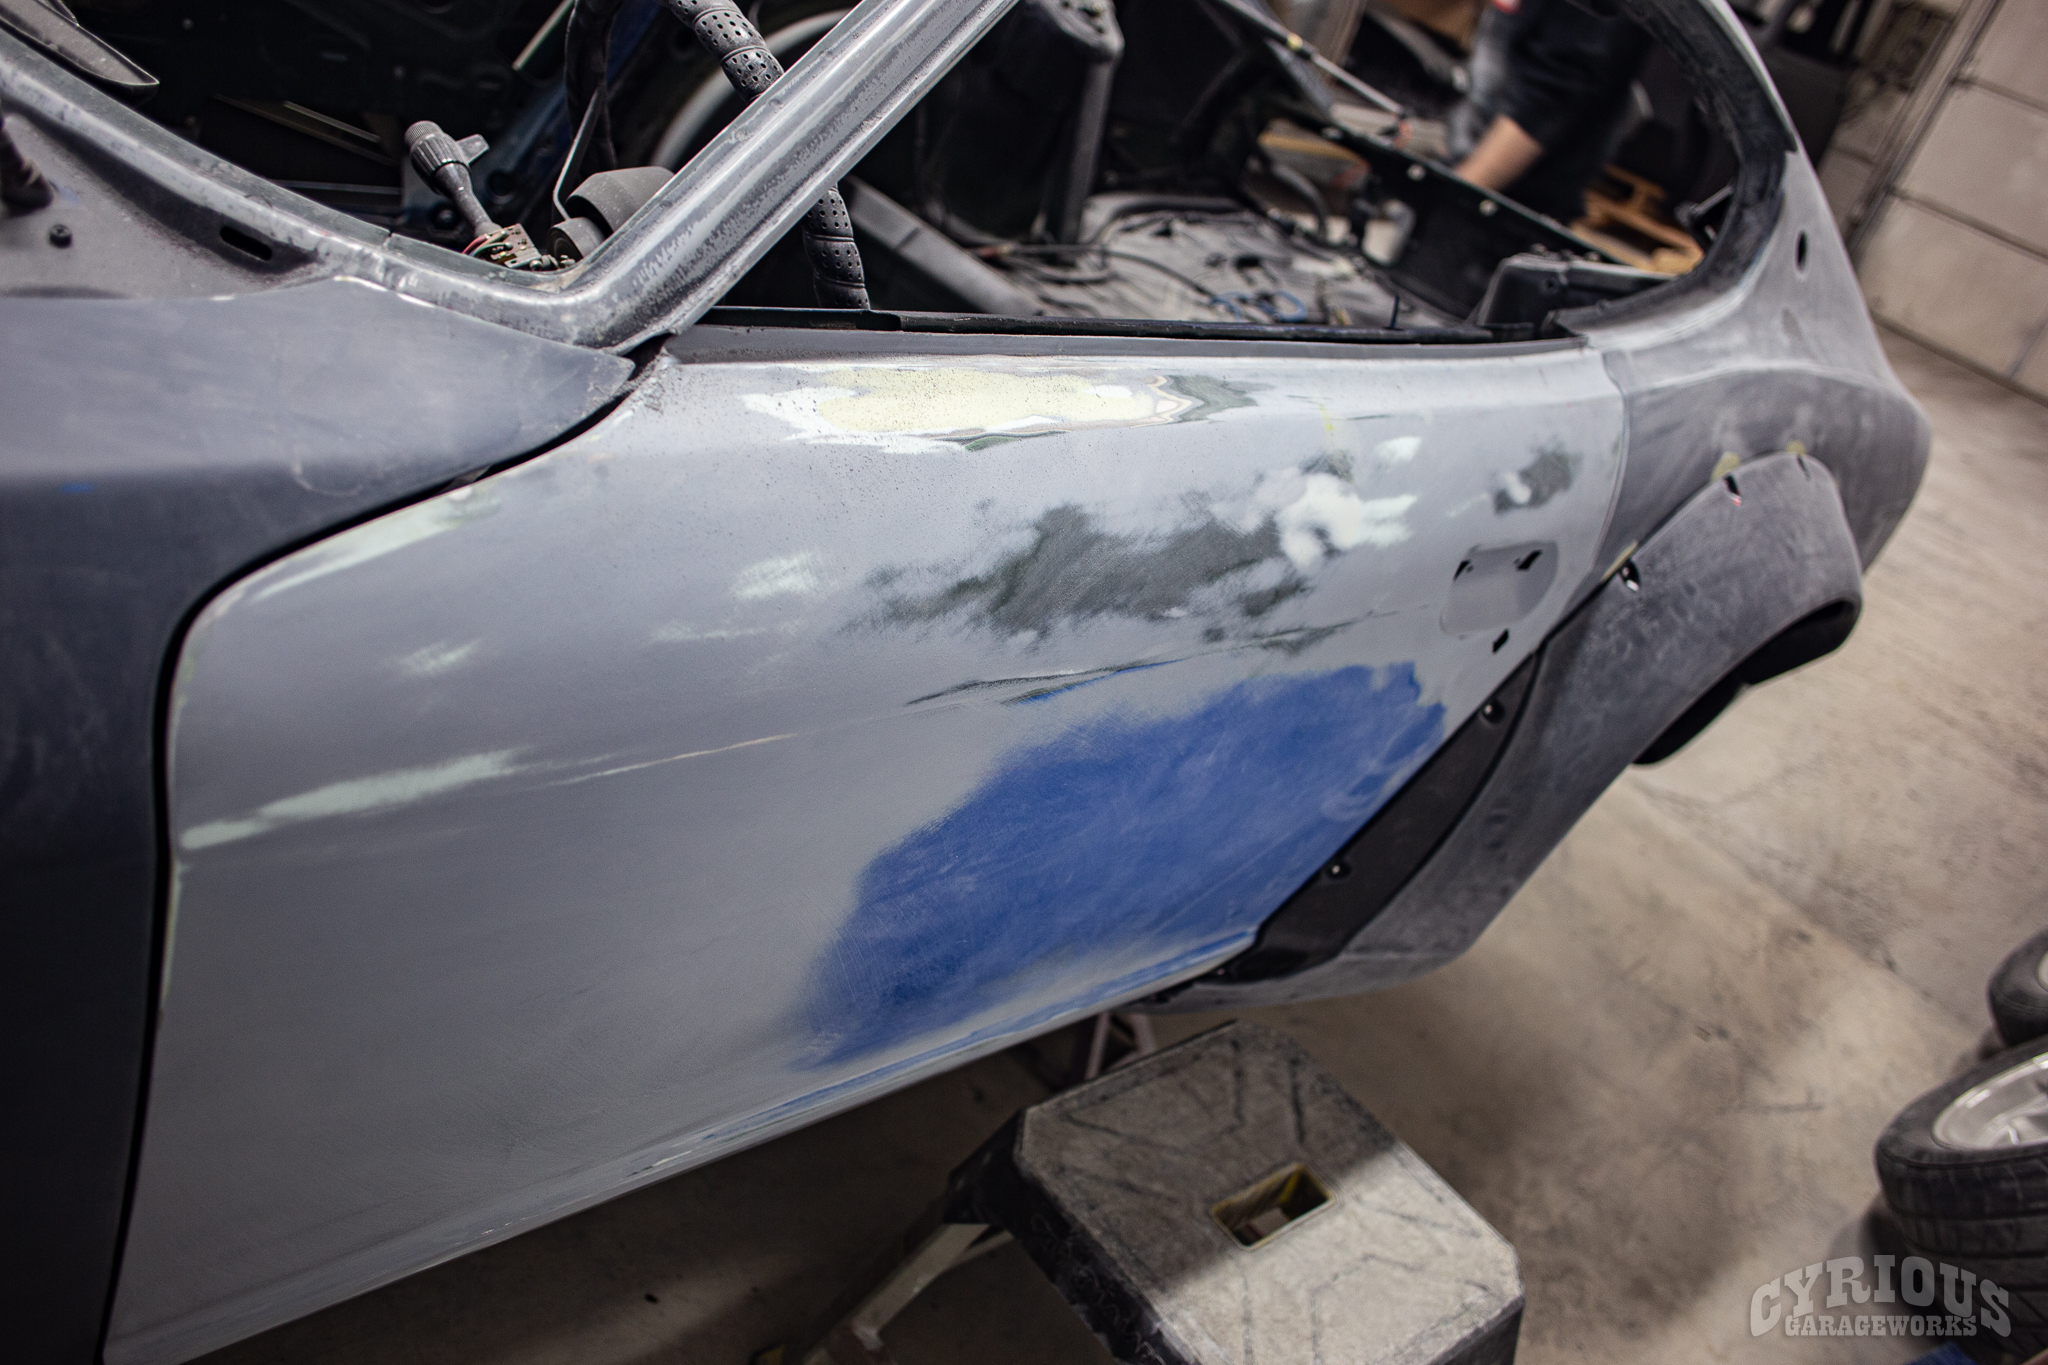
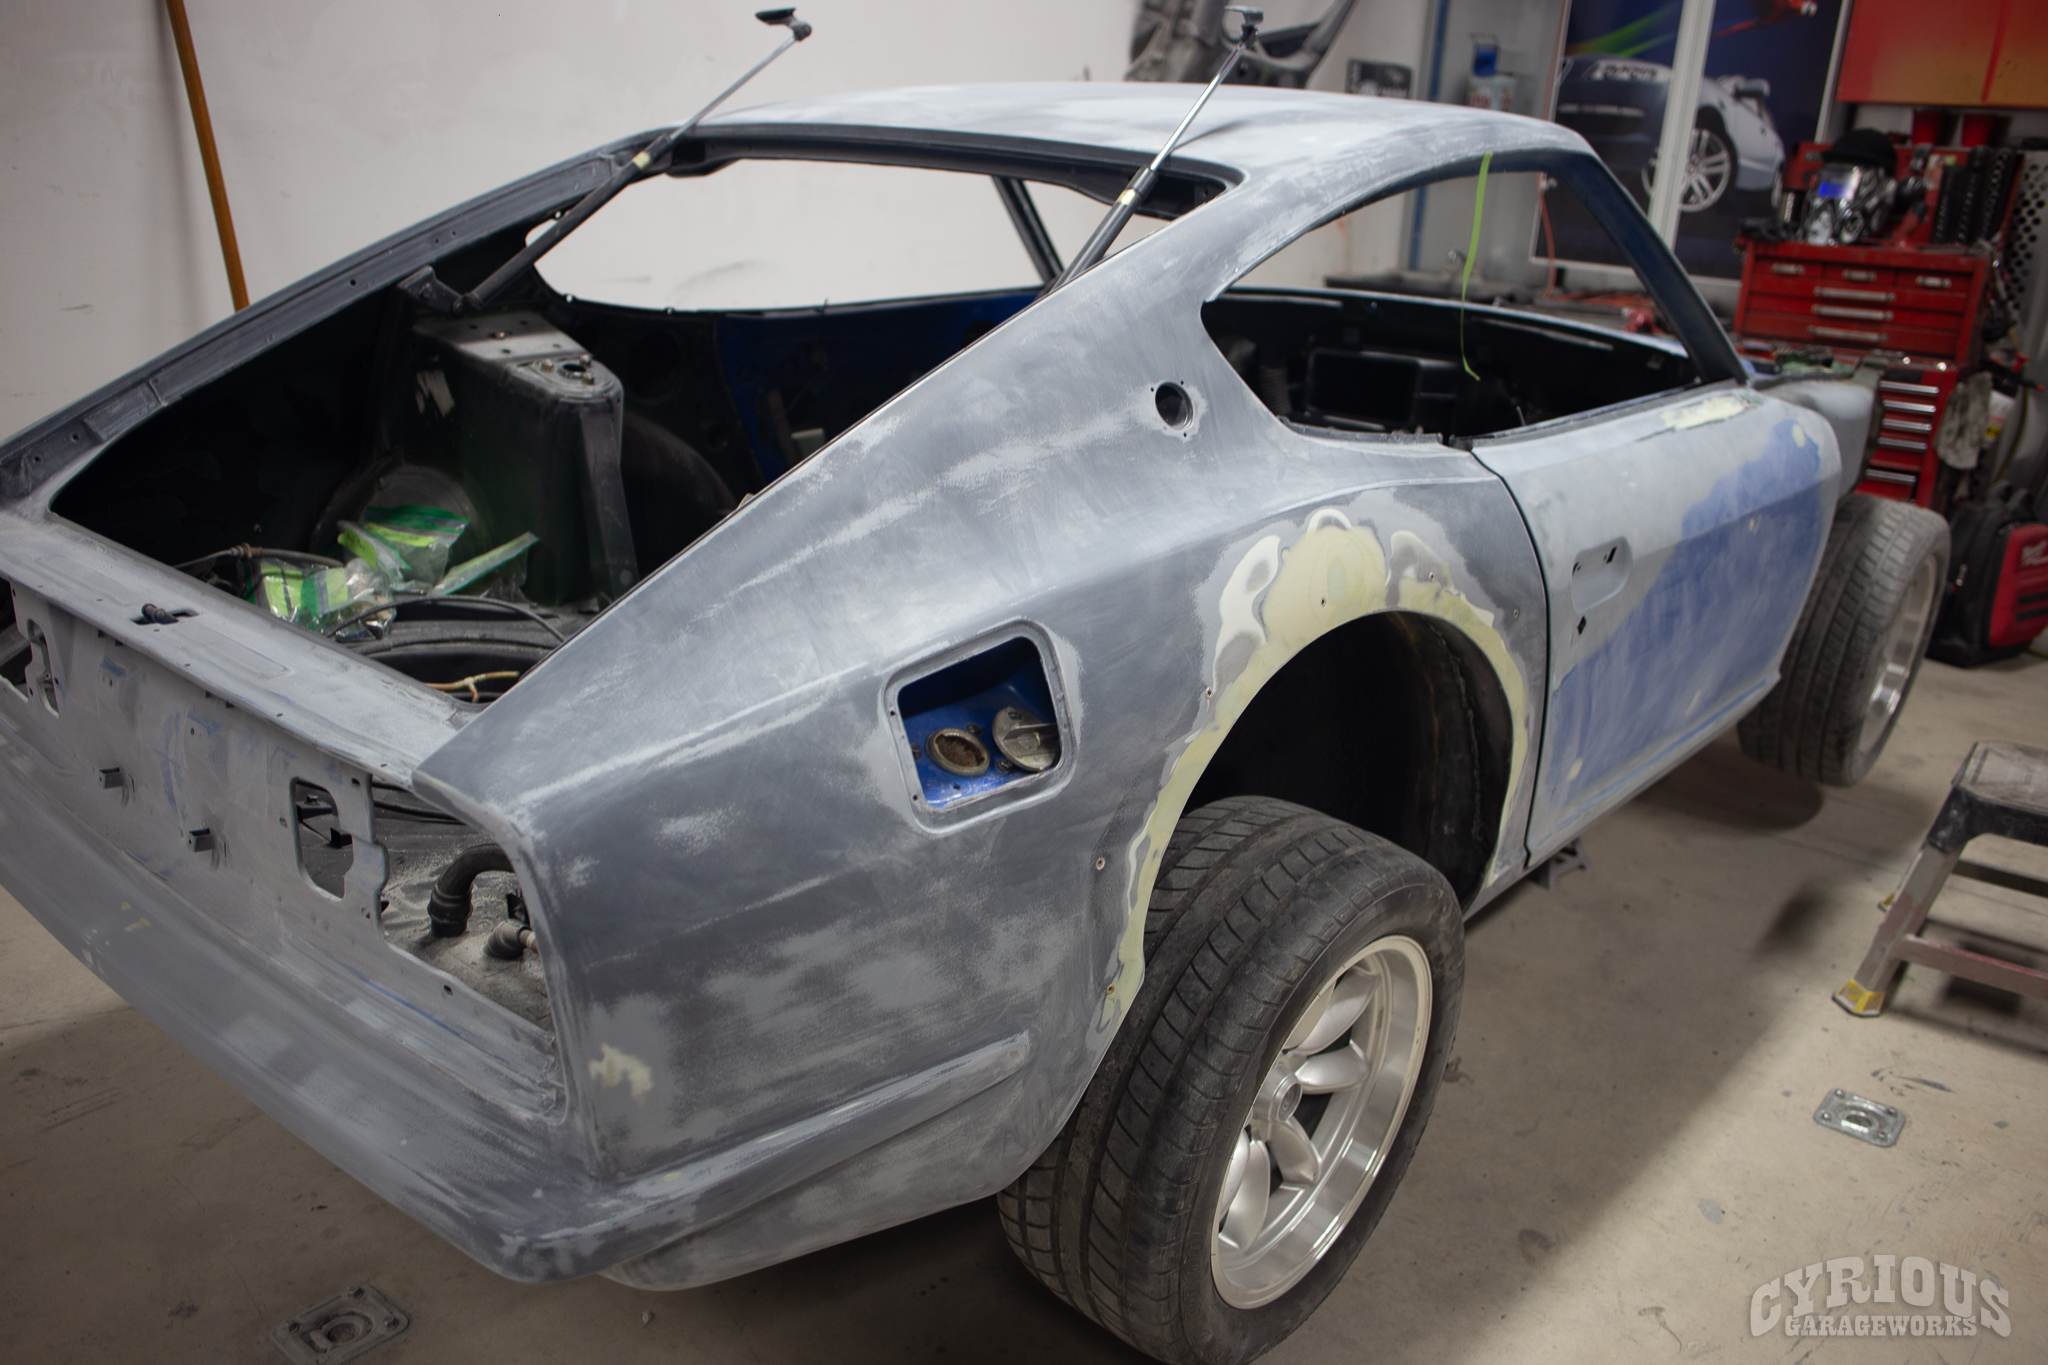
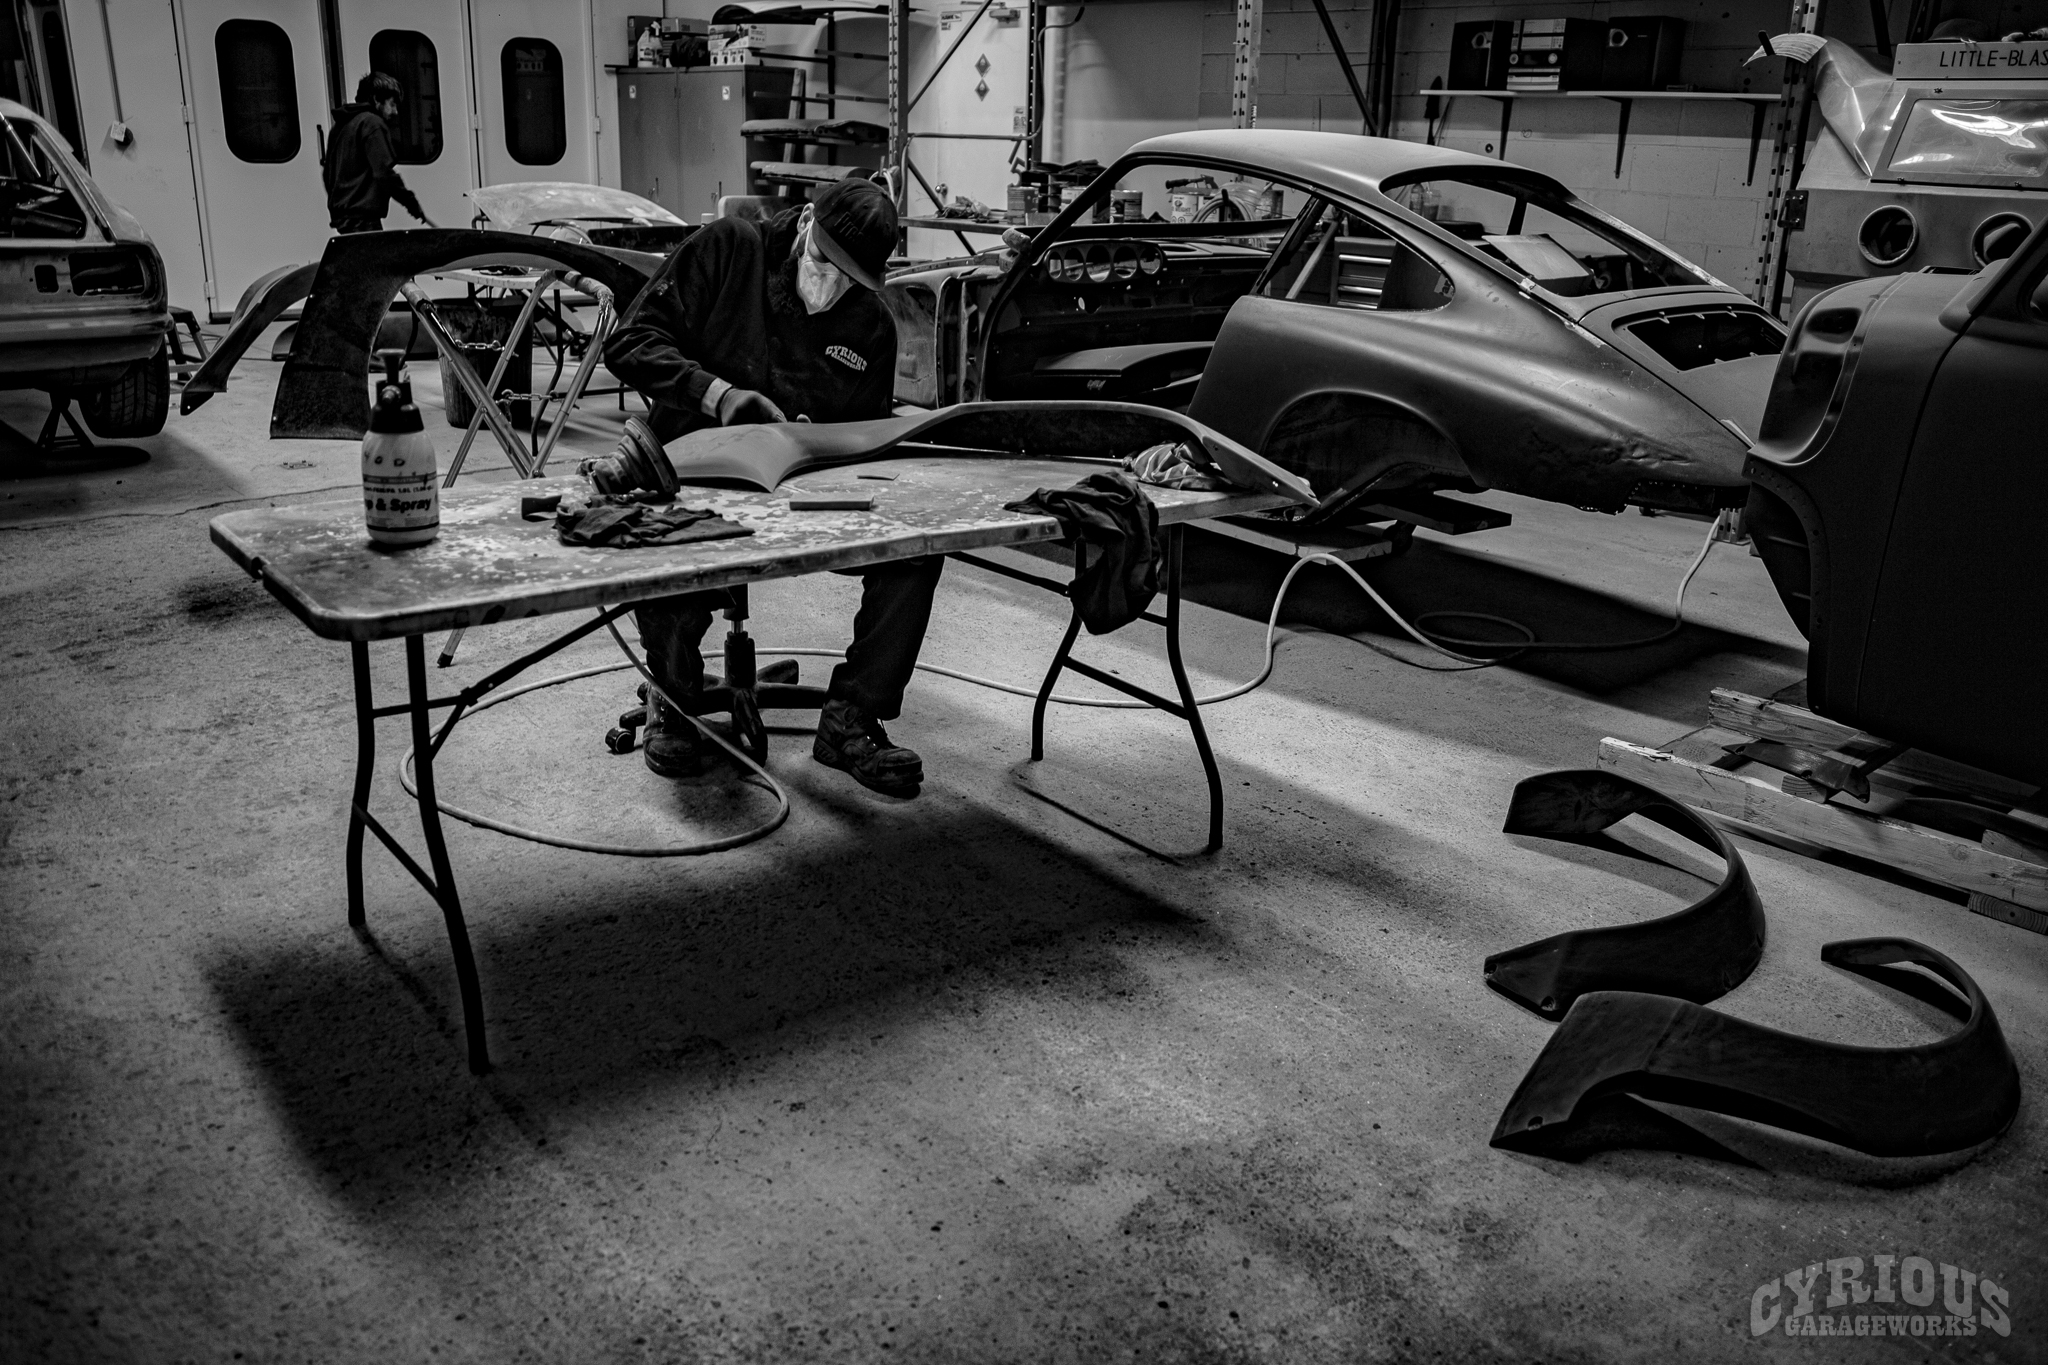
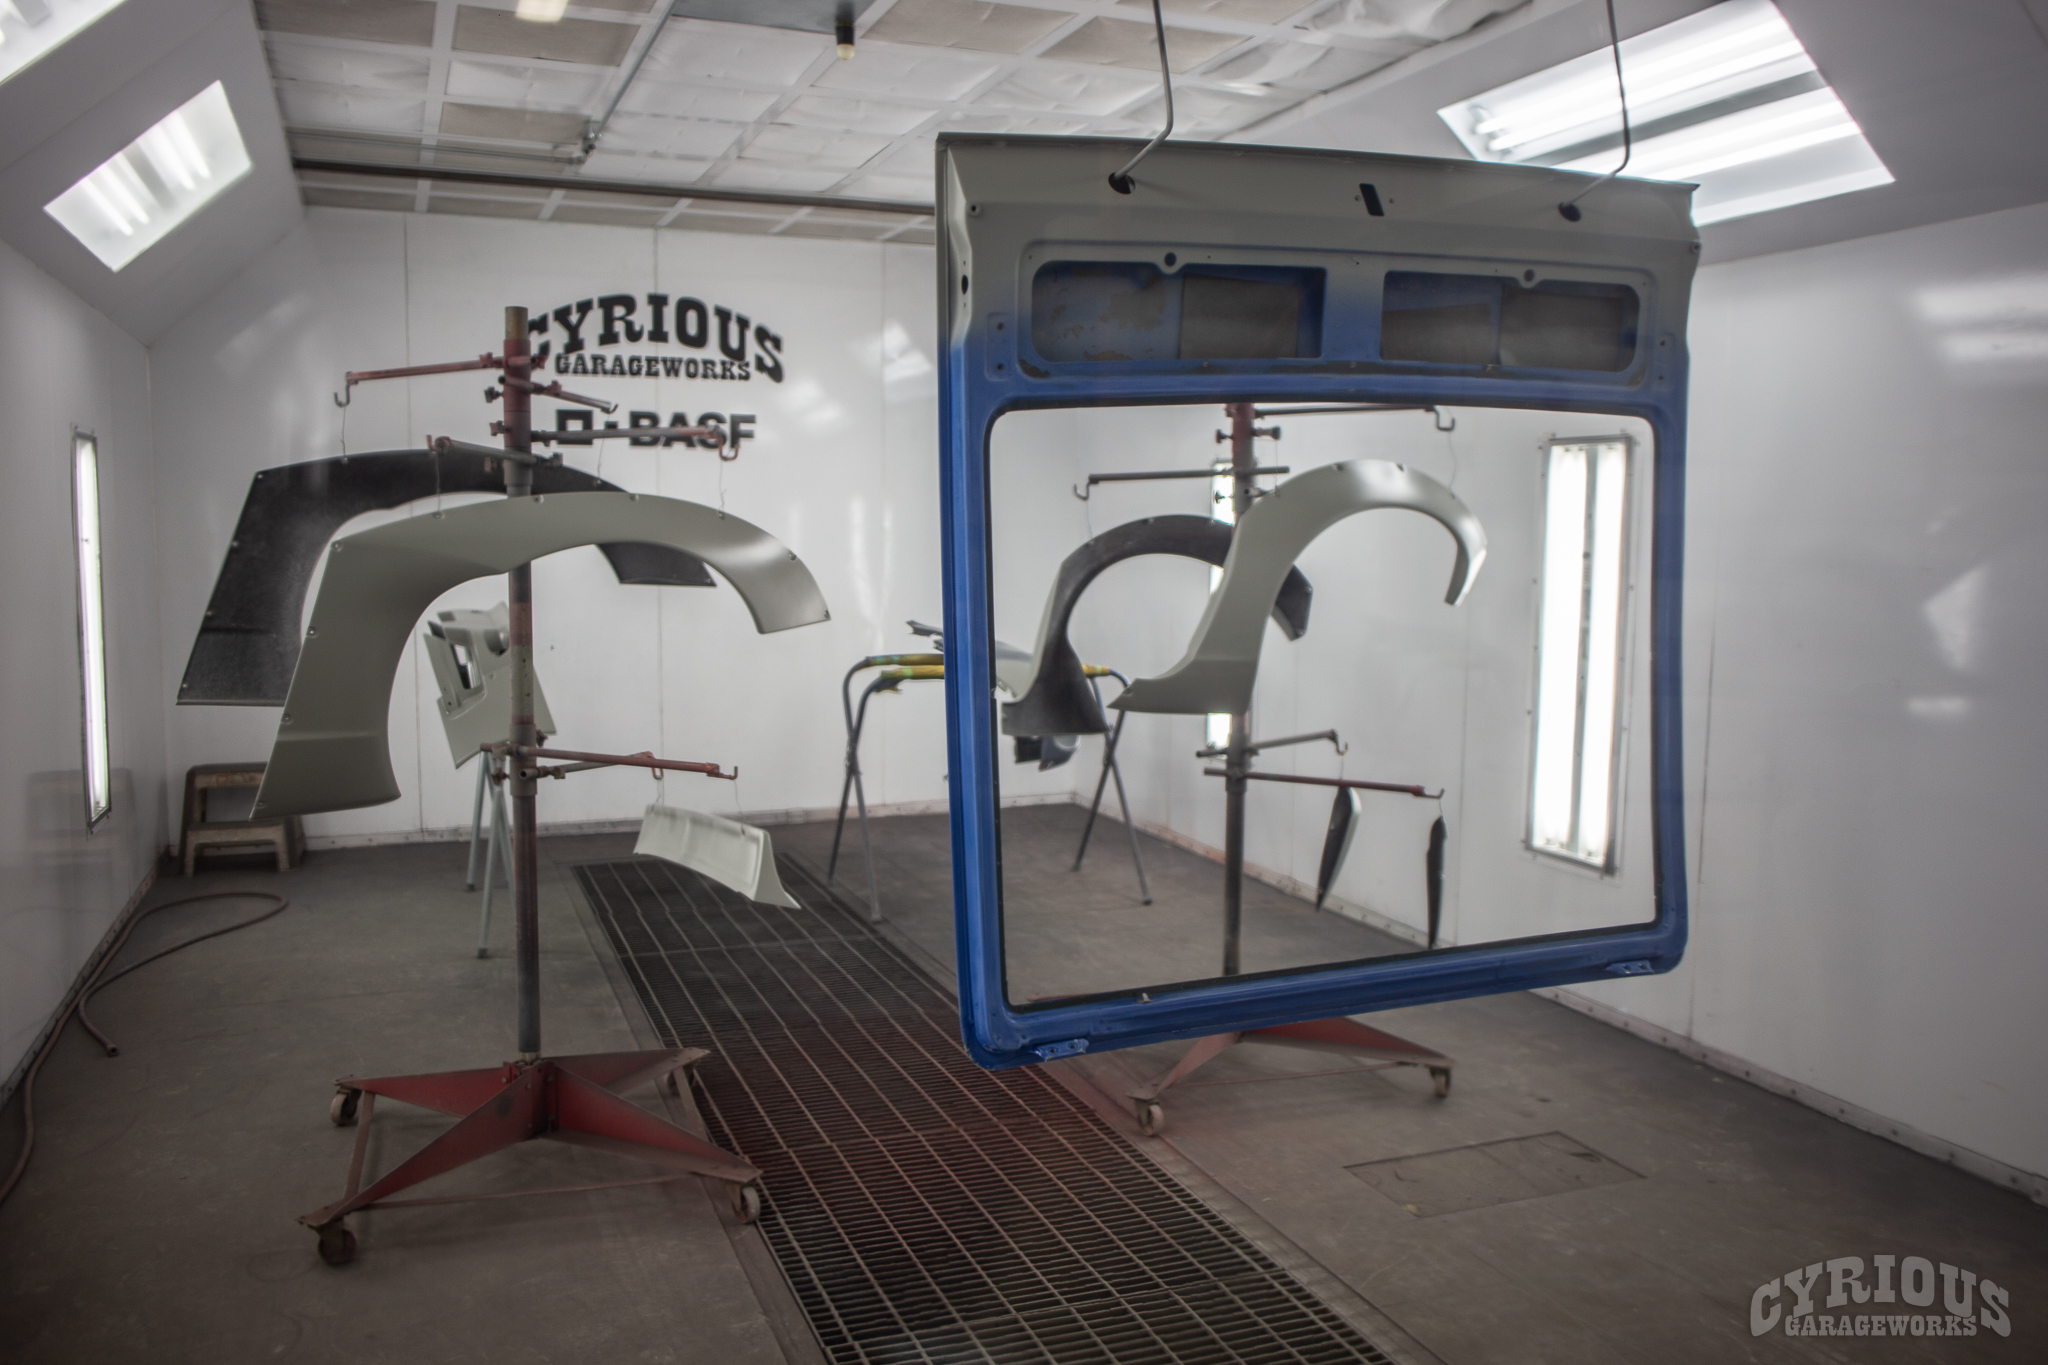
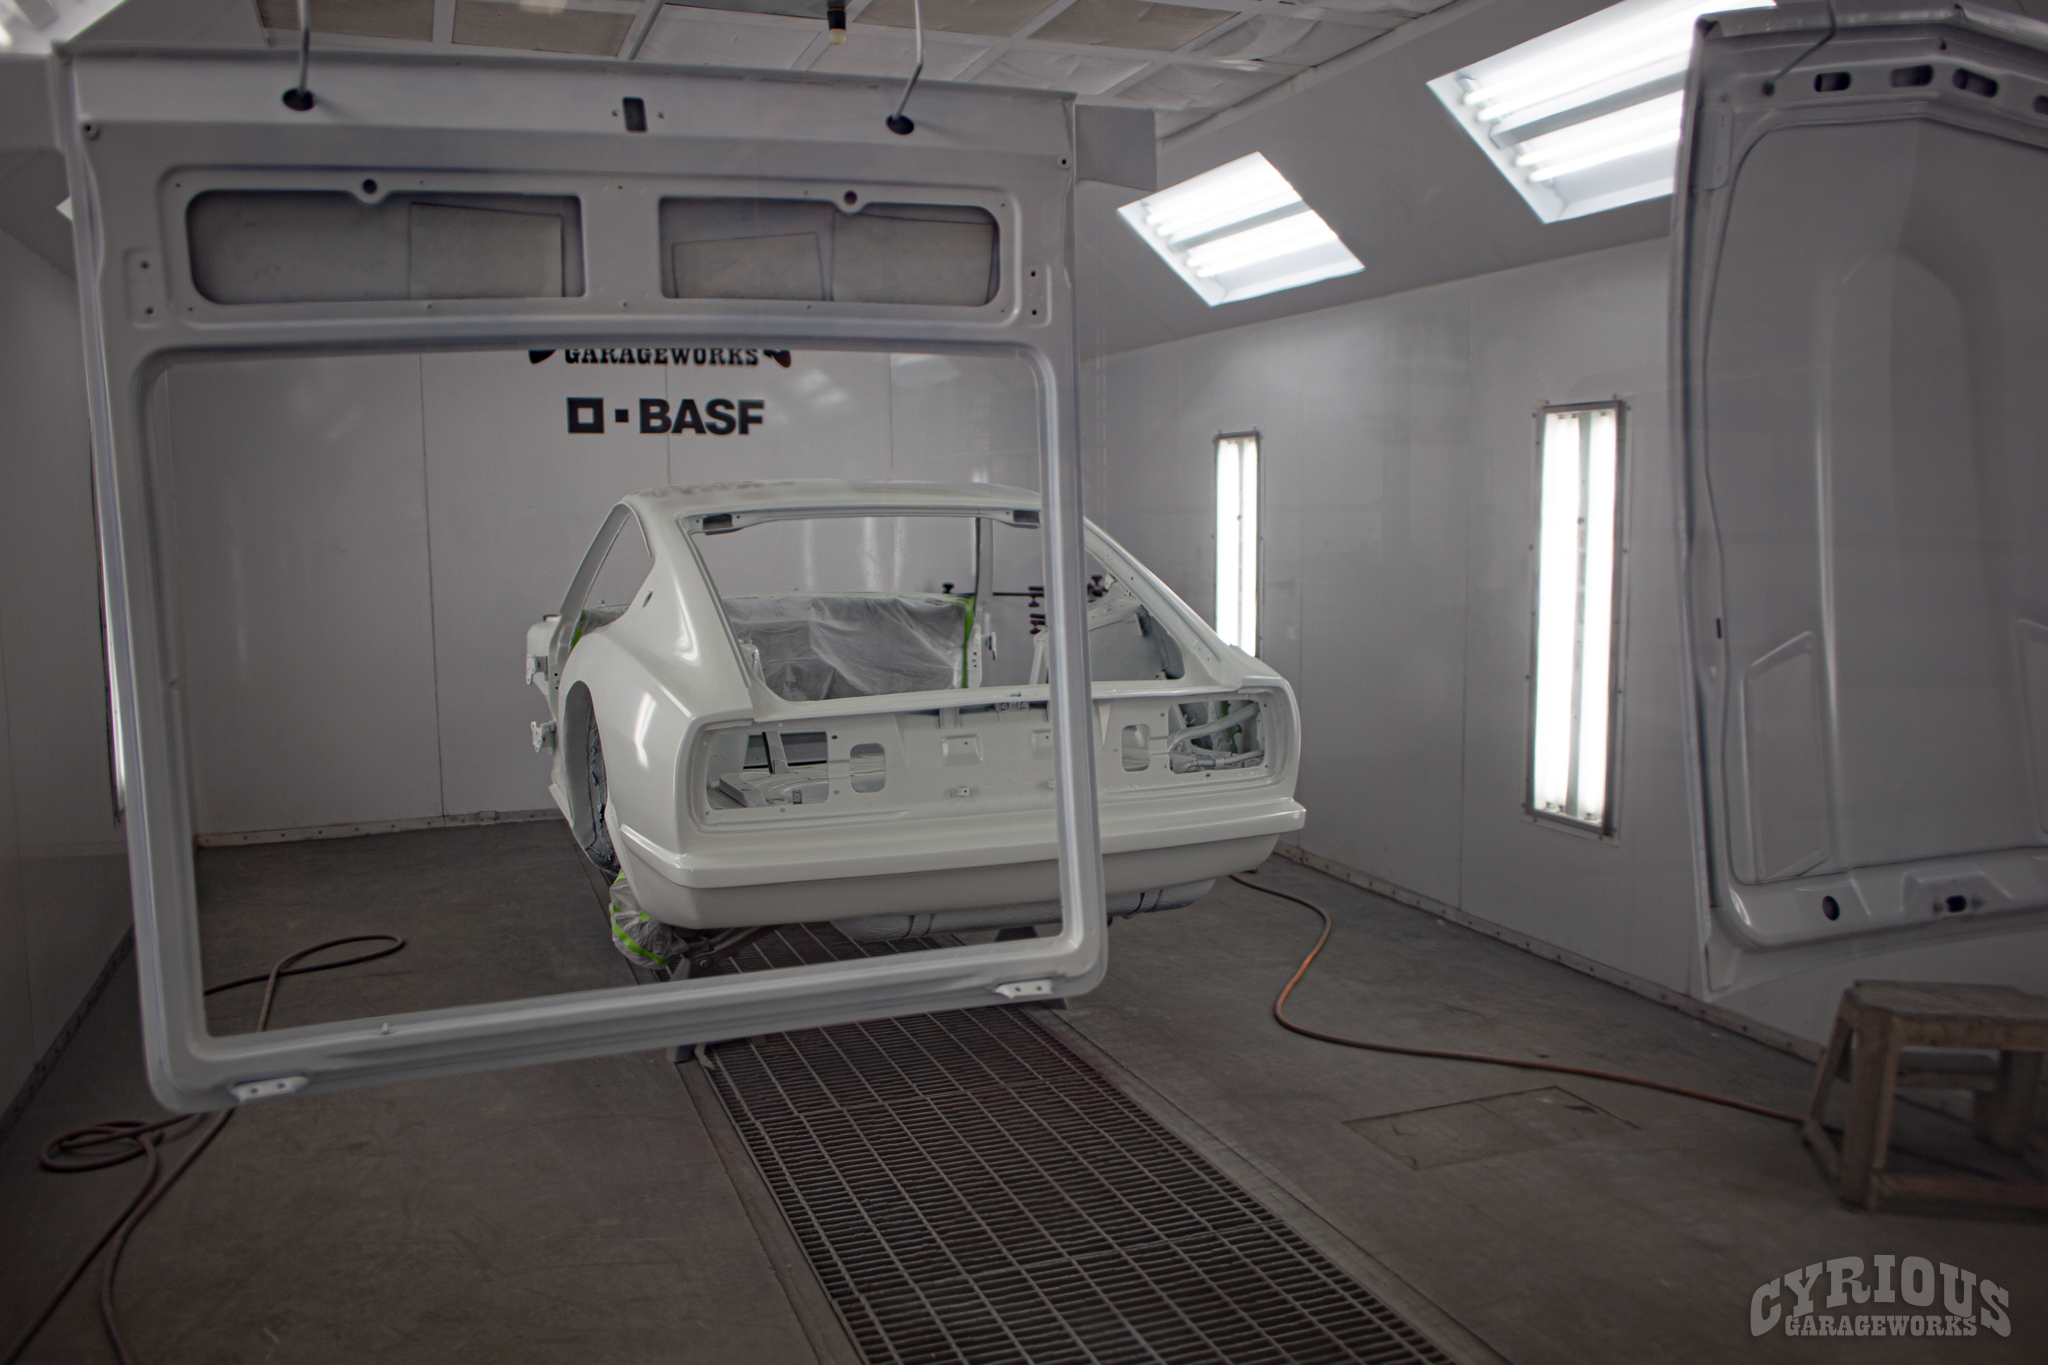
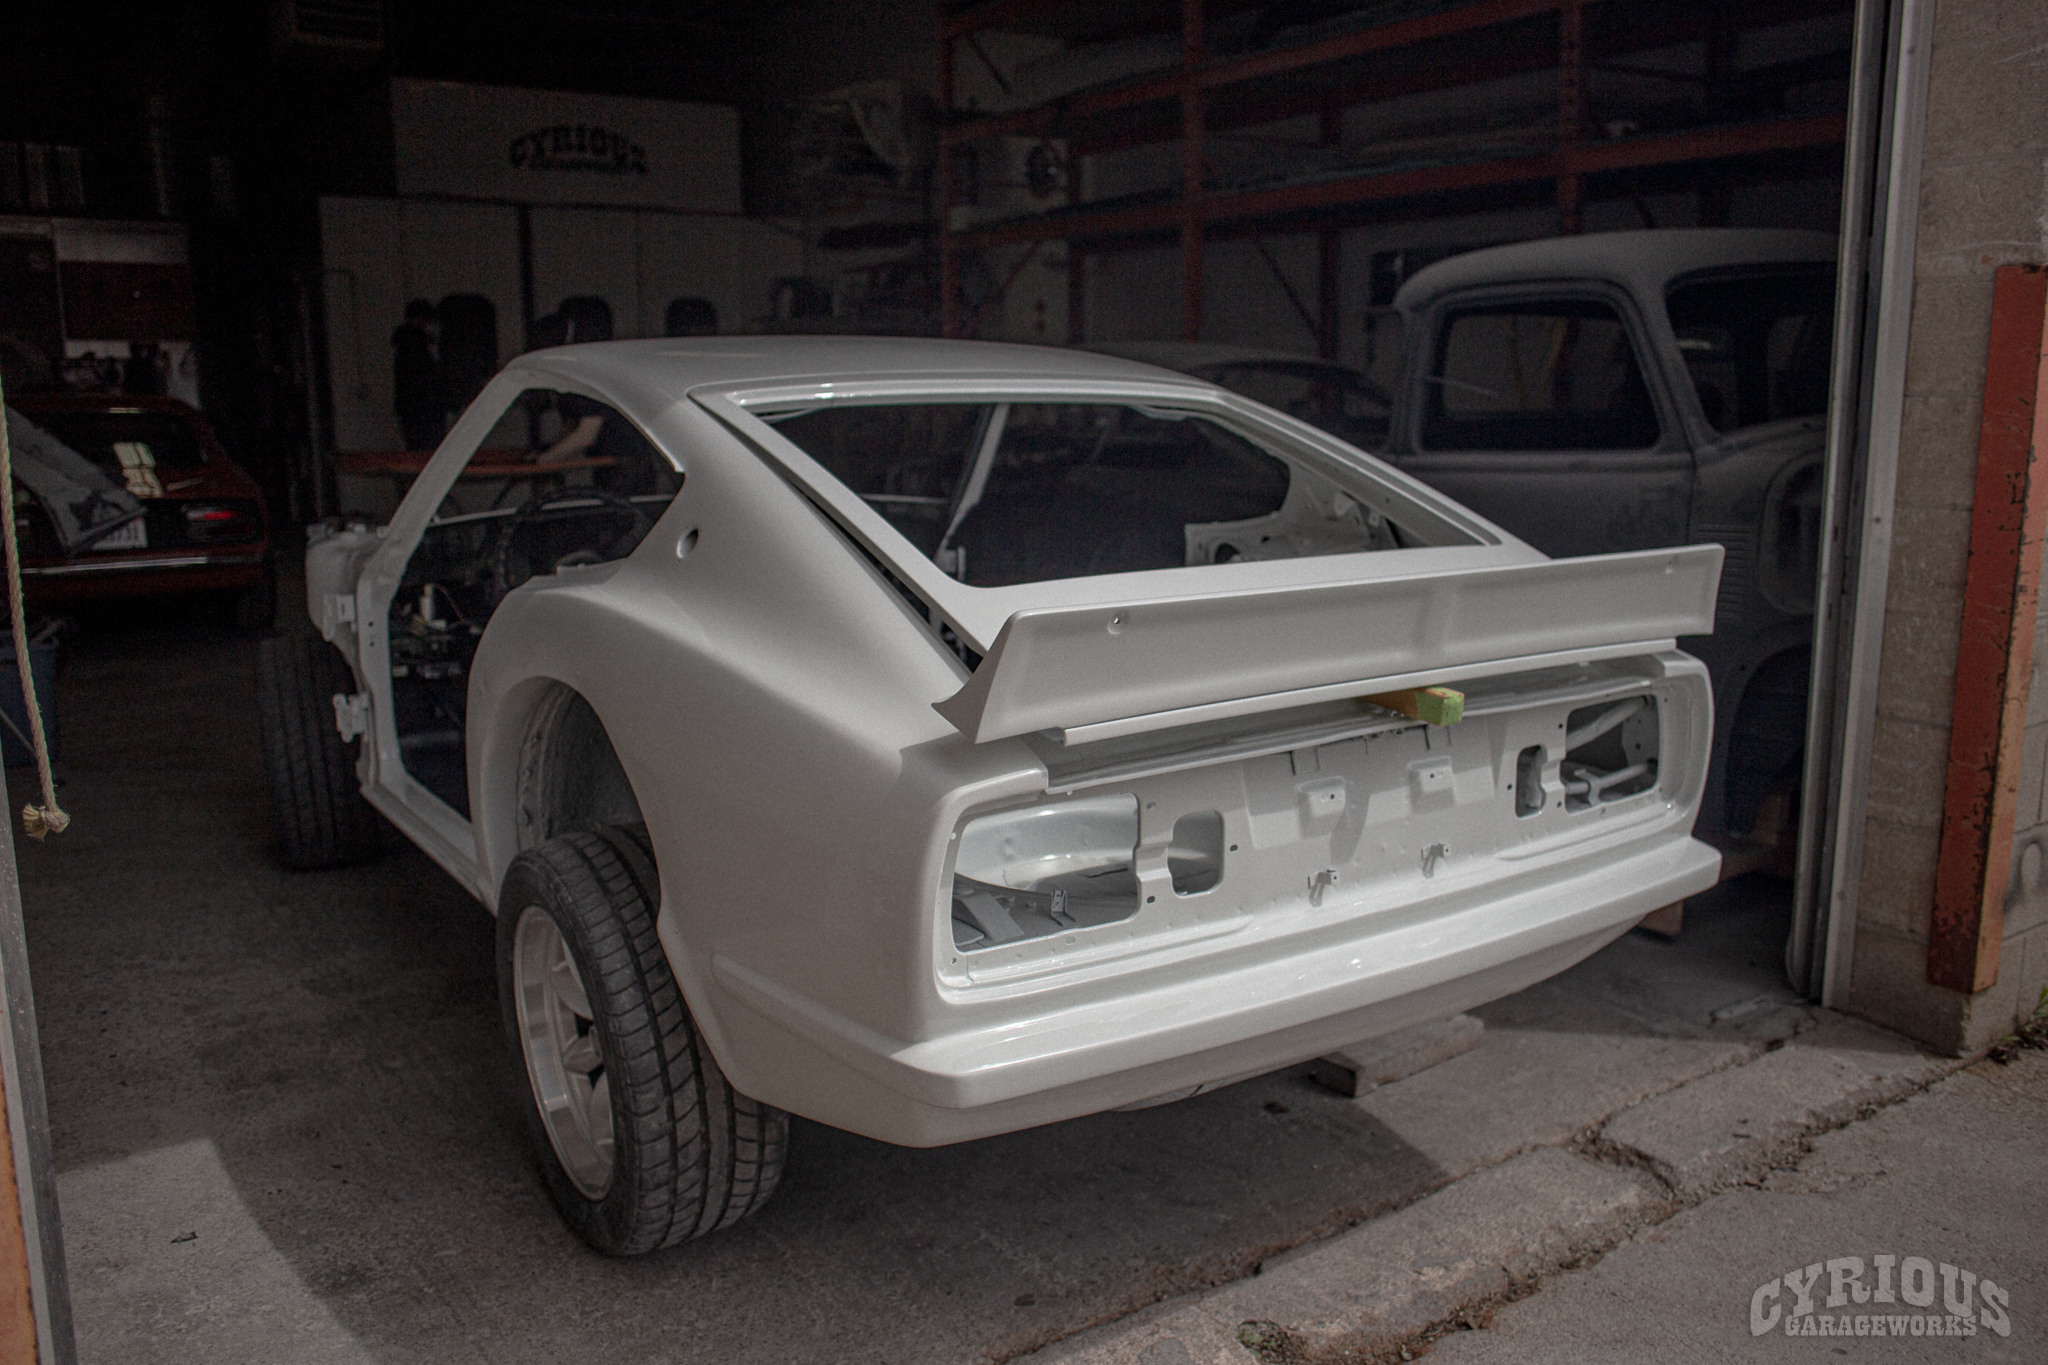
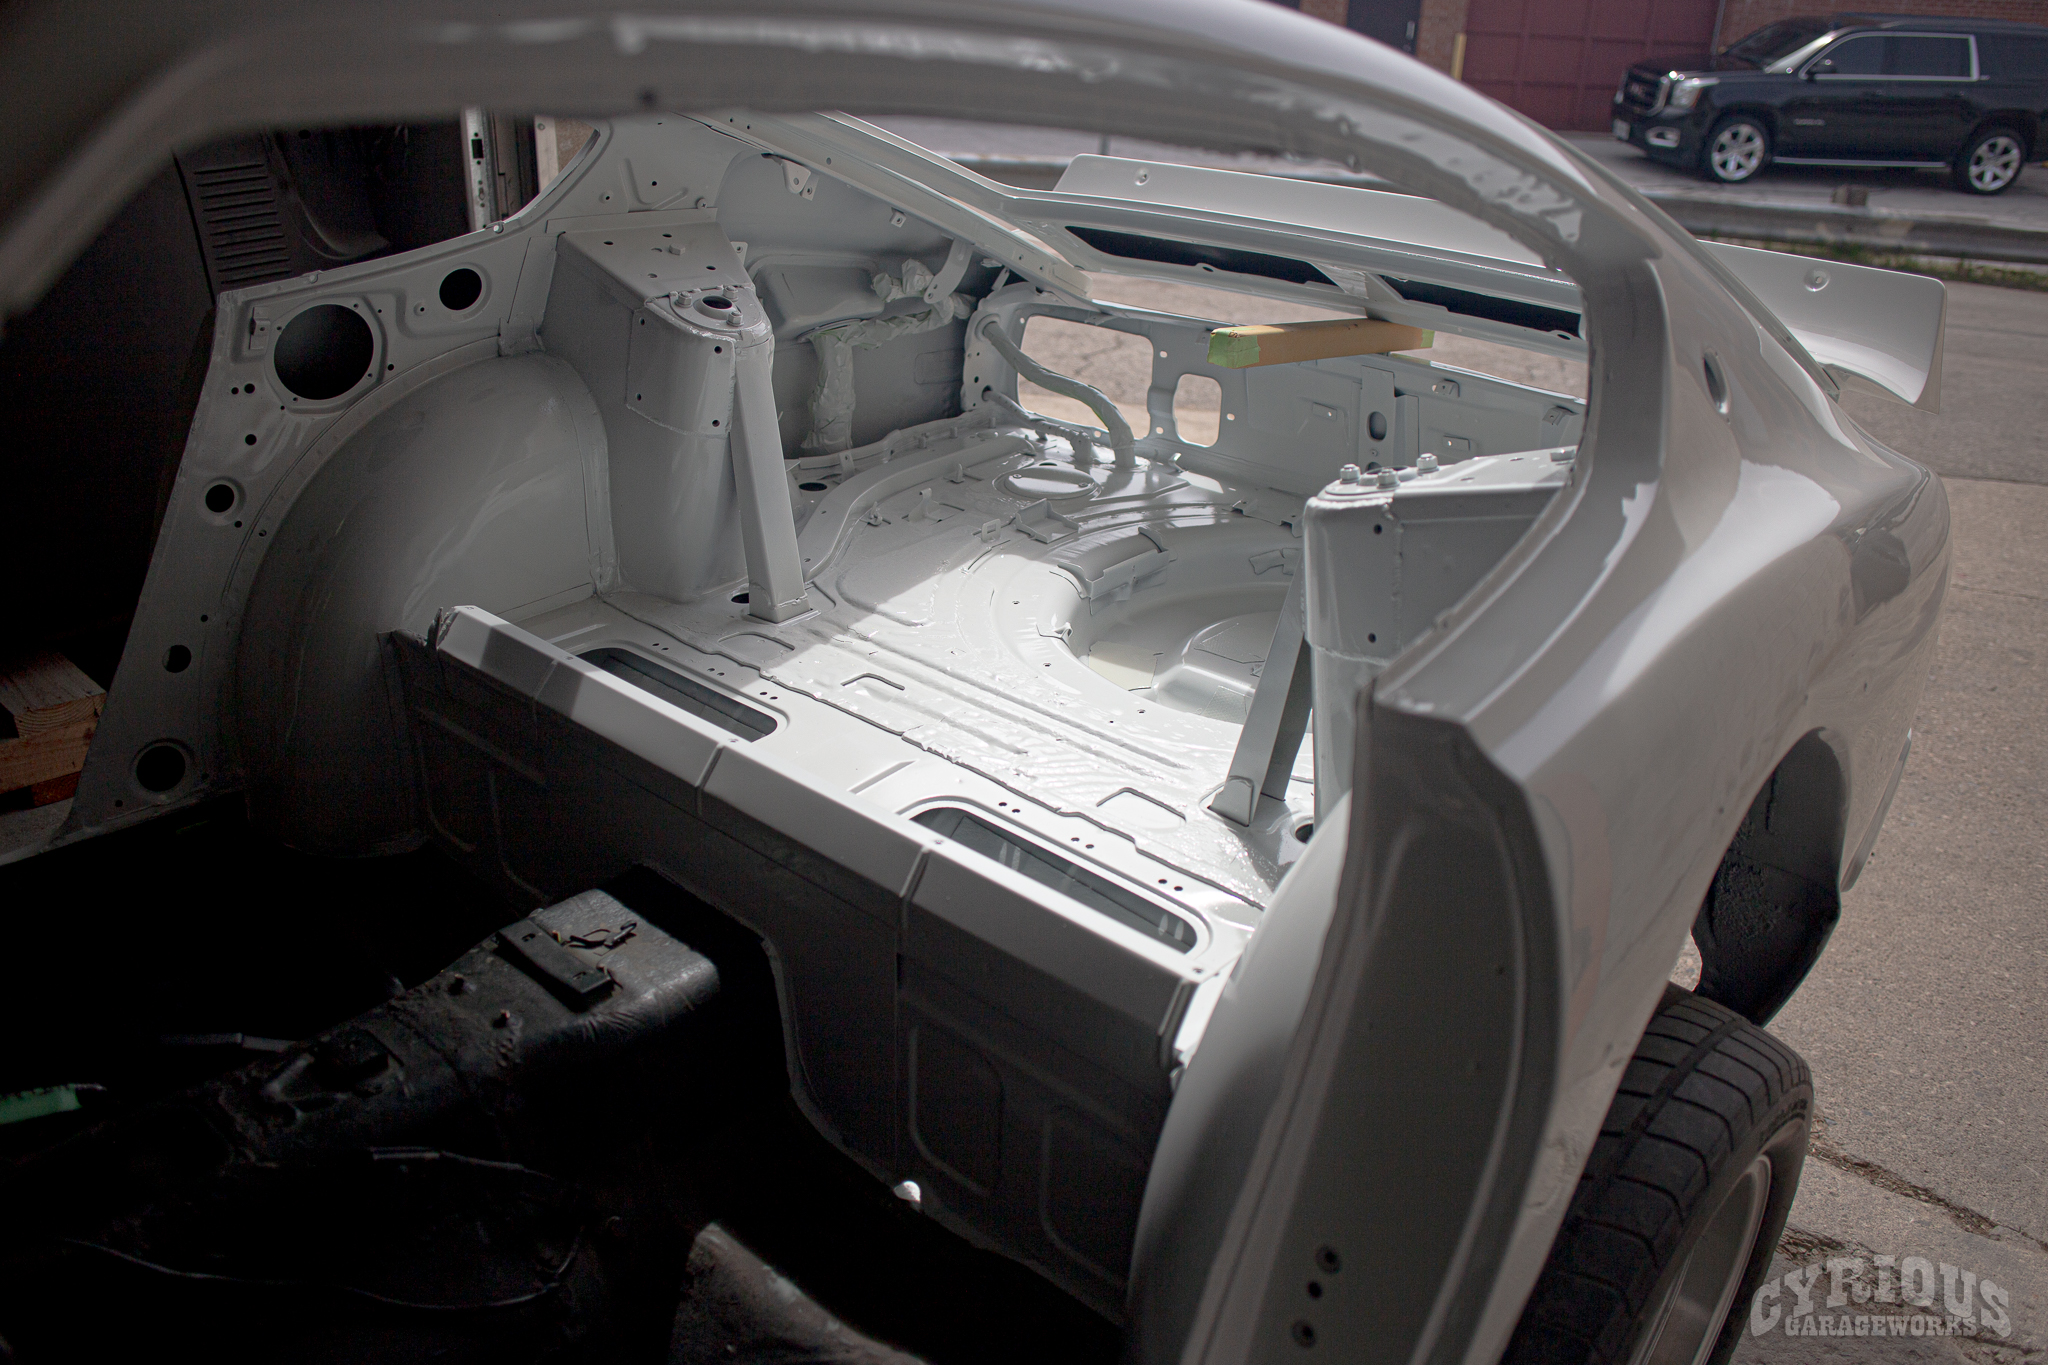
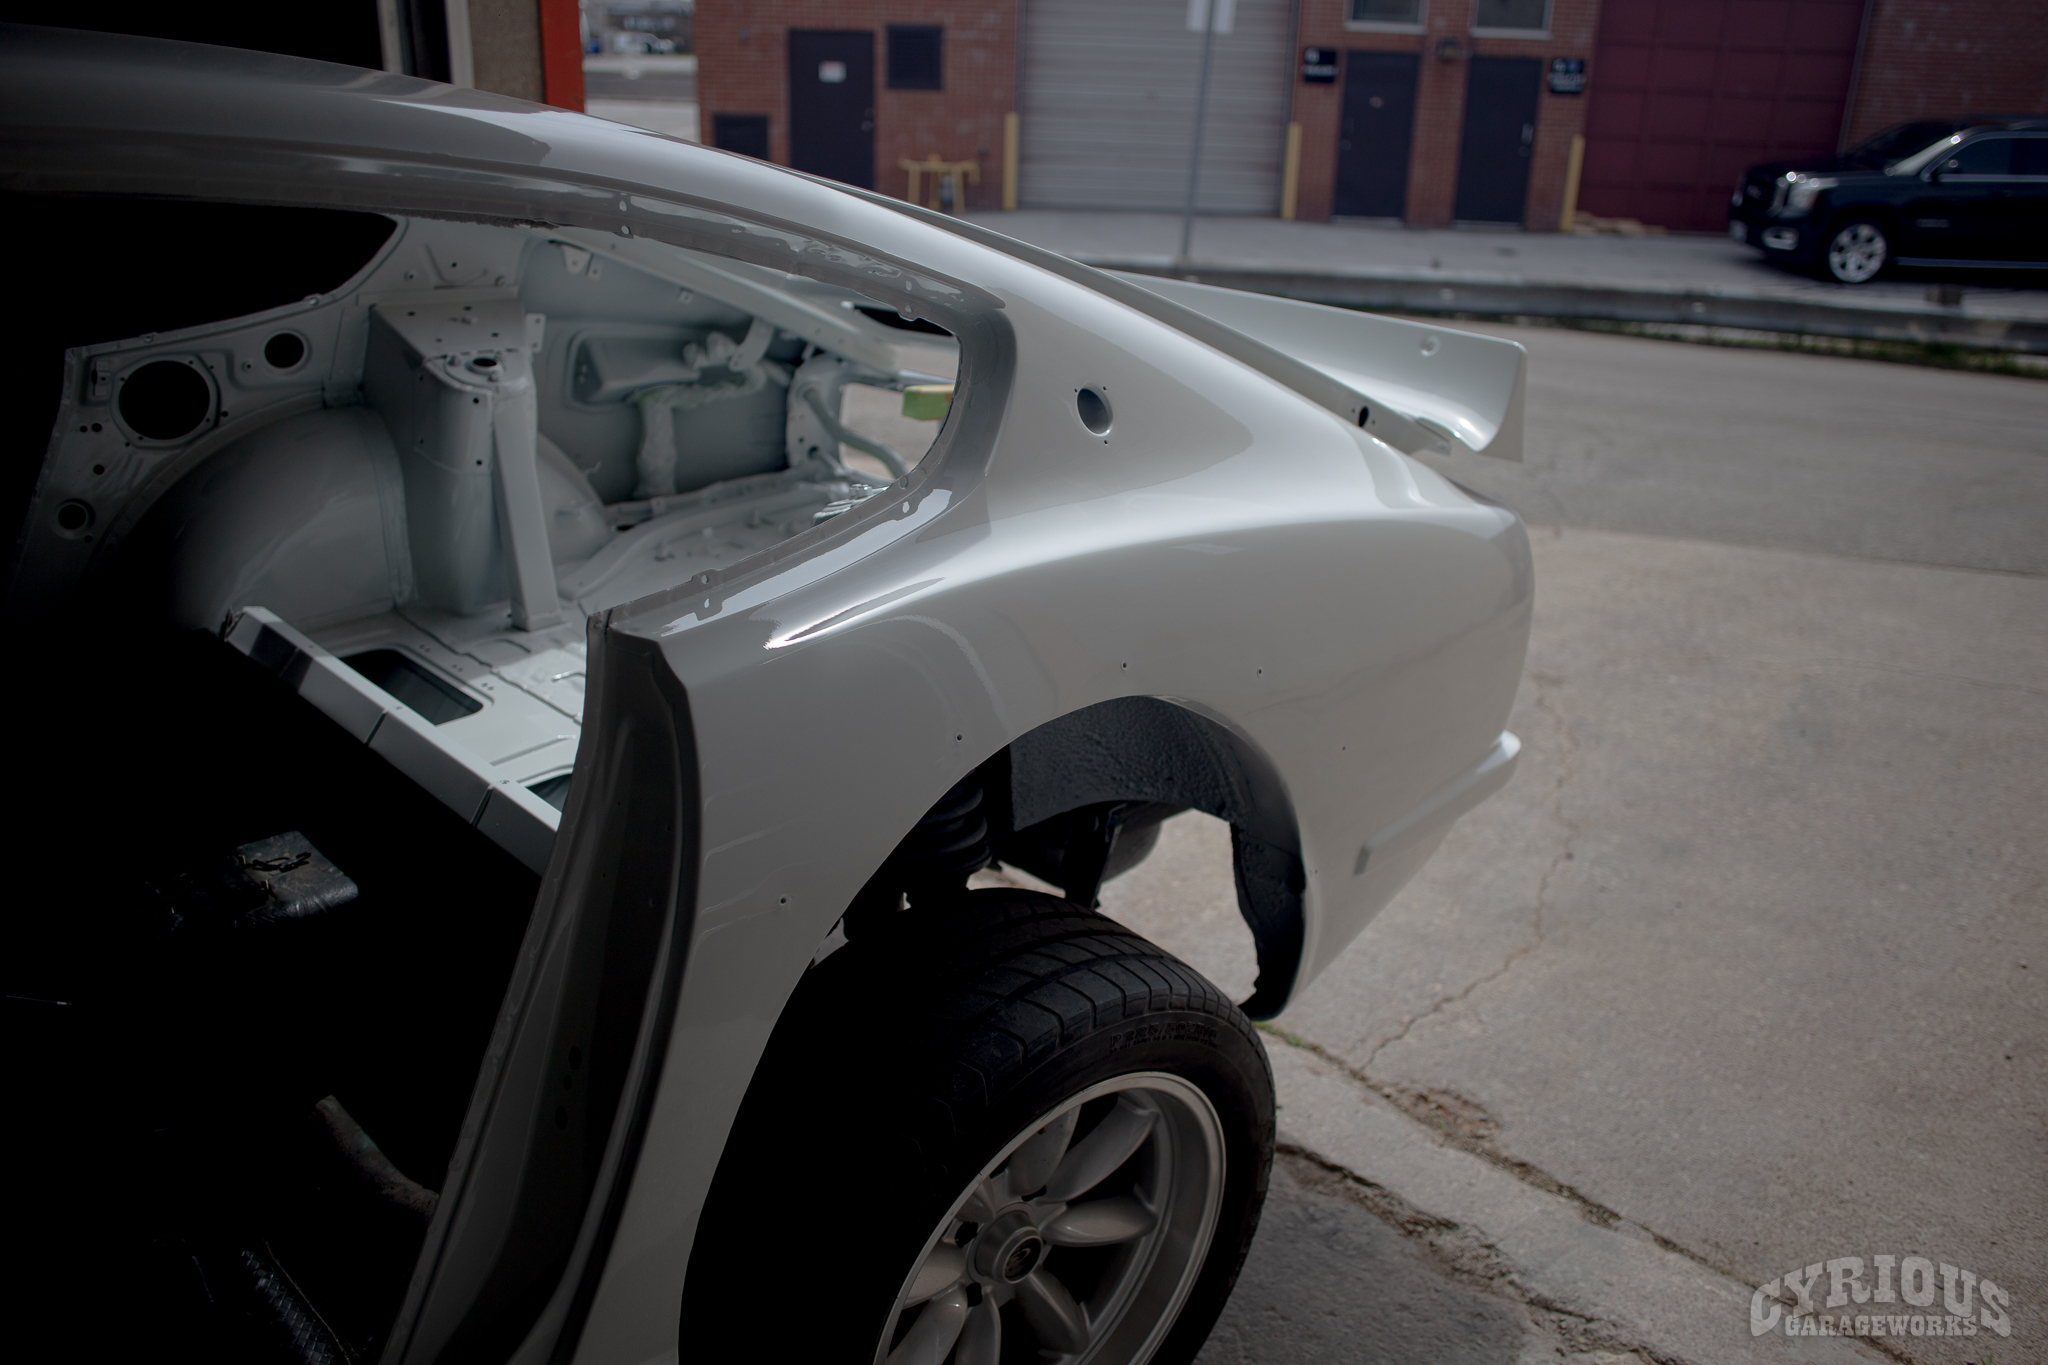
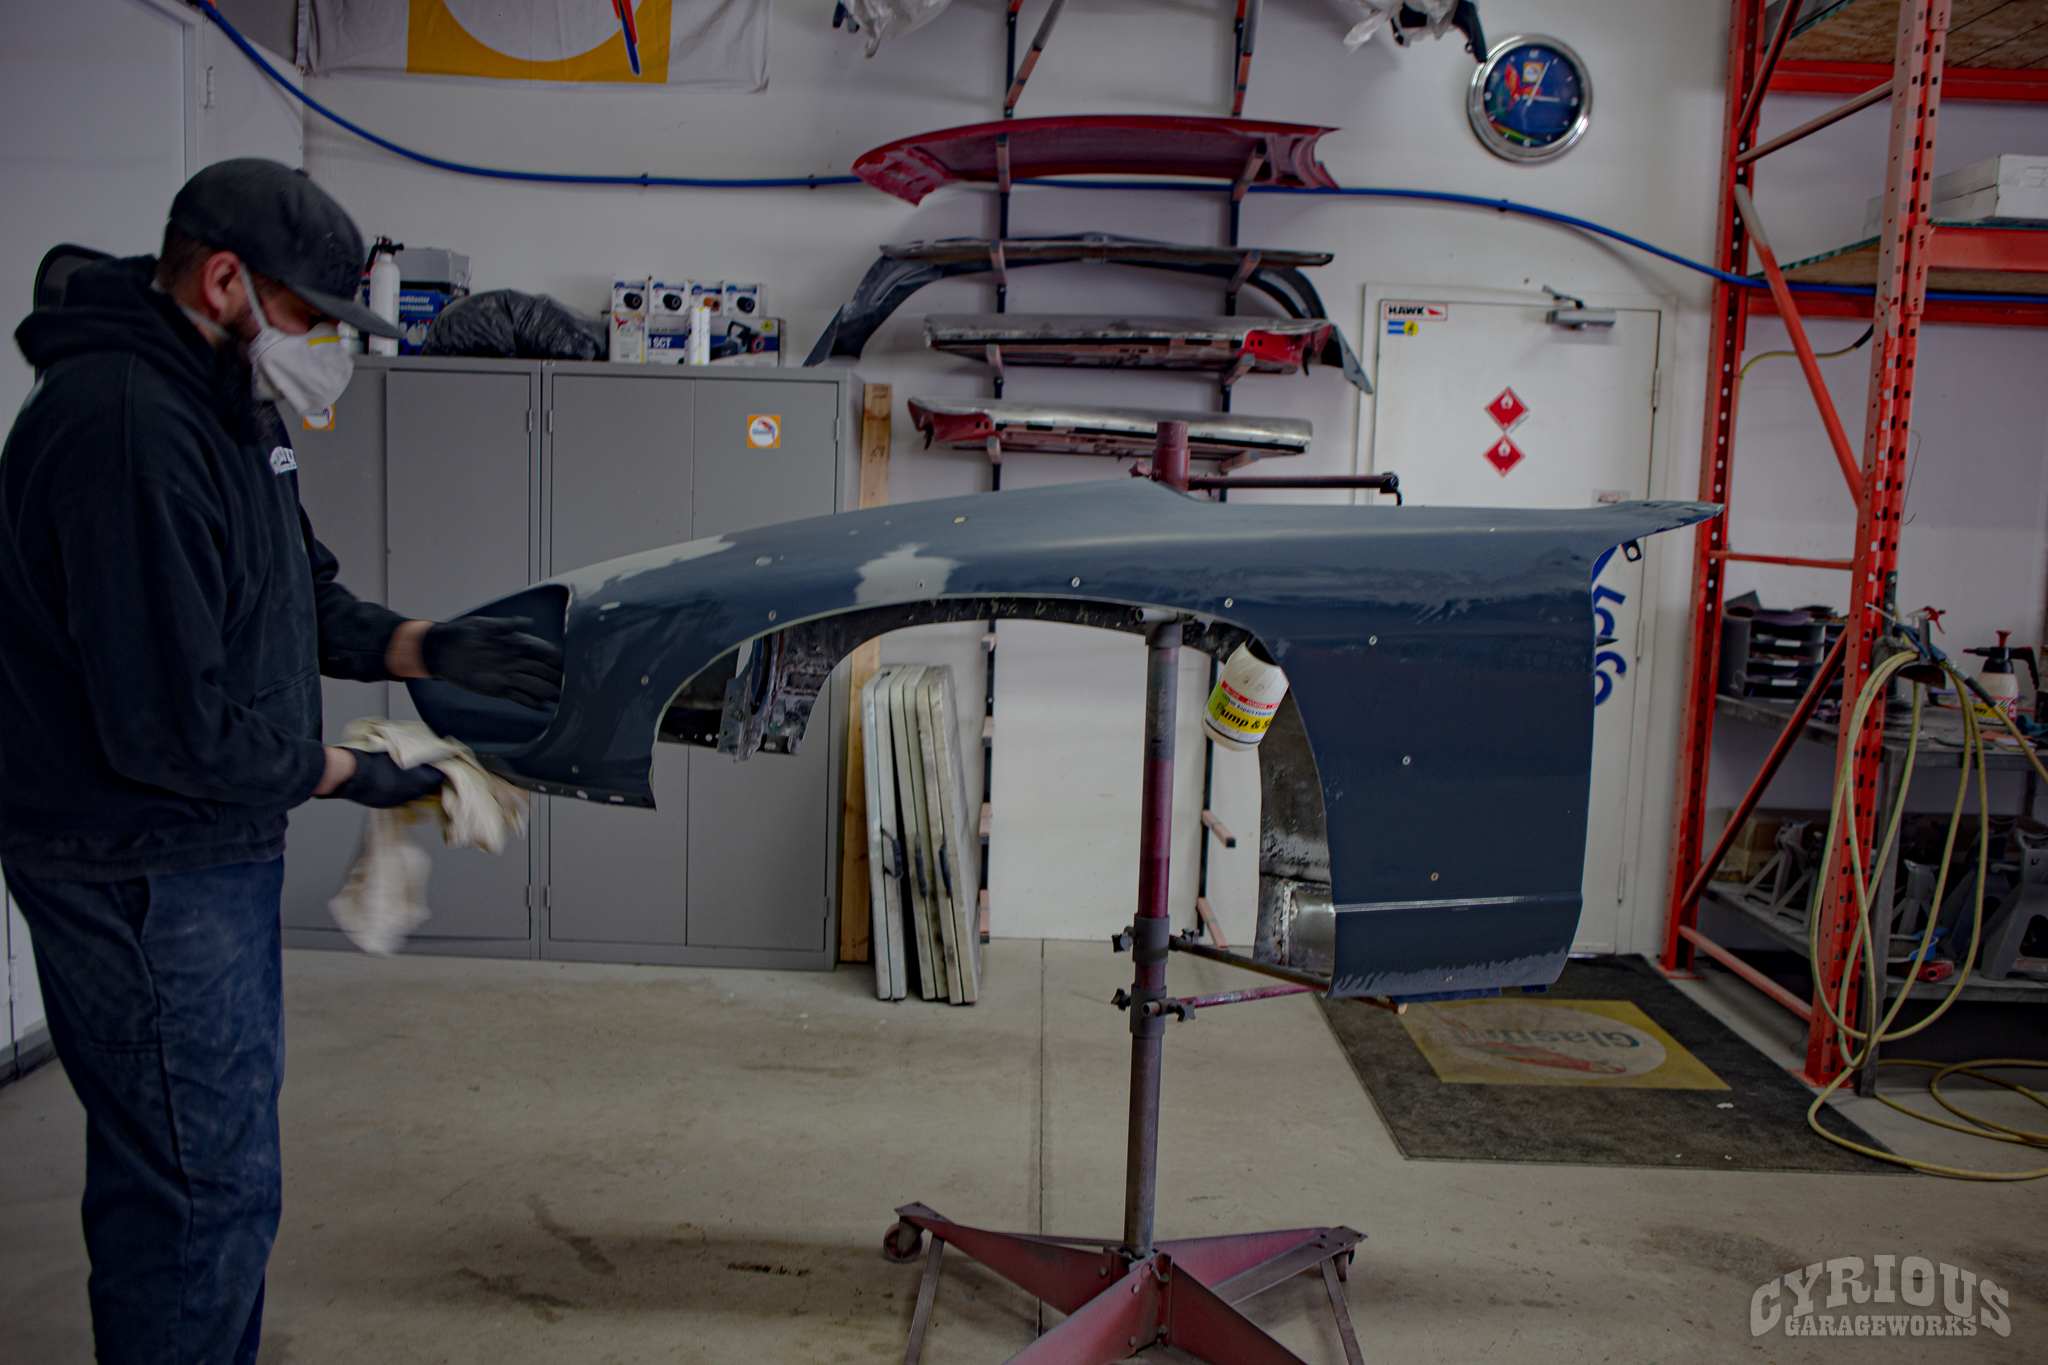
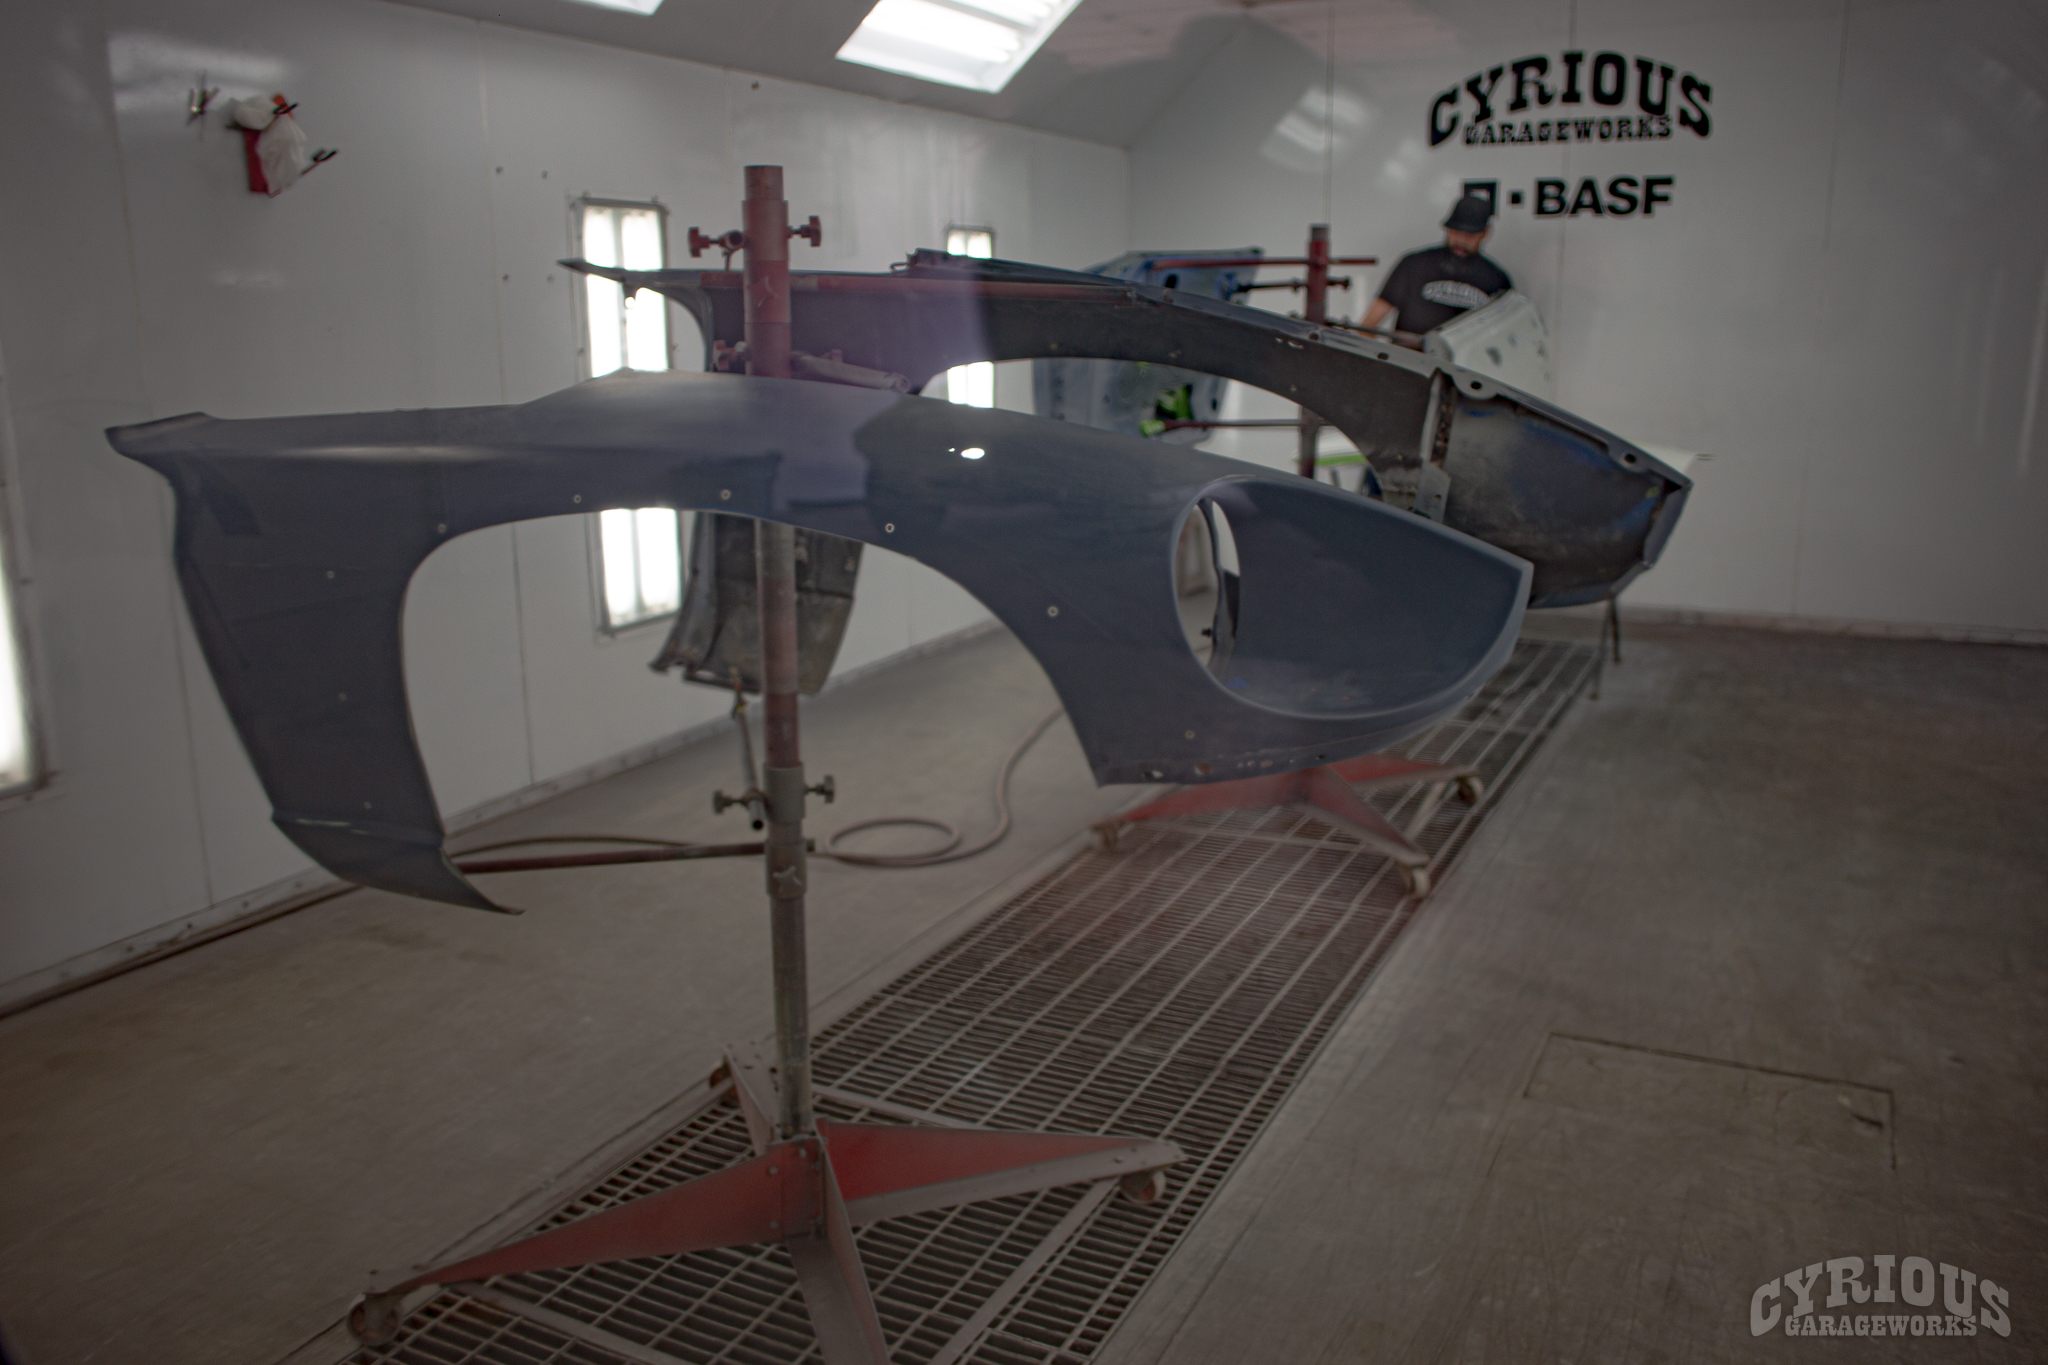
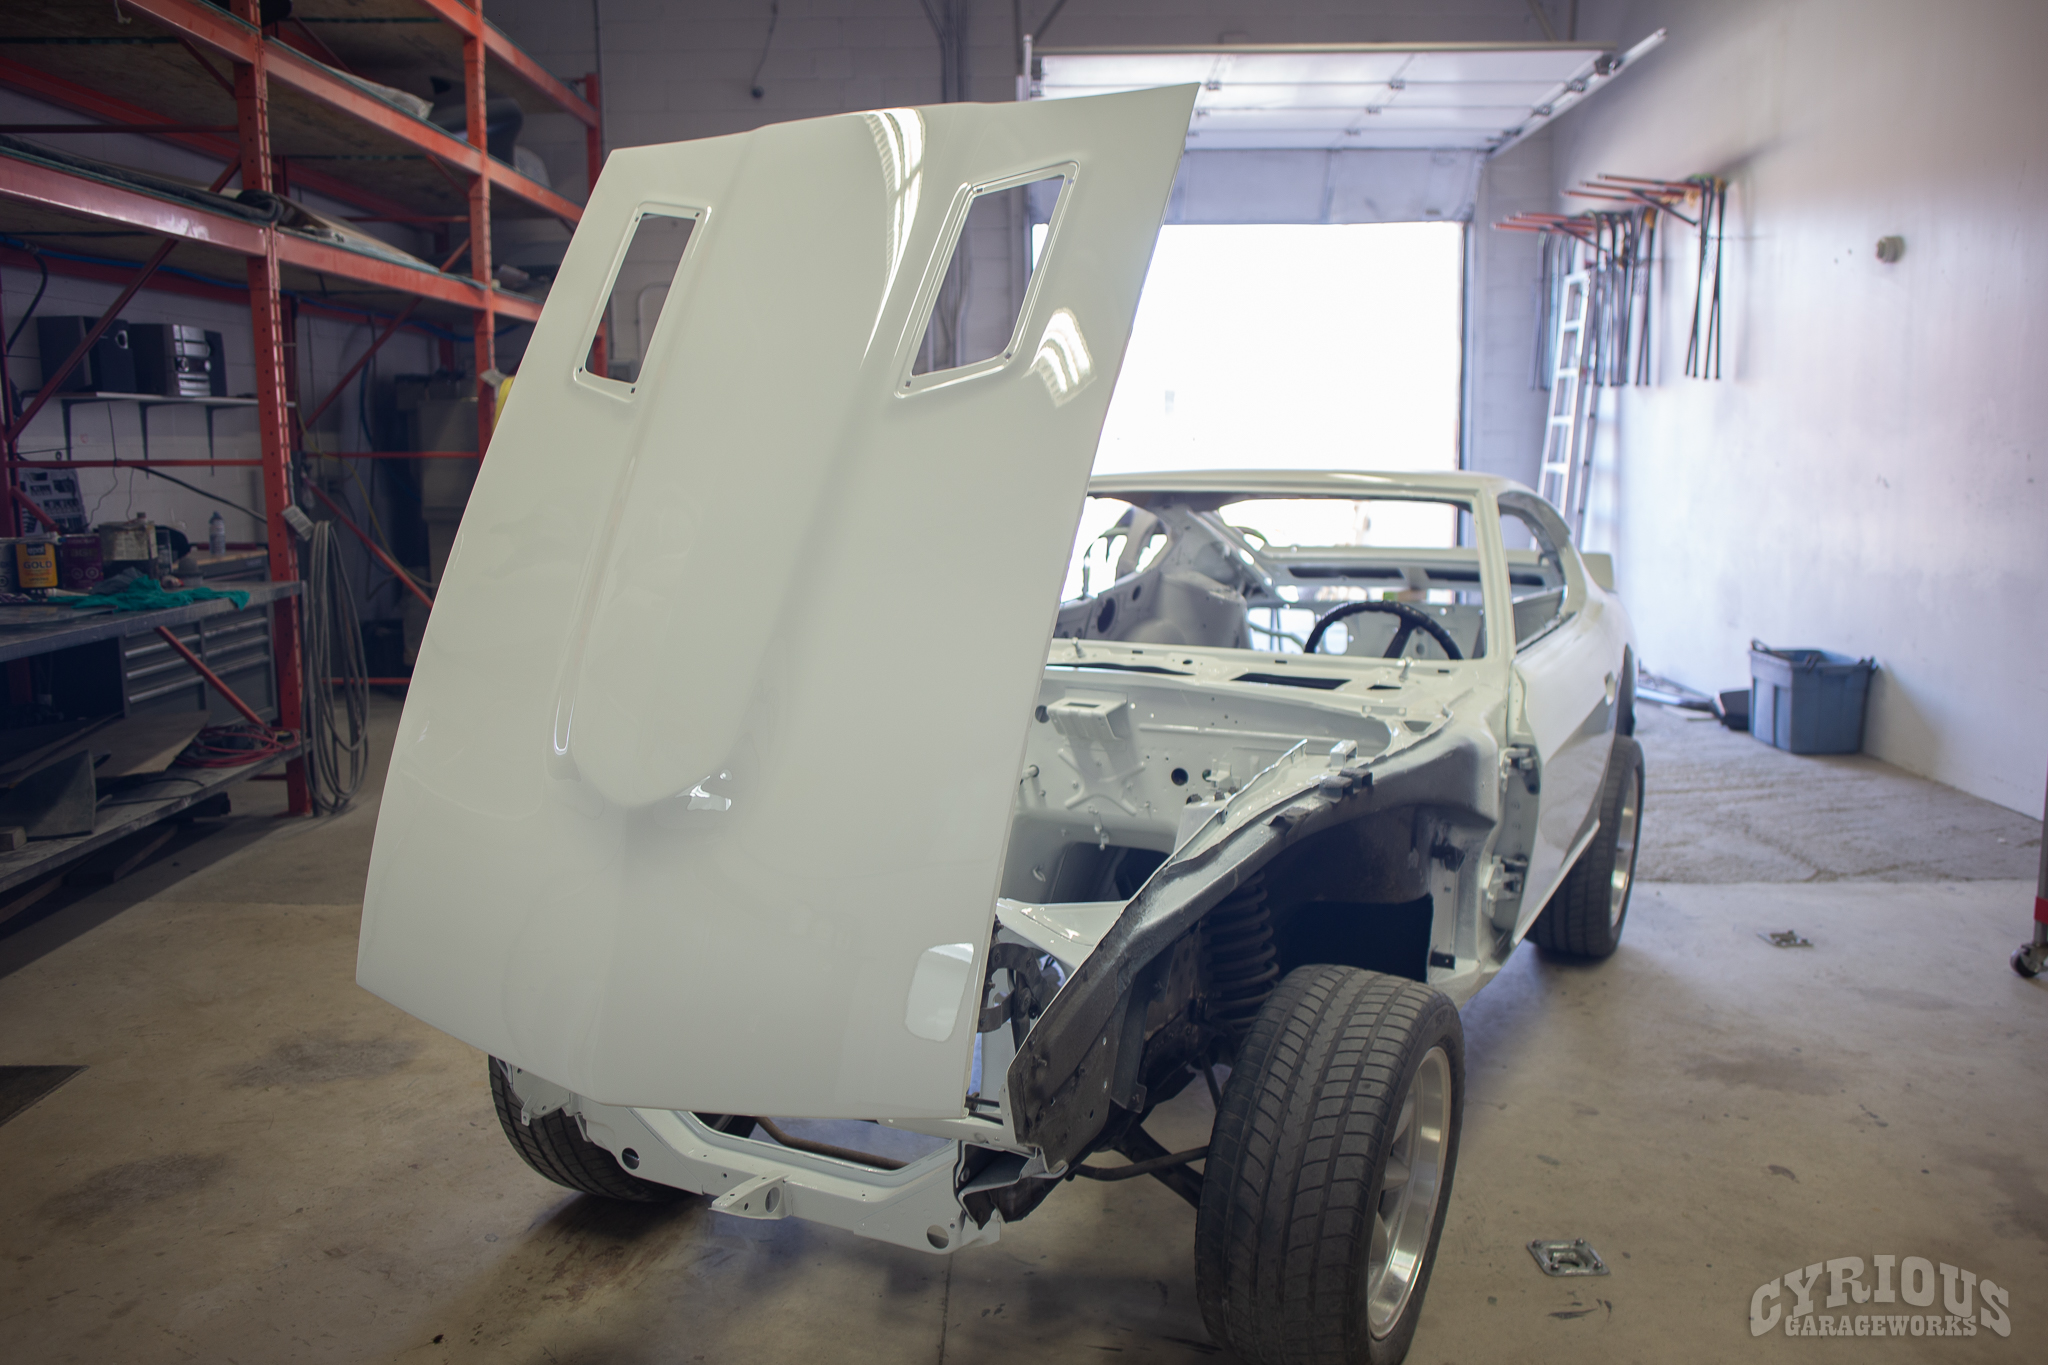
Our colleagues over at Uptown Autosport reached out with a fun project that needed doing. They had a Jaguar XJS that they had done a lovely LS swap to, but the body needed some help. We couldn’t pass up the opportunity for a unique project, so we brought it down to see what we could do. They weren’t kidding, this body really needed some help. Serious help.
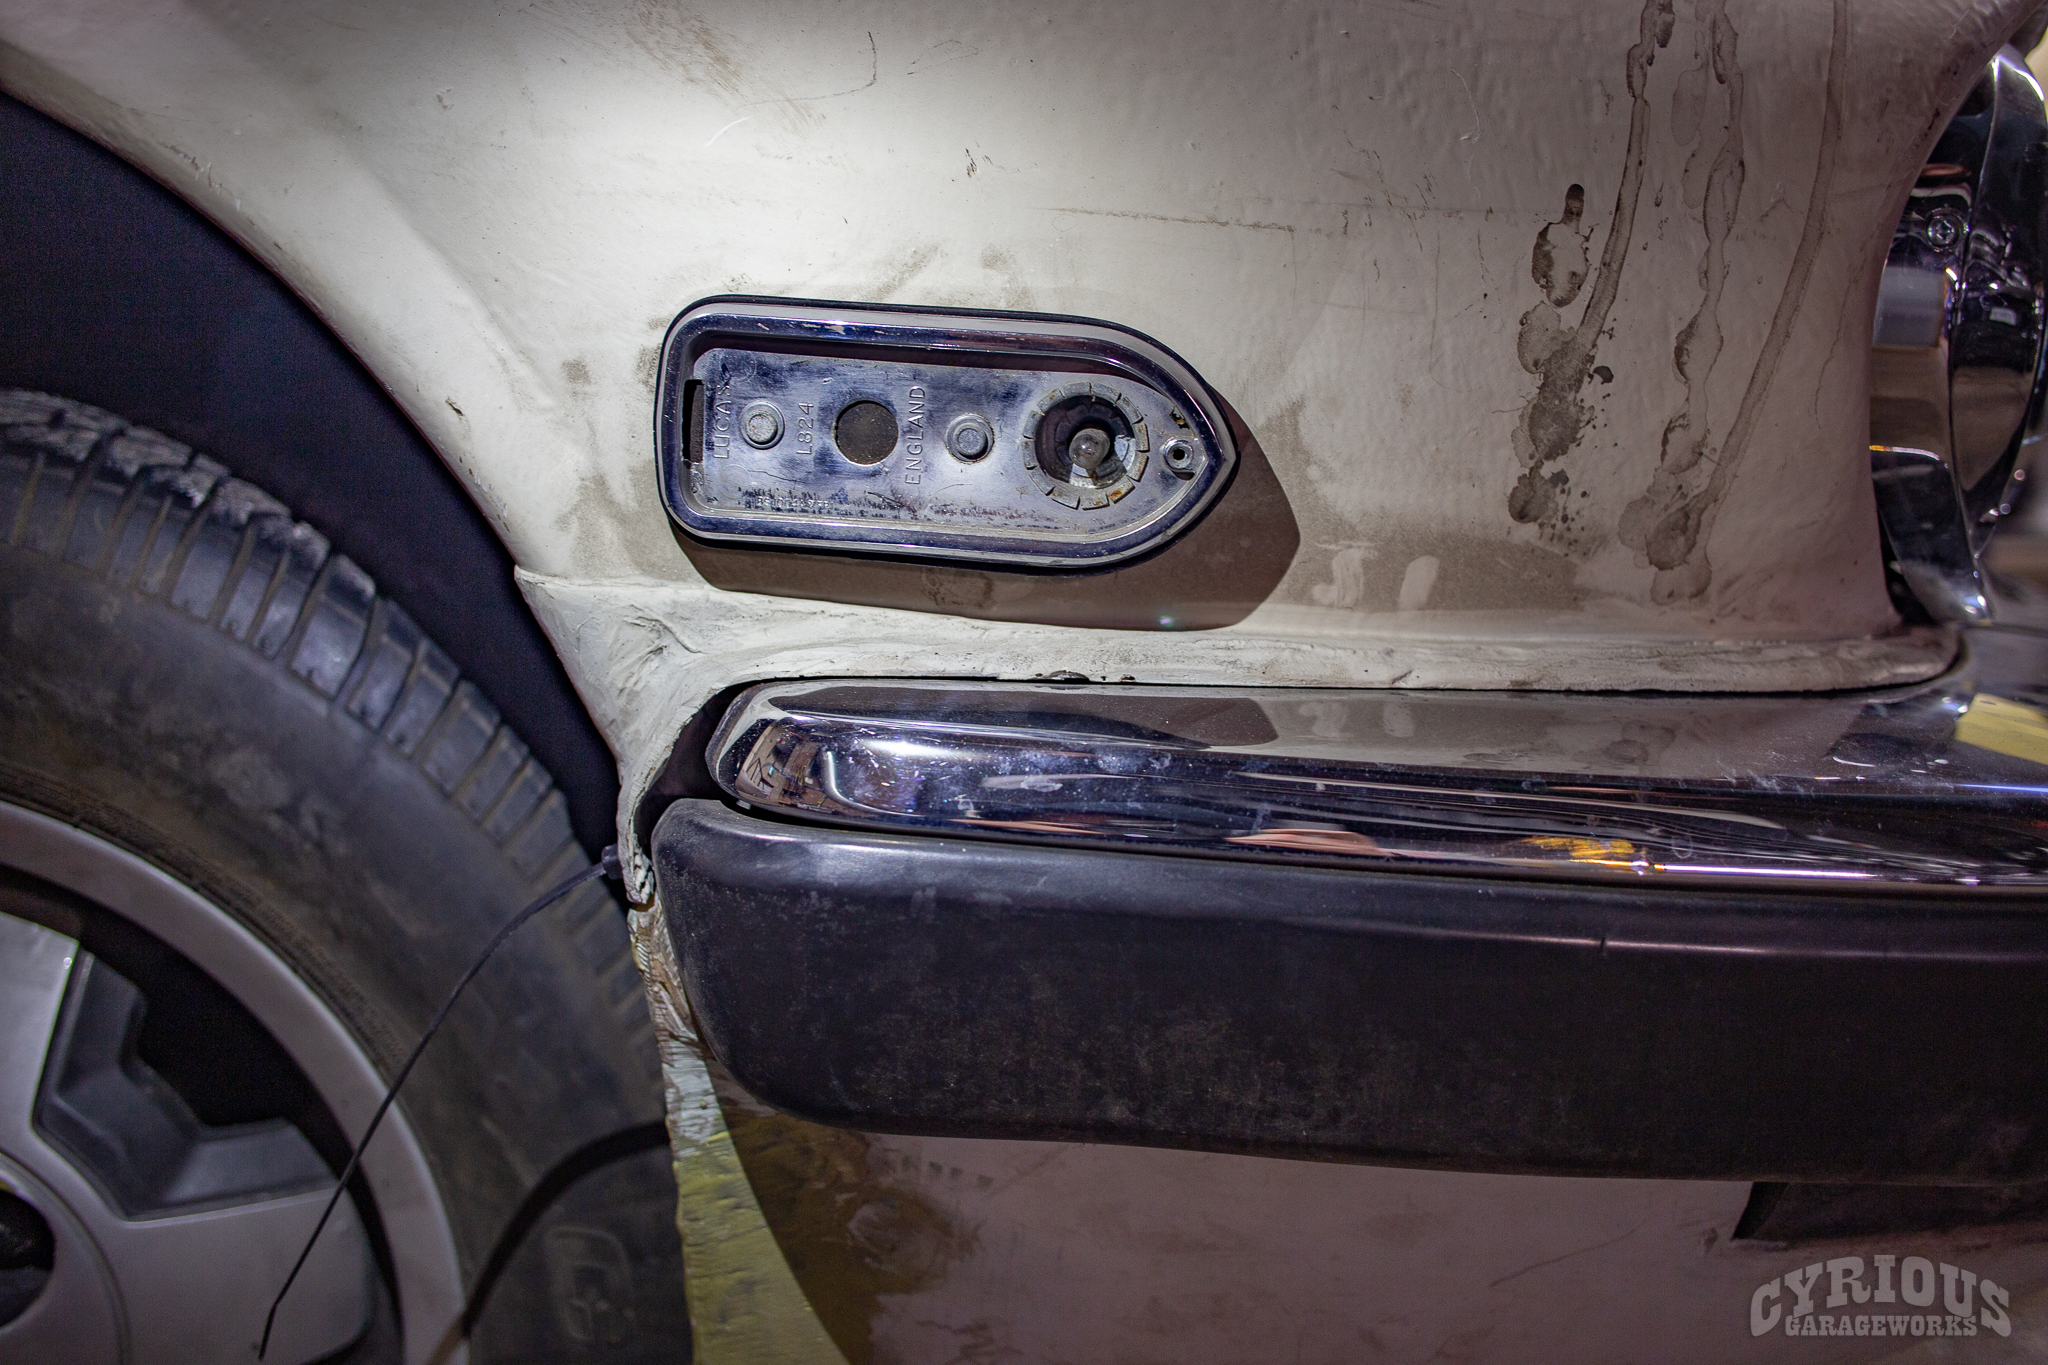
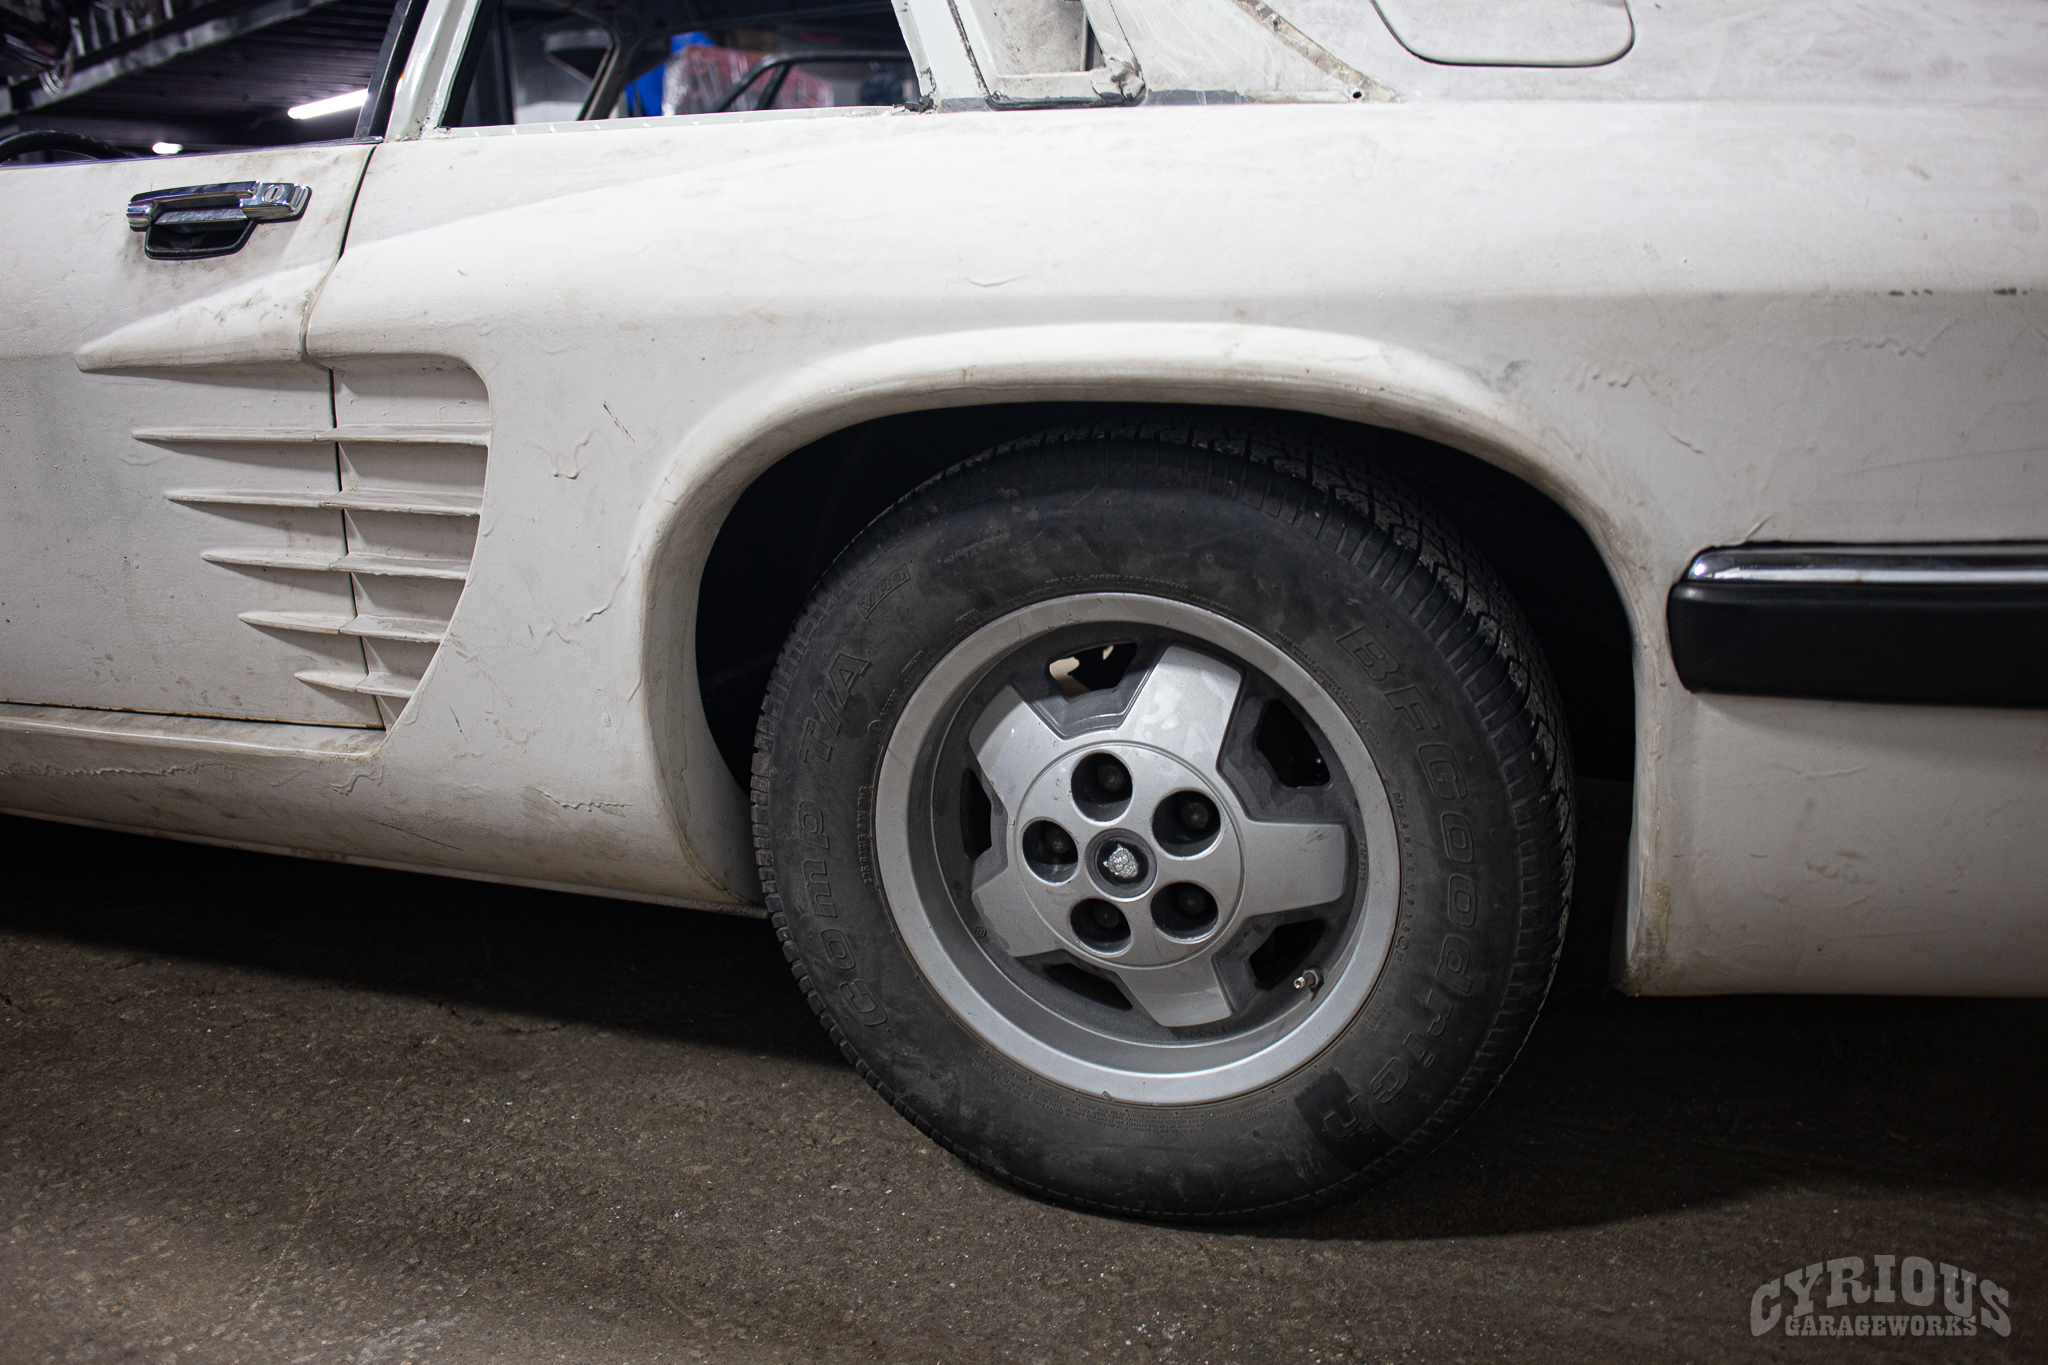
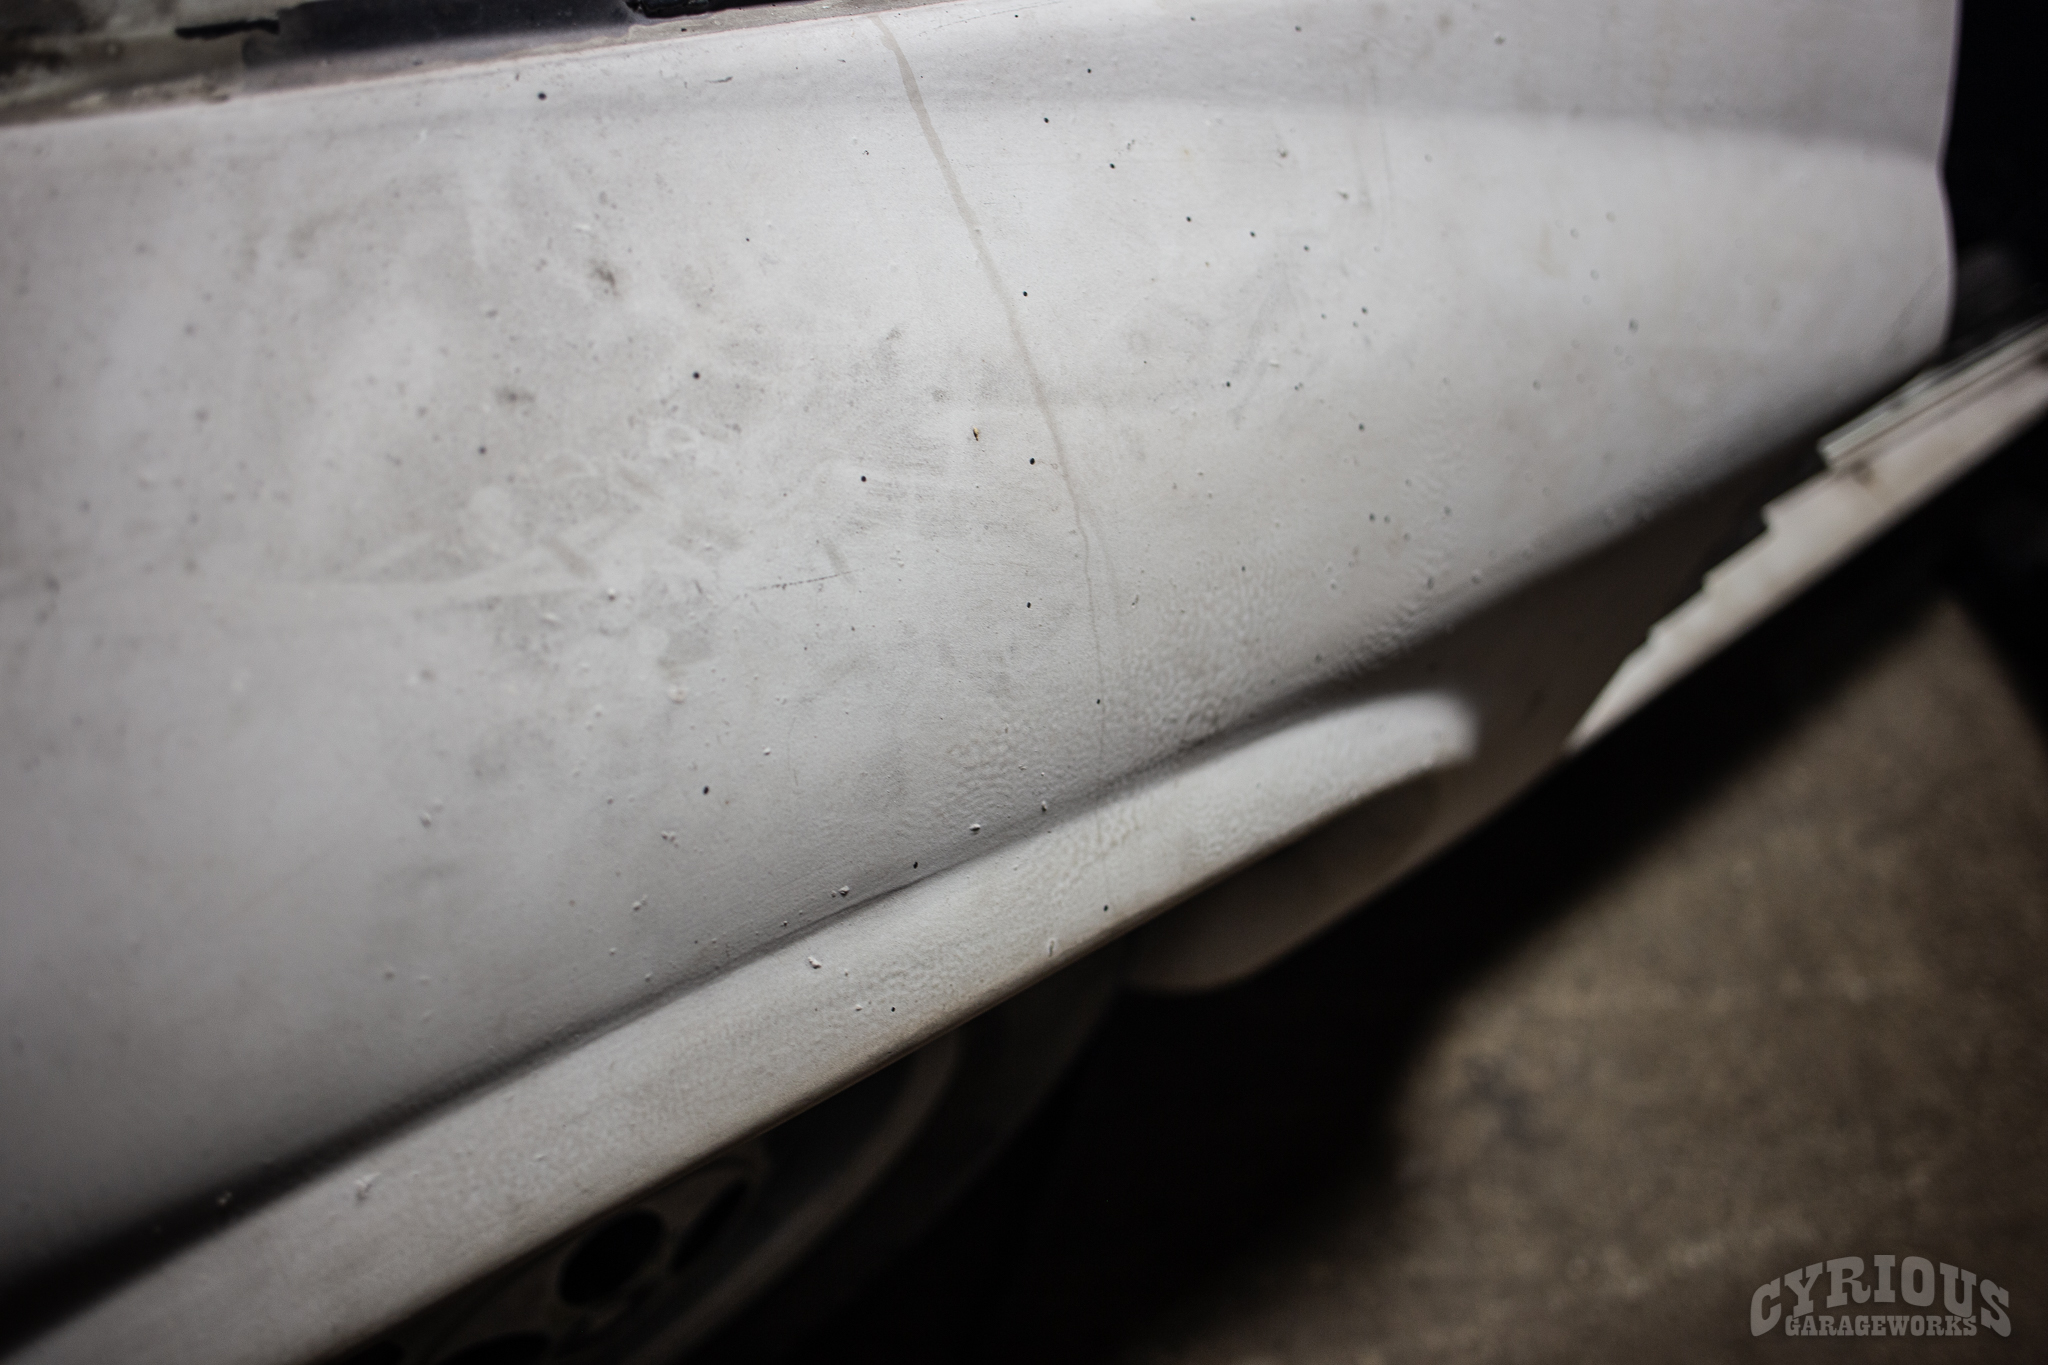
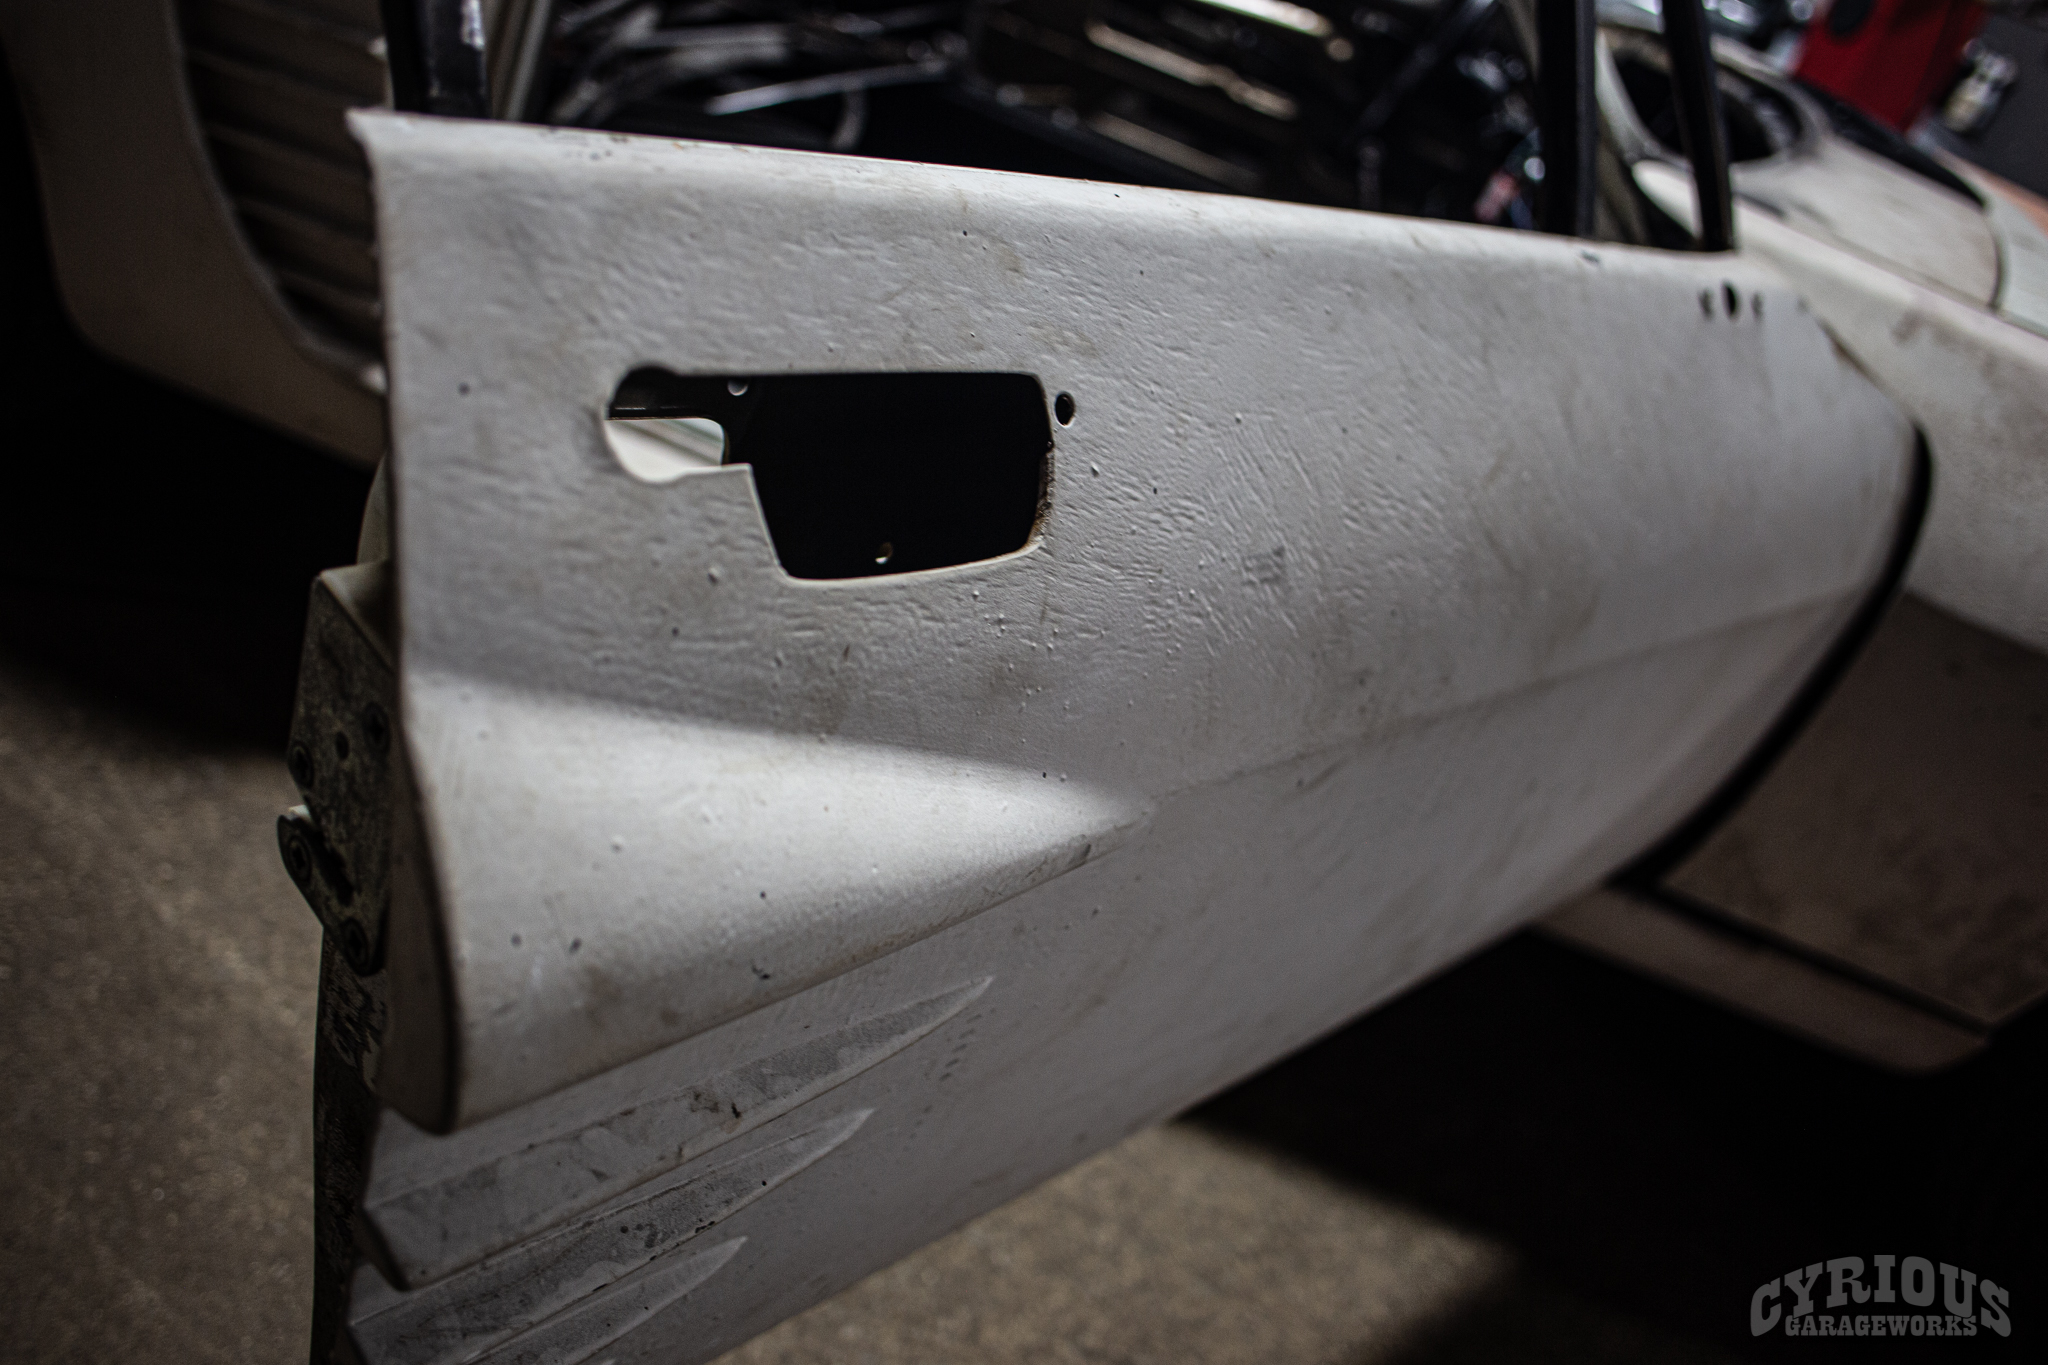
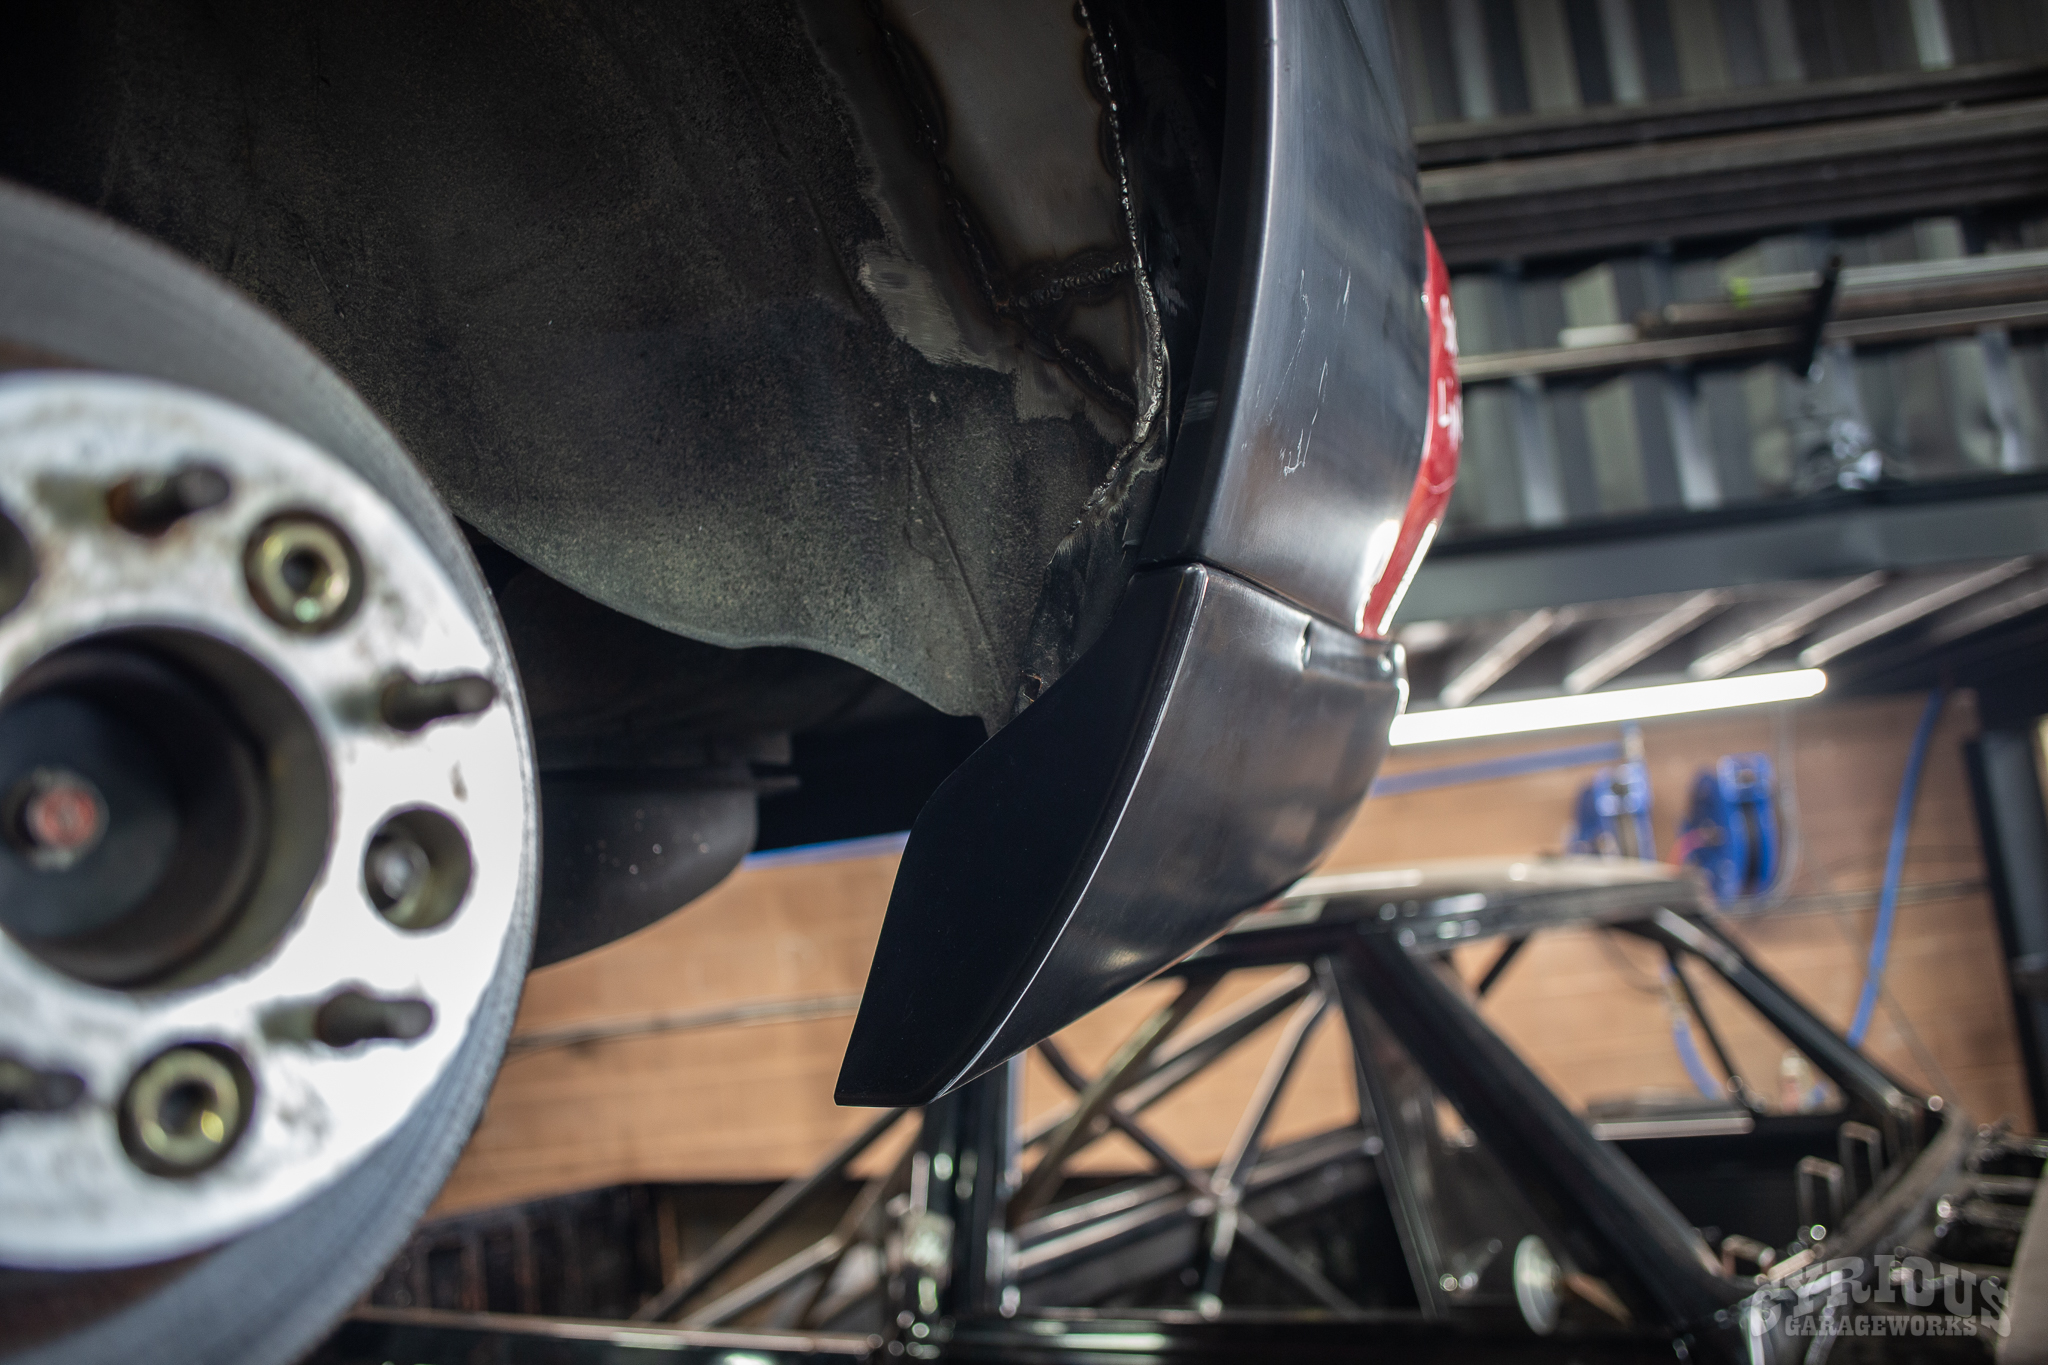
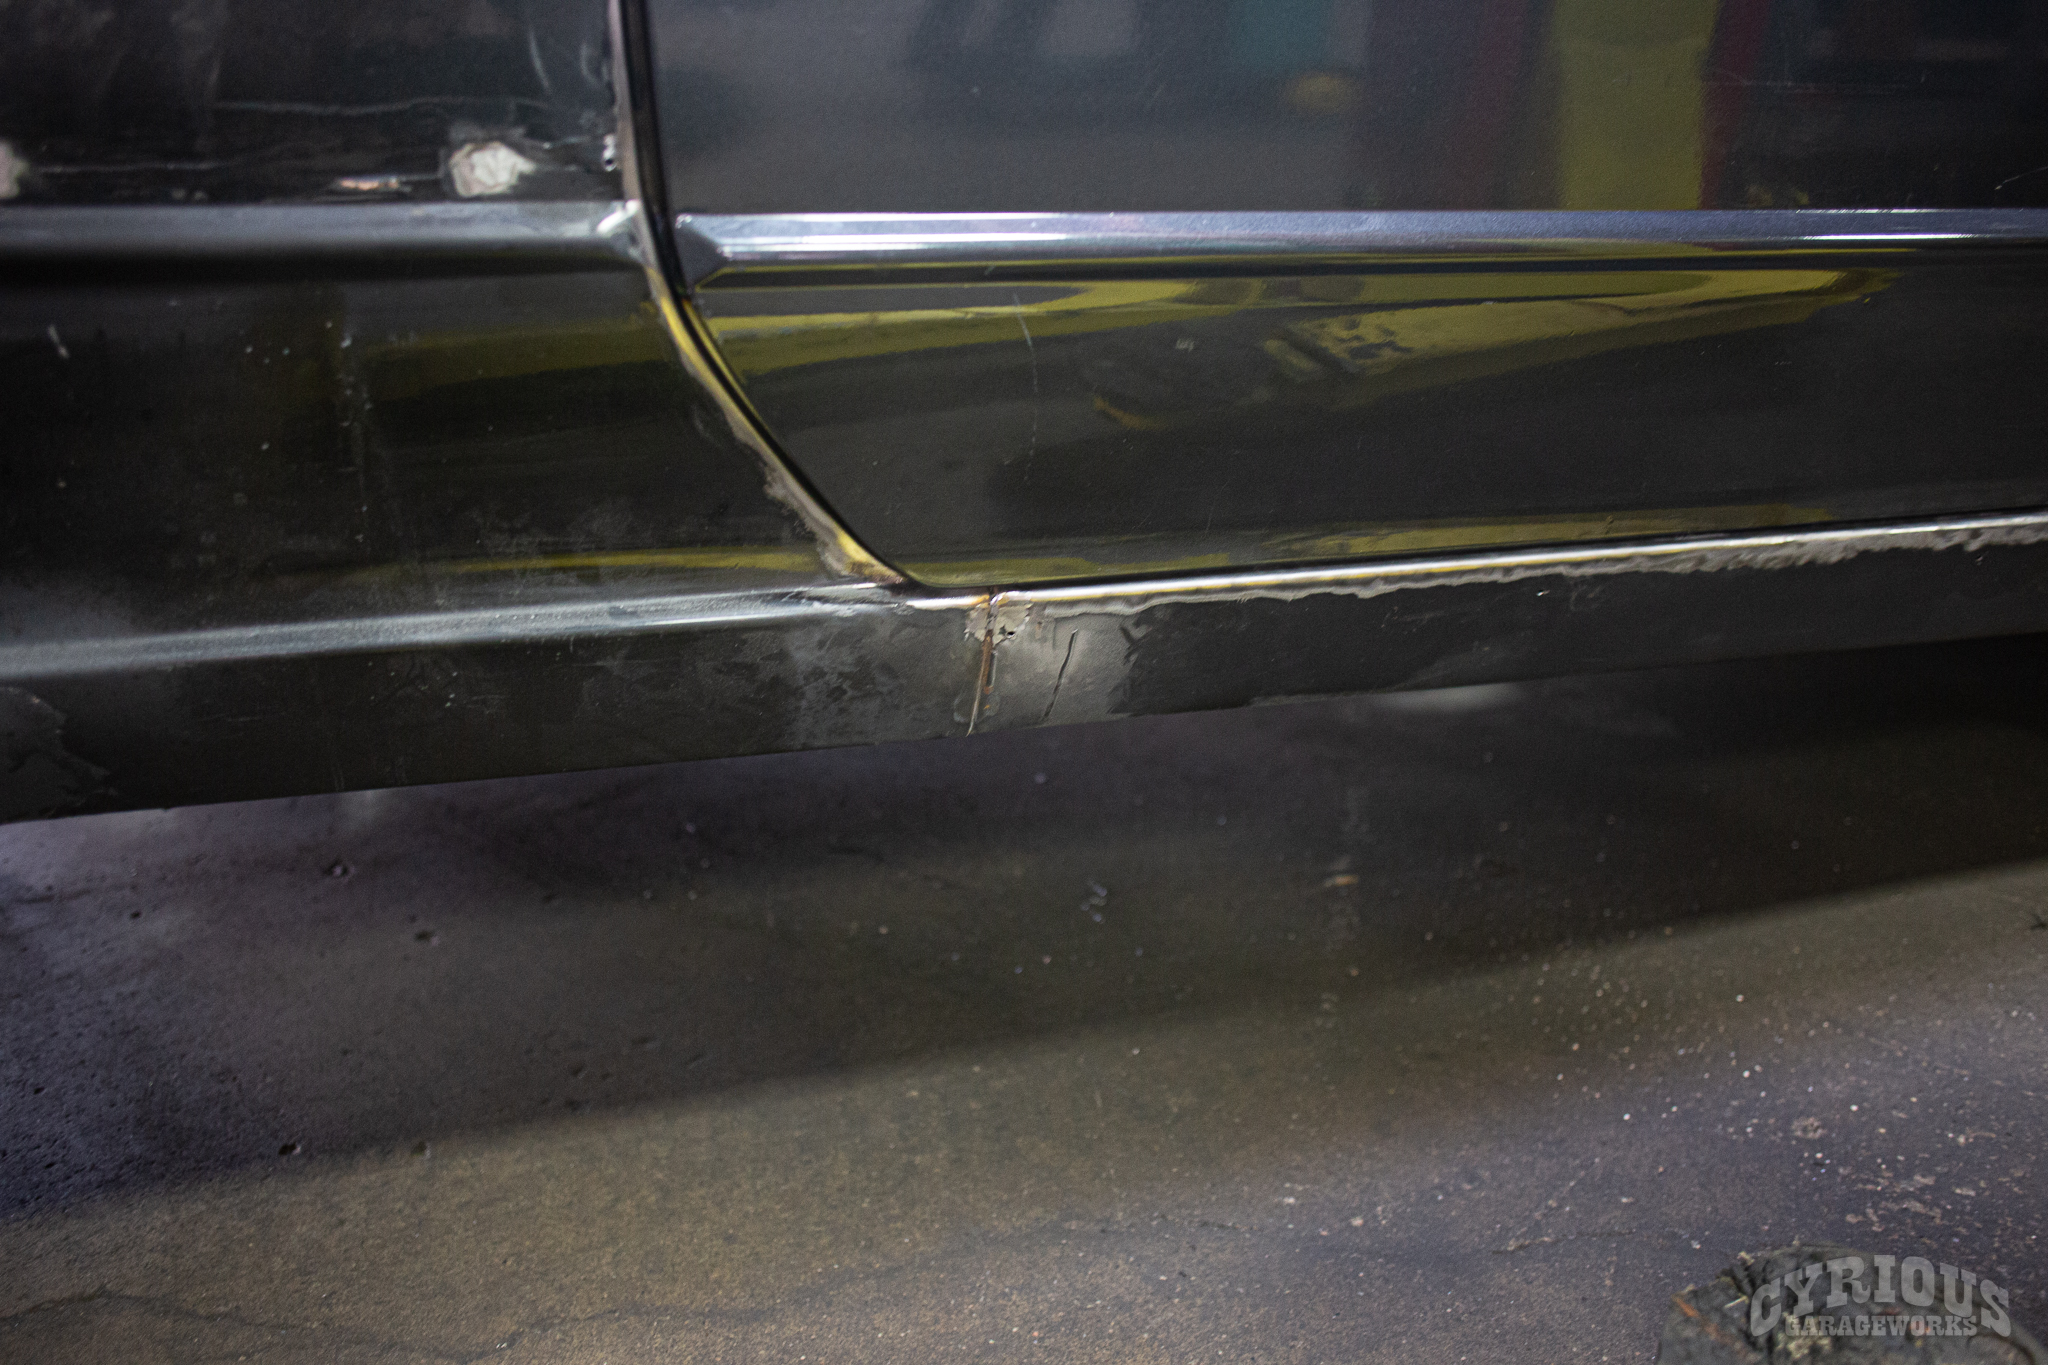
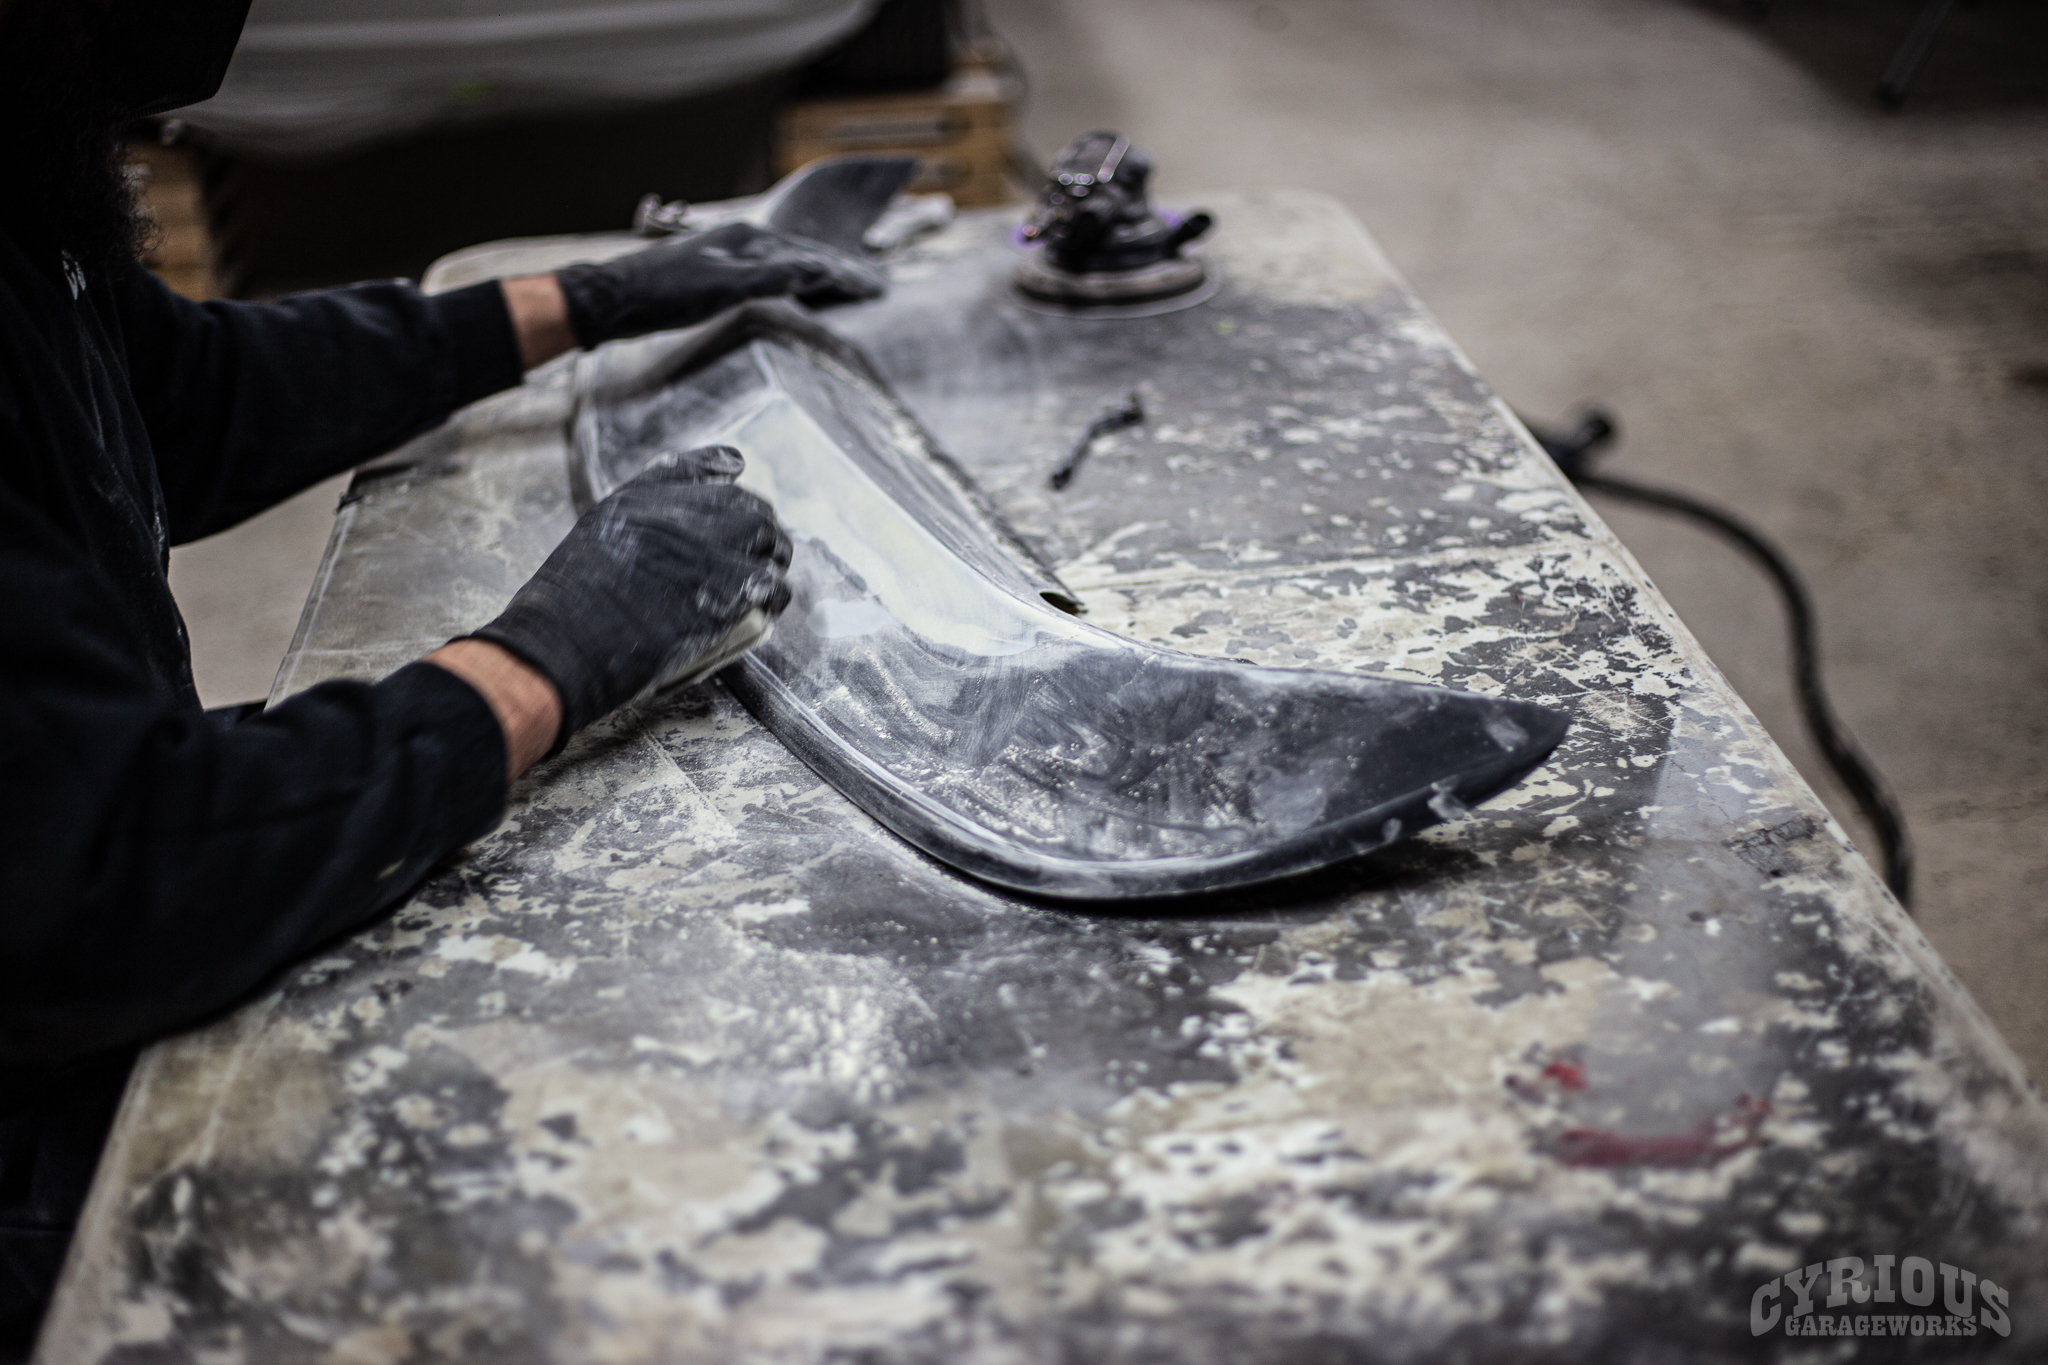
We couldn’t tell if the molded in body kit was made at a shop, or in someone’s home garage, but it was extremely rough. It really seemed like someone had put a tremendous amount of time and effort into it, but their end result was less than desirable.
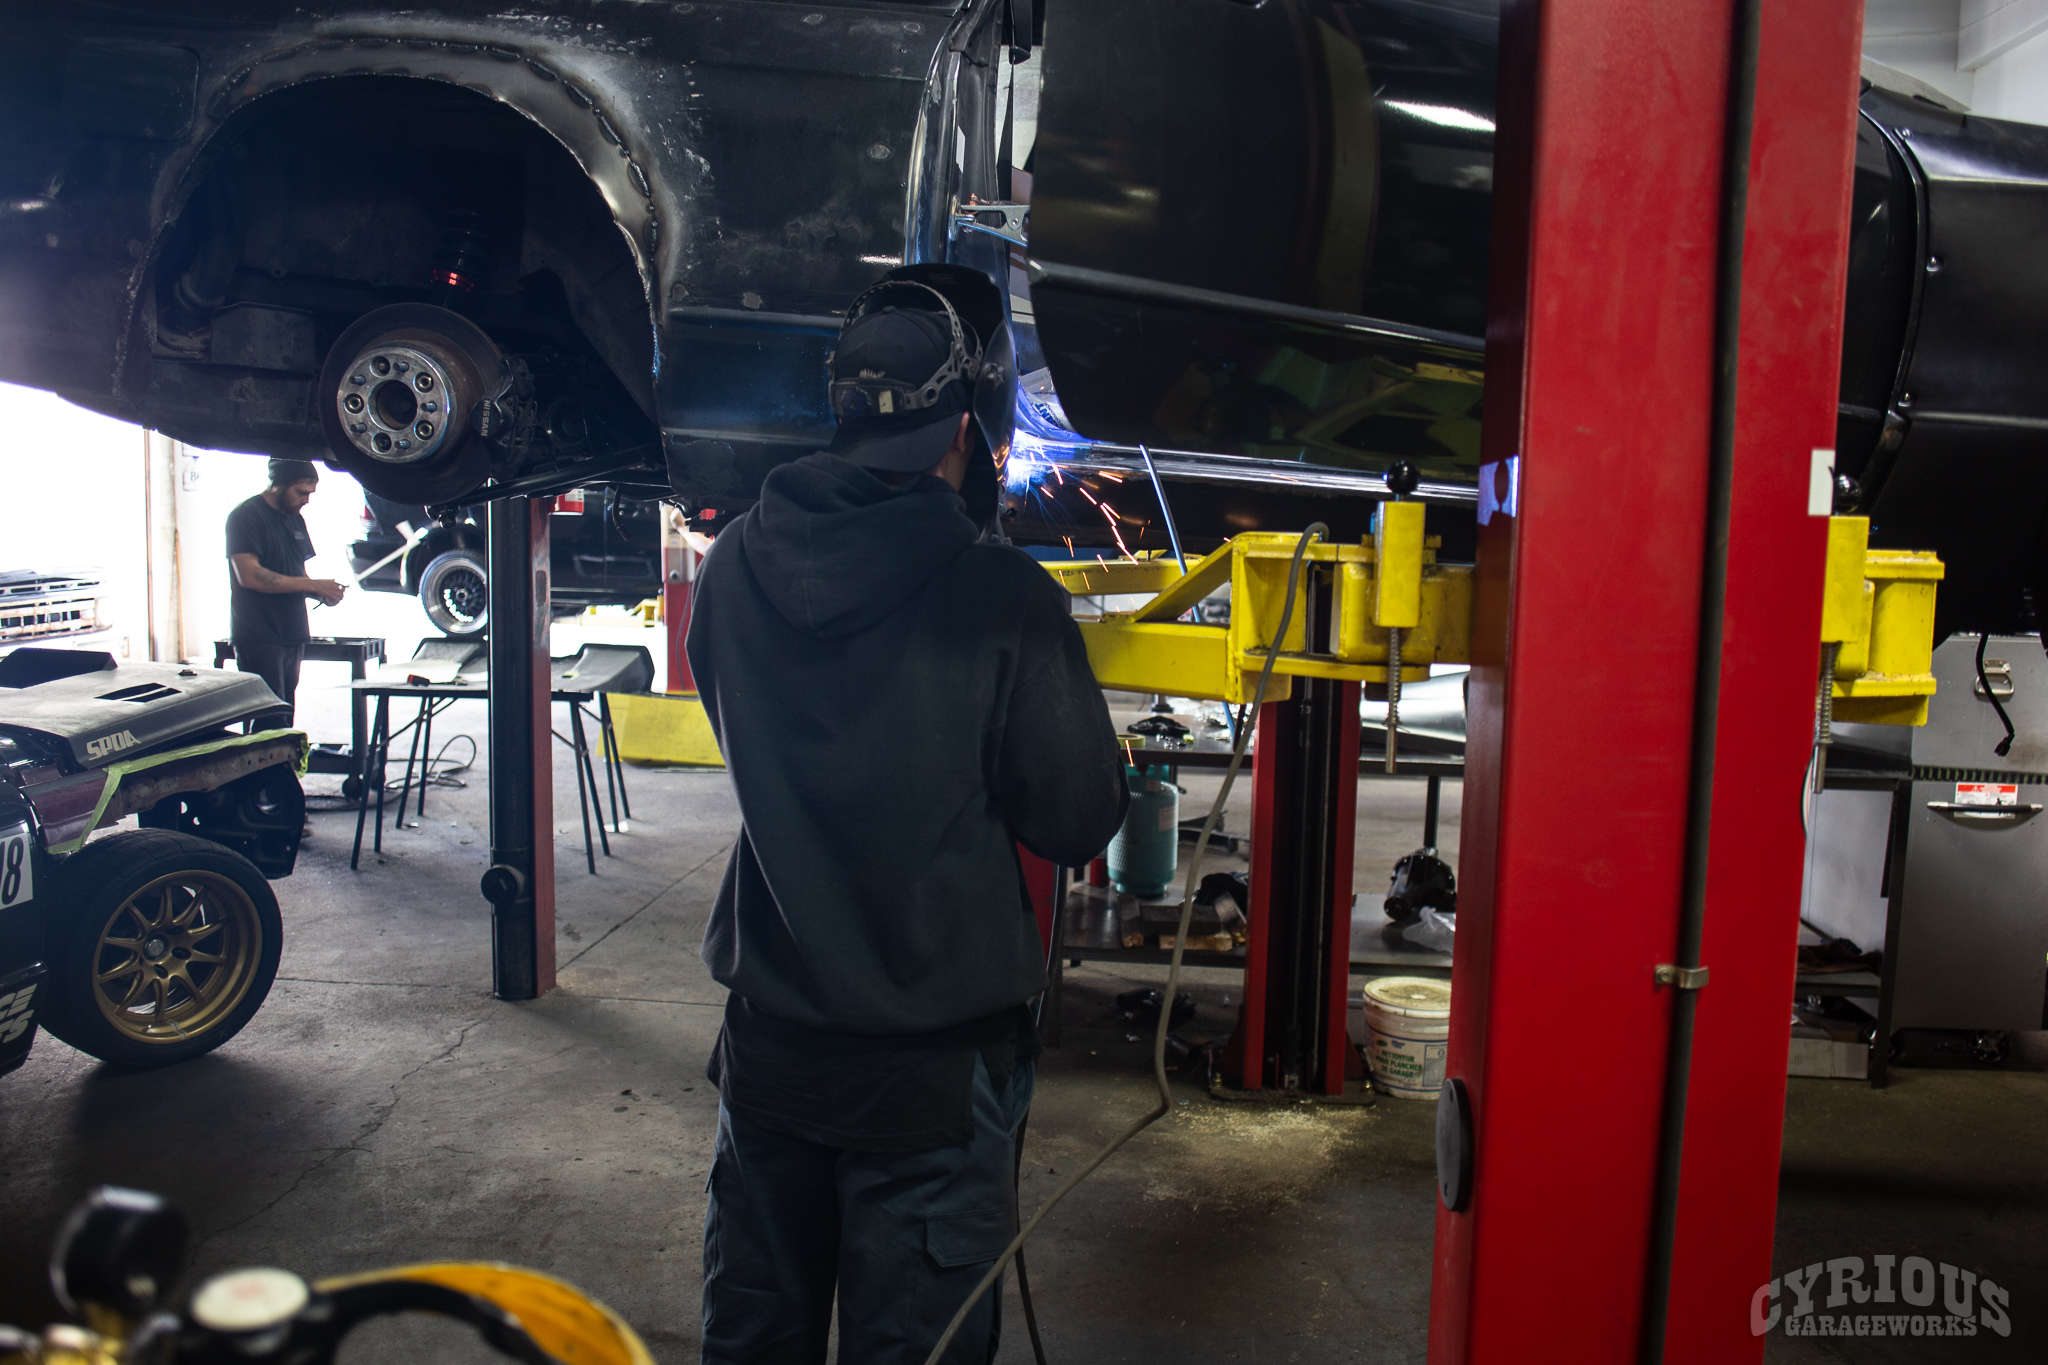
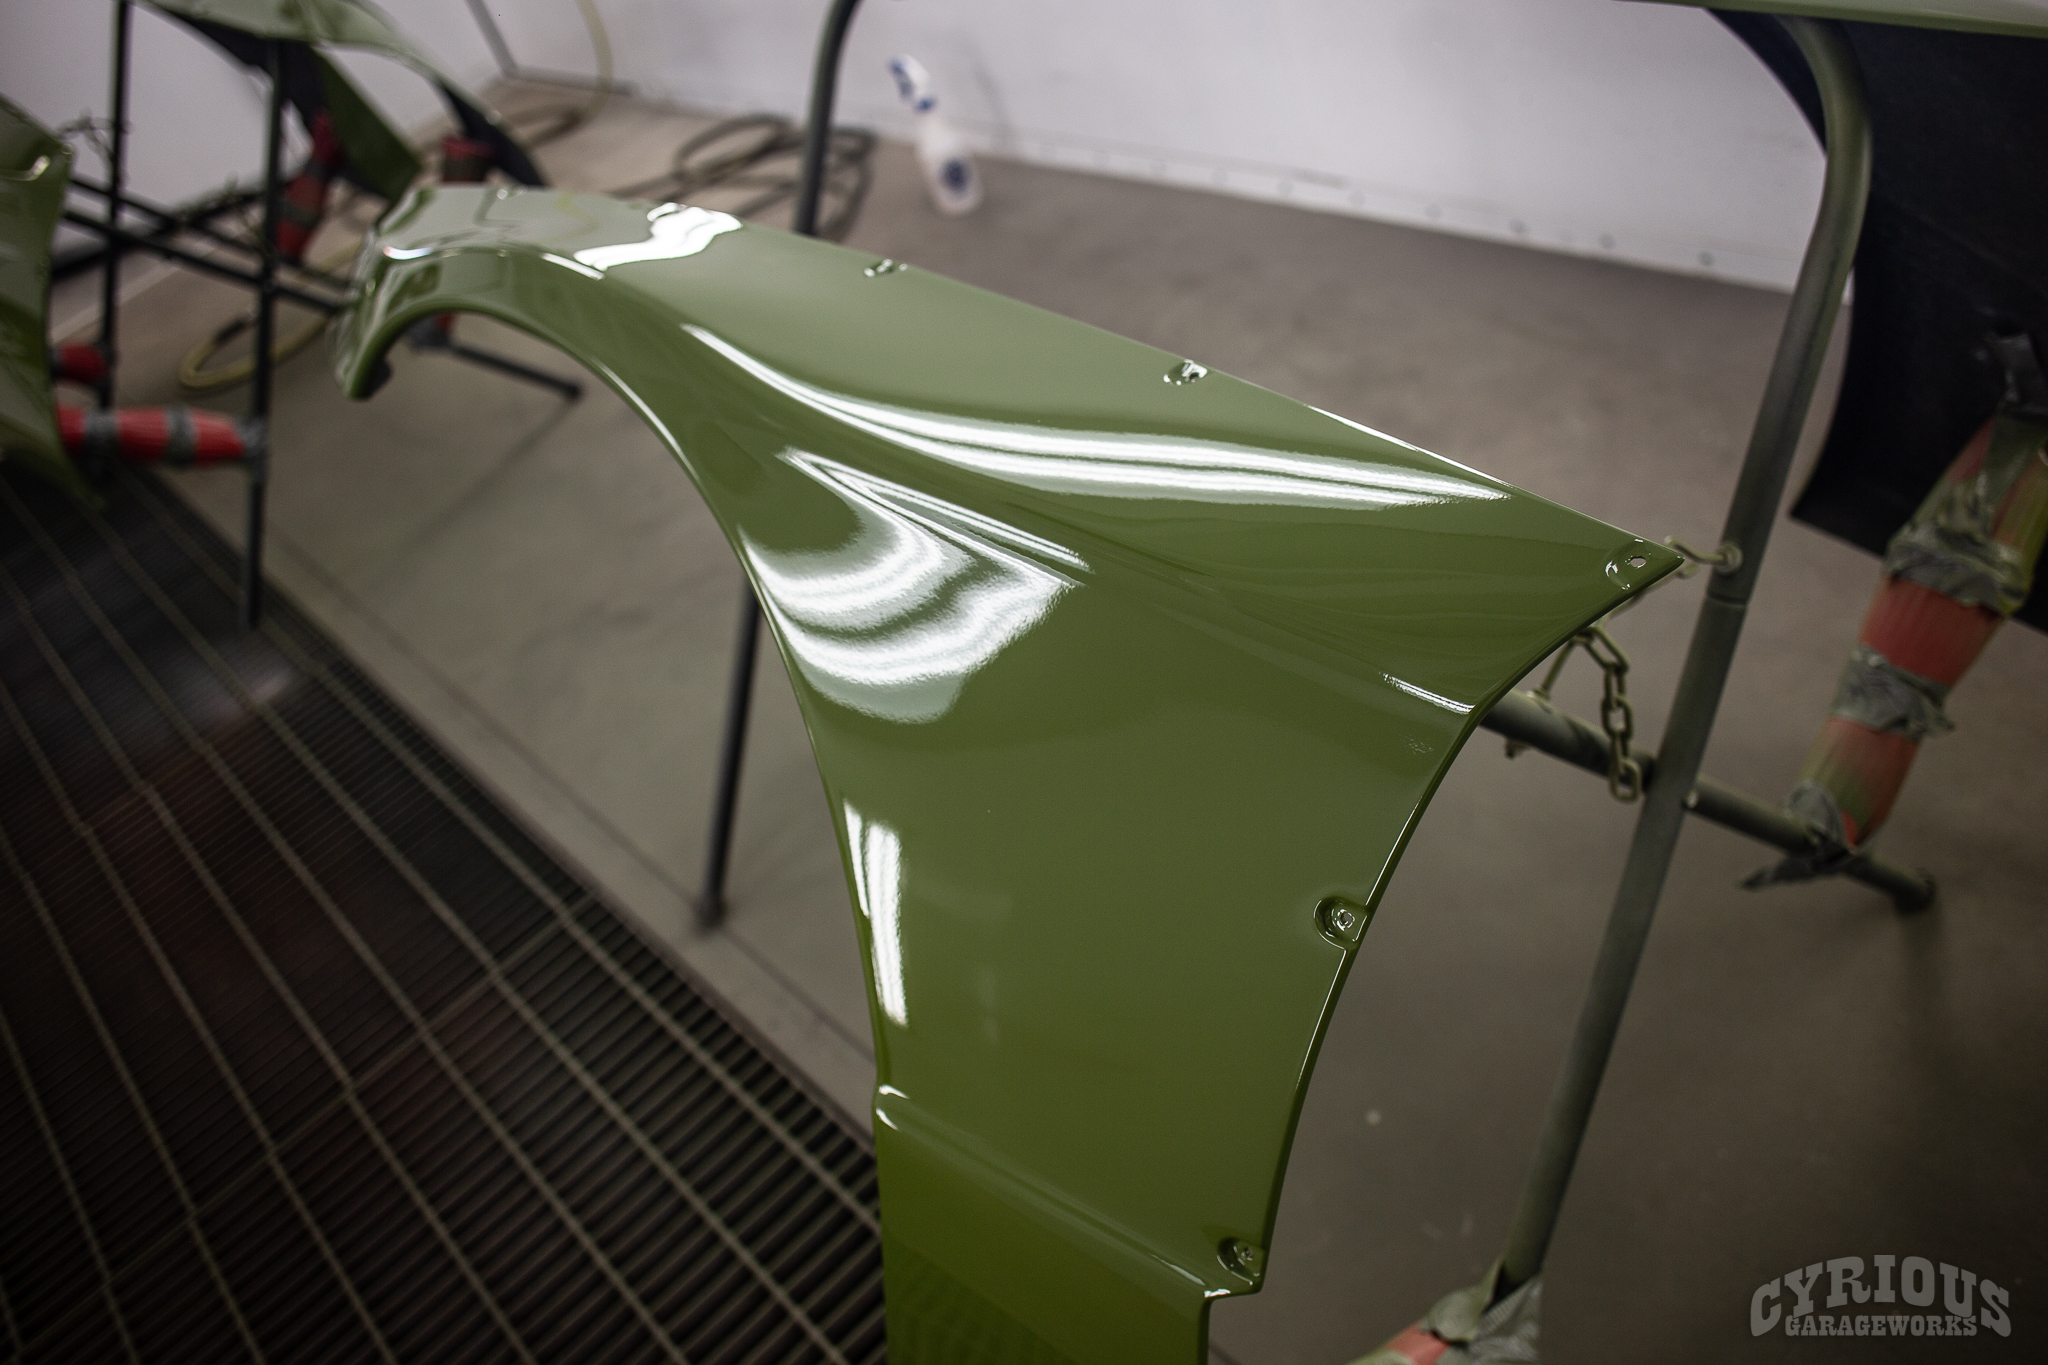
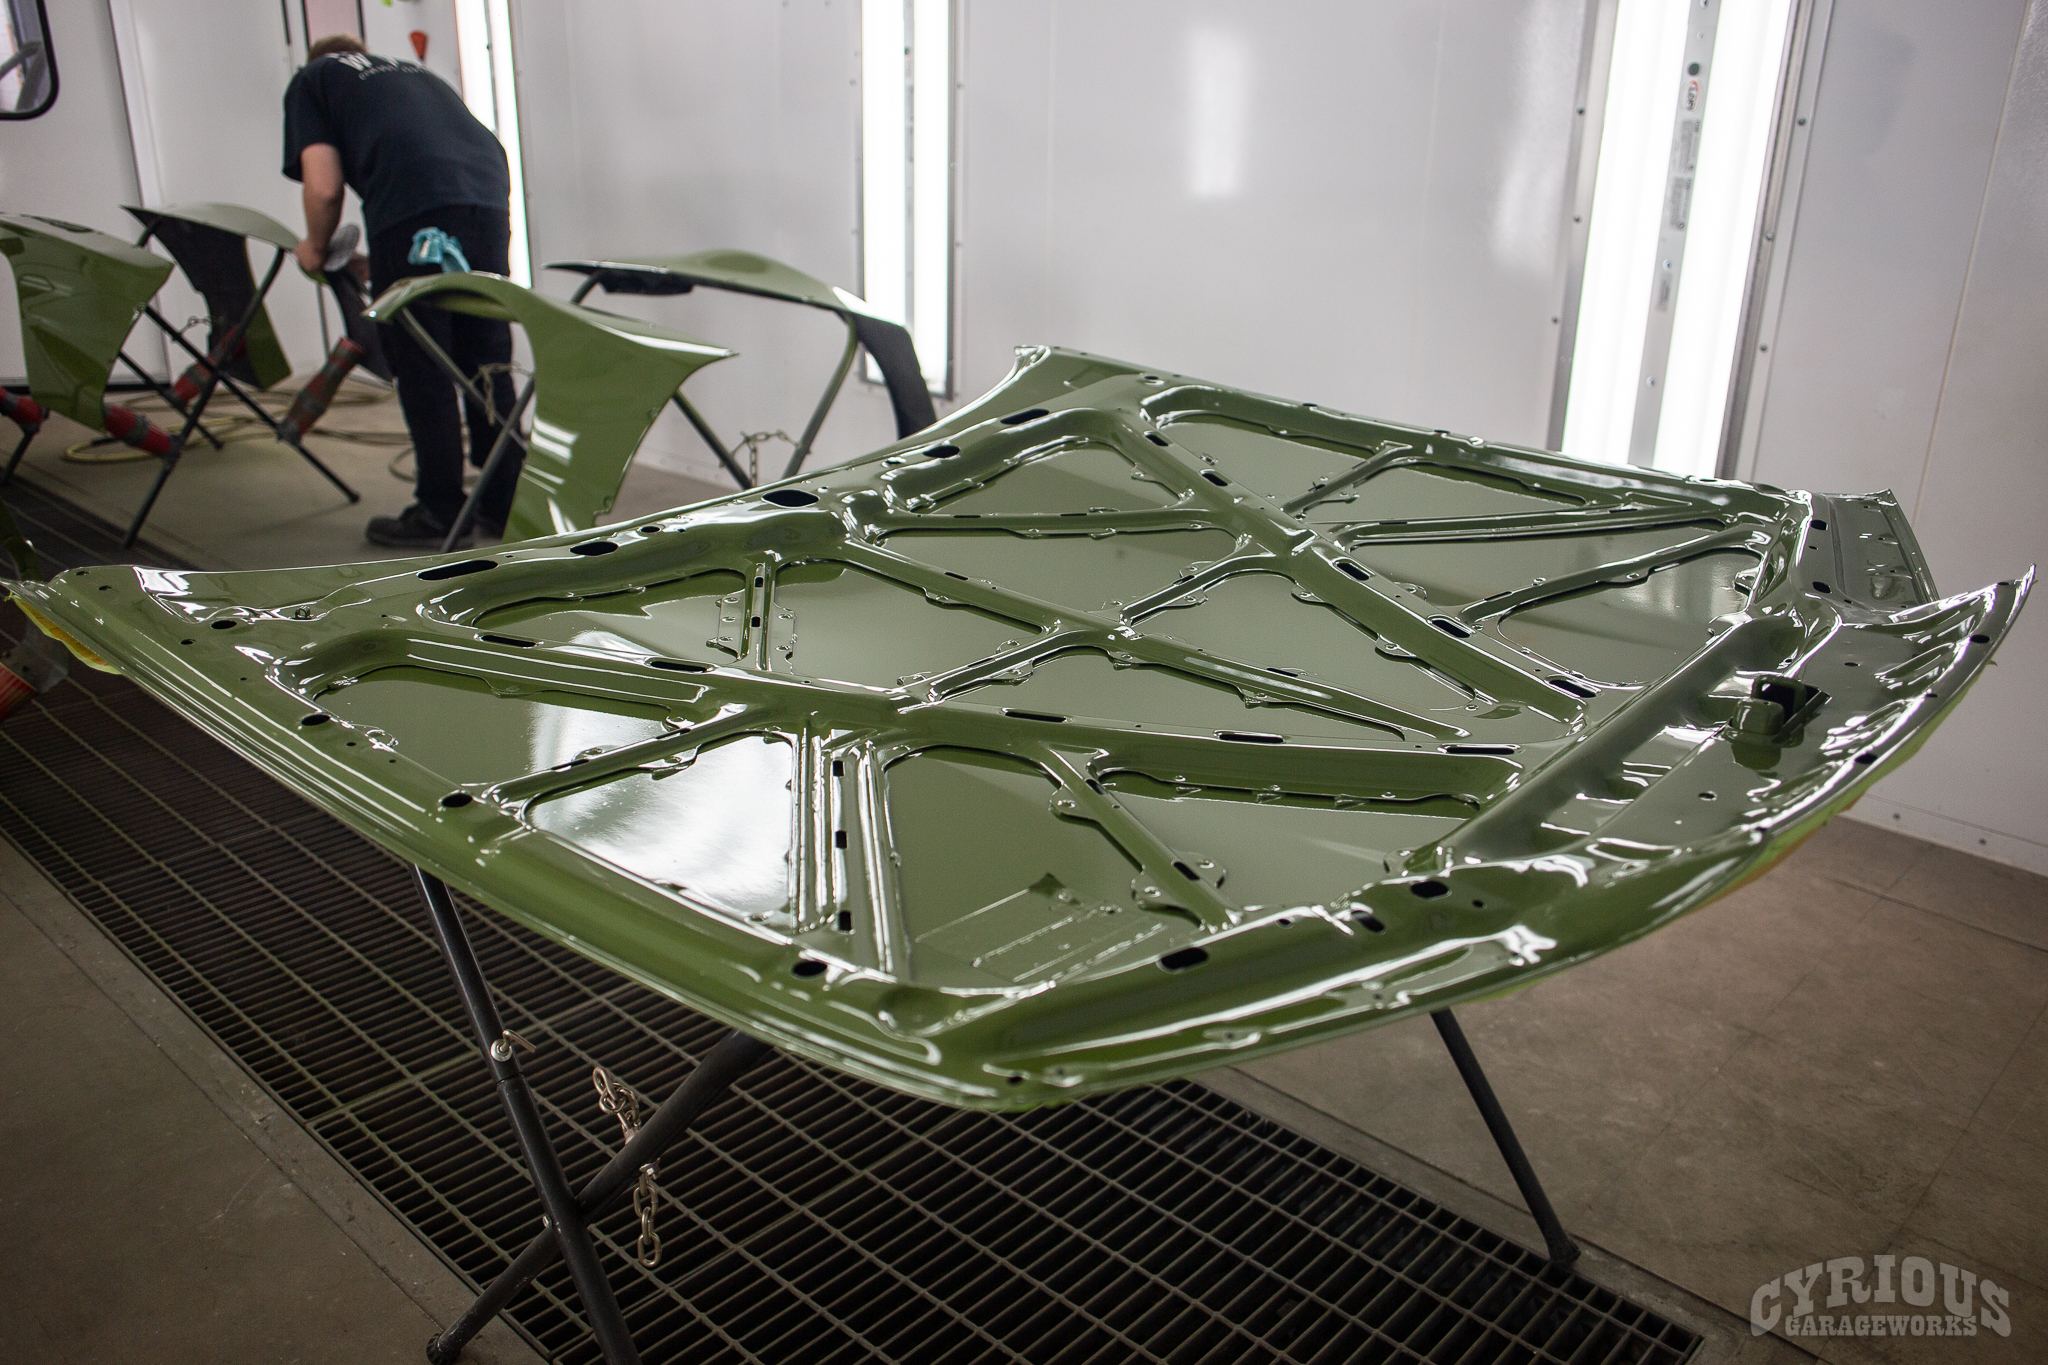
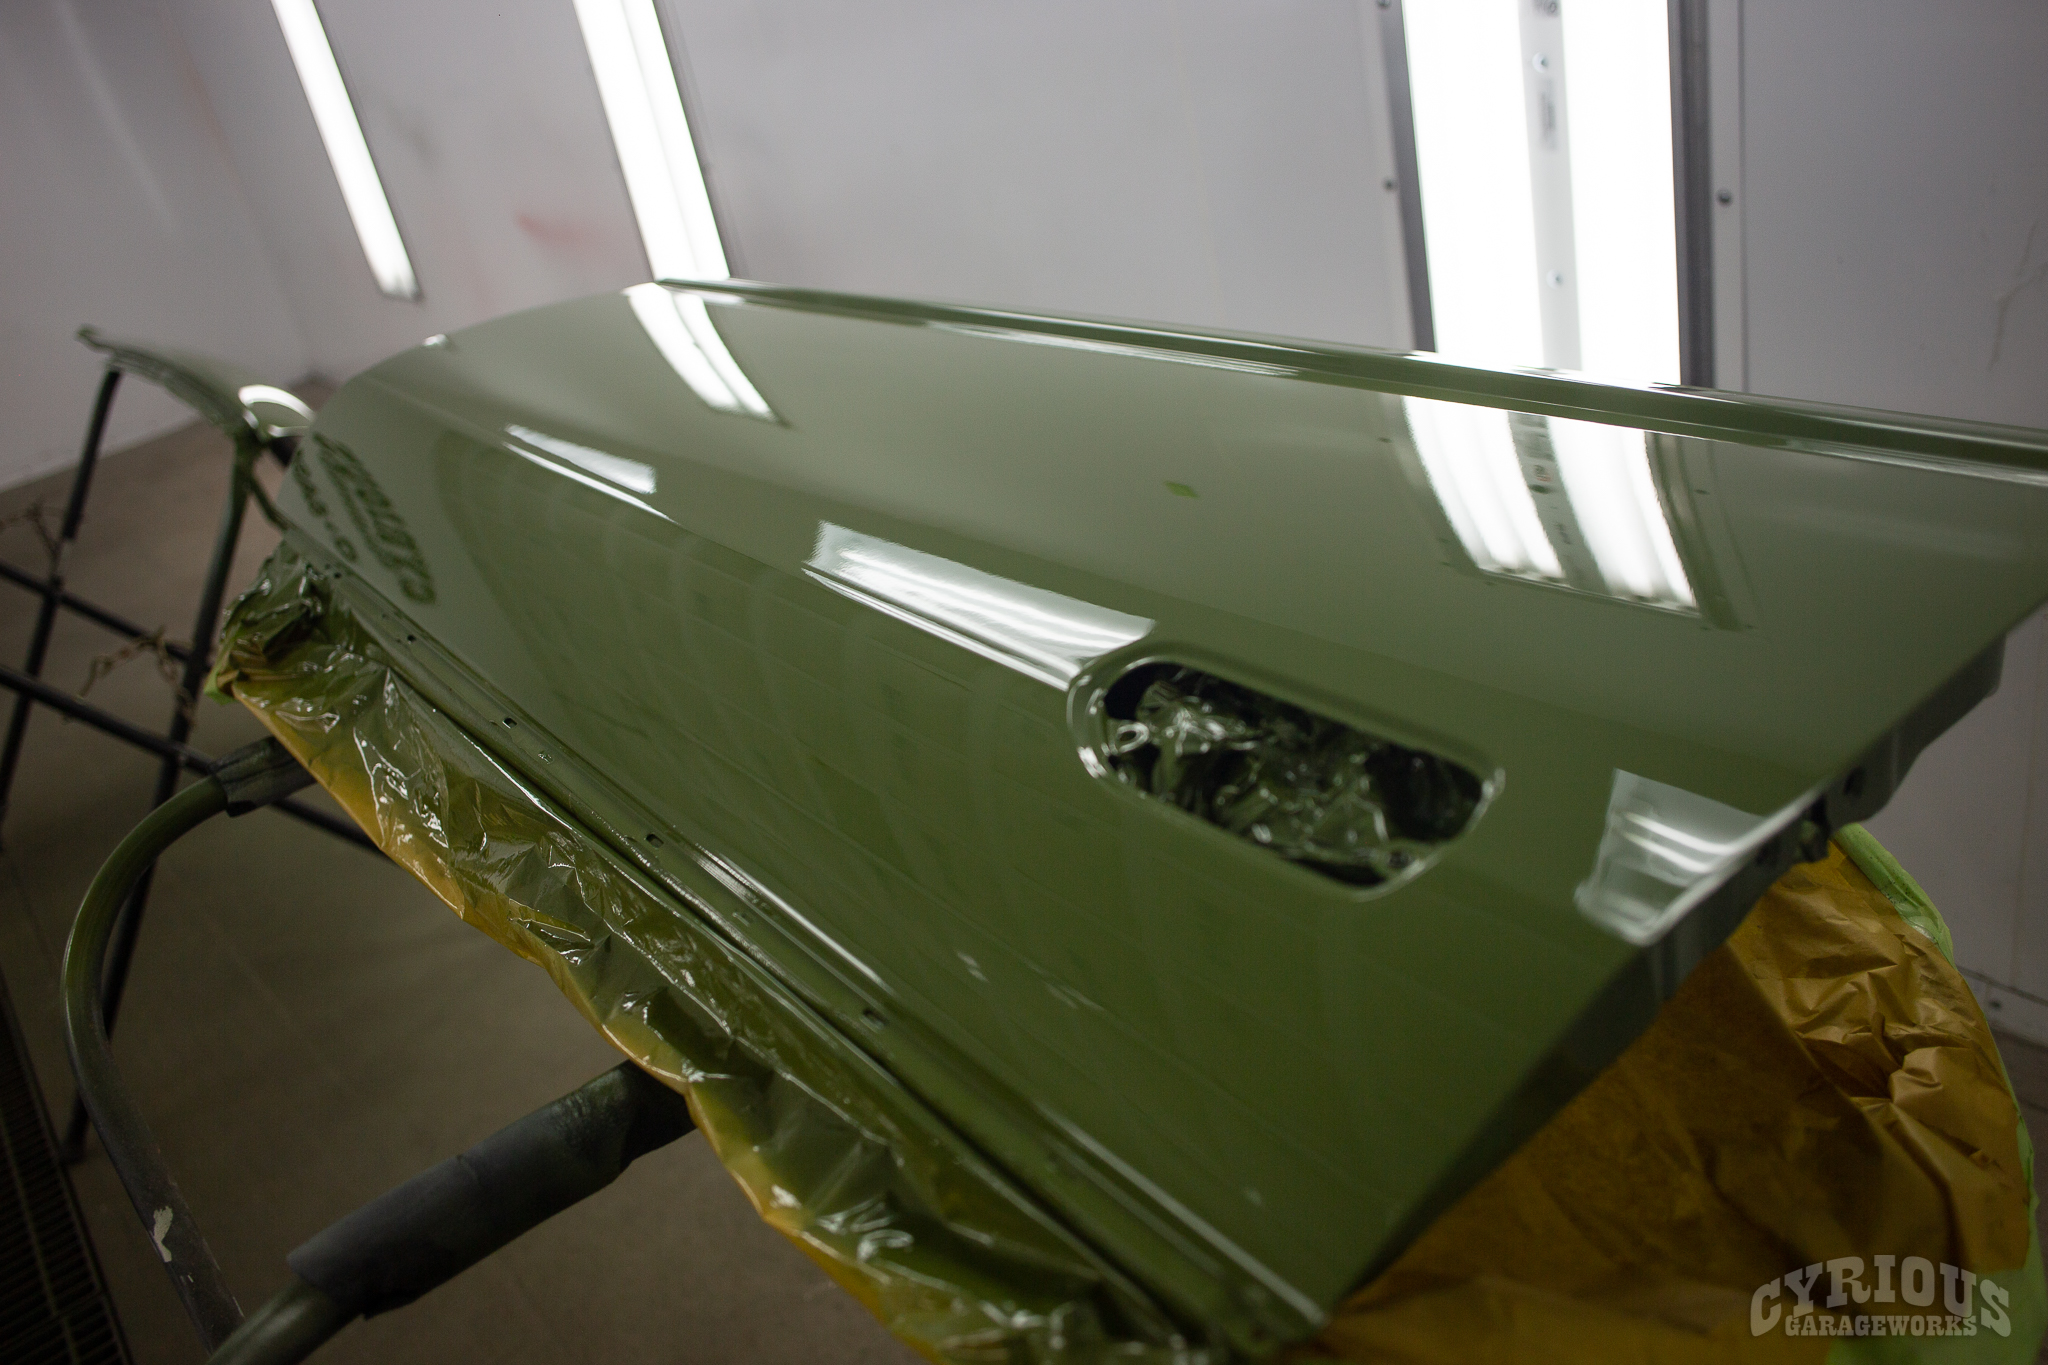
That’s where we come in! The job is to fix the previous bodywork as much as possible, as well as finish the areas that are incomplete. When all is said and done, we’ll spray on a charming coat of Glasurit paint and send it packin’! Without further ado, let’s get to it!
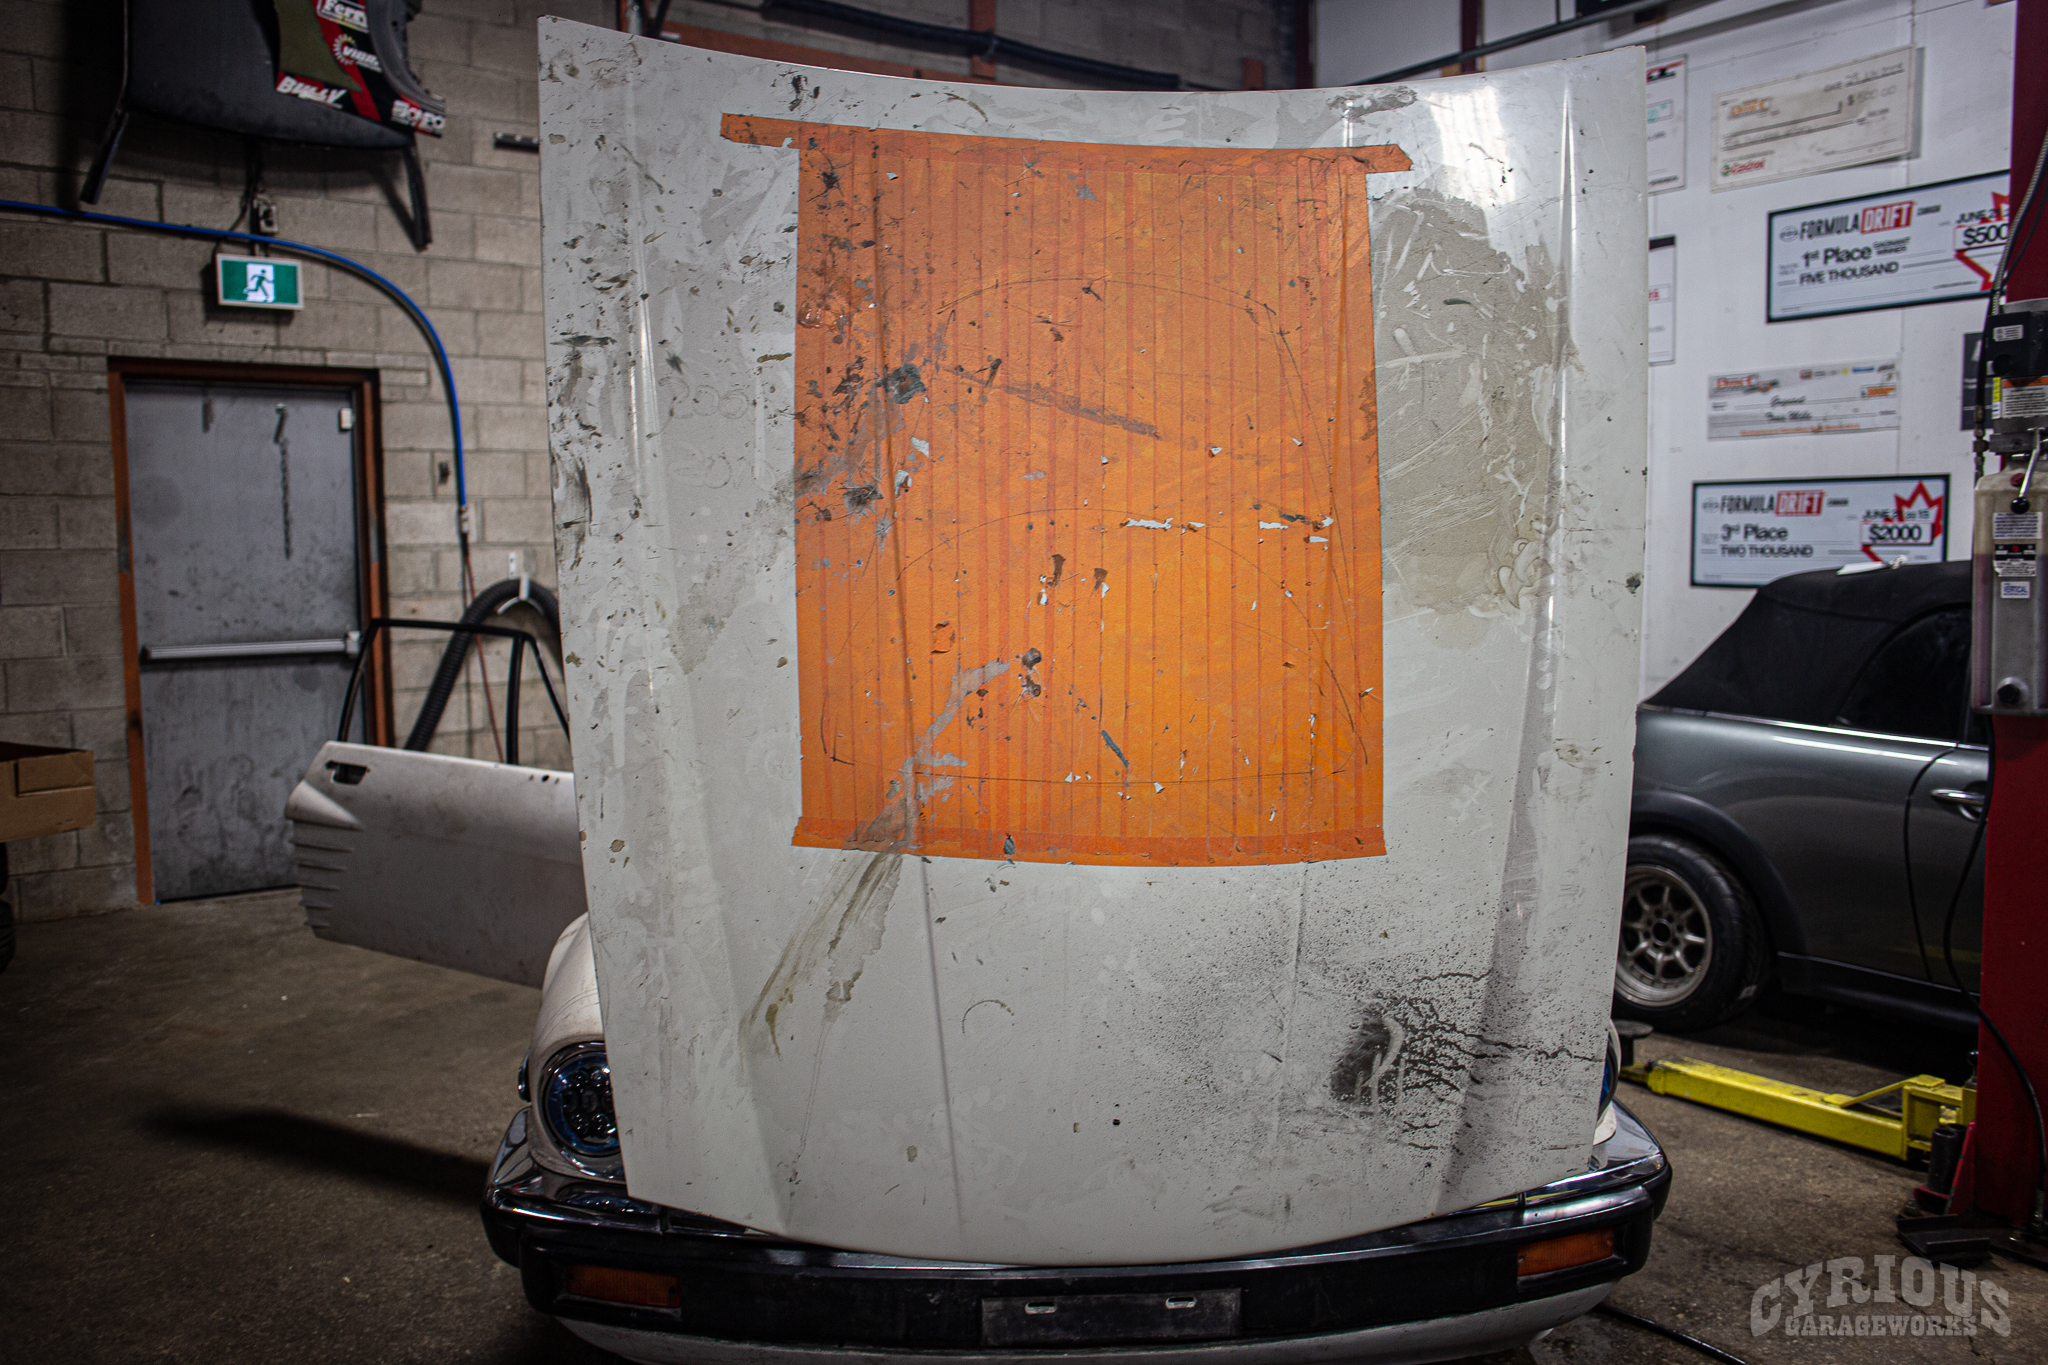
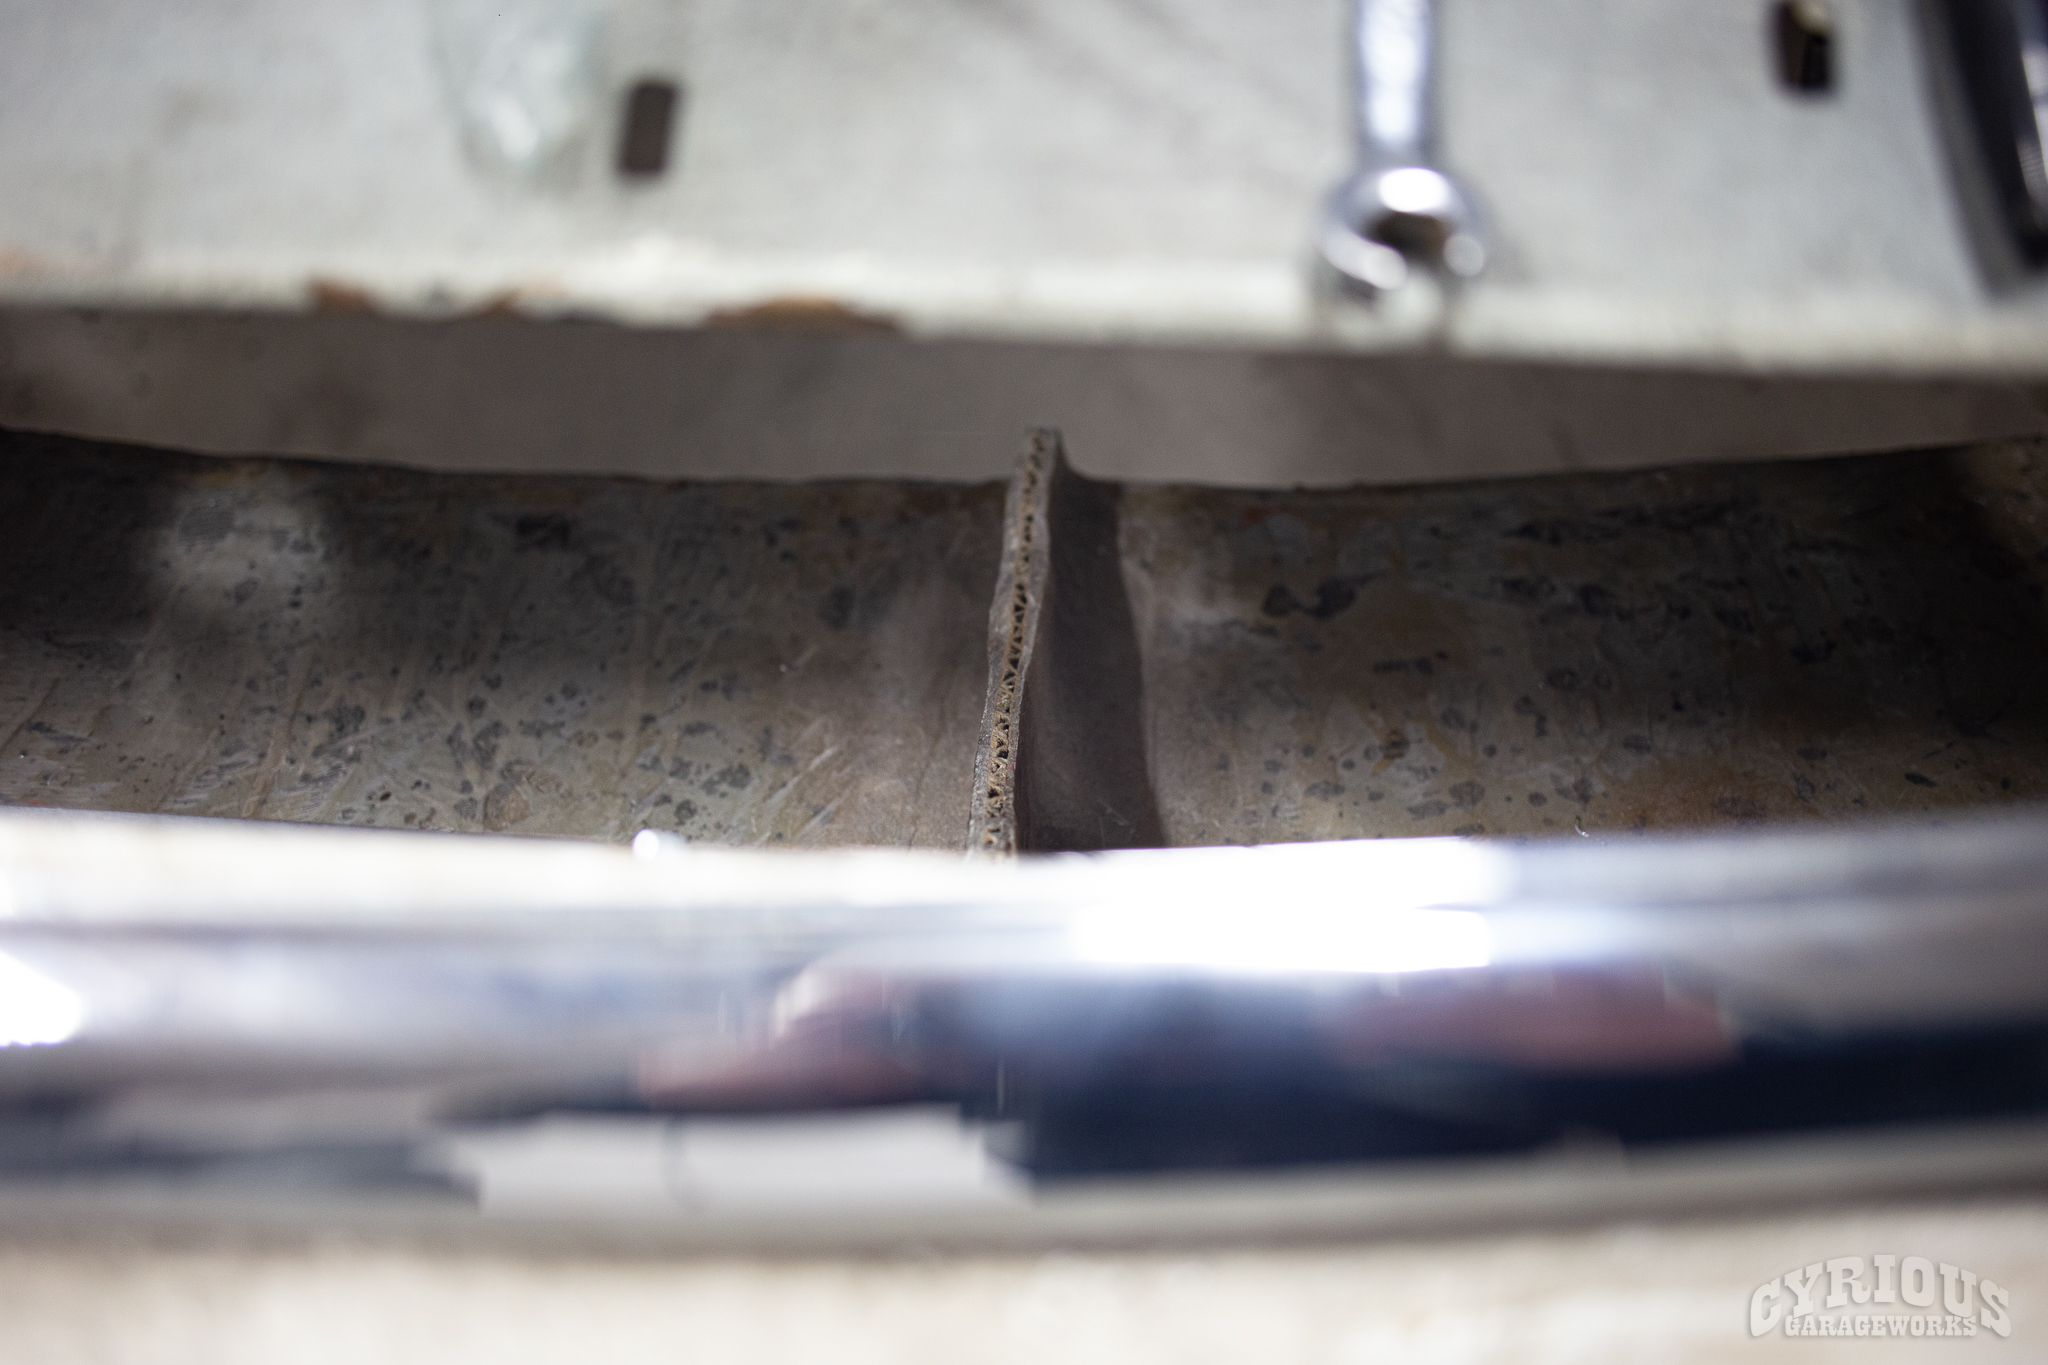
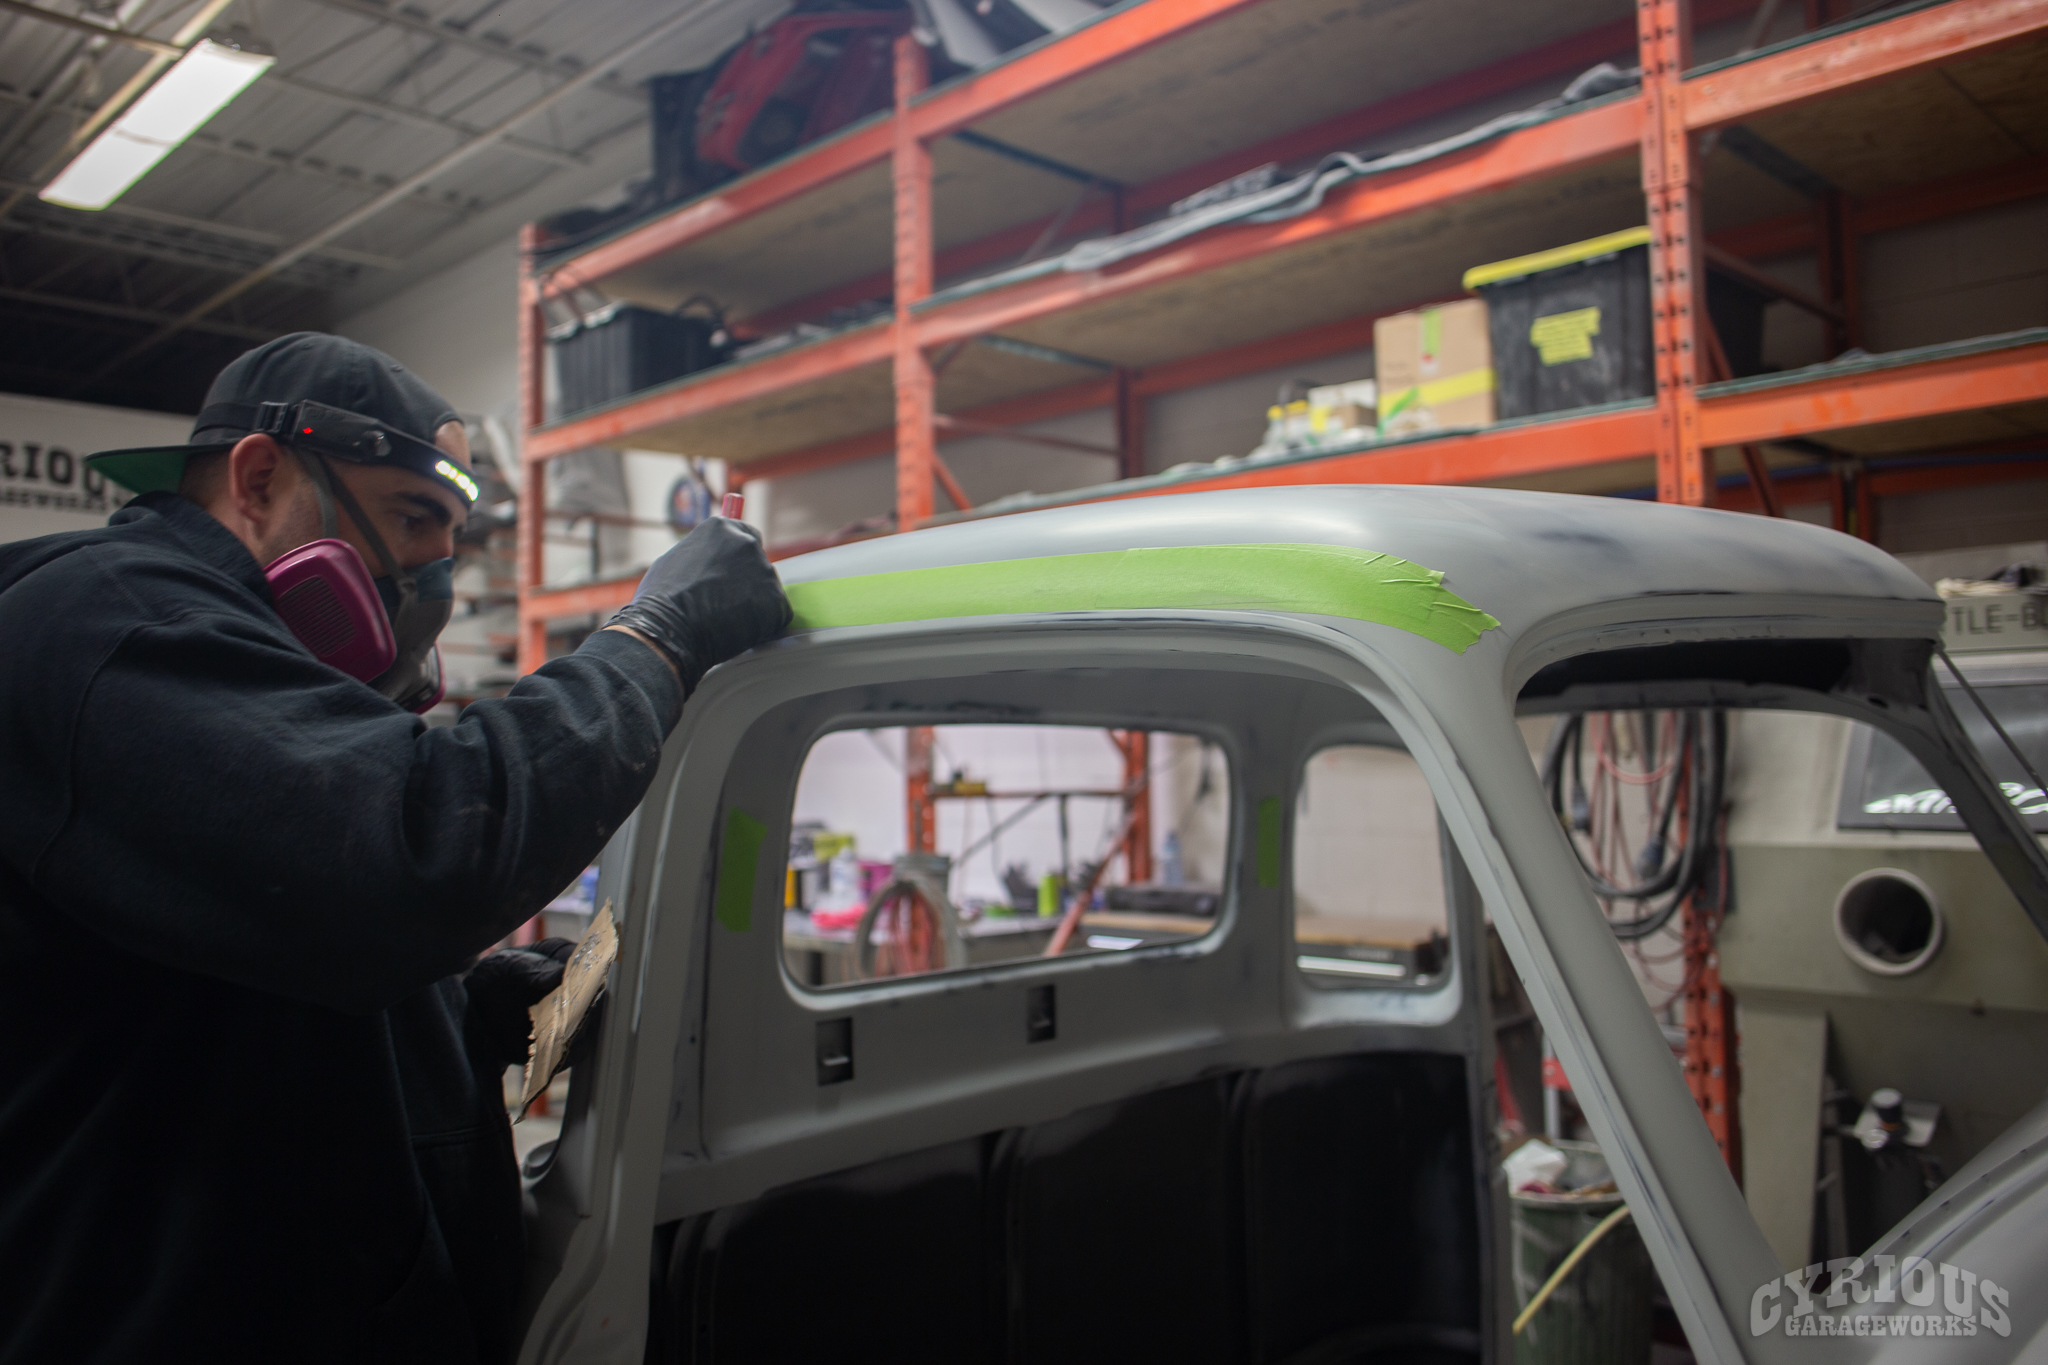
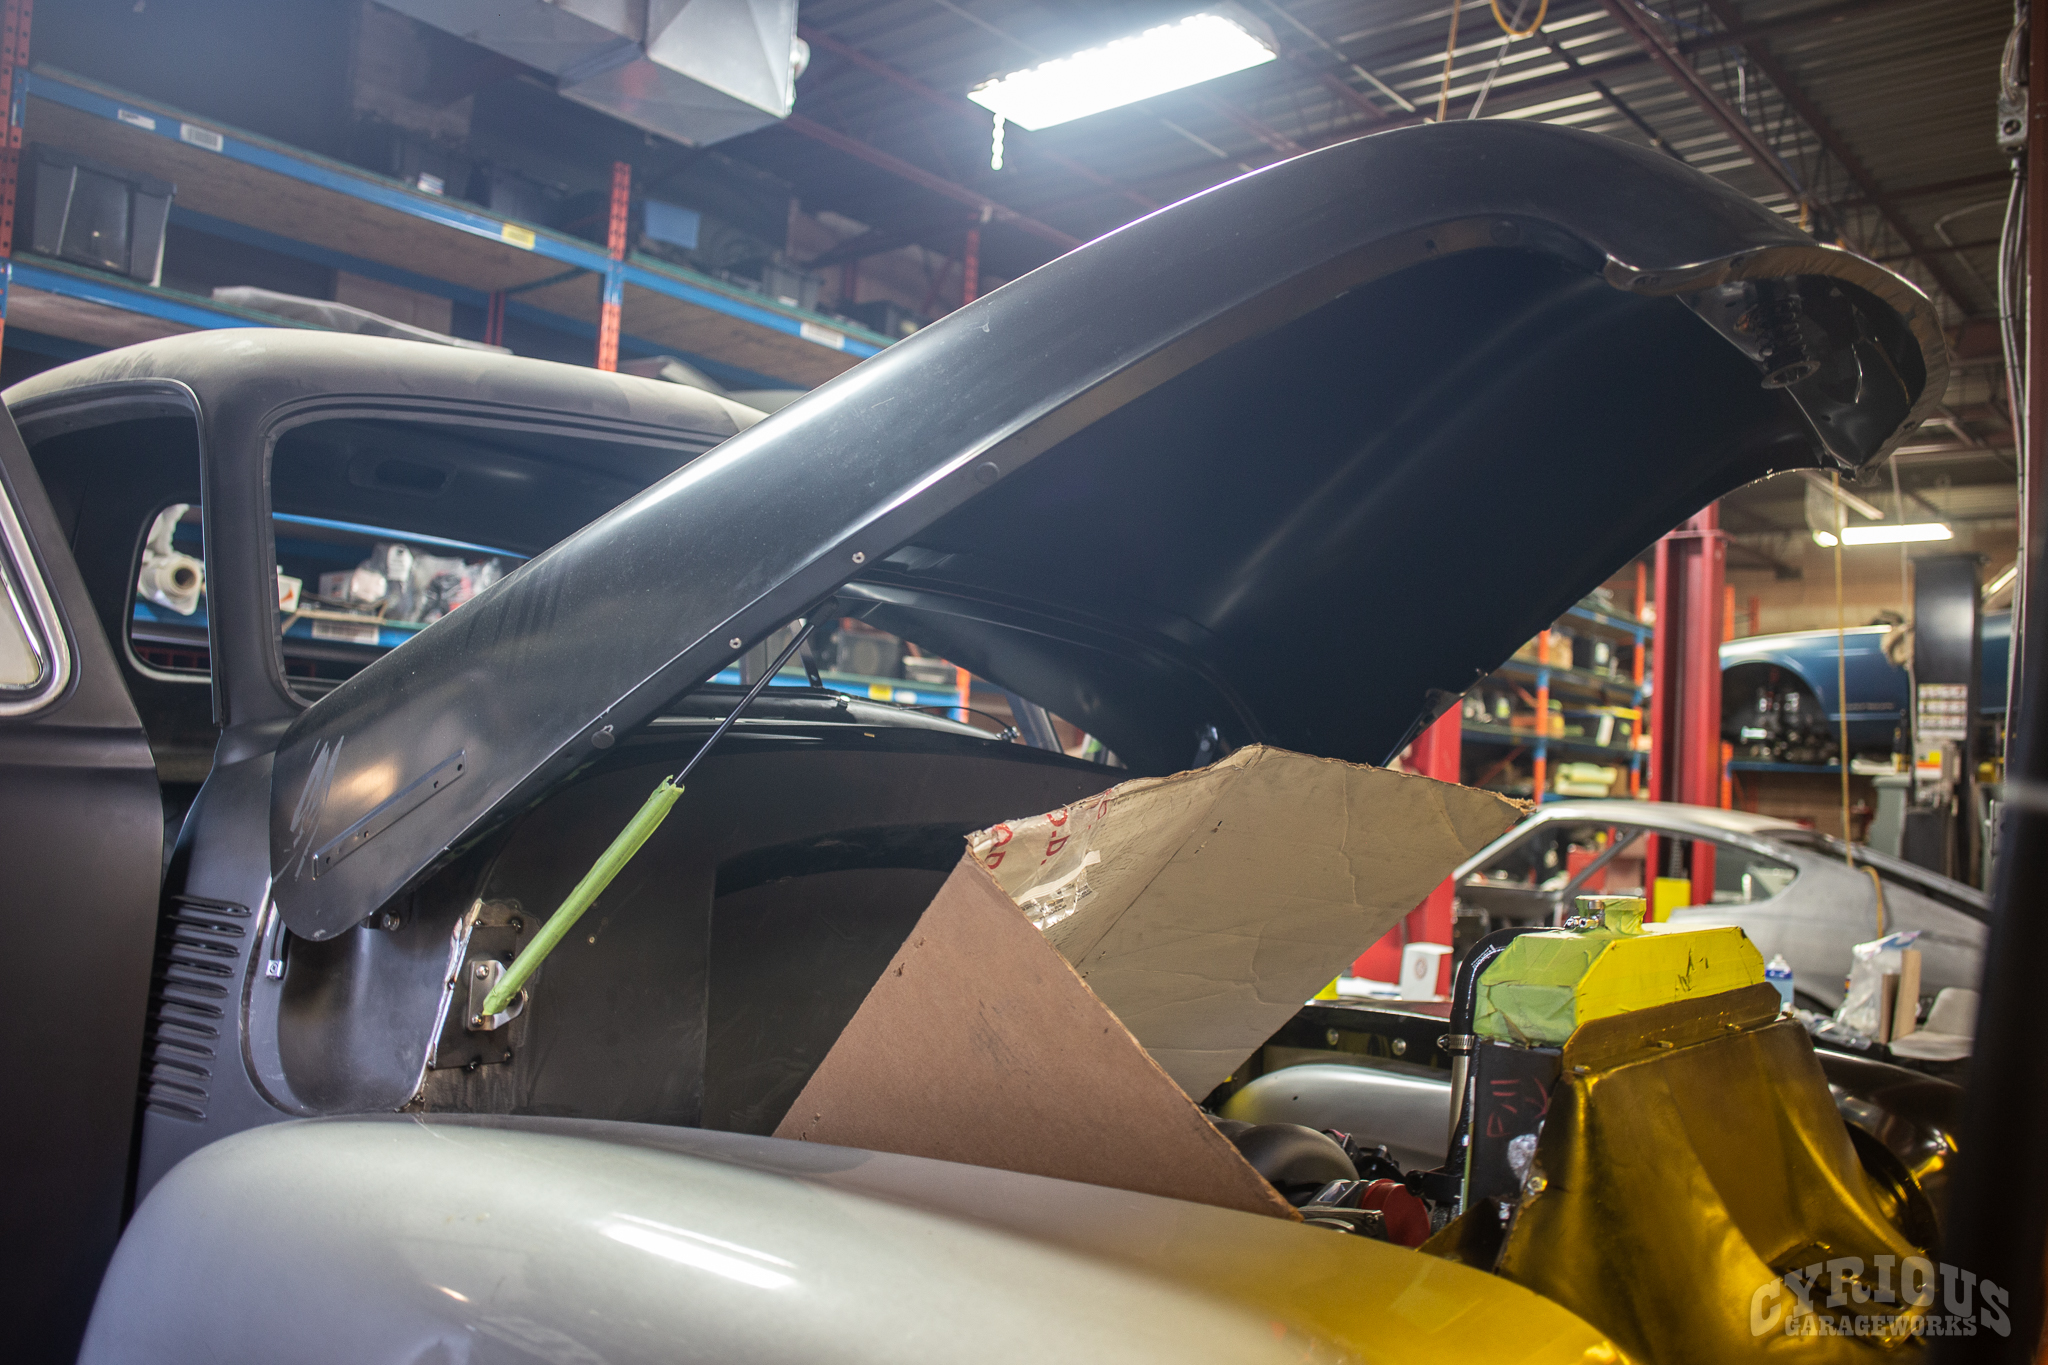
Cardboard may work in this situation, but probably isn’t the best choice.
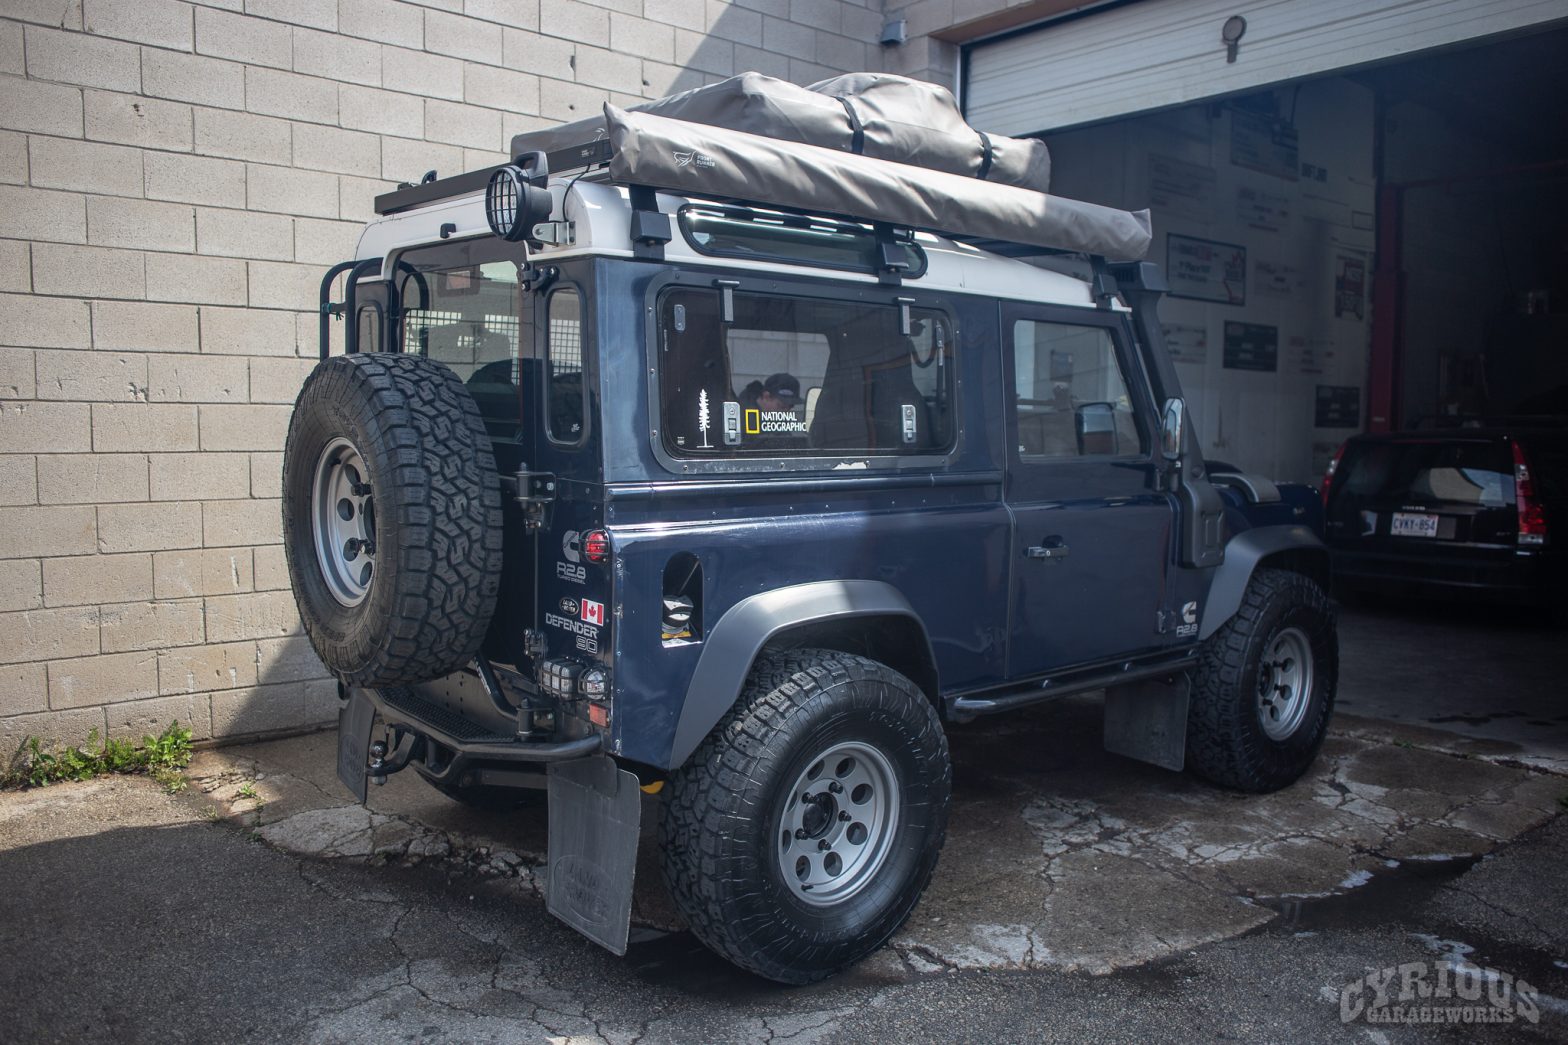
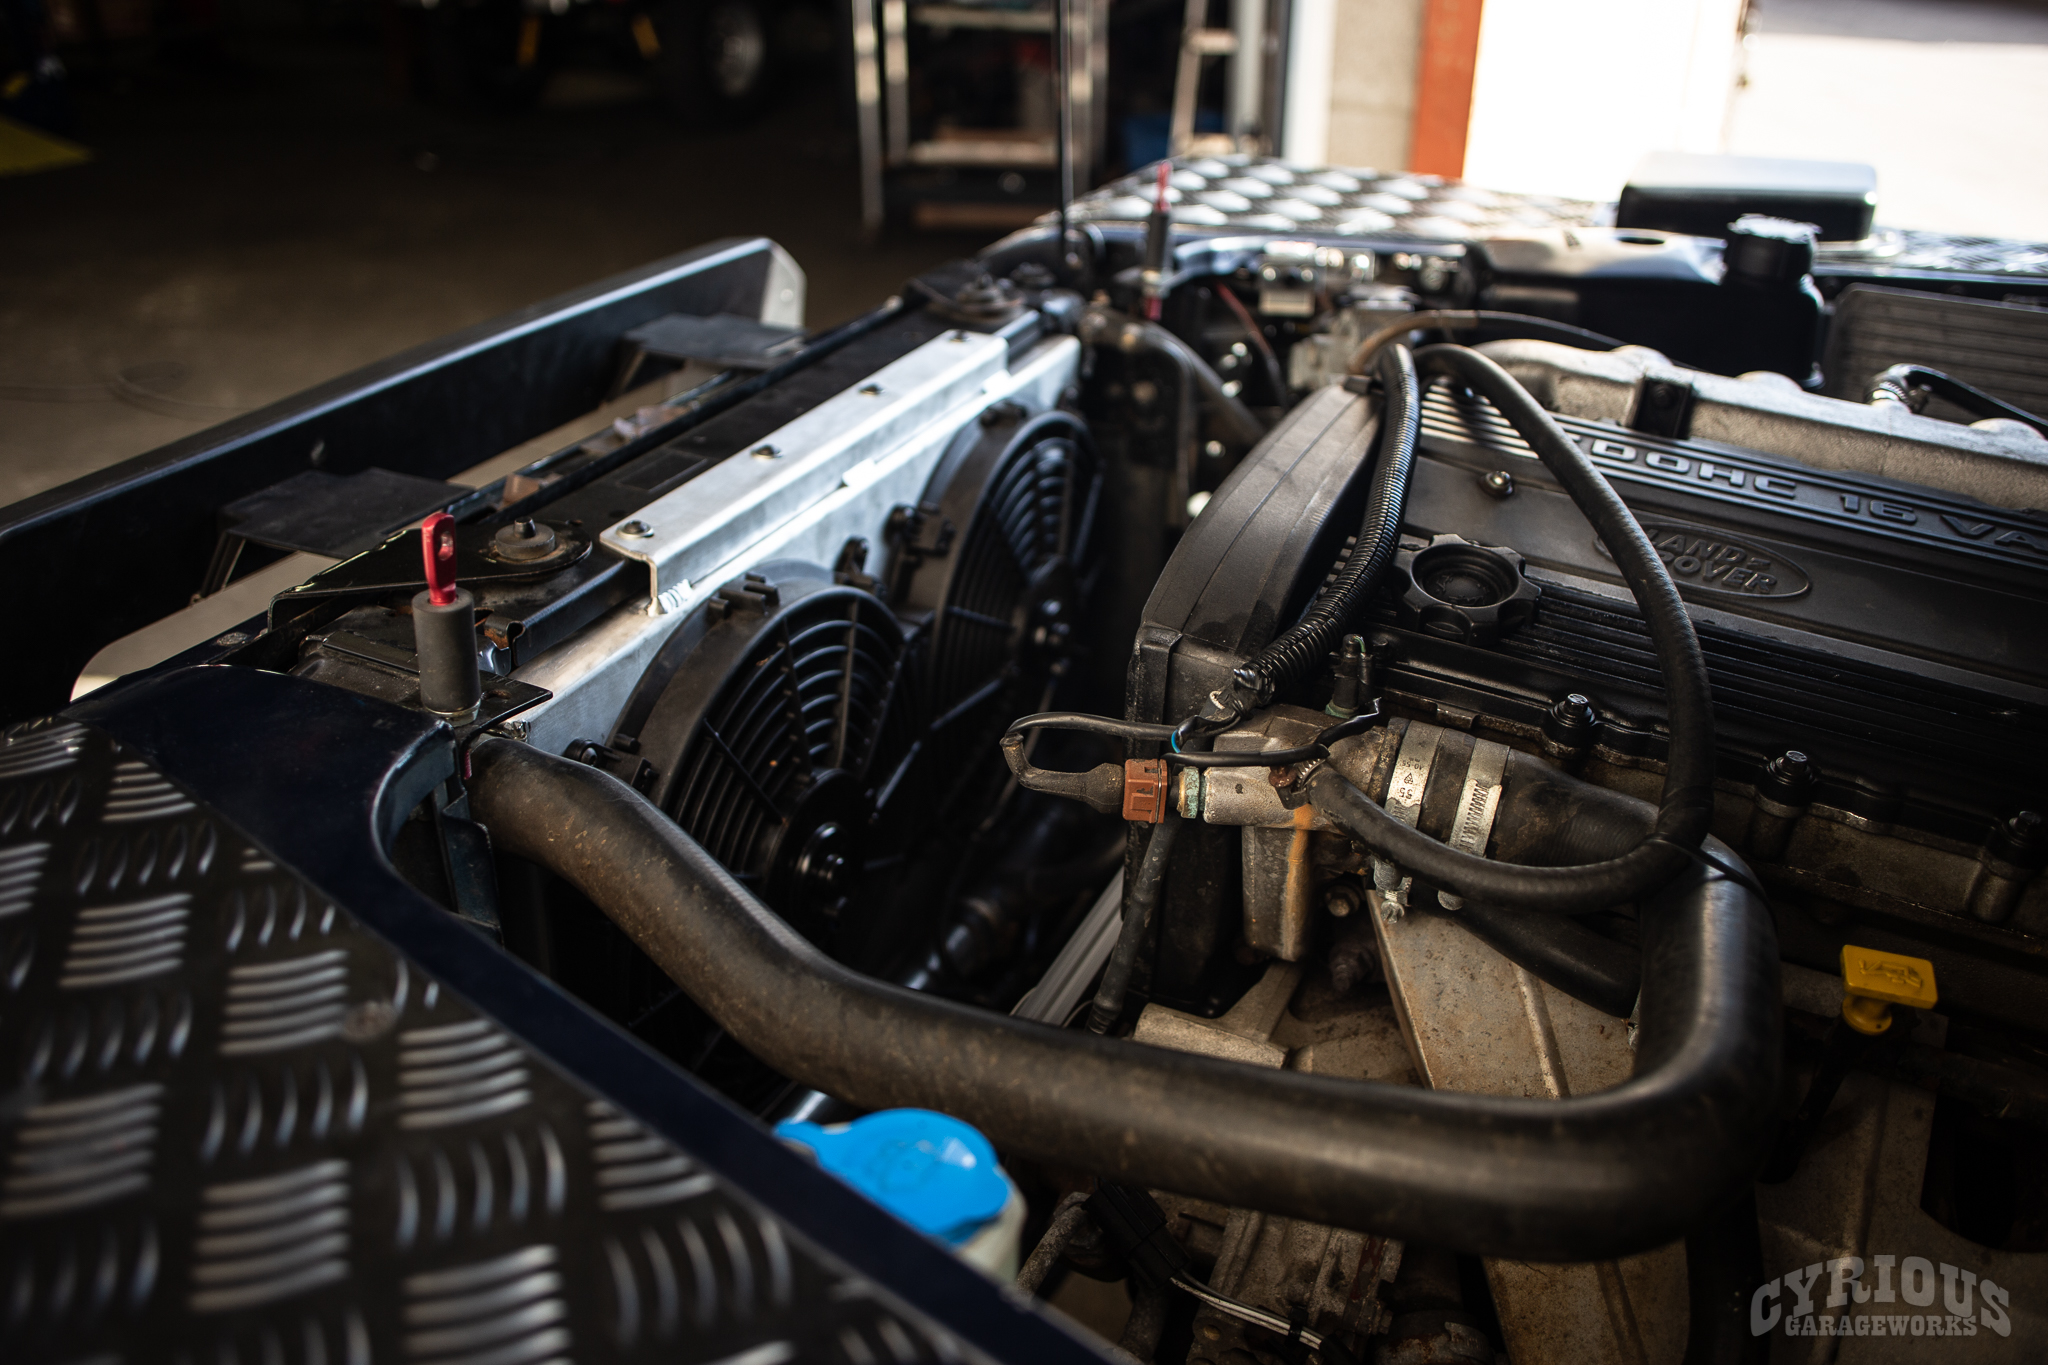
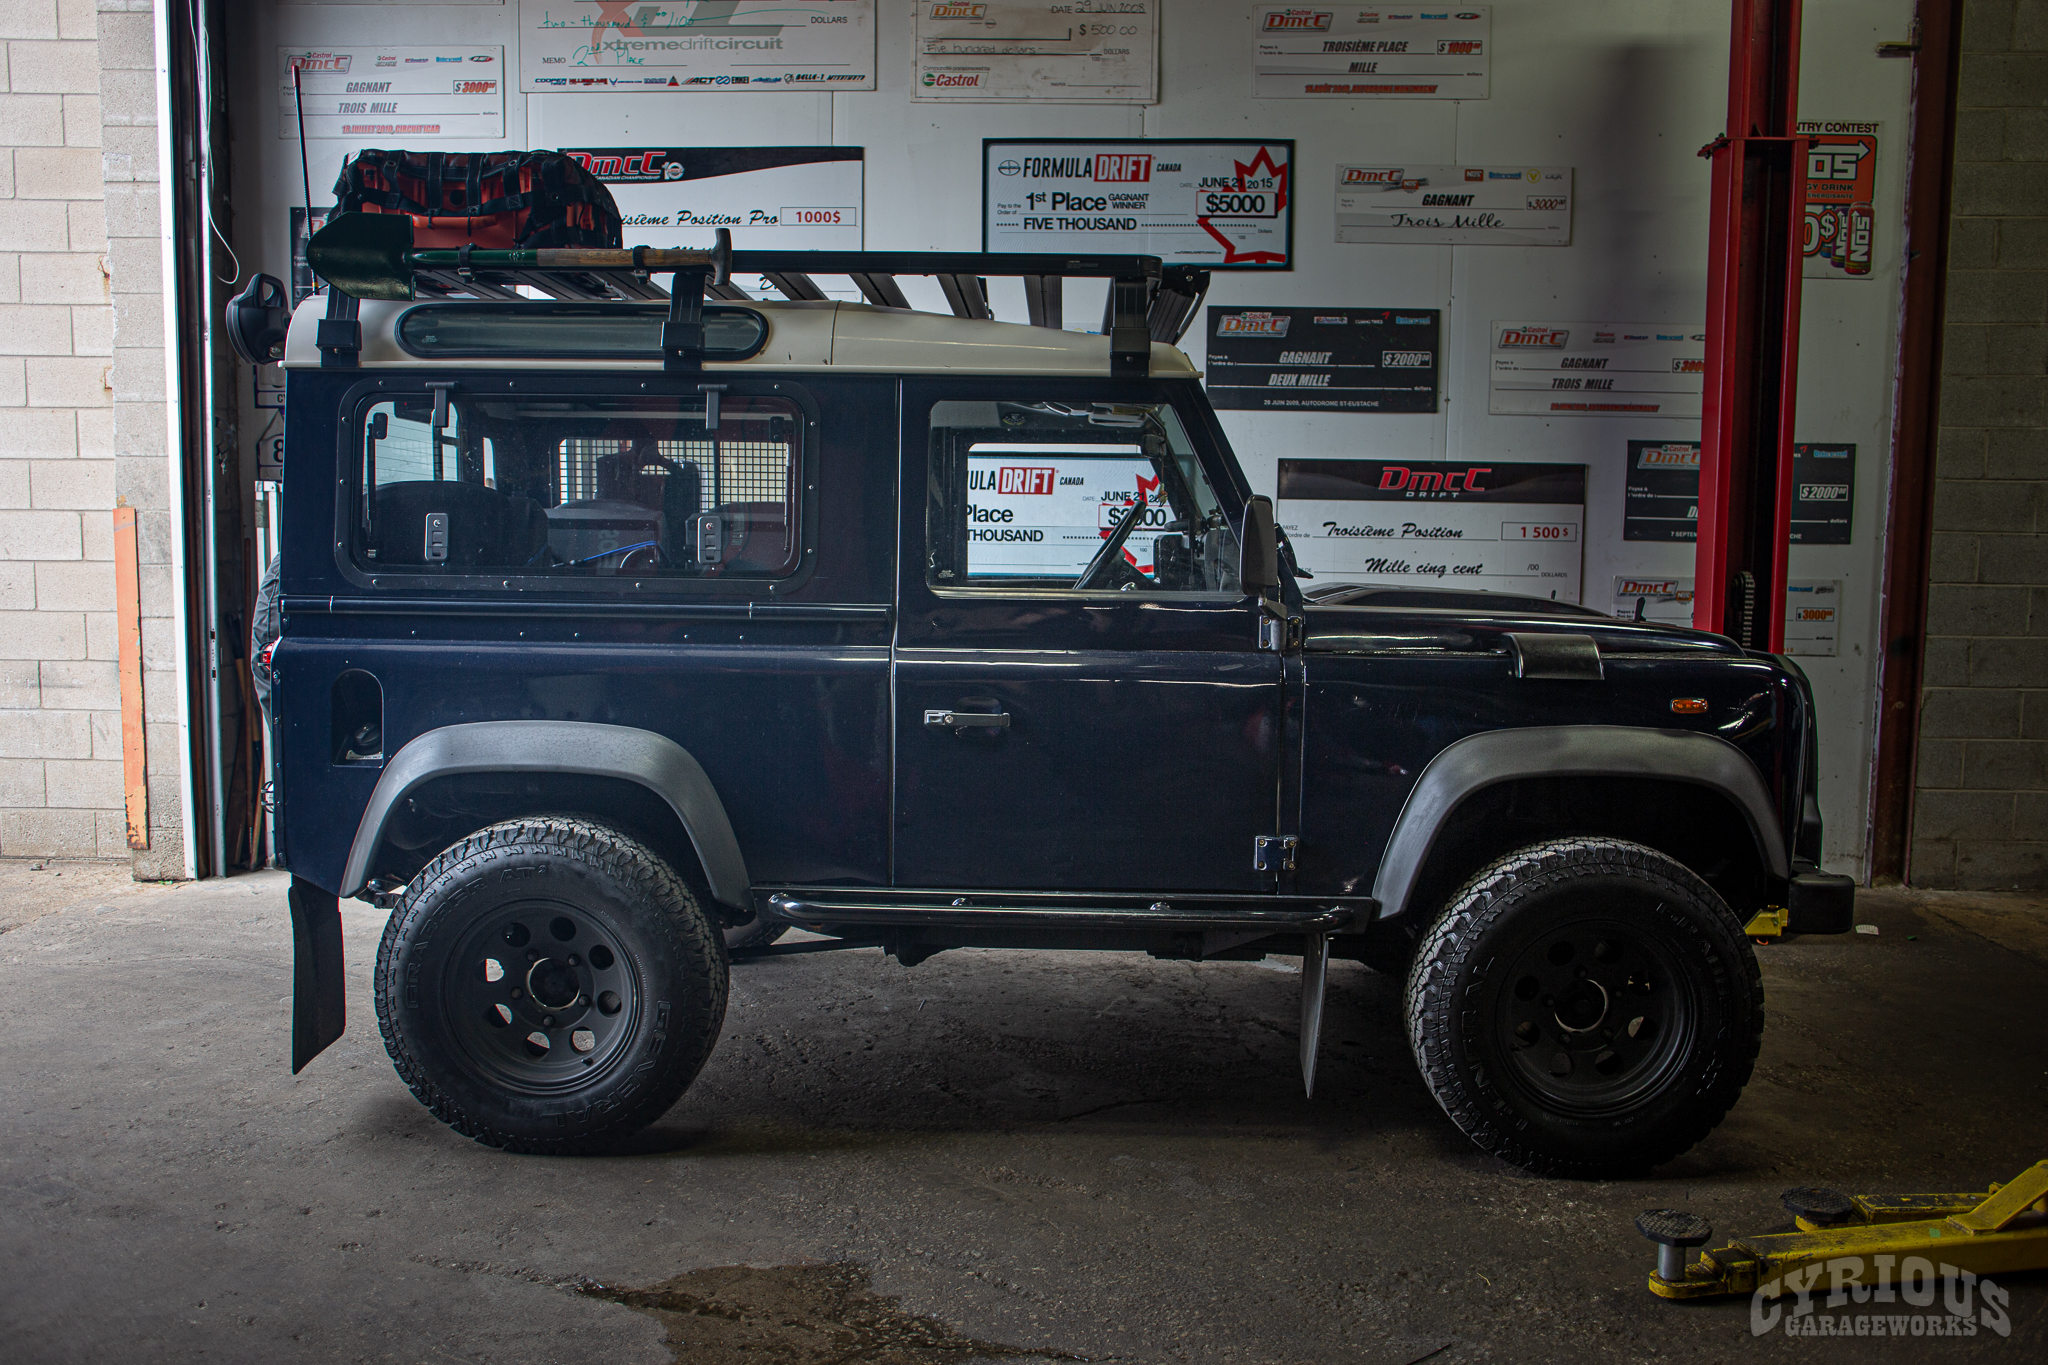
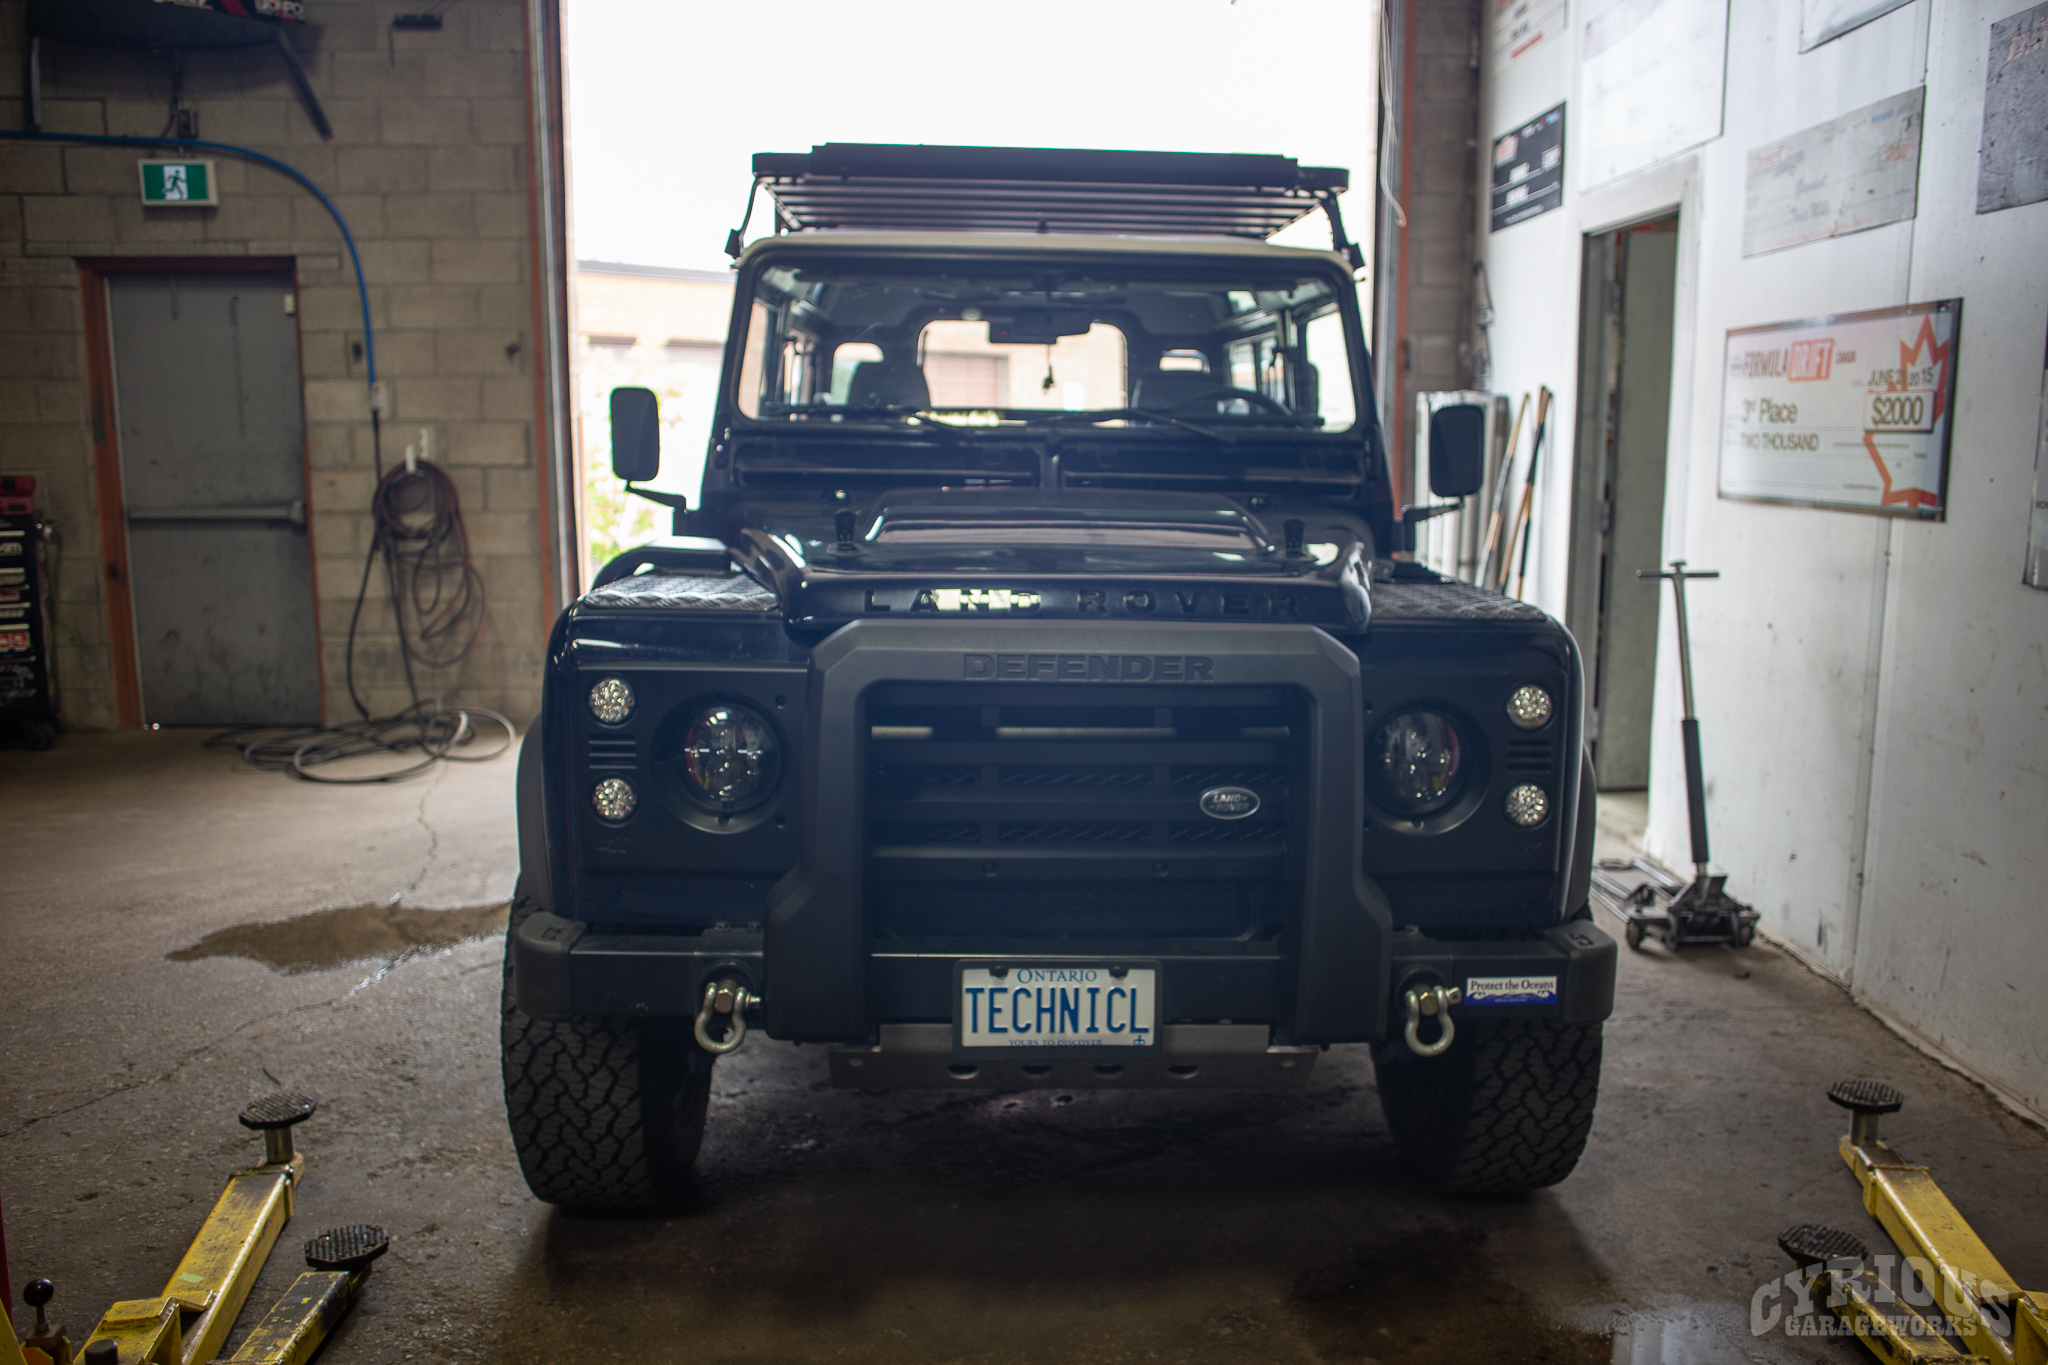
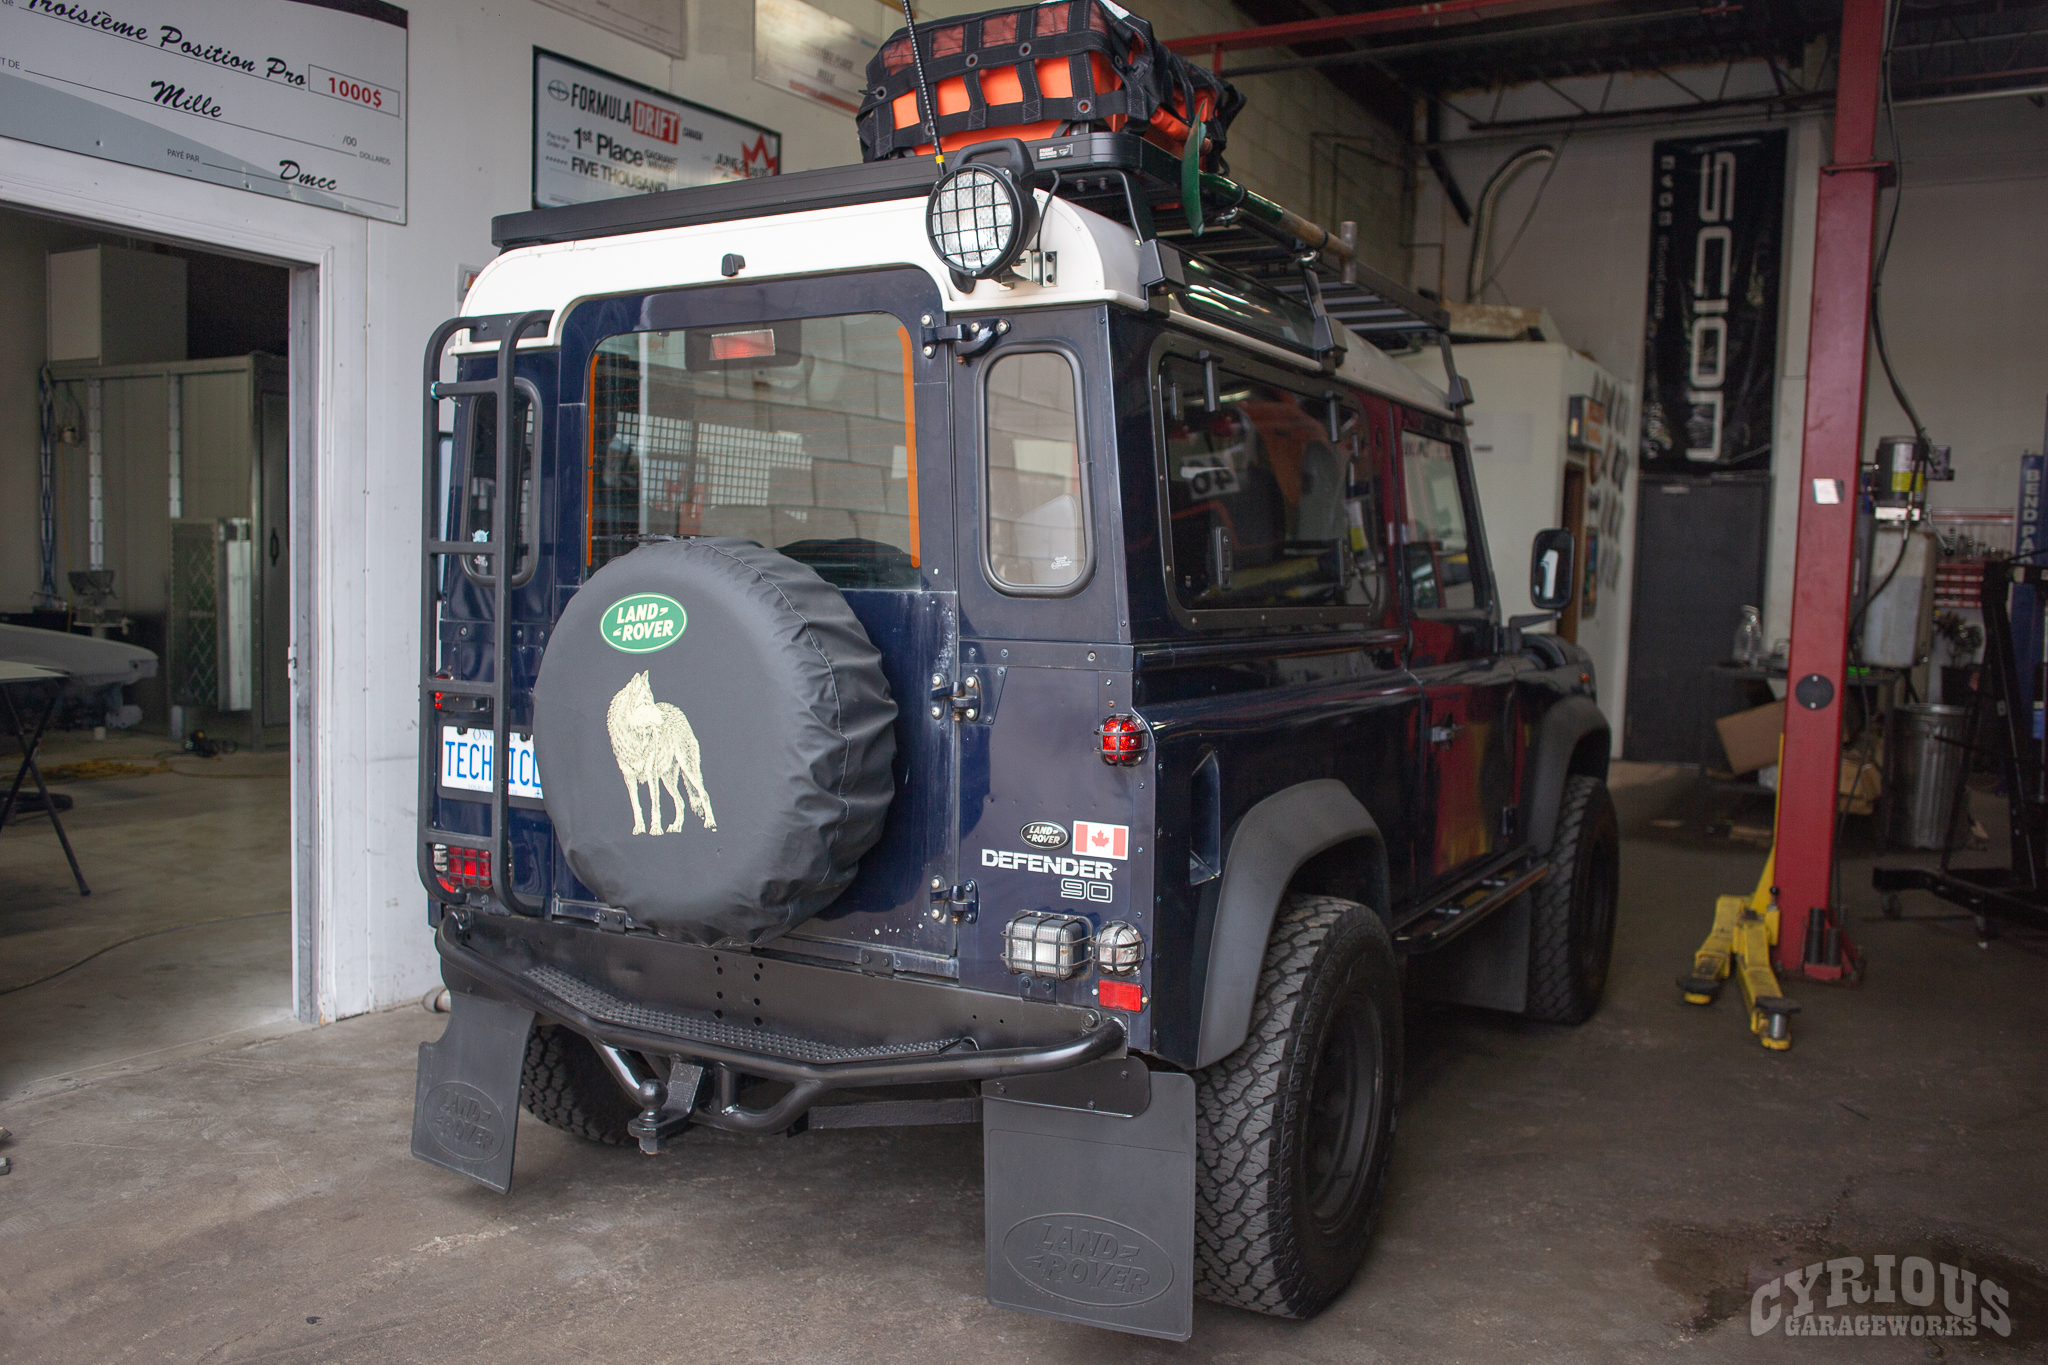
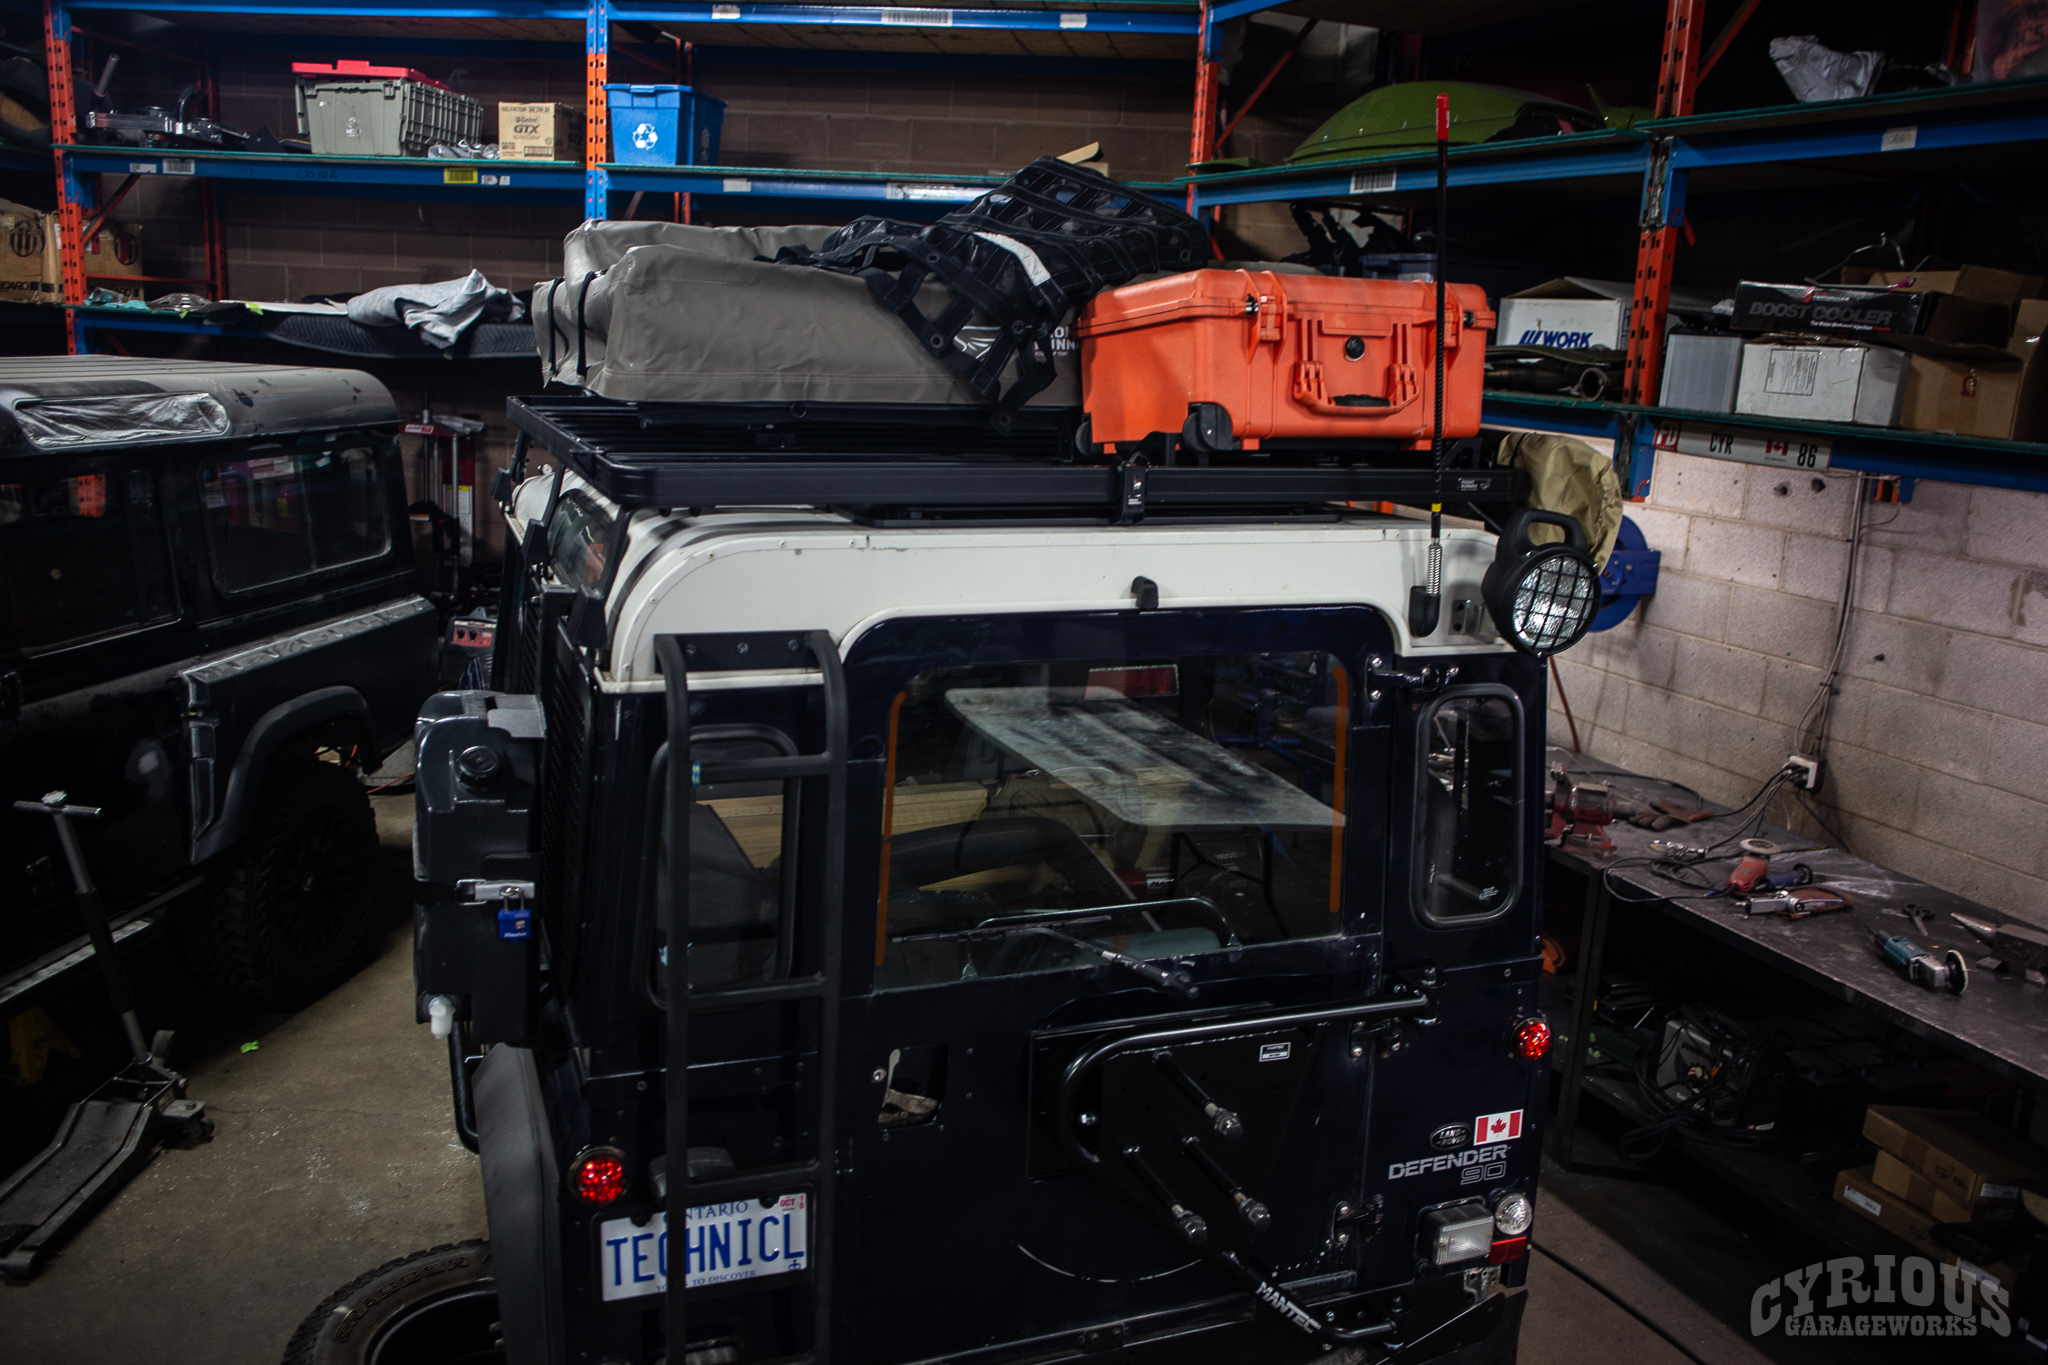
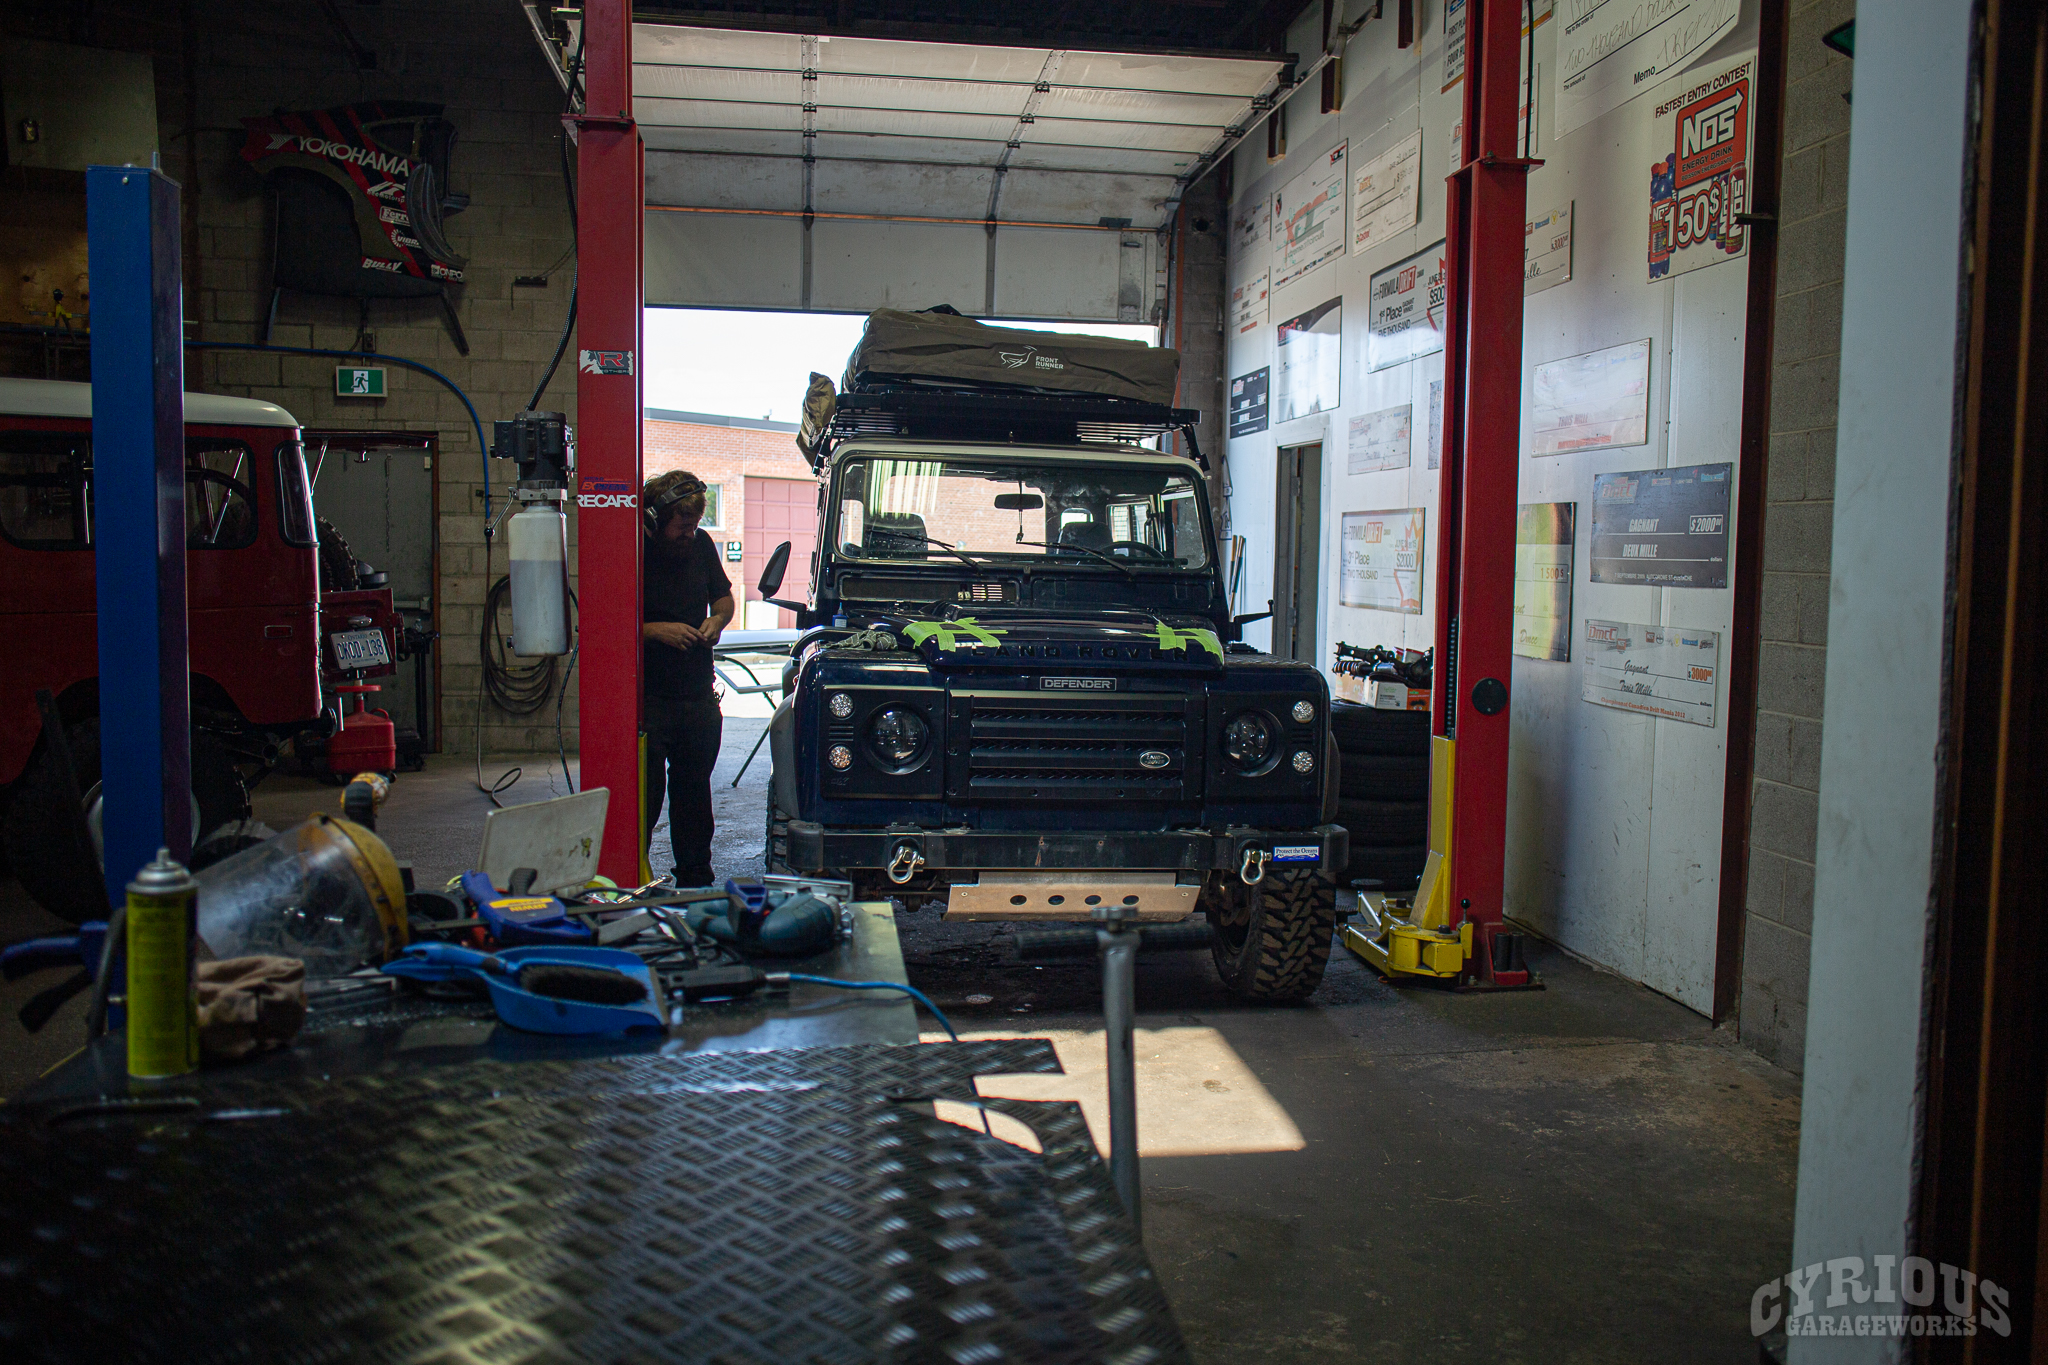
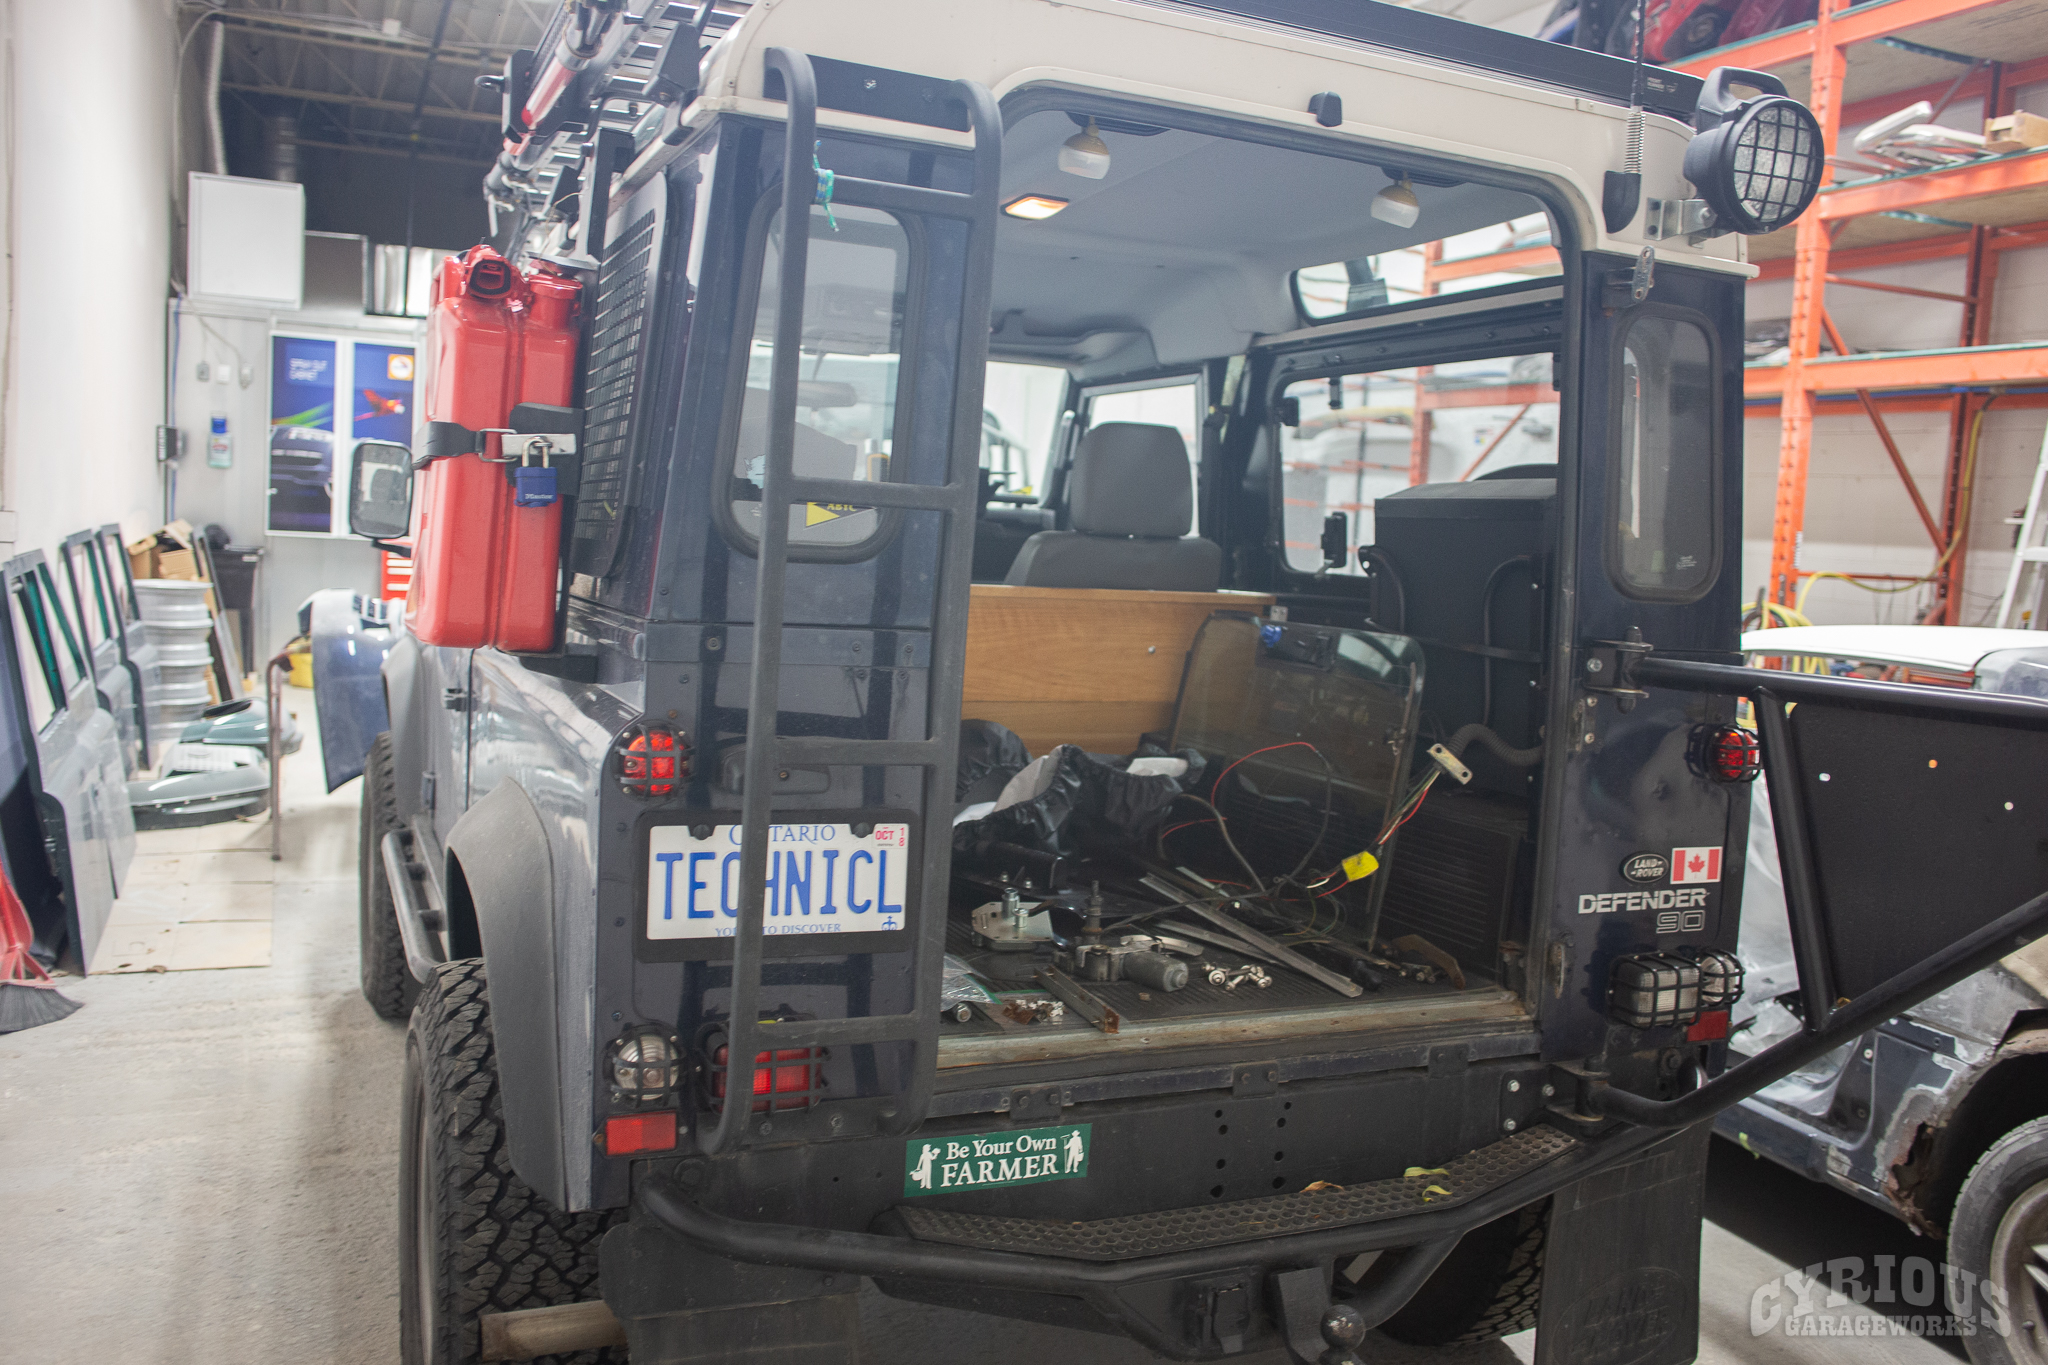
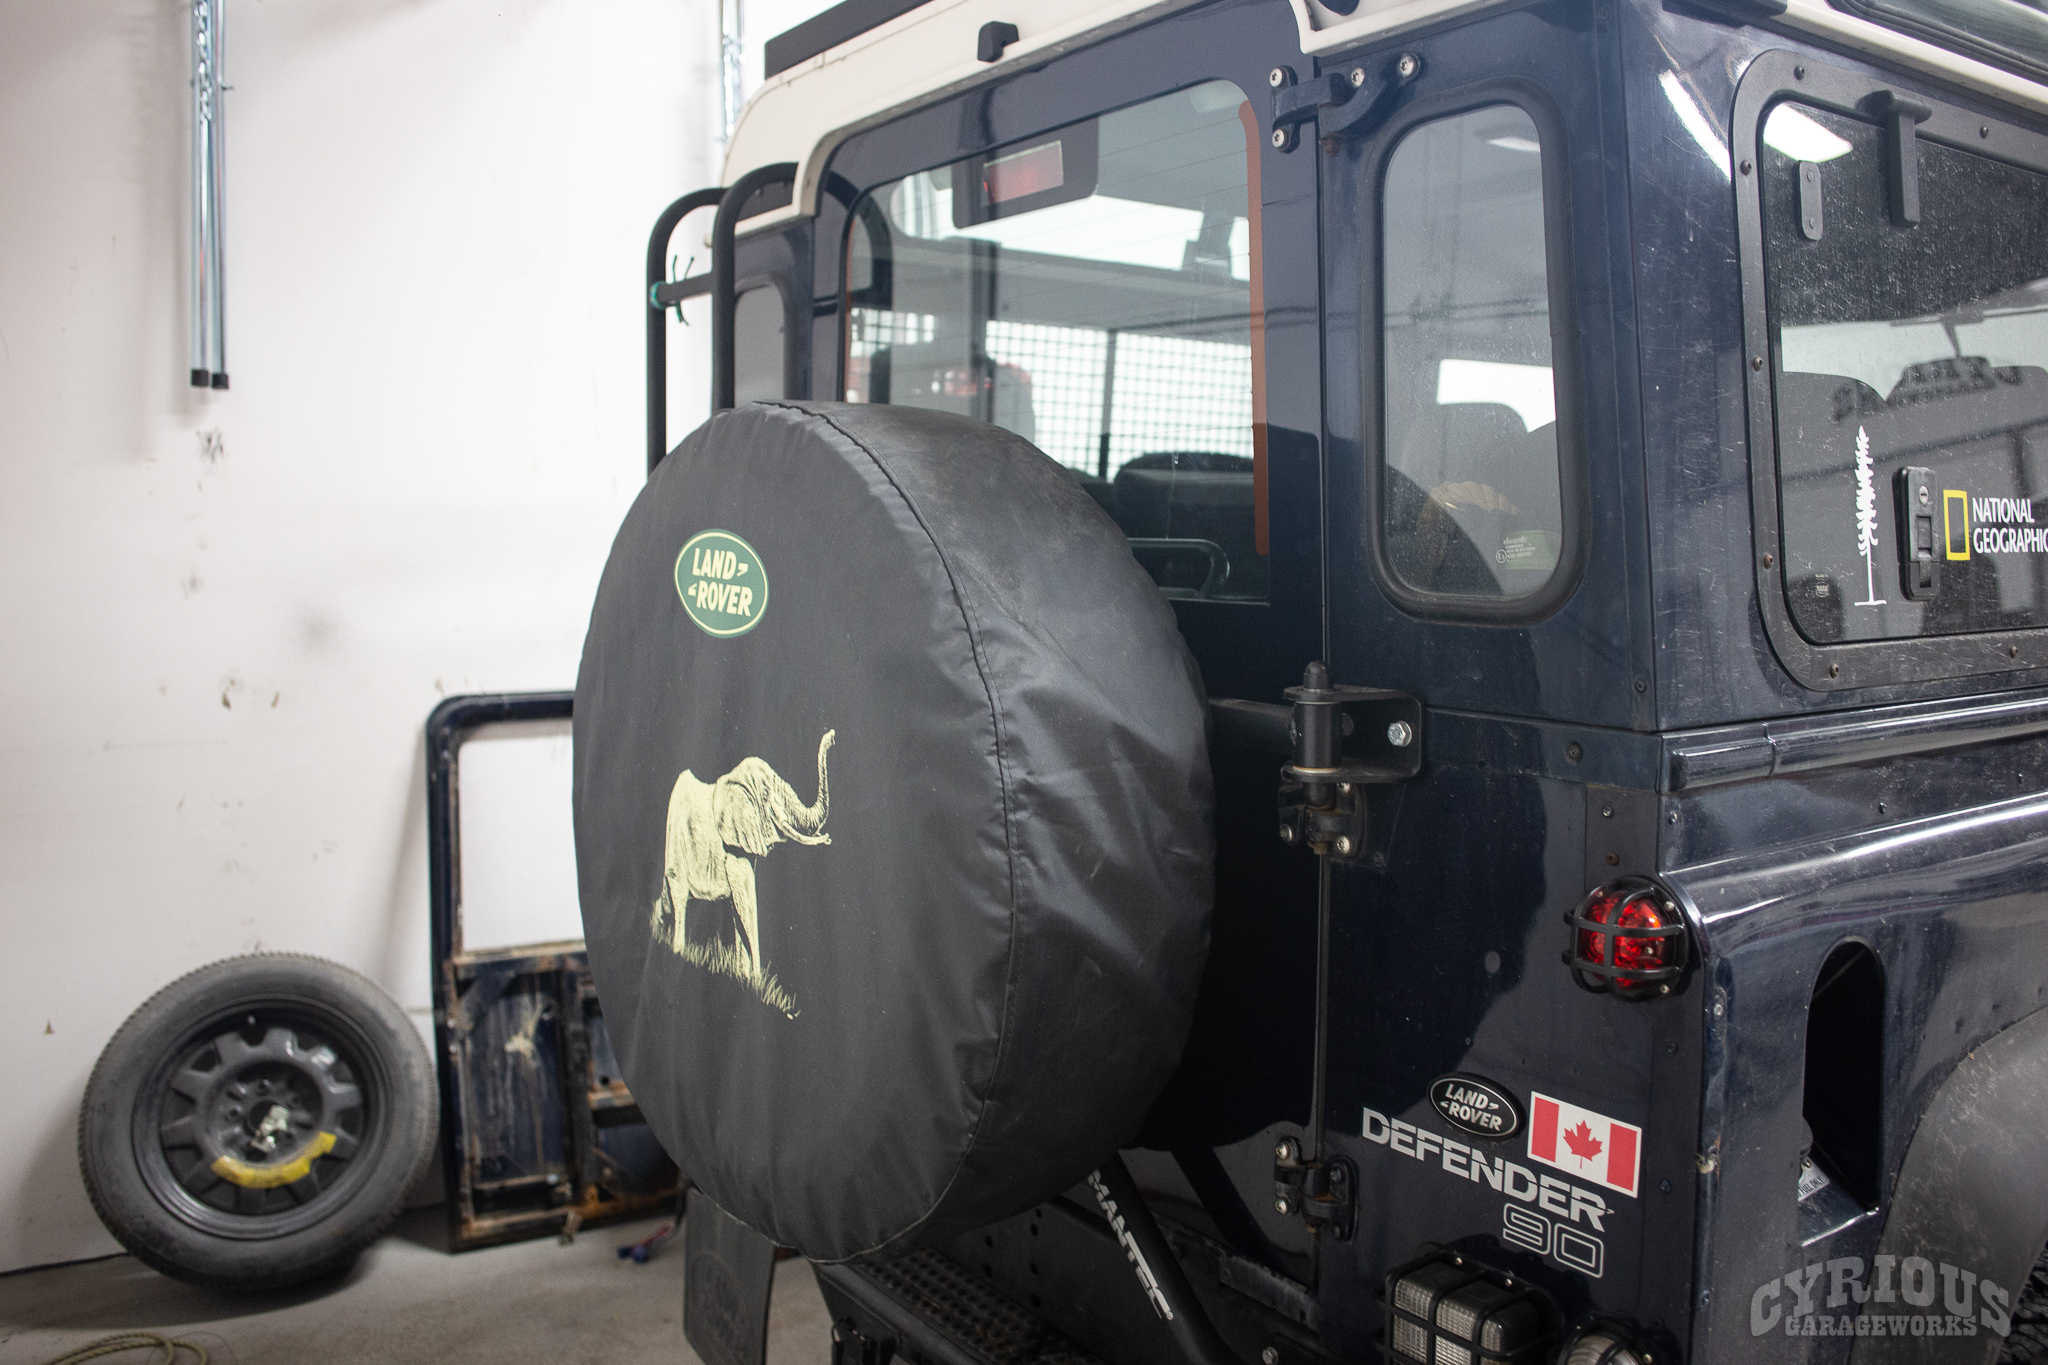
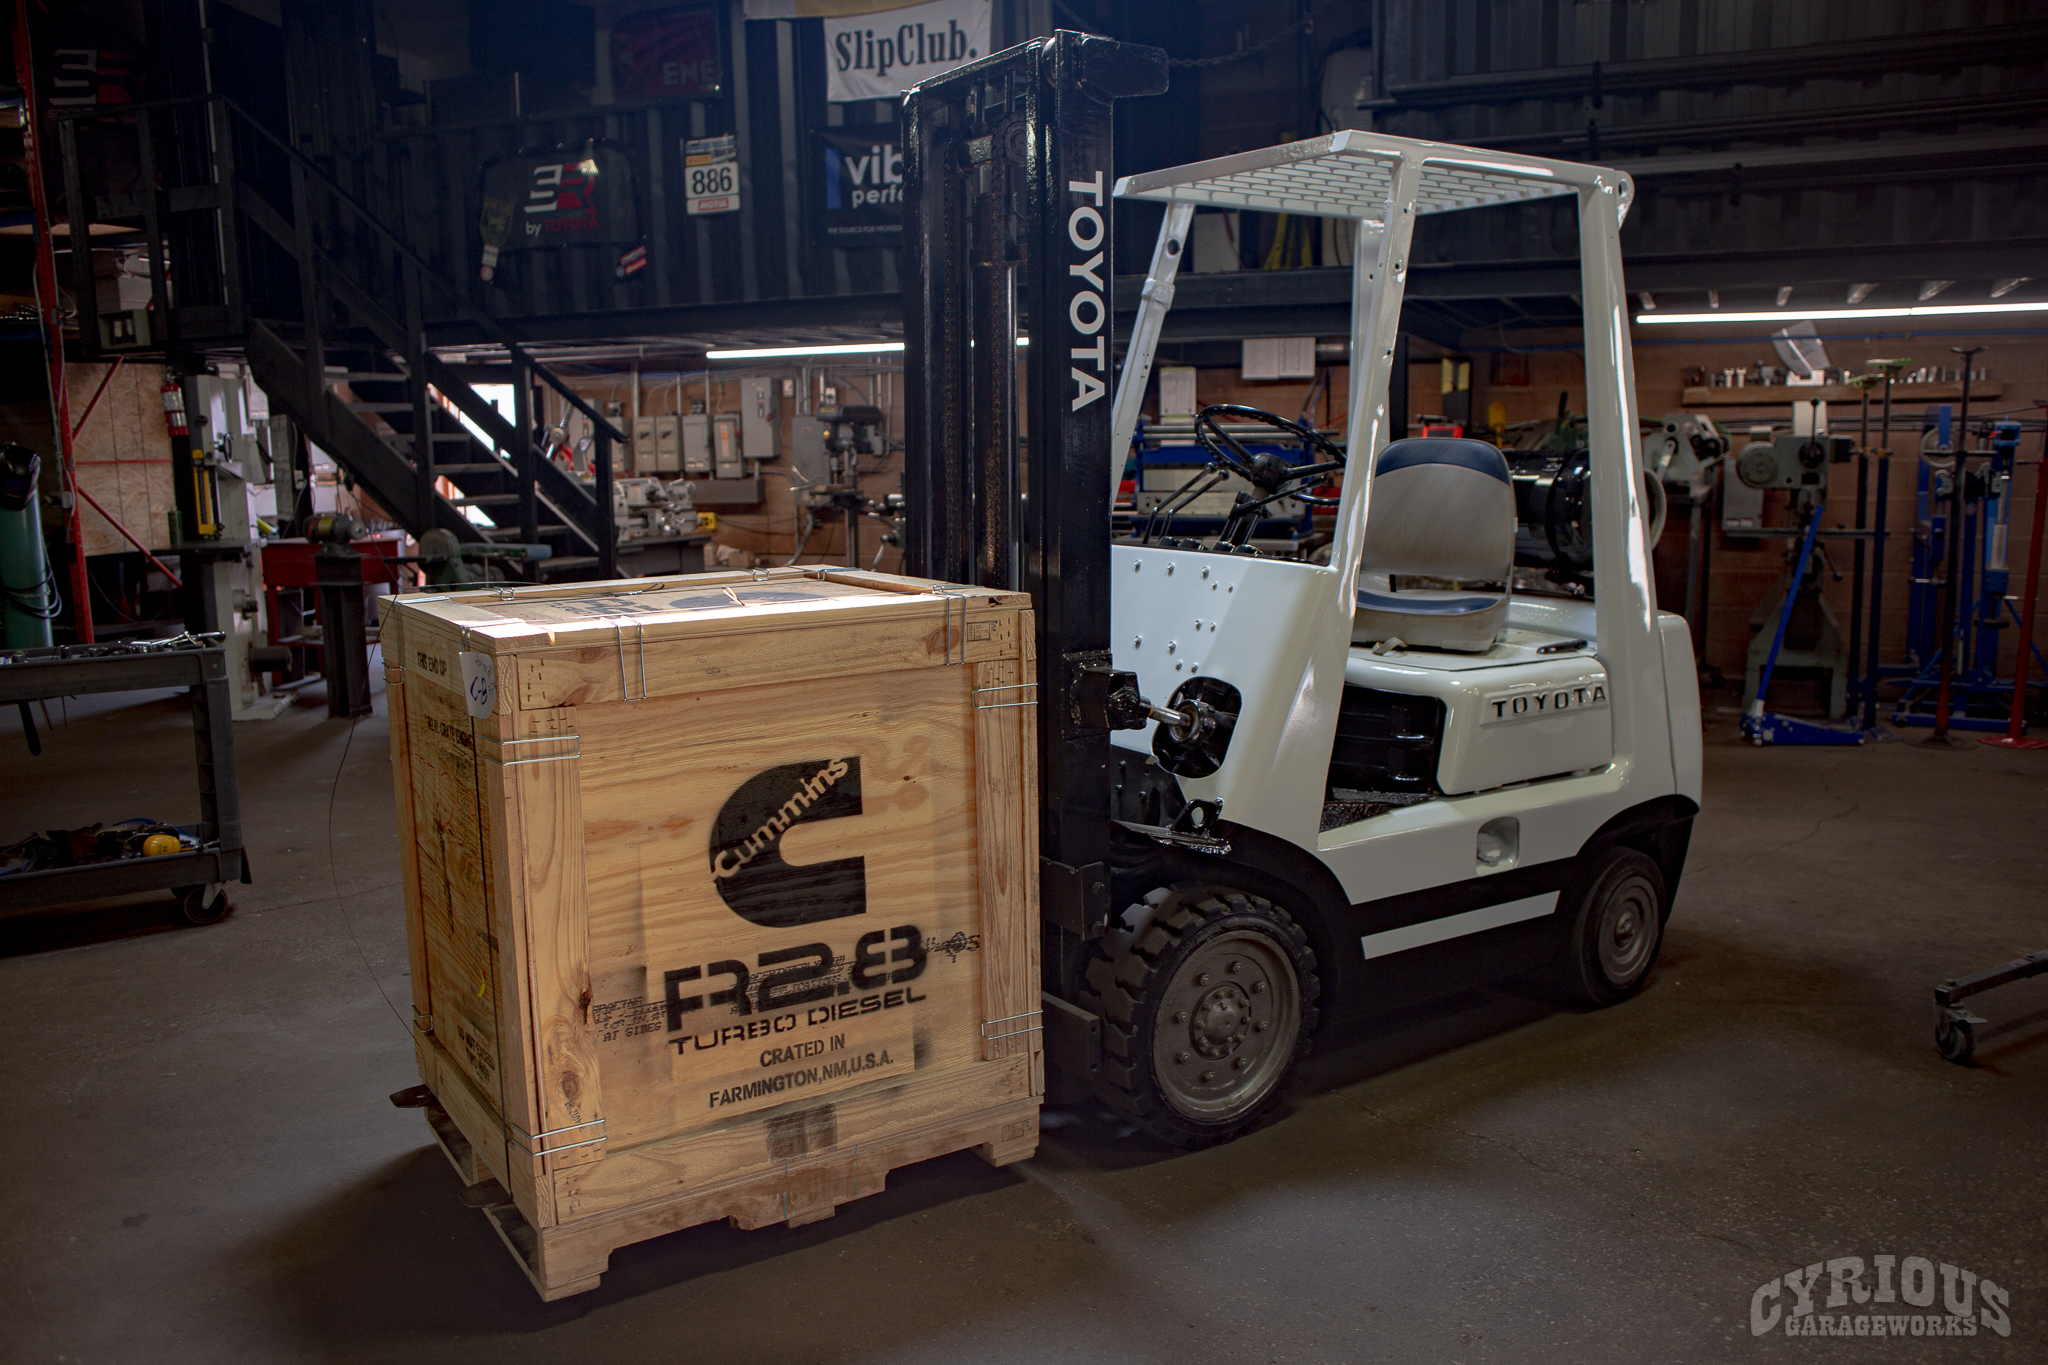
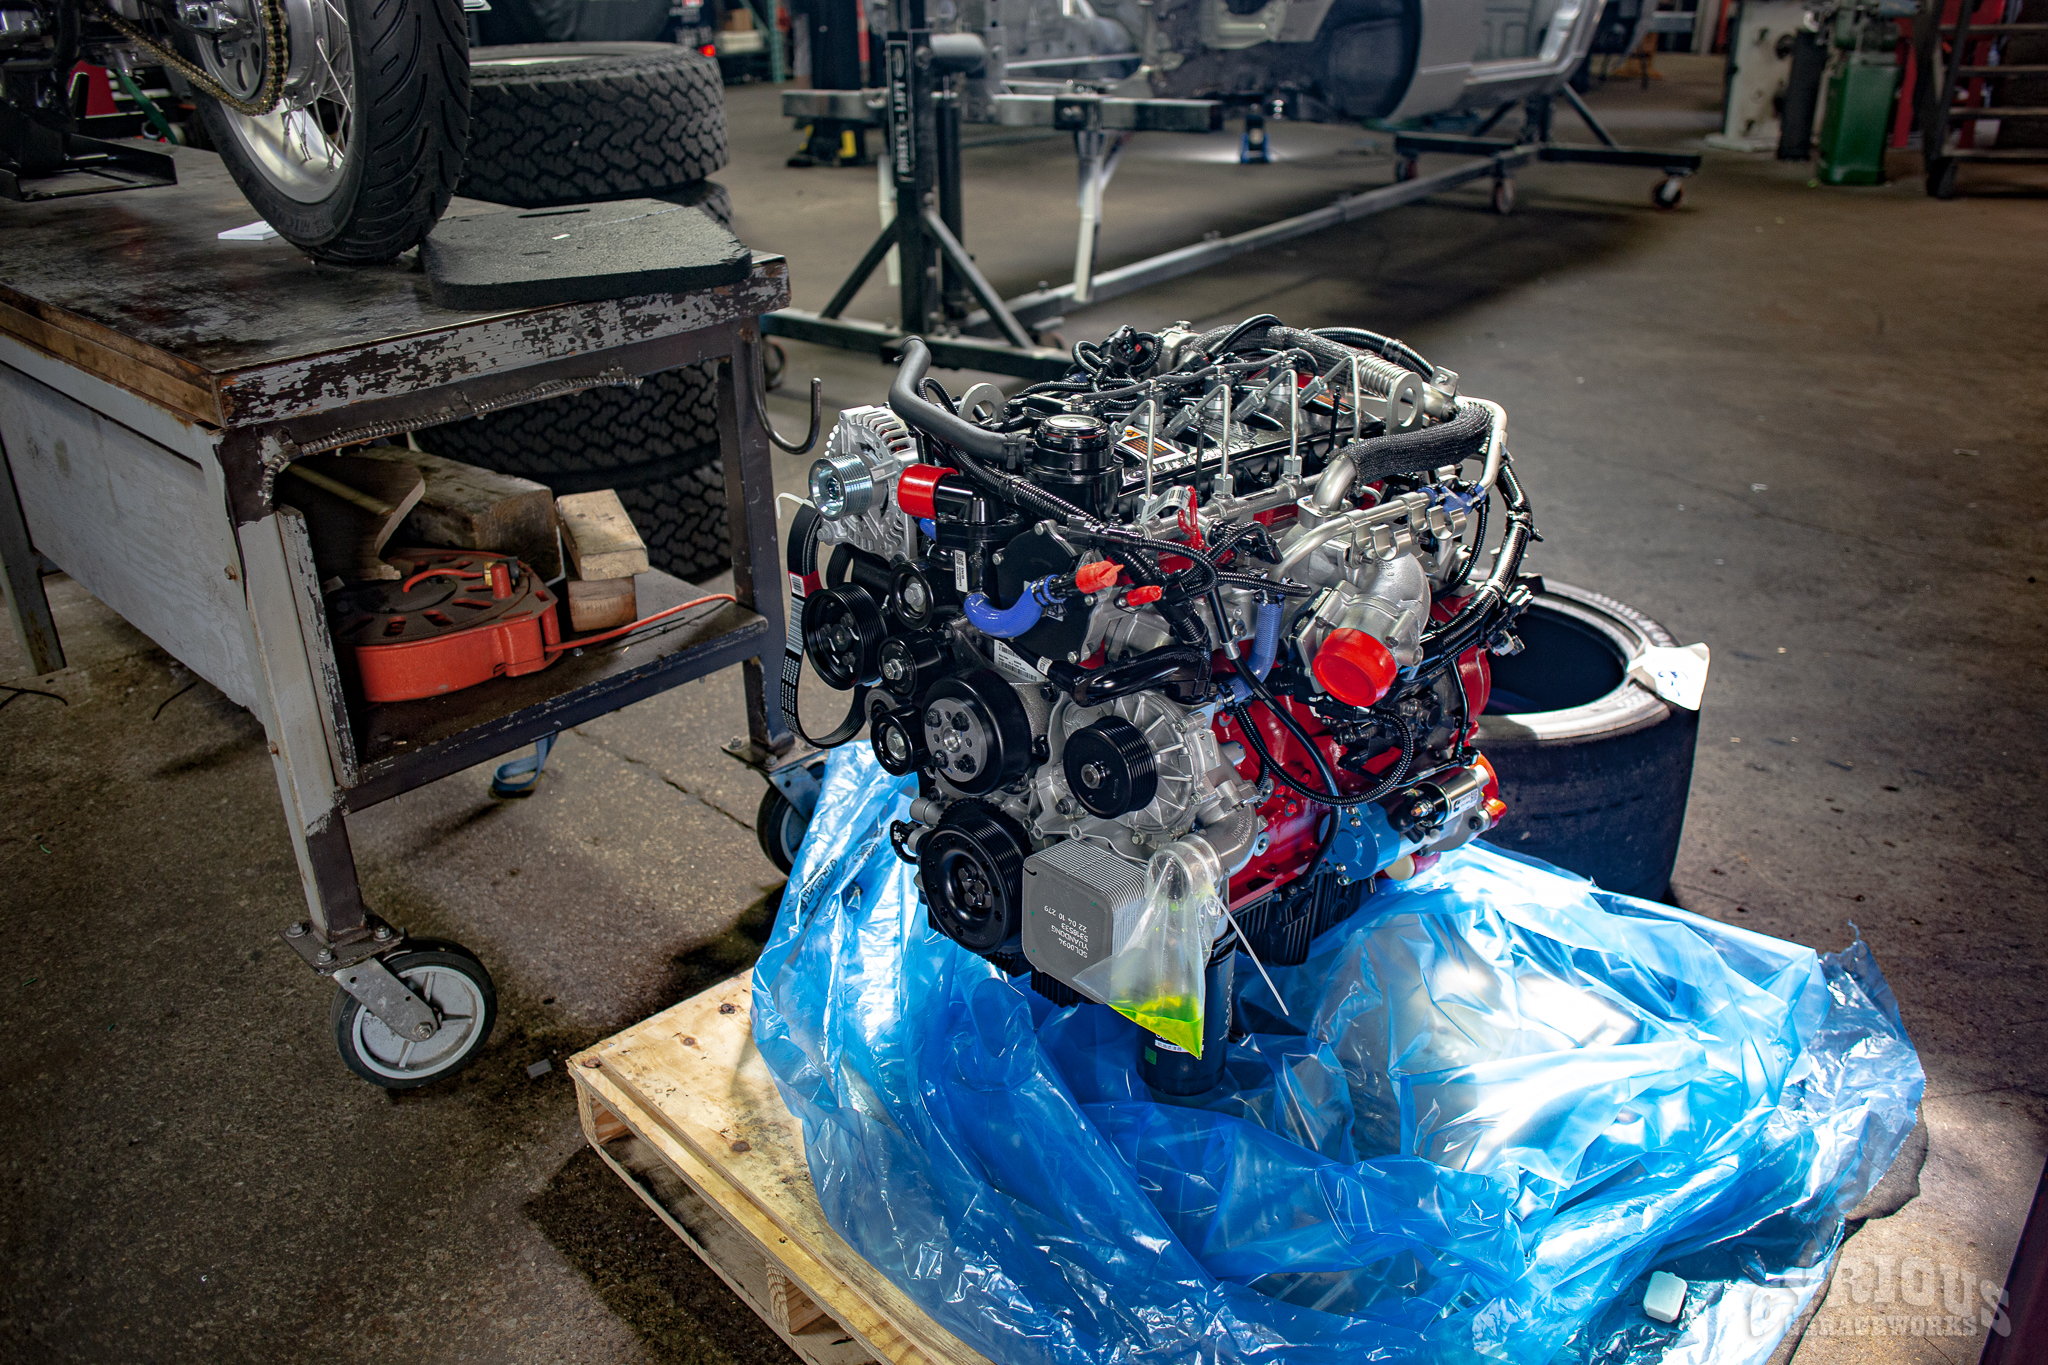
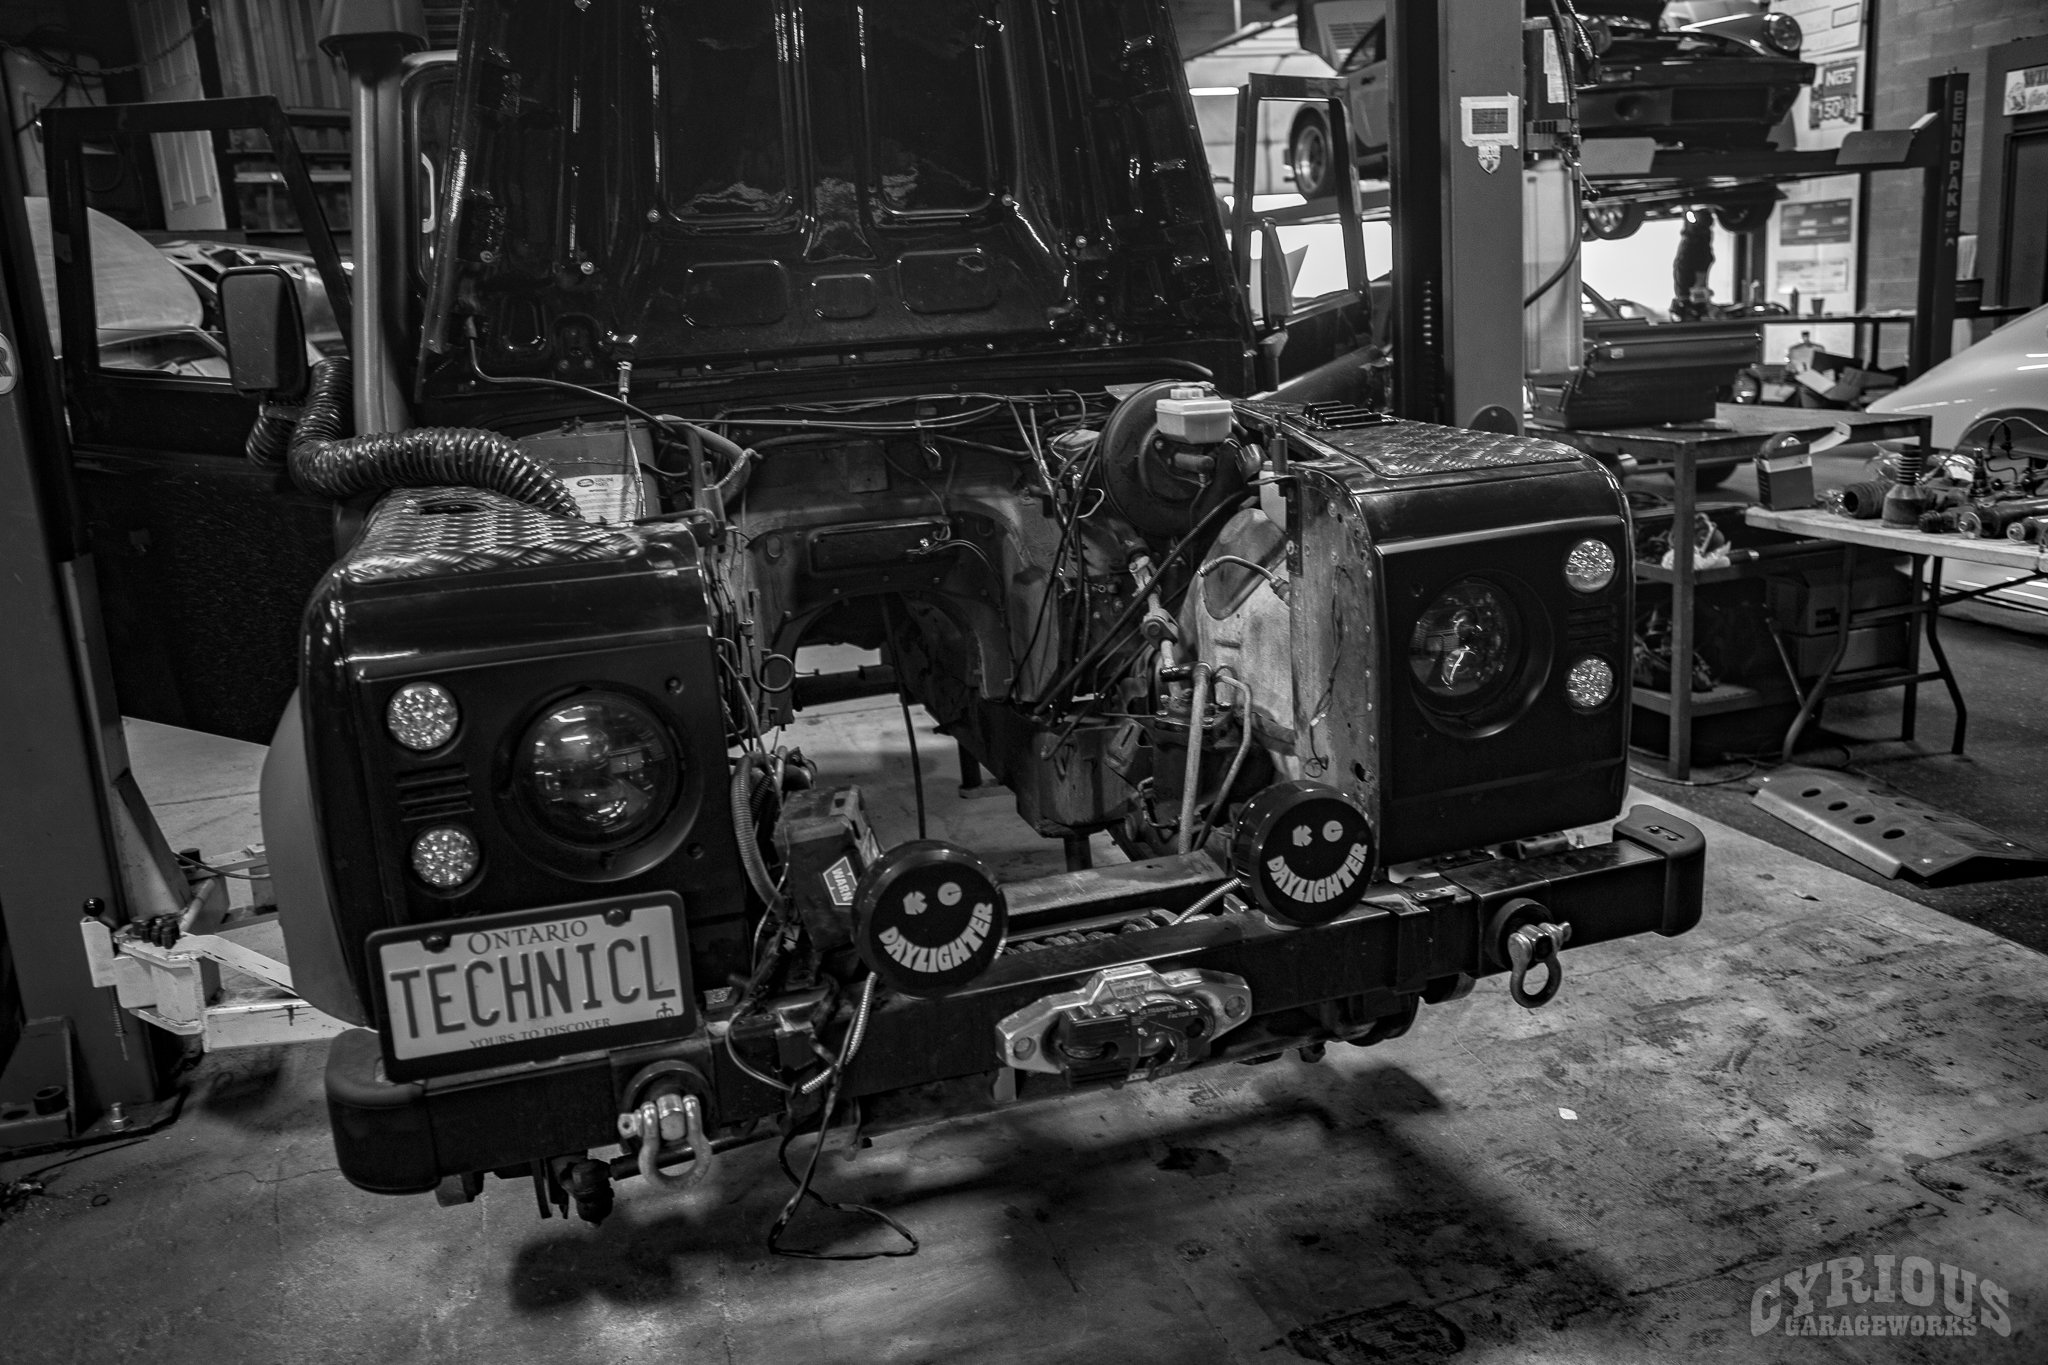
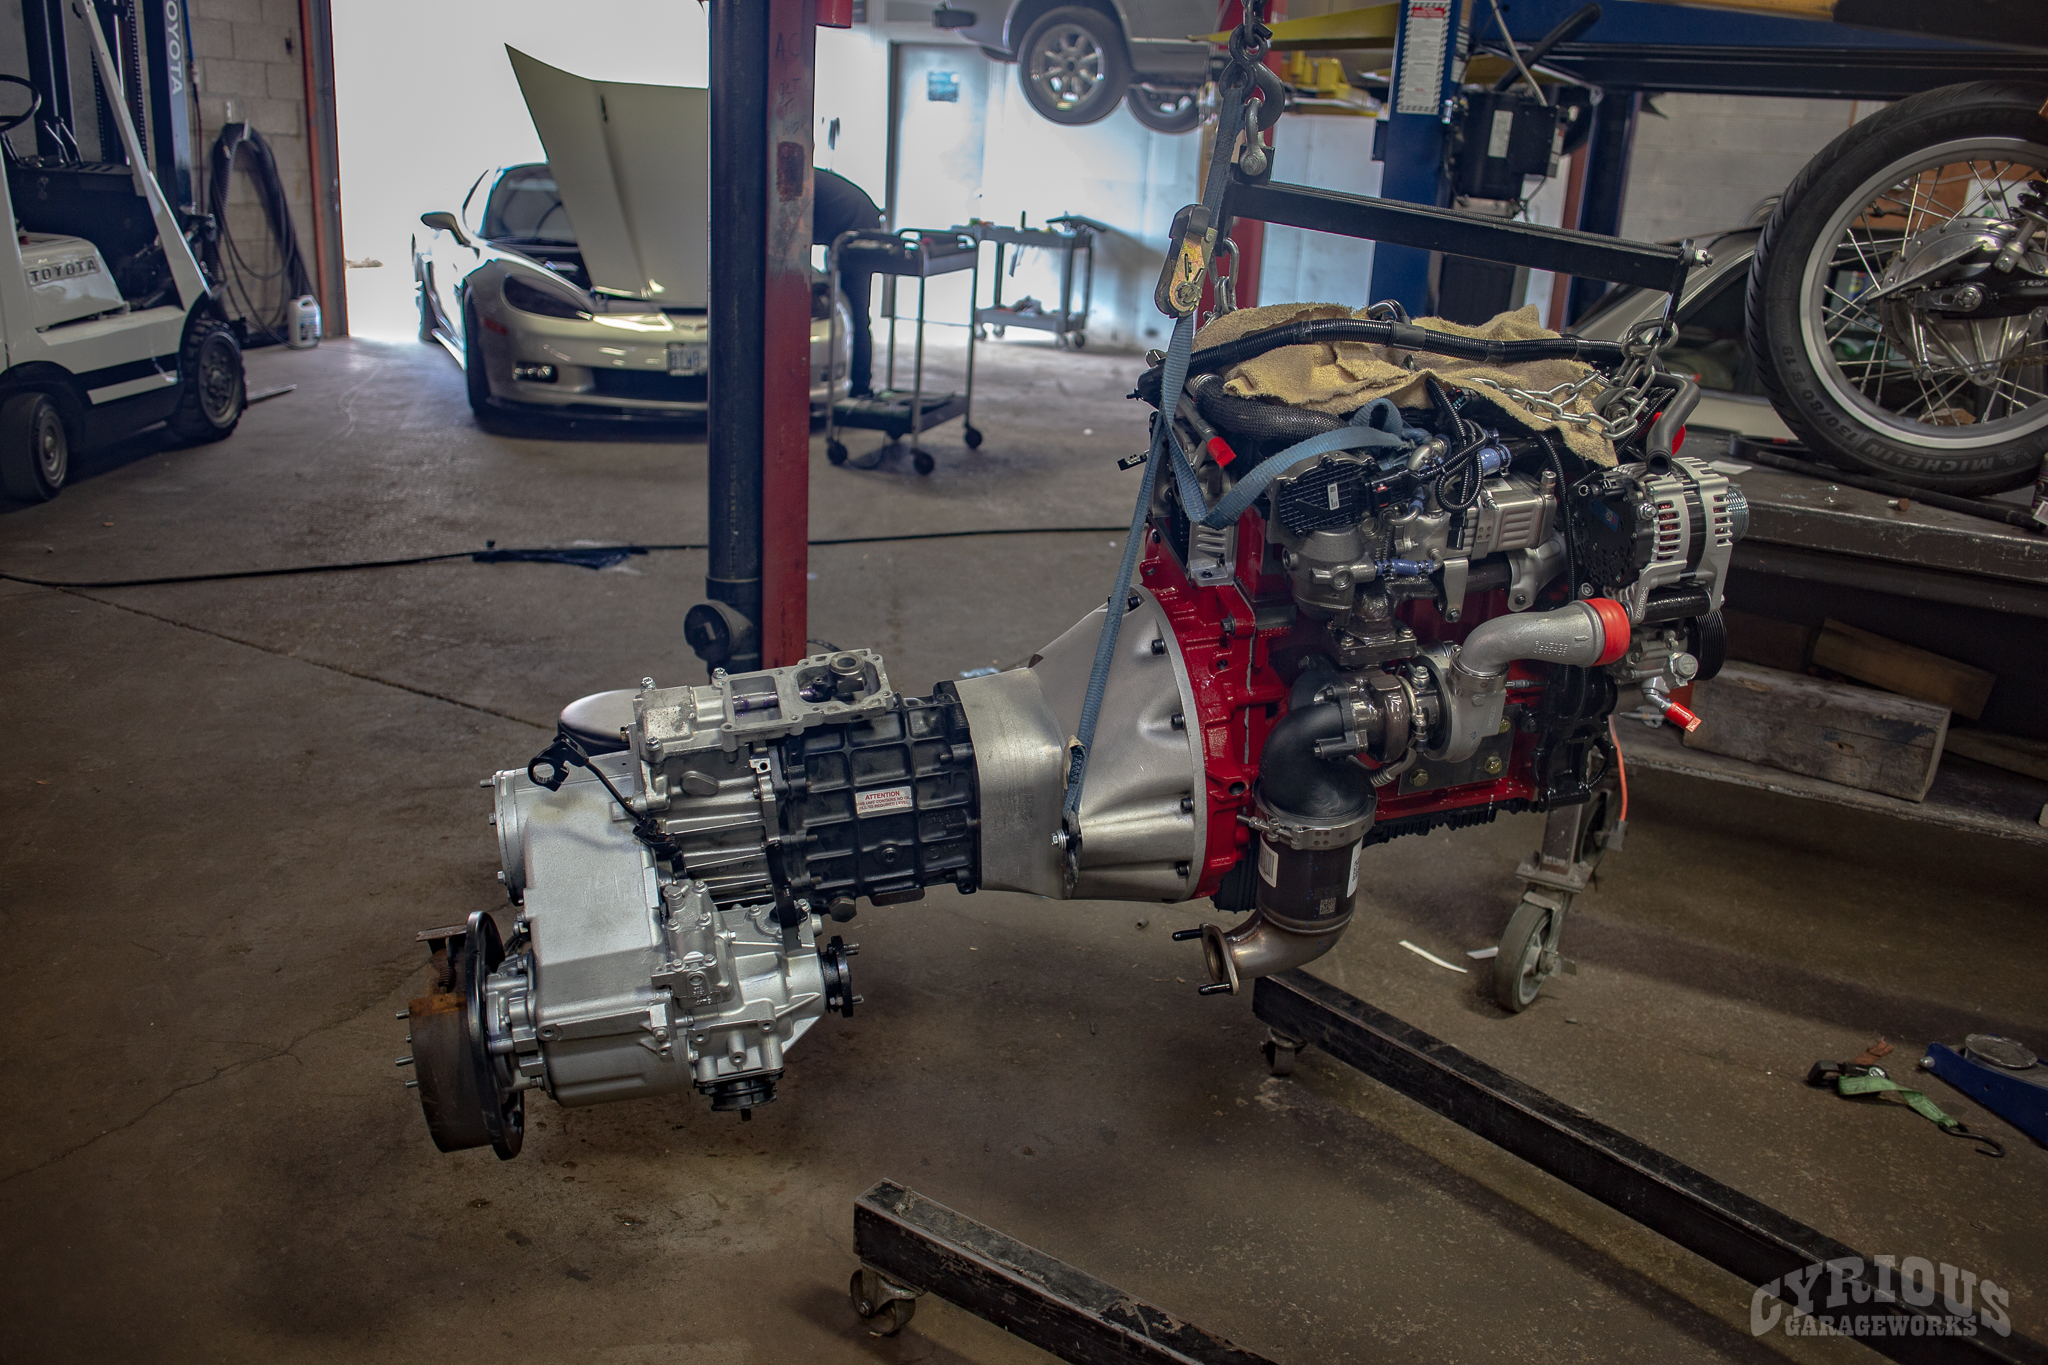
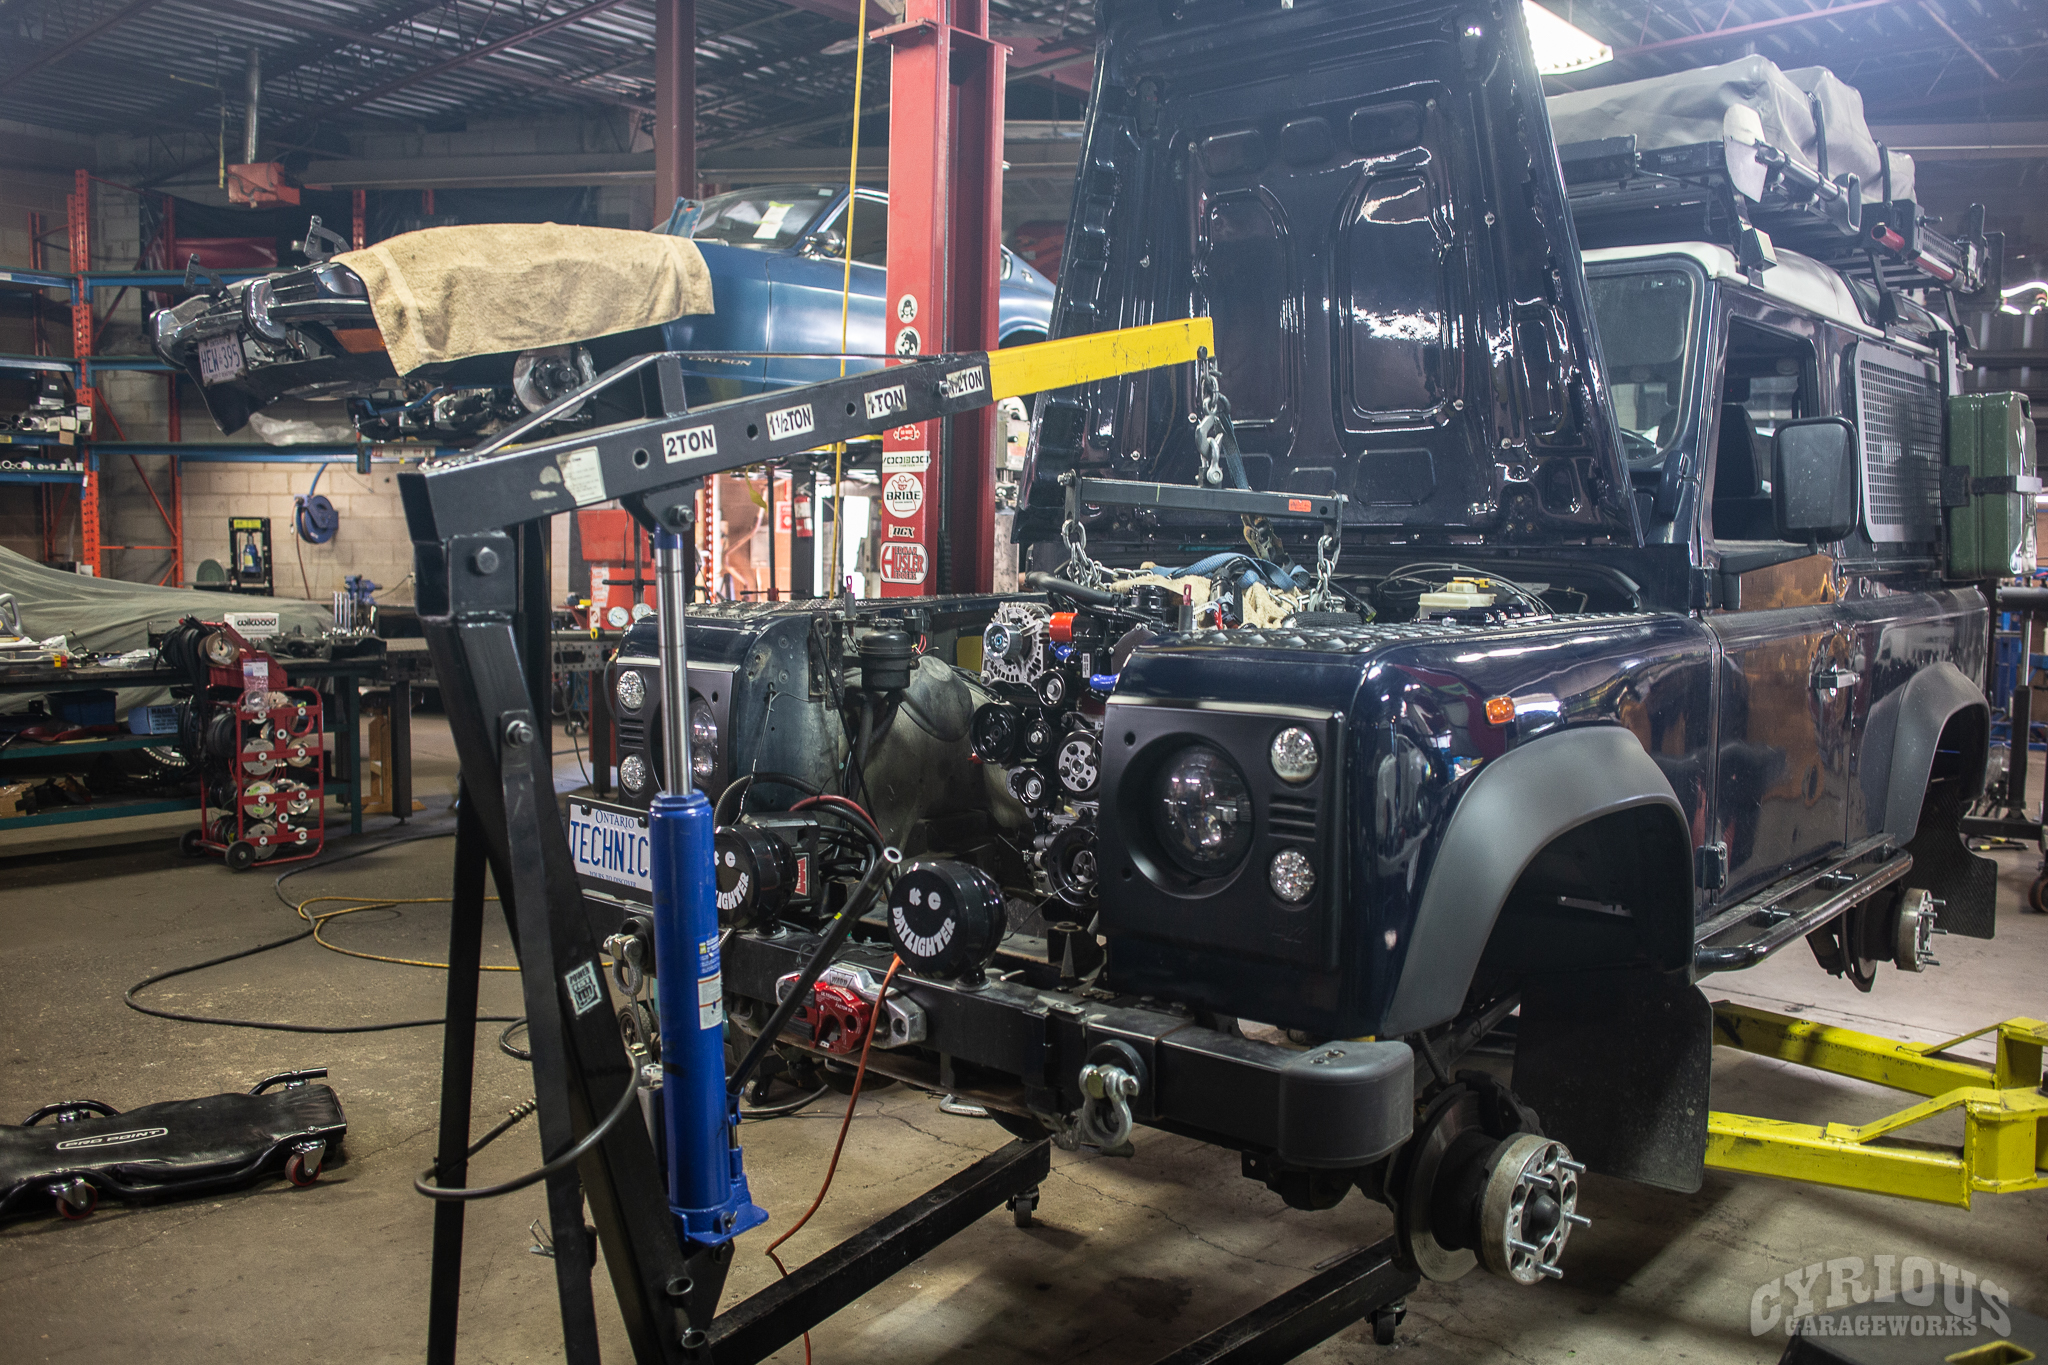
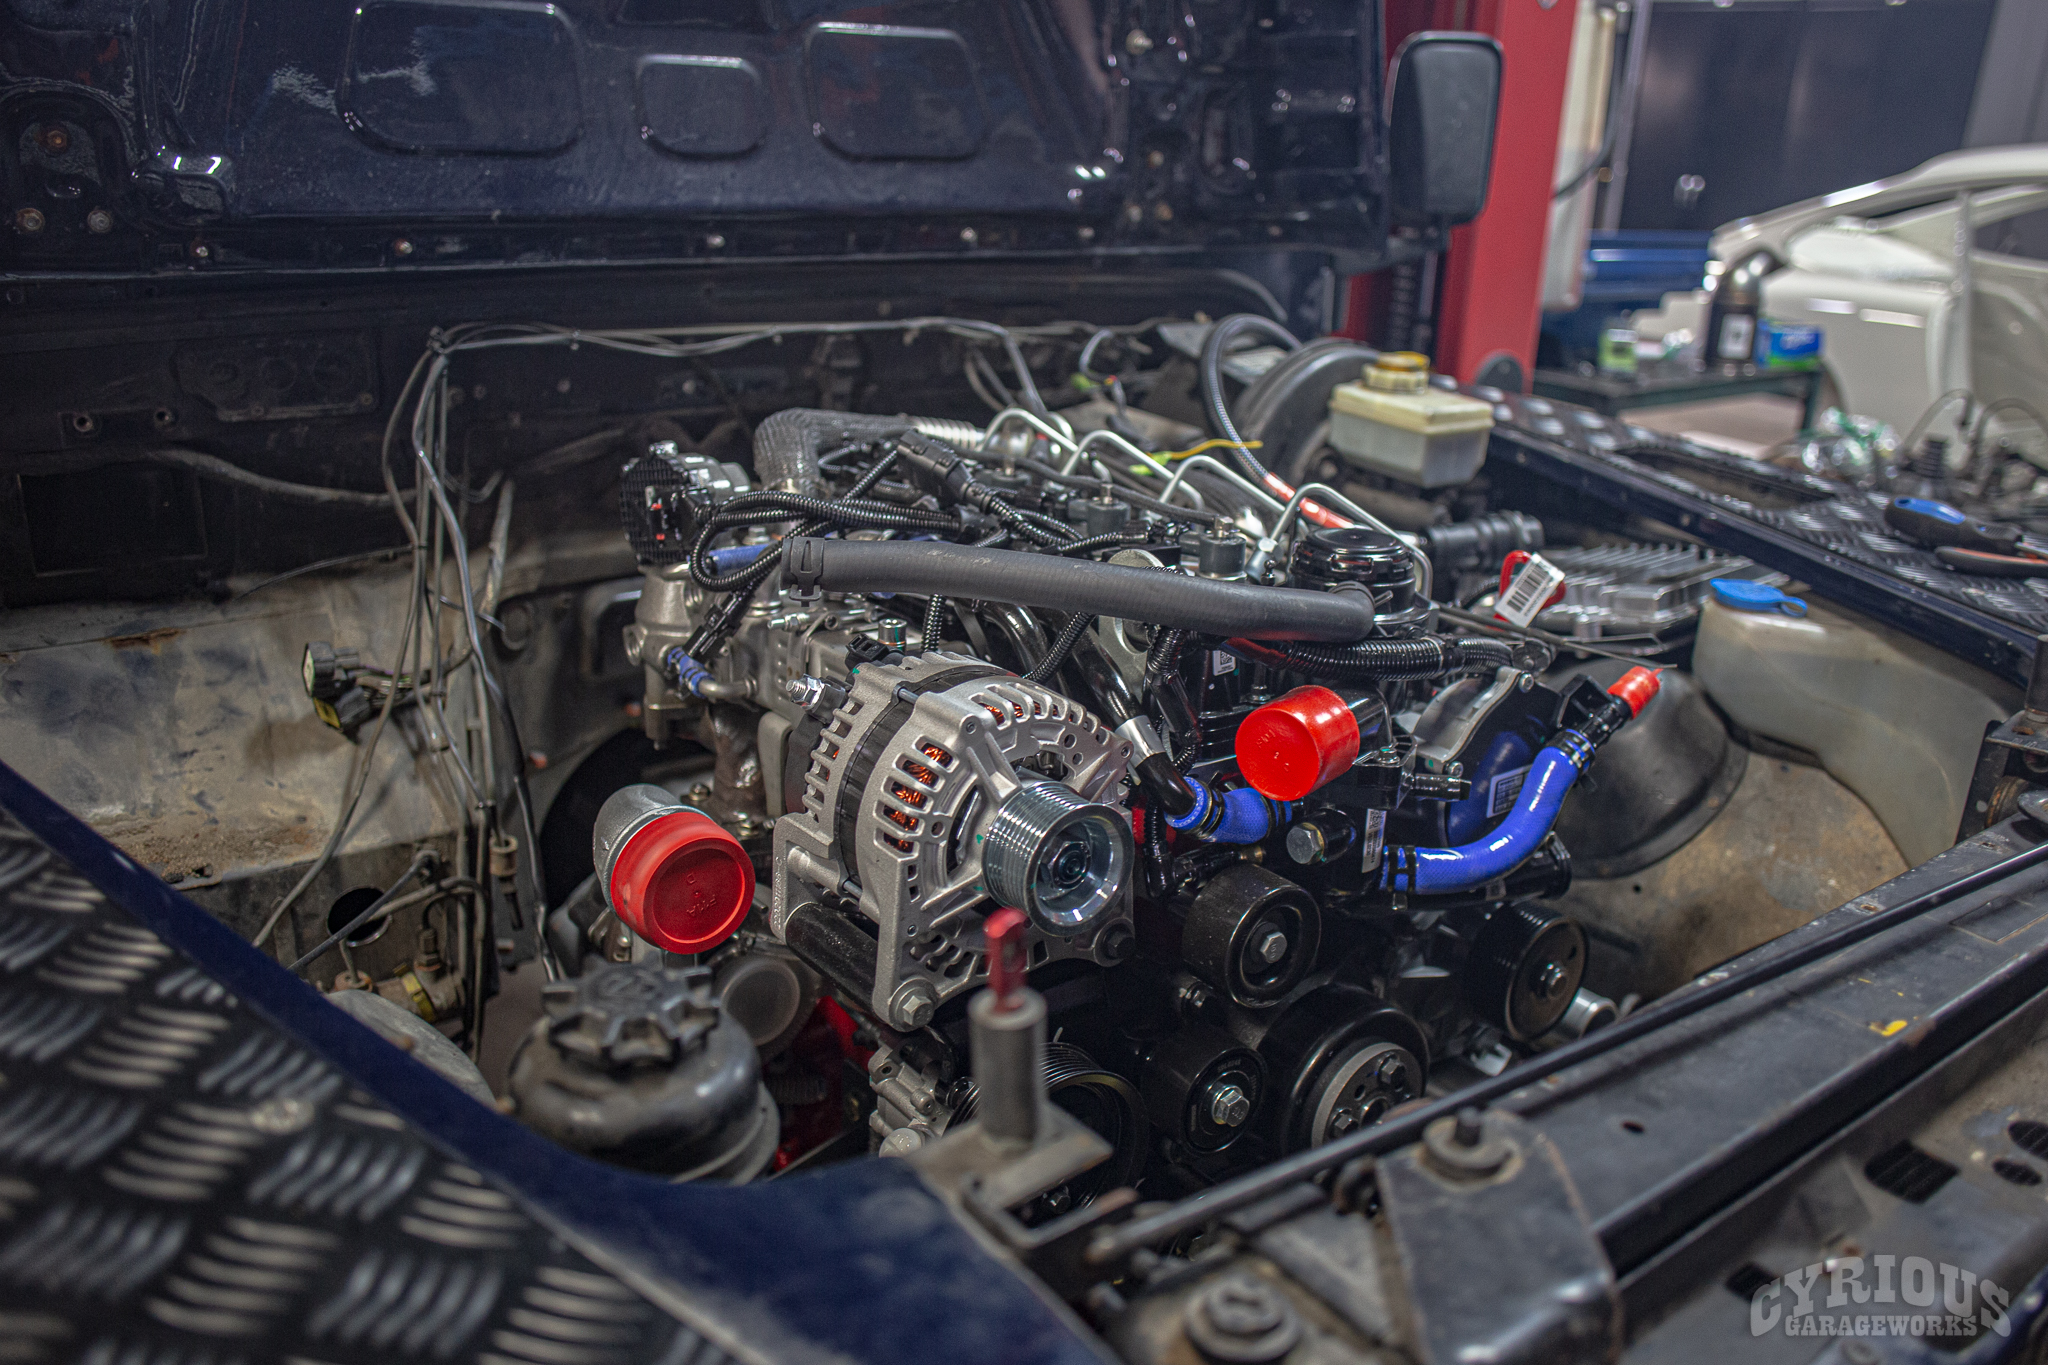
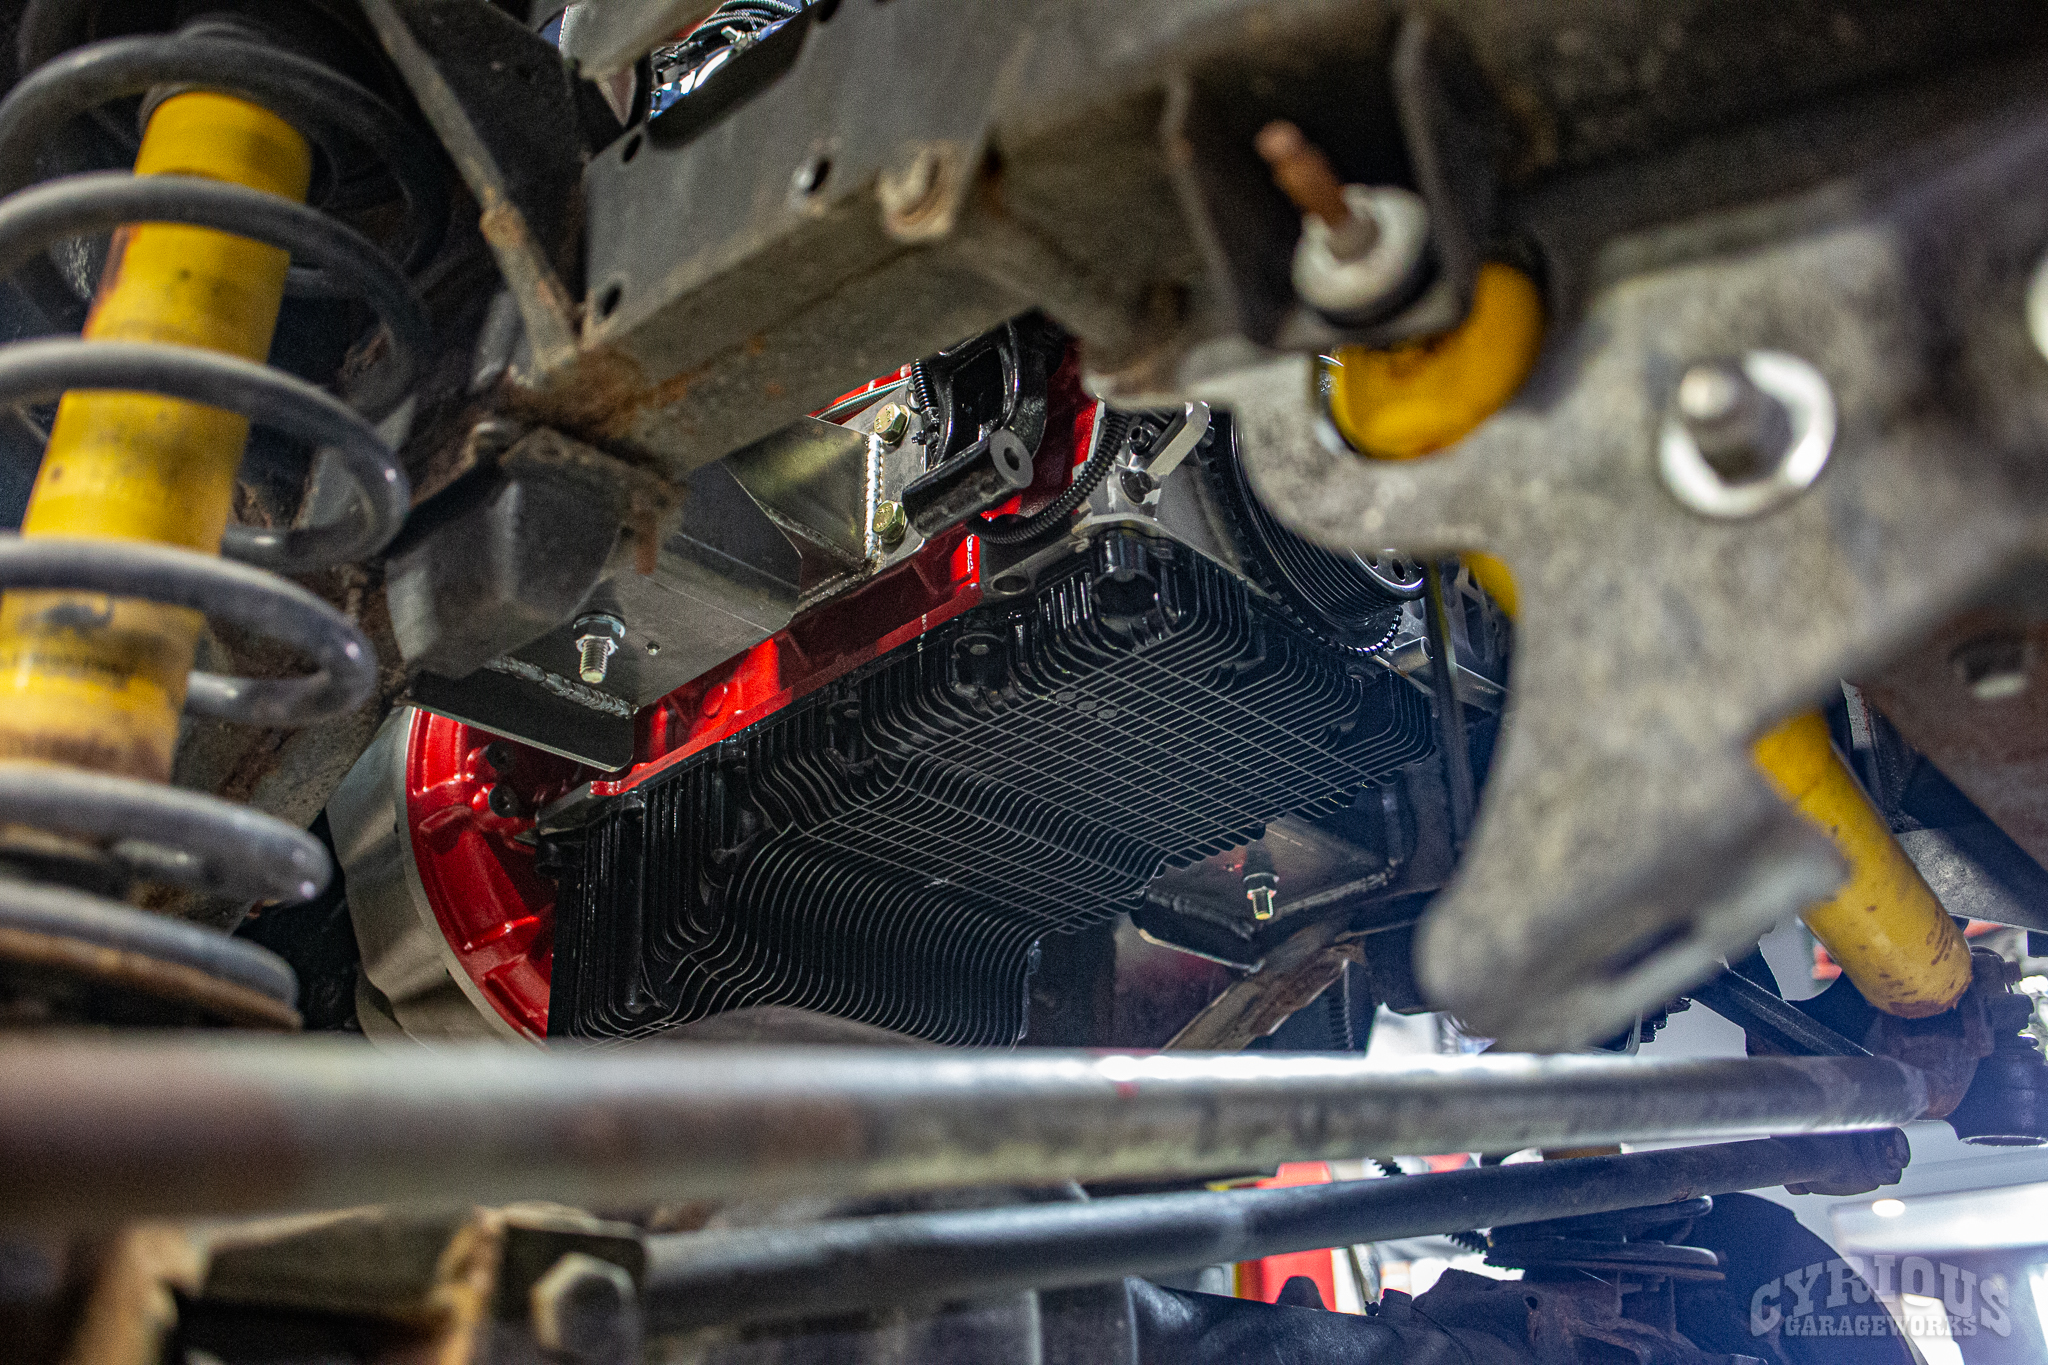
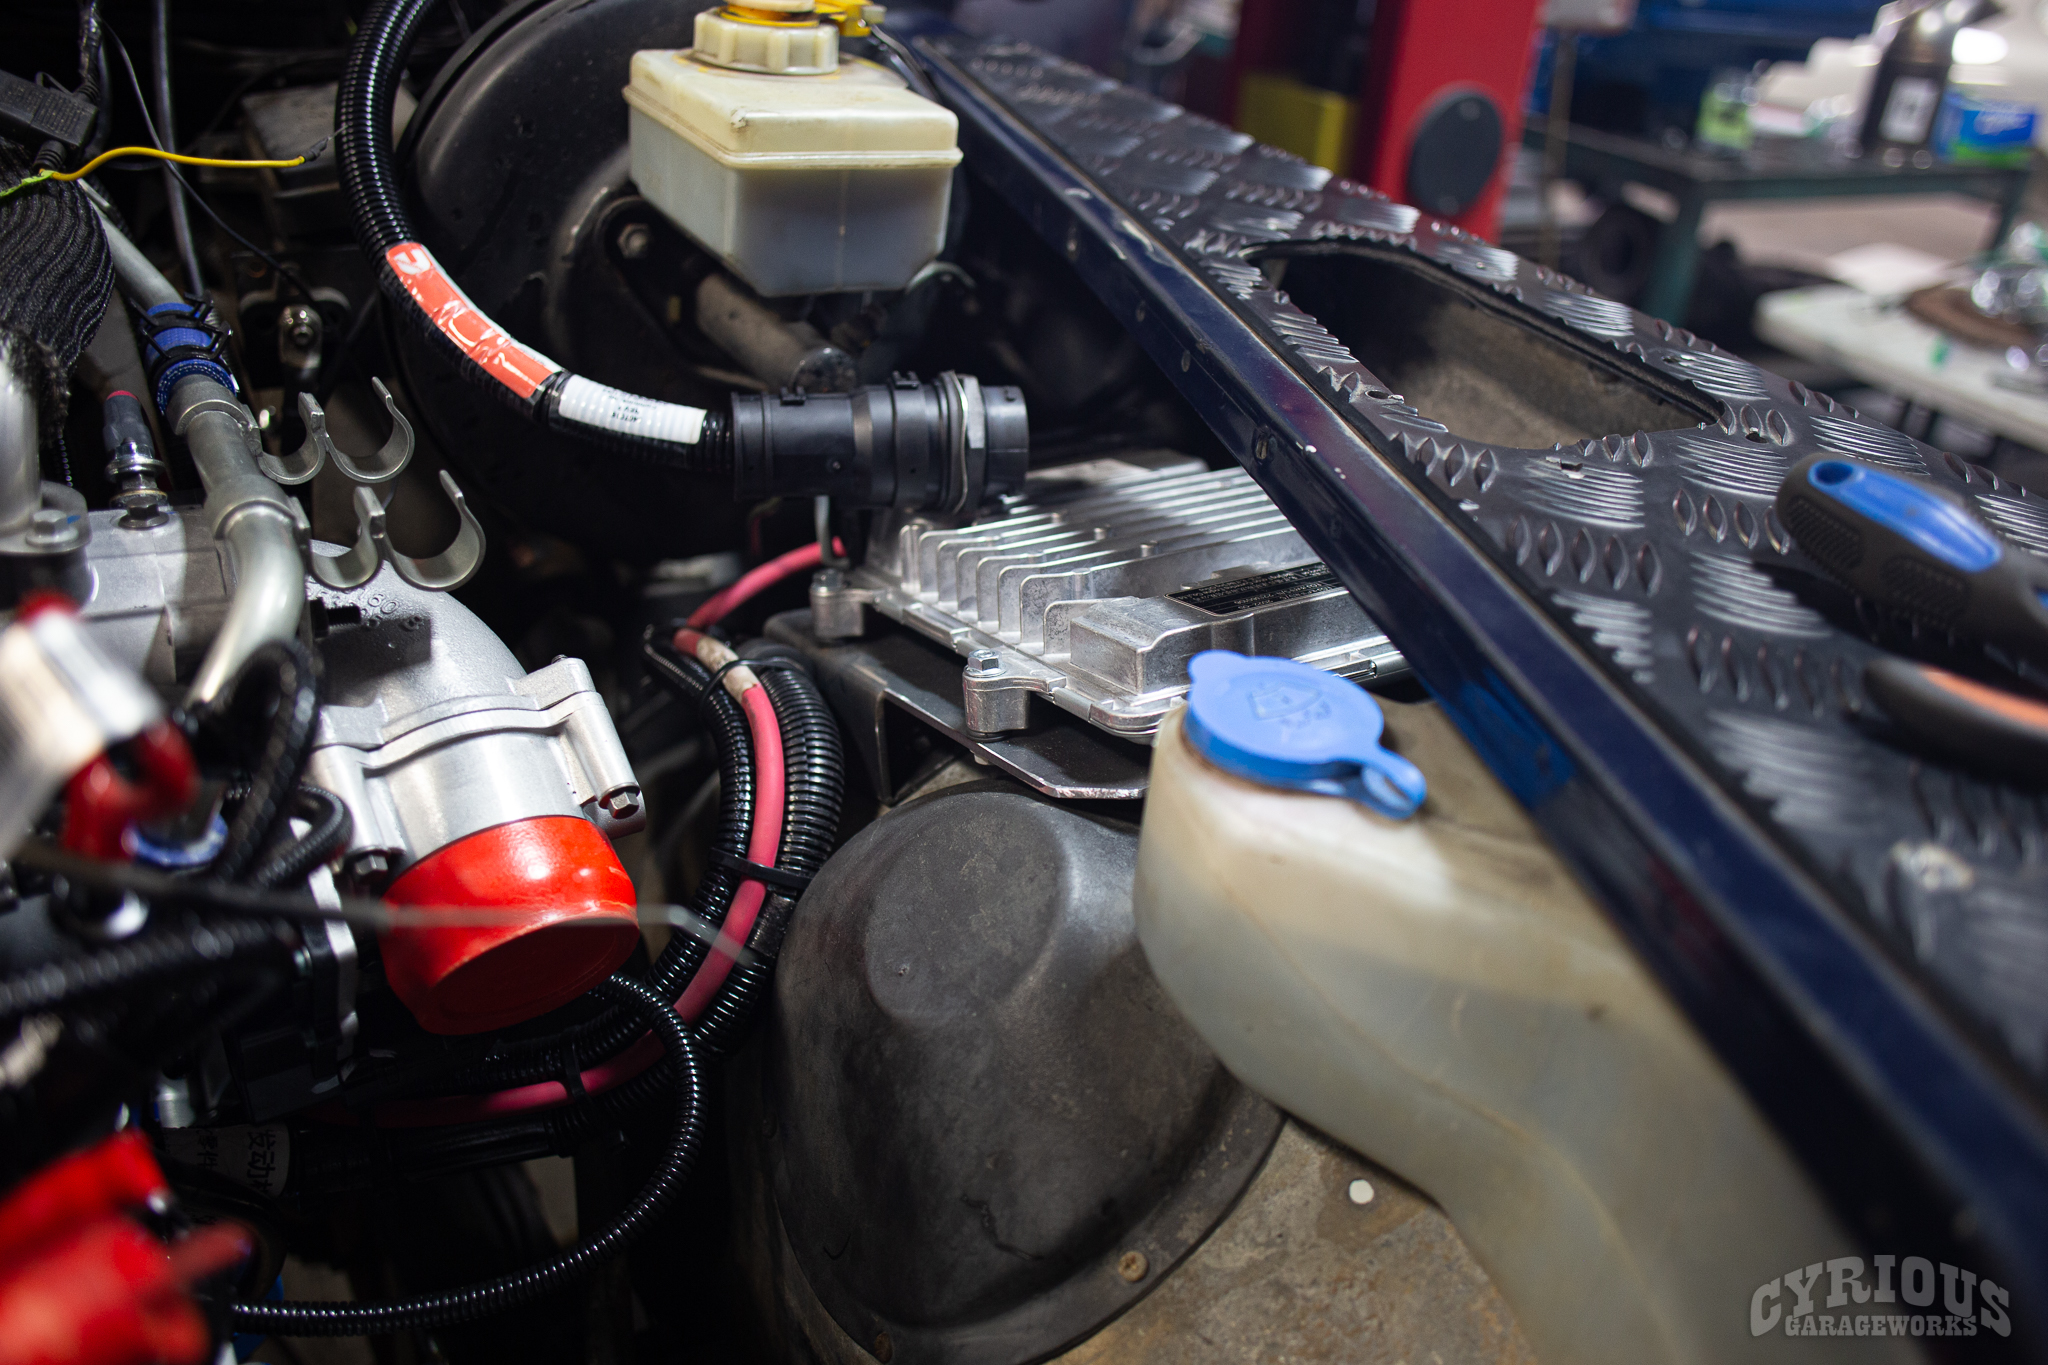
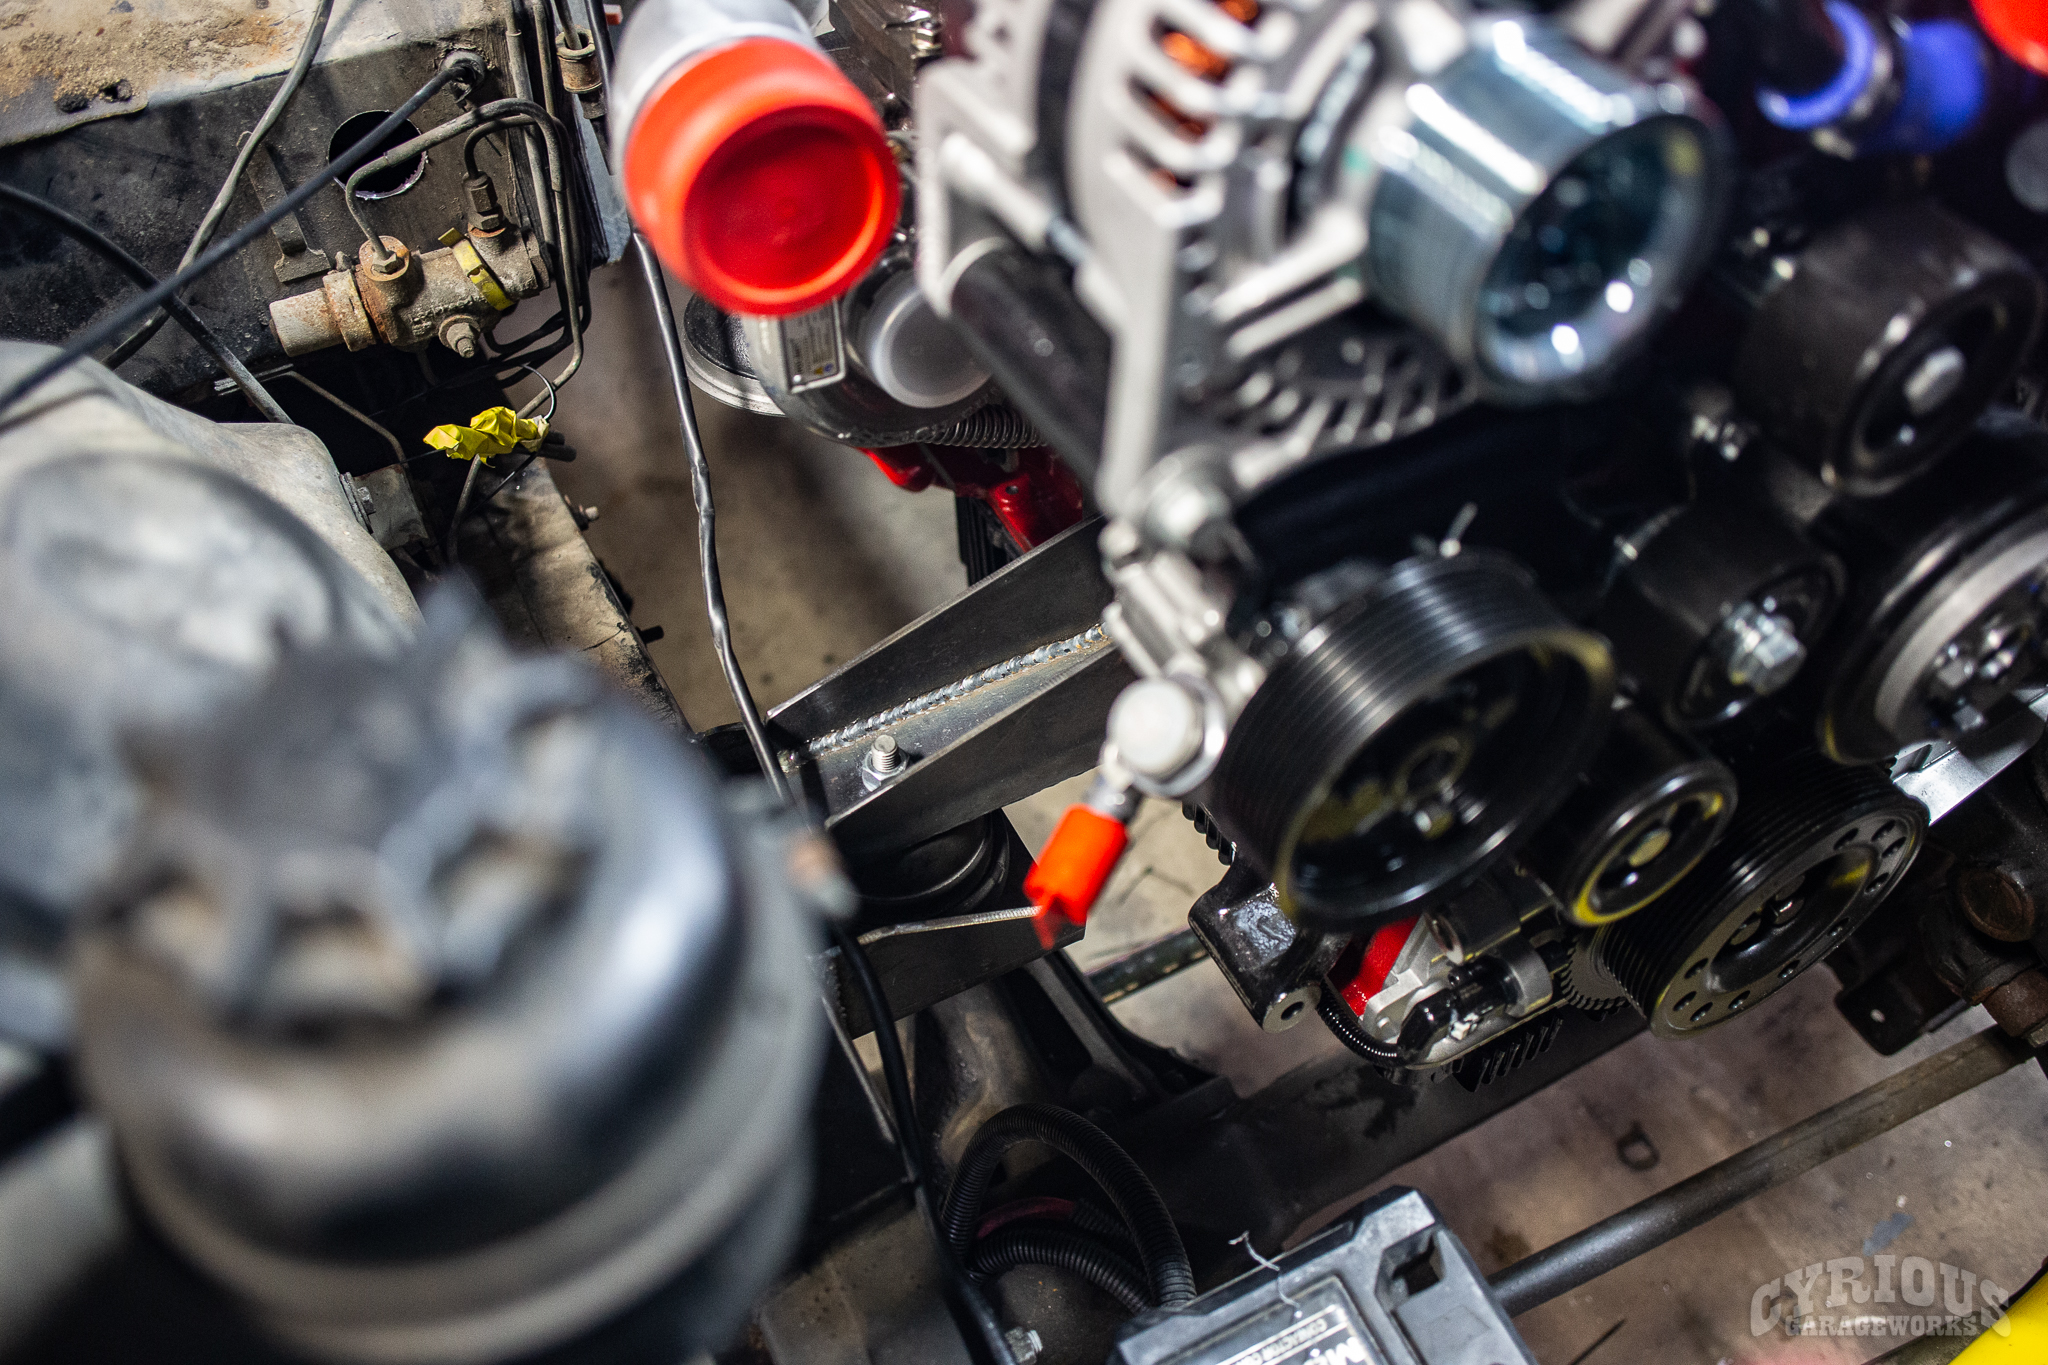
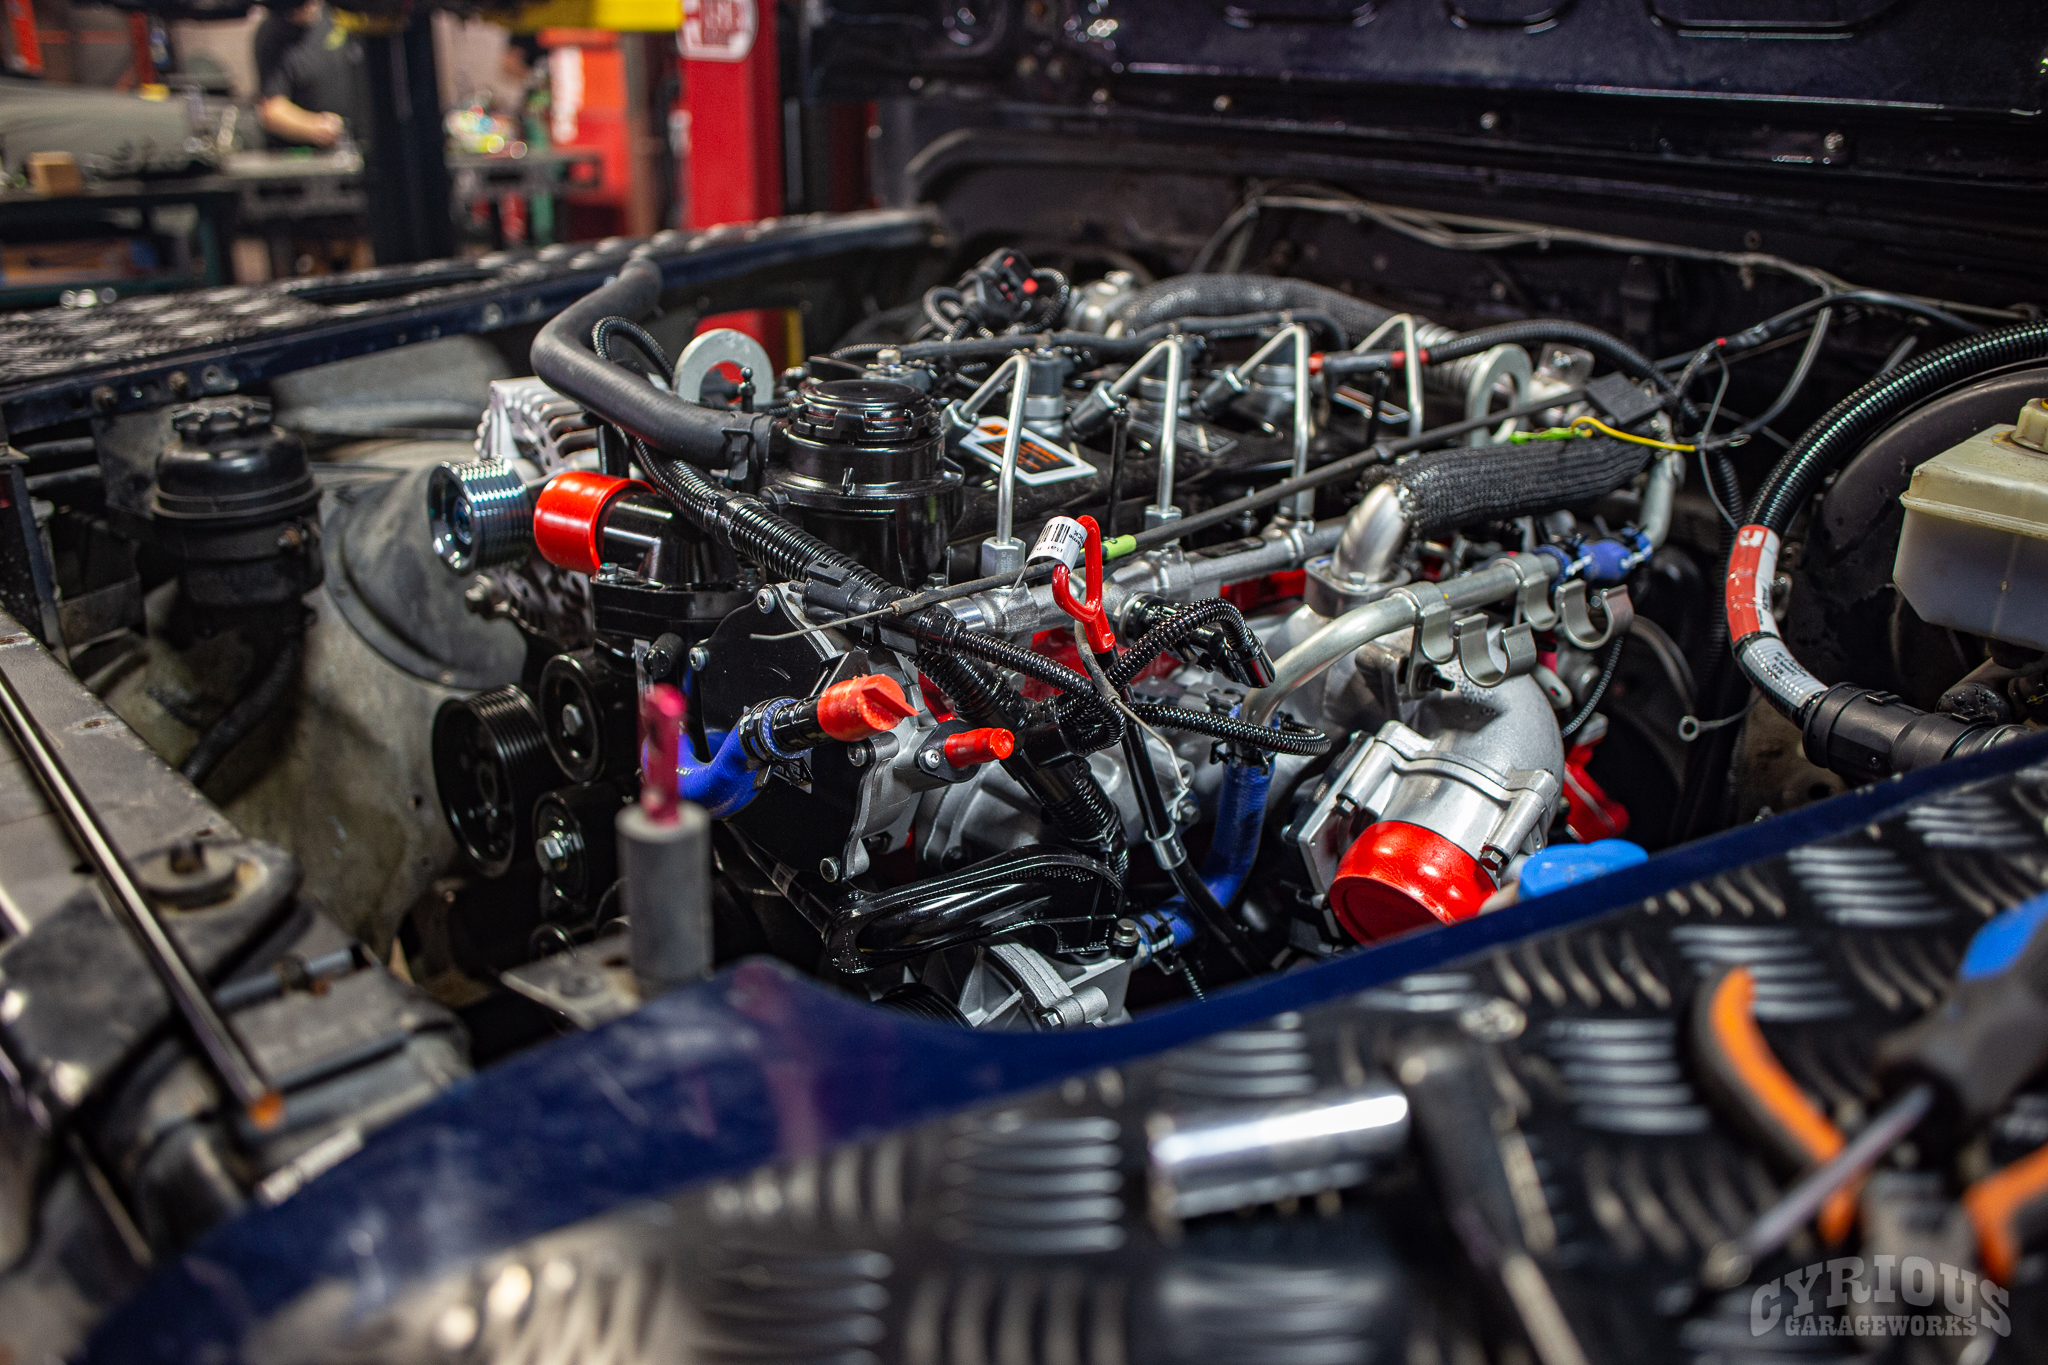
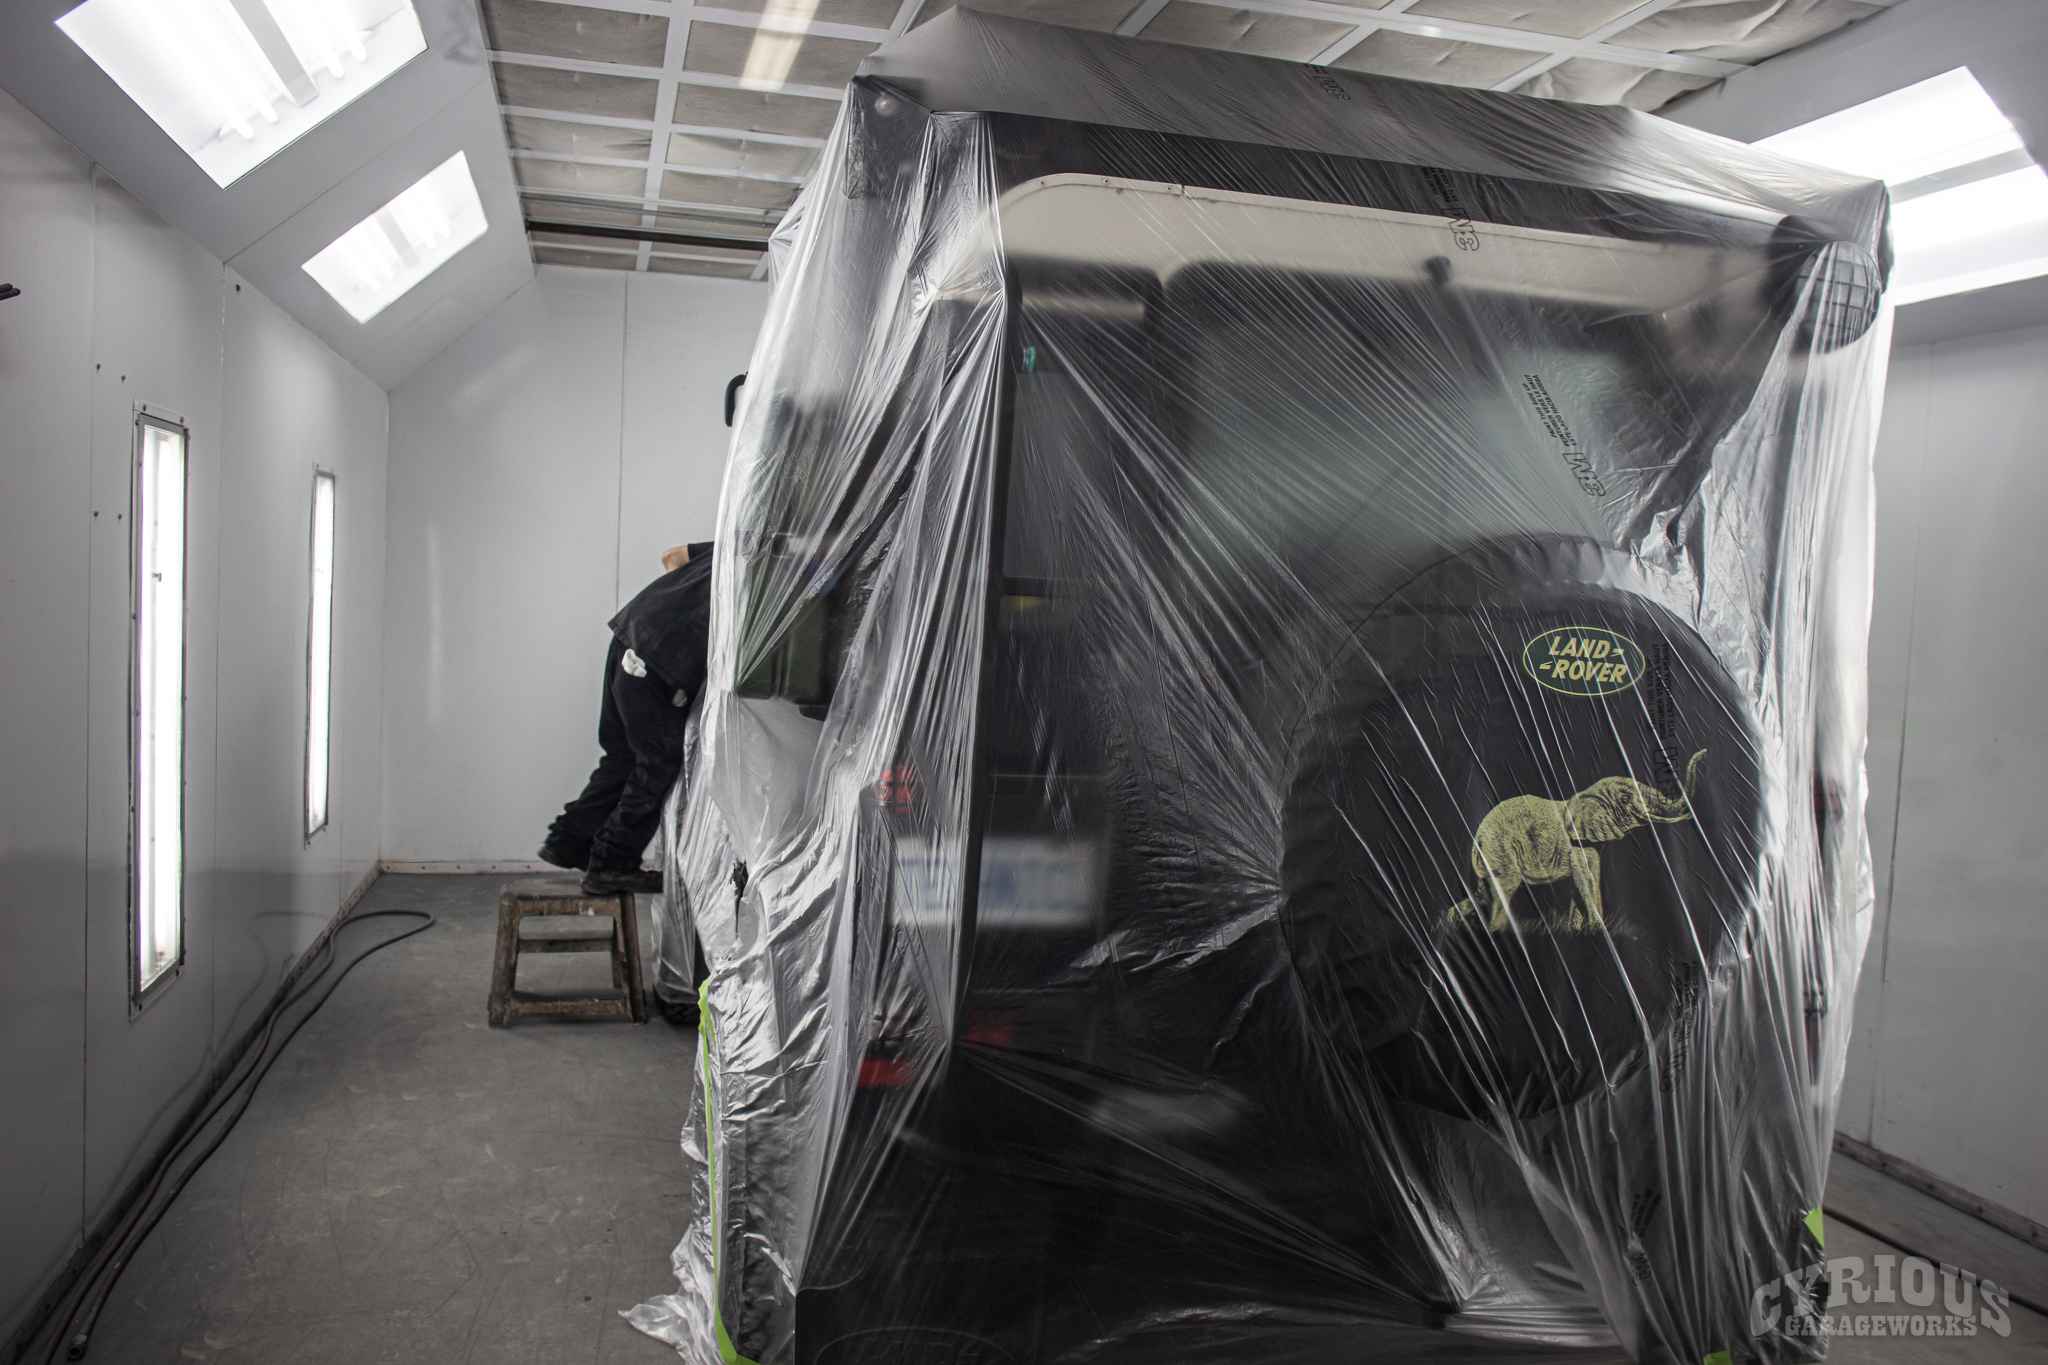
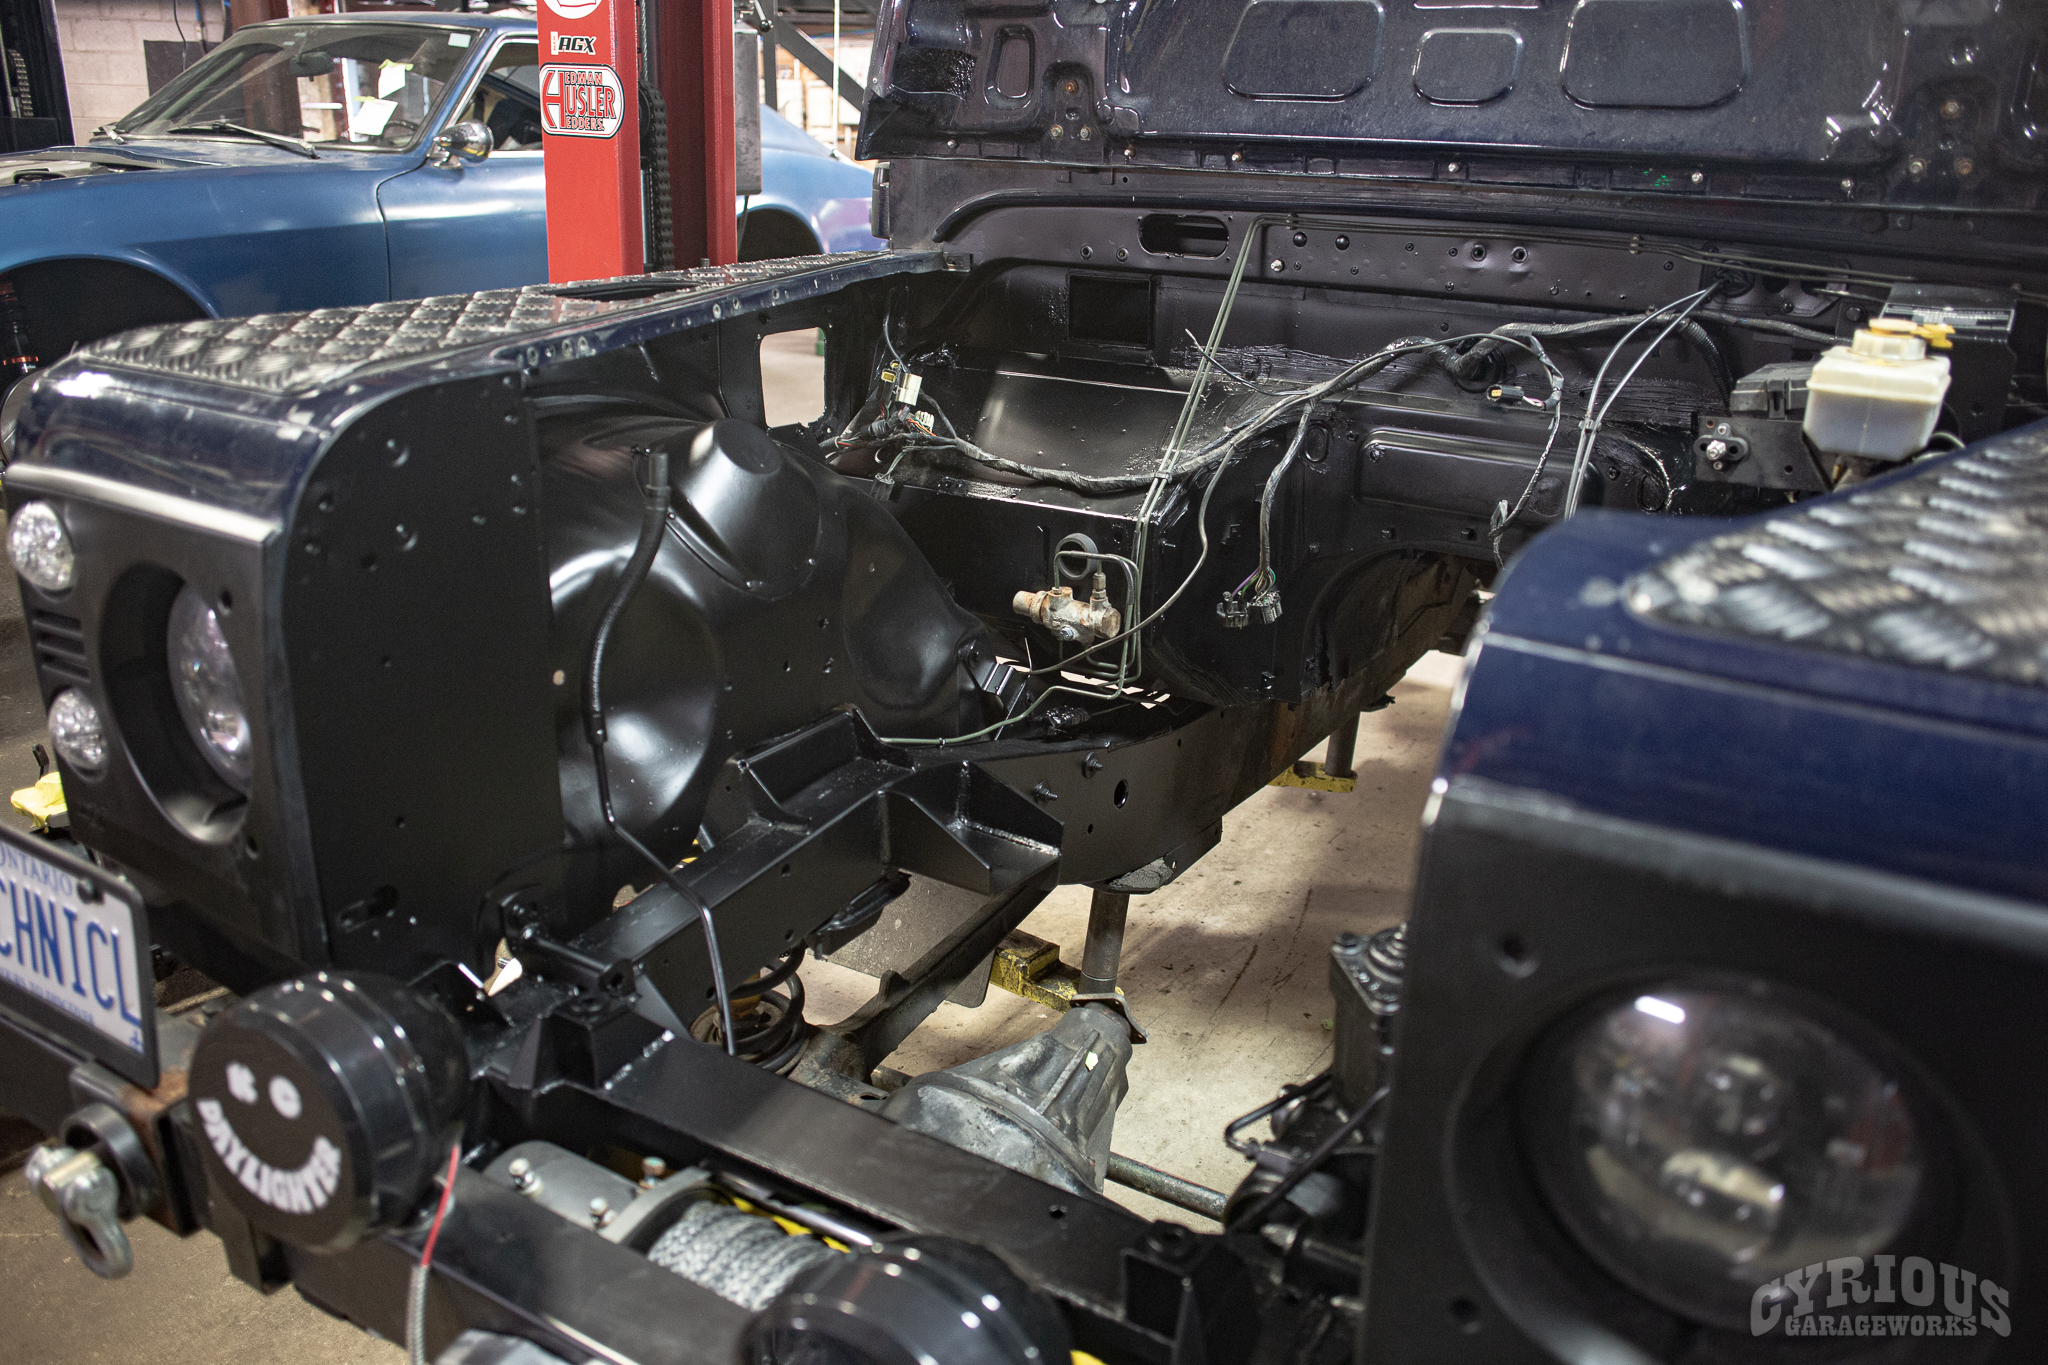
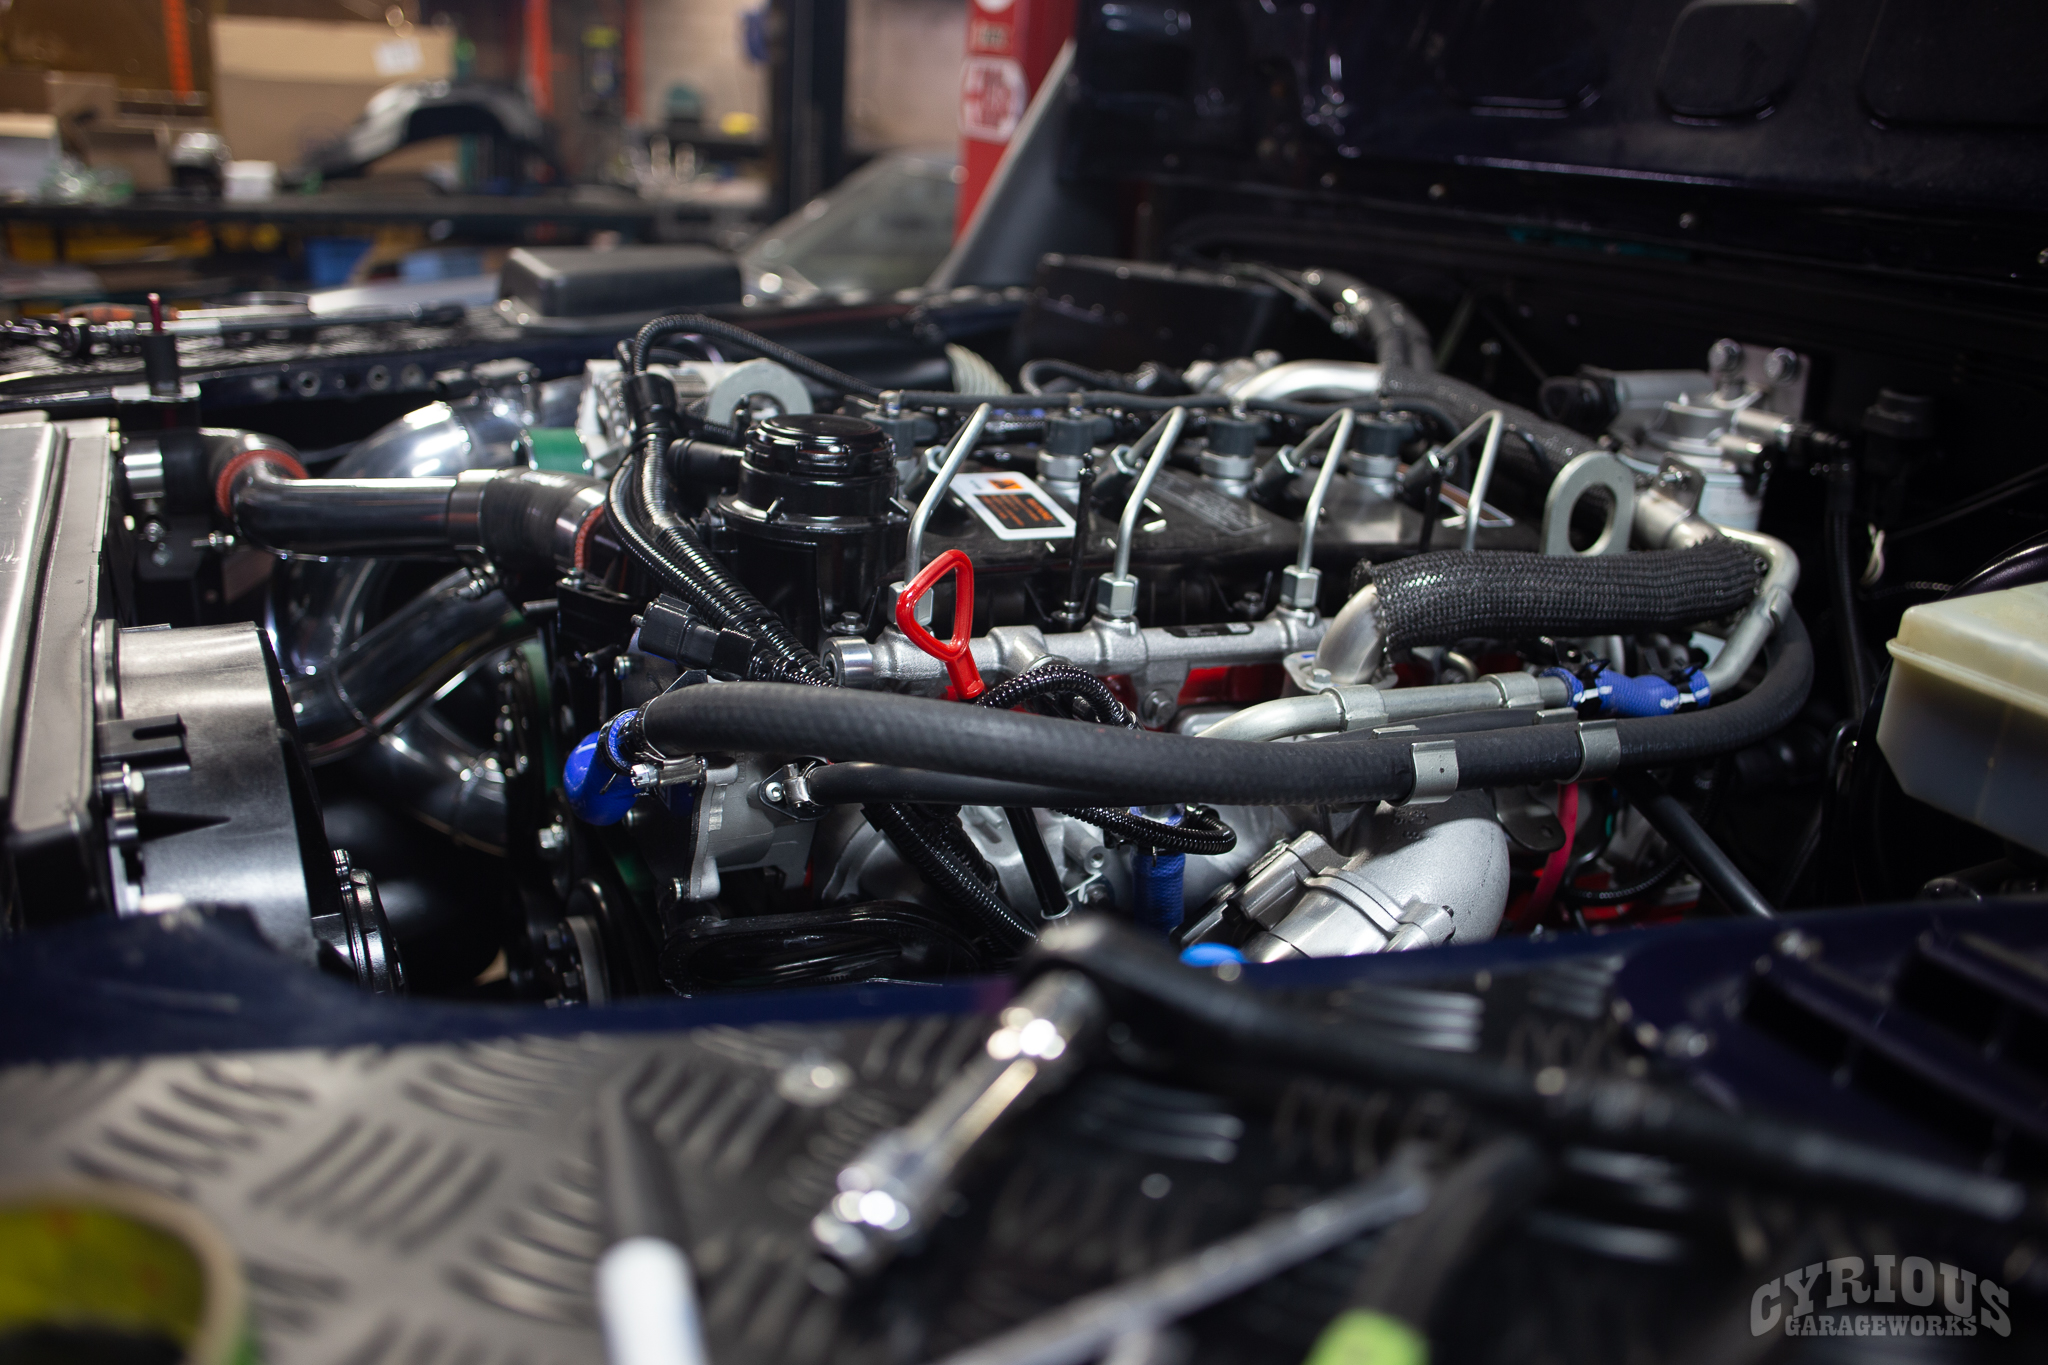
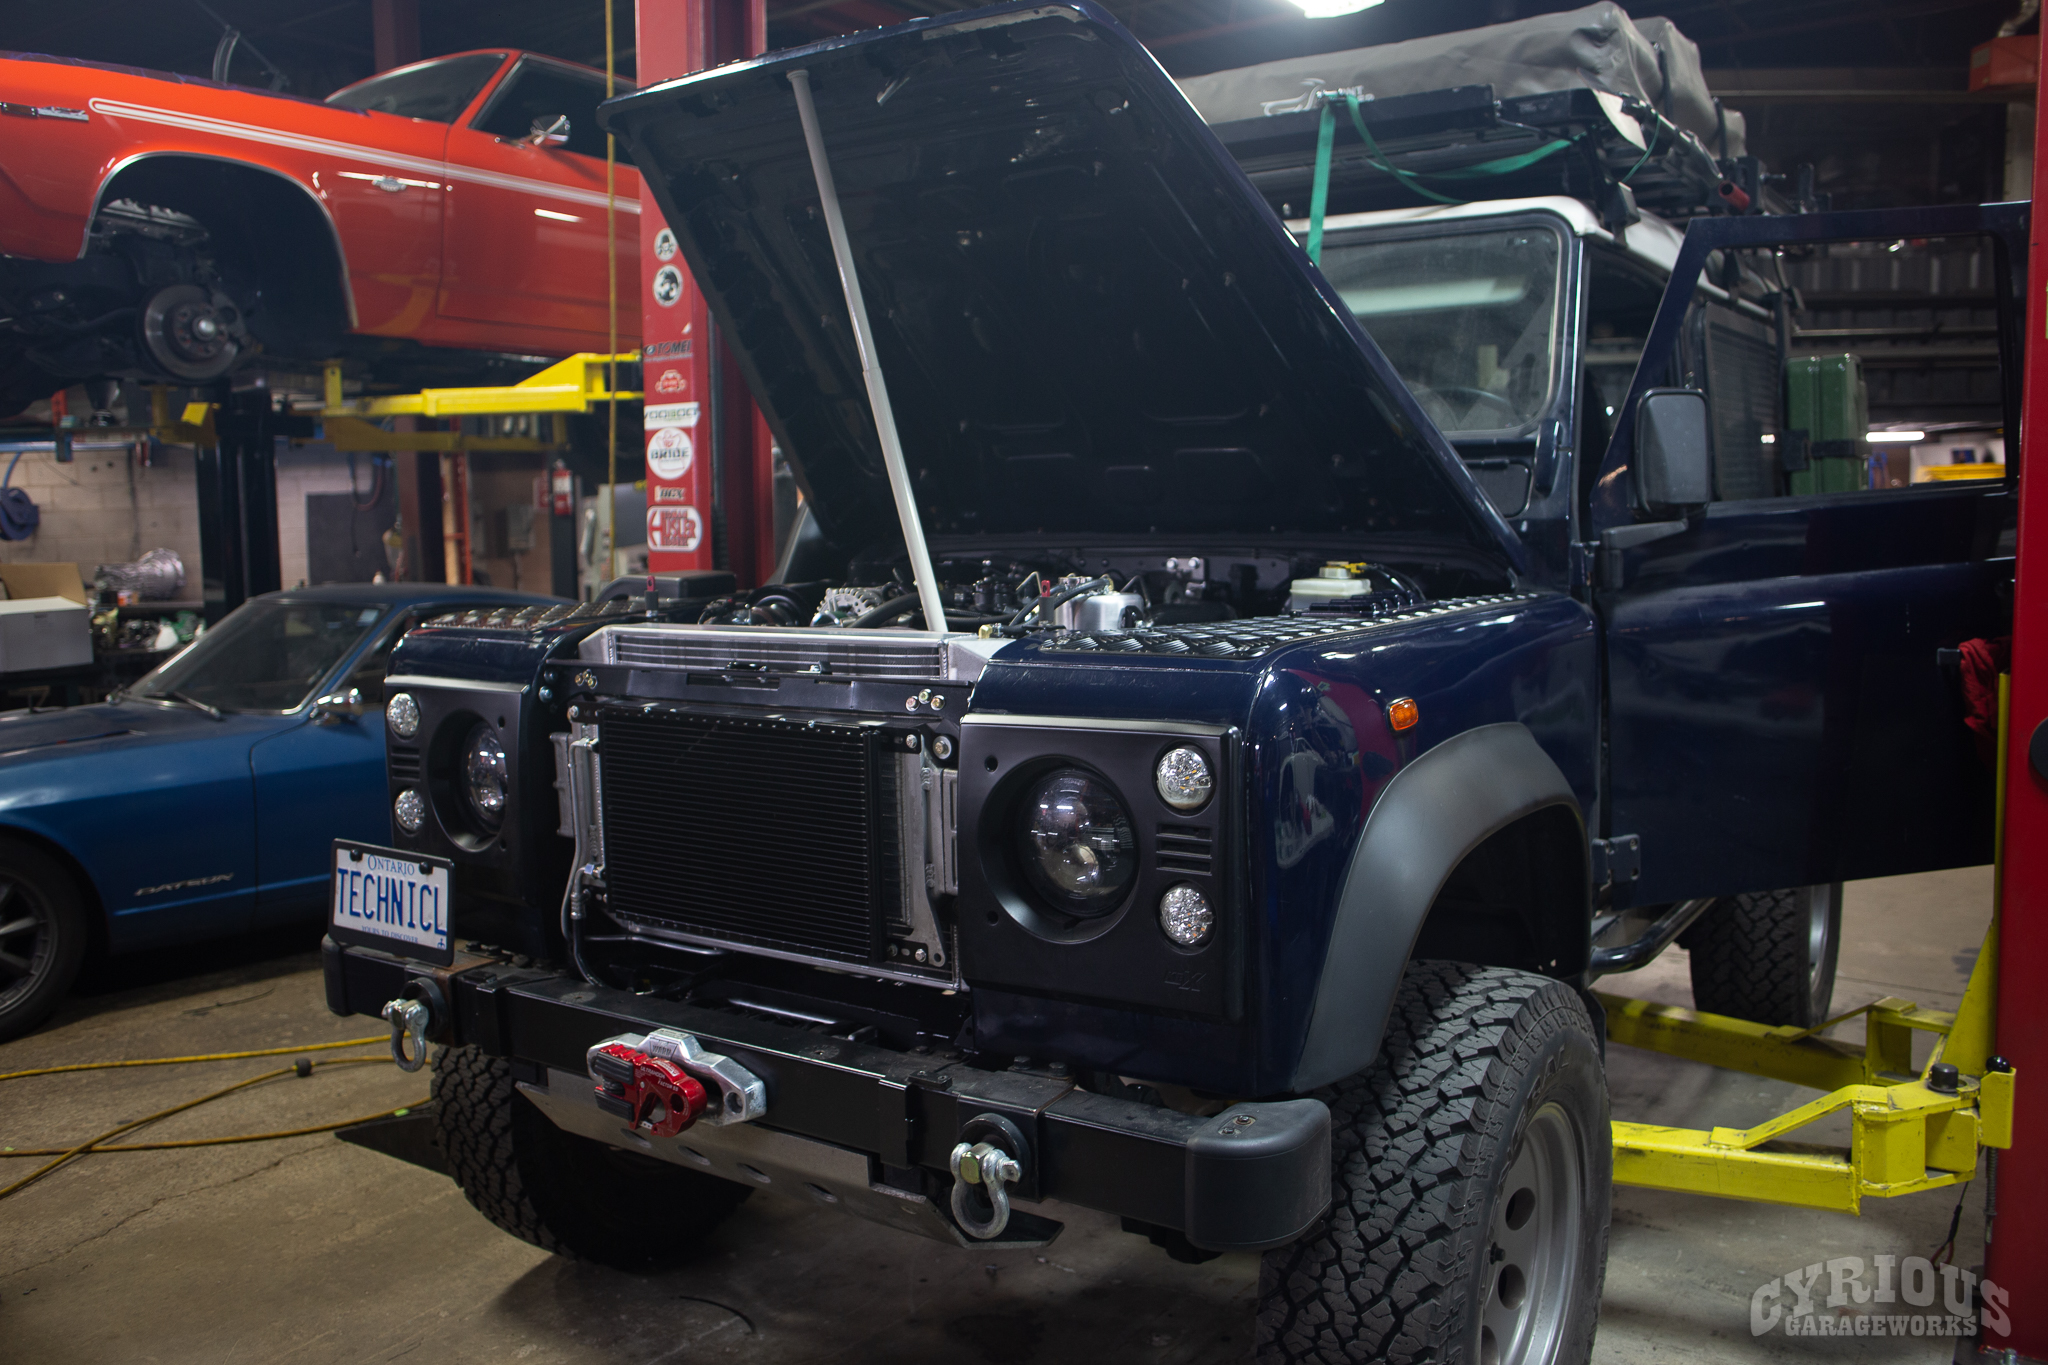
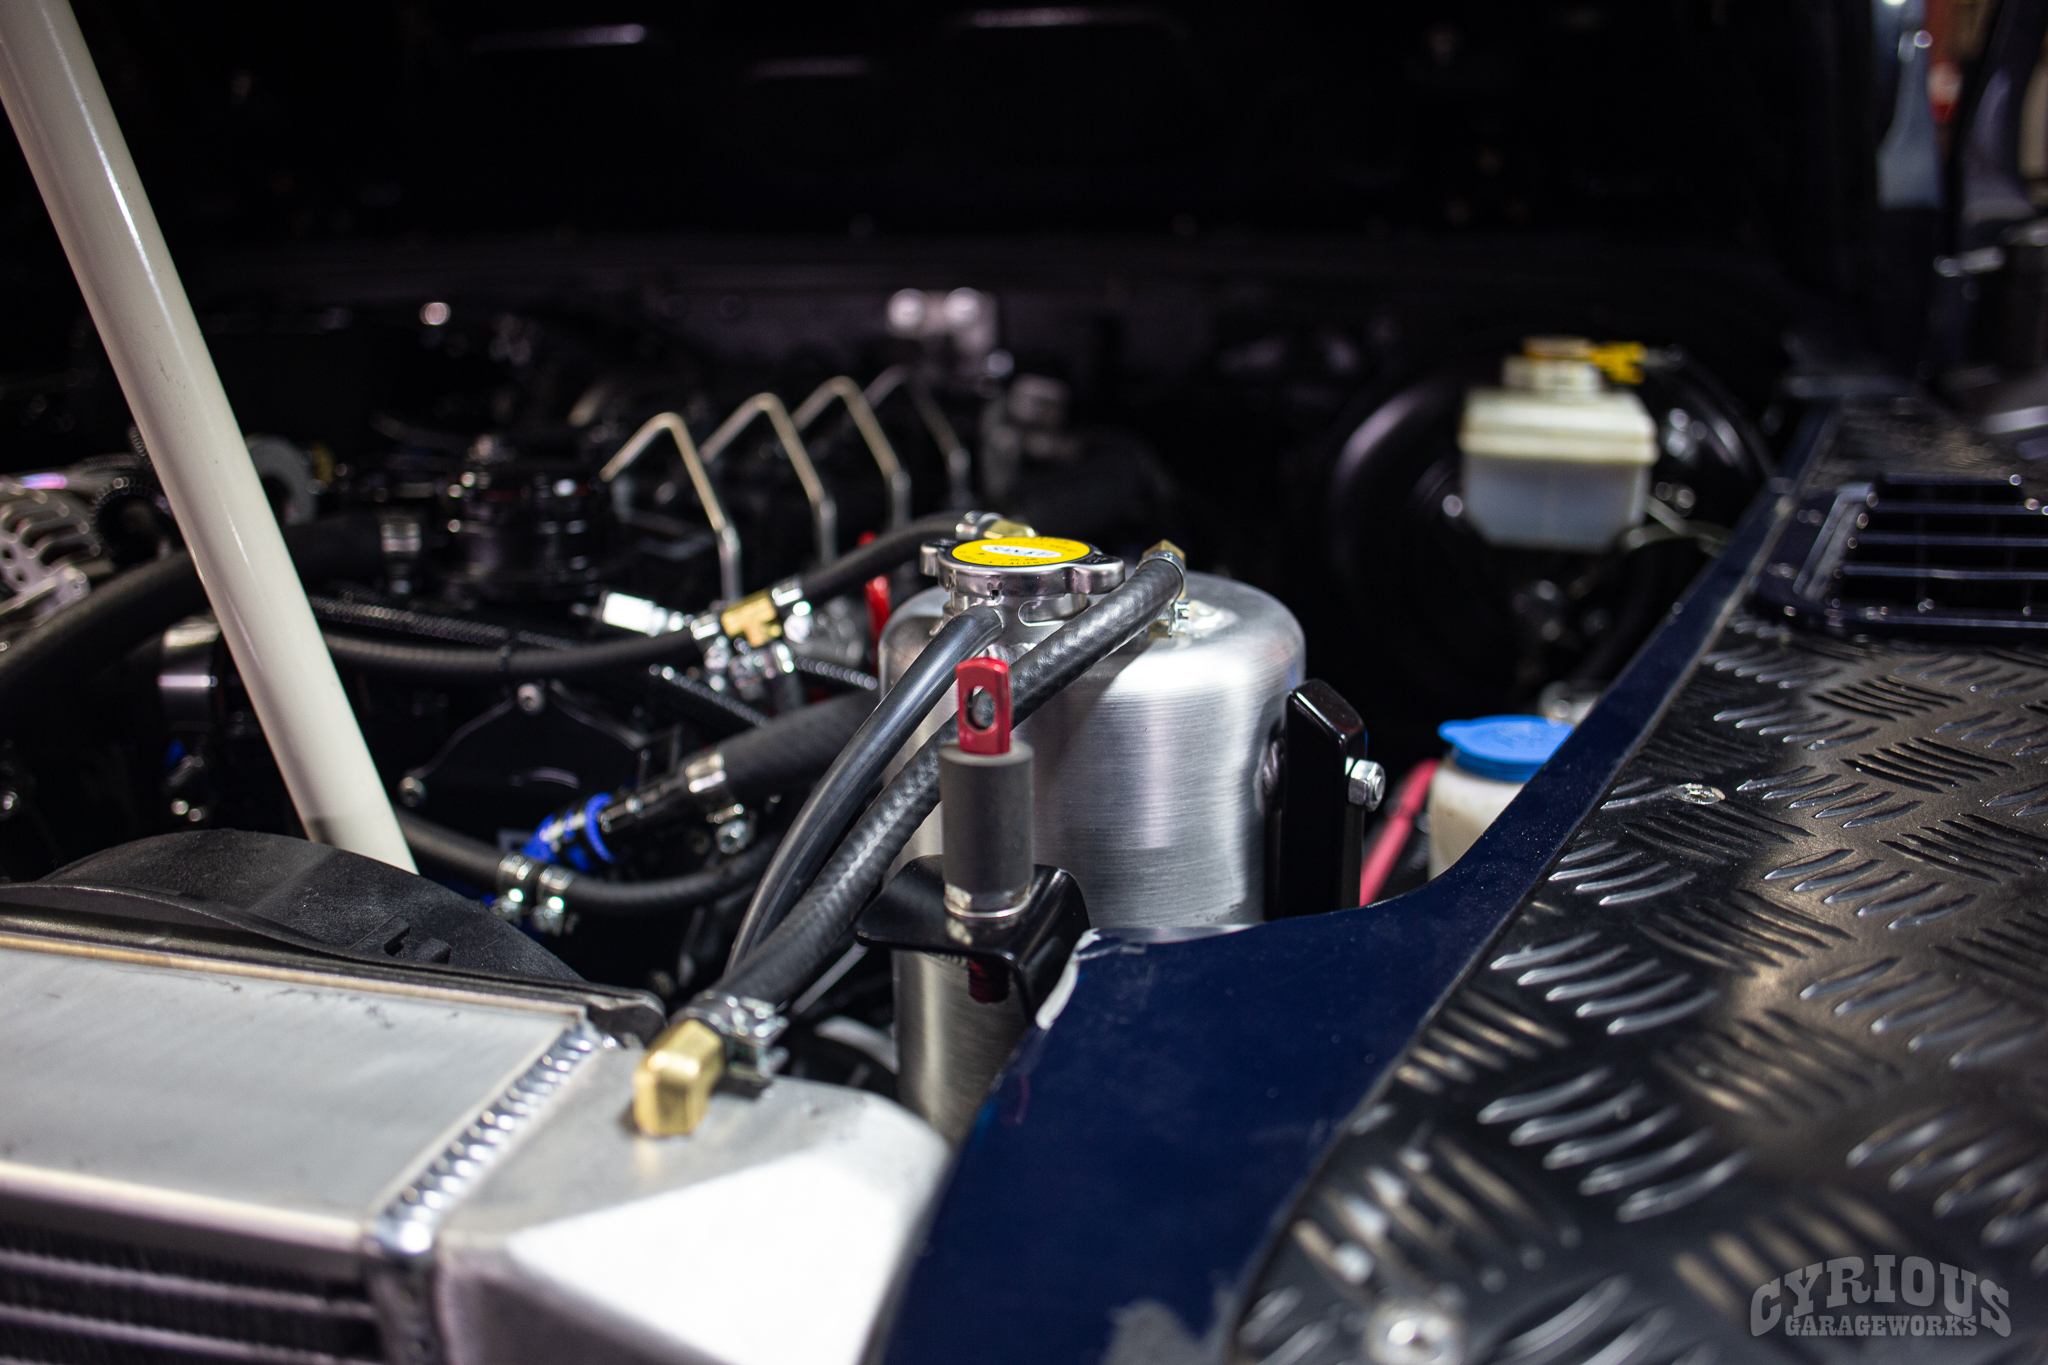
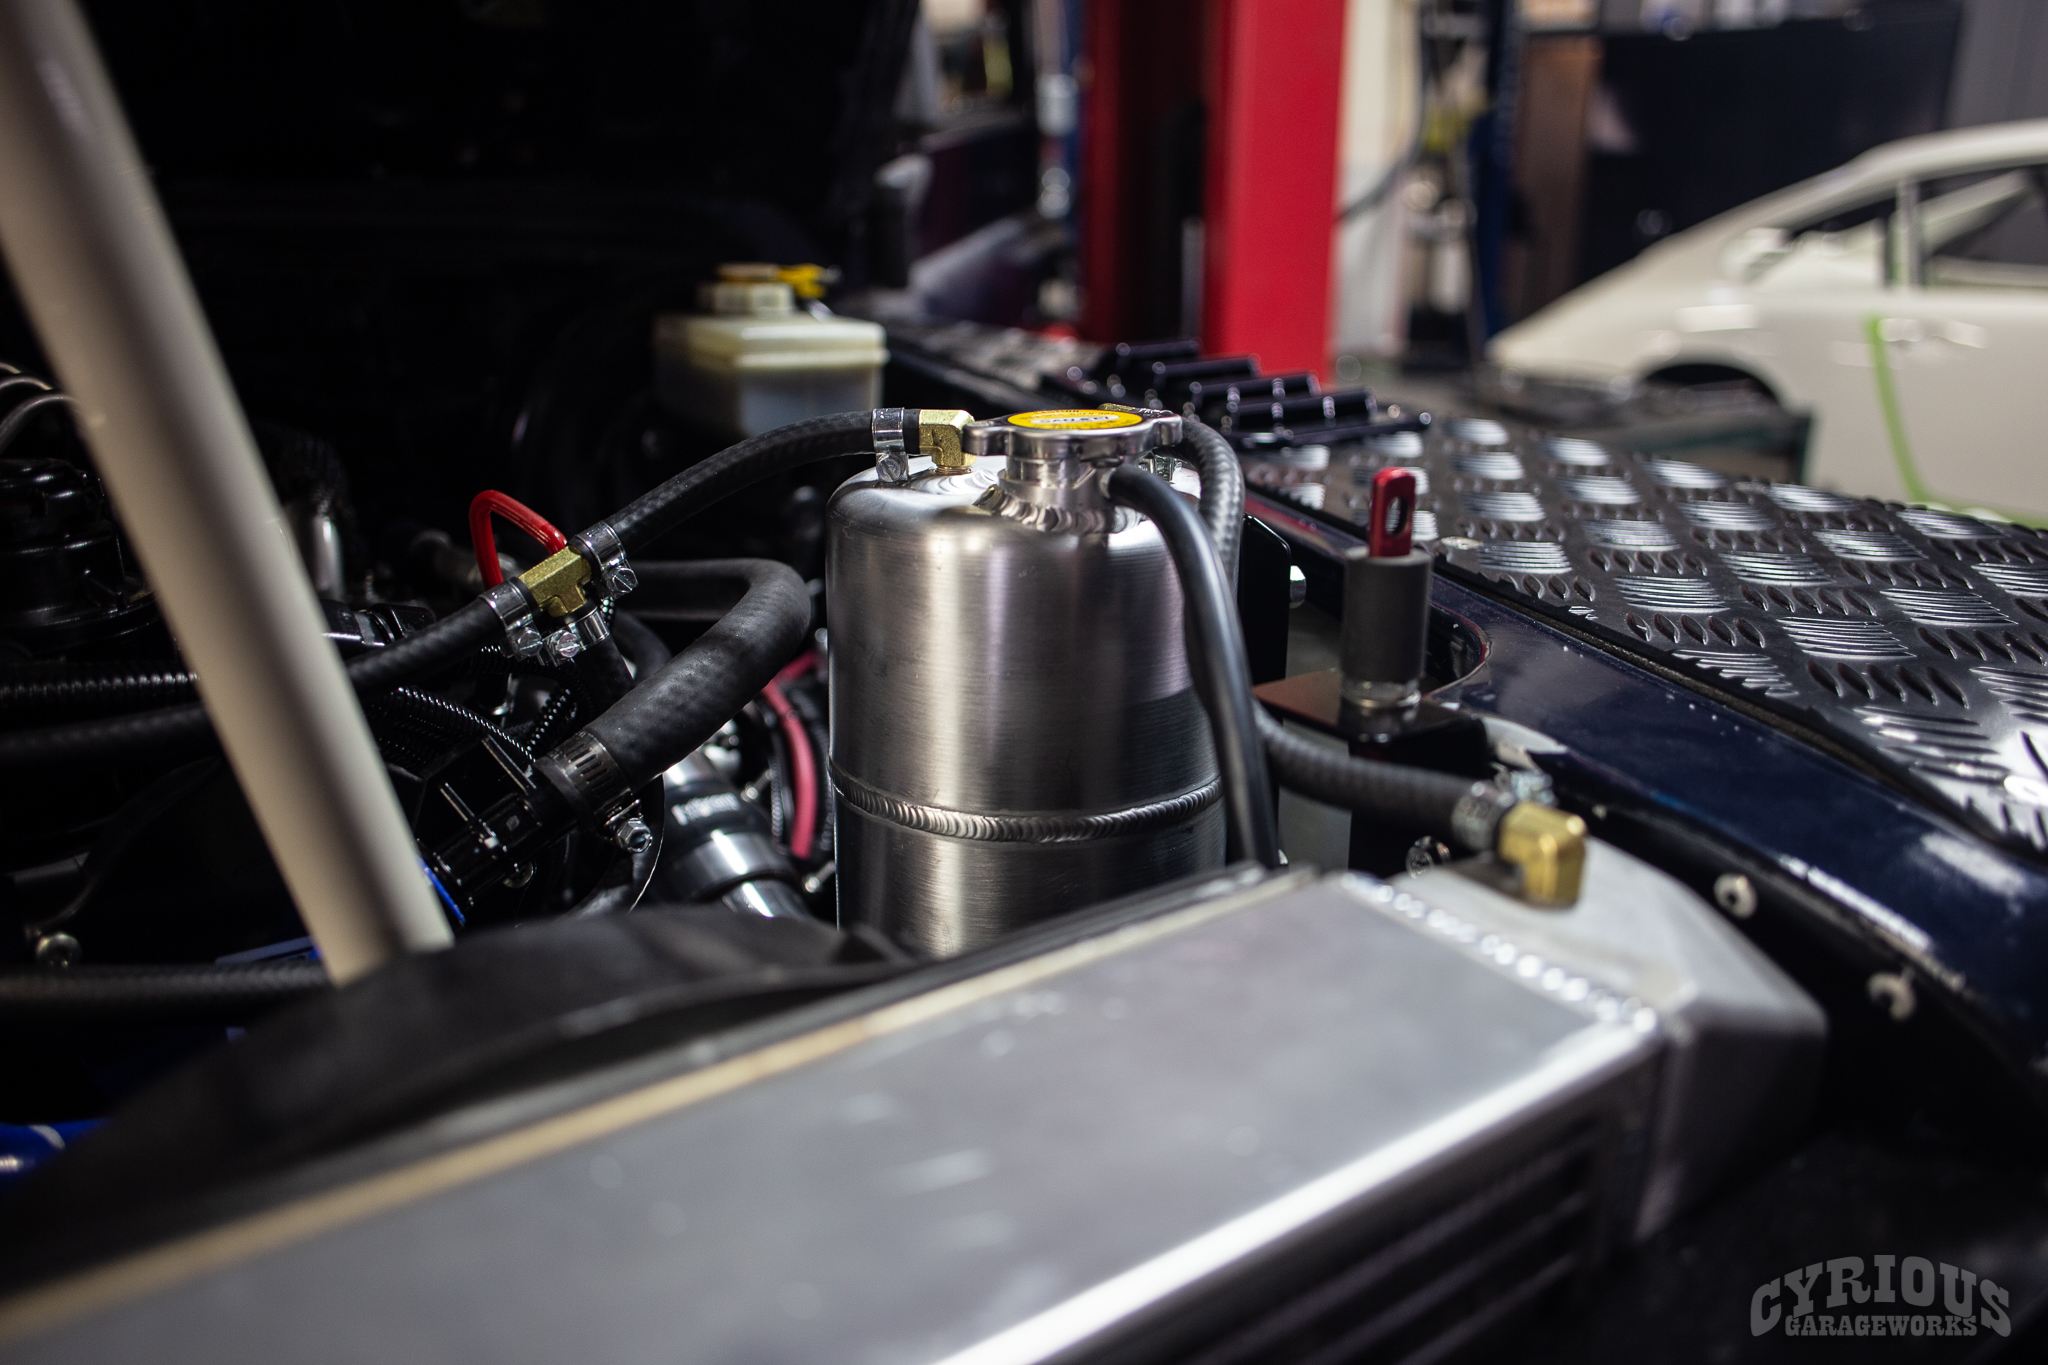
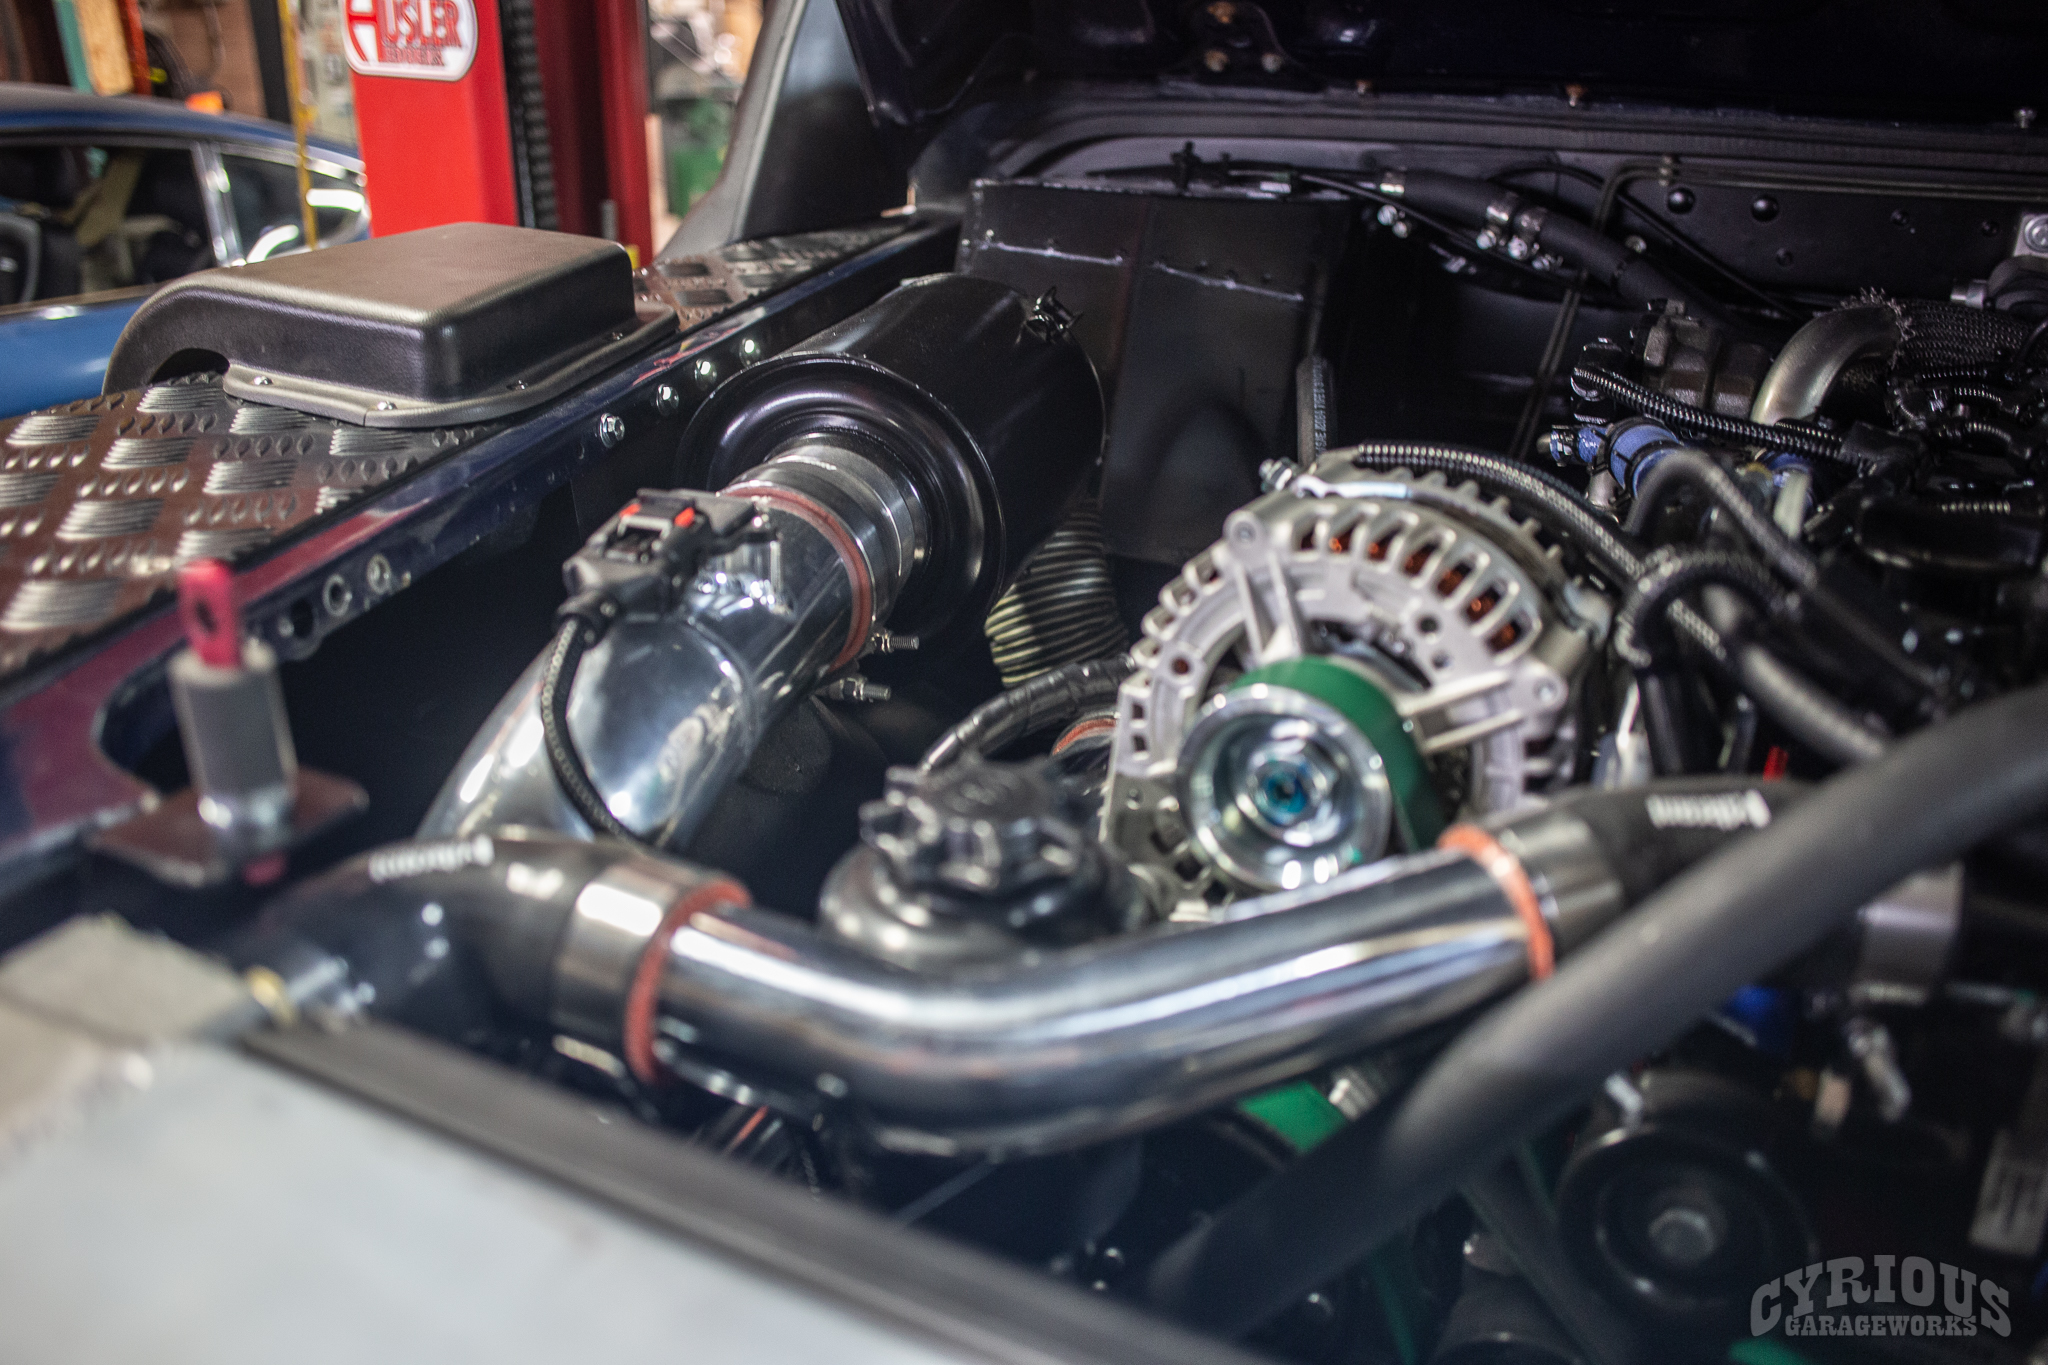
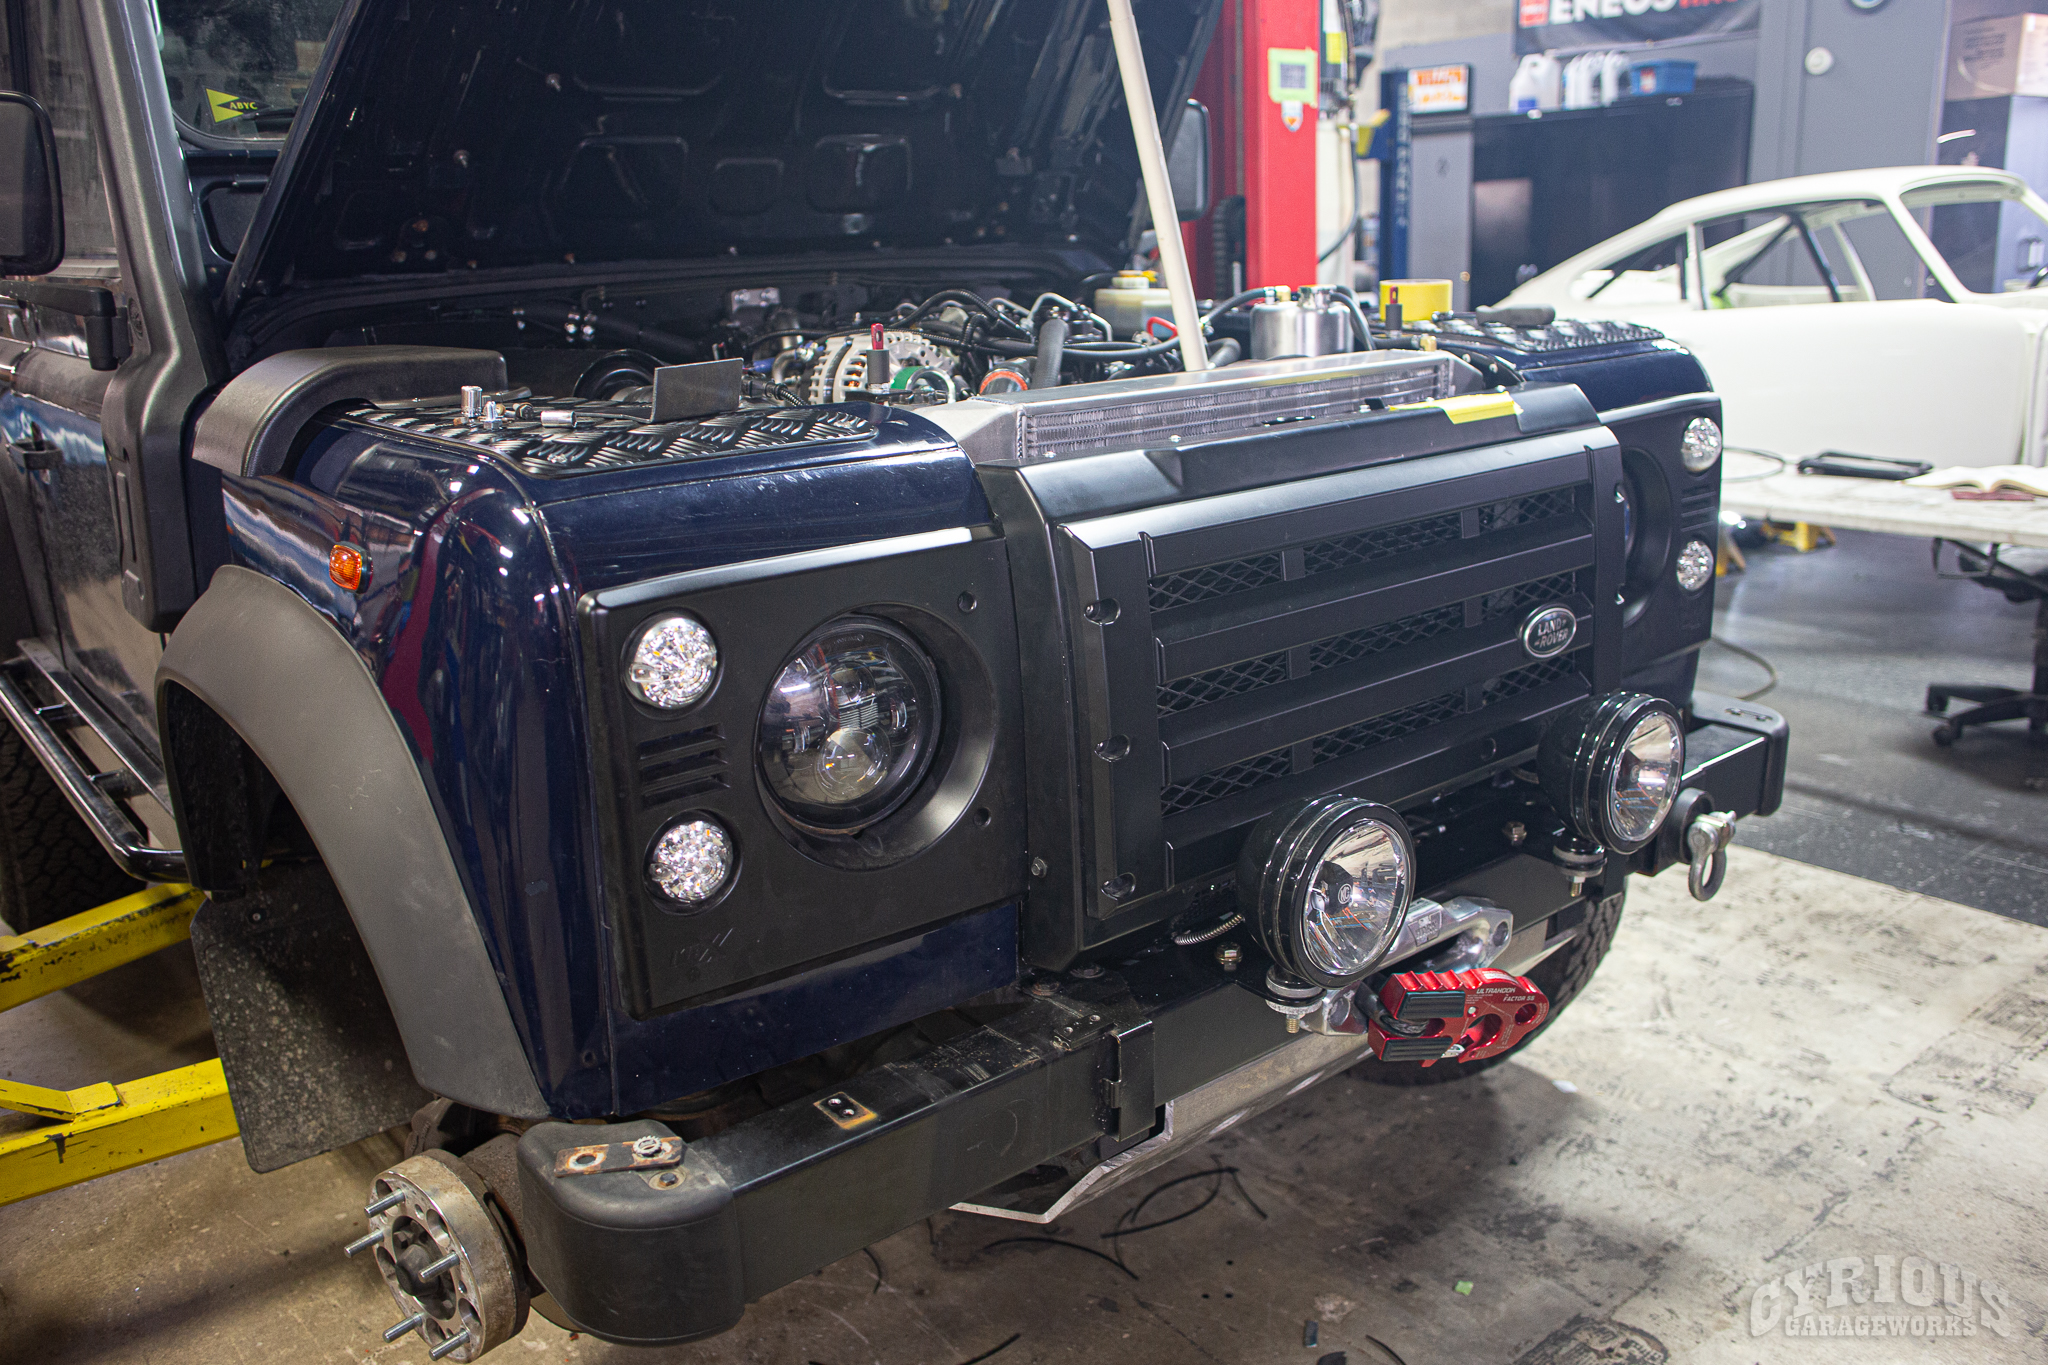
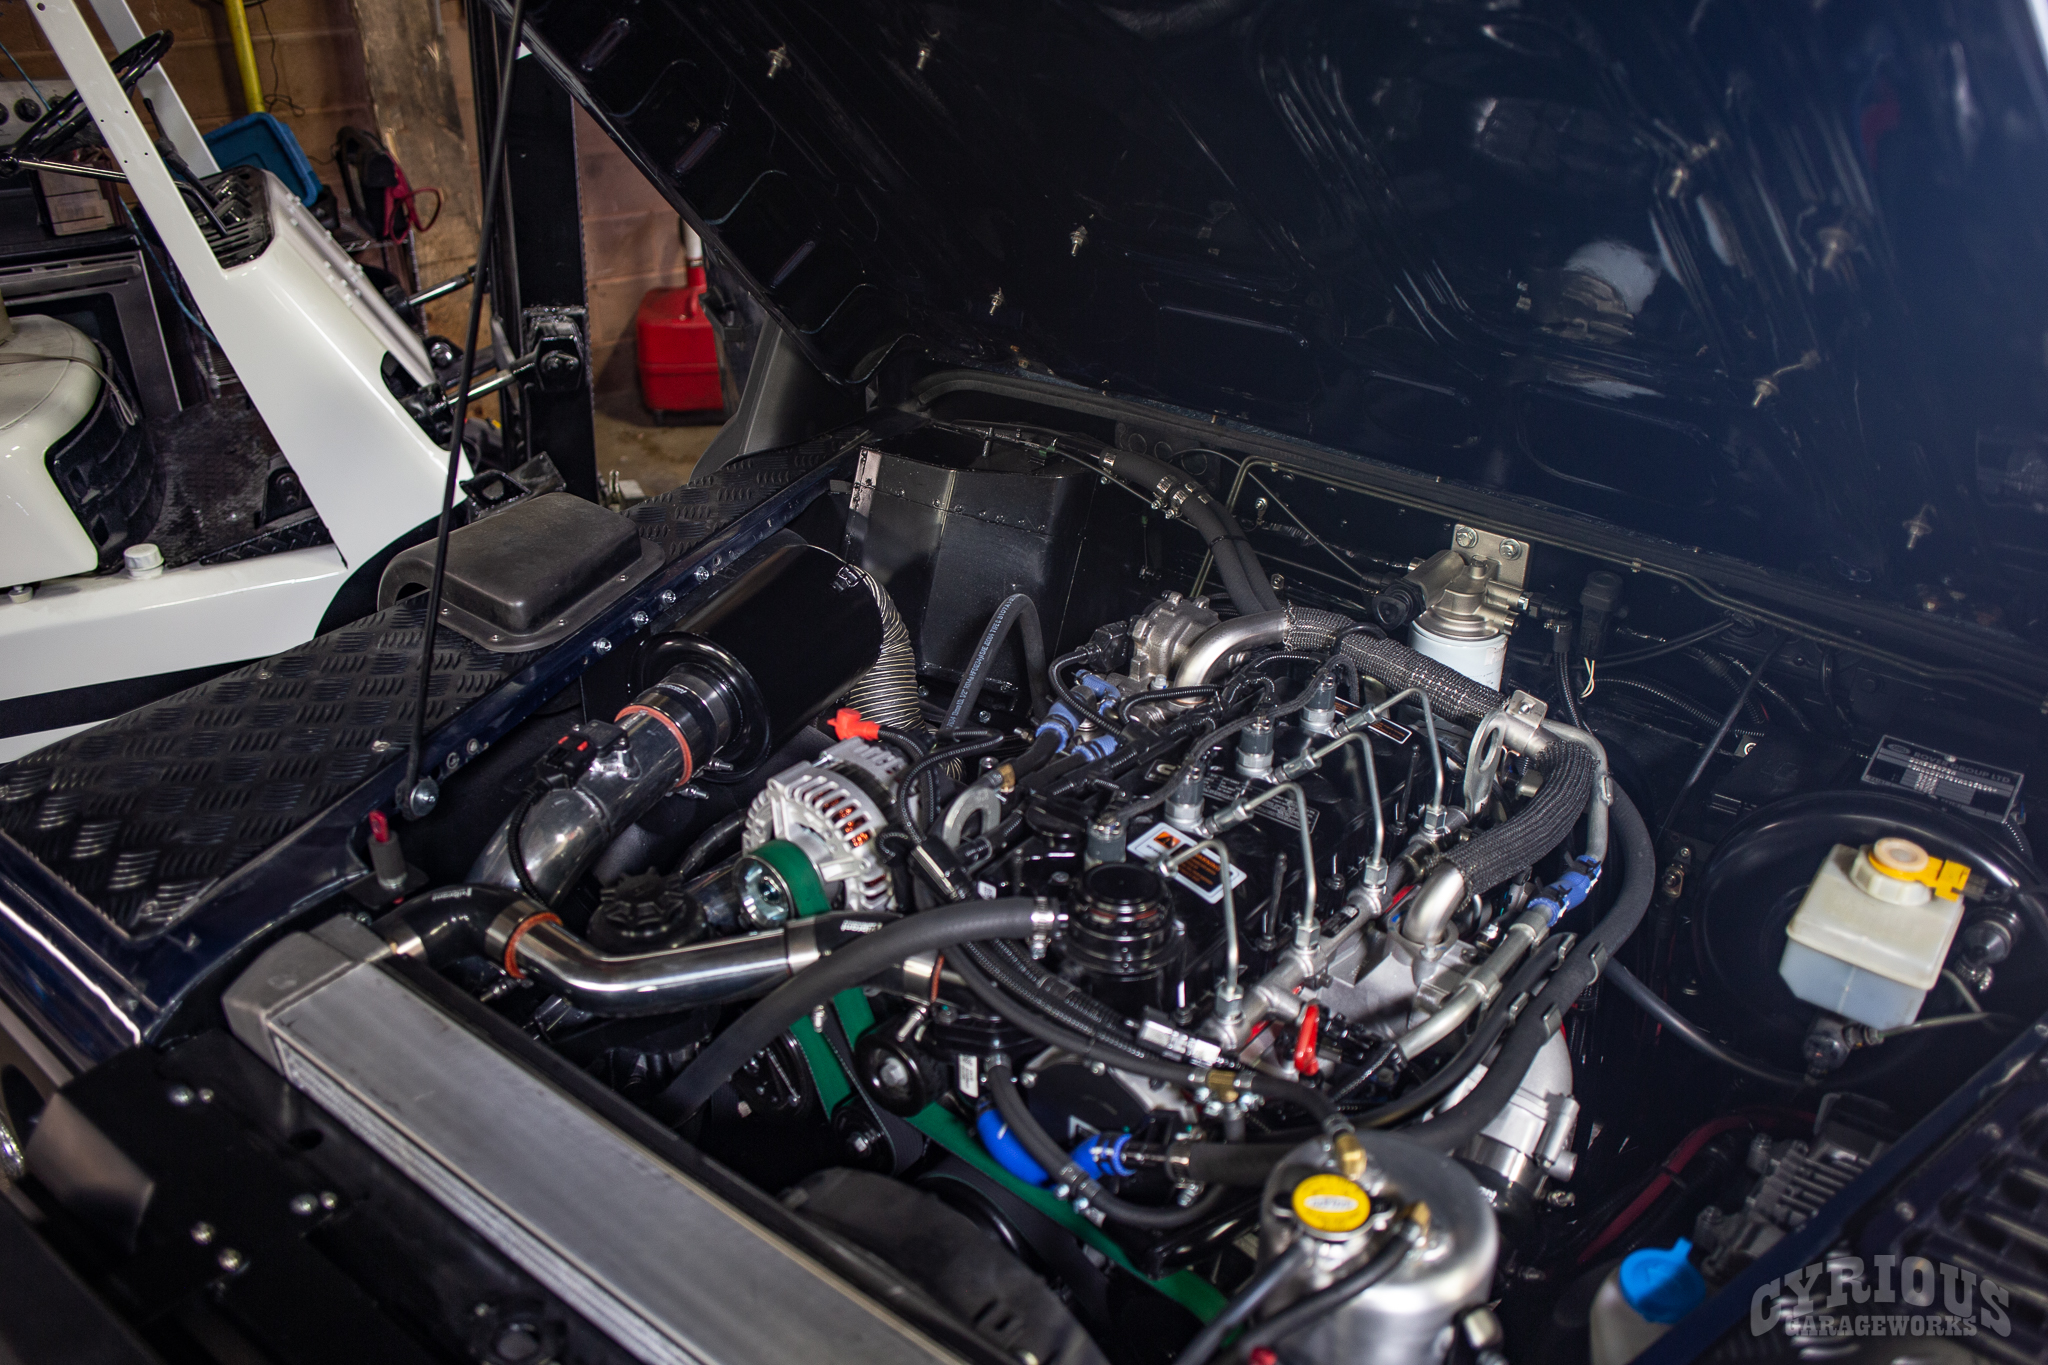
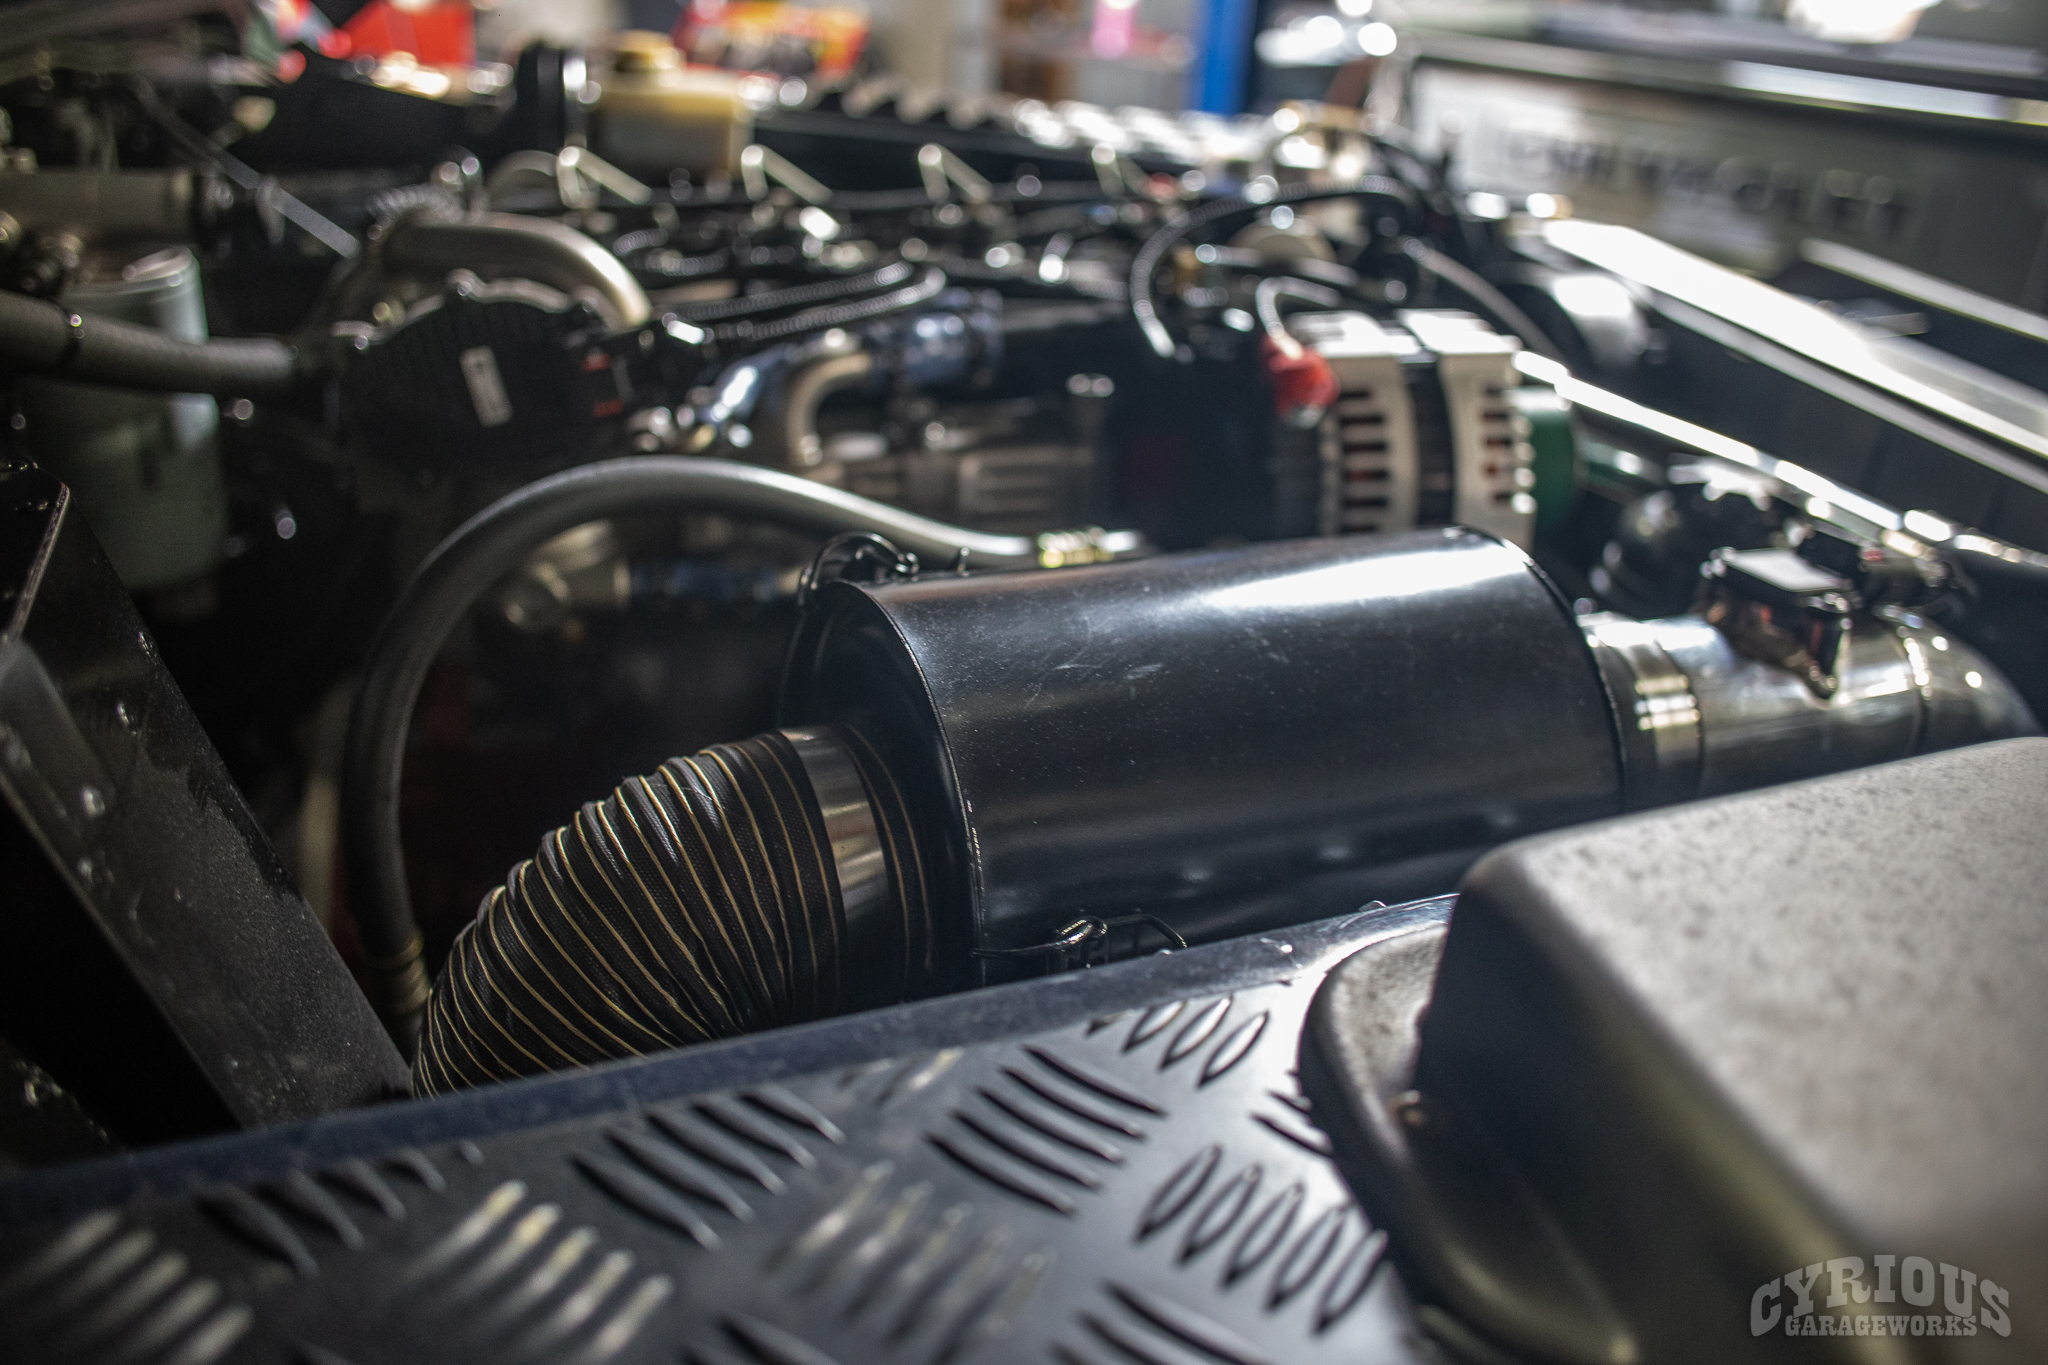
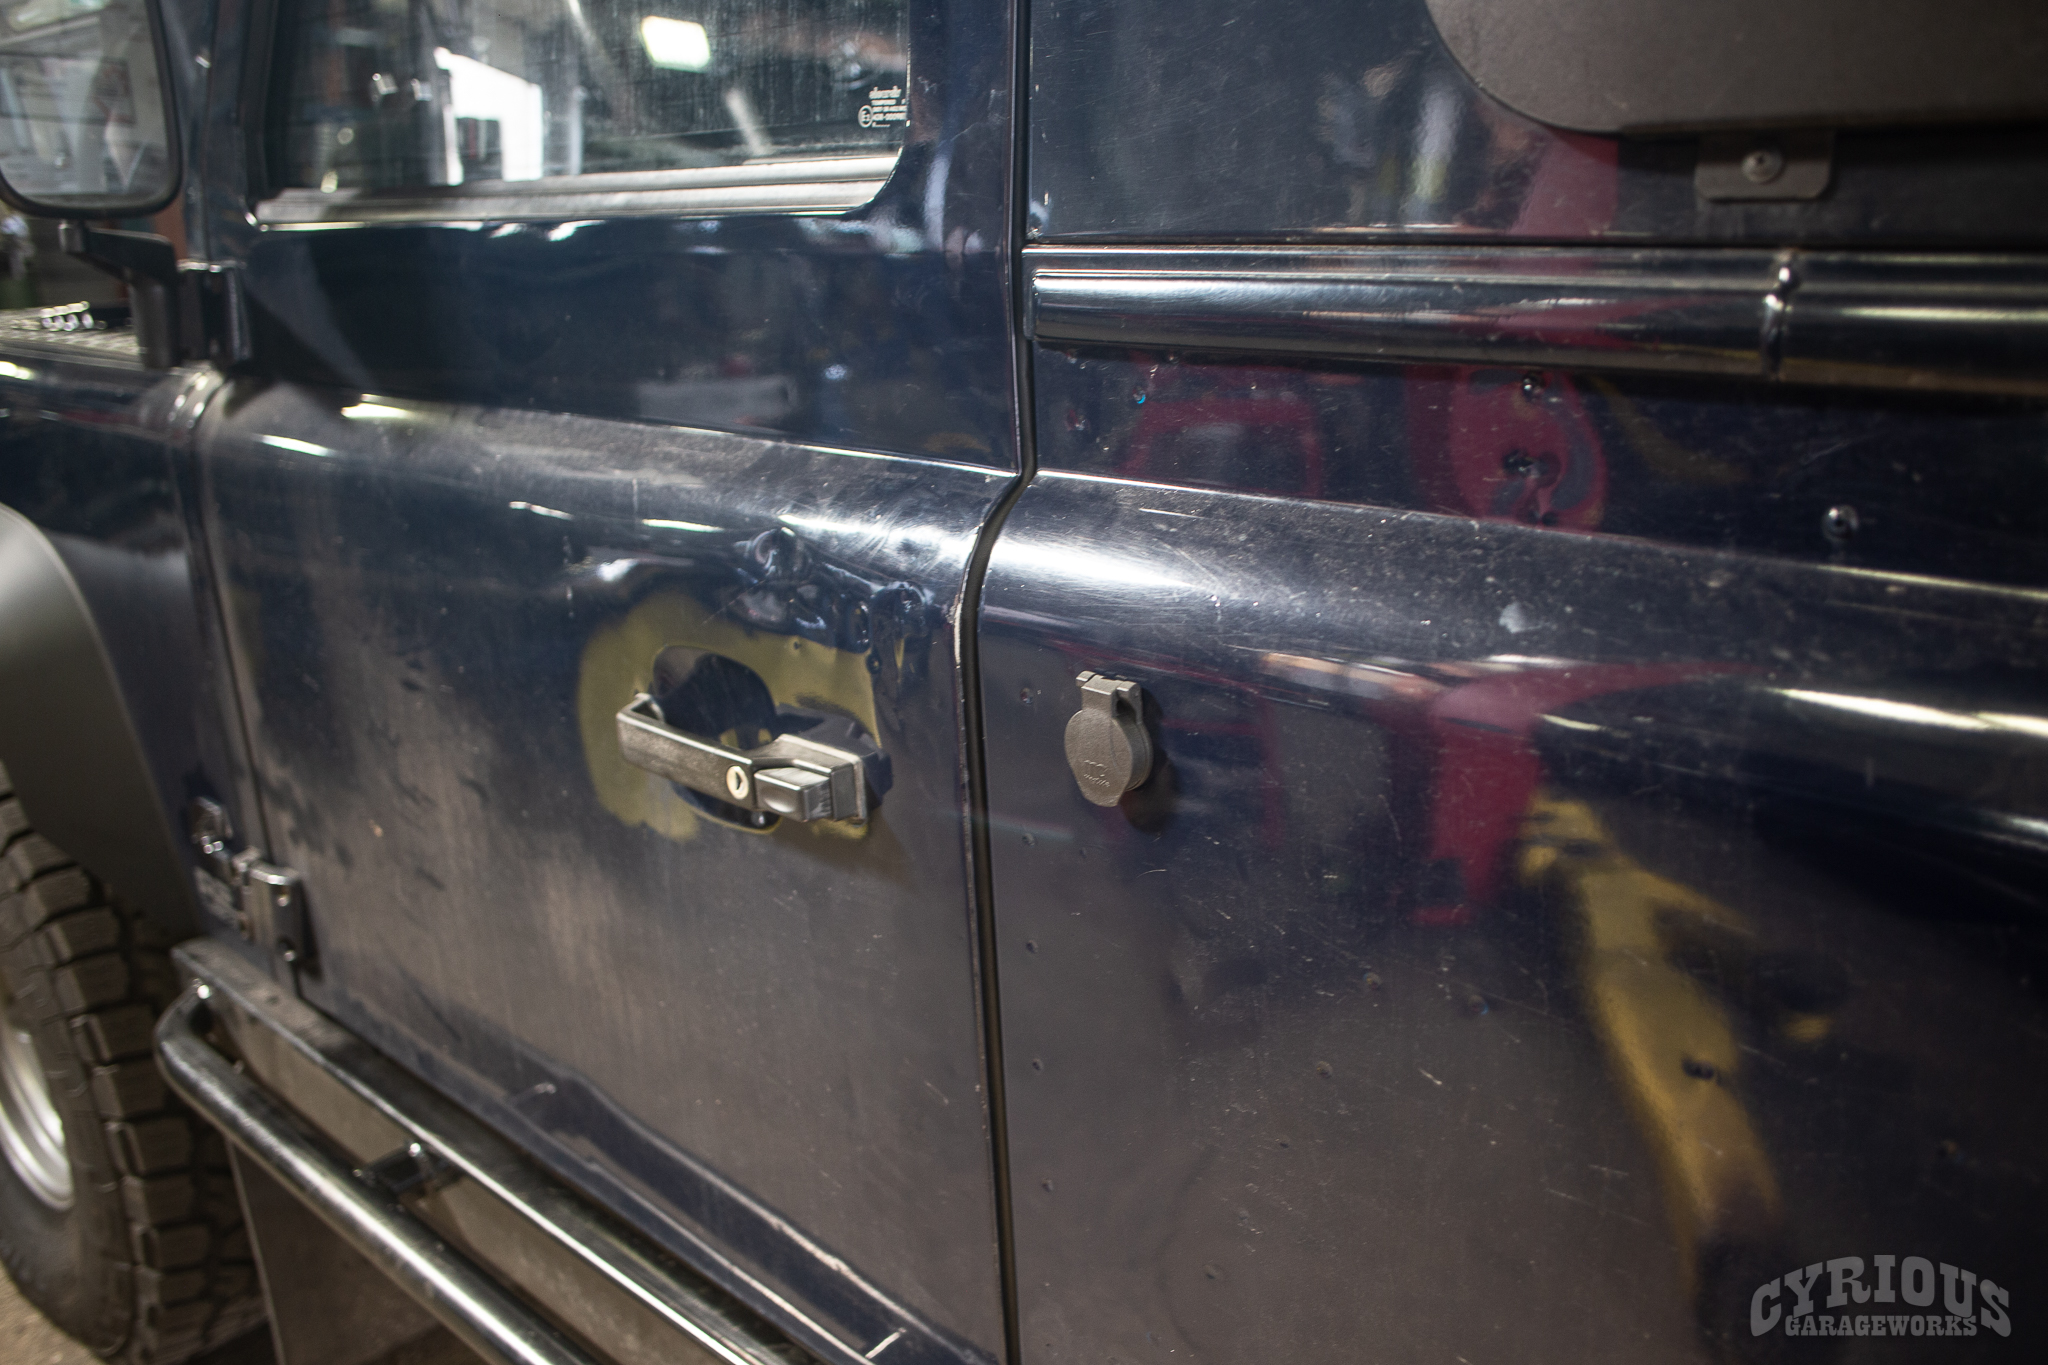
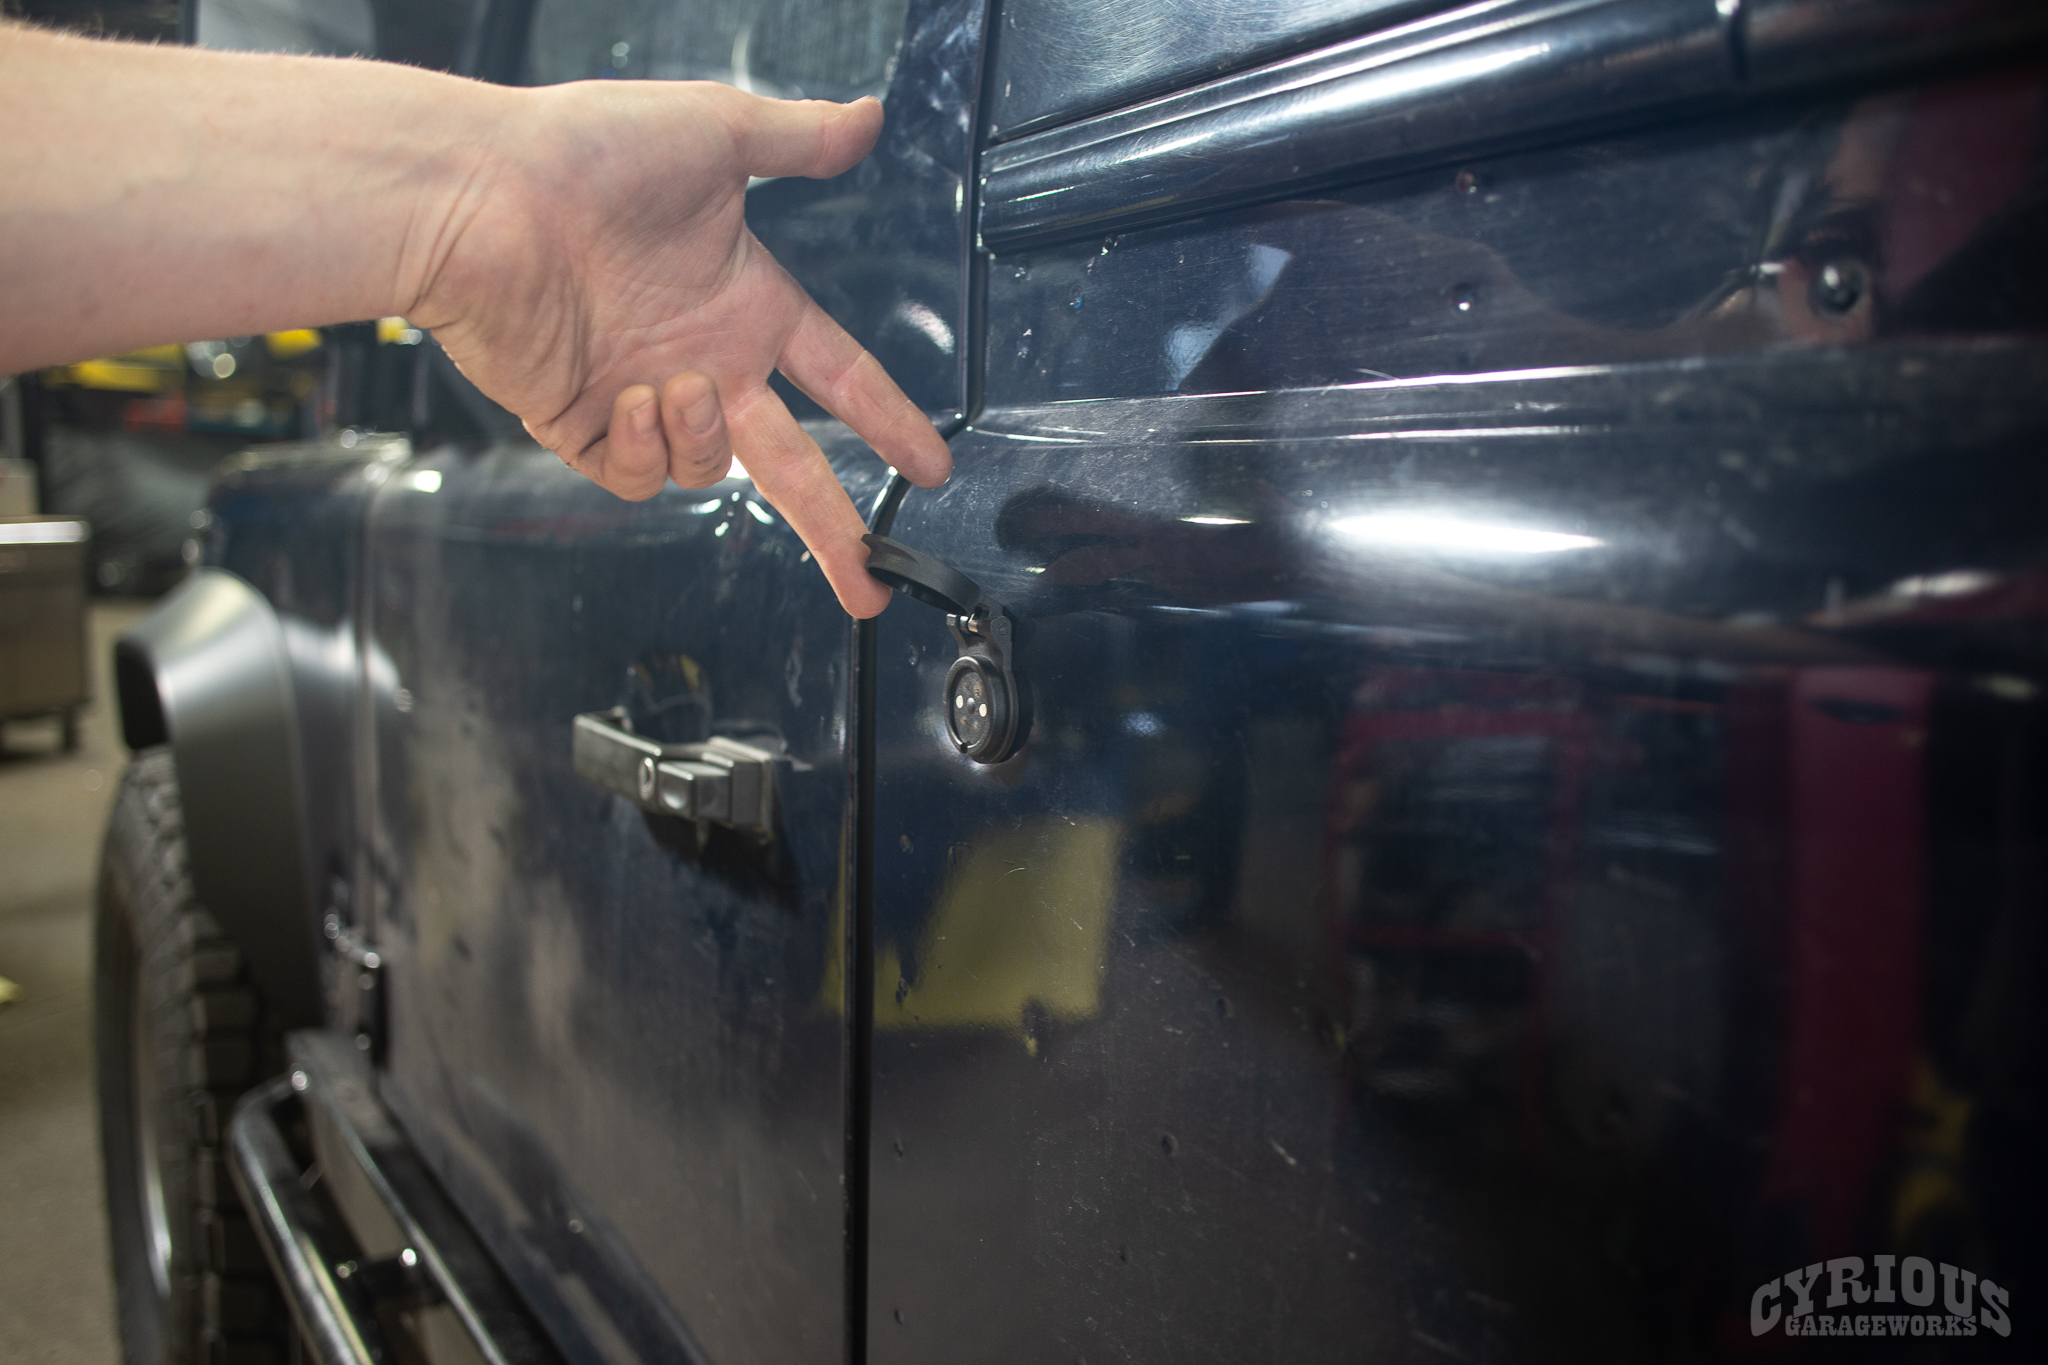
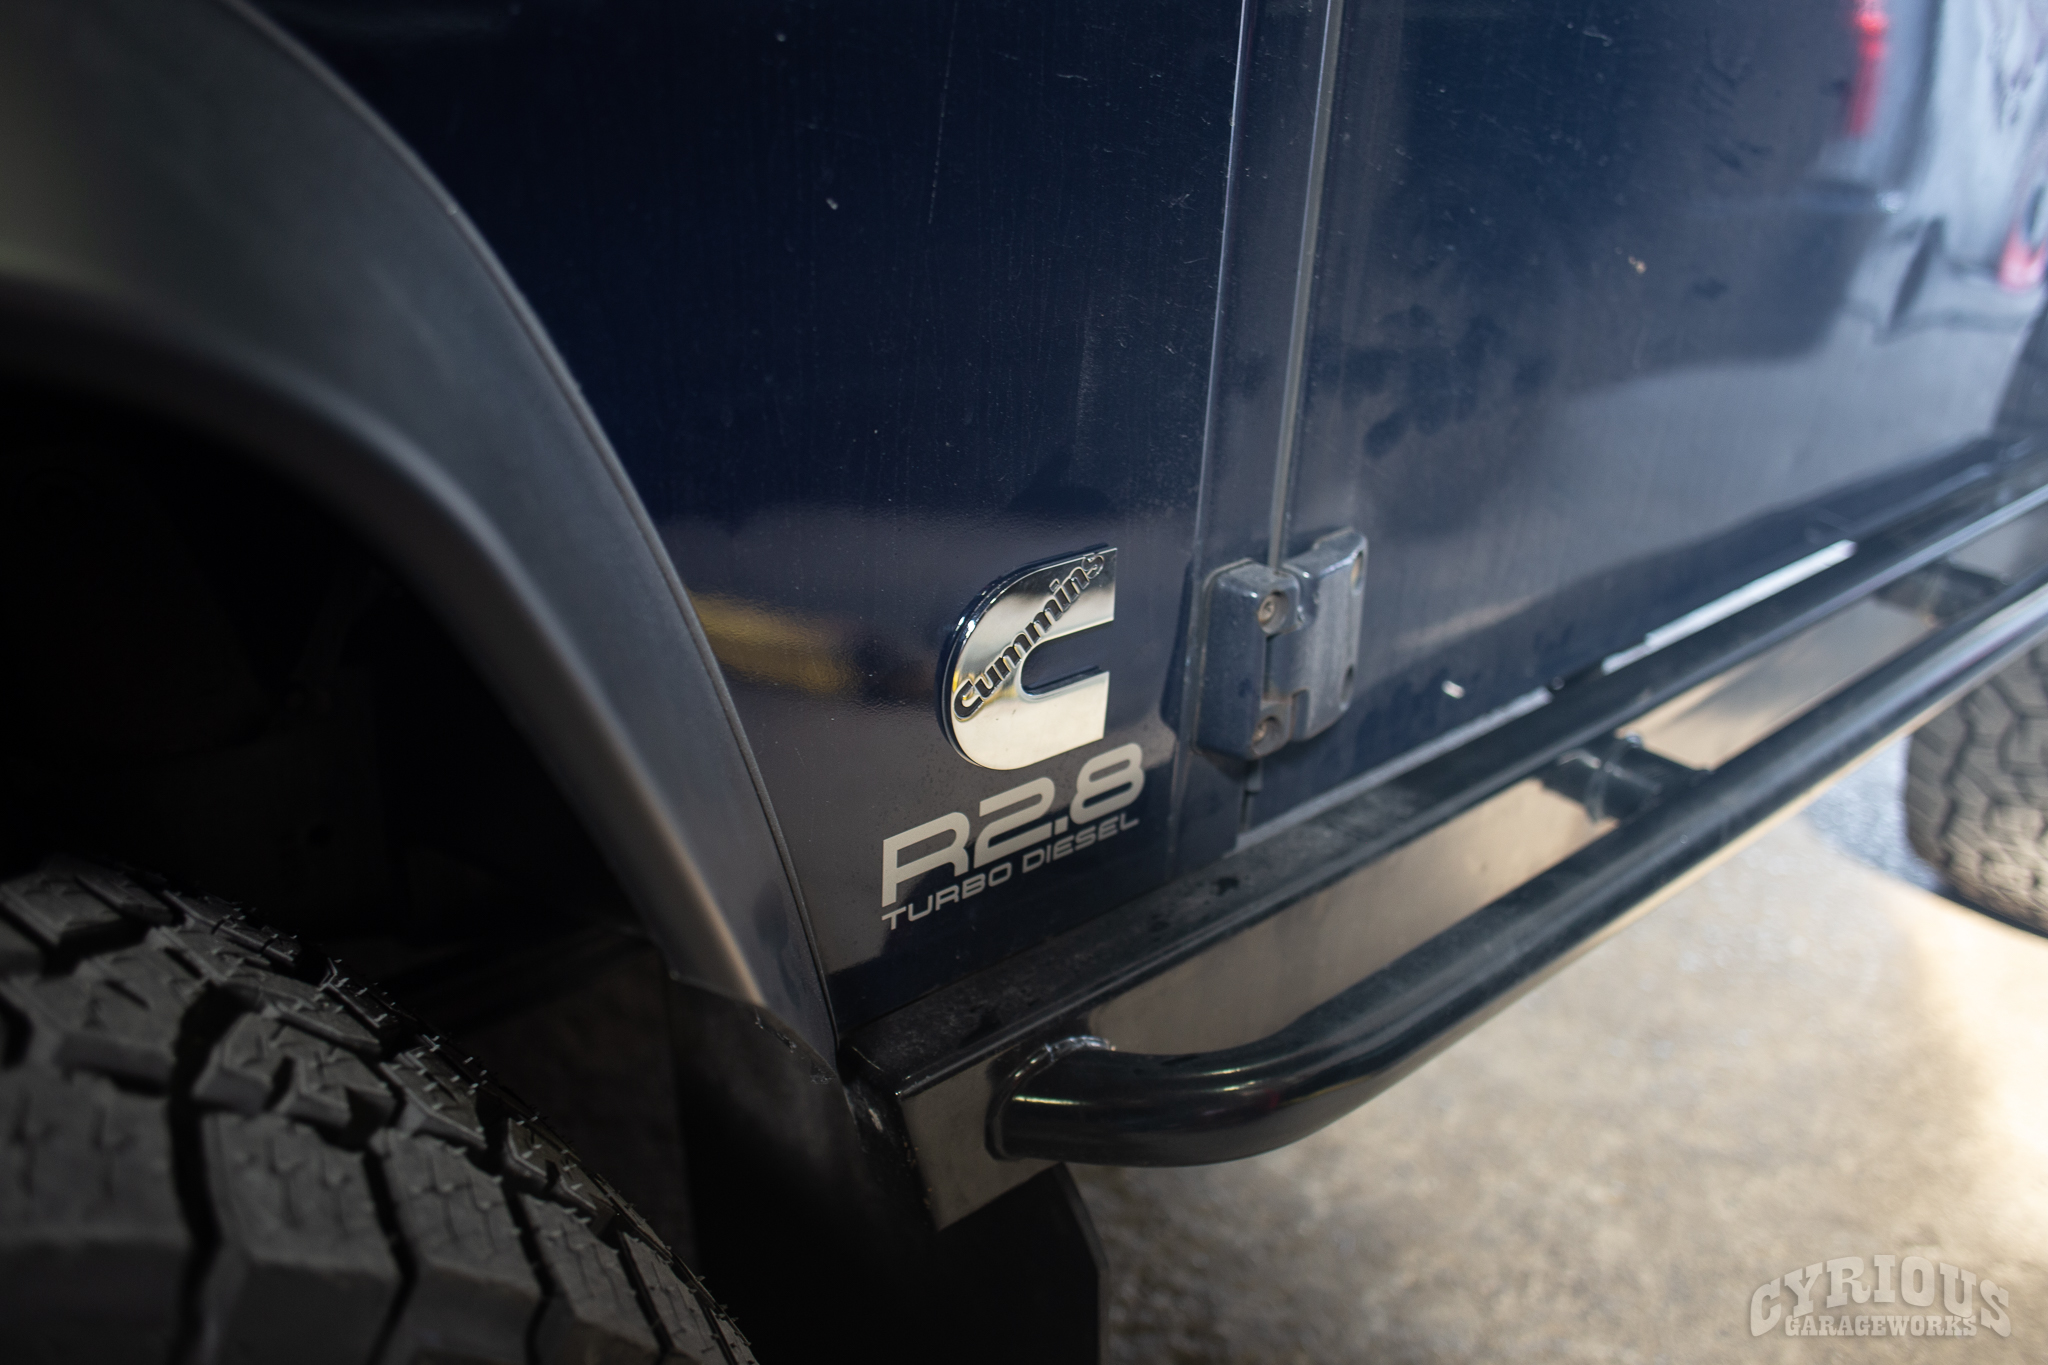
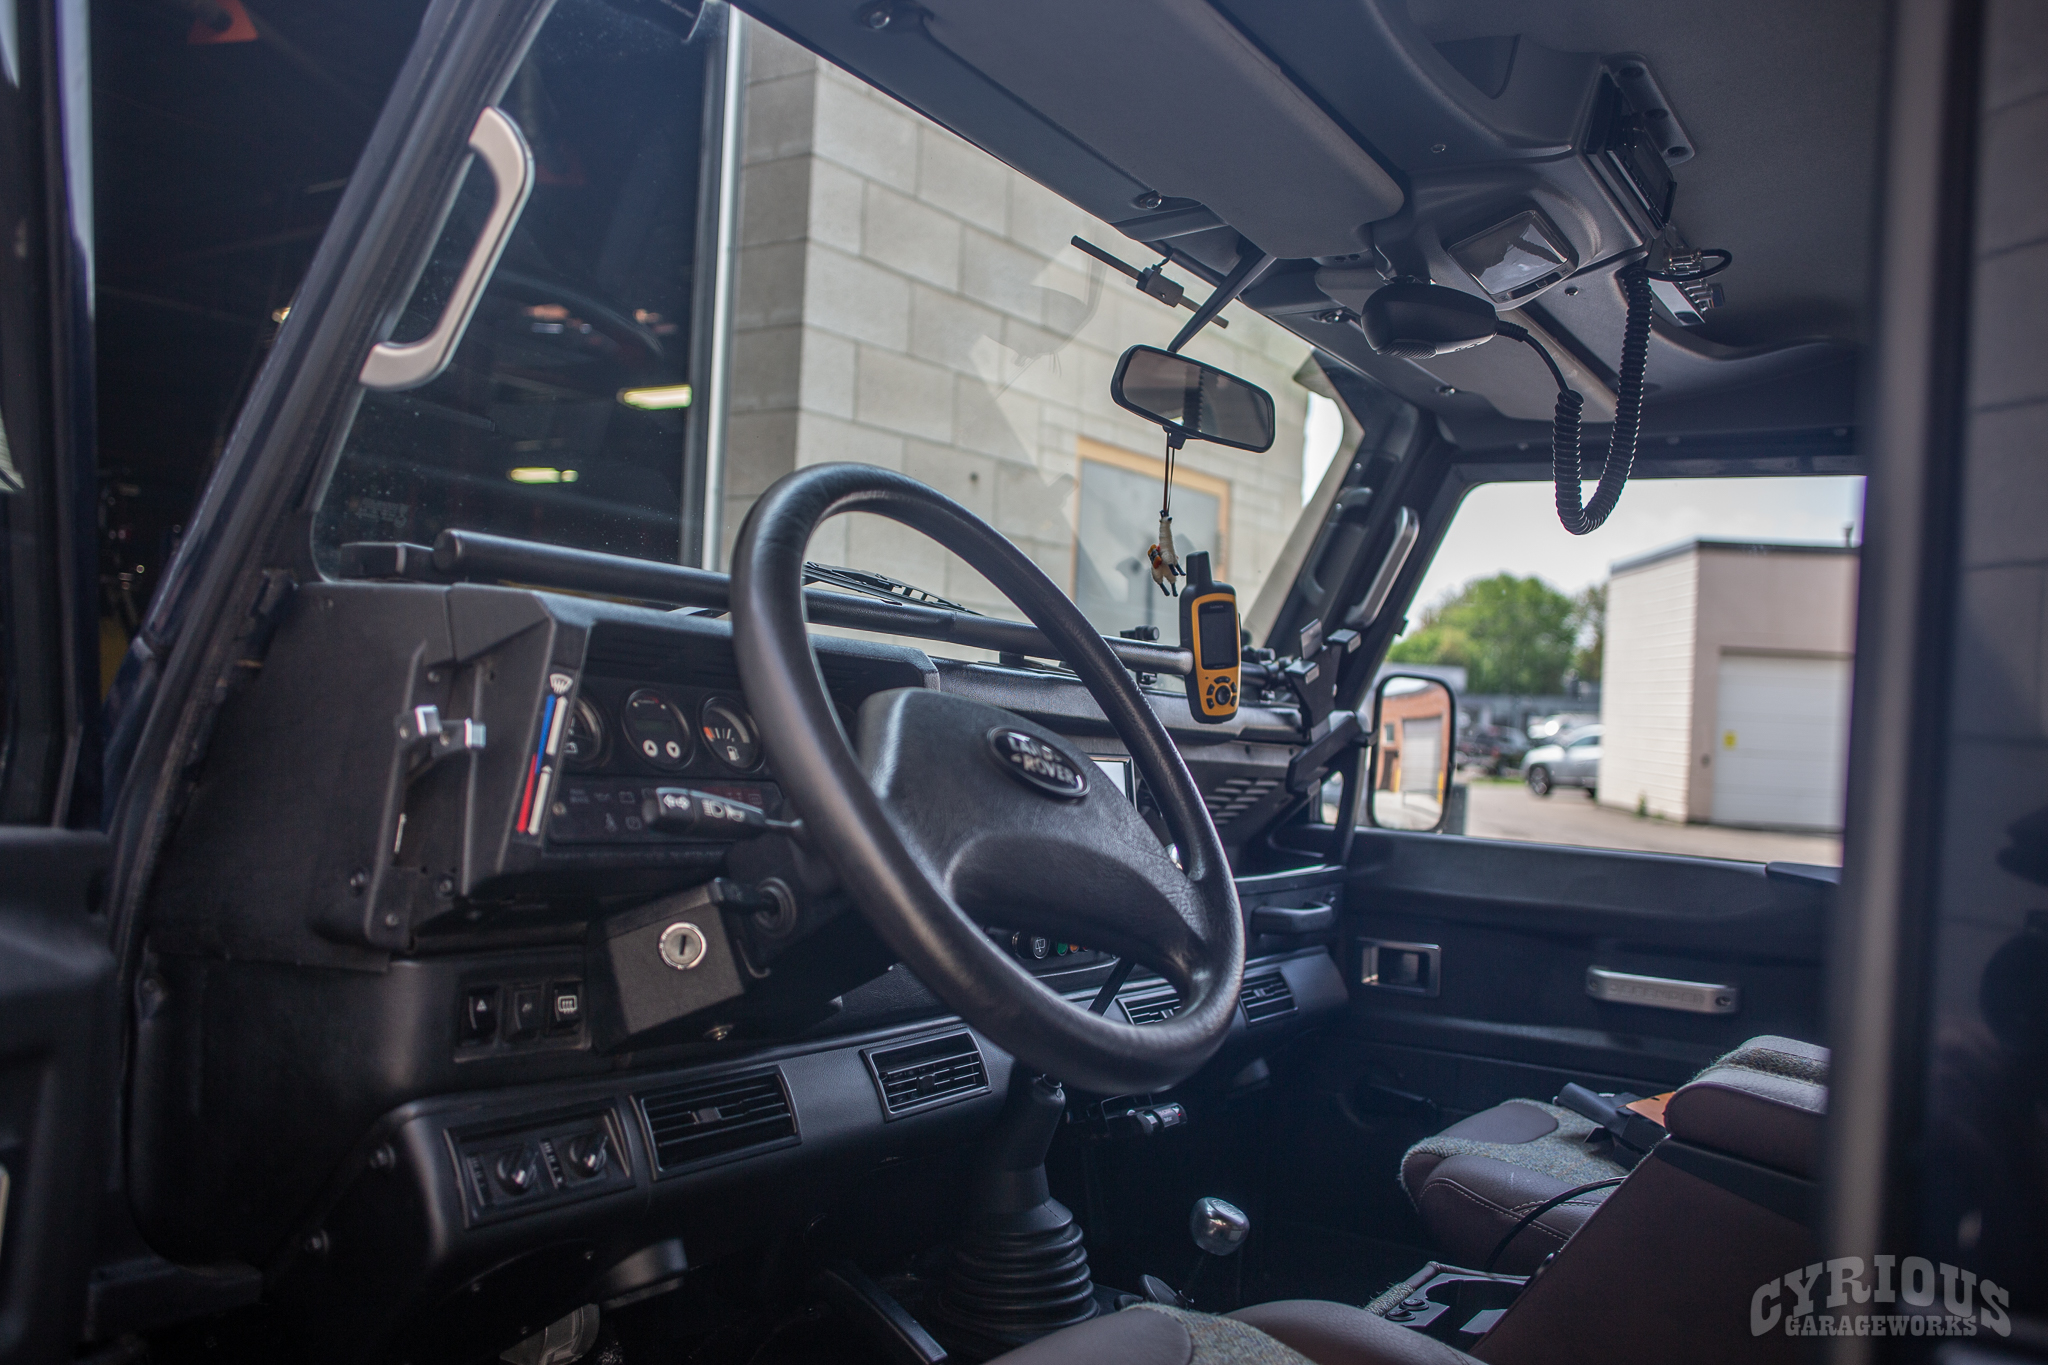
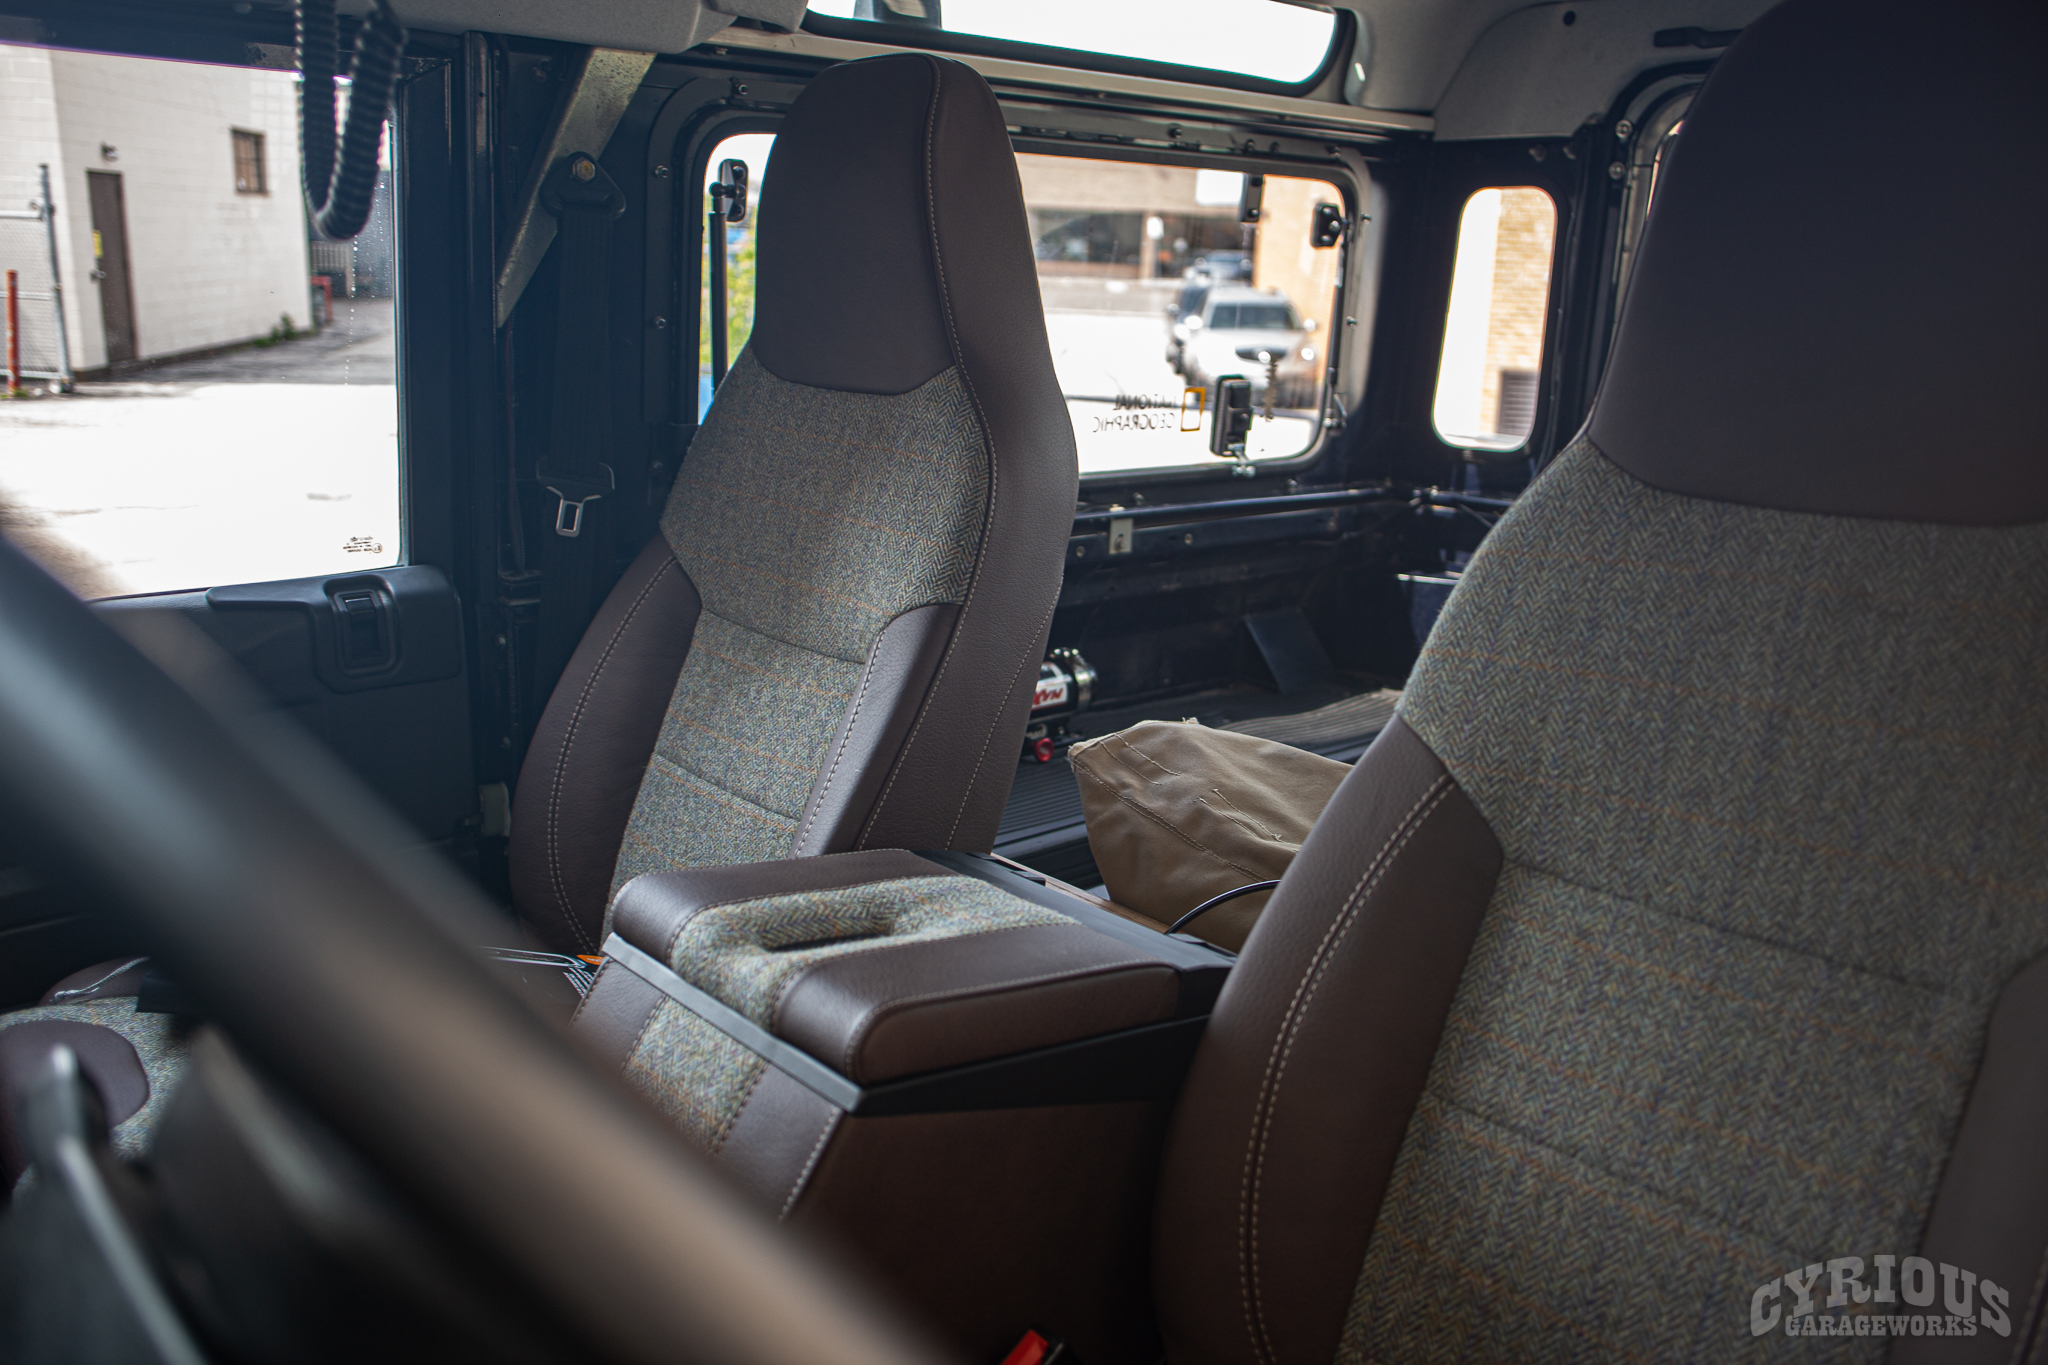
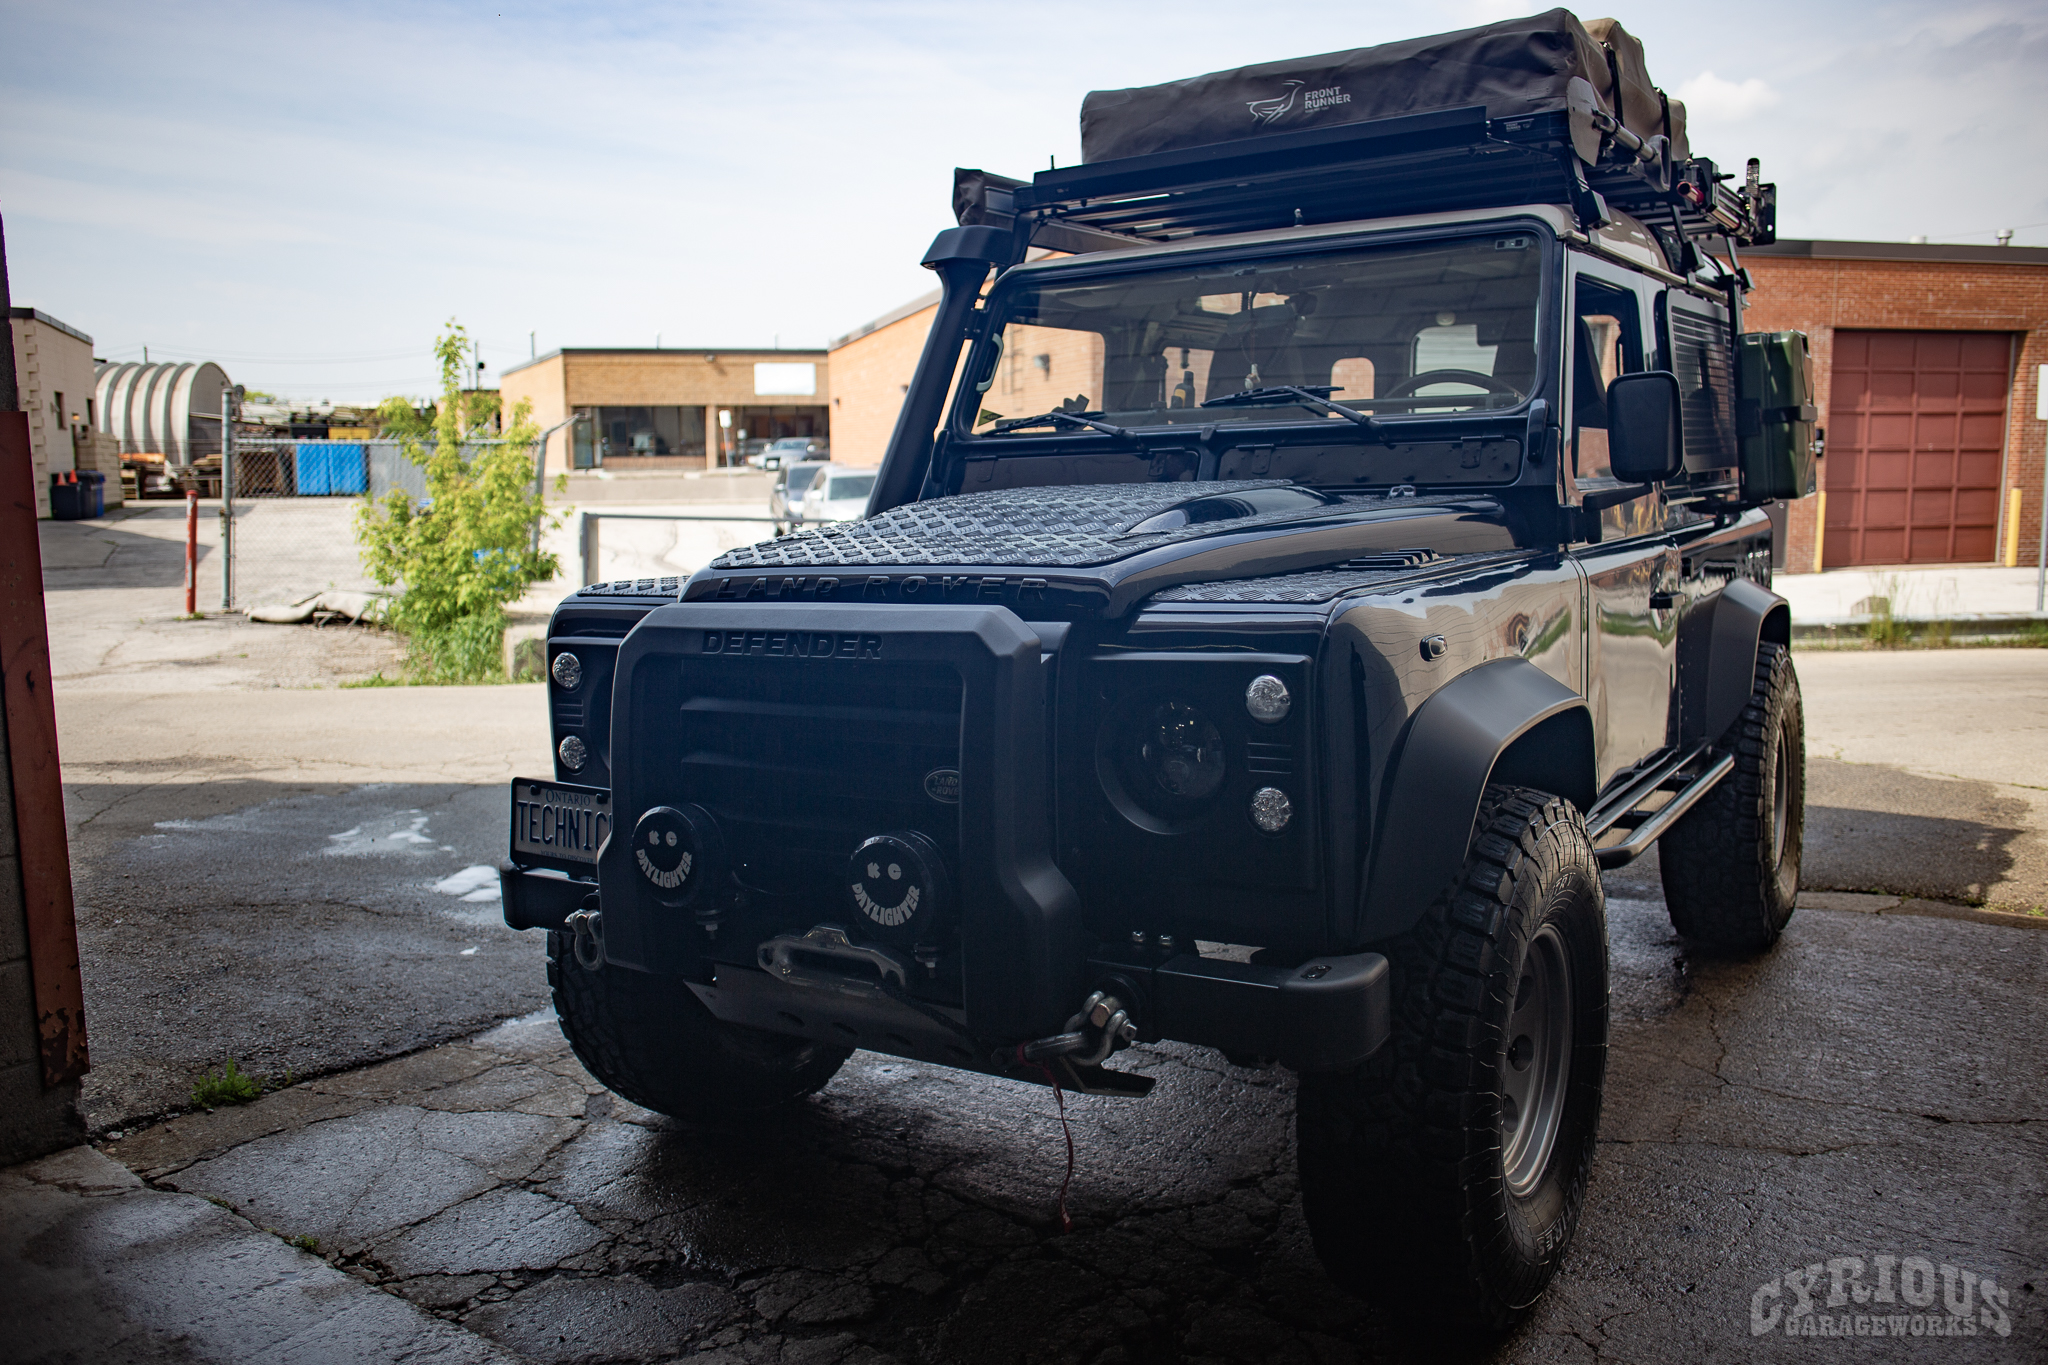
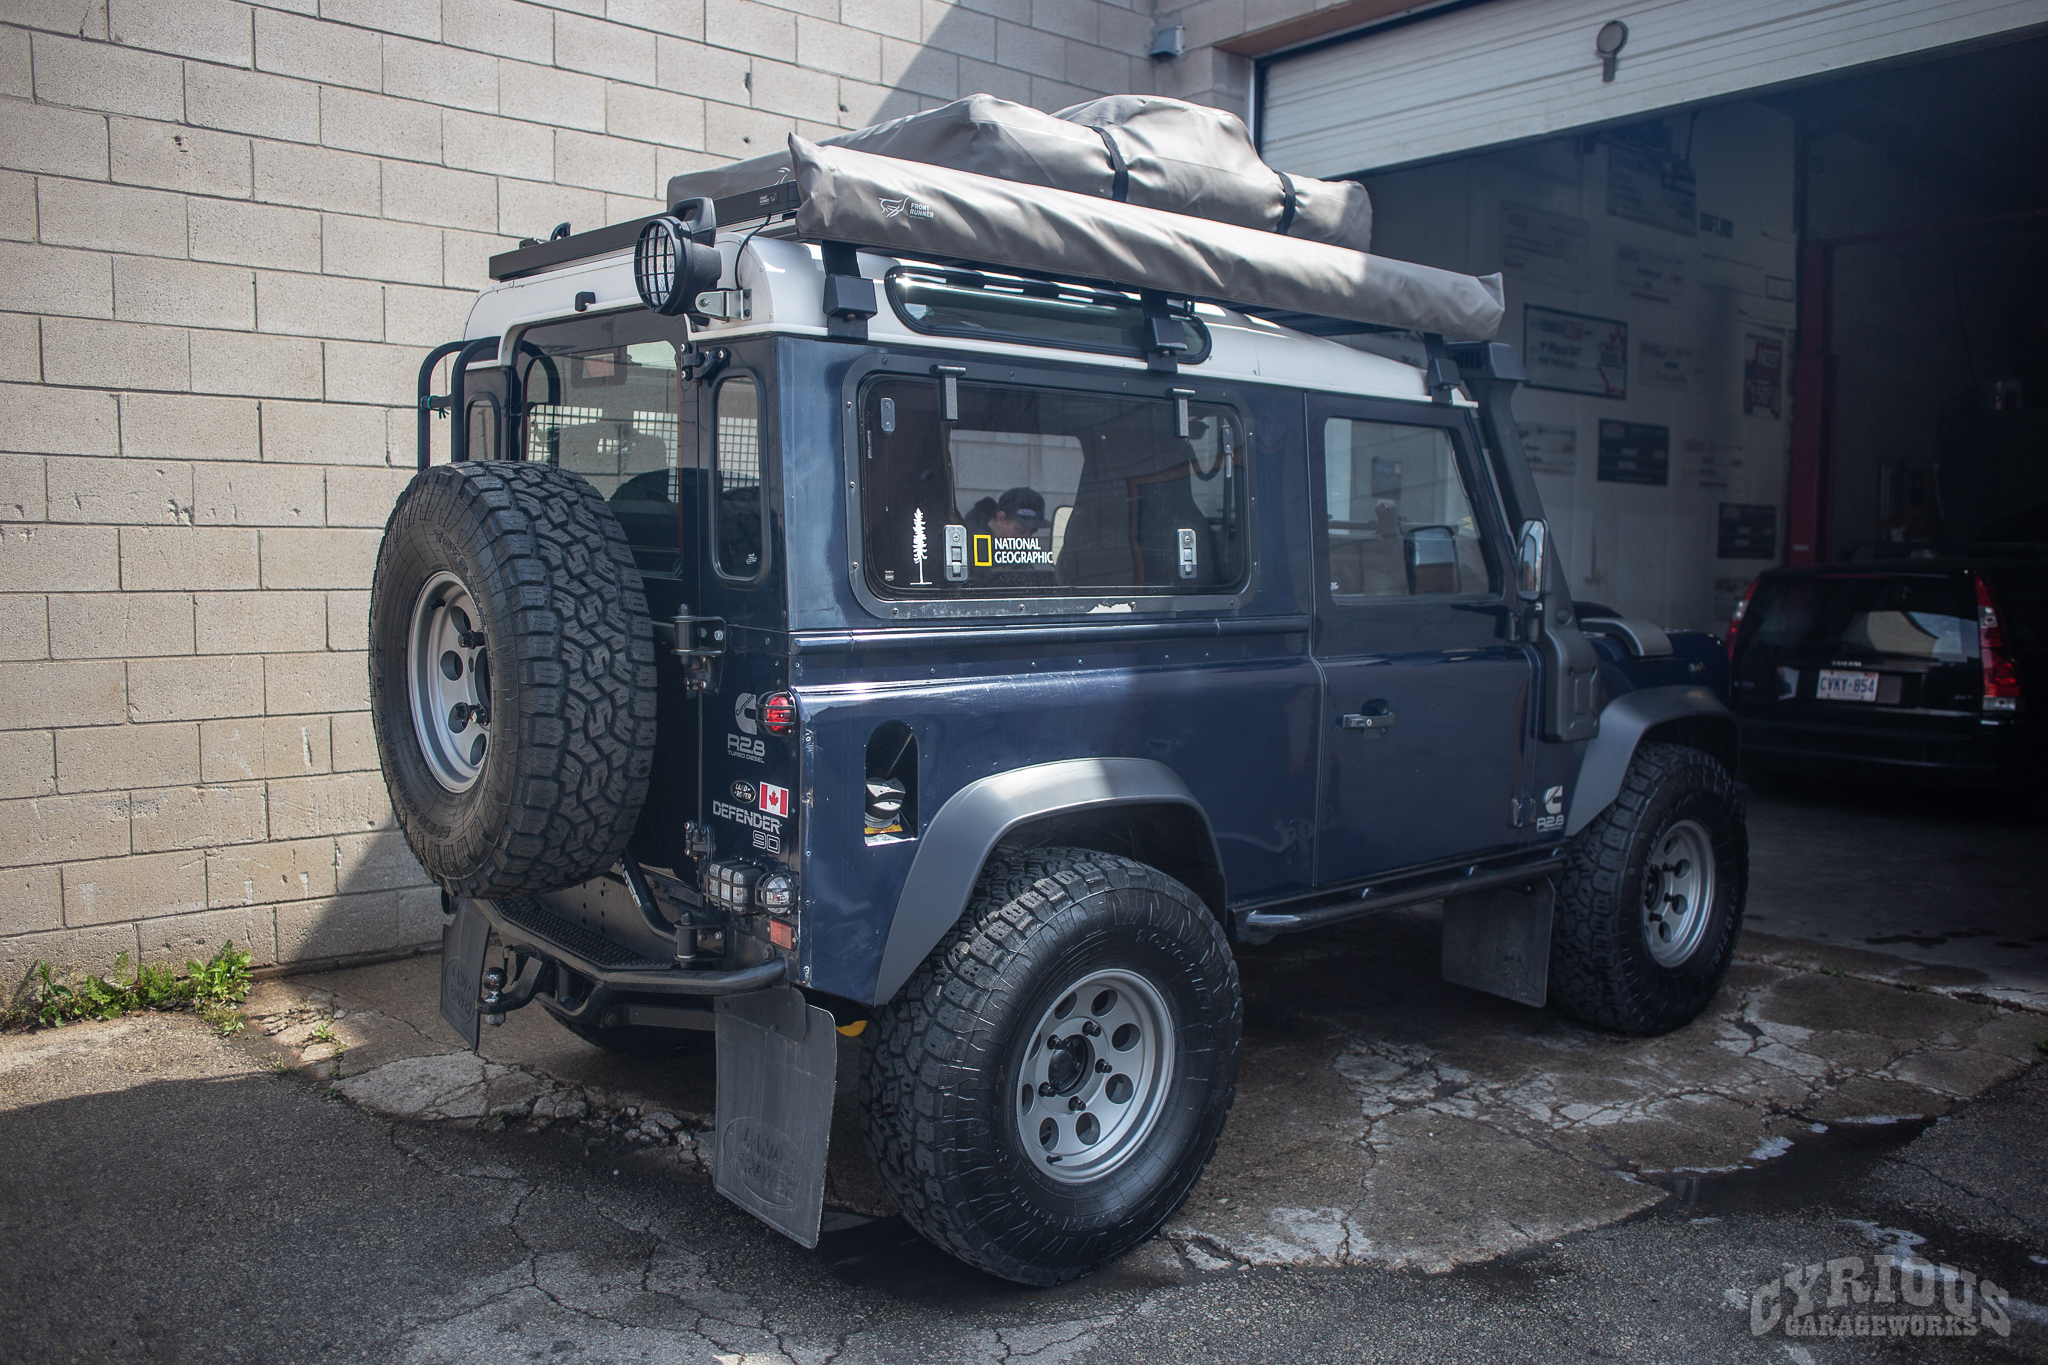
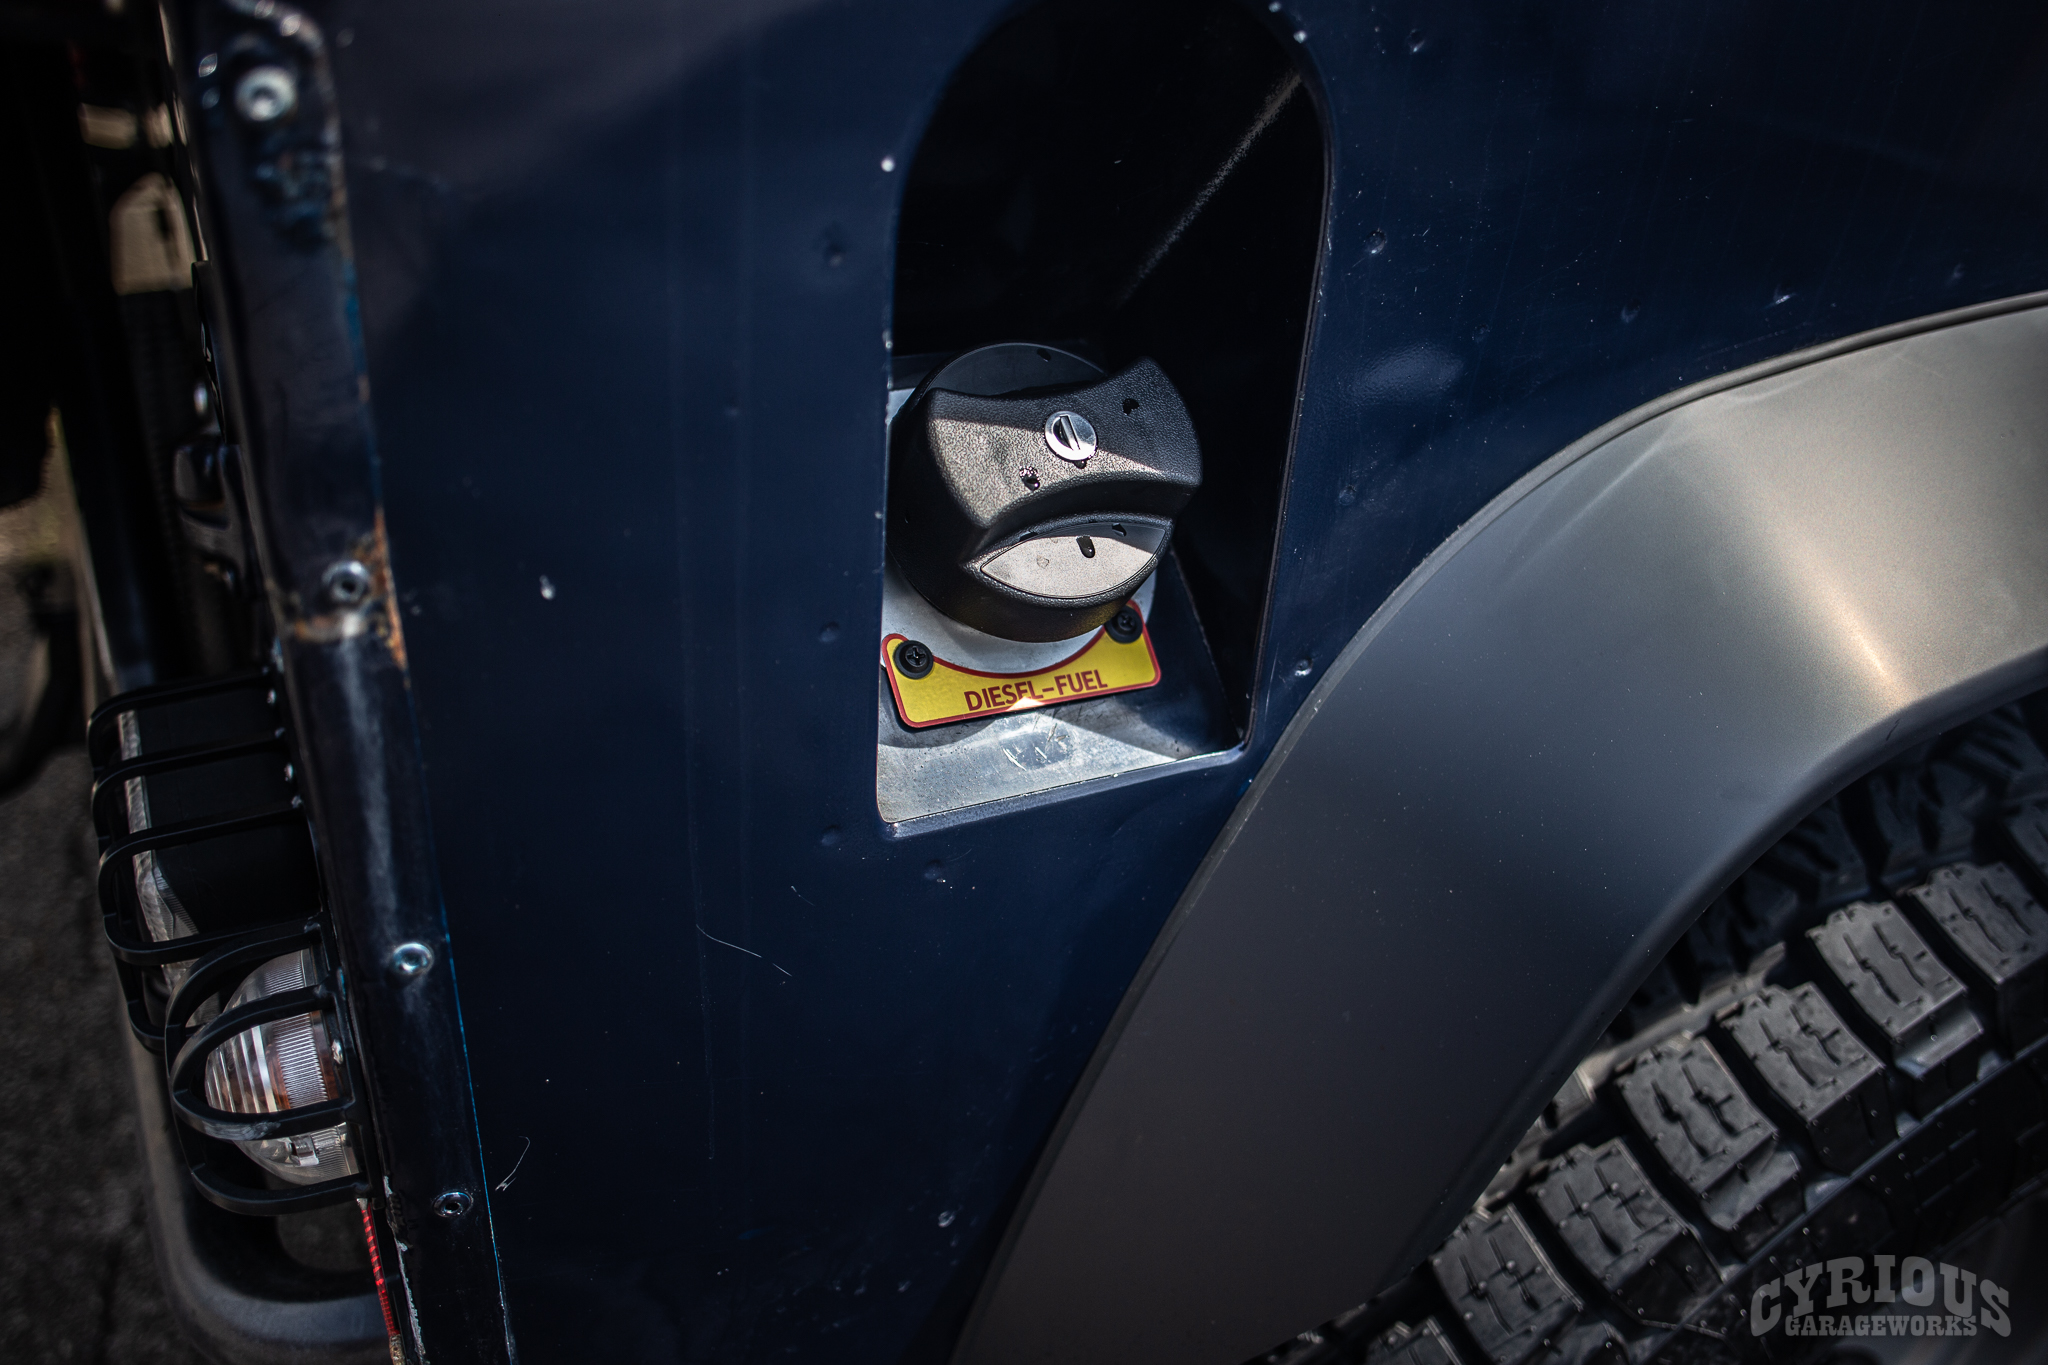
We have another engine swap build blog for you guys! A little change of pace this time, we’re going to be swapping a Cummins R2.8 Diesel engine into a Land Rover Defender 90. Those of our readers with some Land Rover knowledge may notice that this one did not come with the usual Diesel, nor did it come with the 4.0L V8 that they stuffed into D90s in the U.S. in the late 90s…
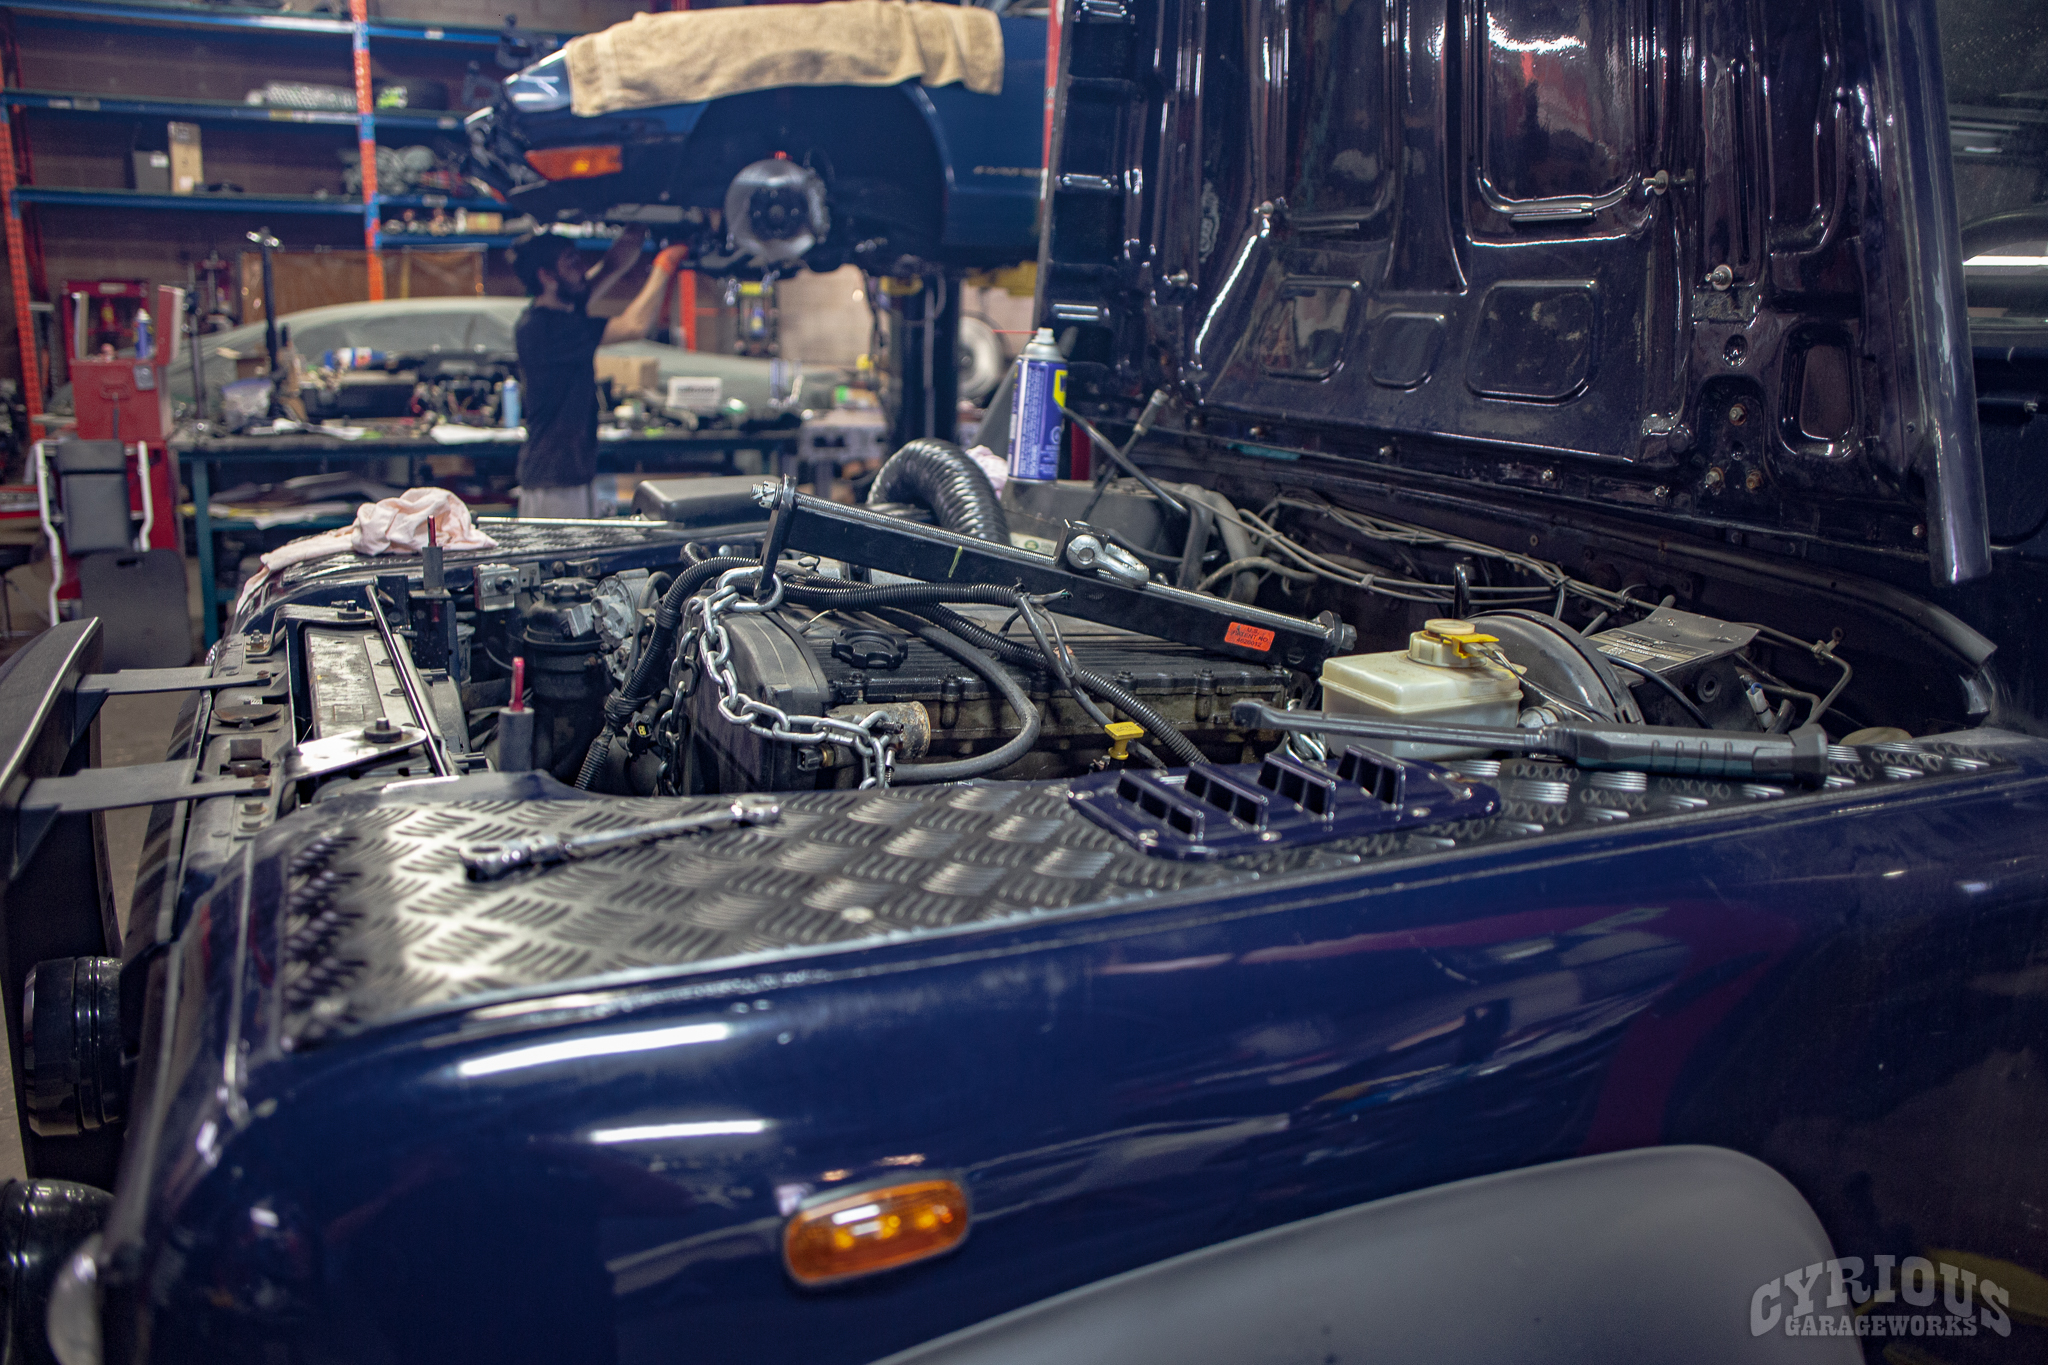
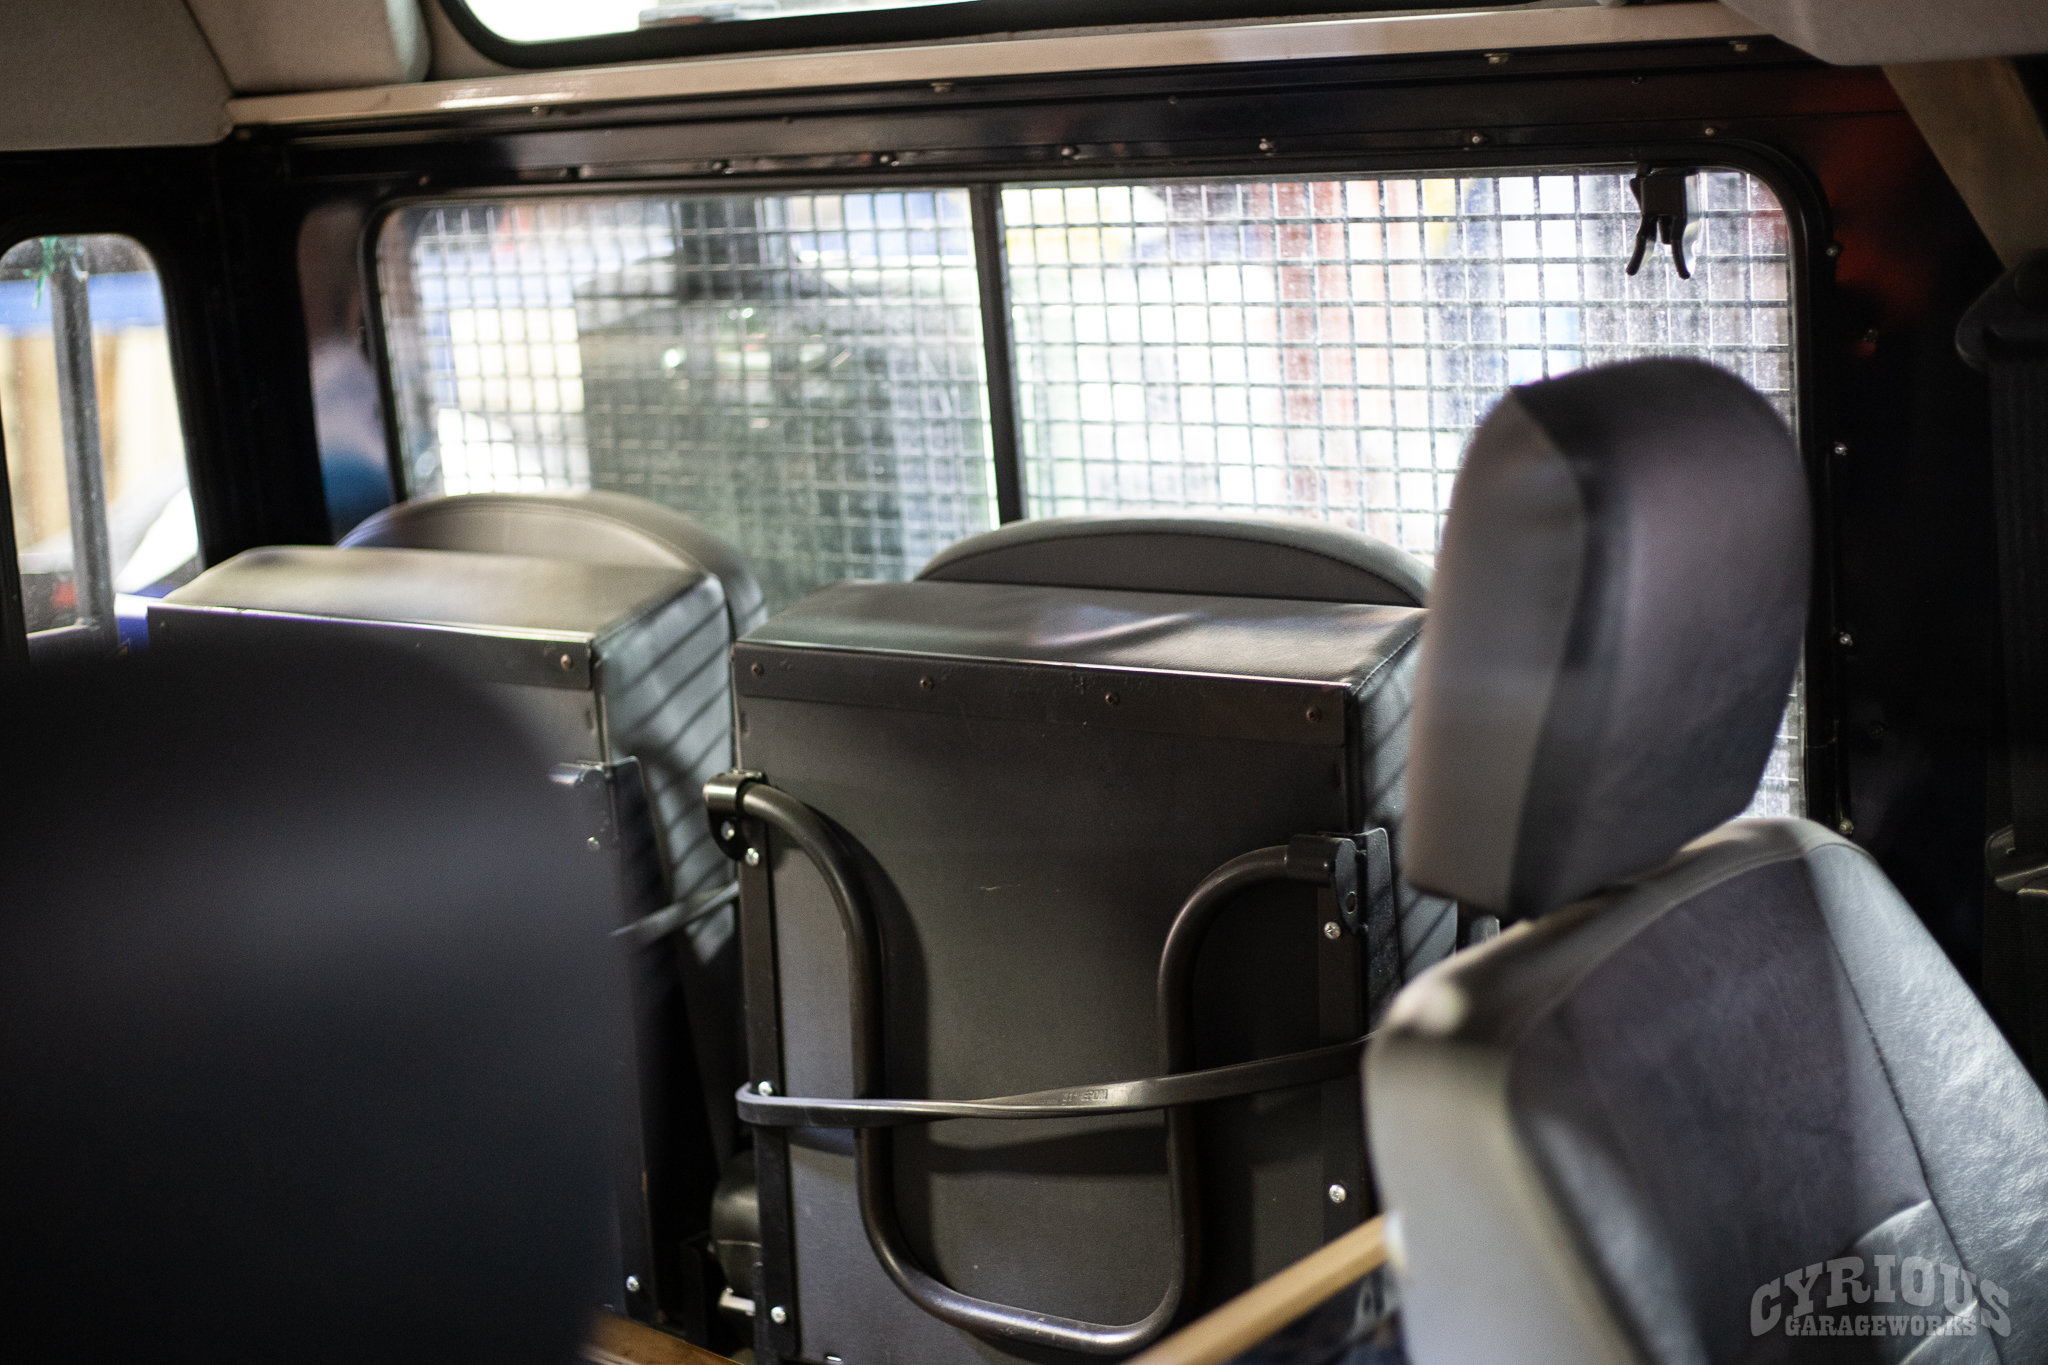
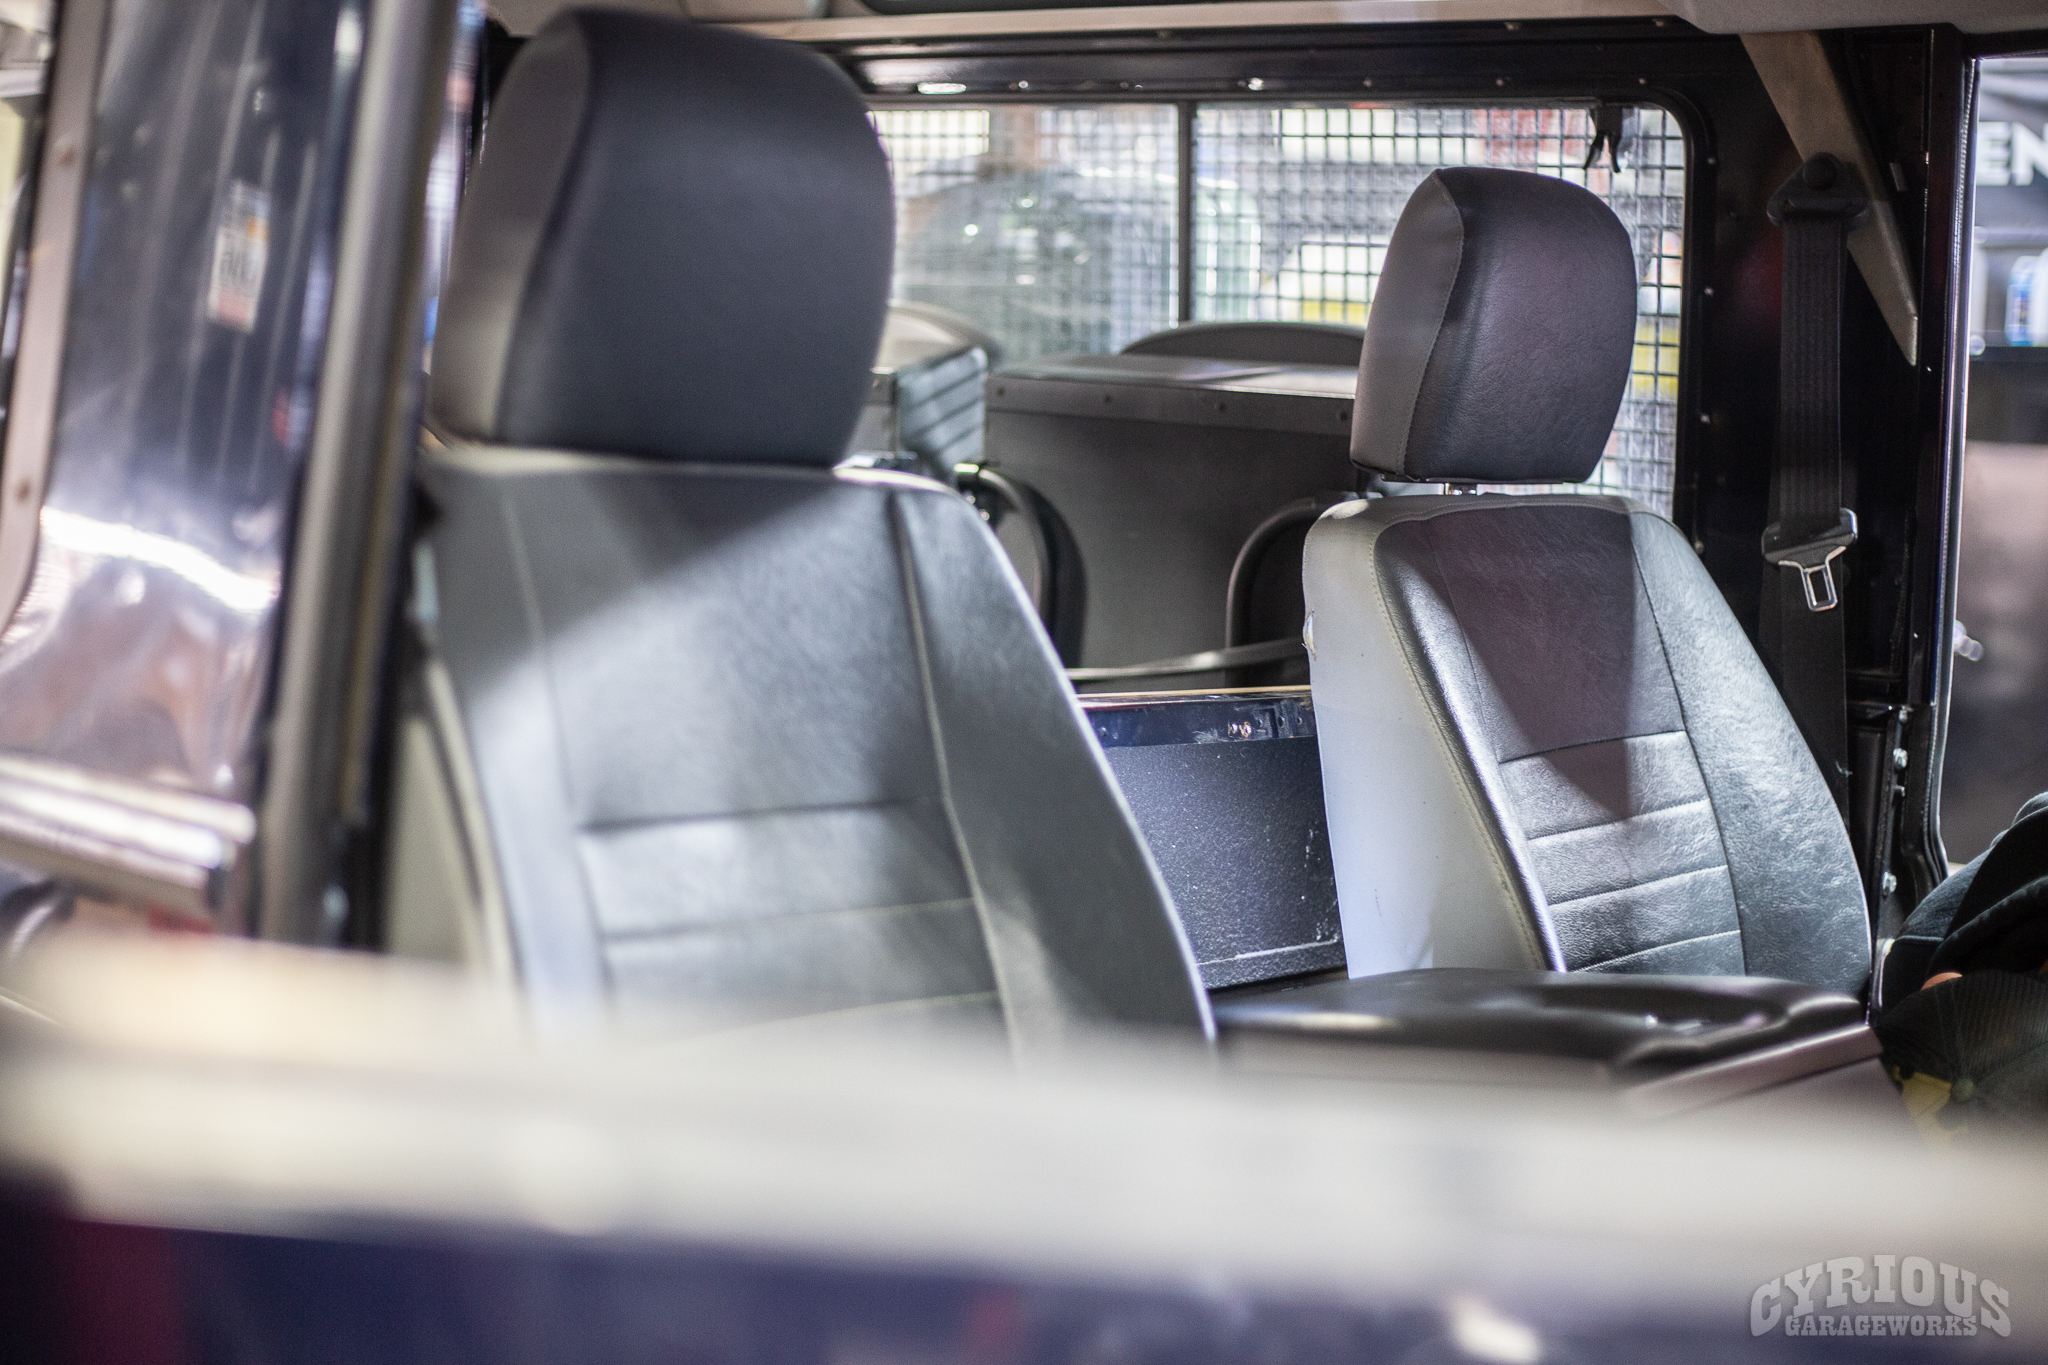
No, this truck came with a 2.0L Rover T16 4 cylinder engine. They were more commonly found in Rover cars like the 620ti, 220 coupe, and 820 sedan. From 1989 to 1998 however, Land Rover used this as the power plant for the special equipped Italian Carabinieri Defenders! In other words, this old Defender was actually a police truck at one time in its life. Hard to say what kind of action this truck saw, no bullet holes were found.
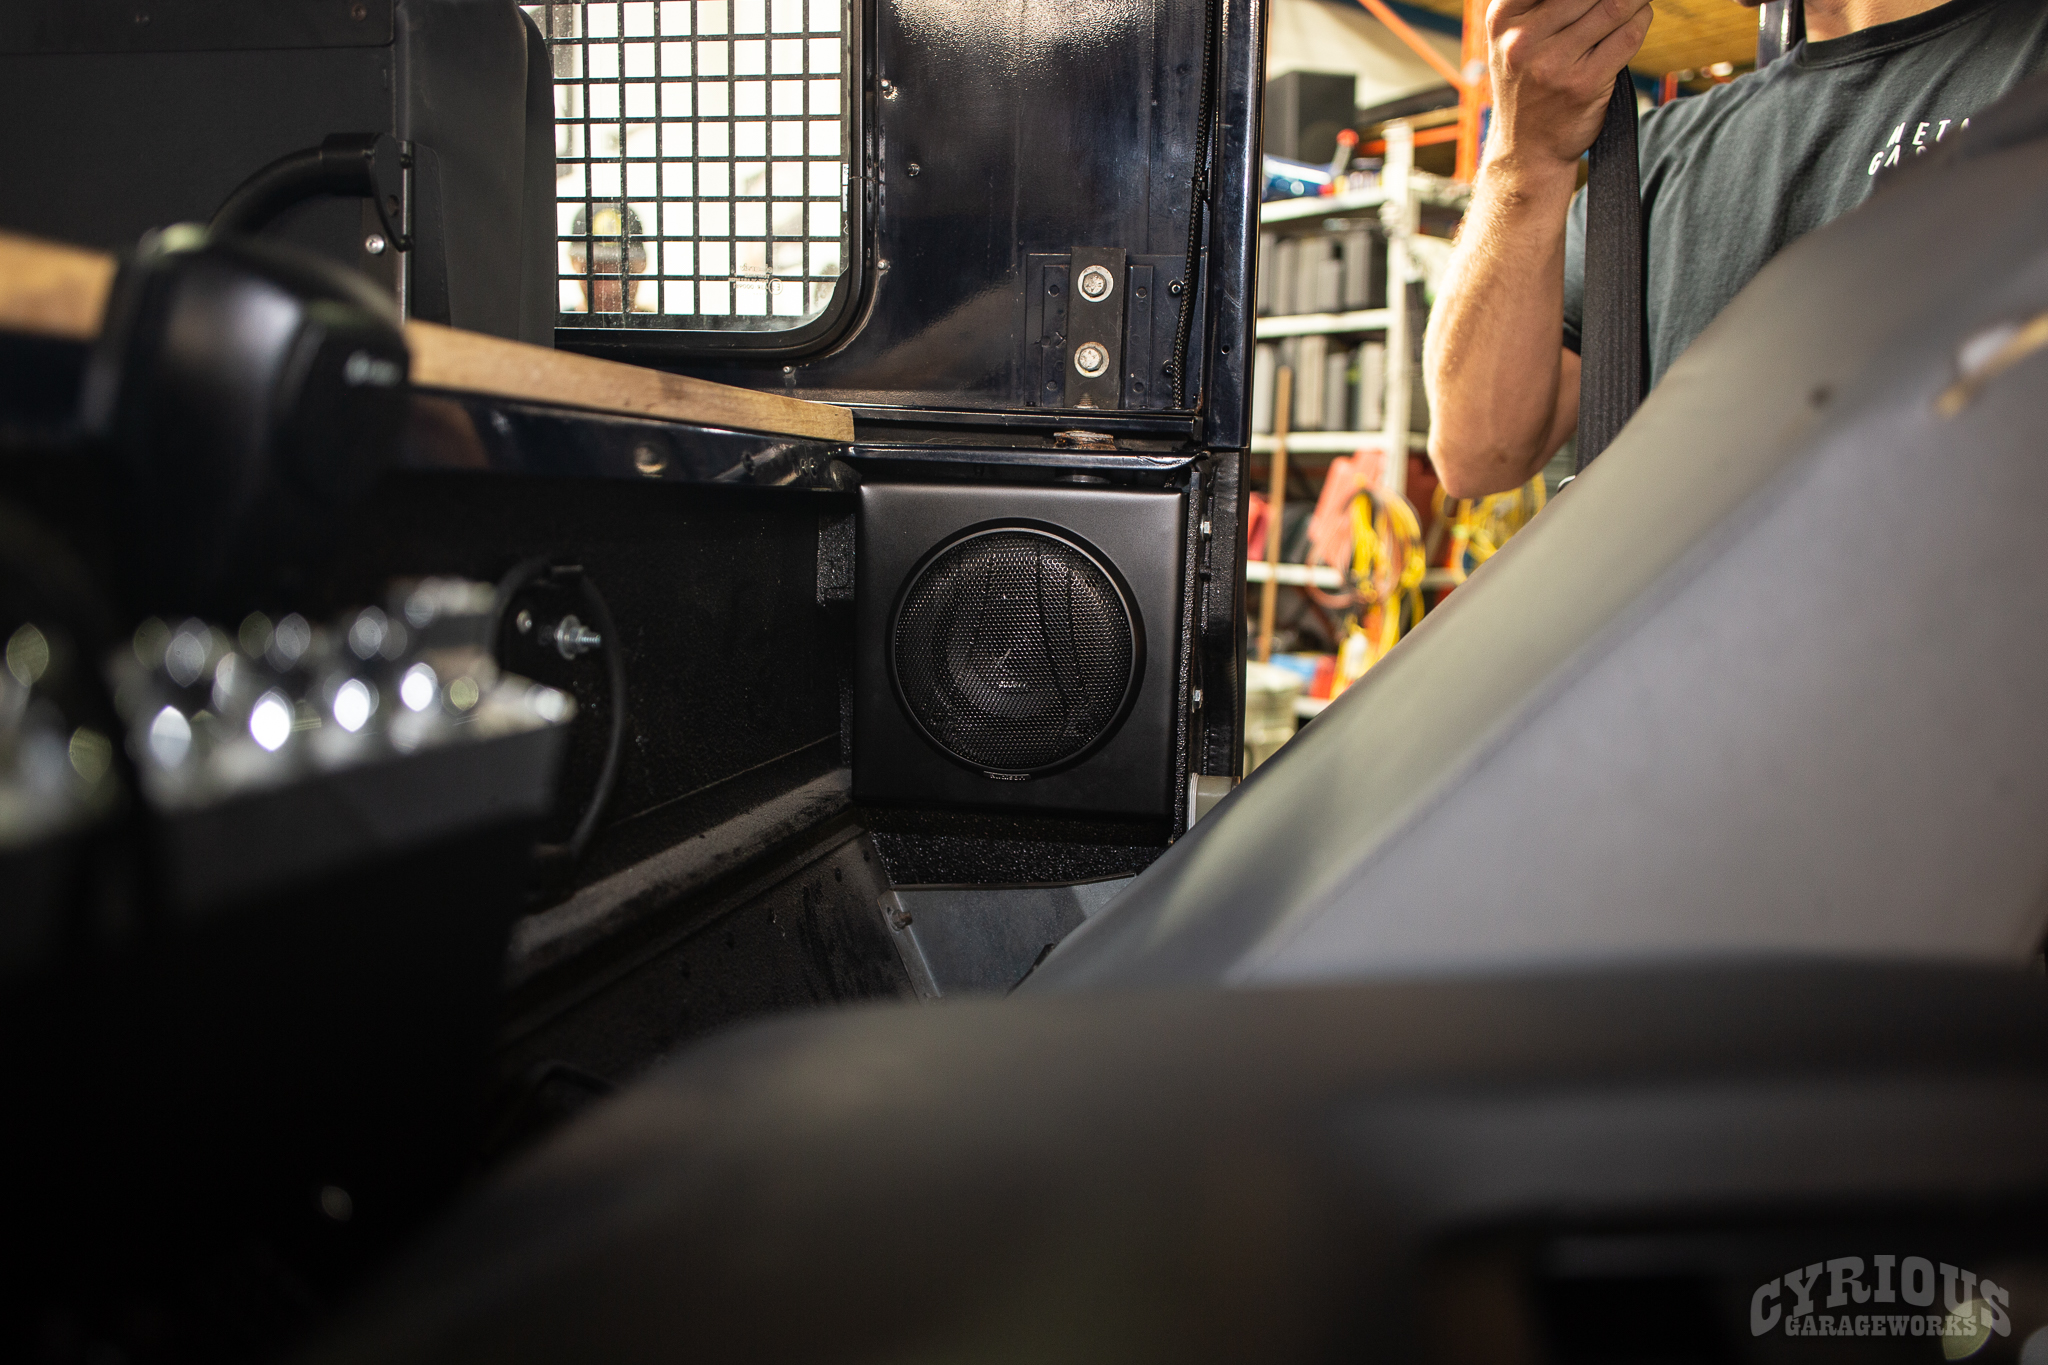
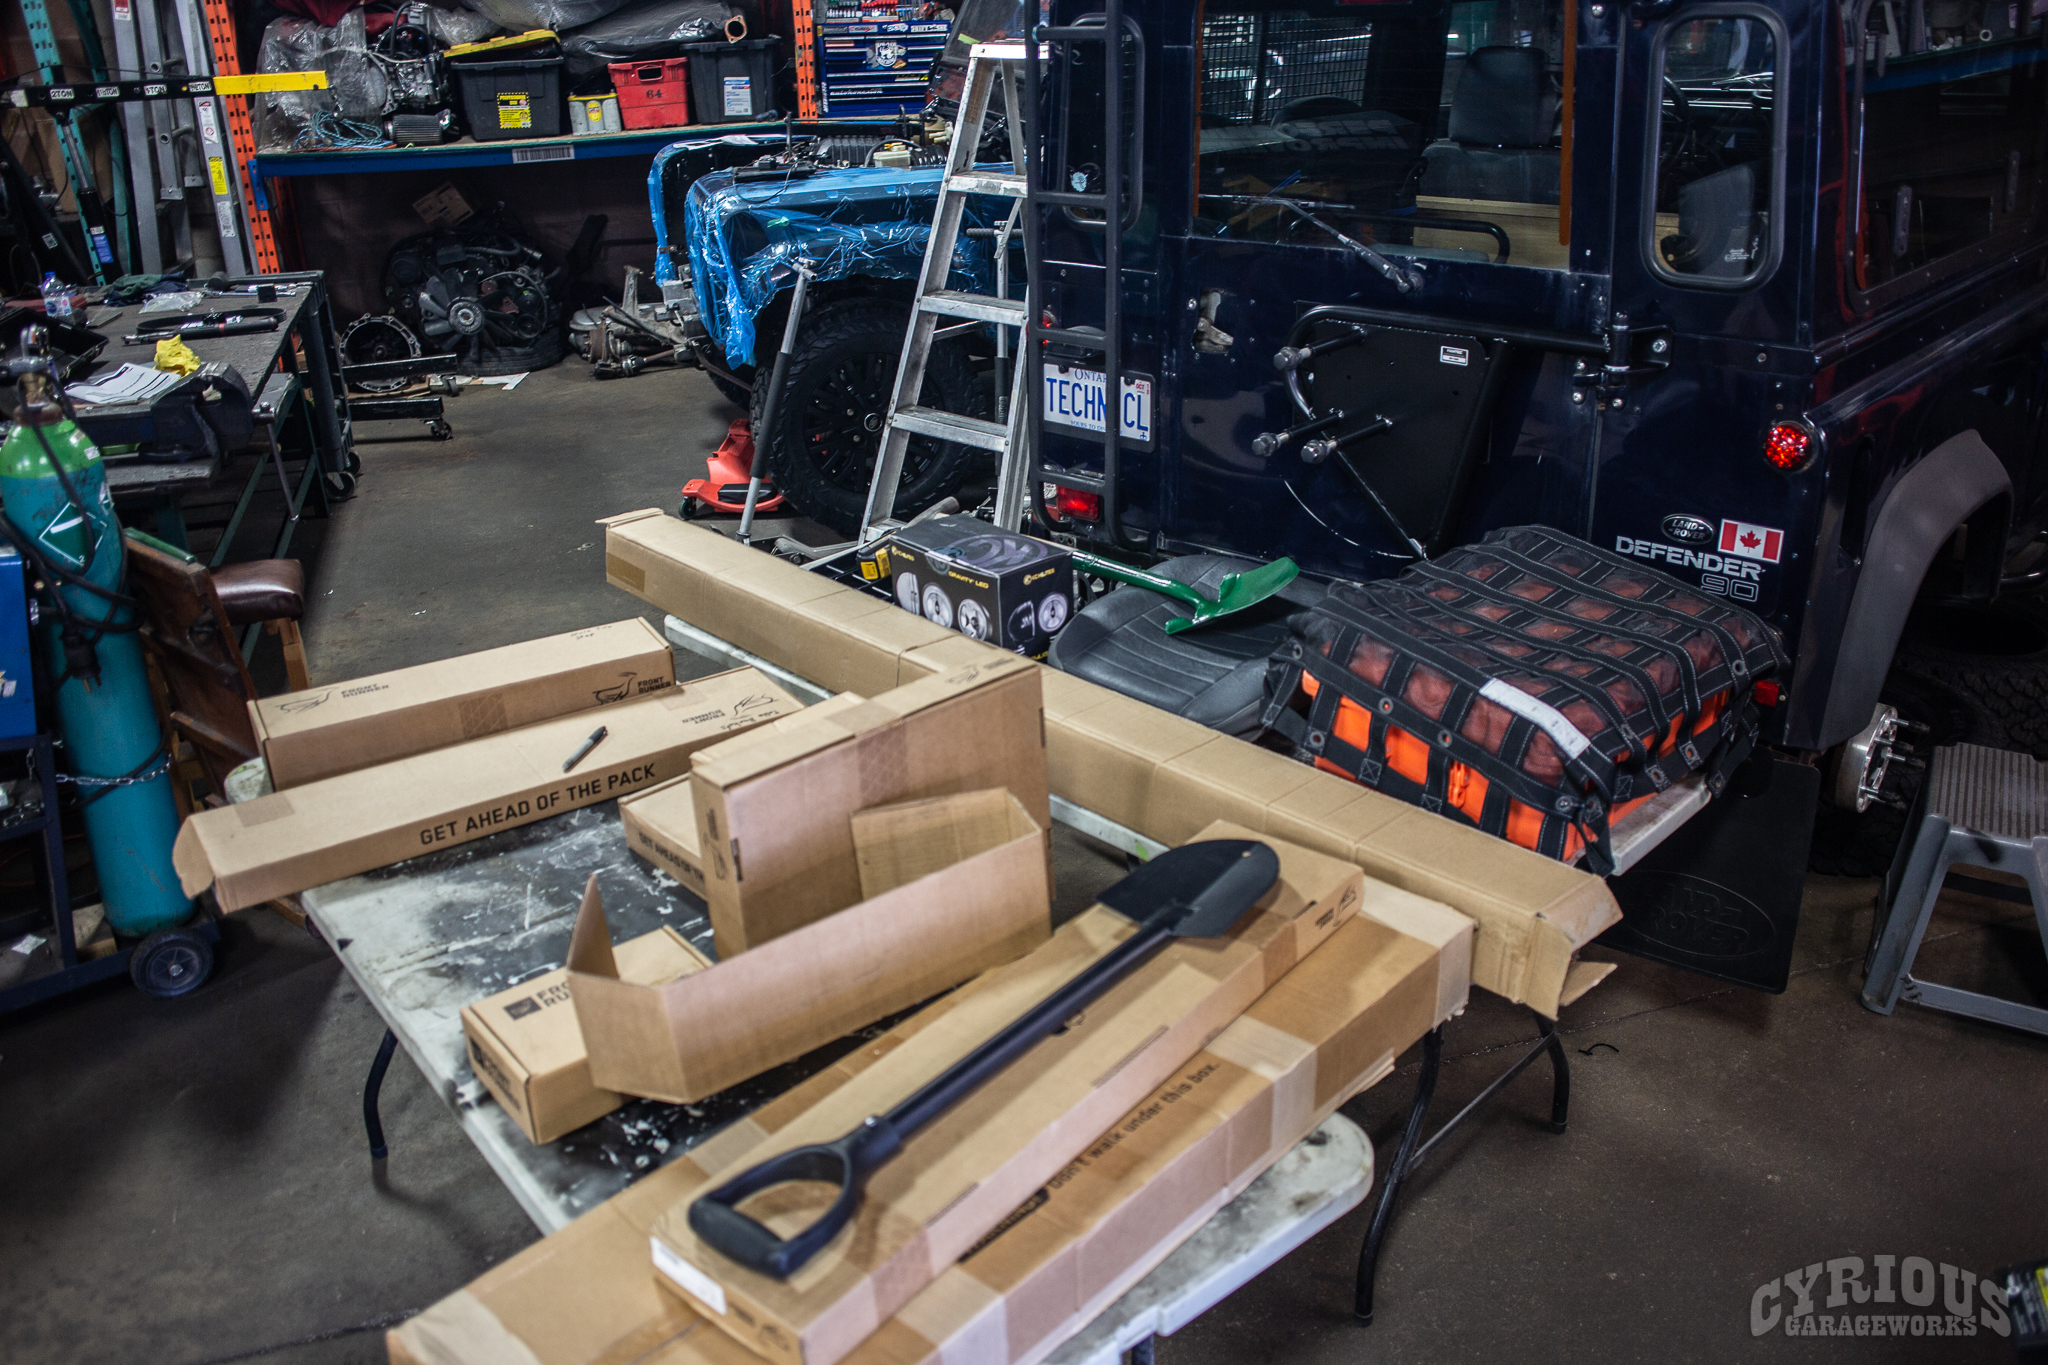
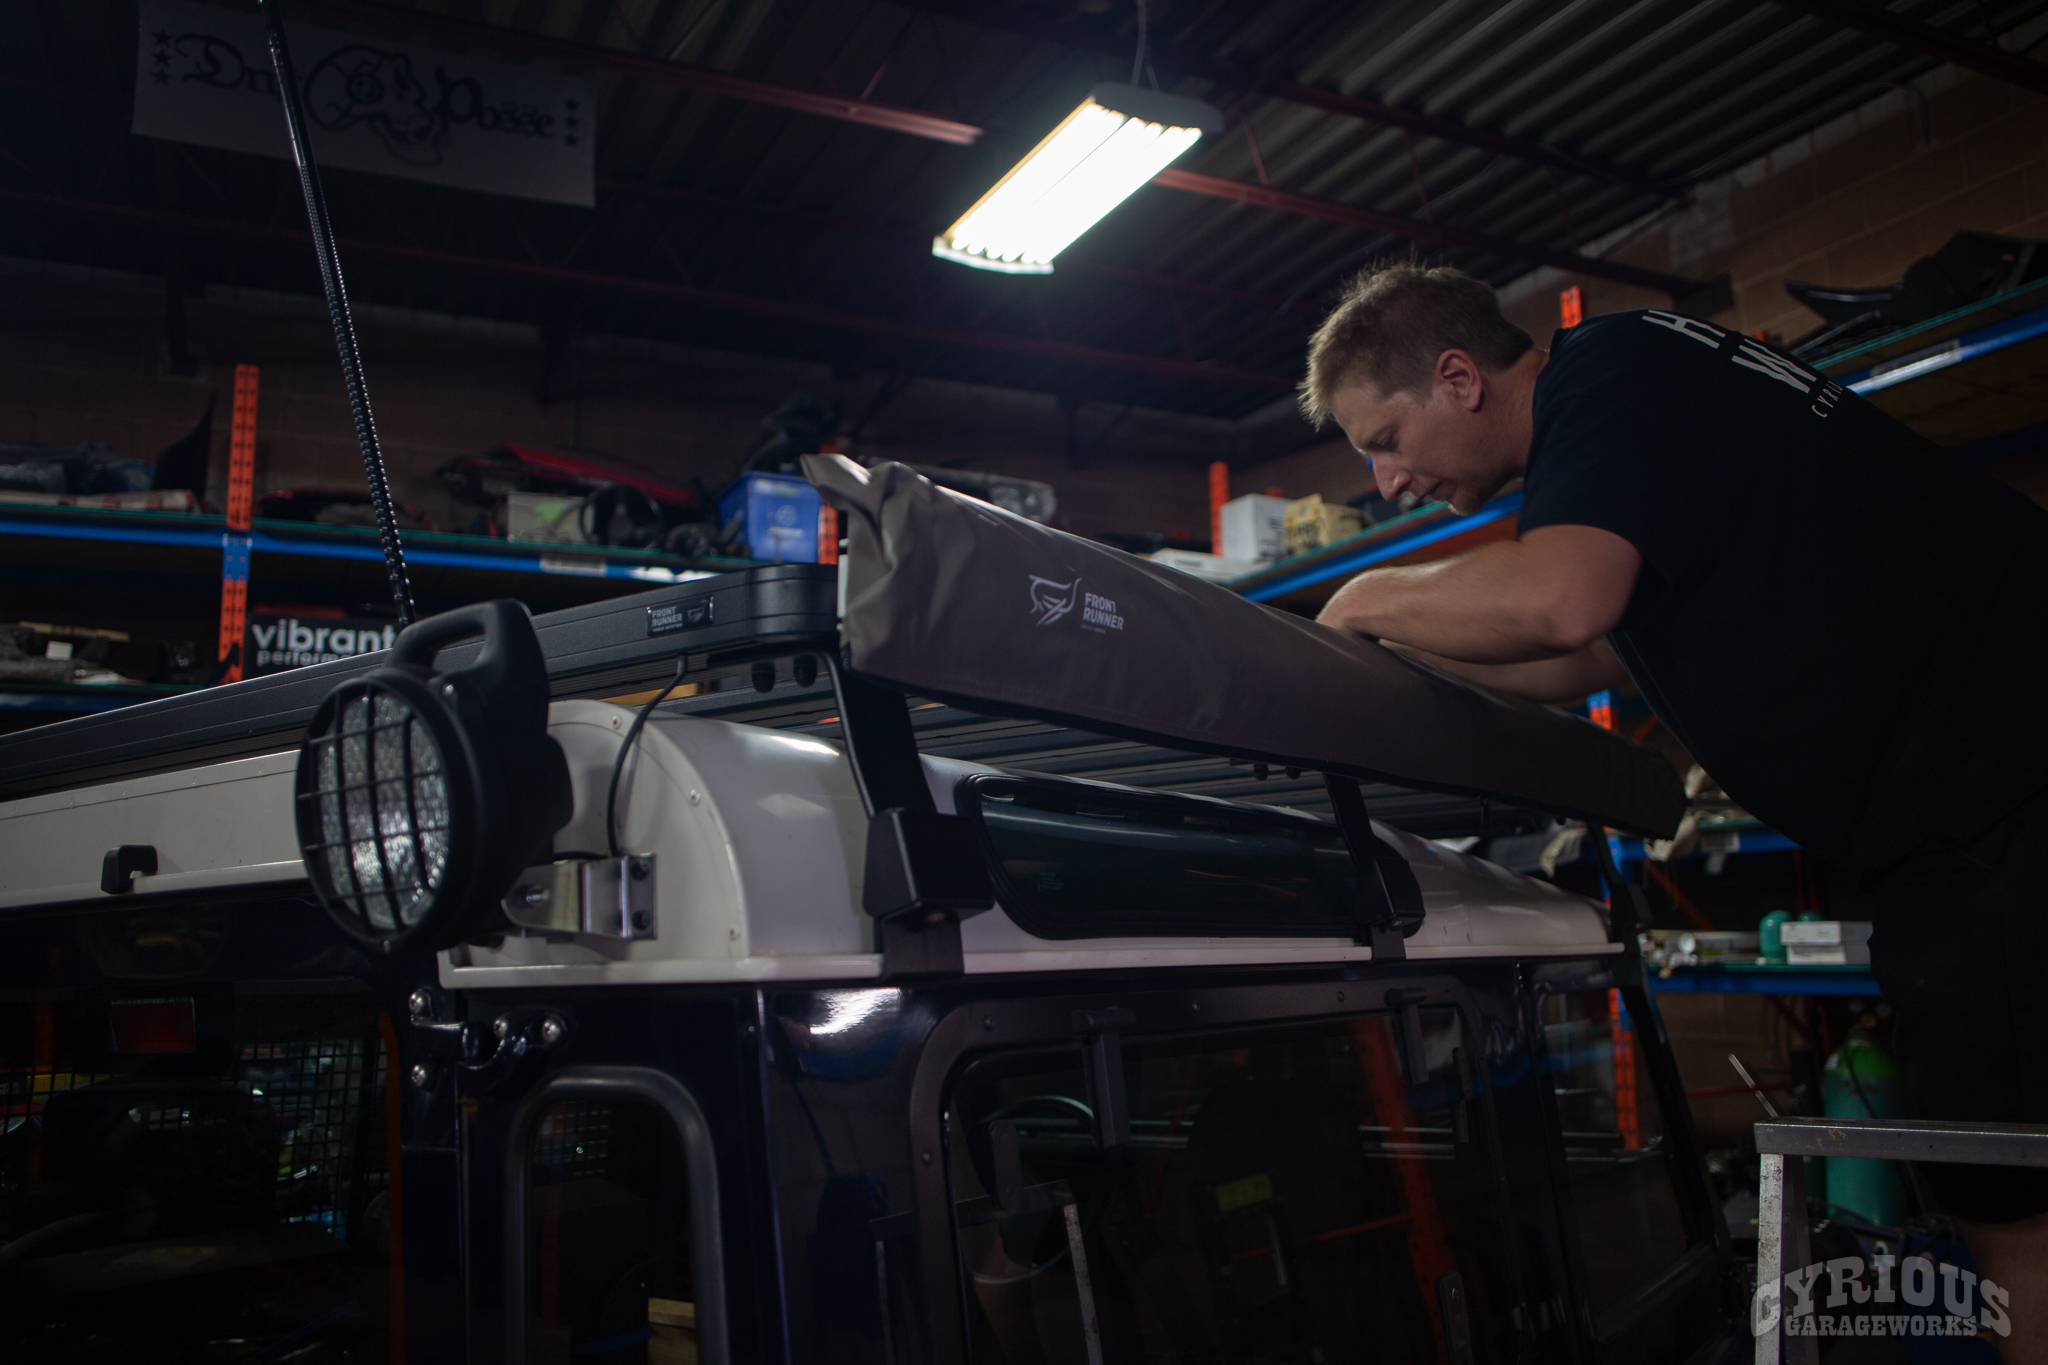
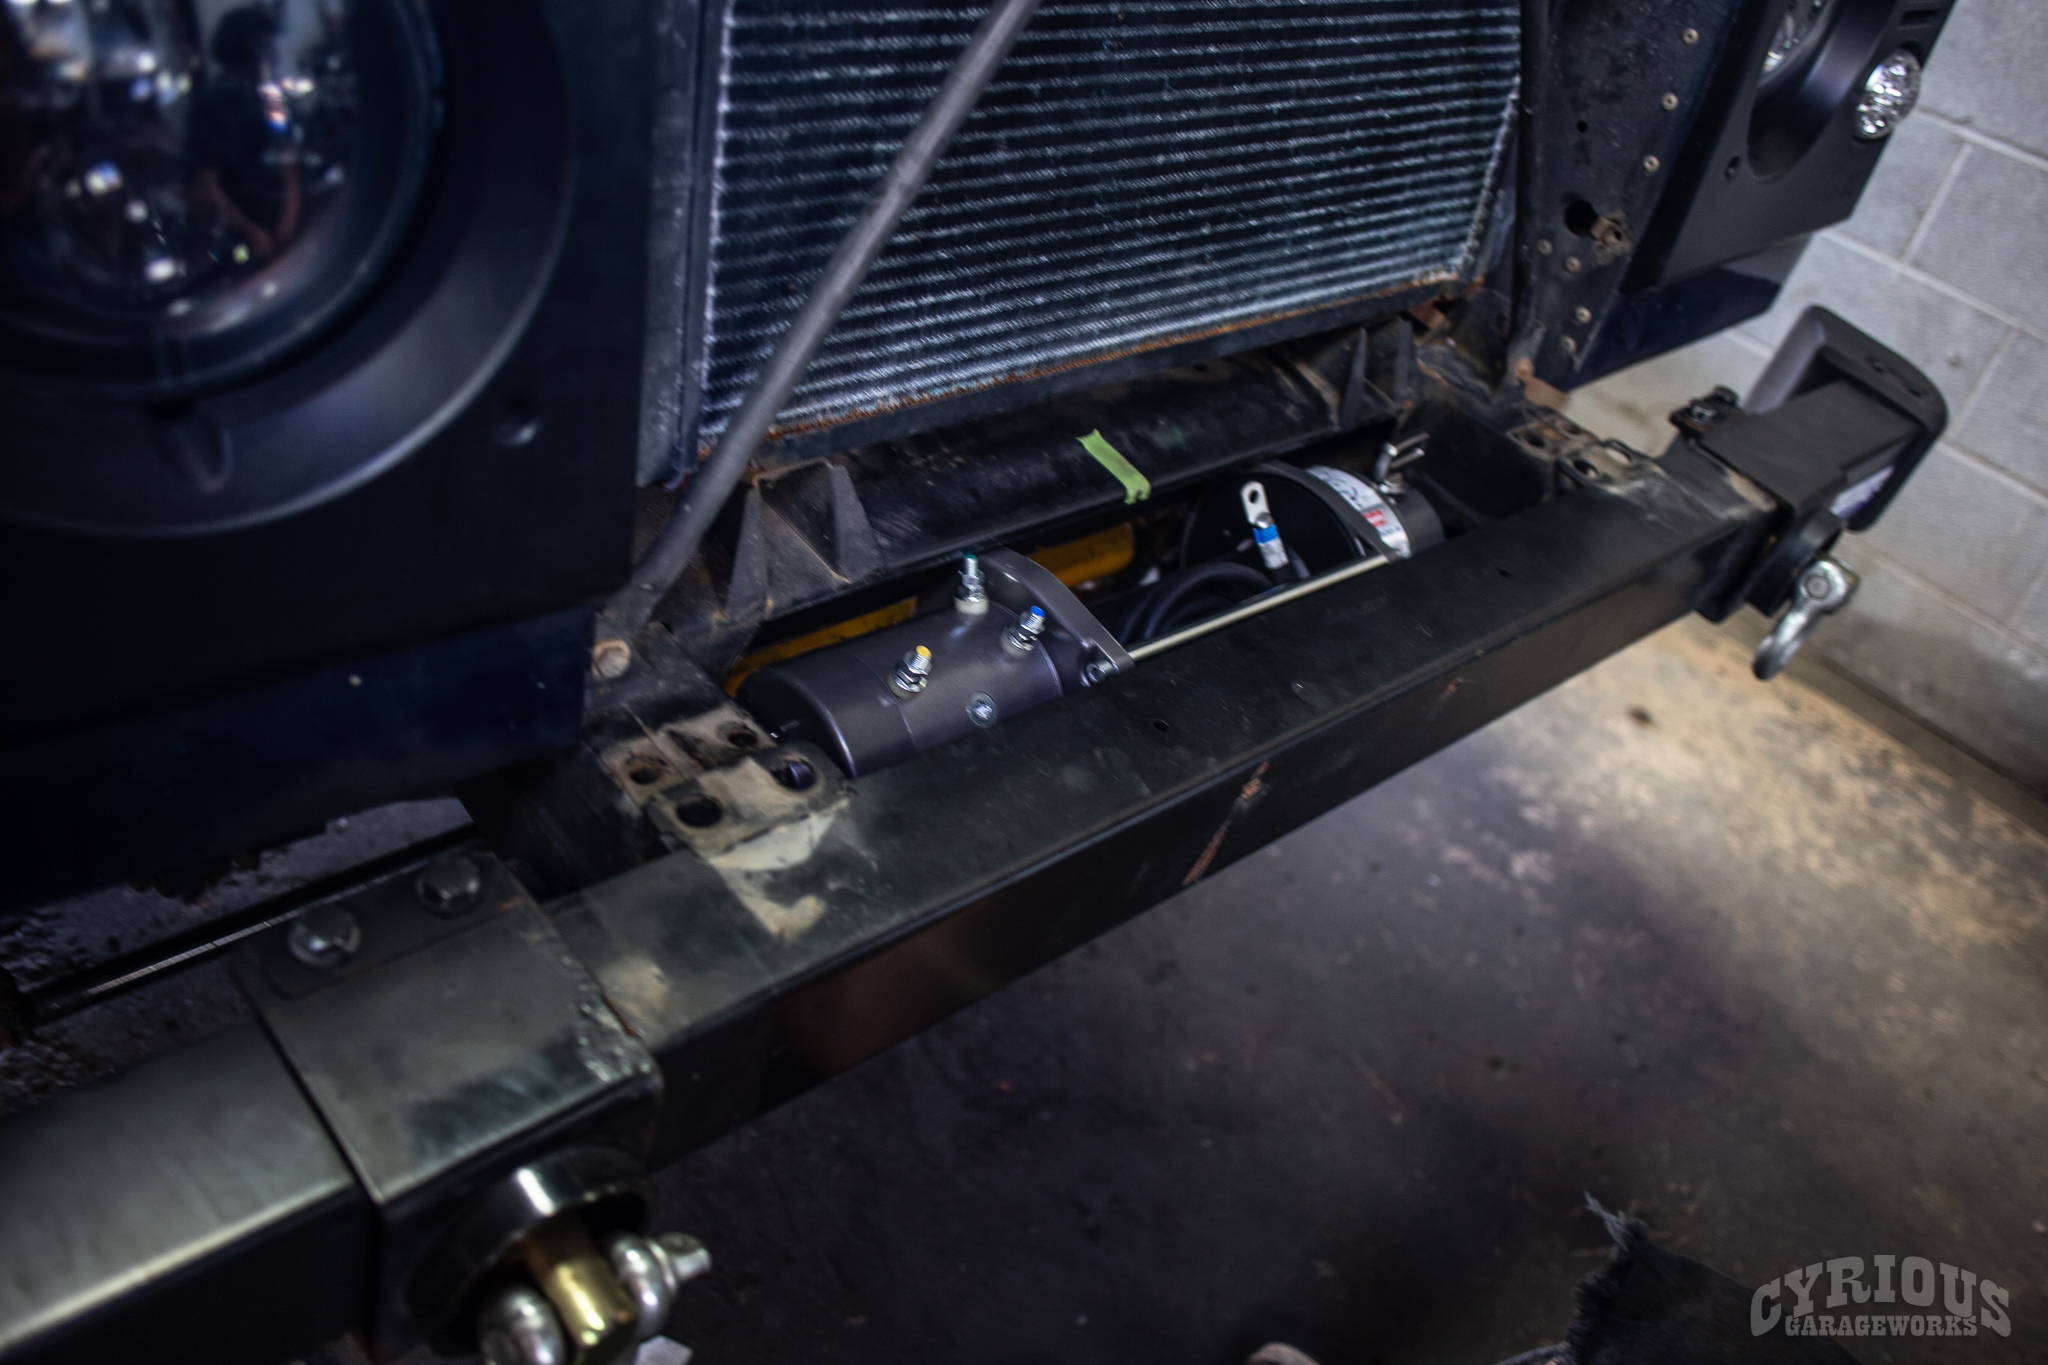
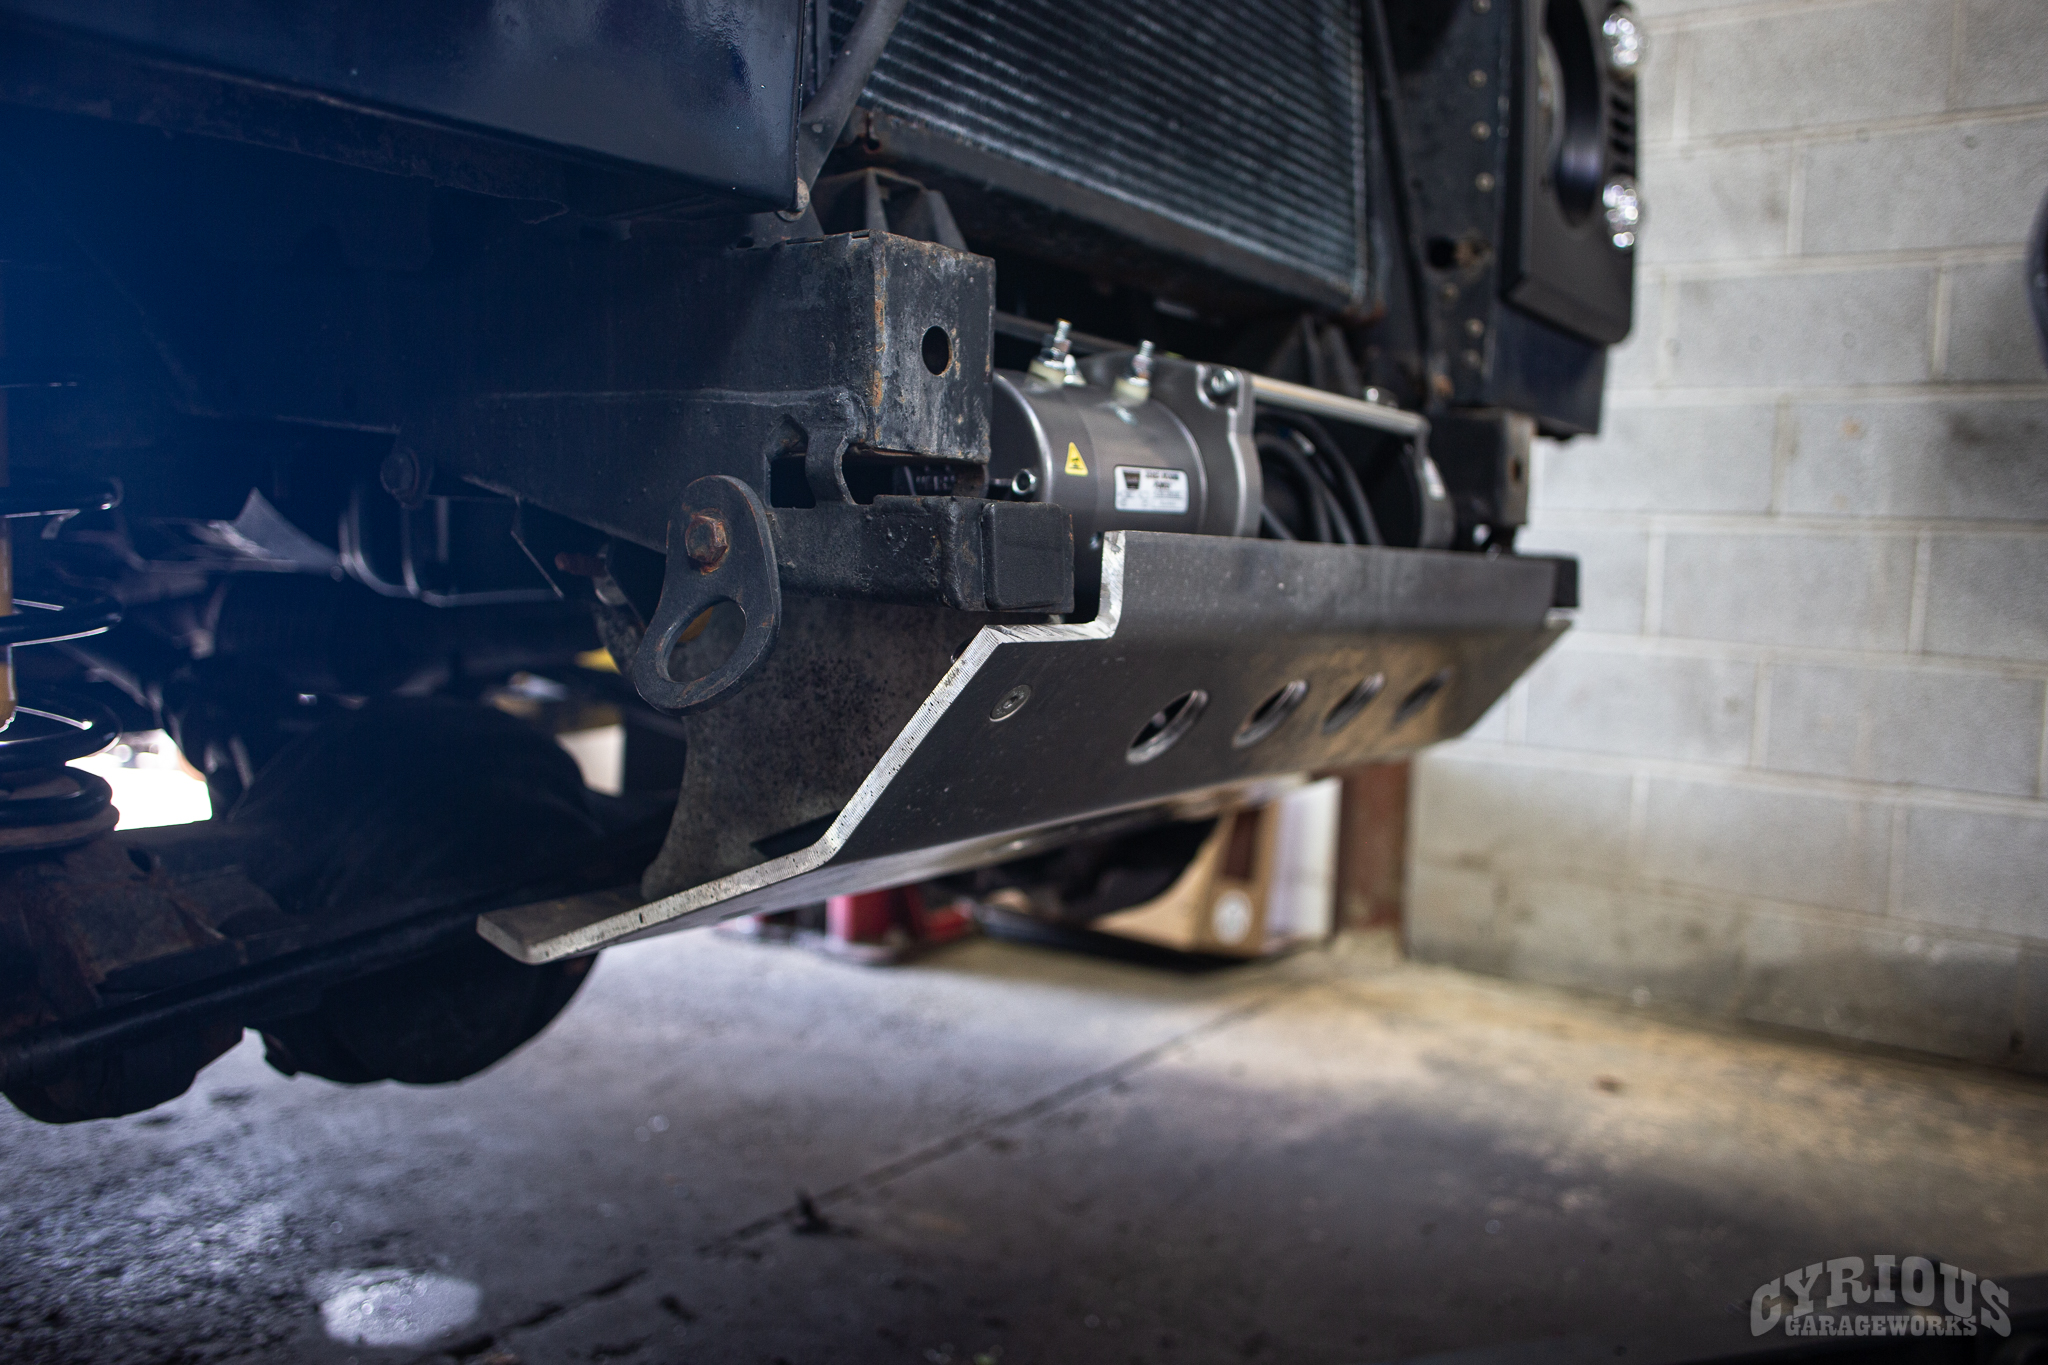
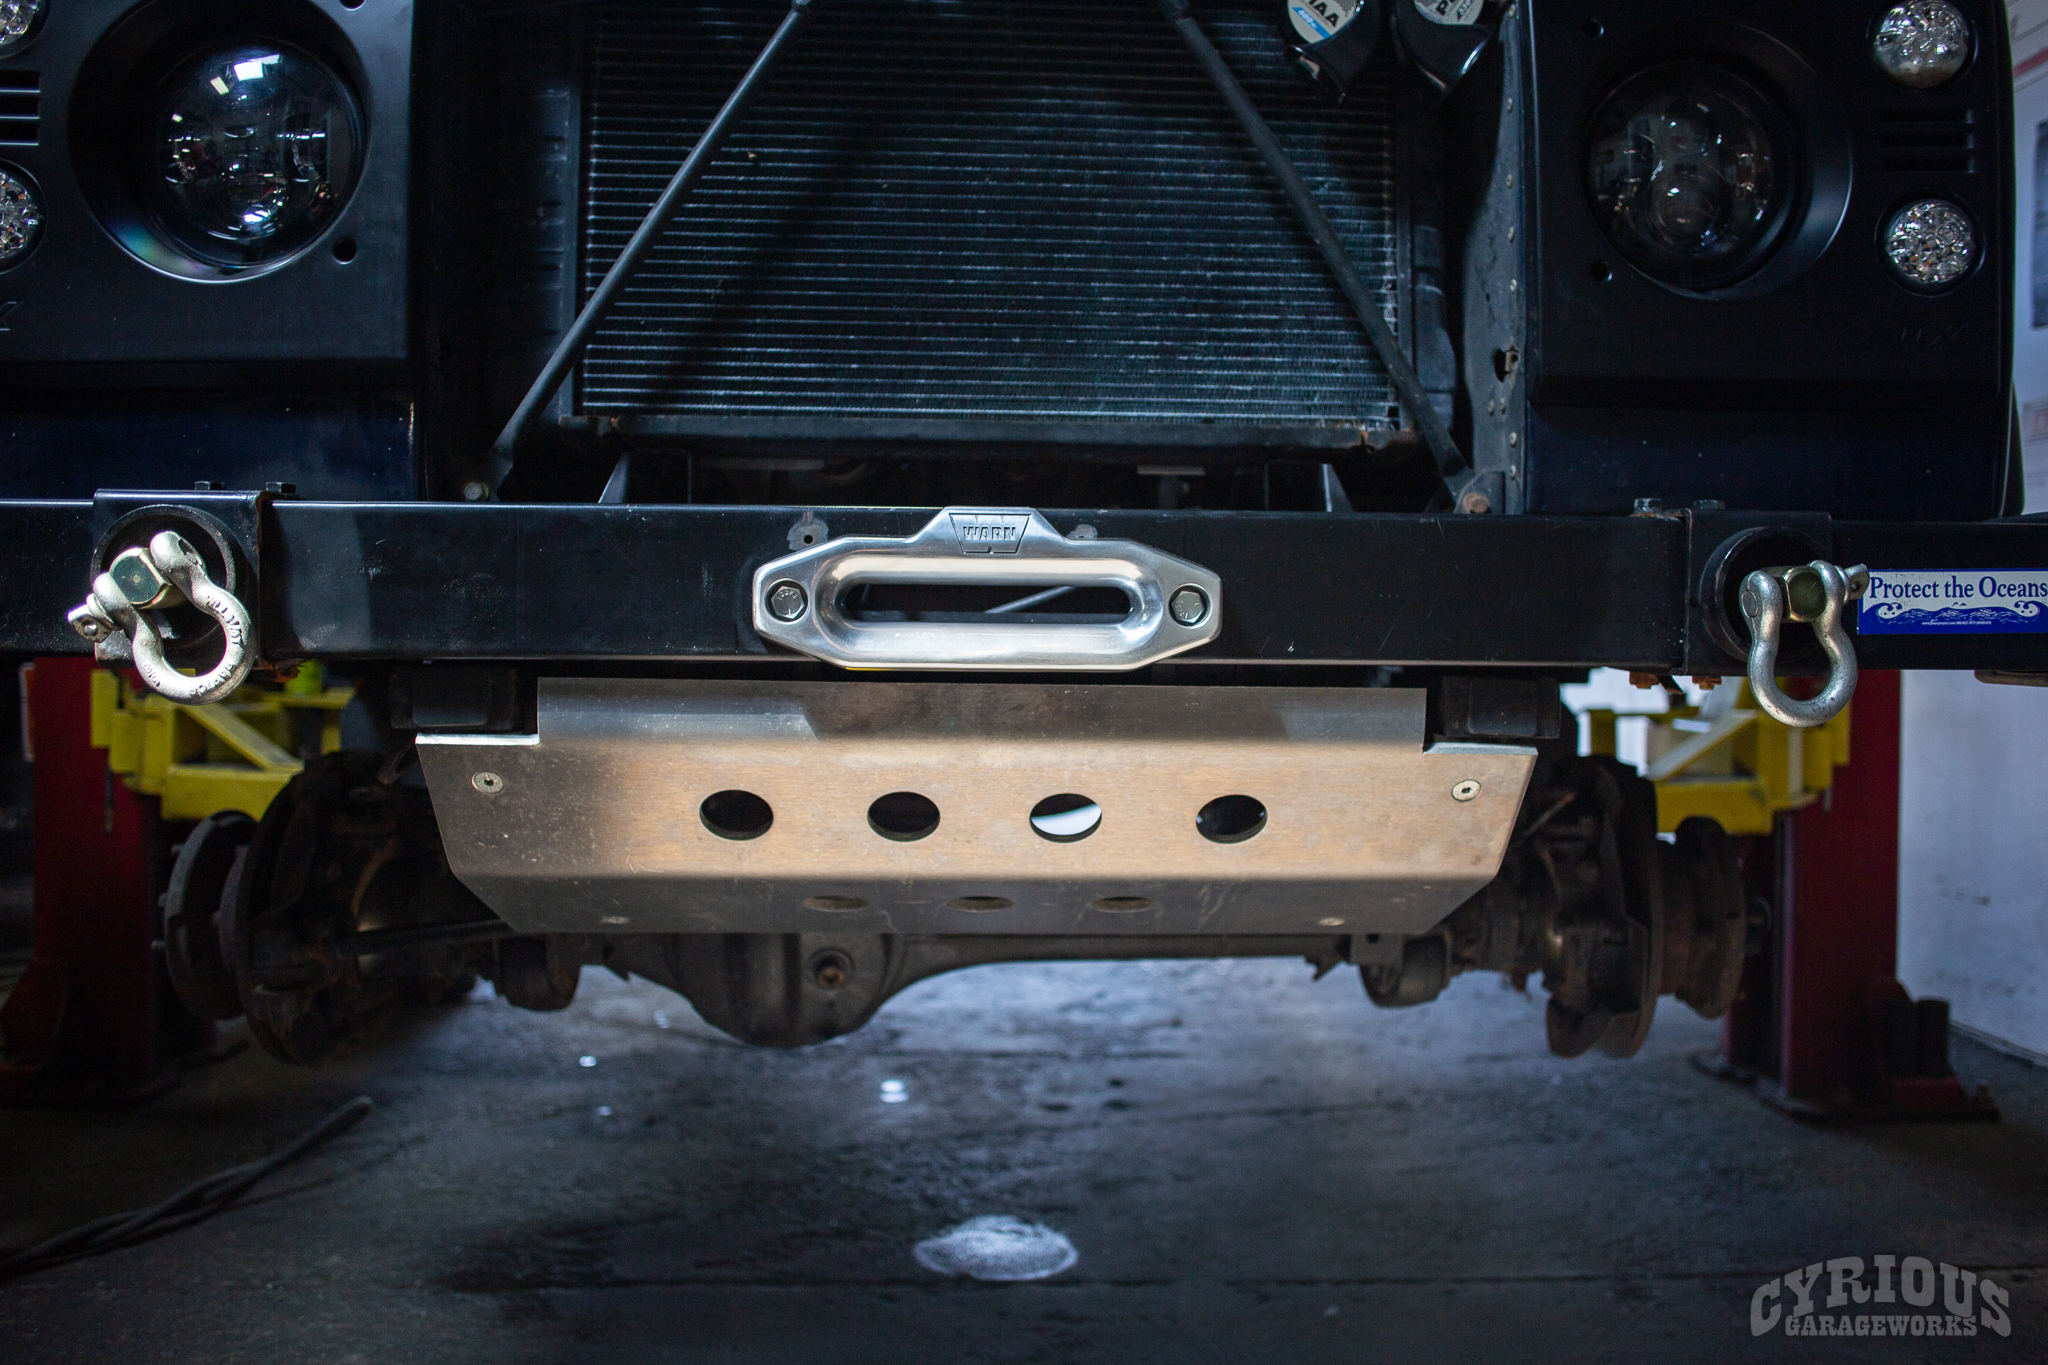
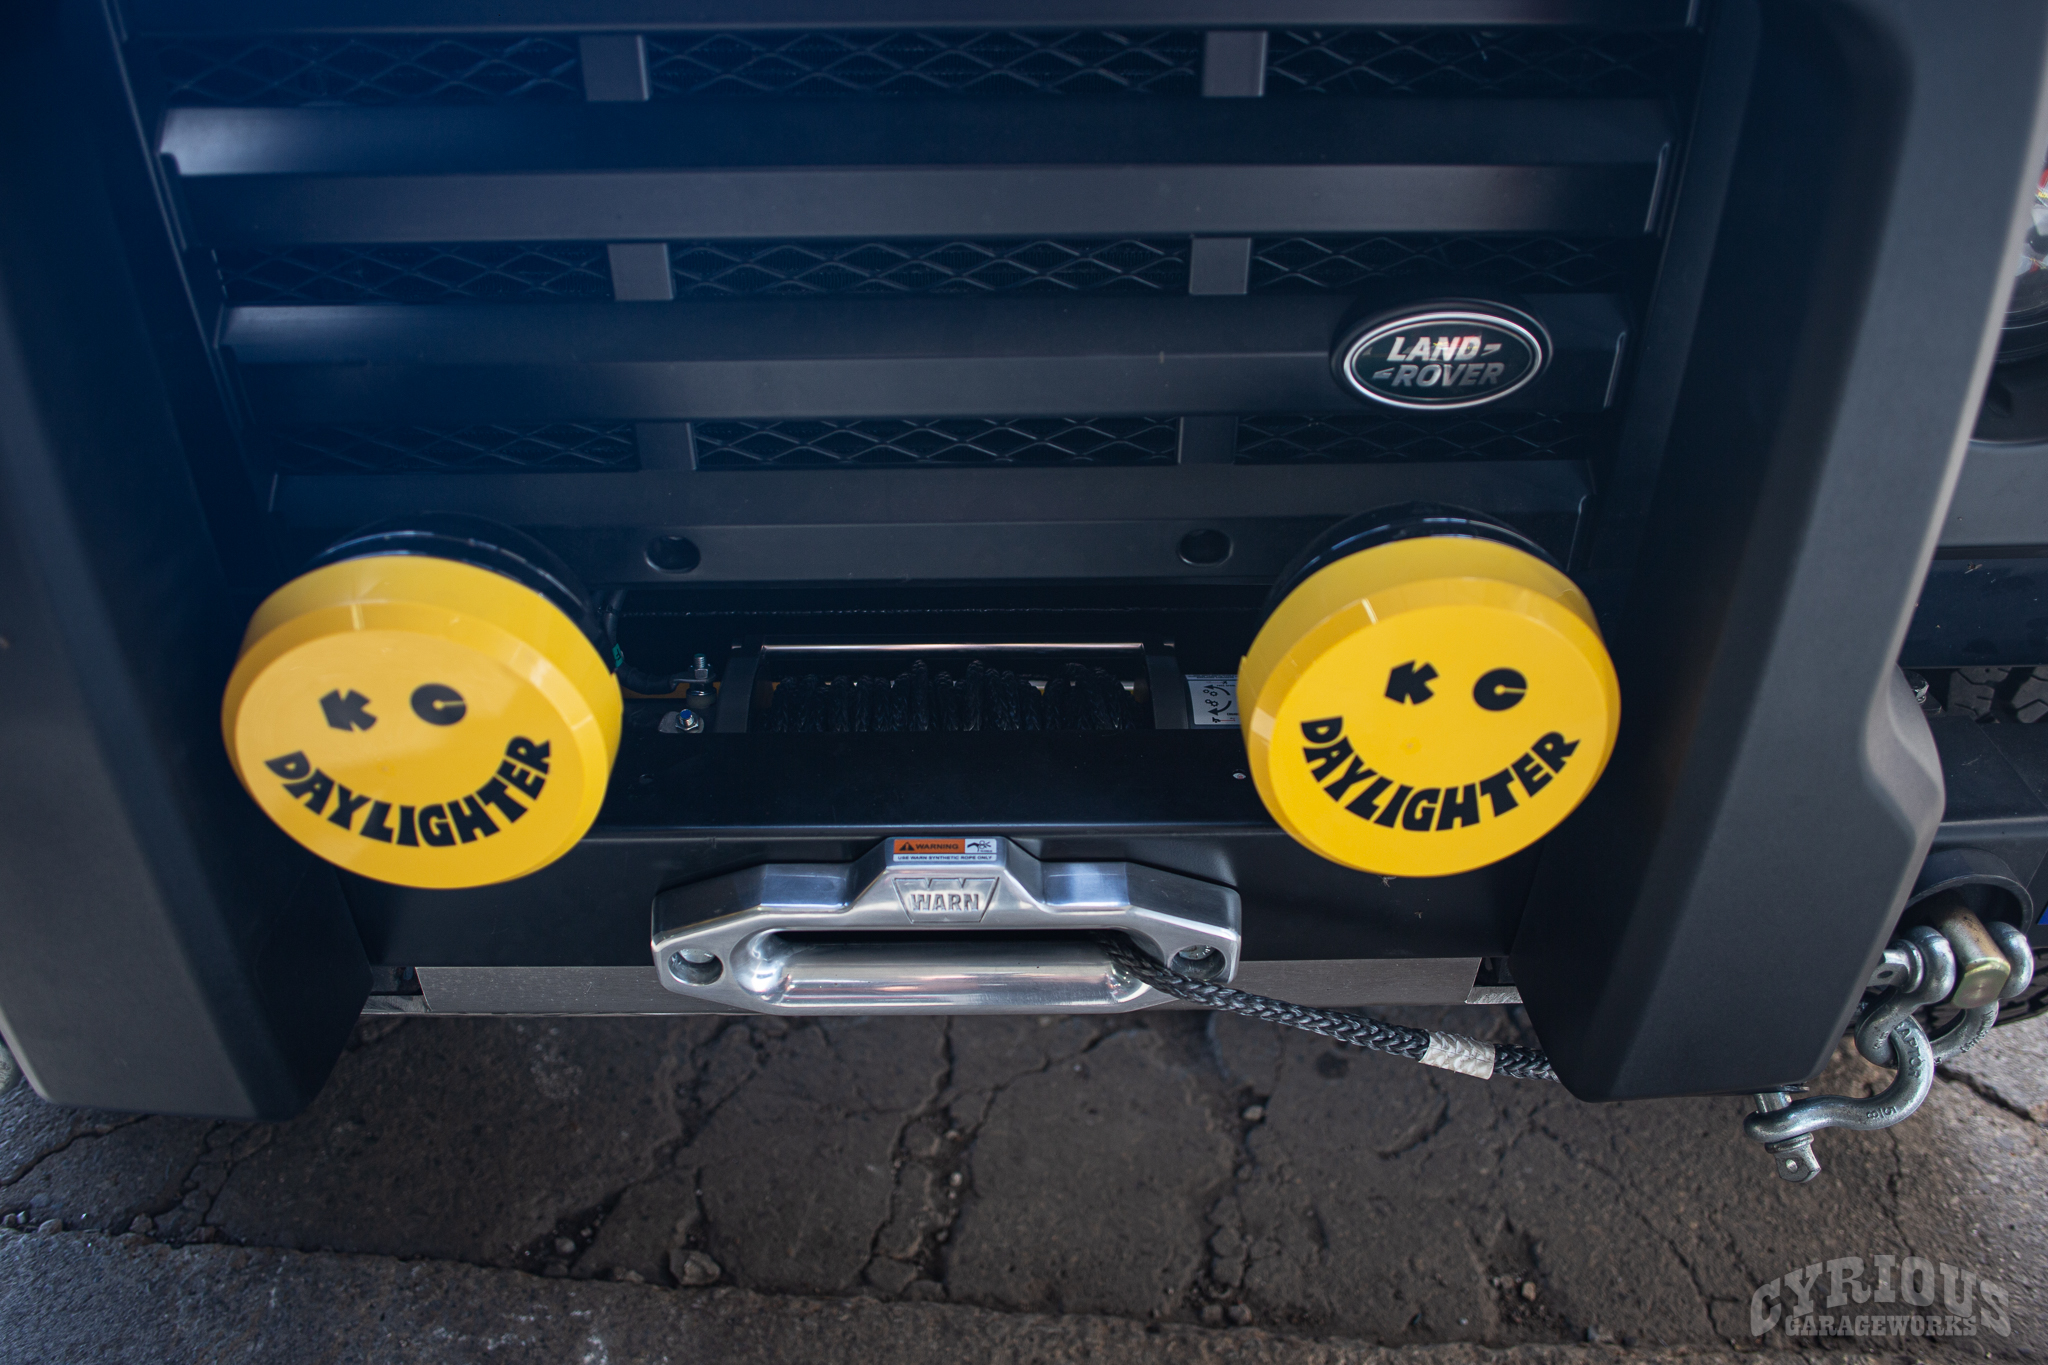
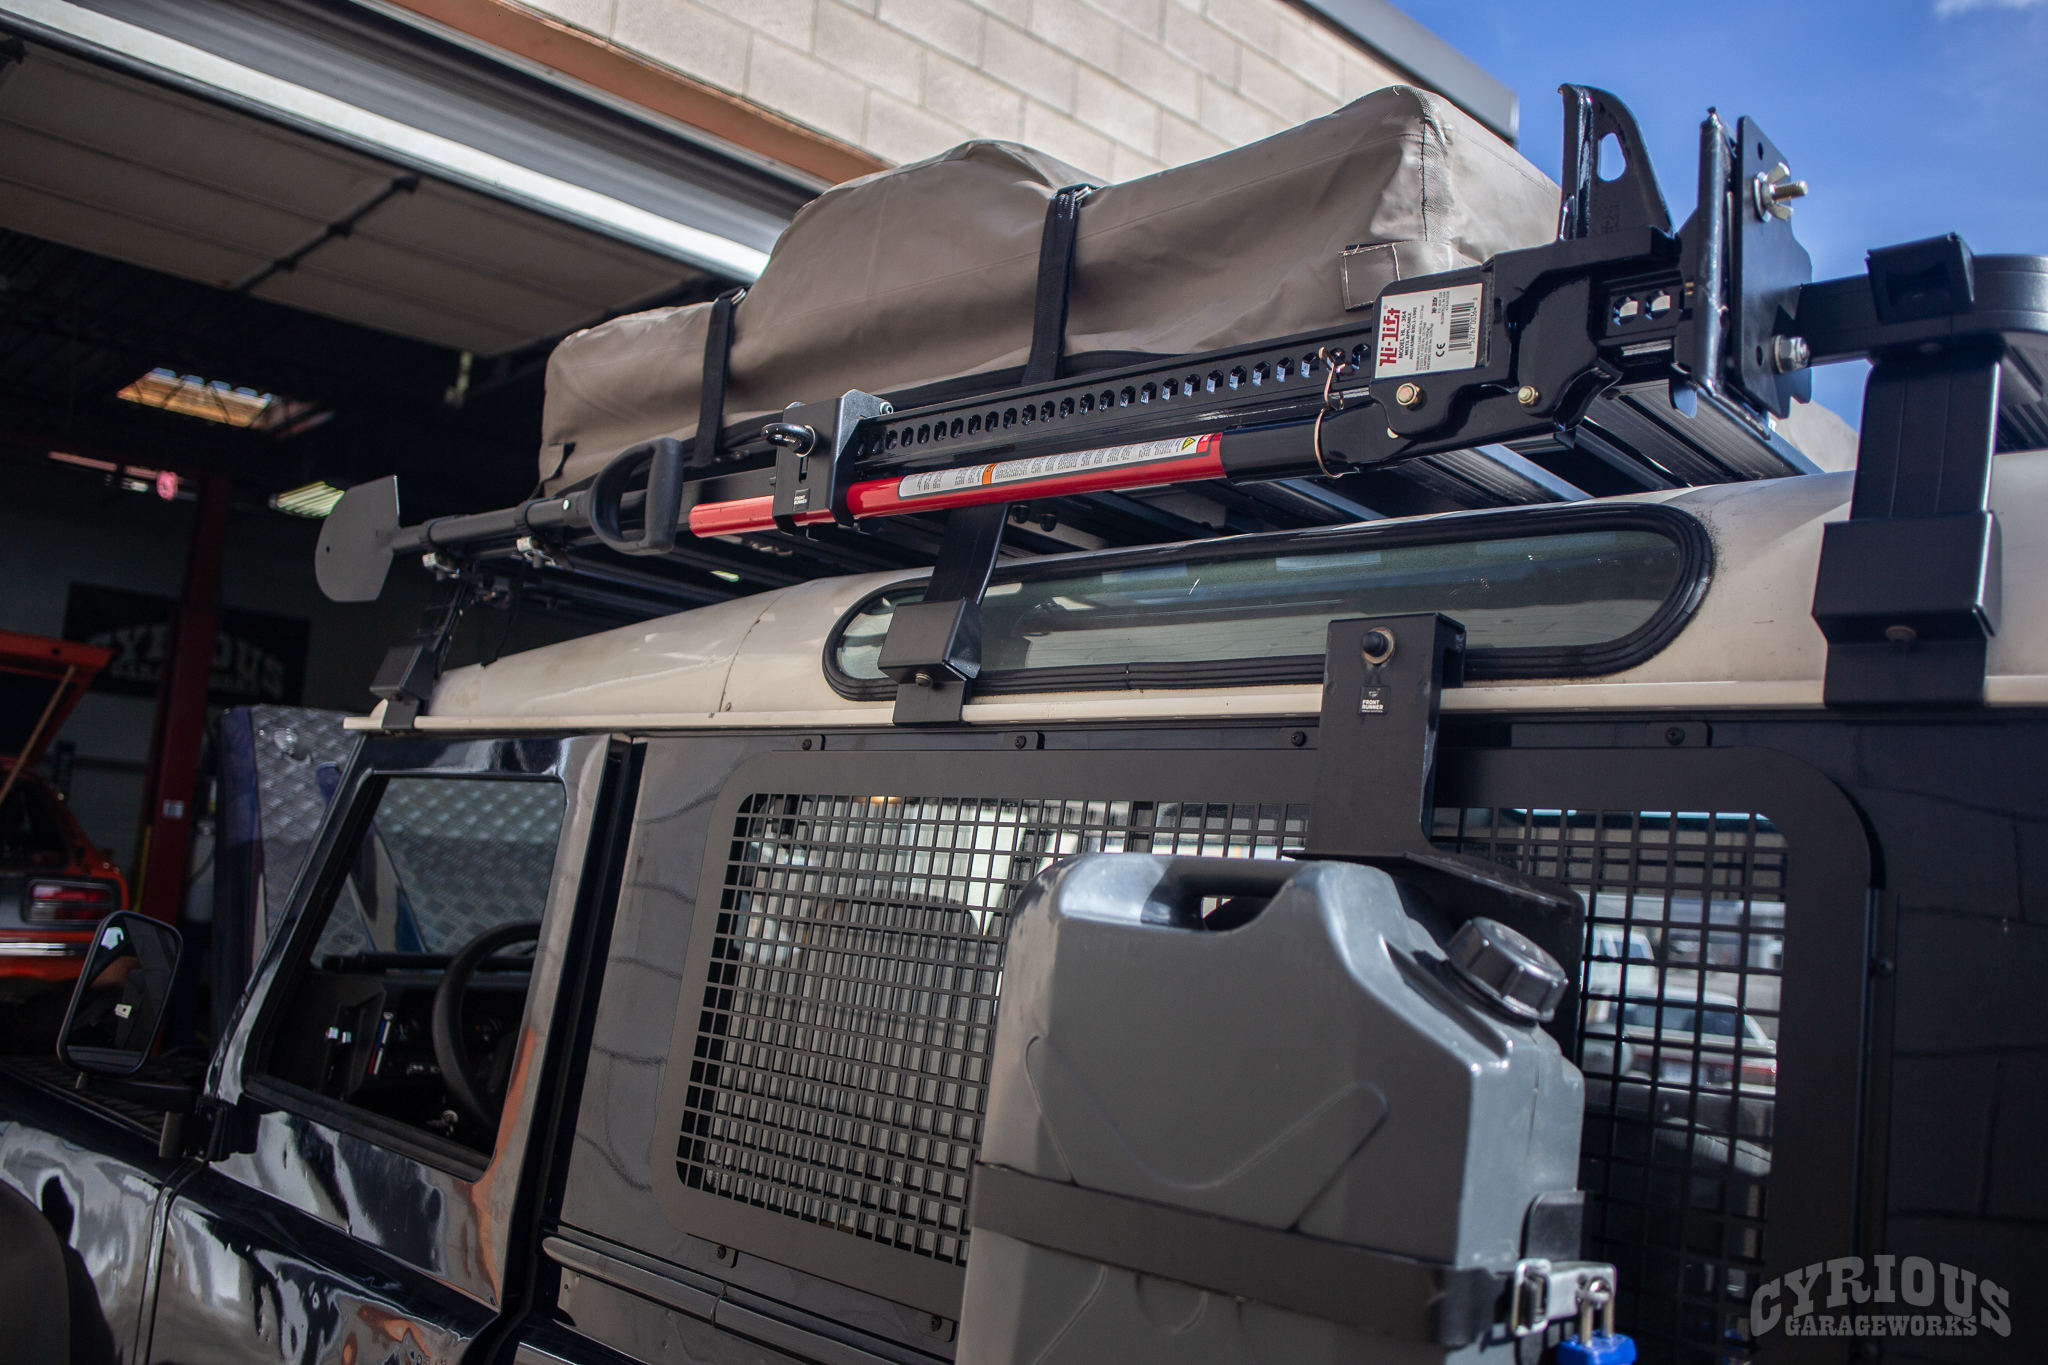
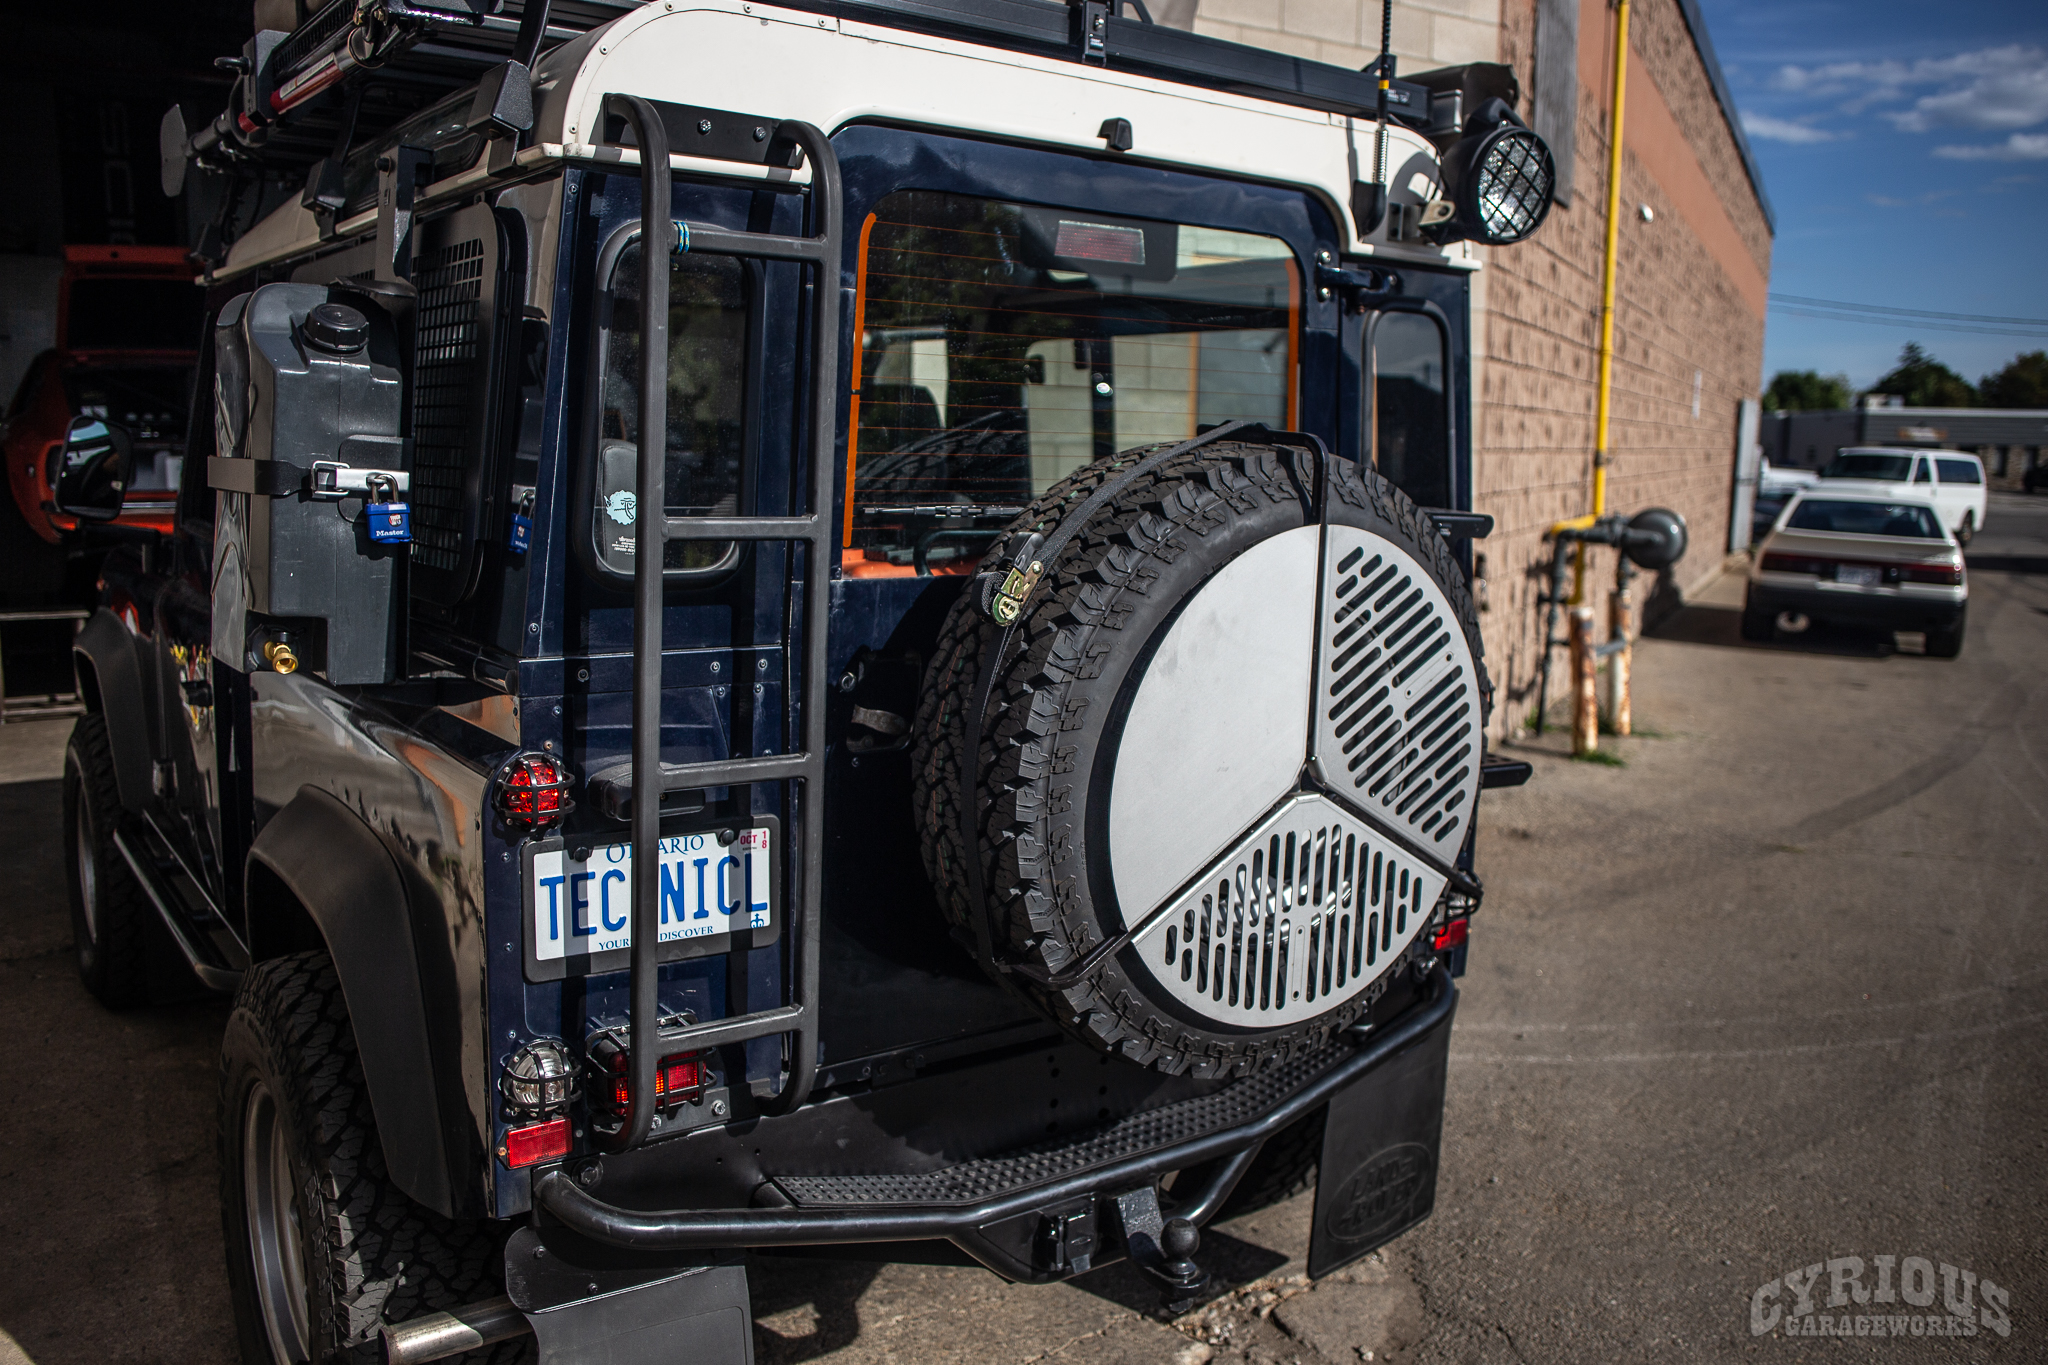
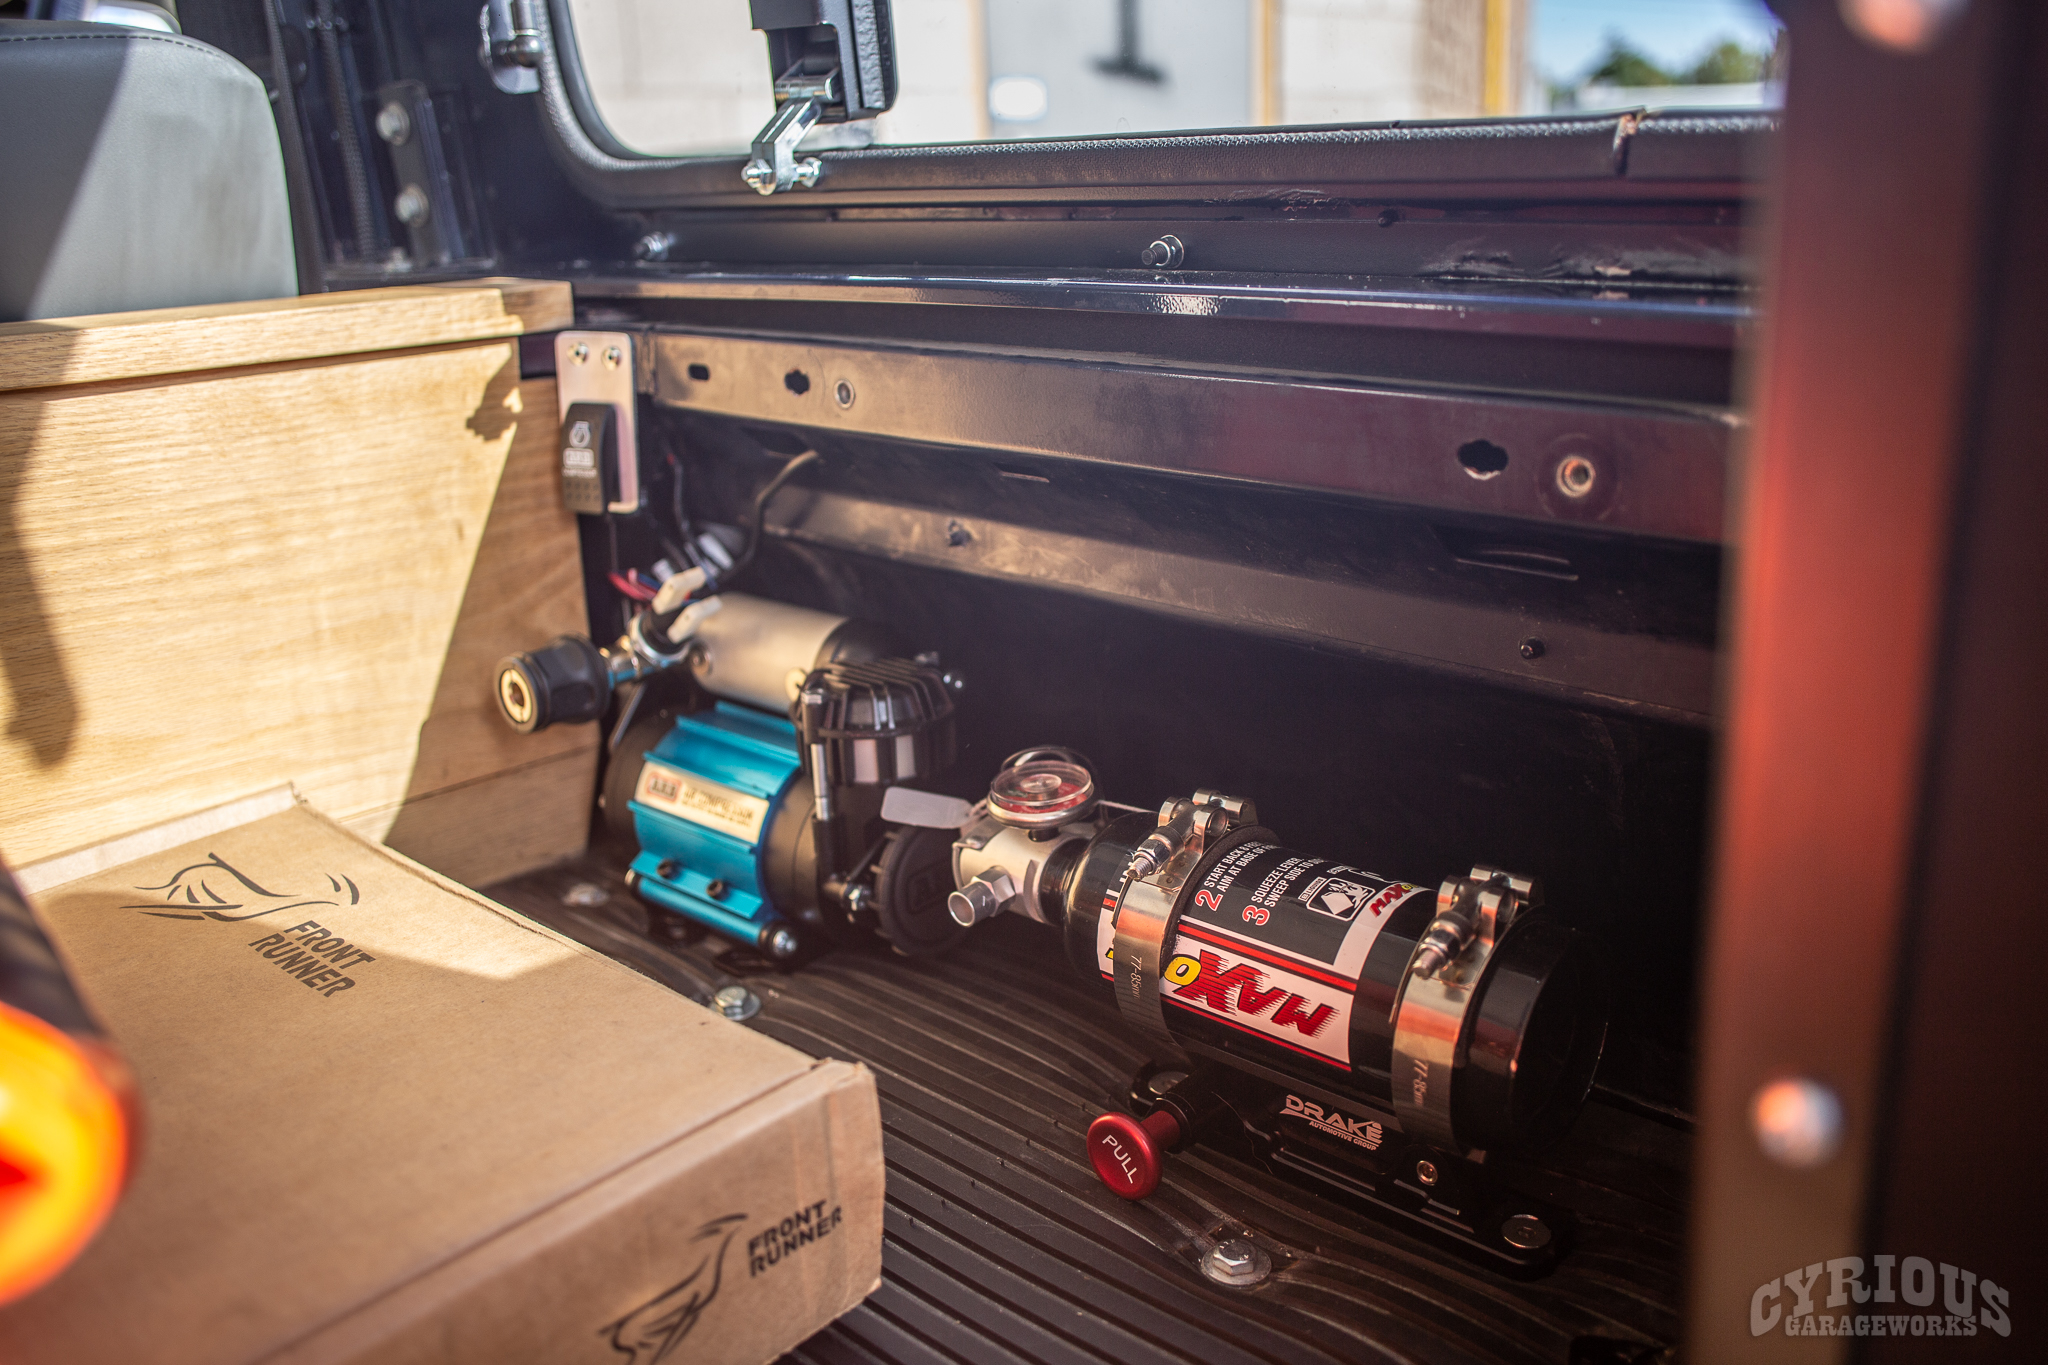
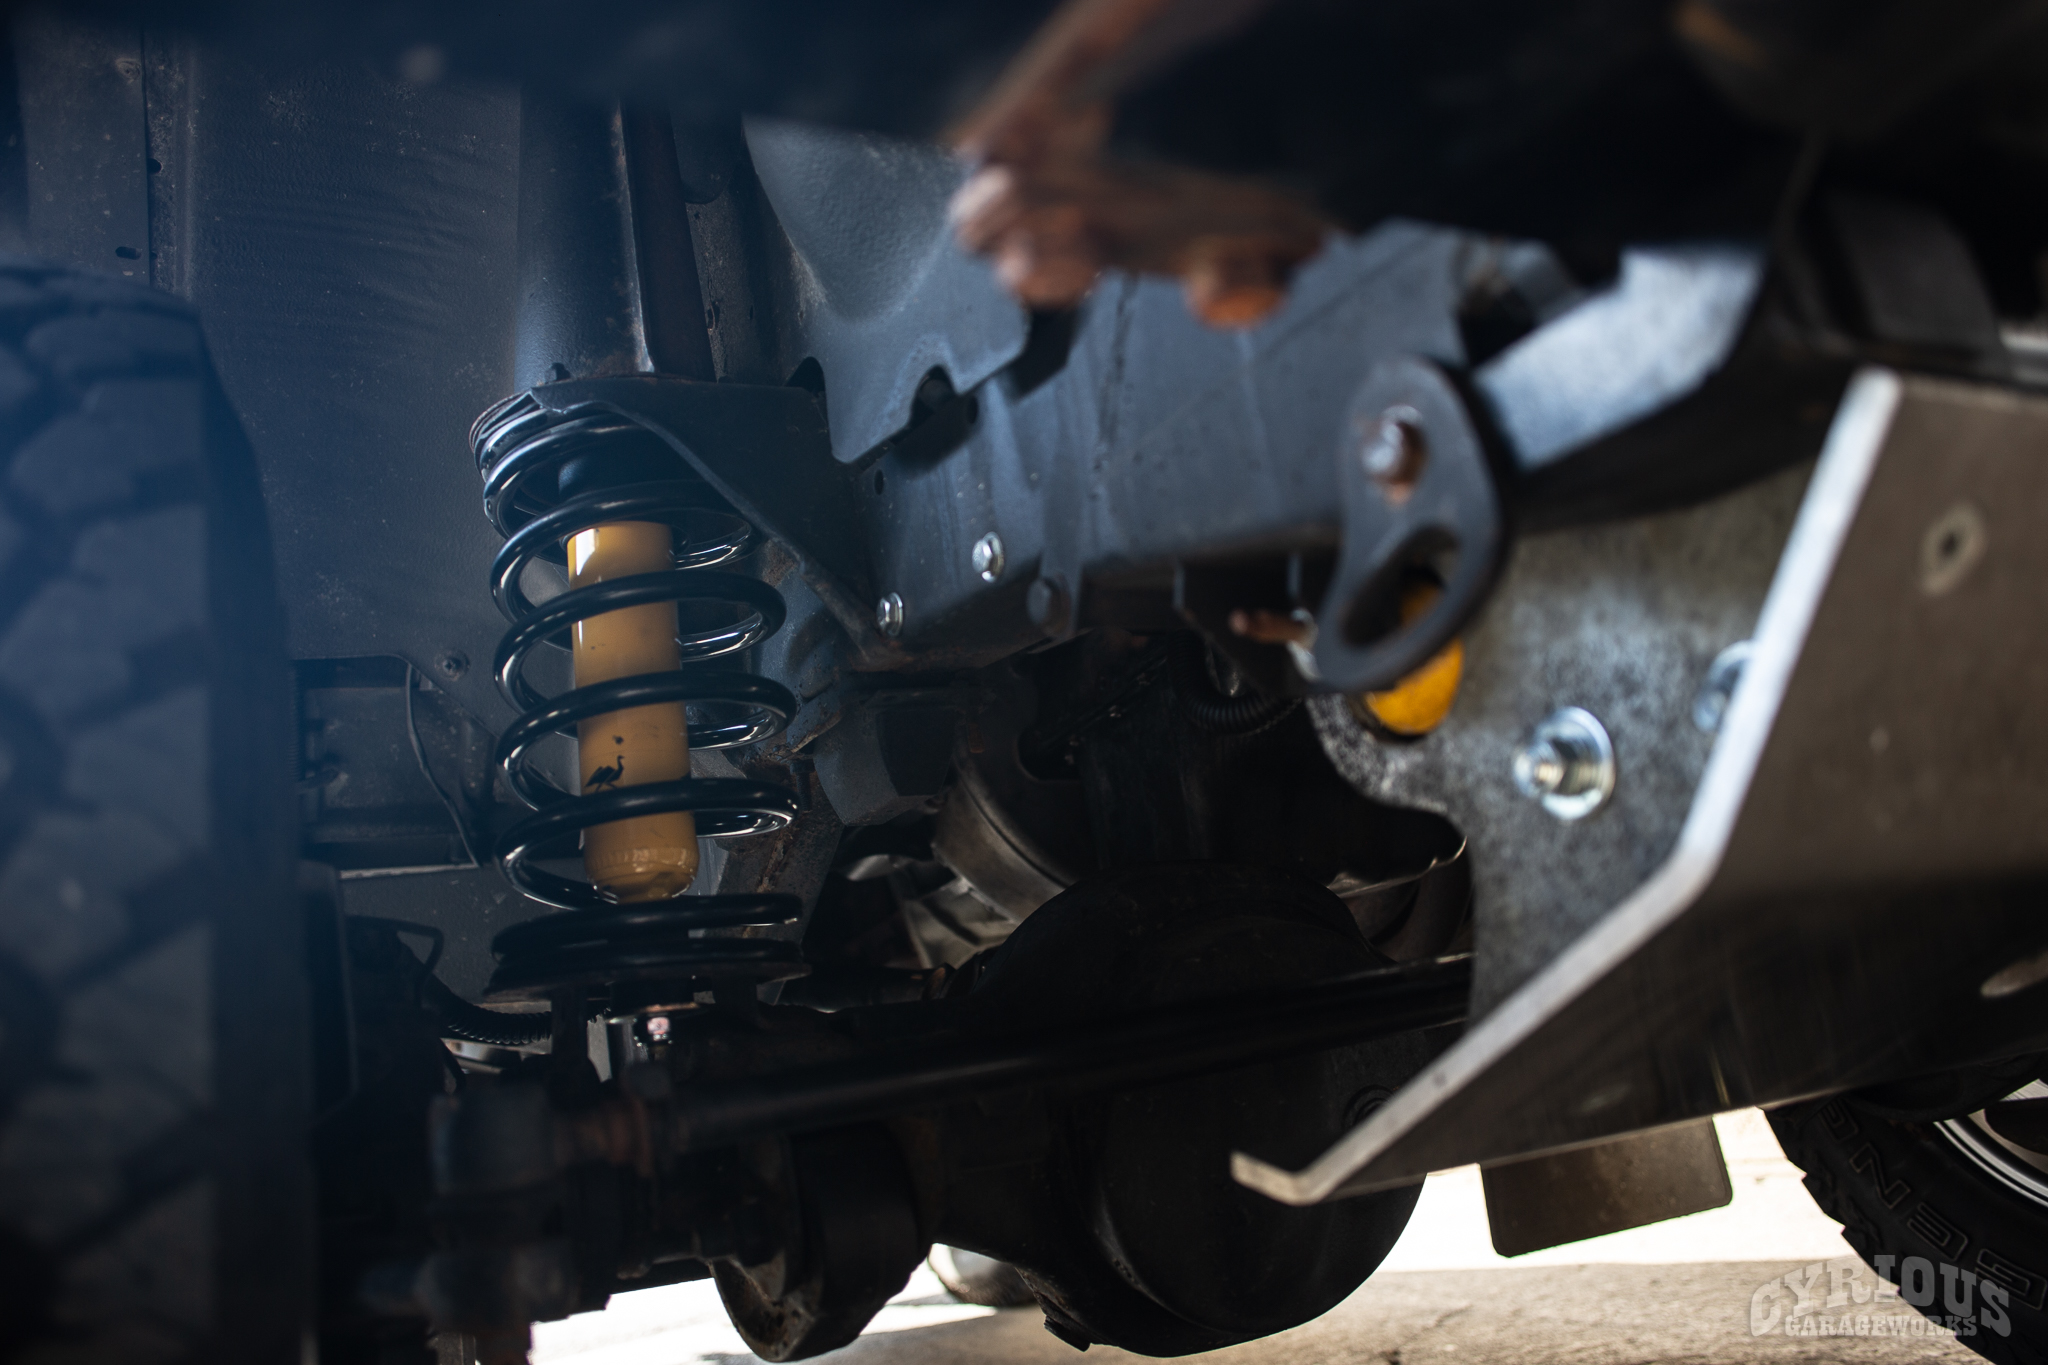
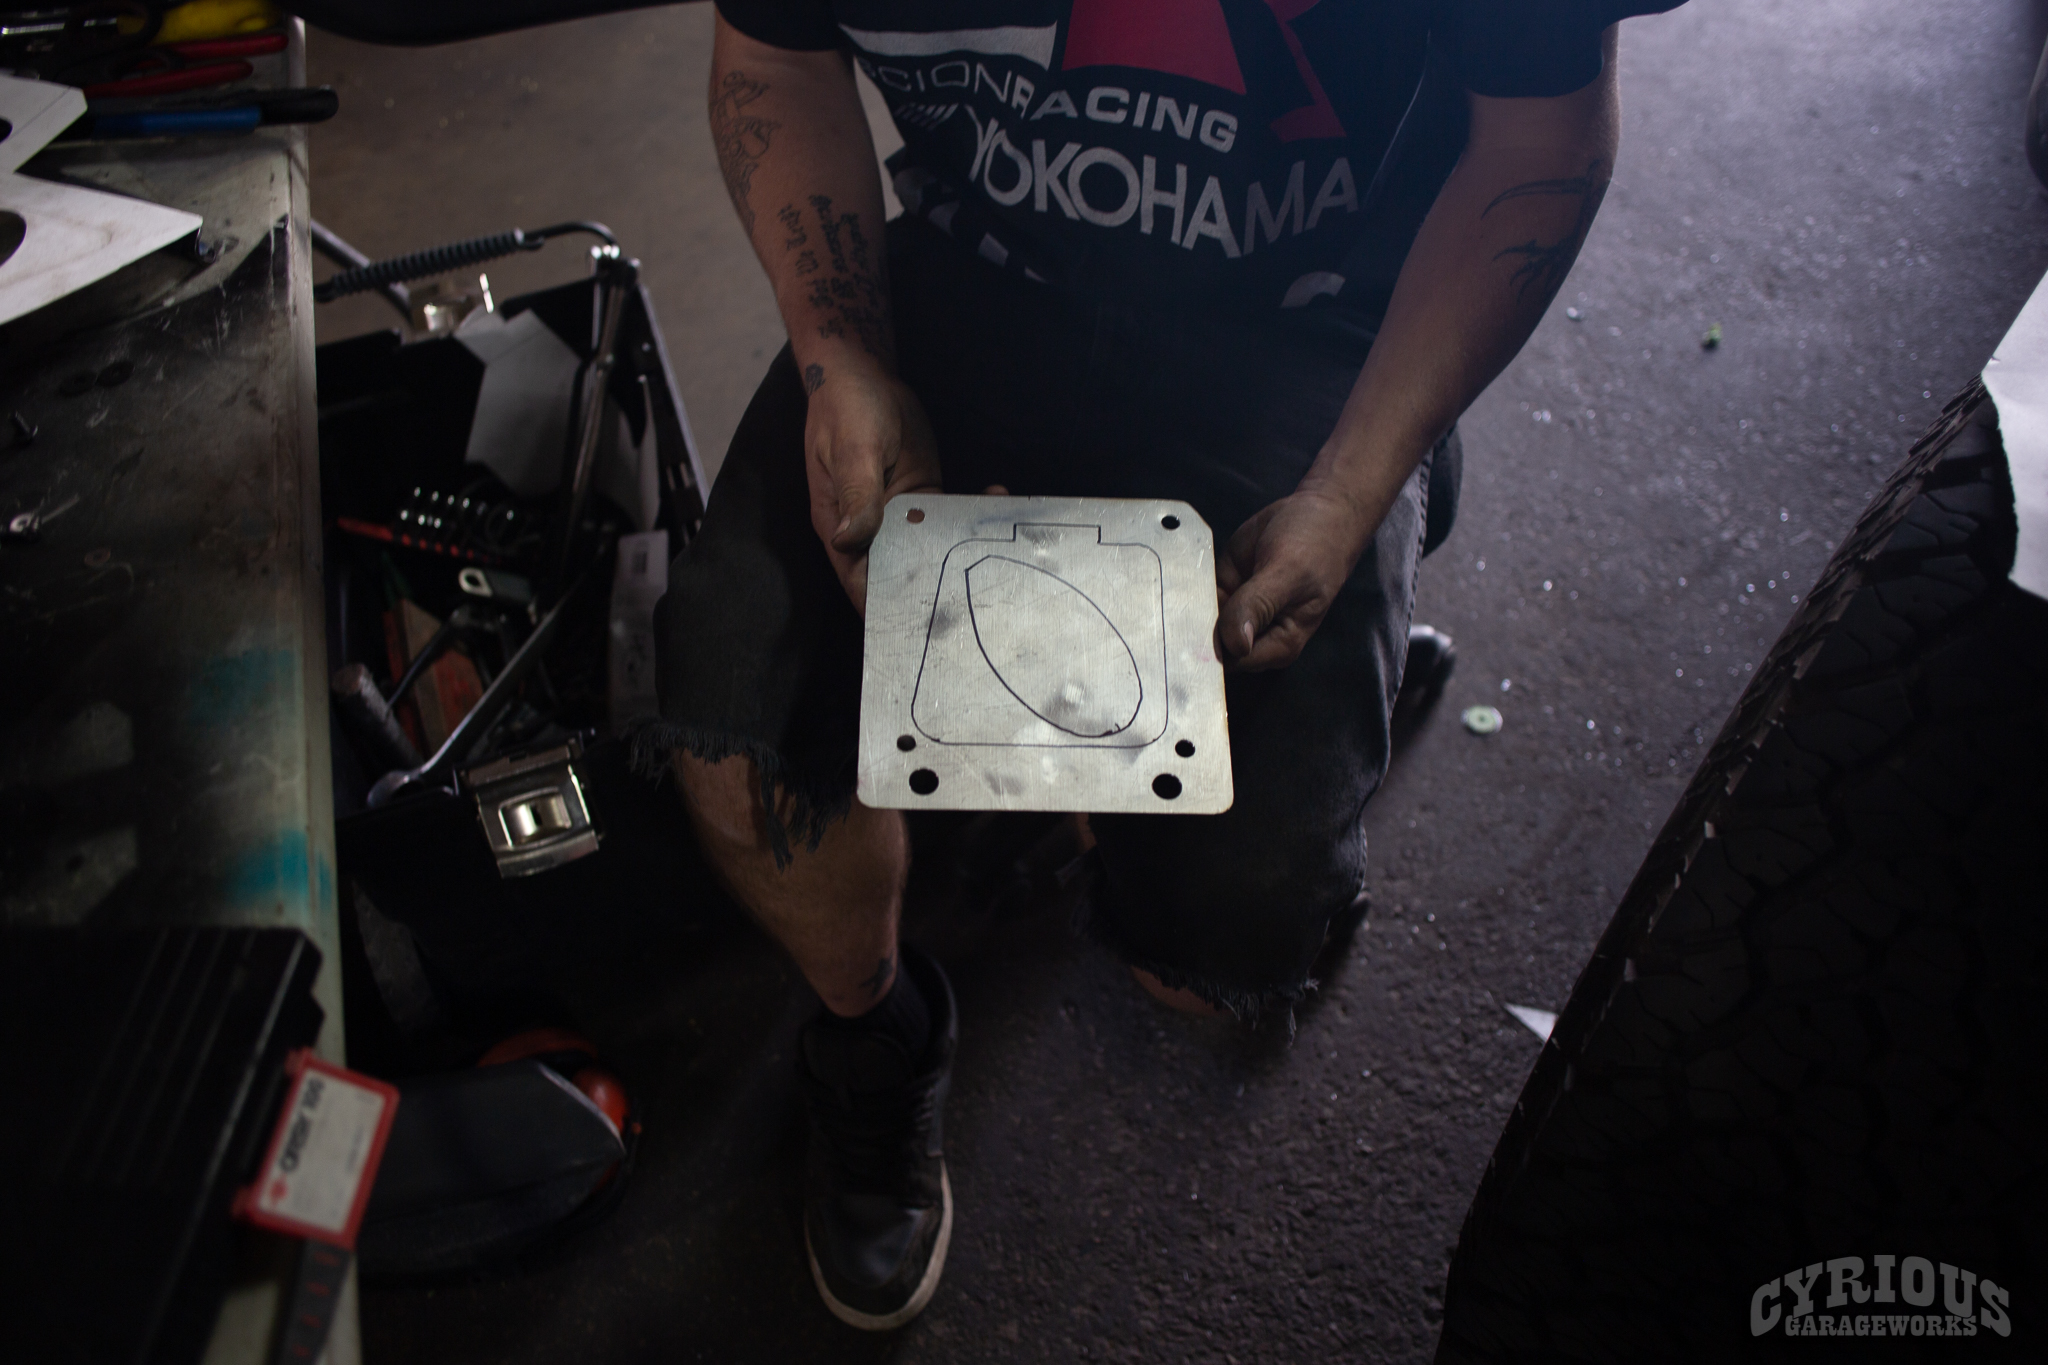
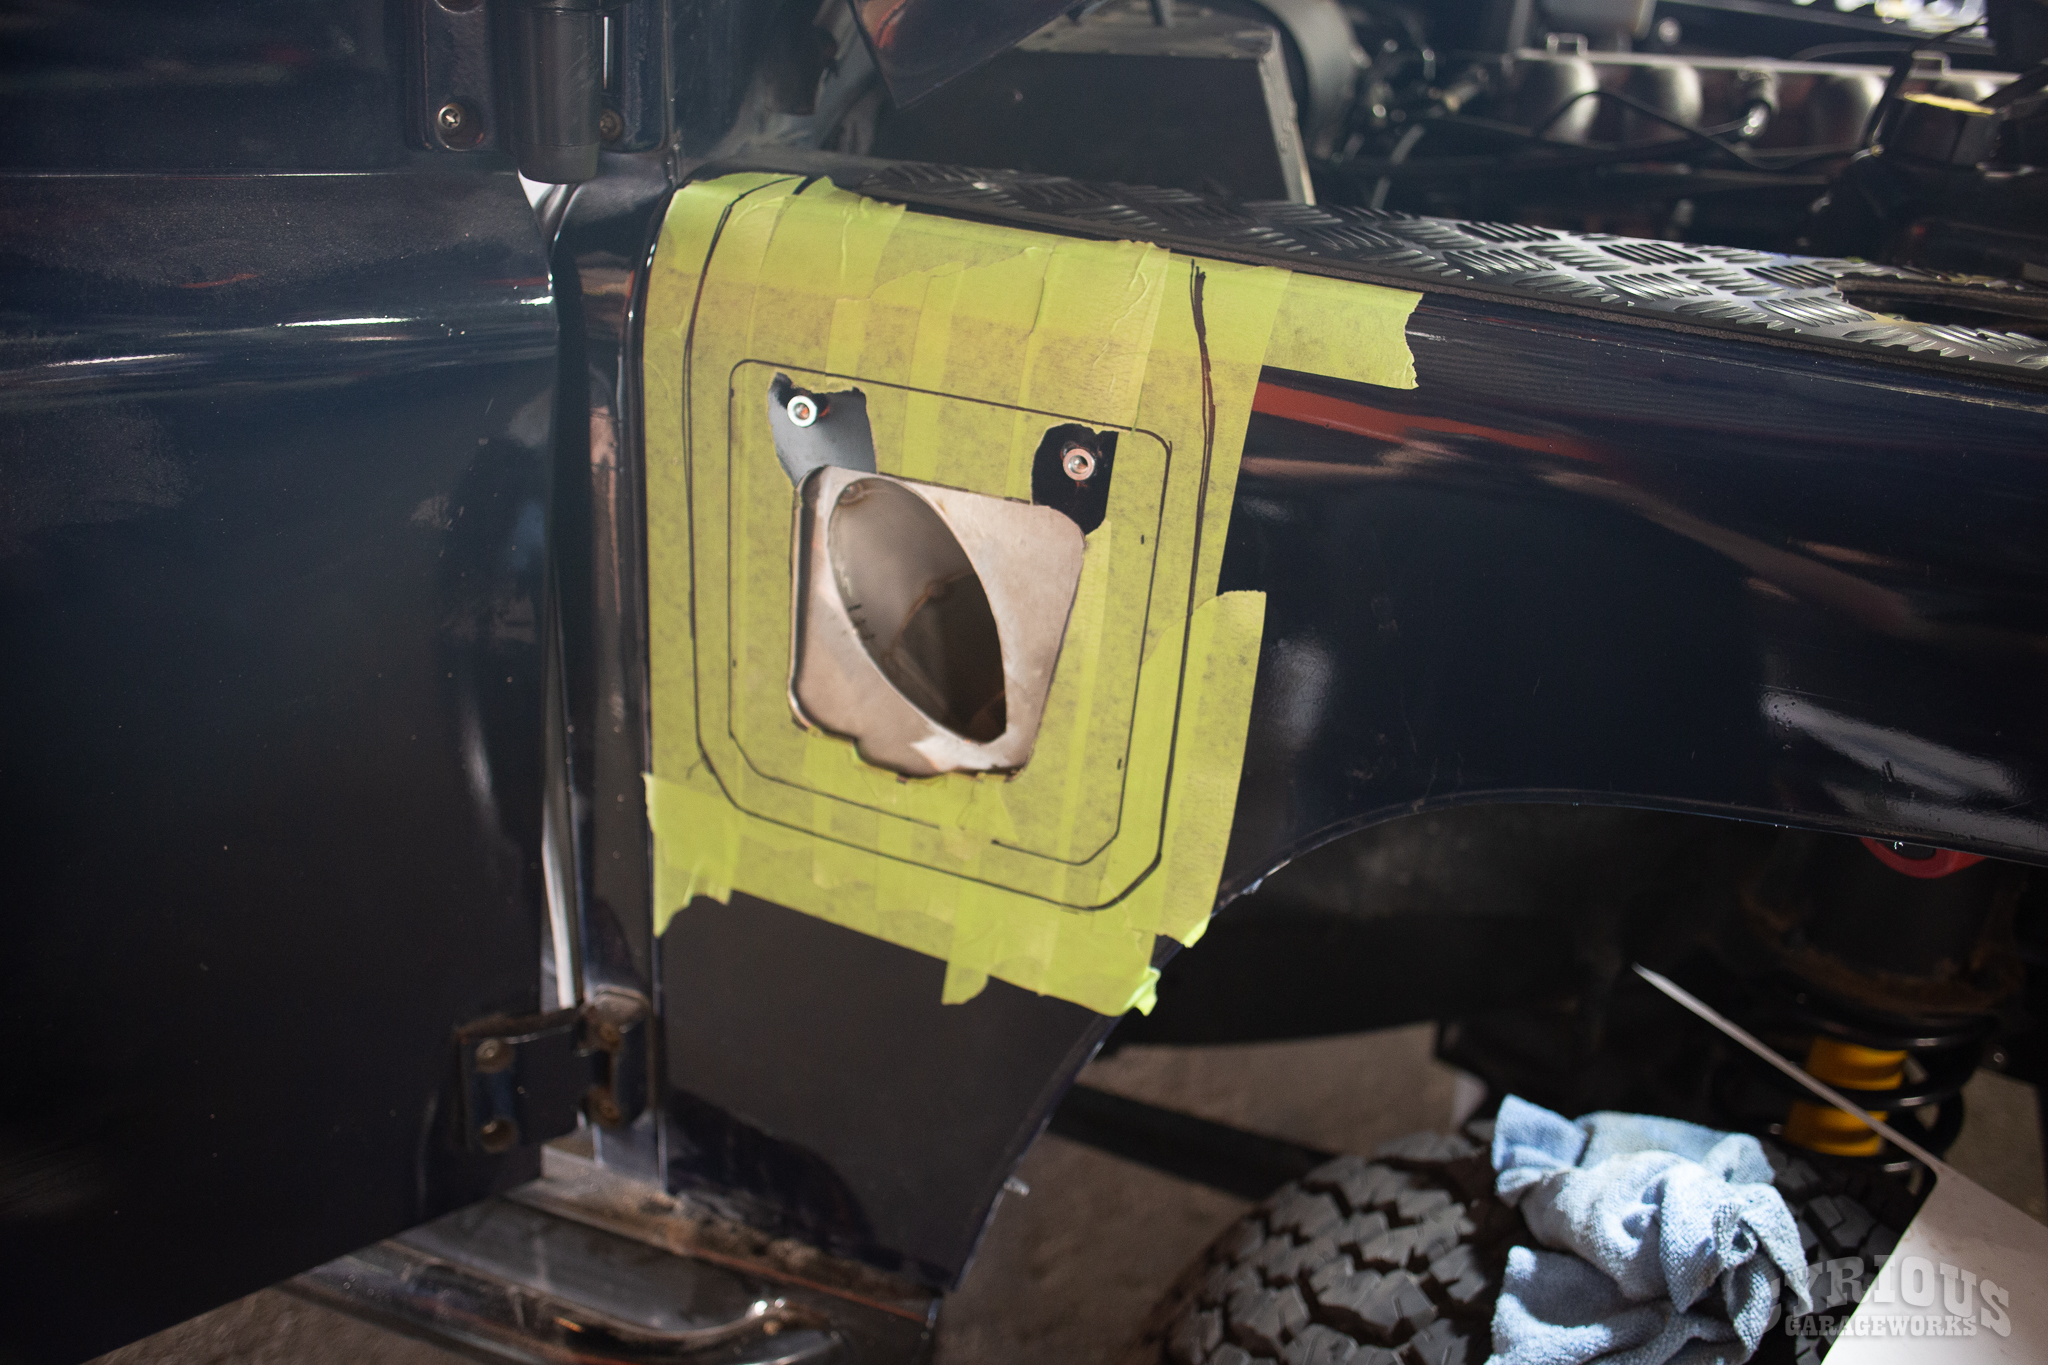
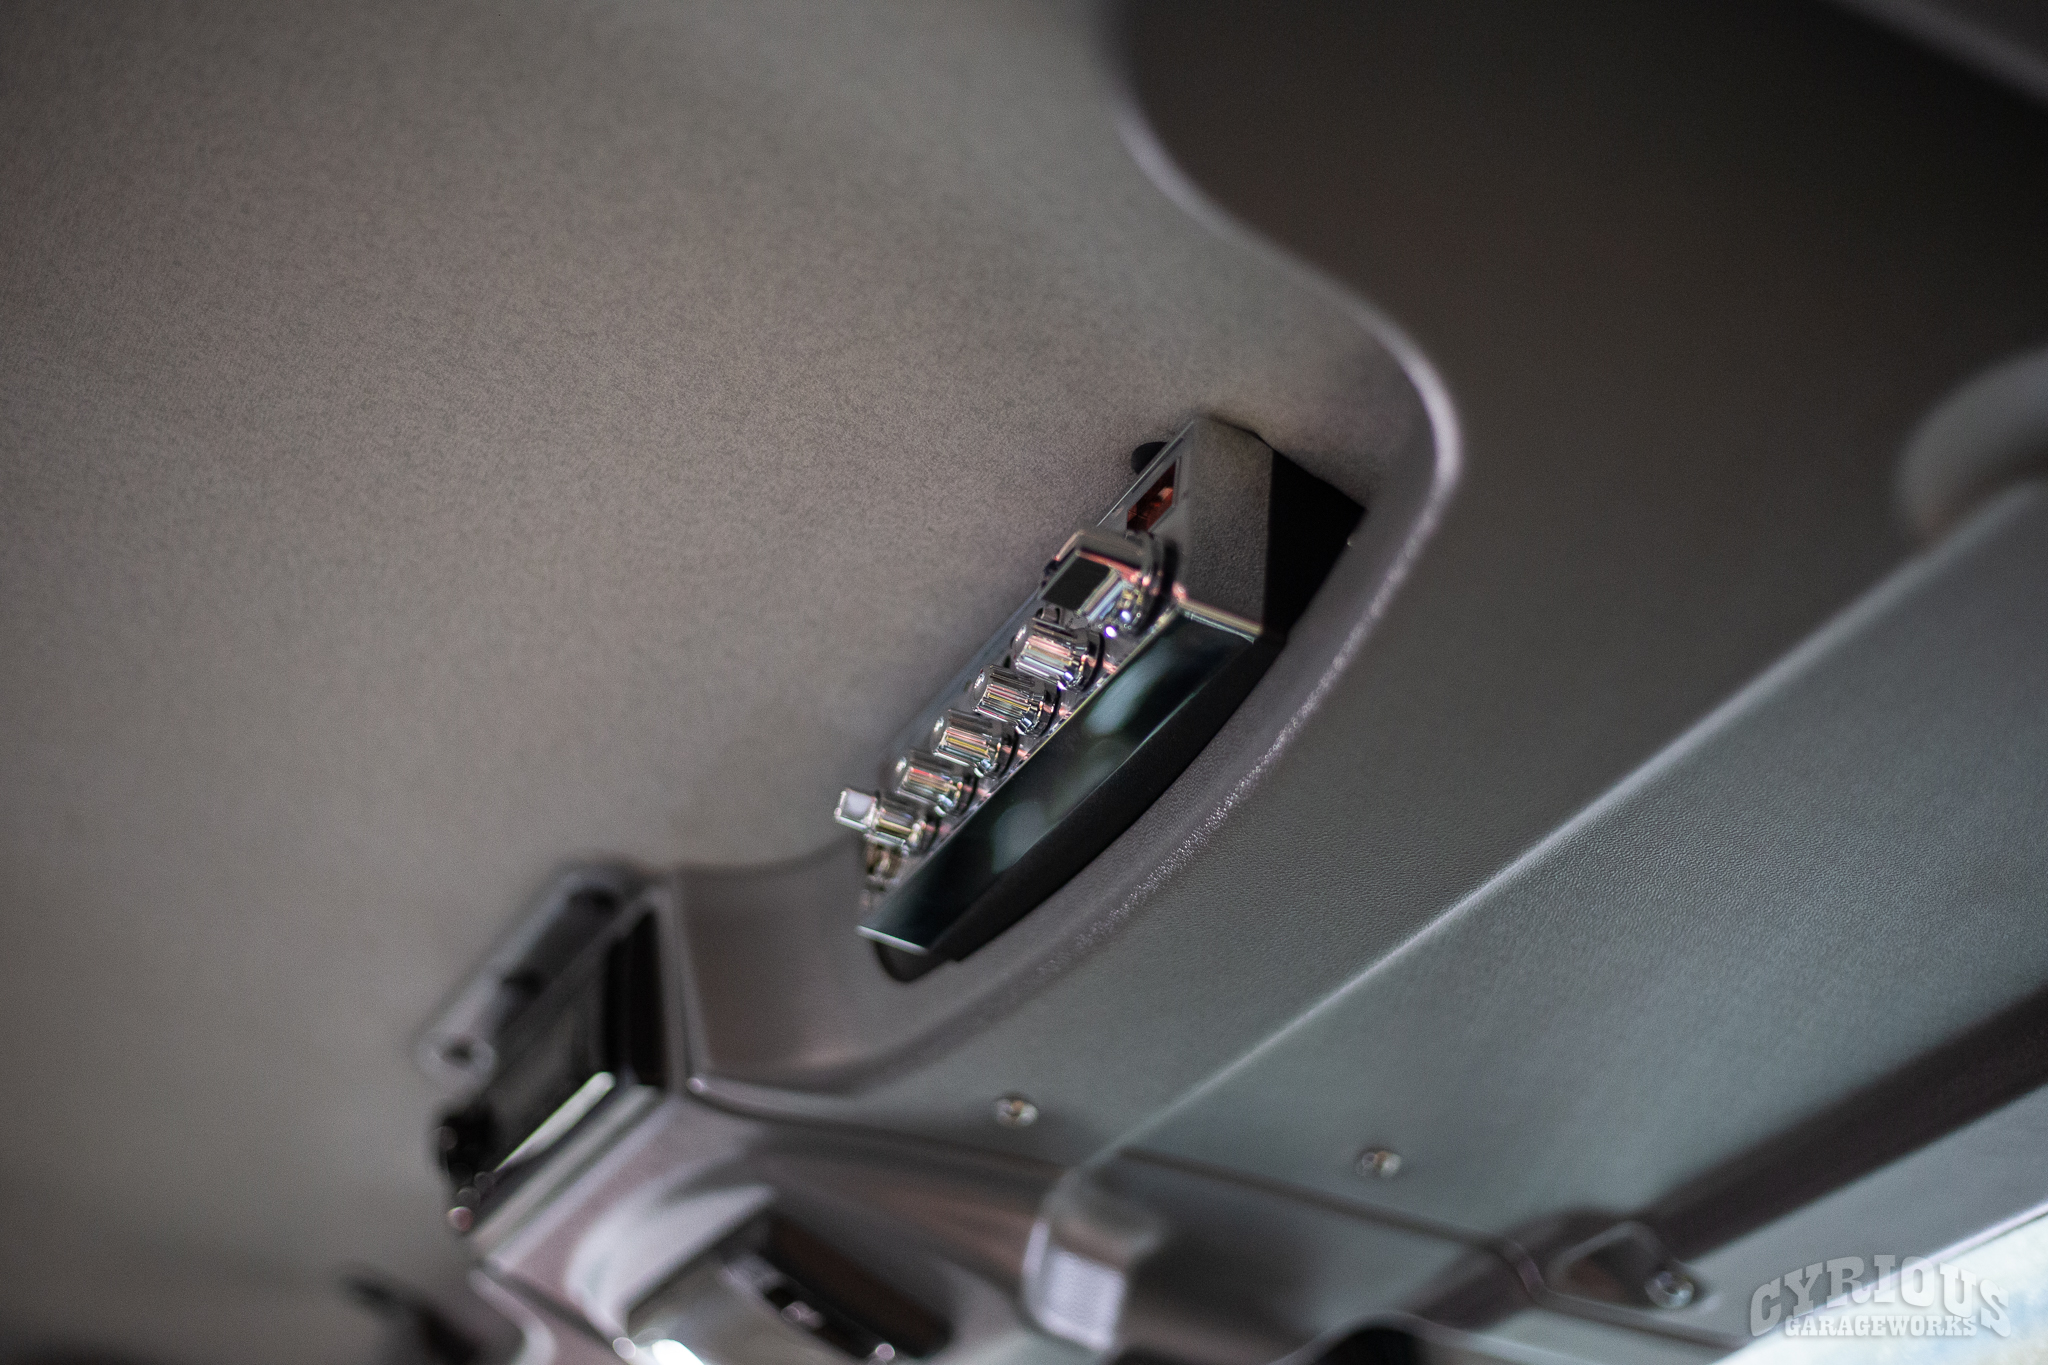
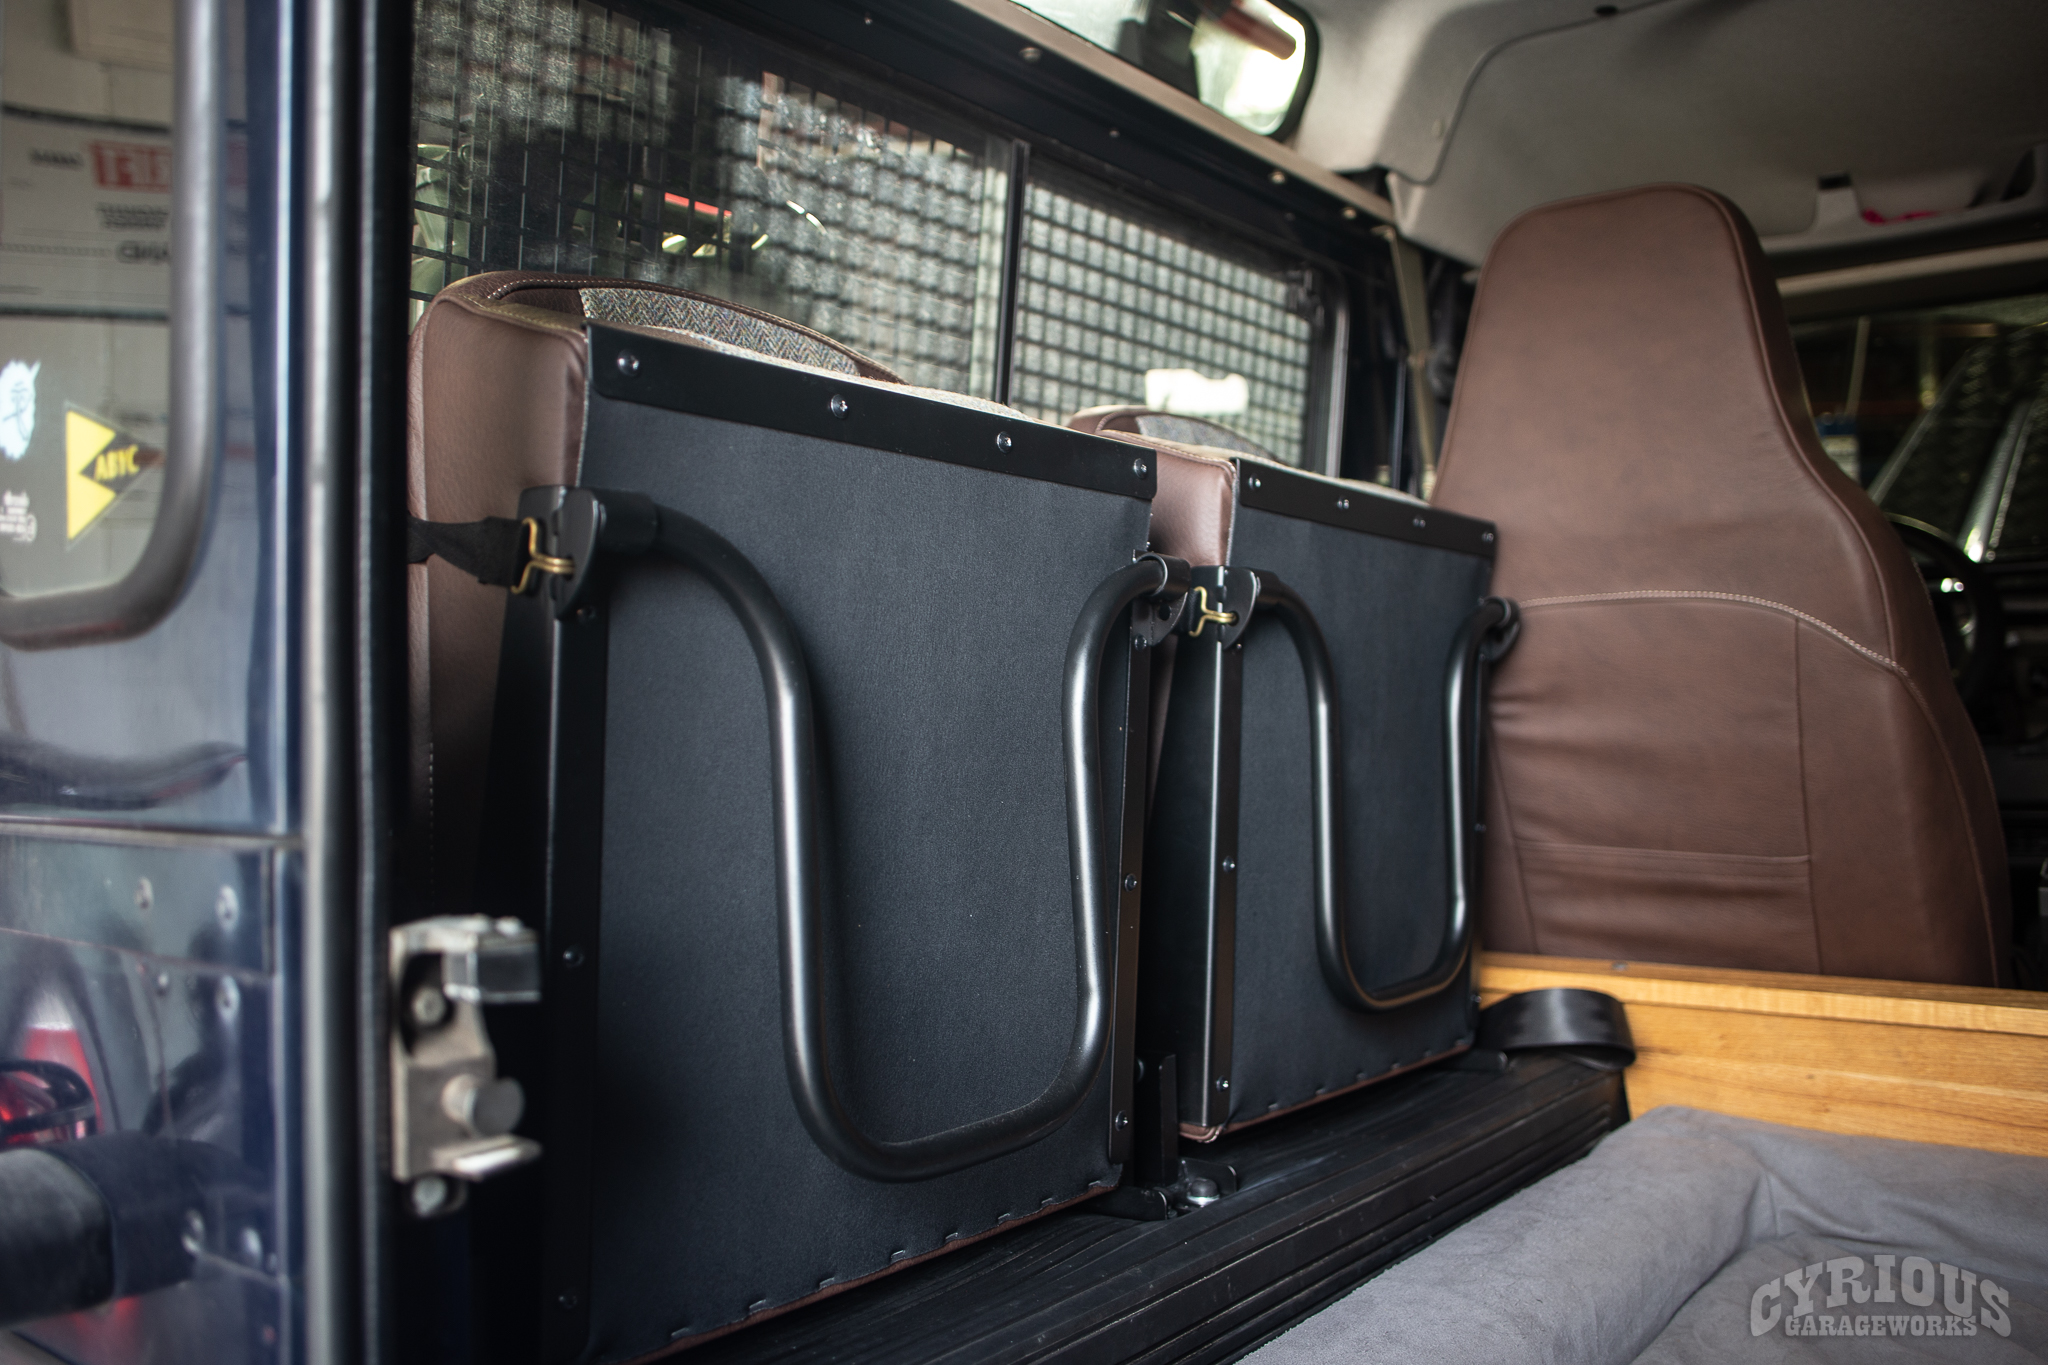
In addition to the Cummins Diesel swap, we were tasked with adding some accessories to this truck to turn it into a good all-around overlanding truck. The bones are certainly solid, but there are a few odds and ends needed to turn this into a proper offroading machine. Let’s get to it!
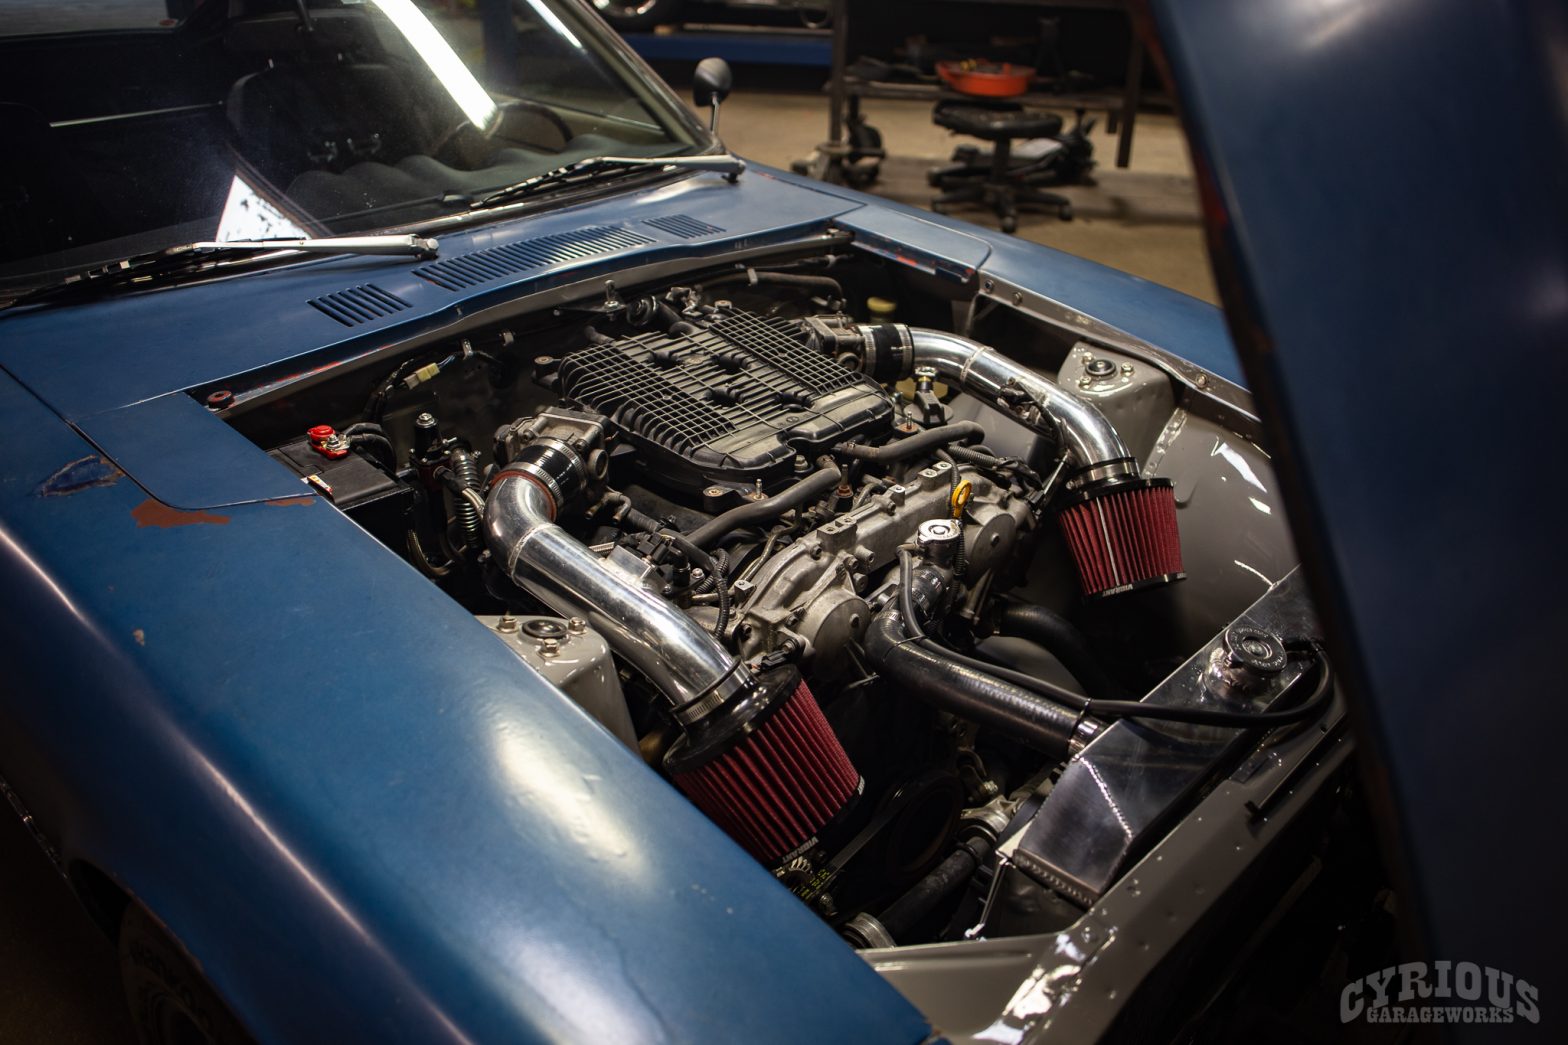
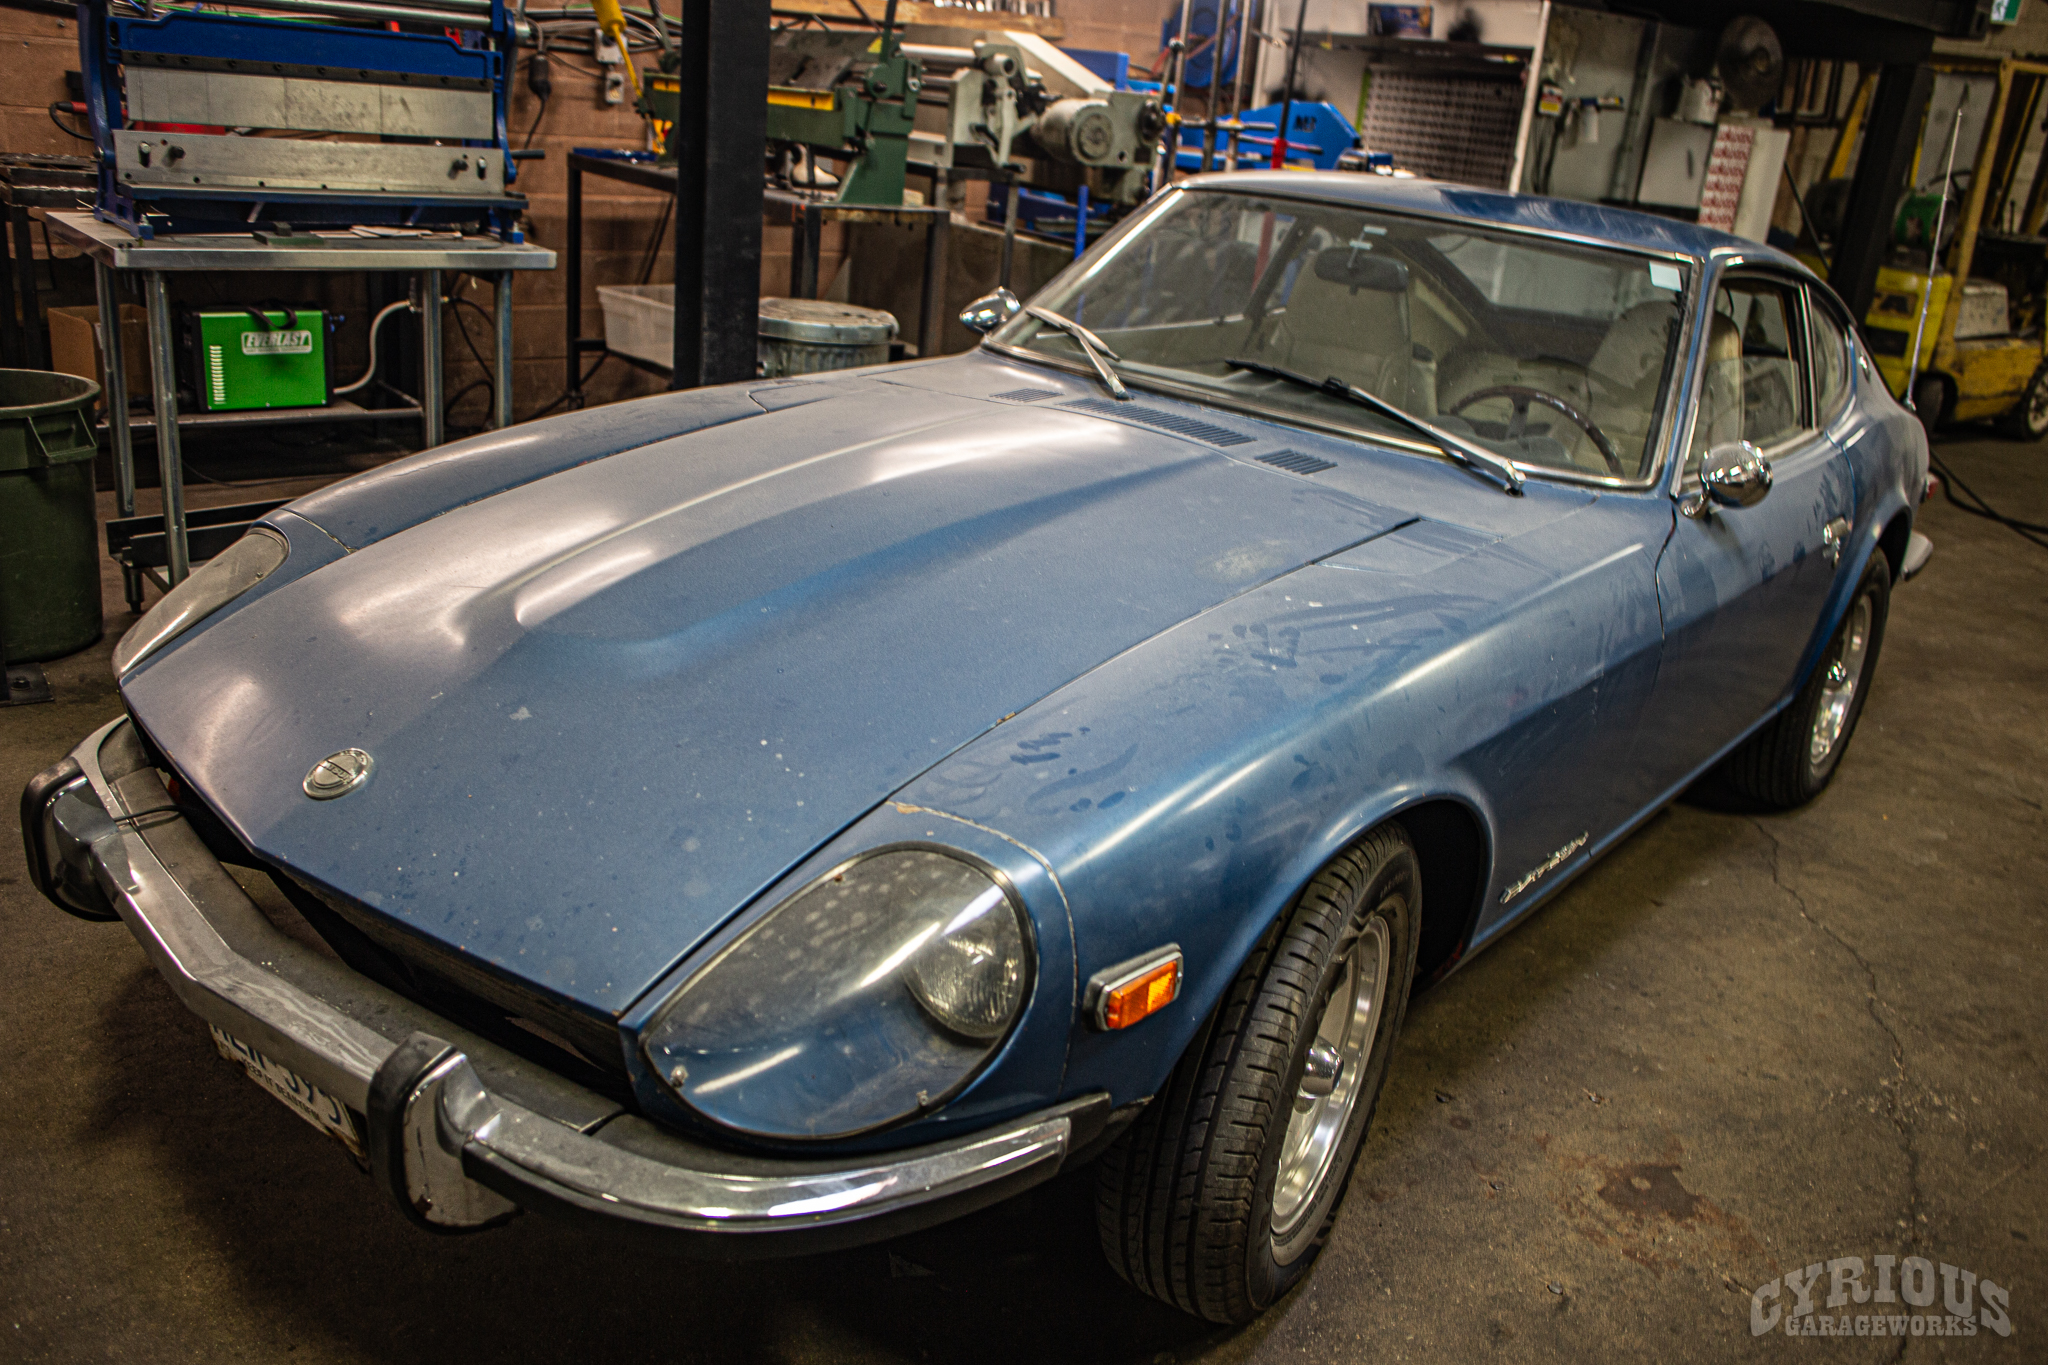
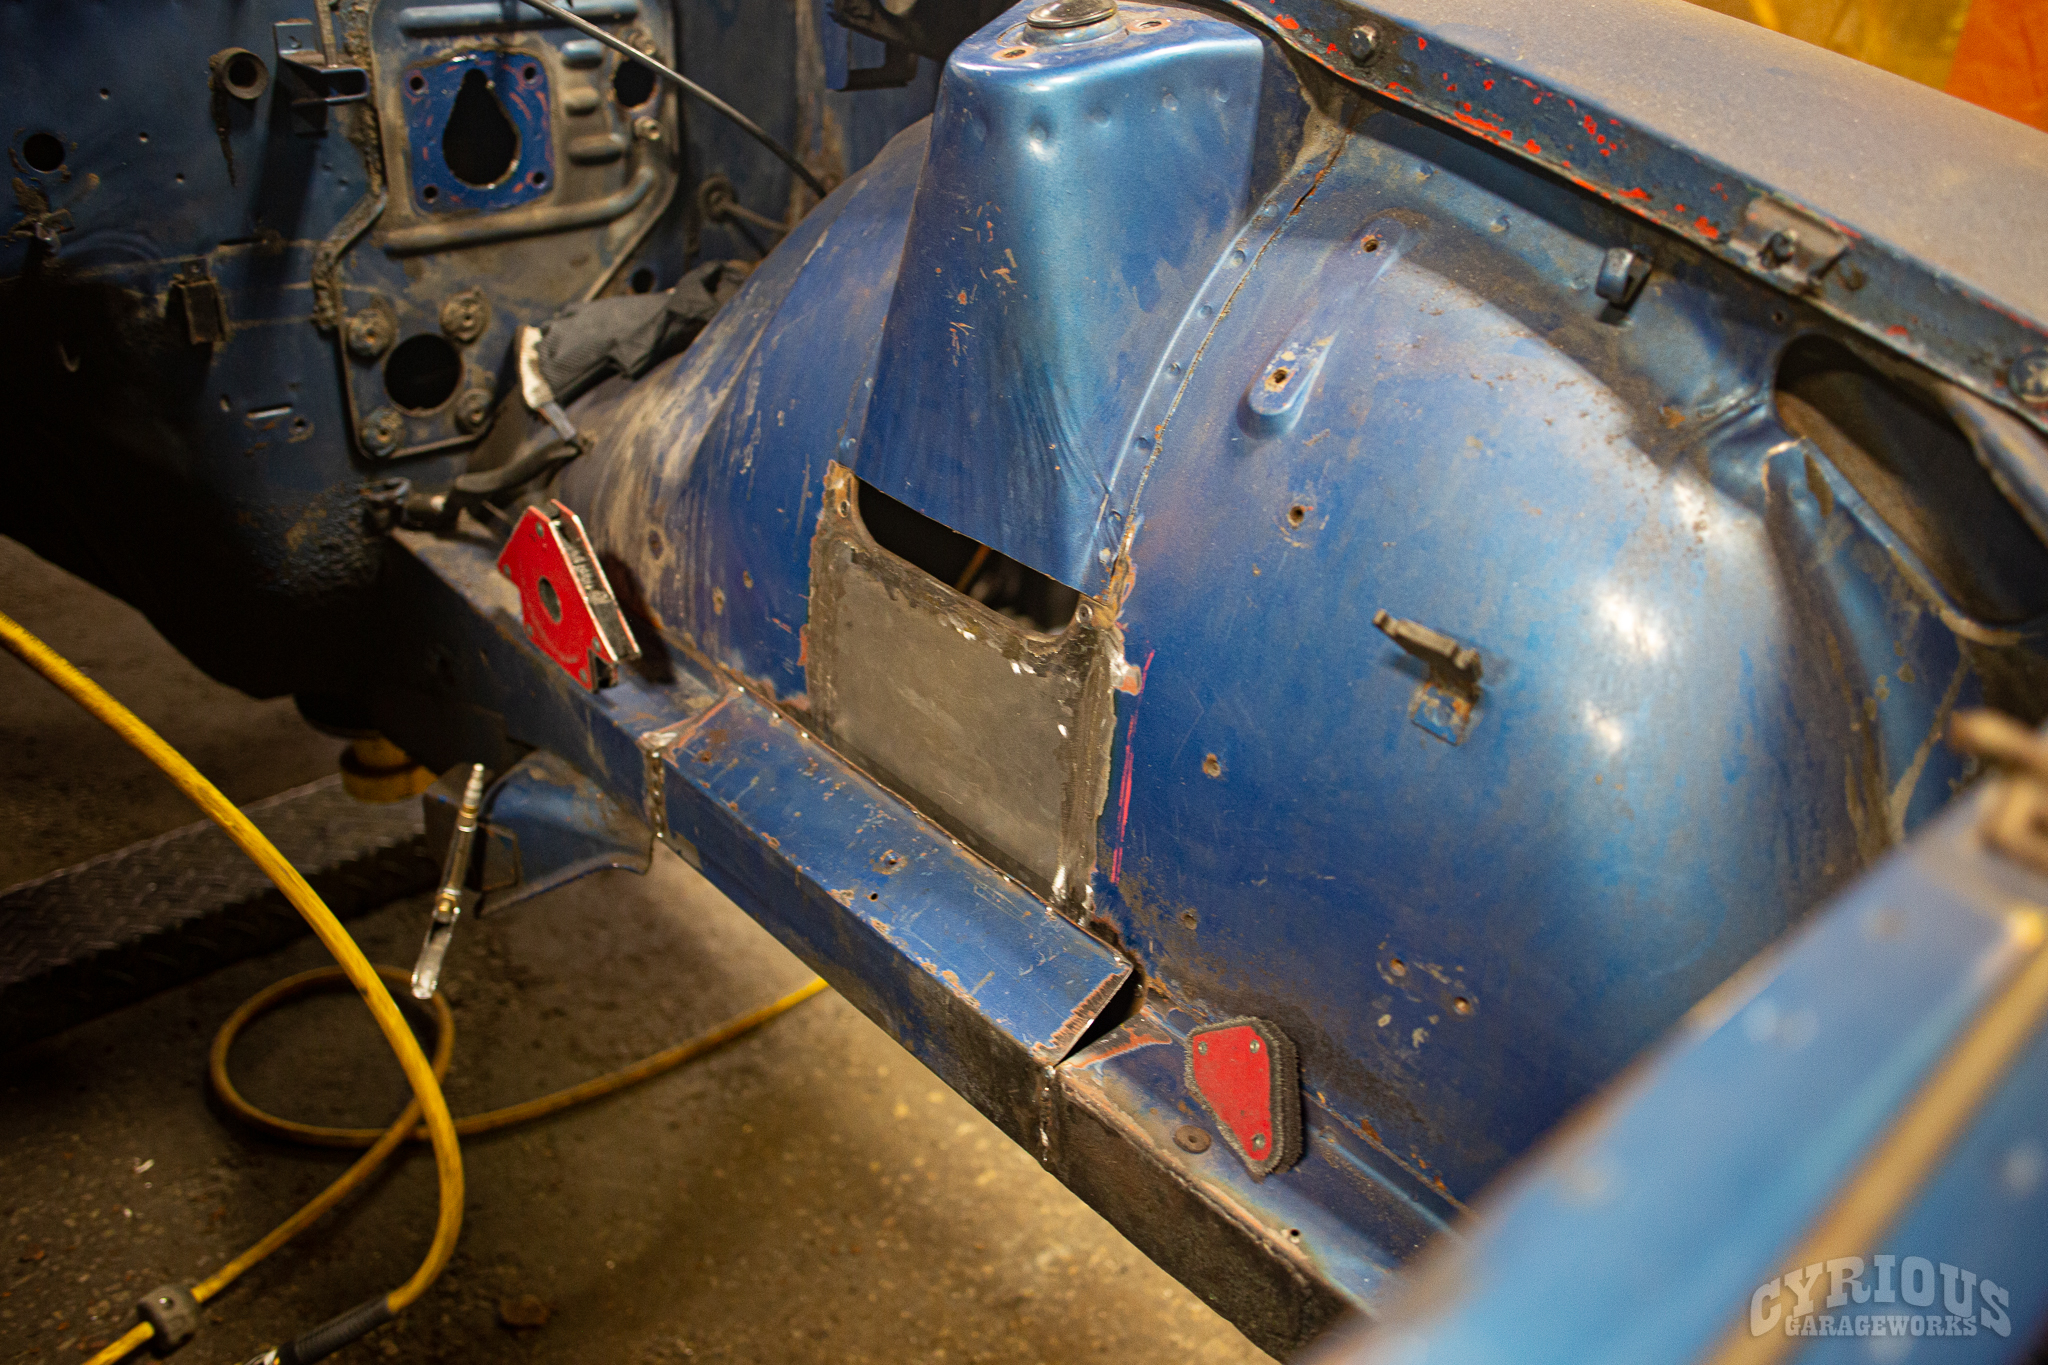
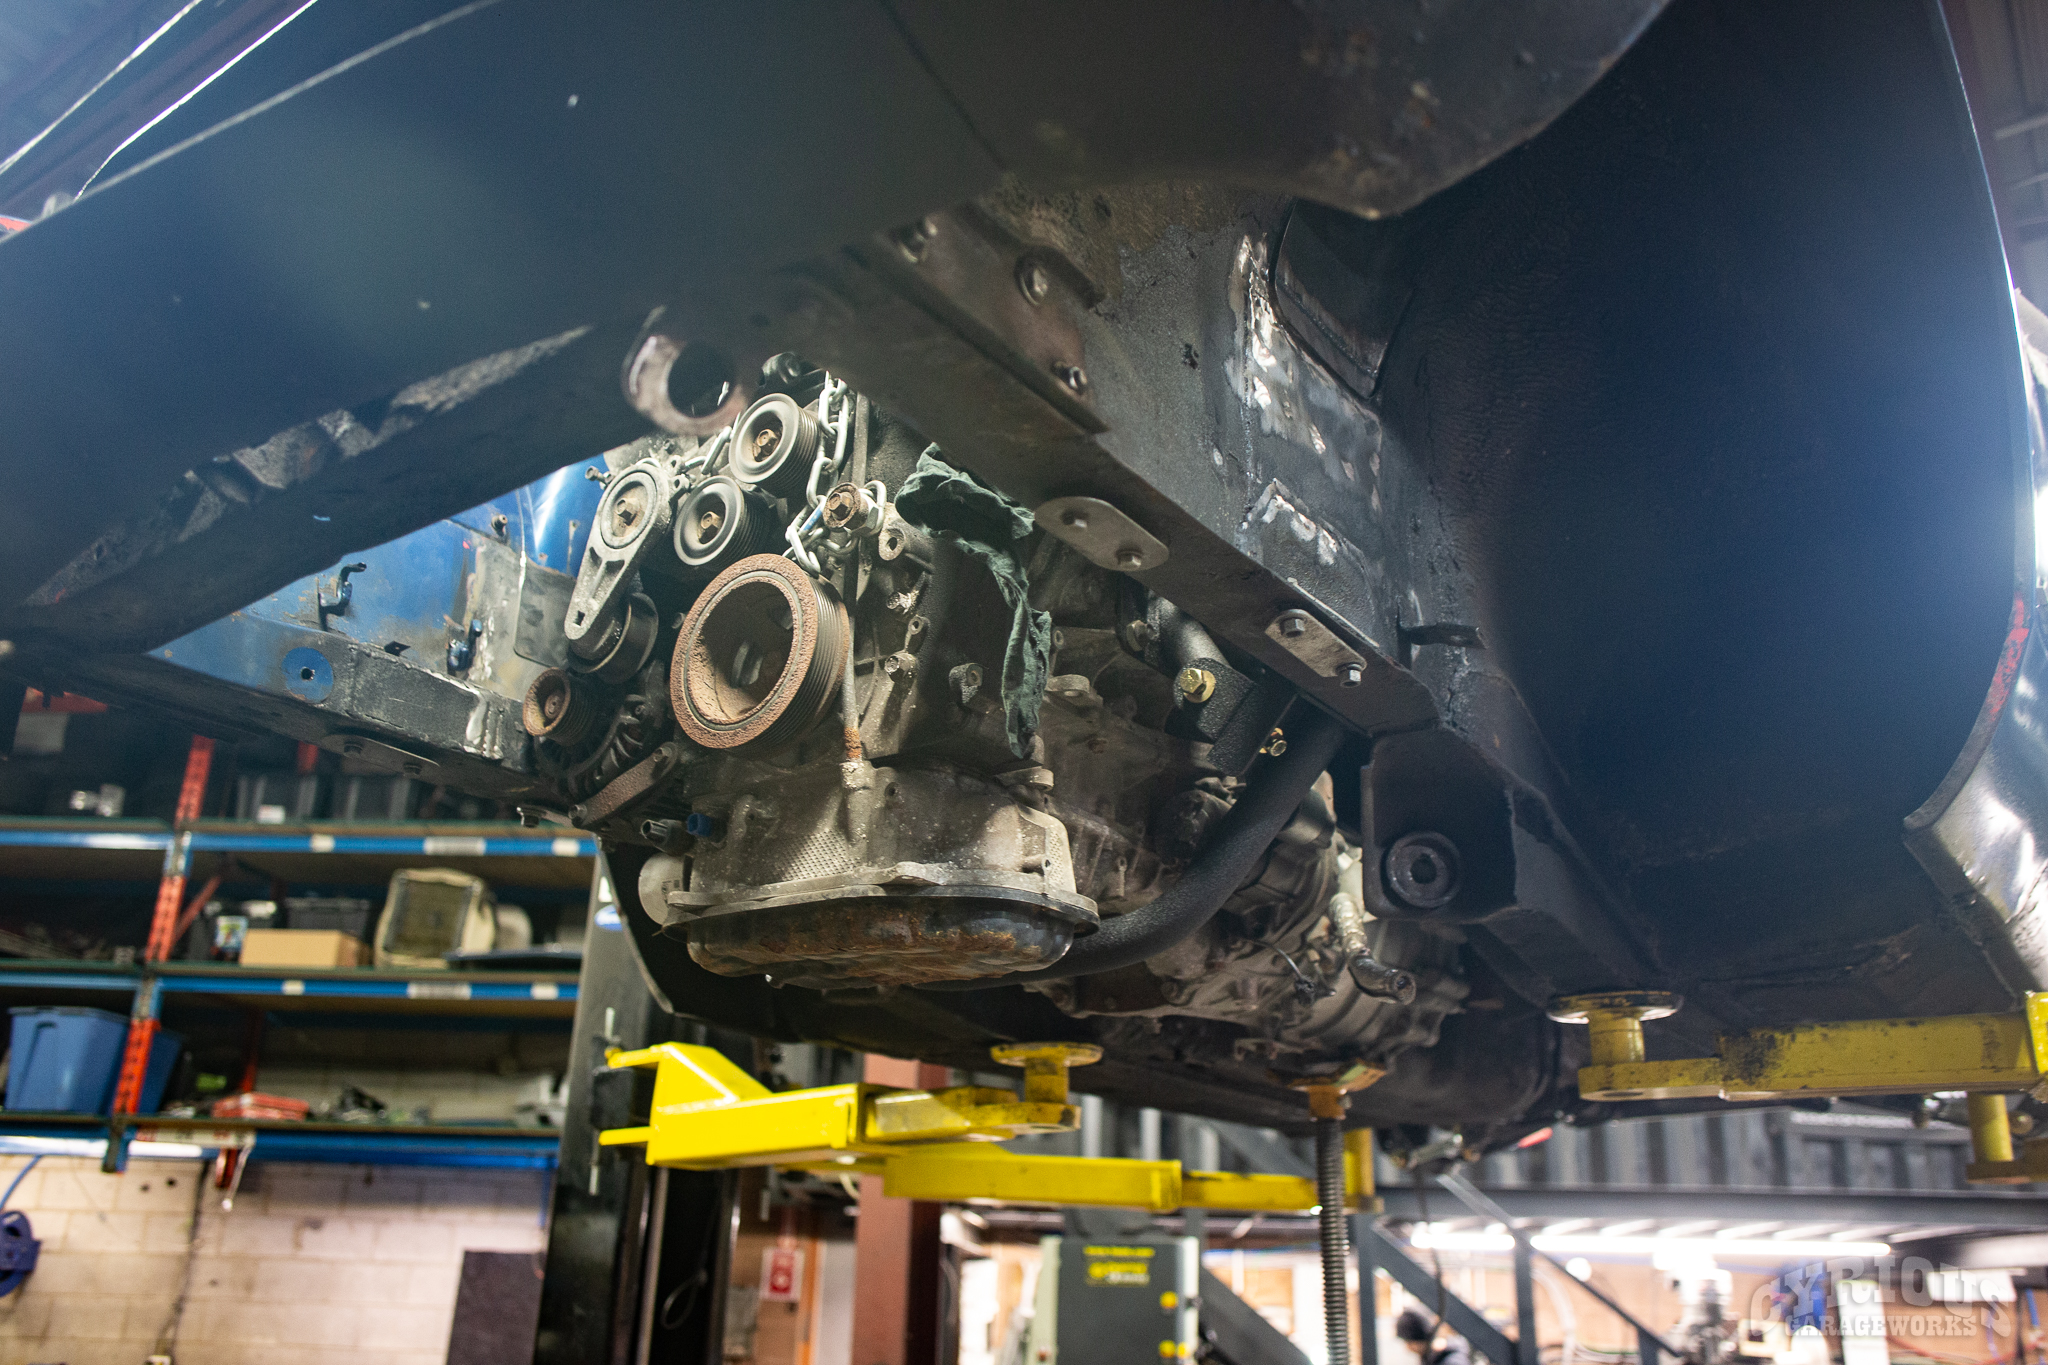
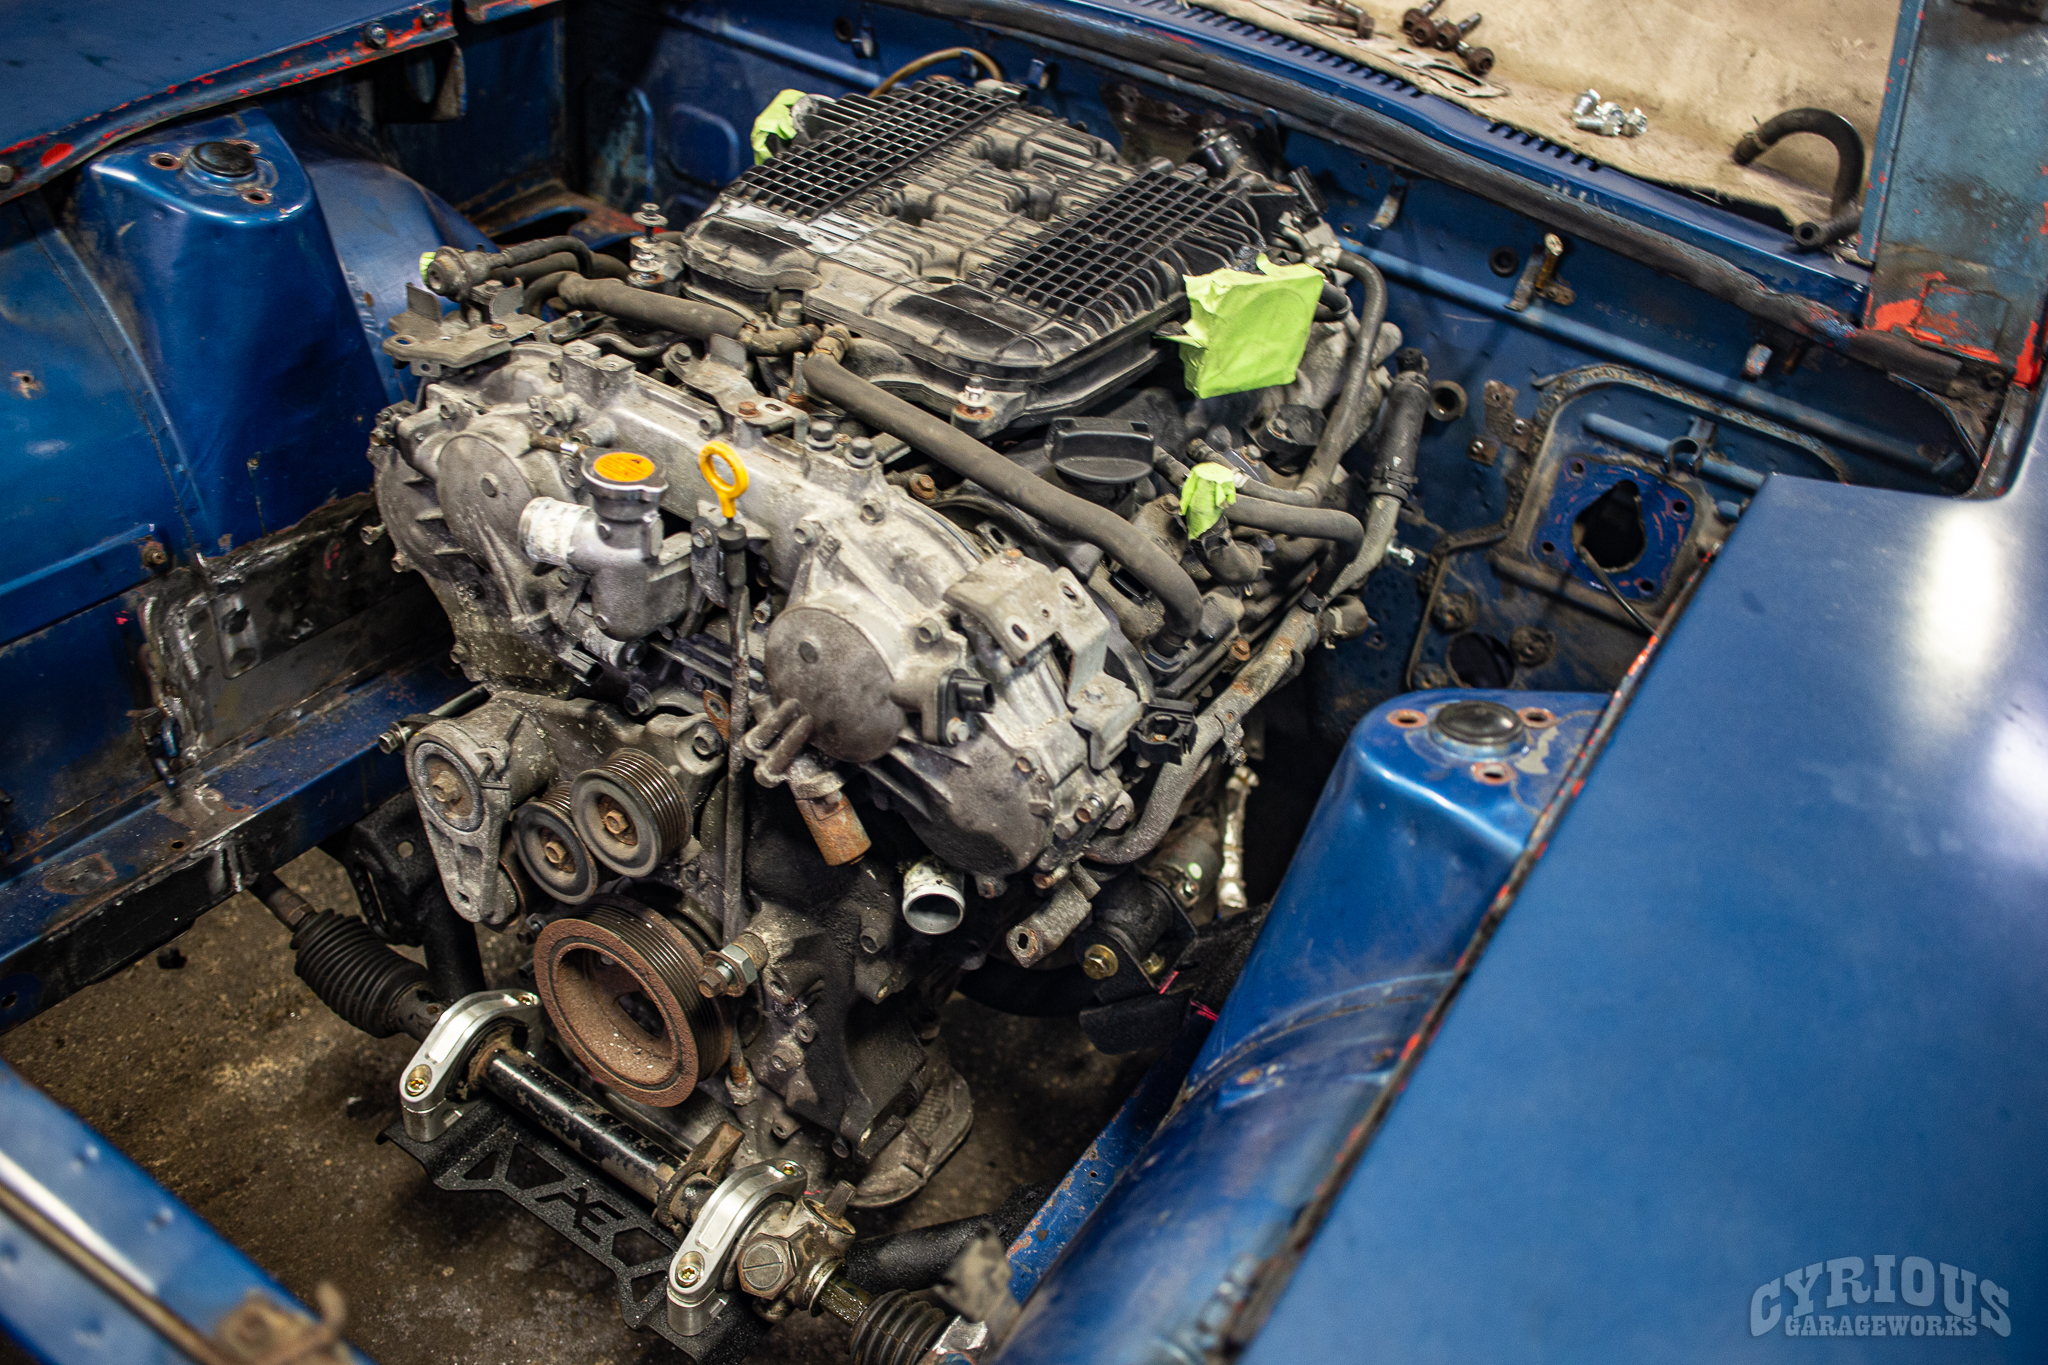
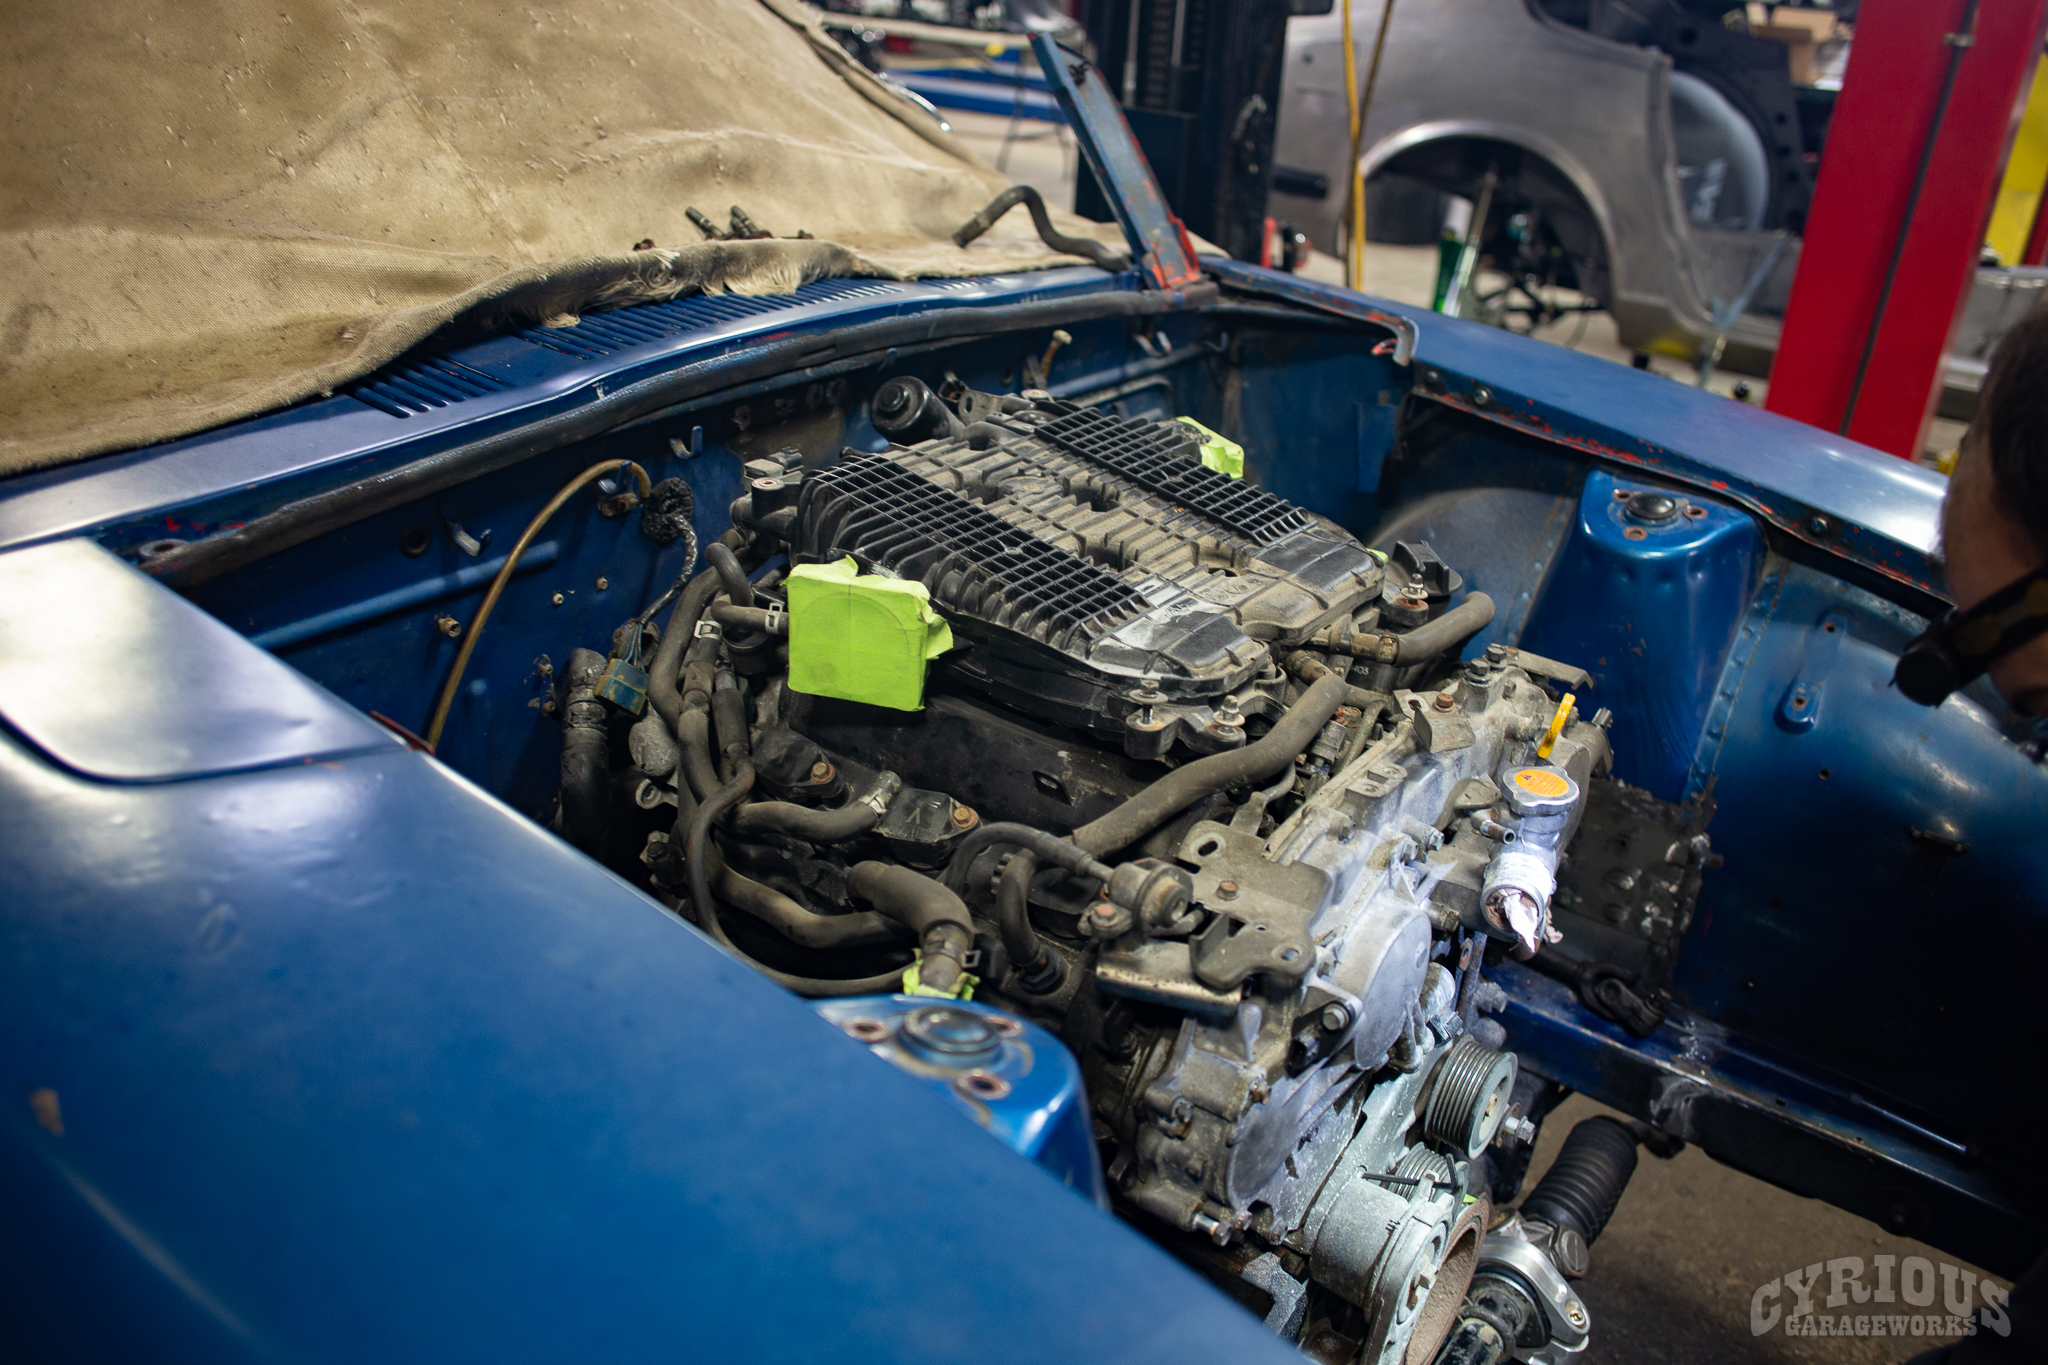
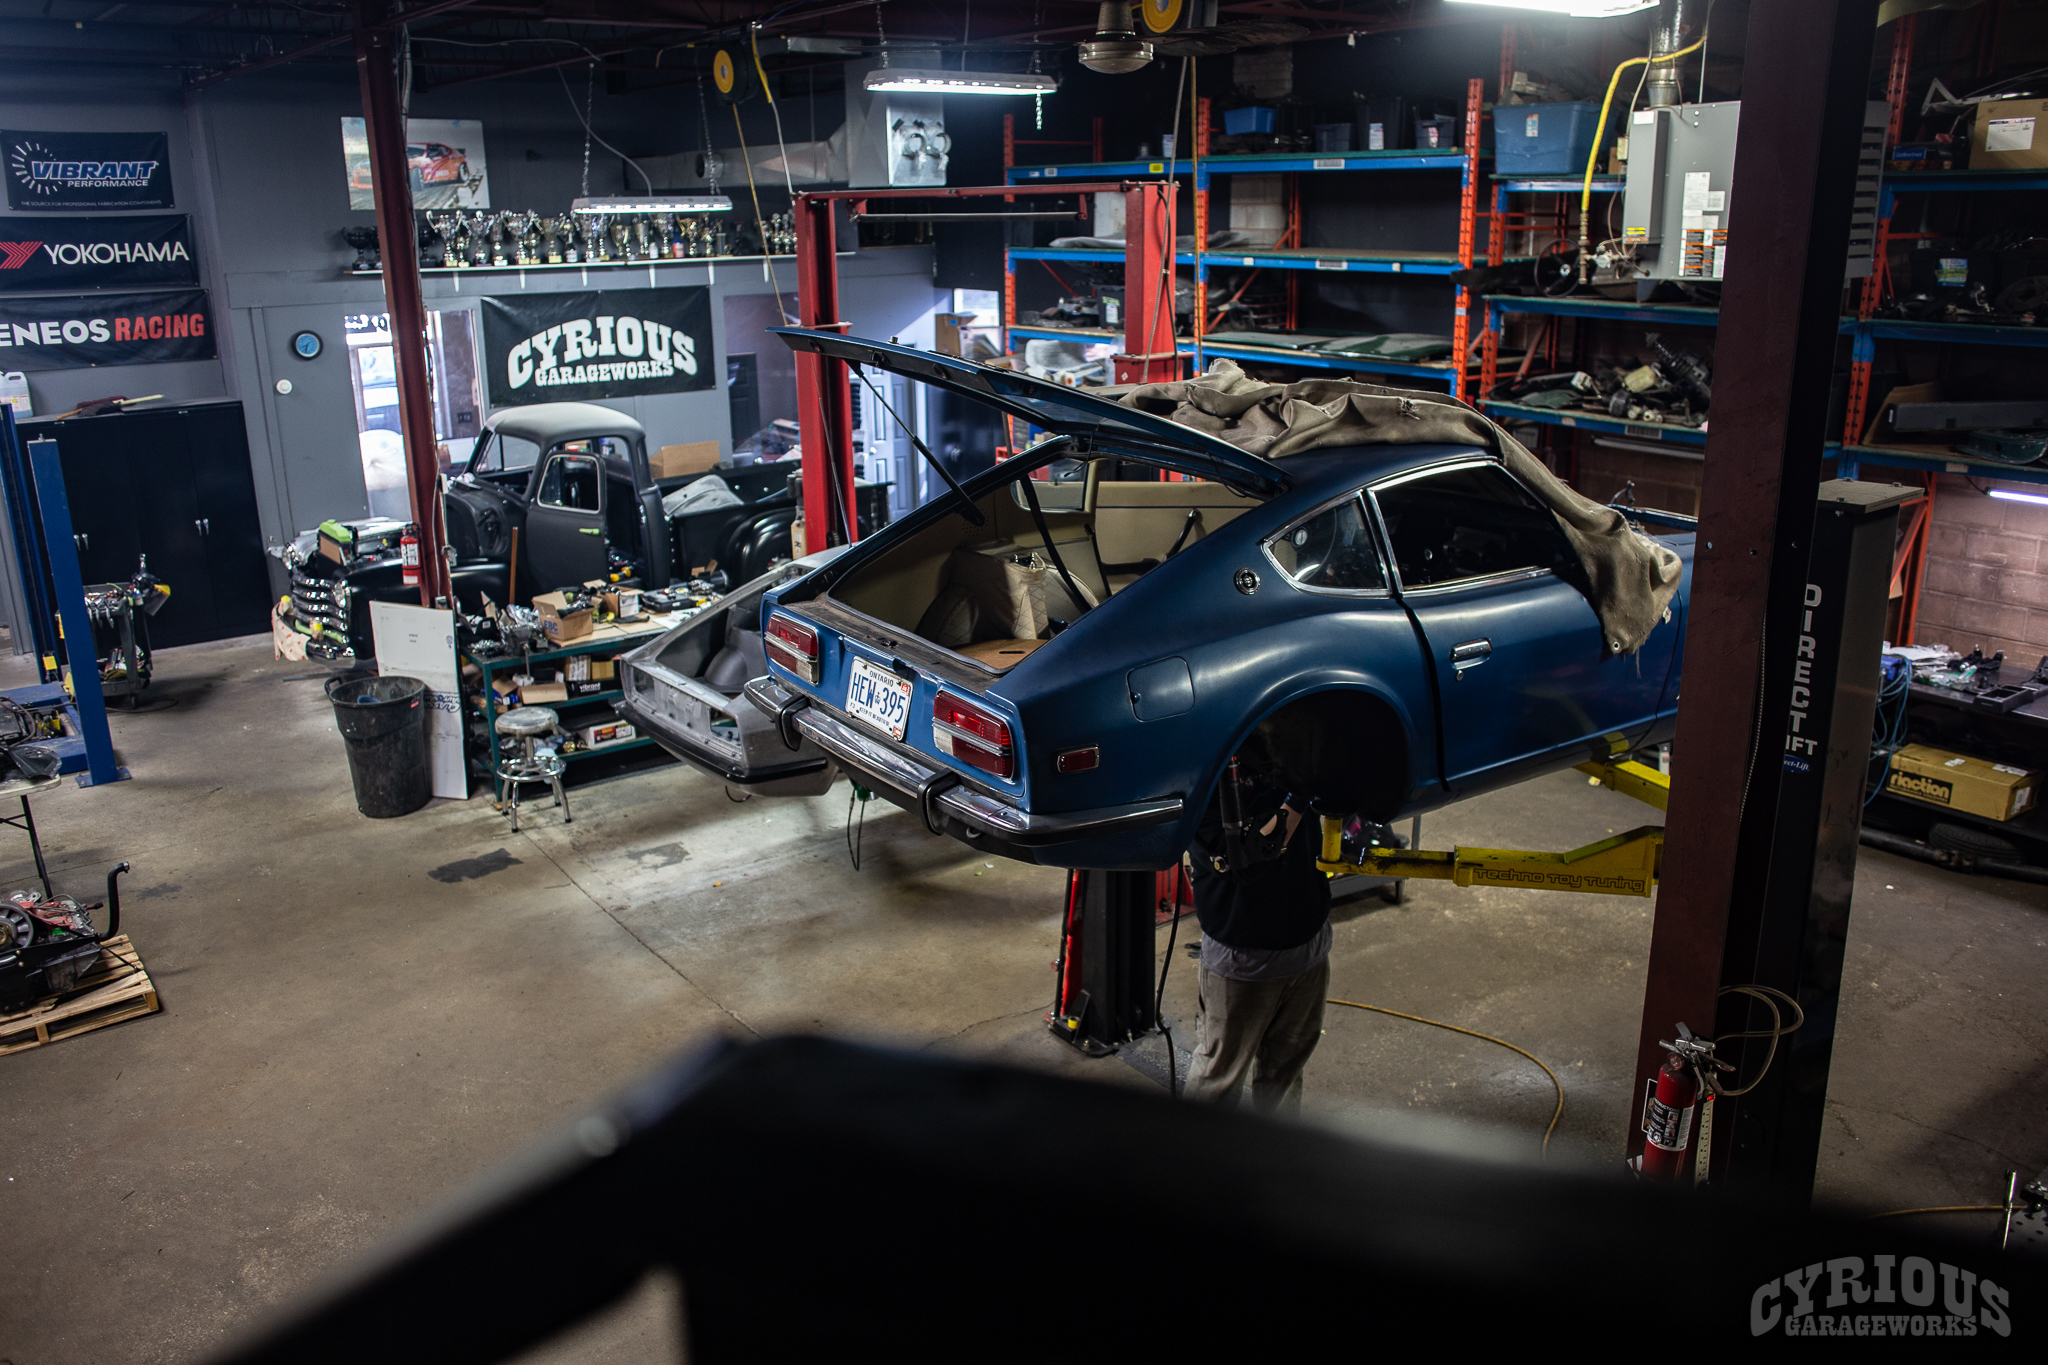
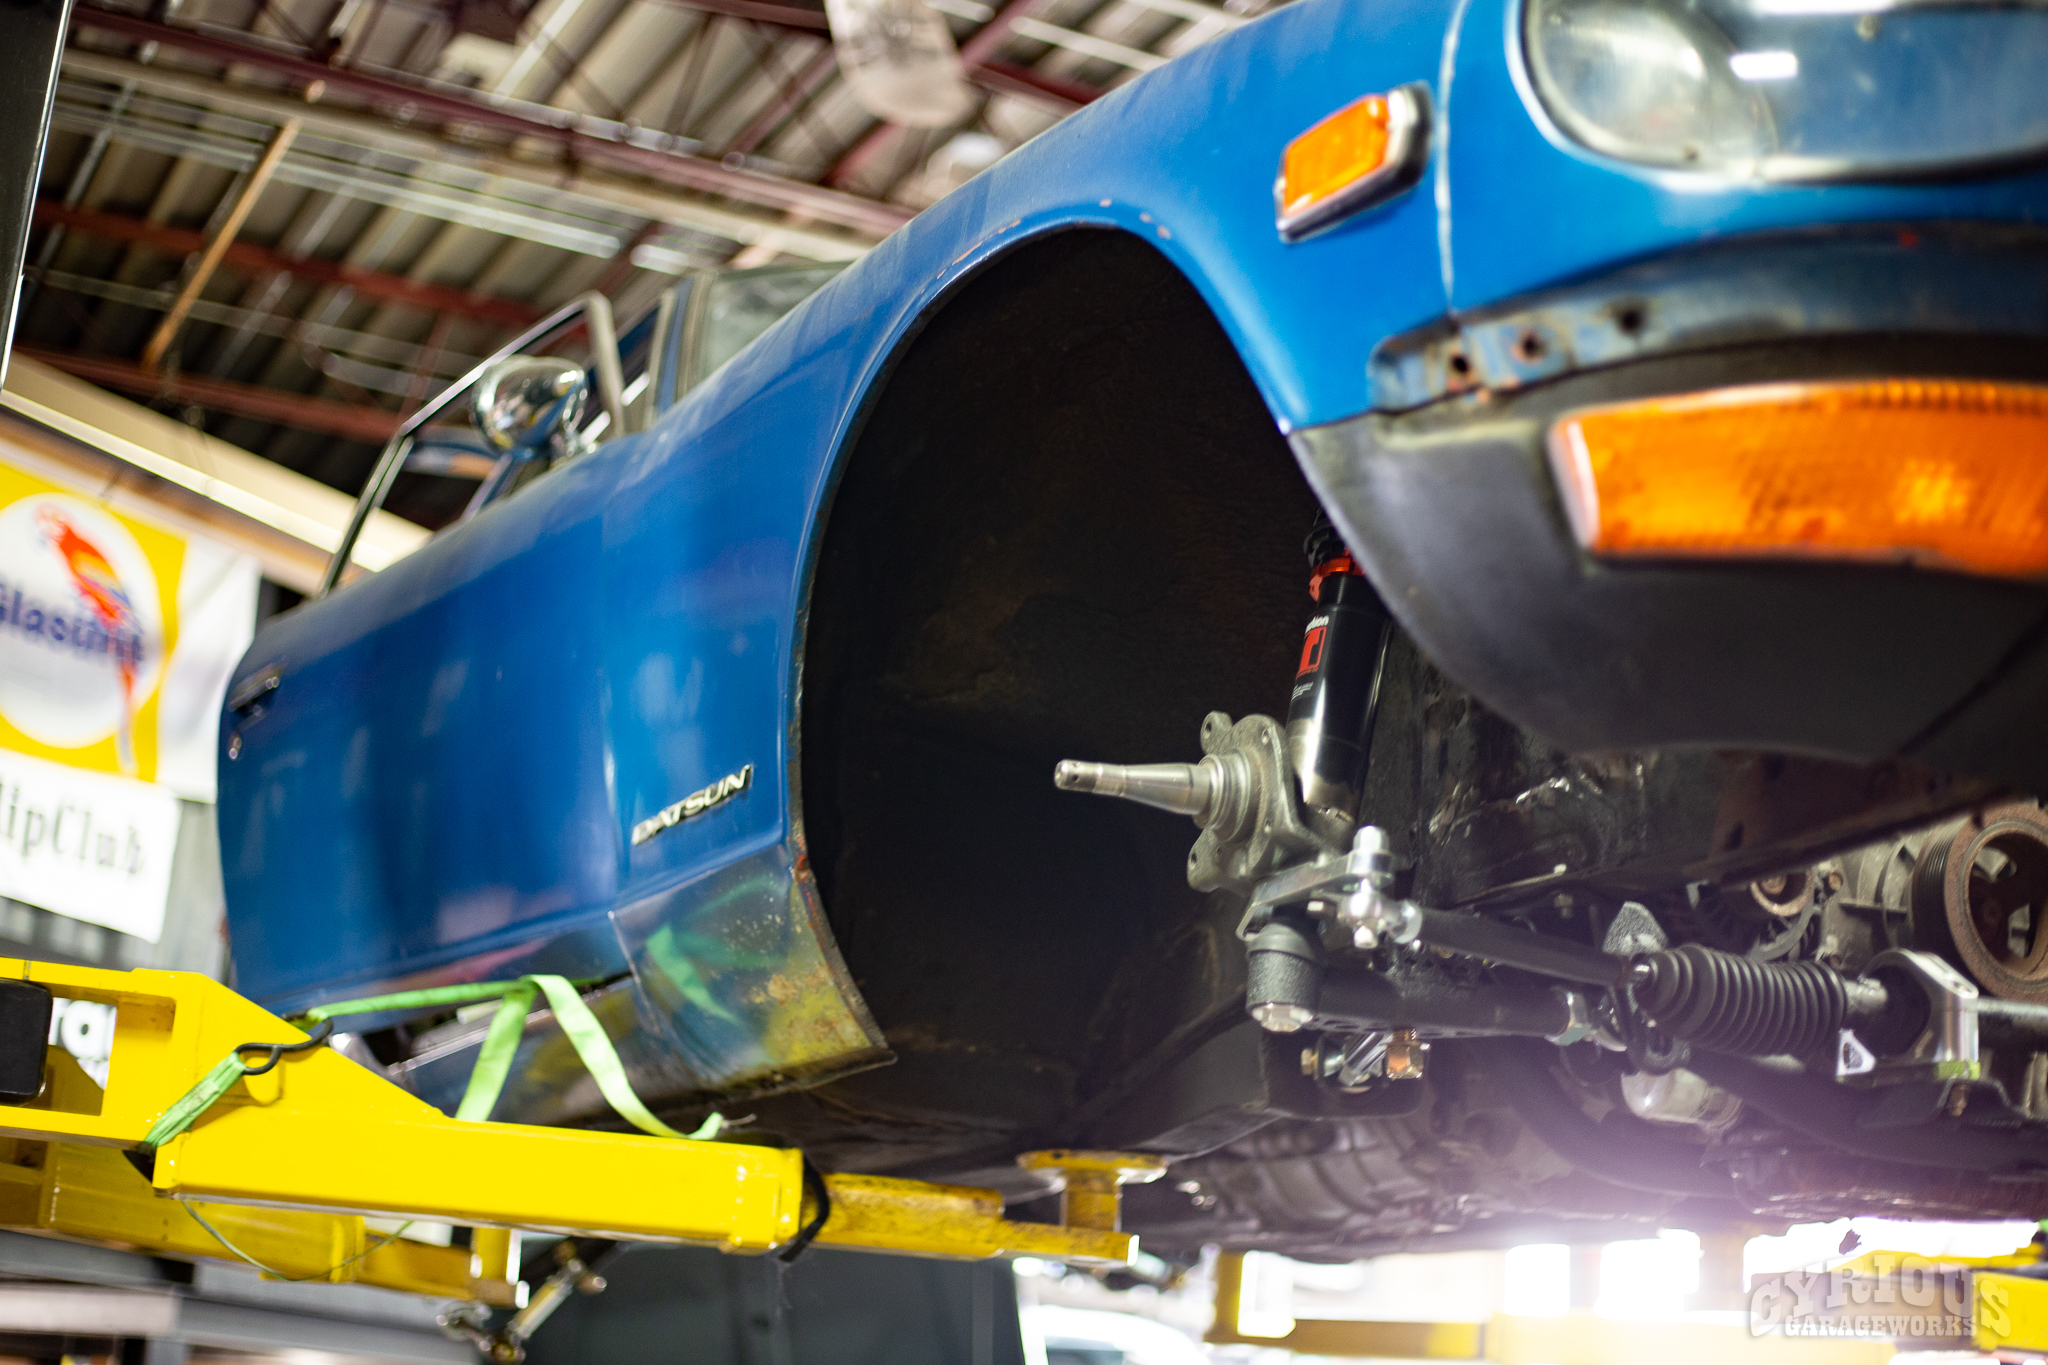
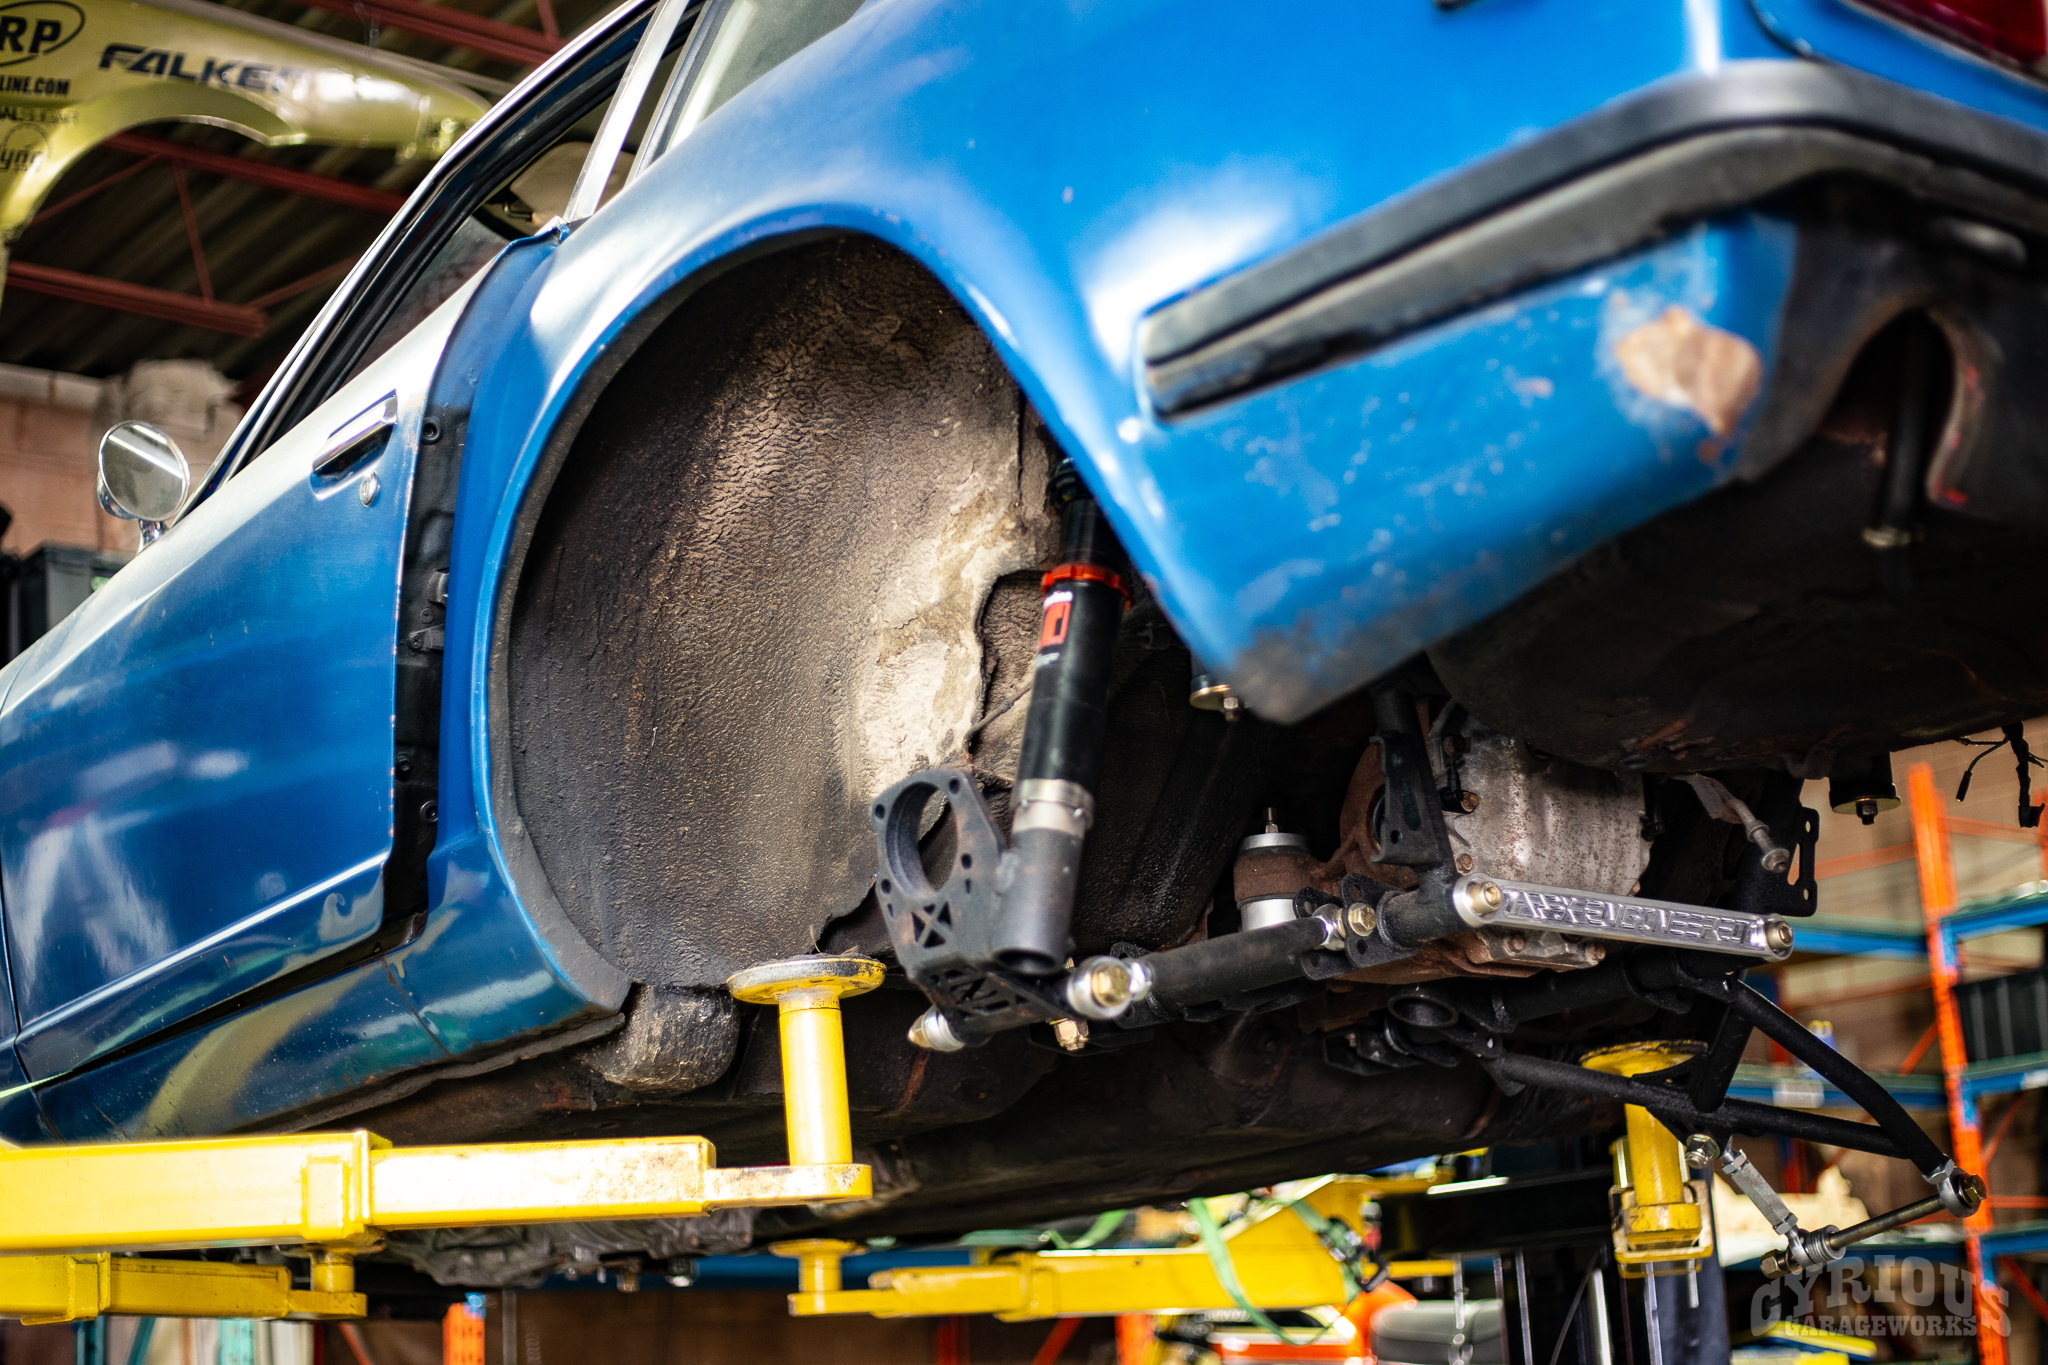
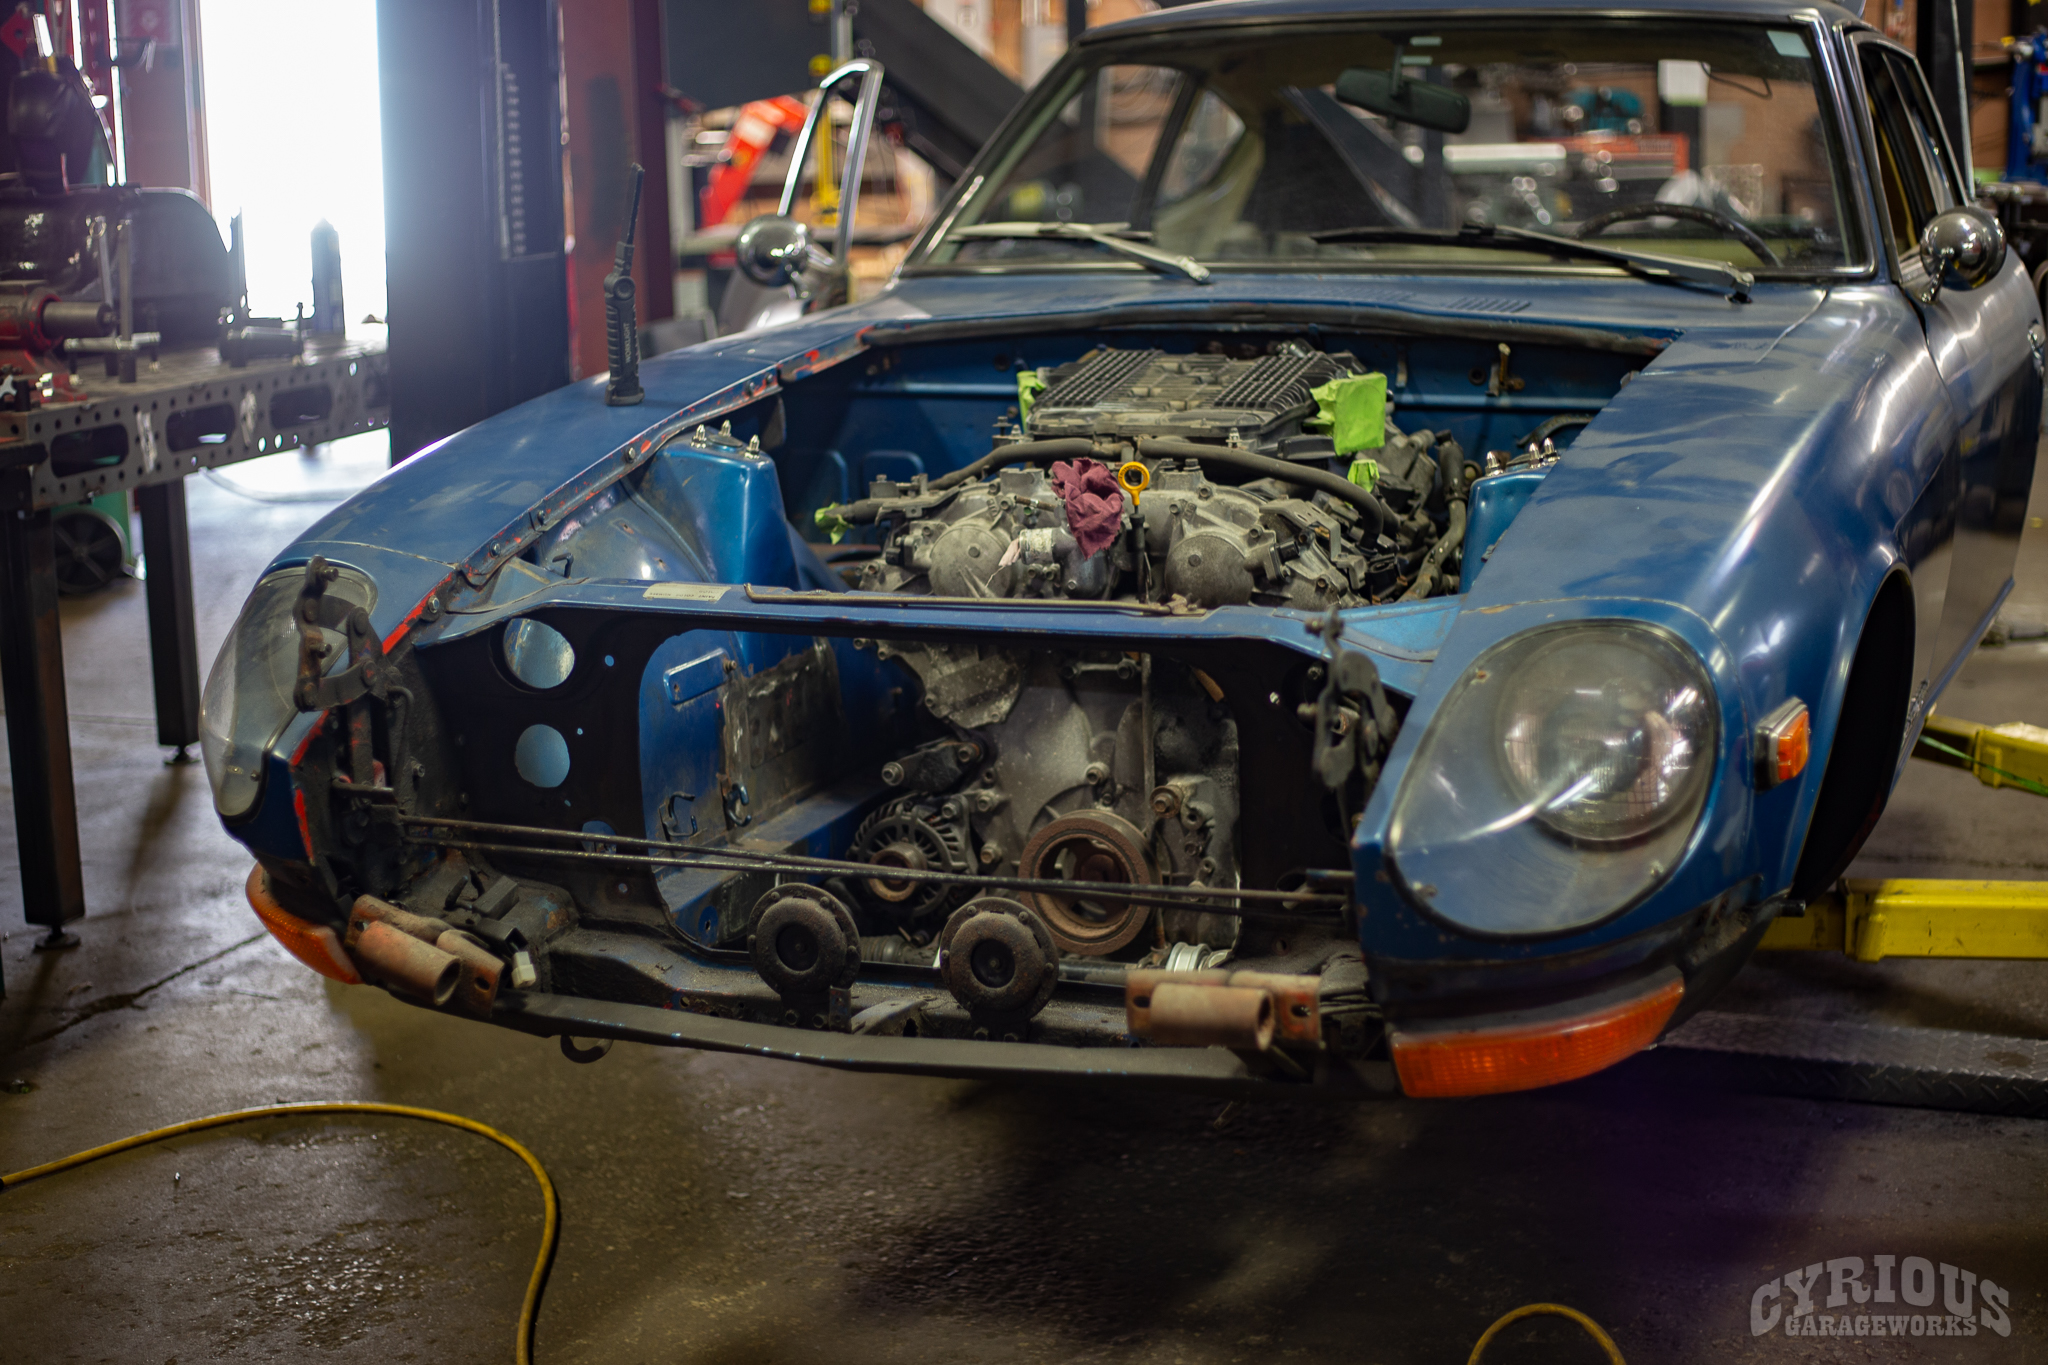
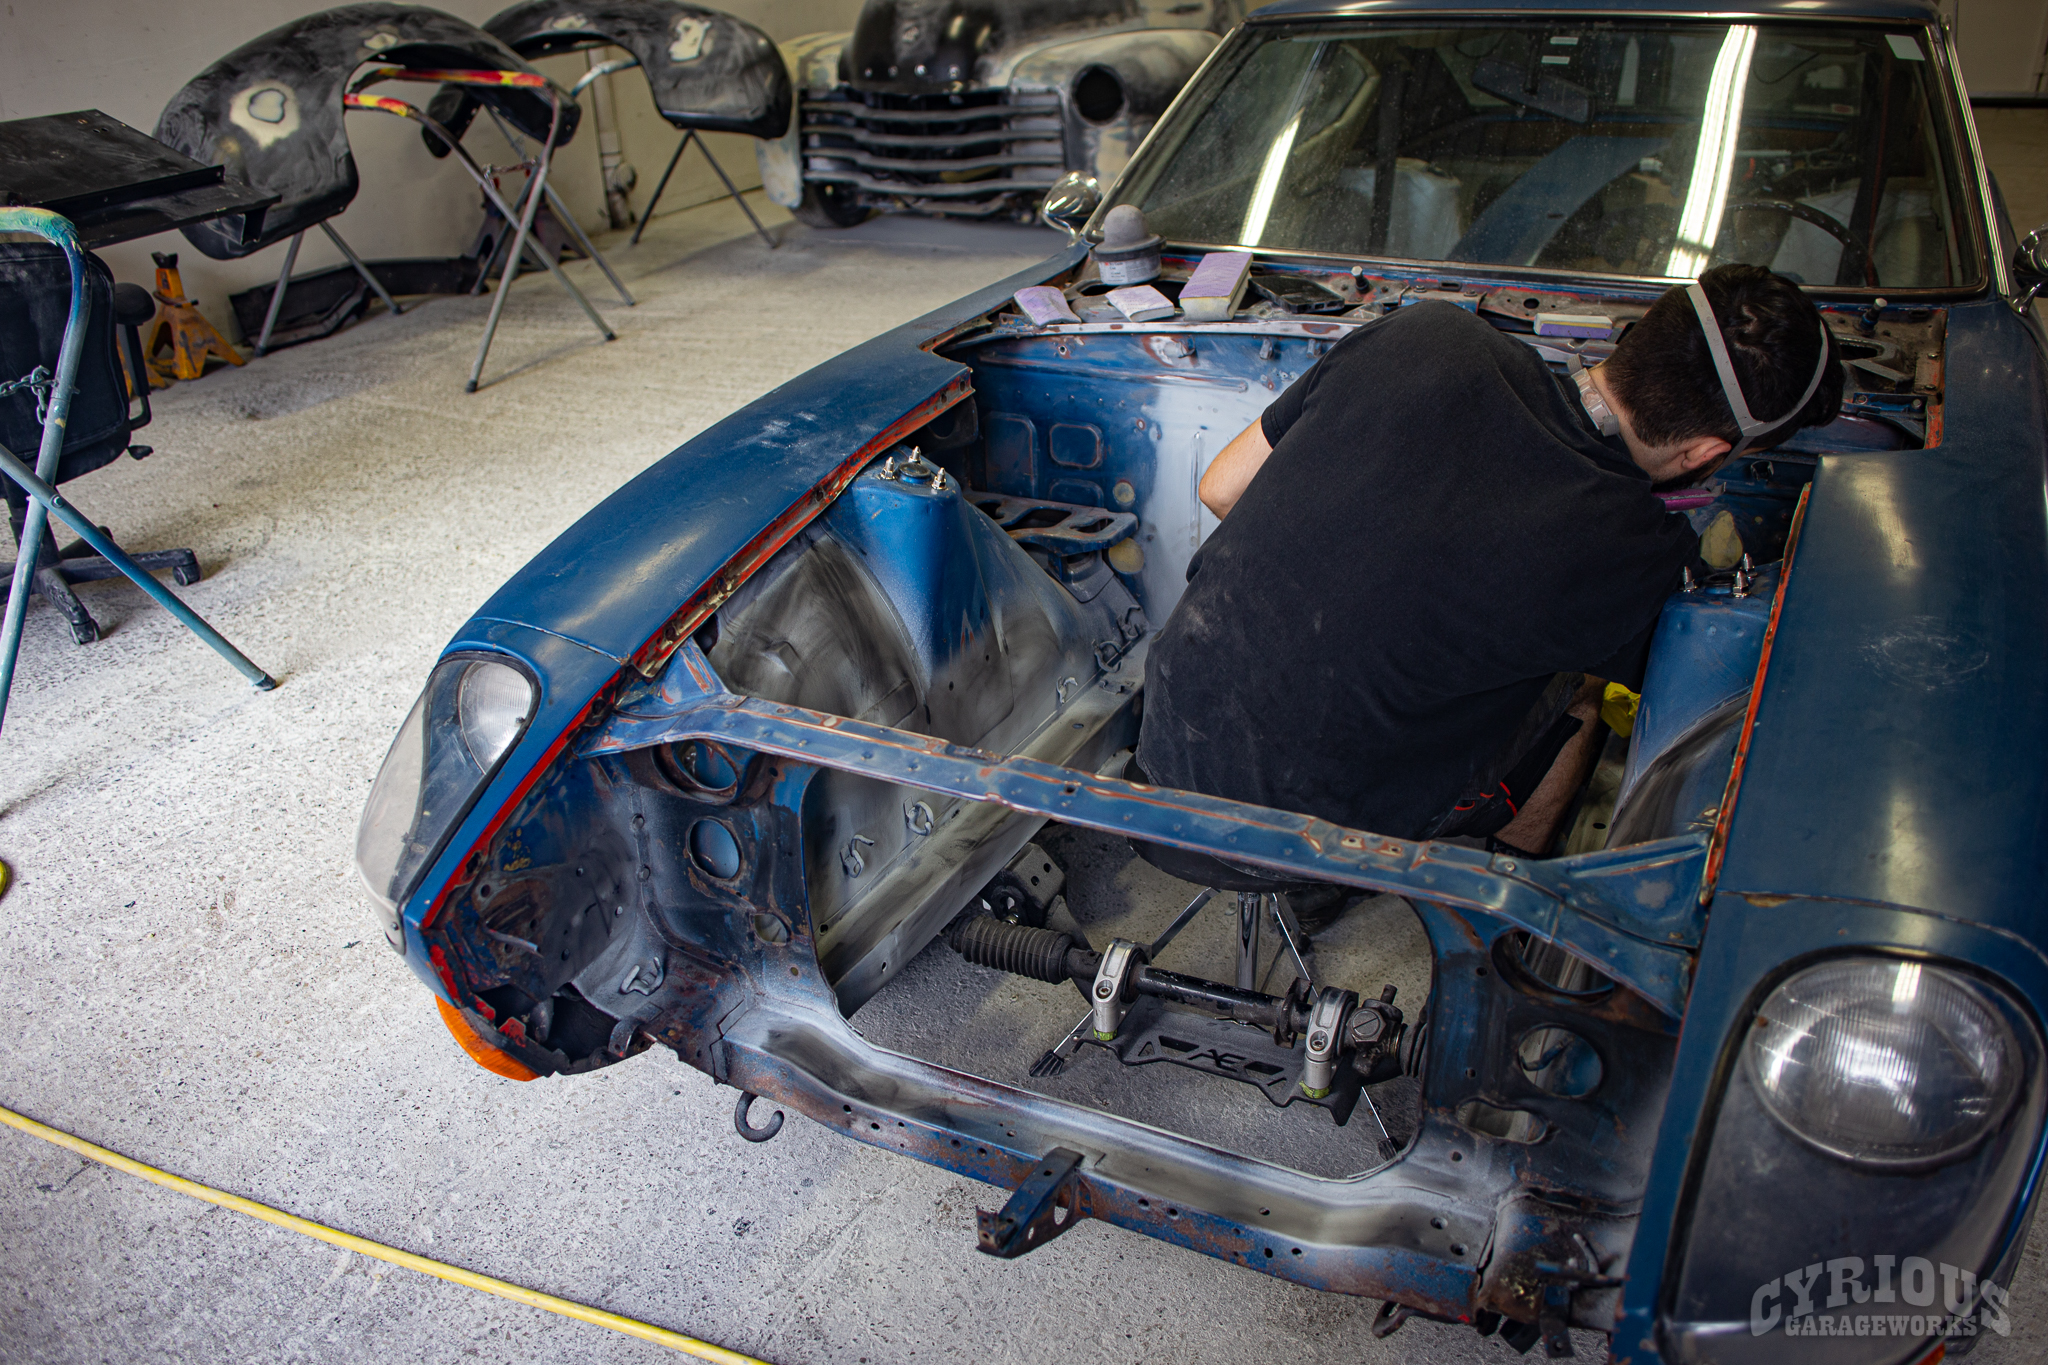
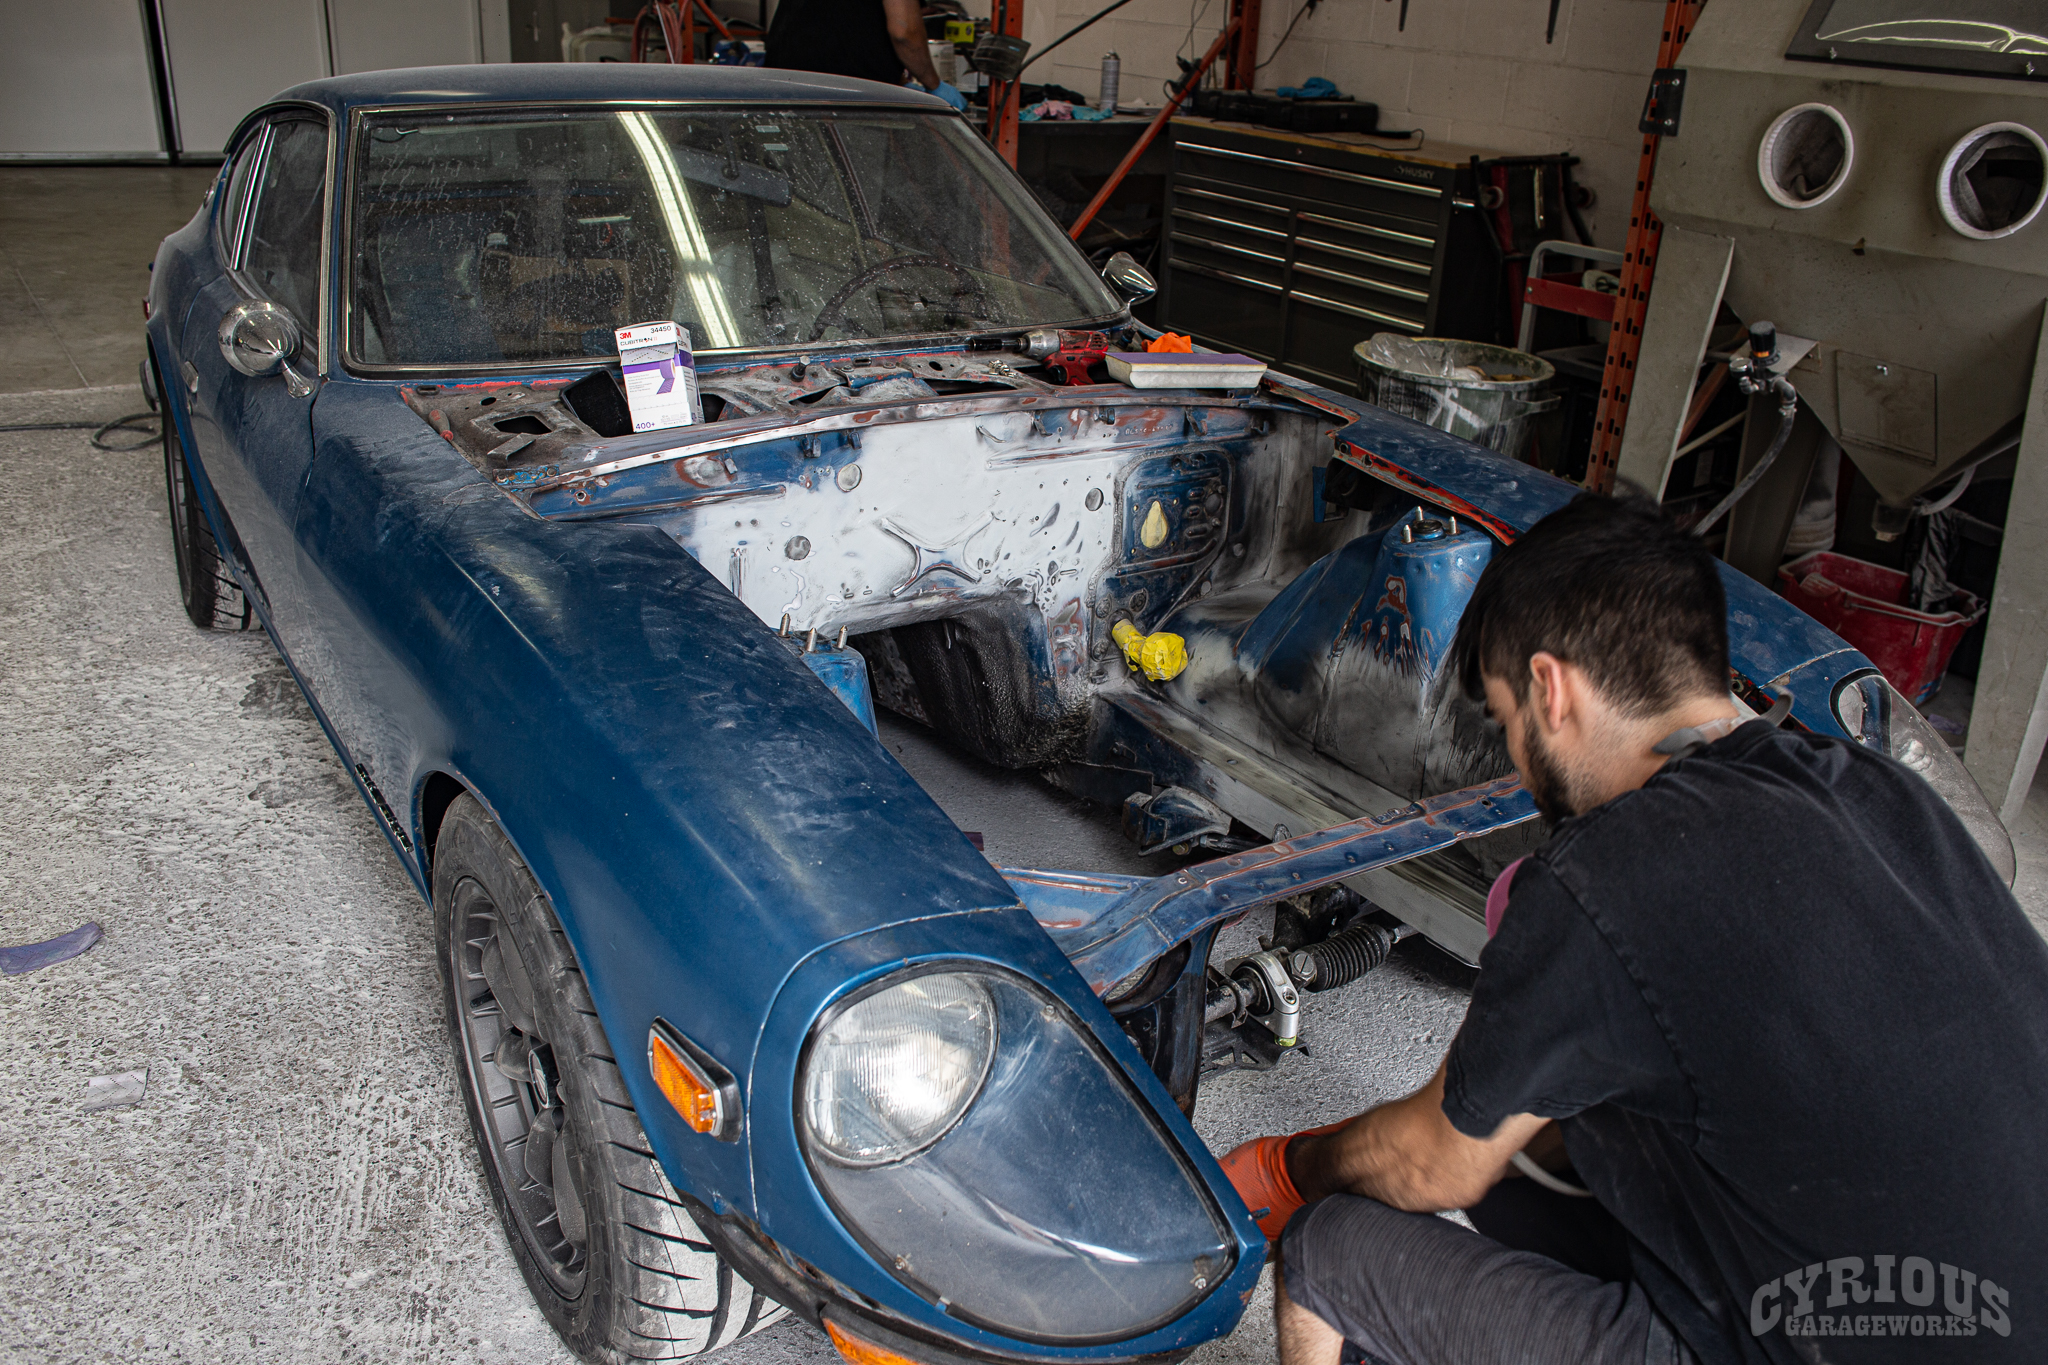
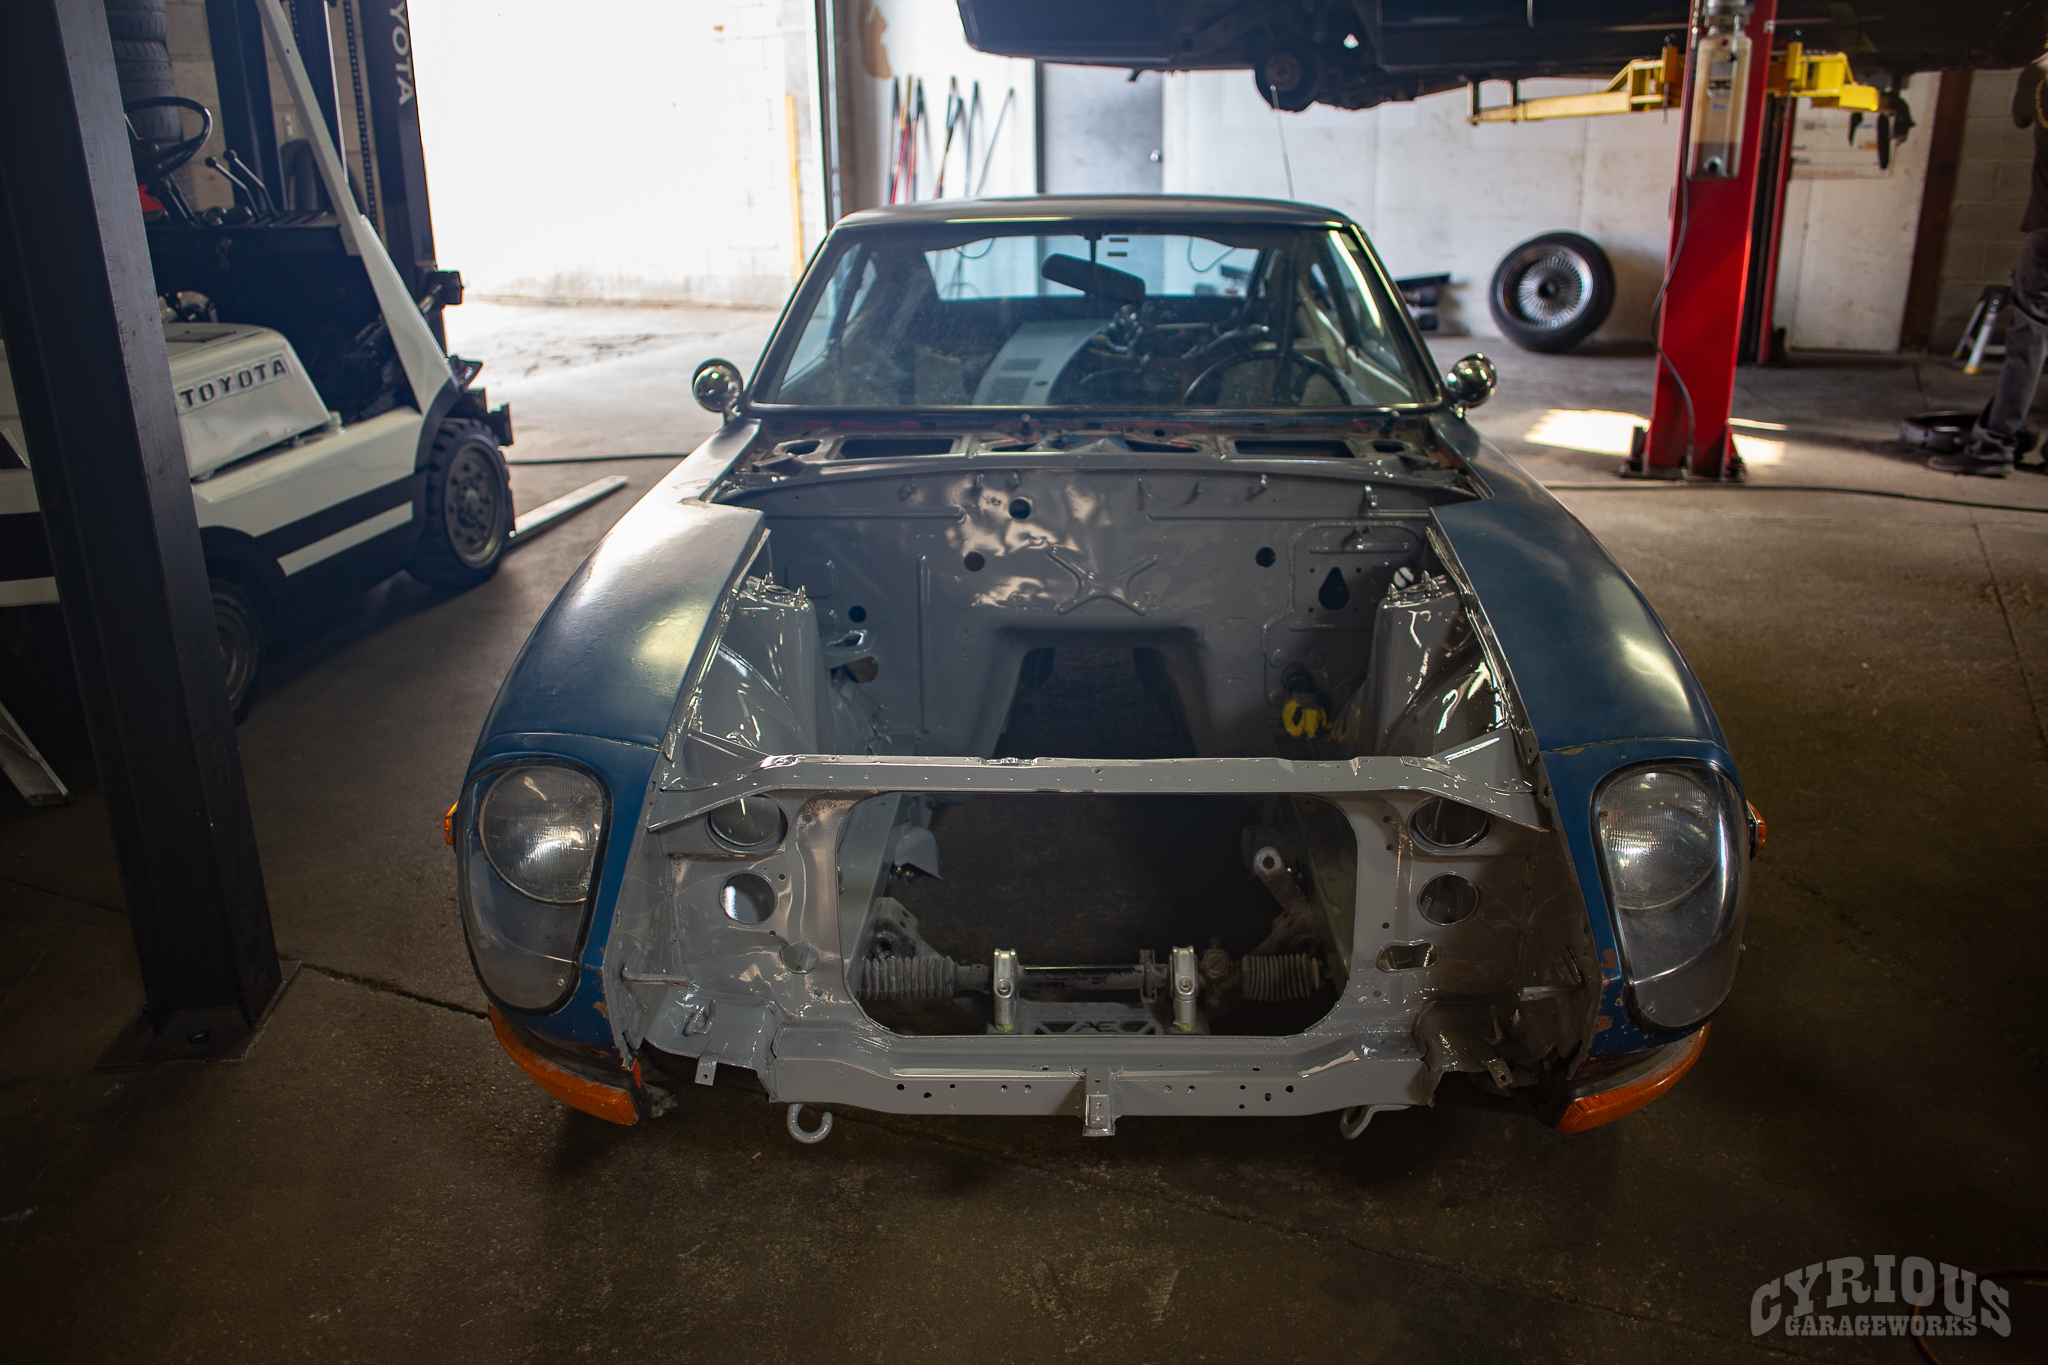
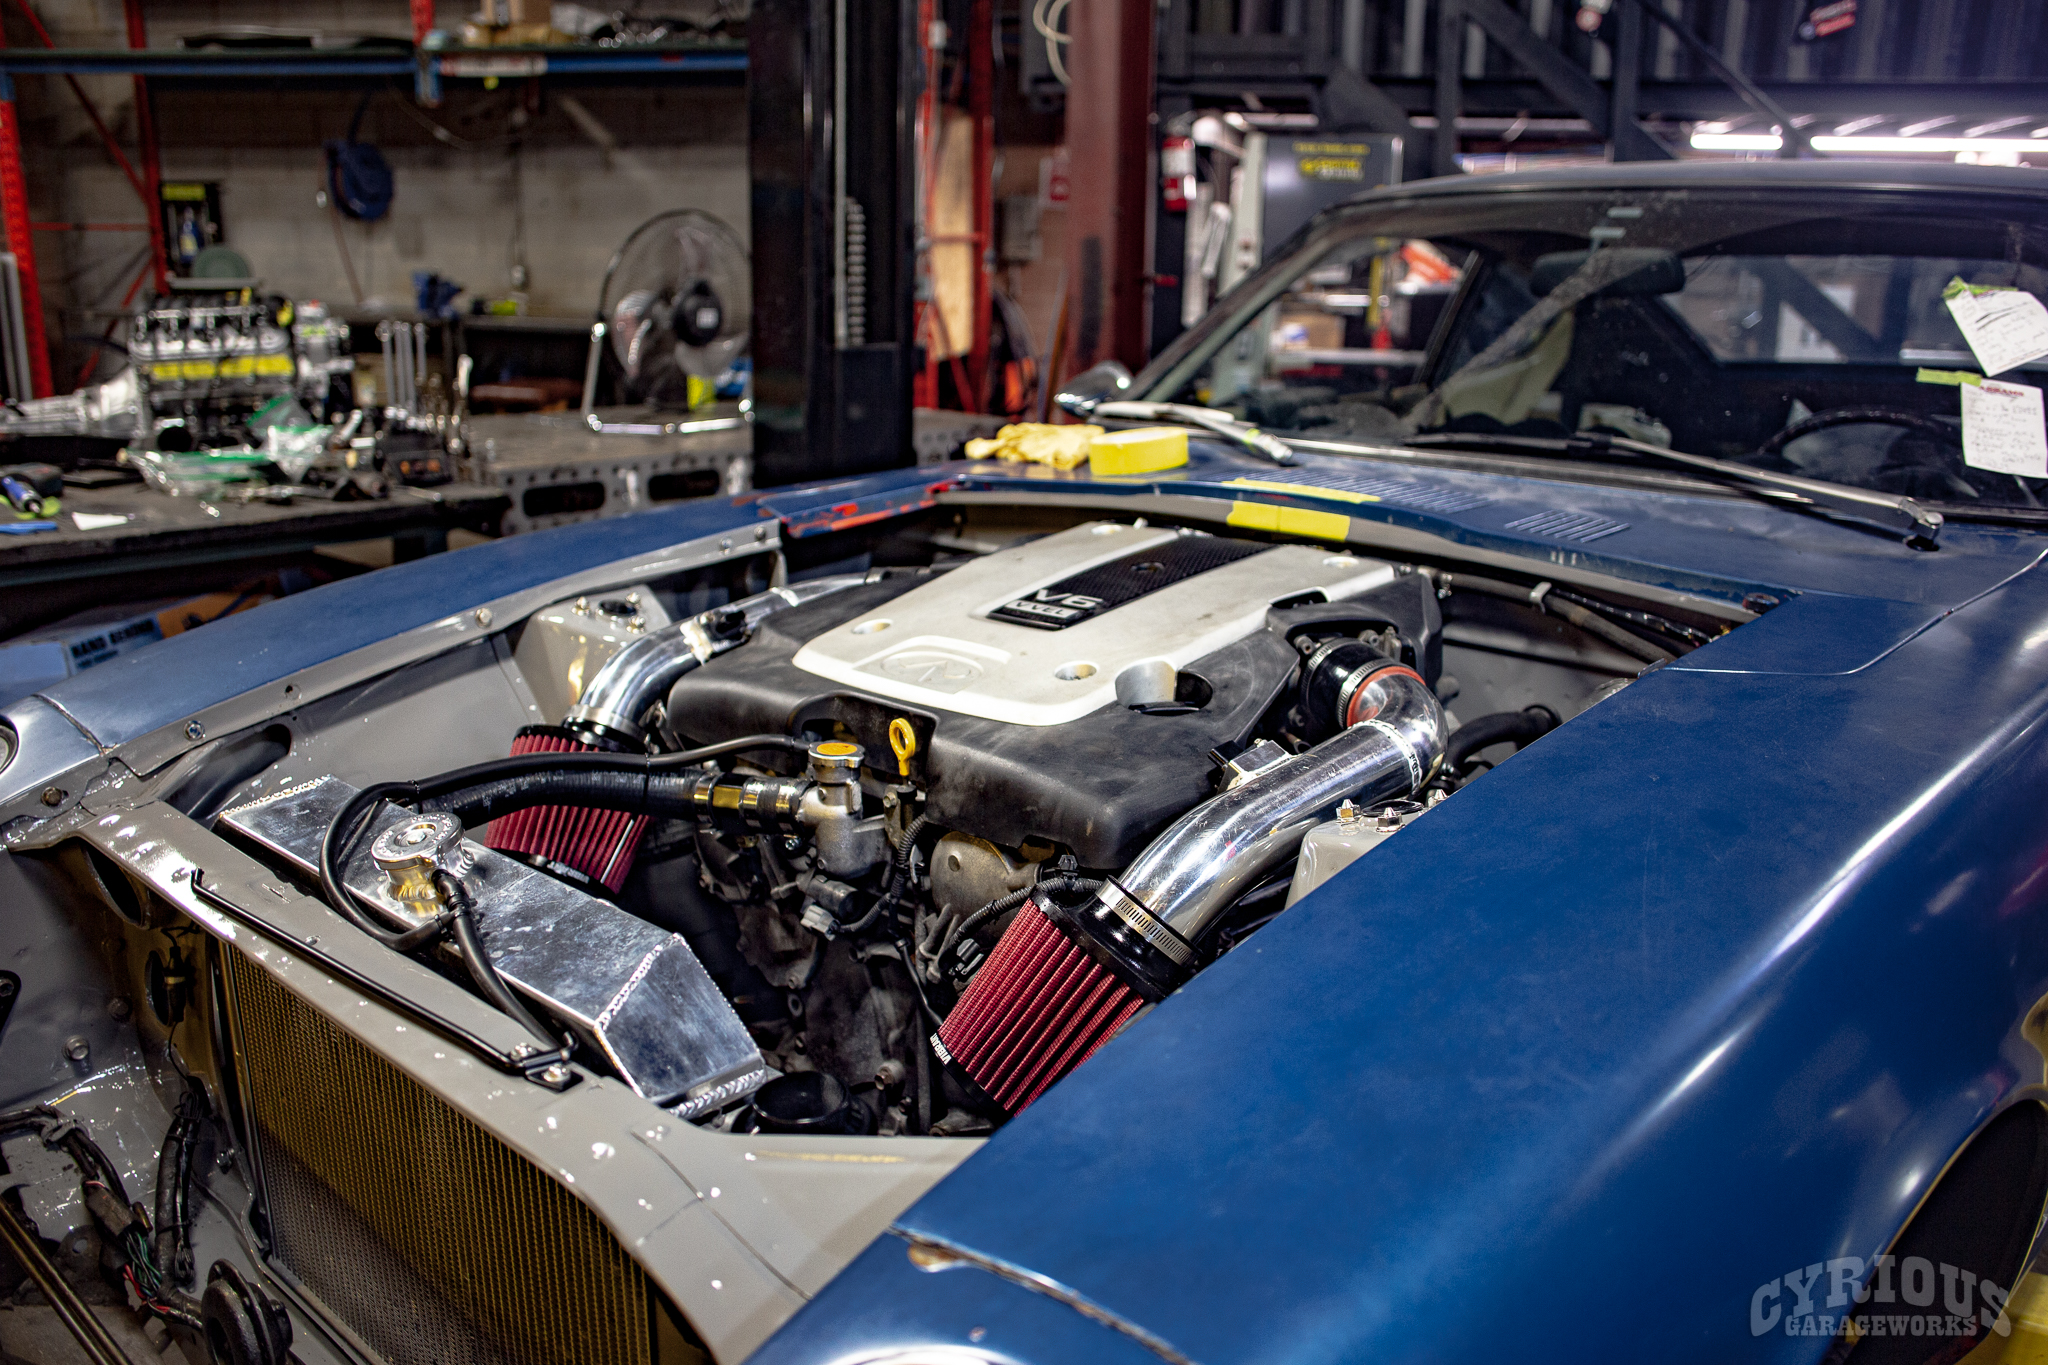
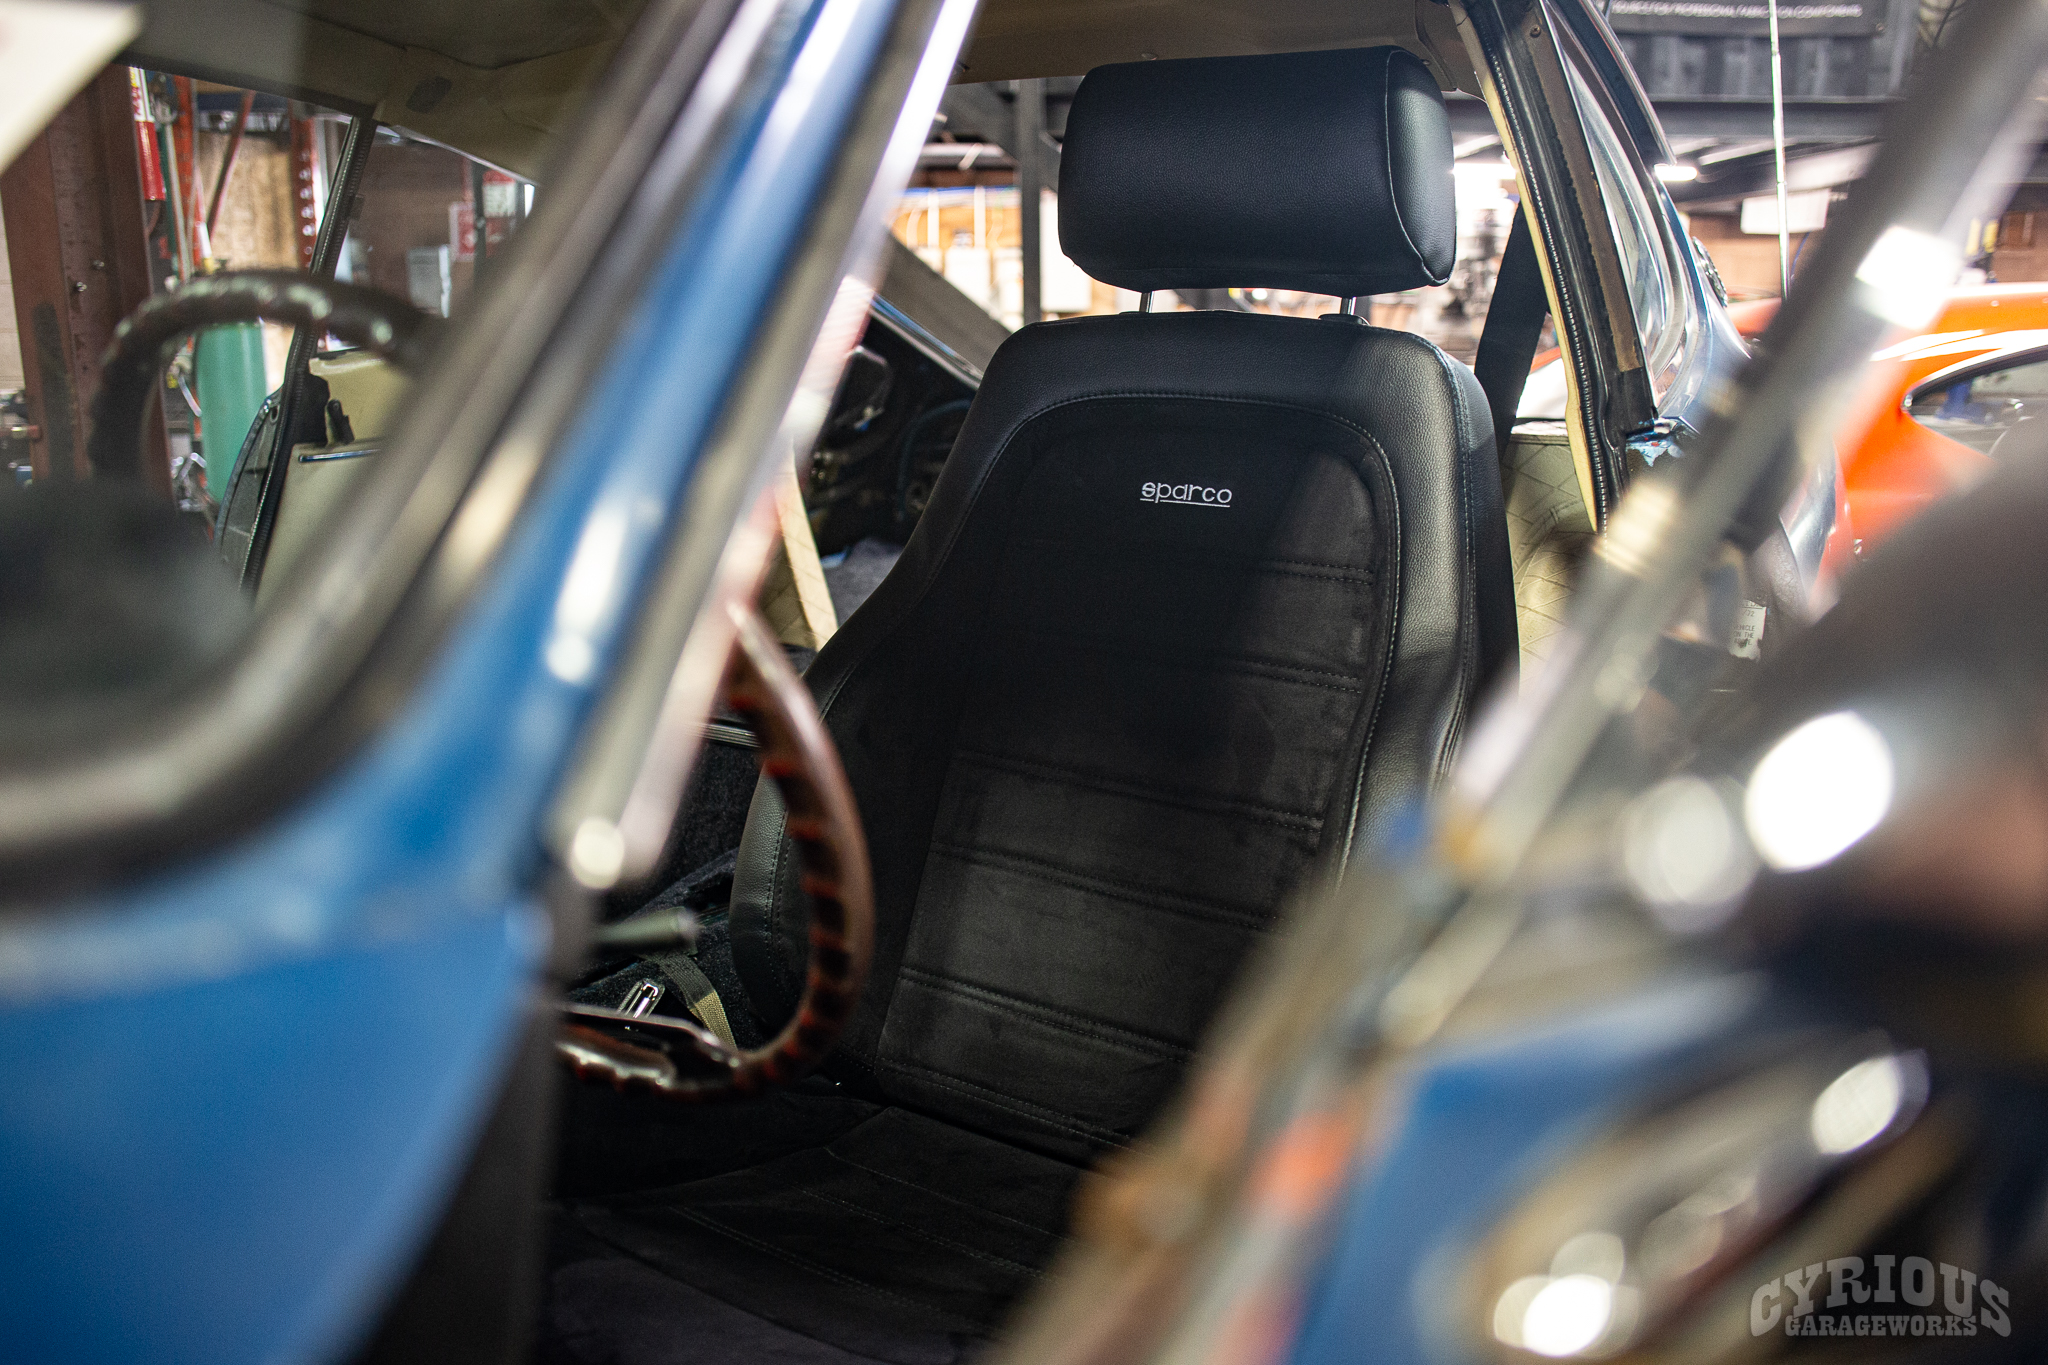
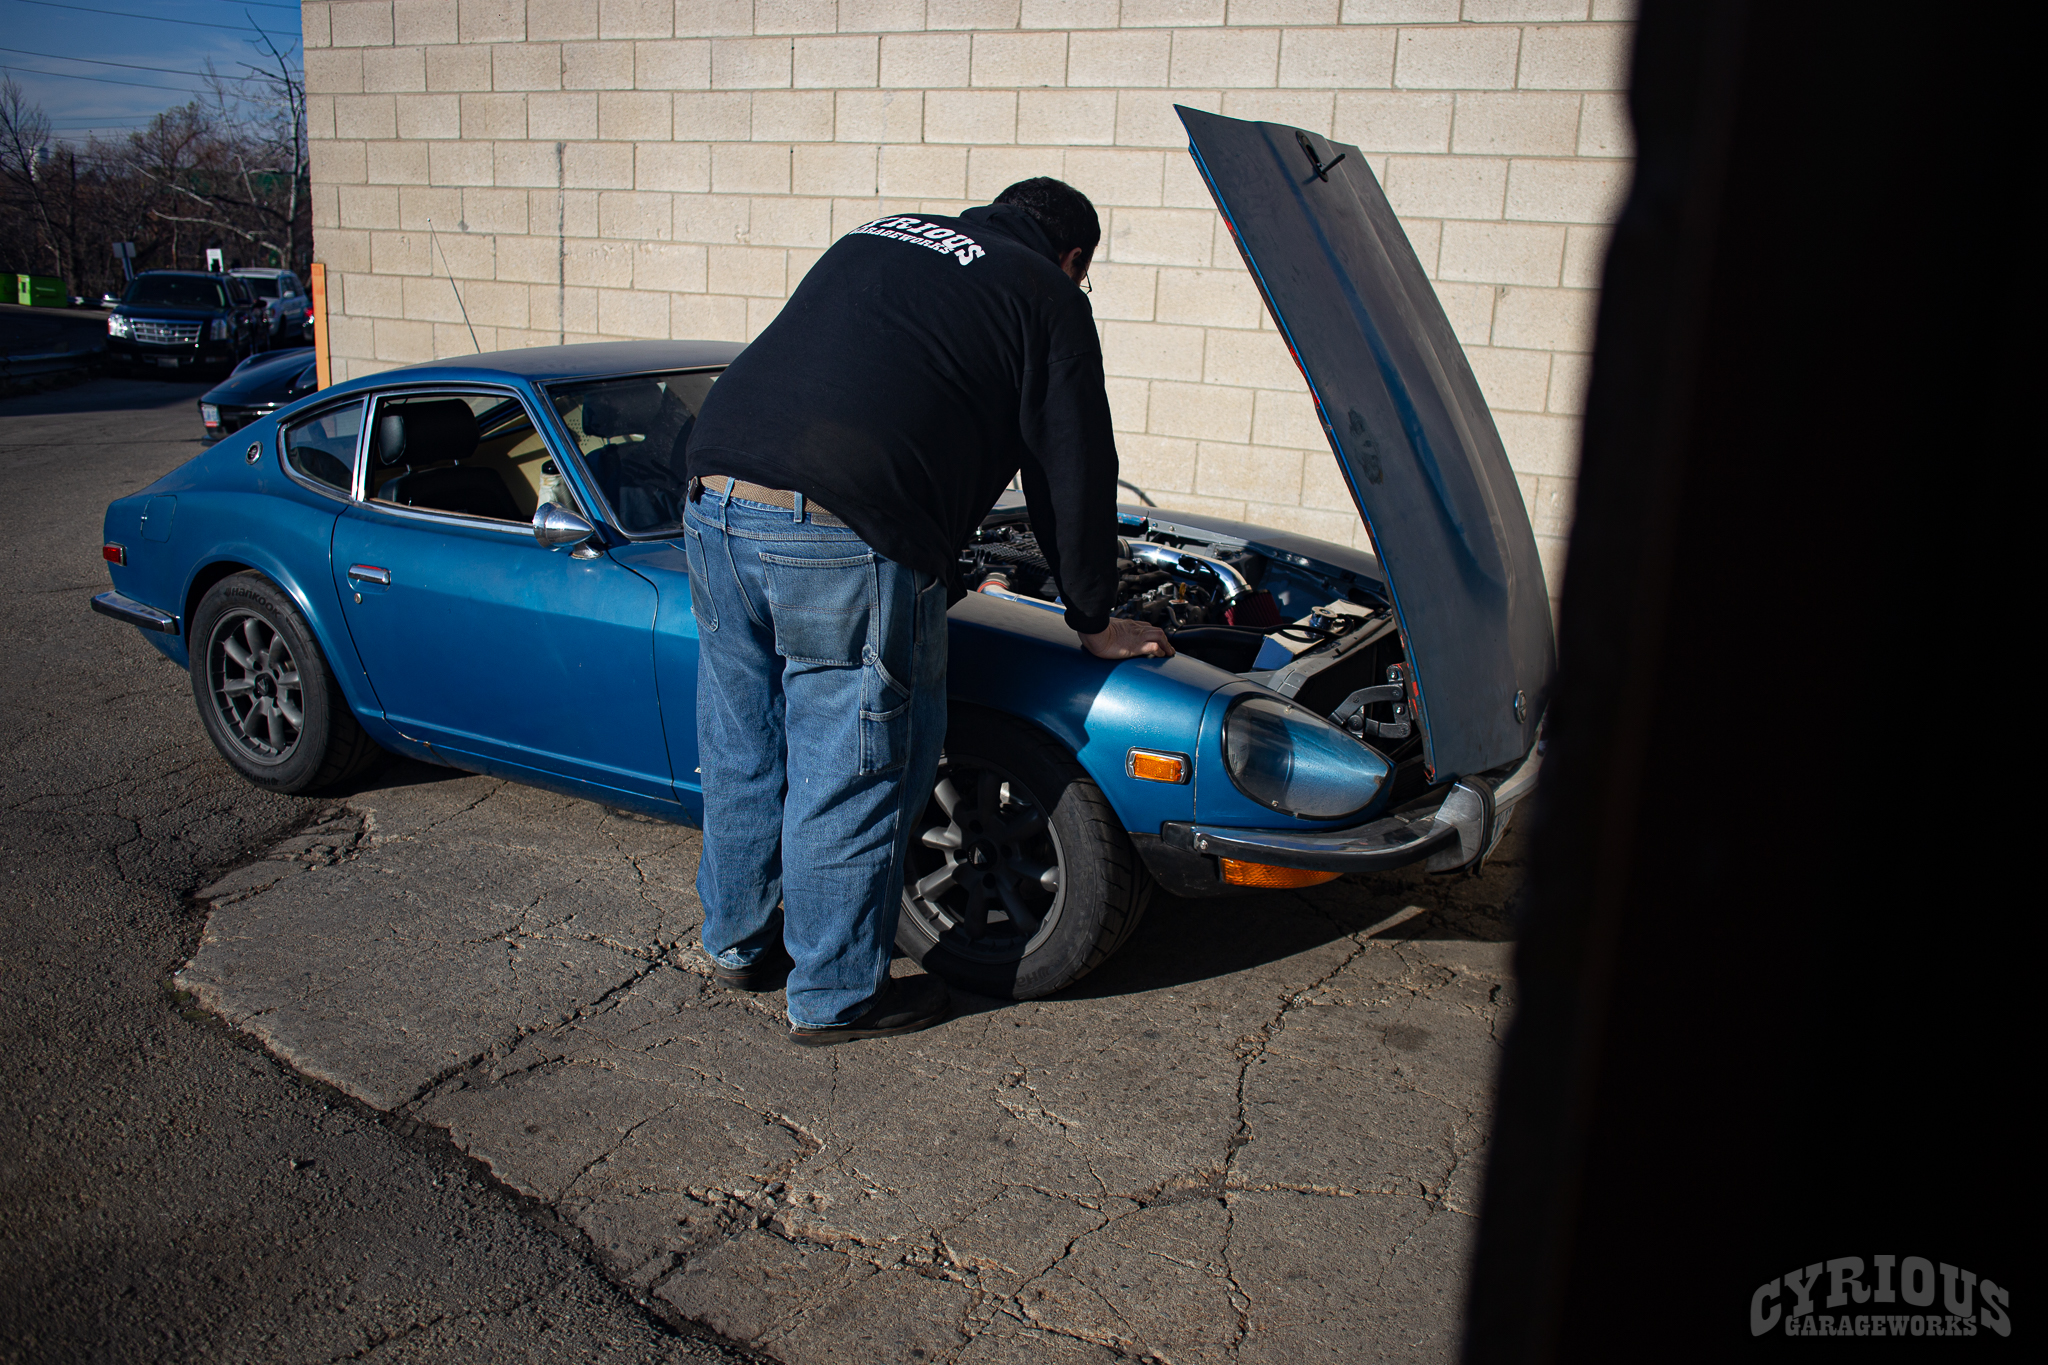
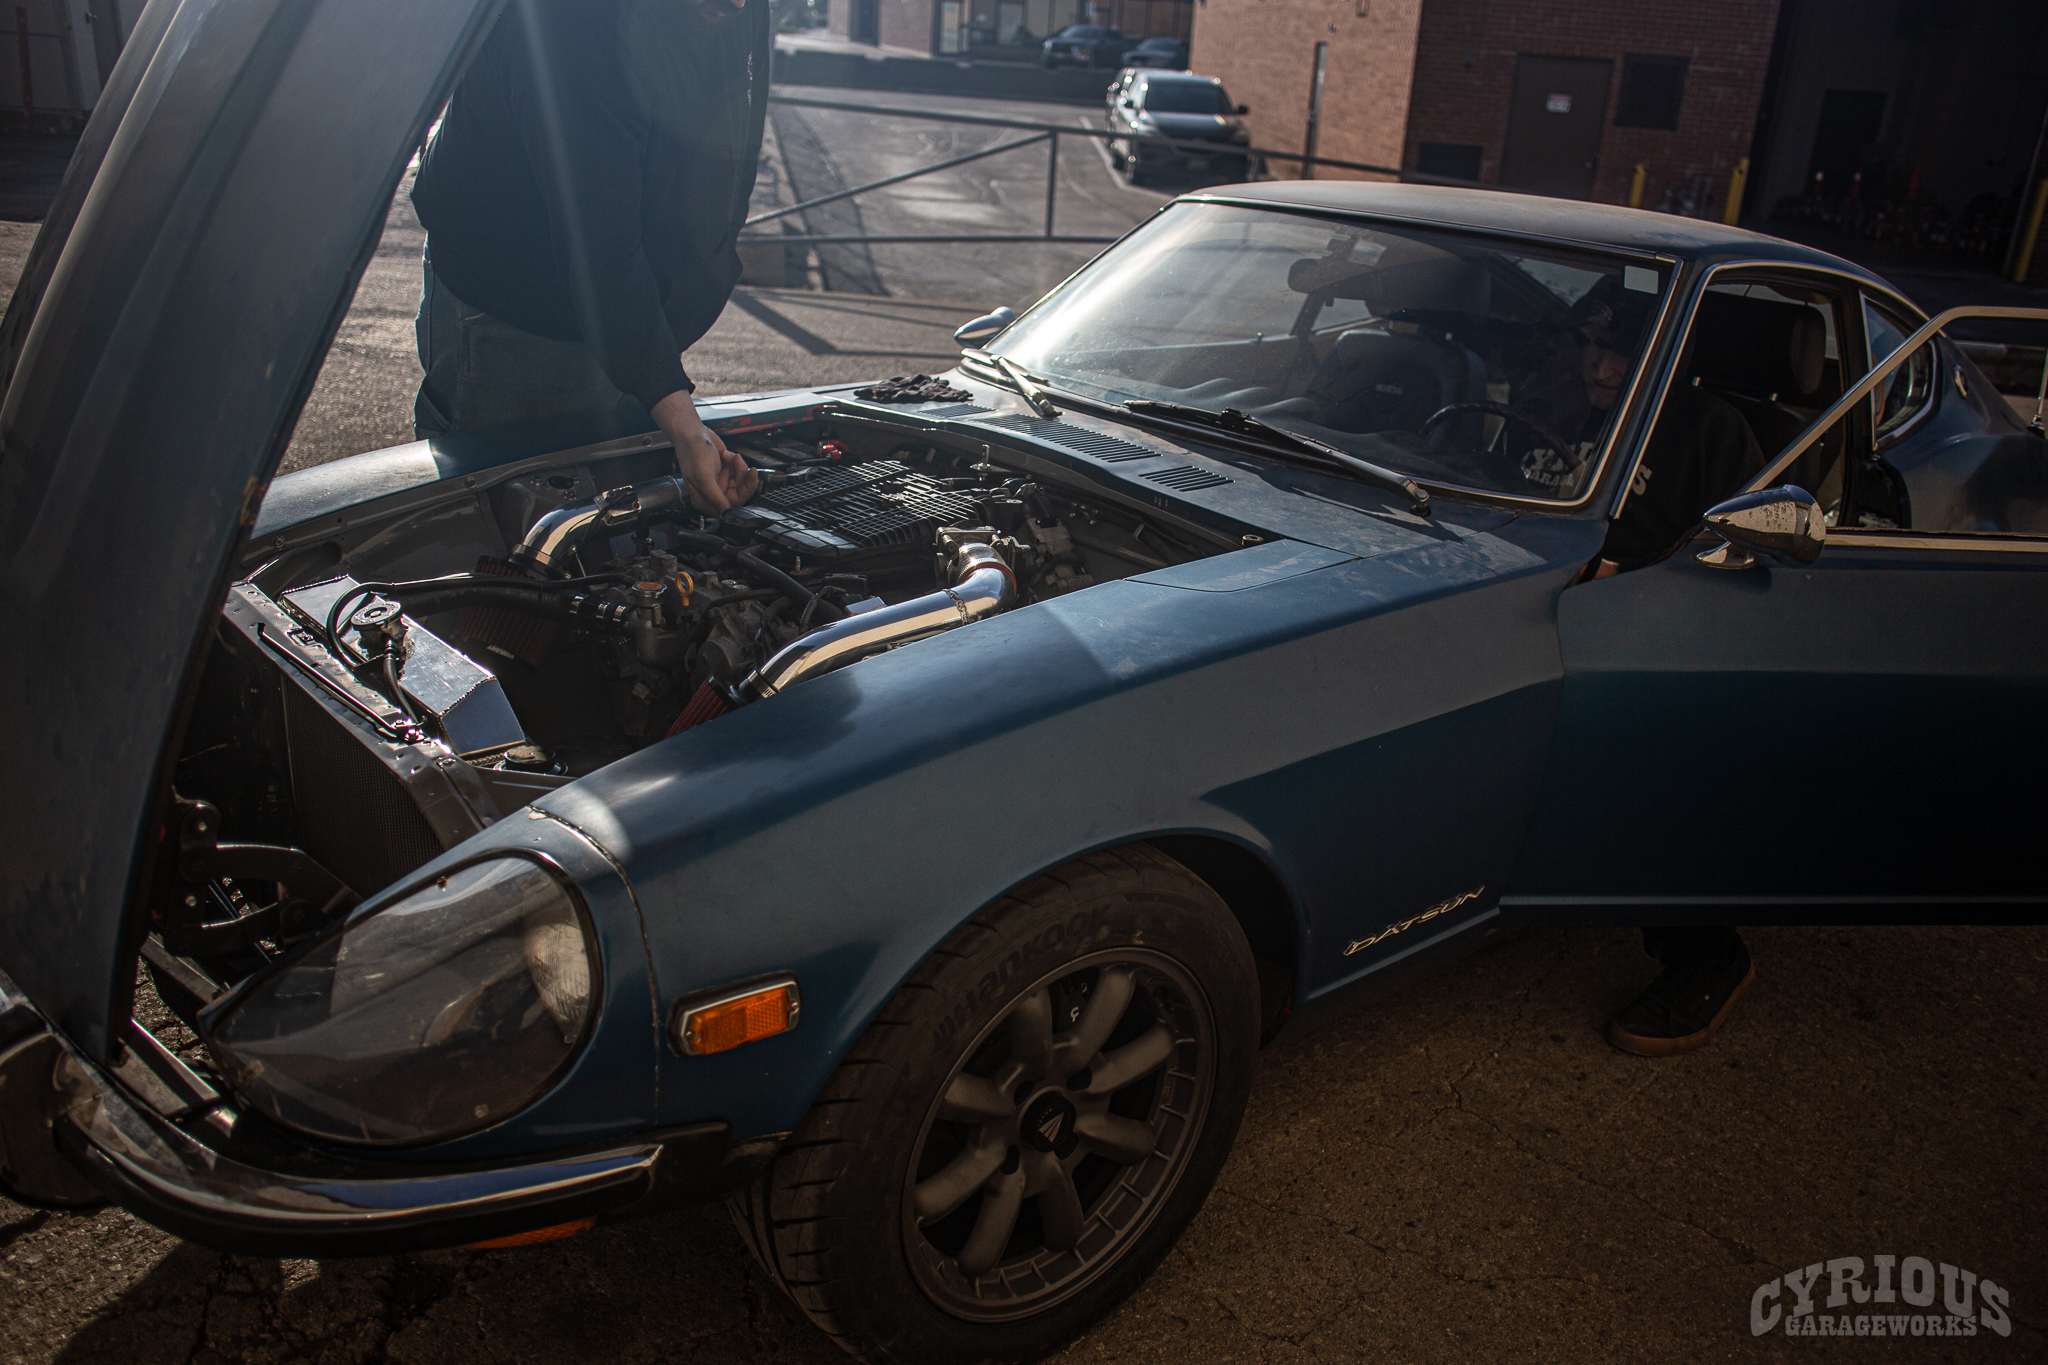
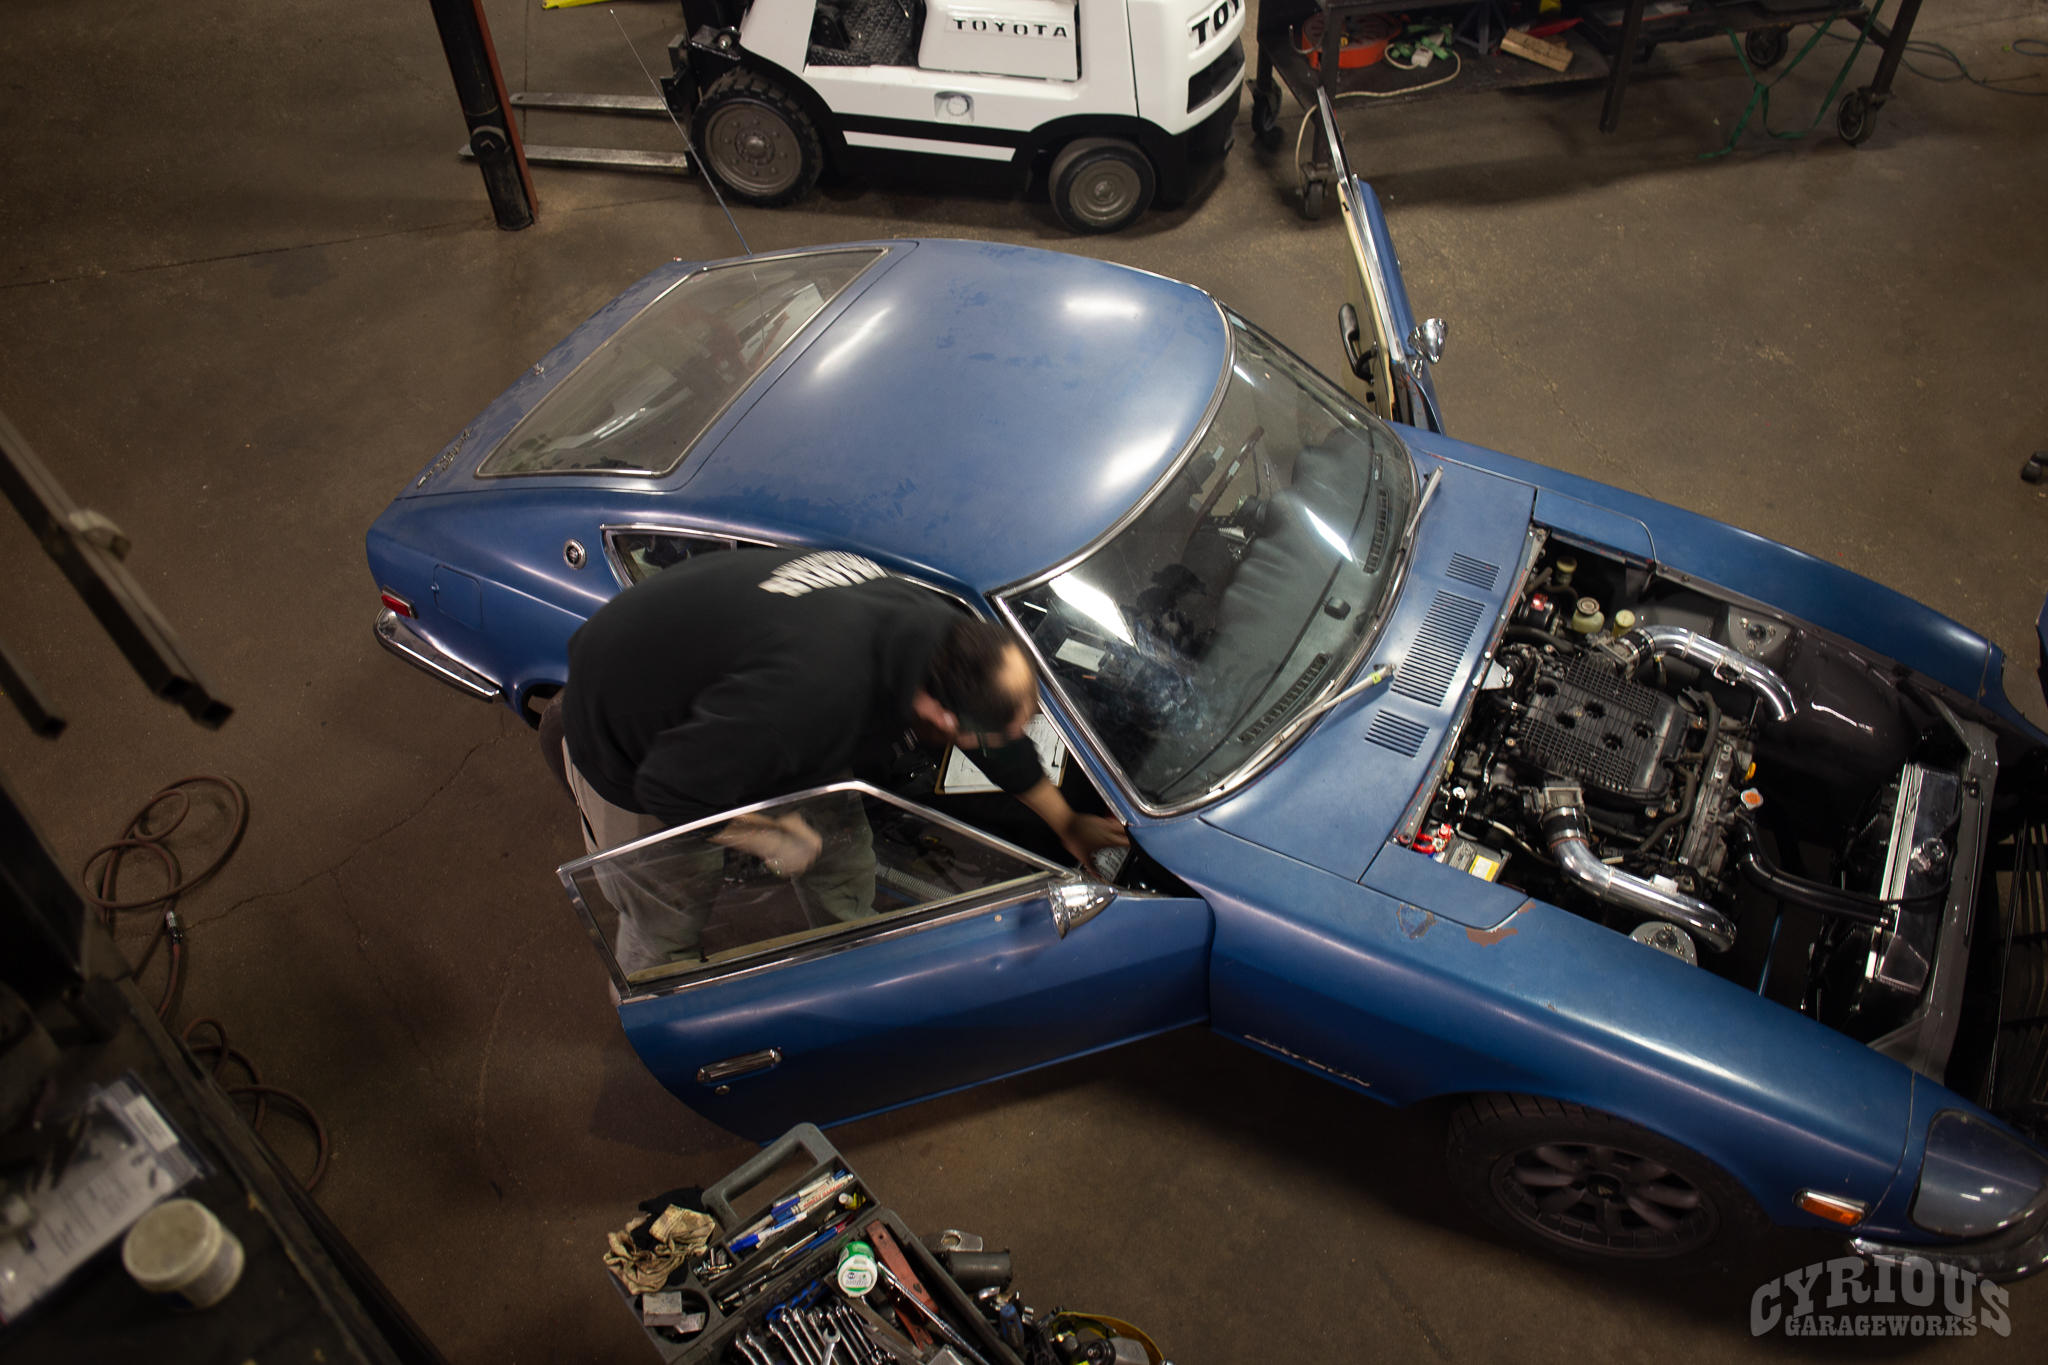
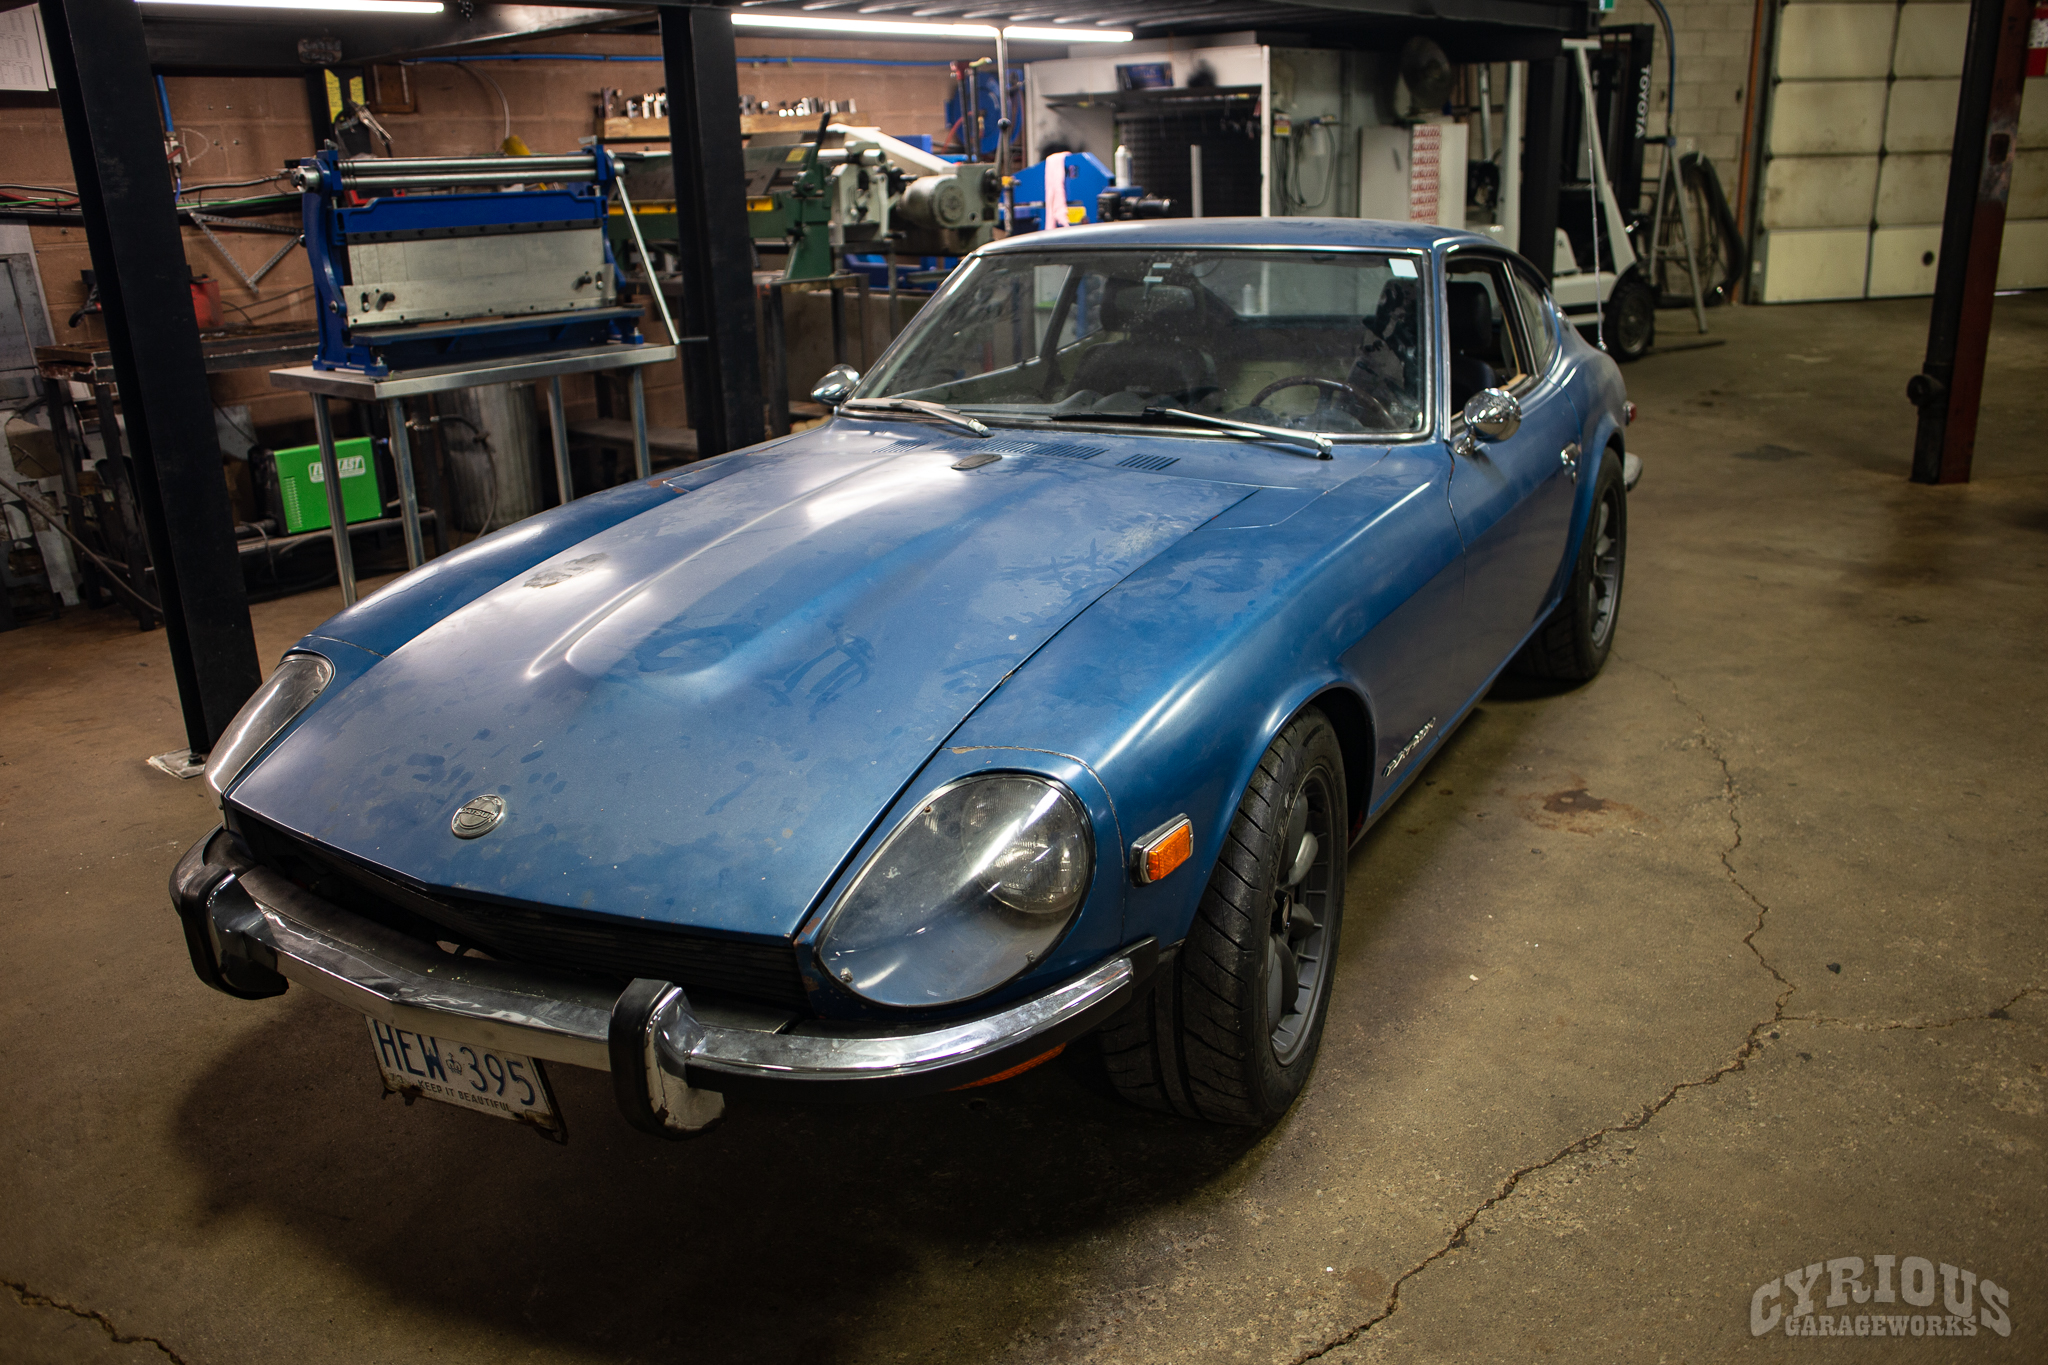
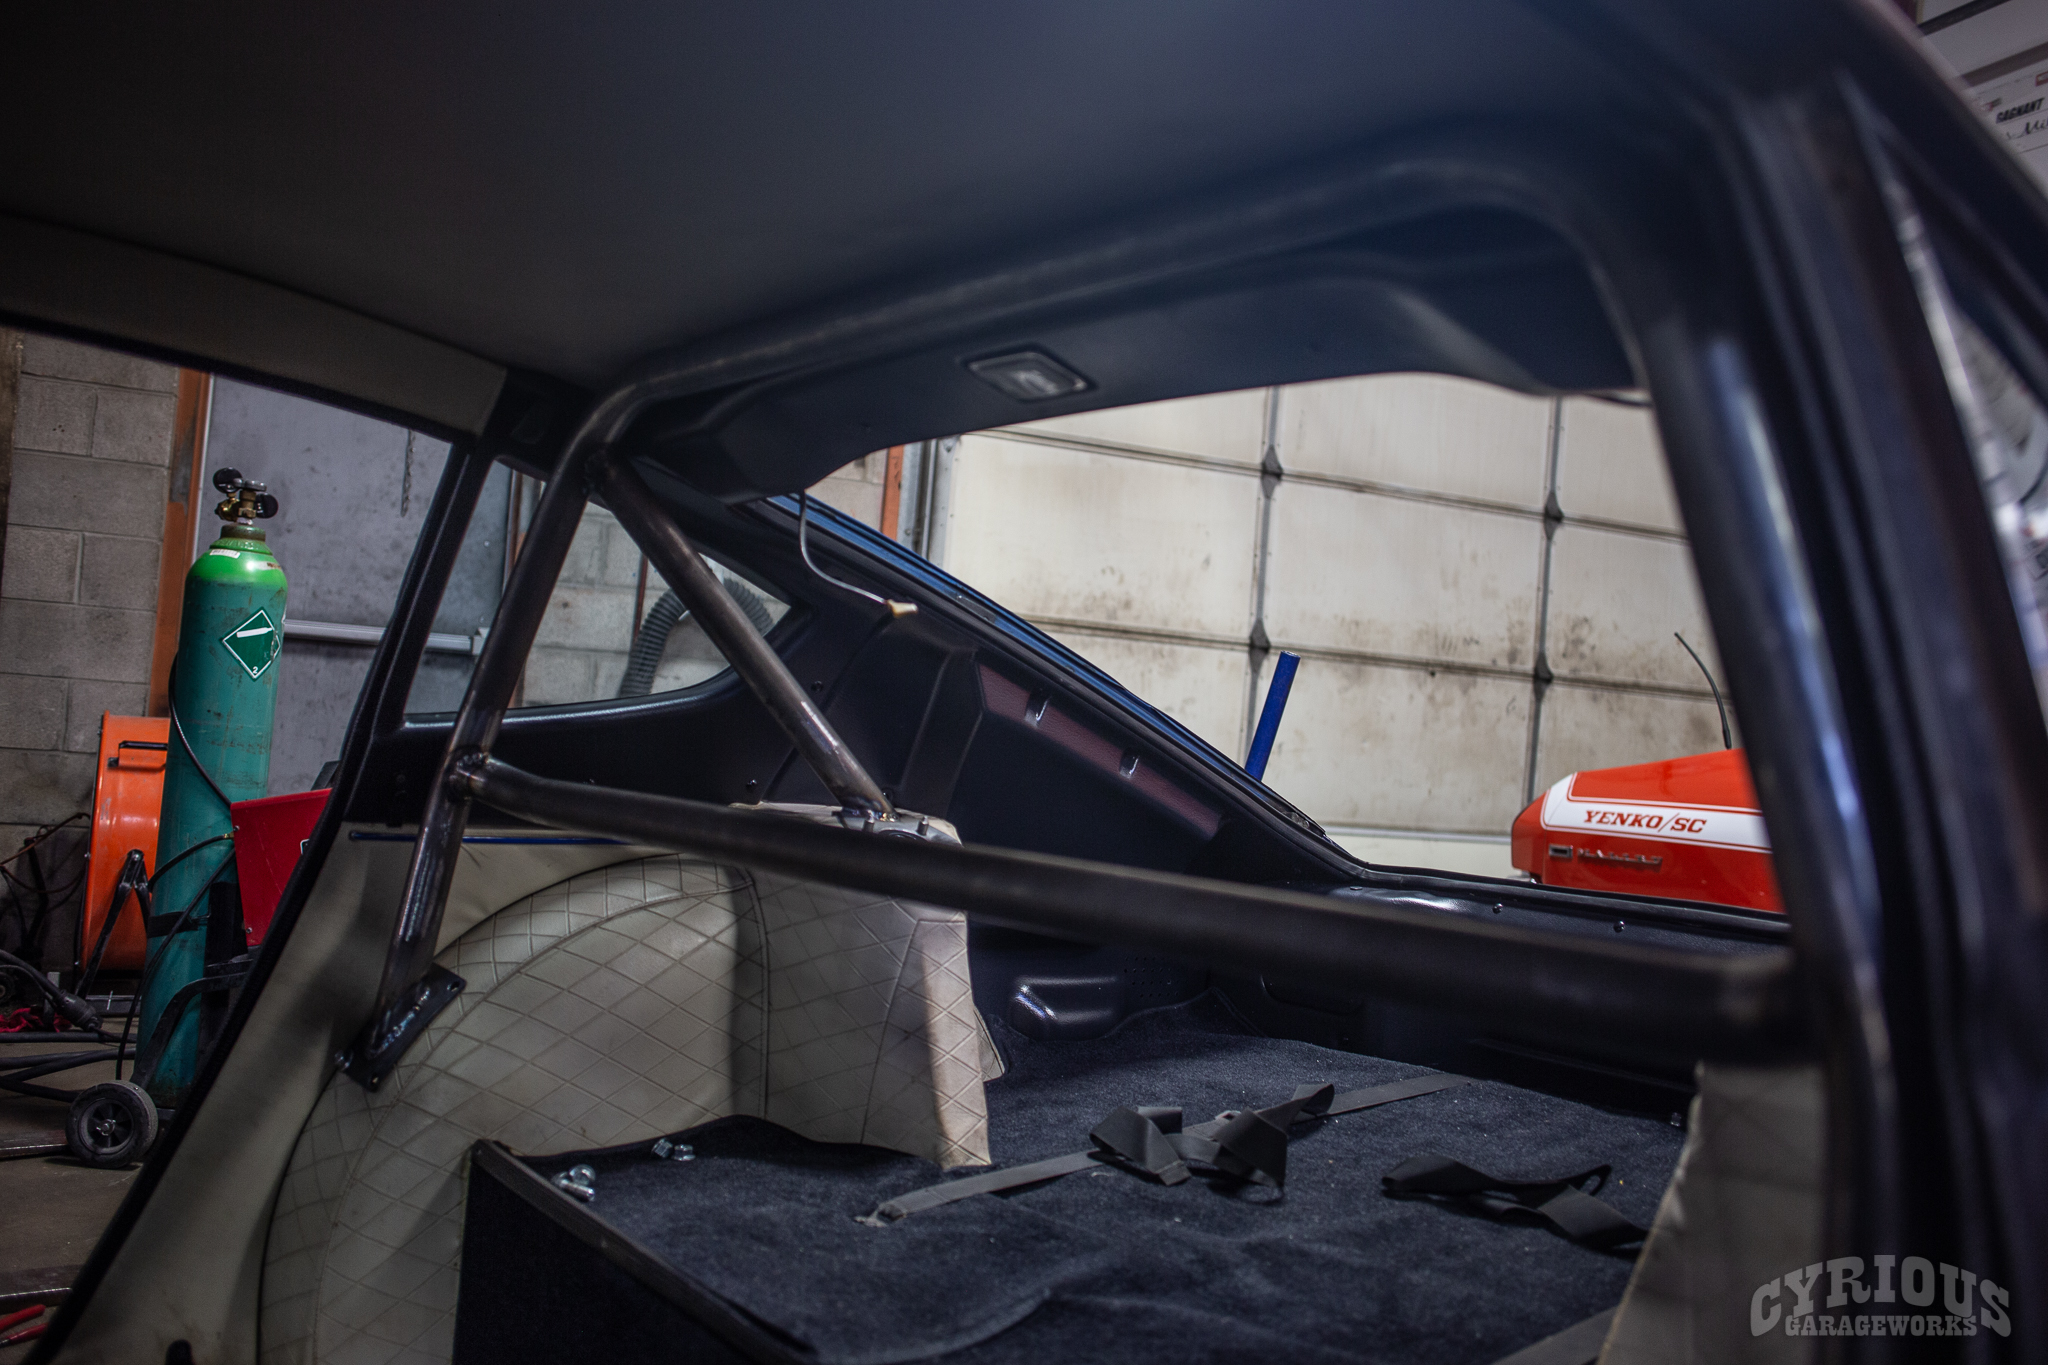
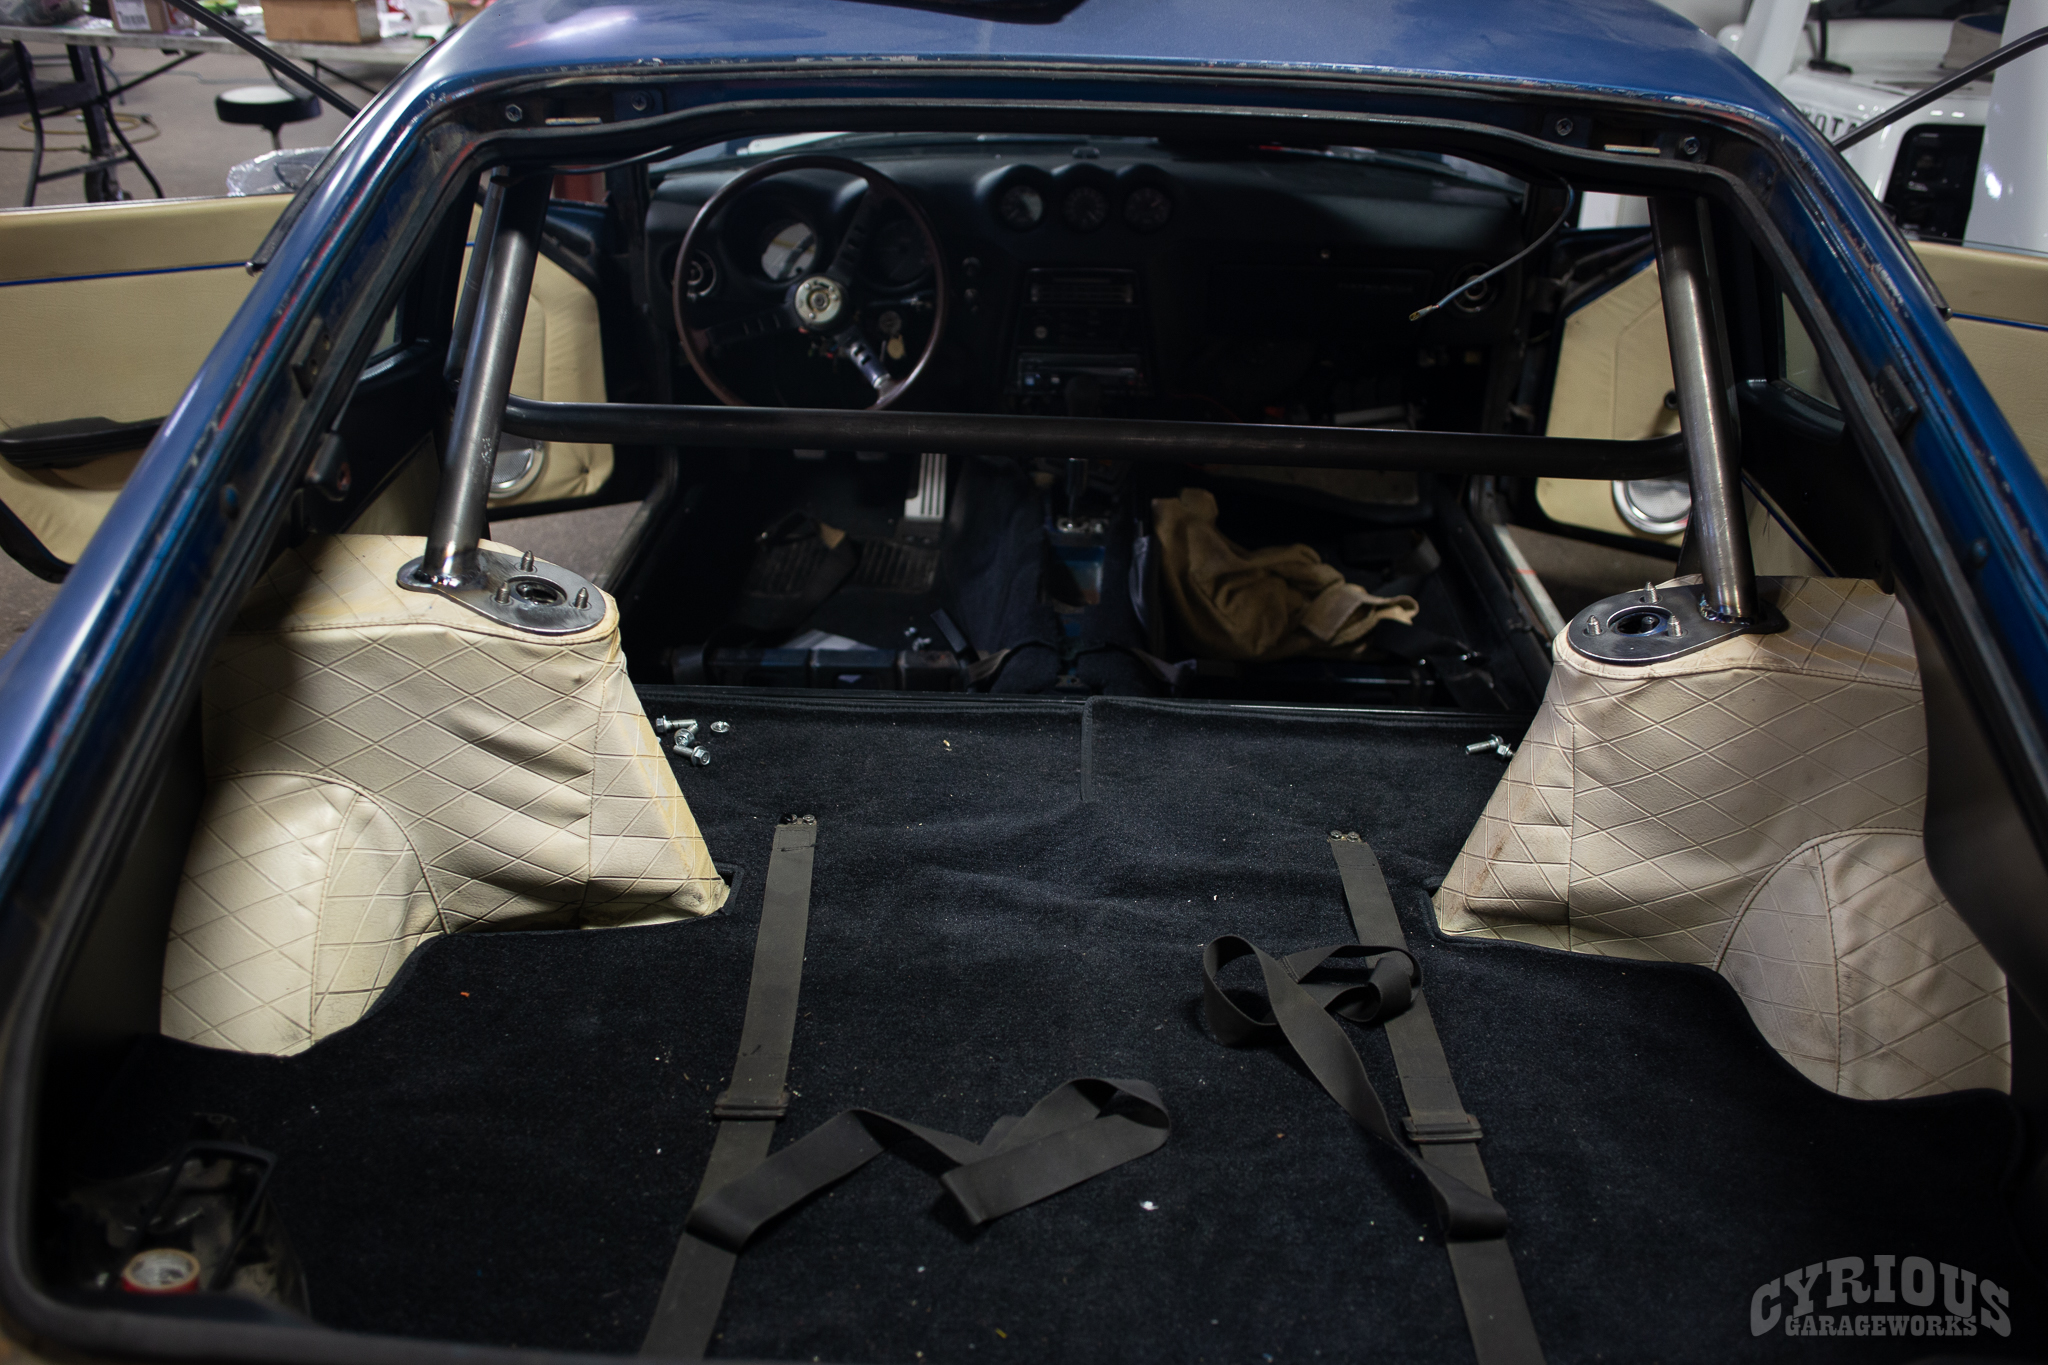
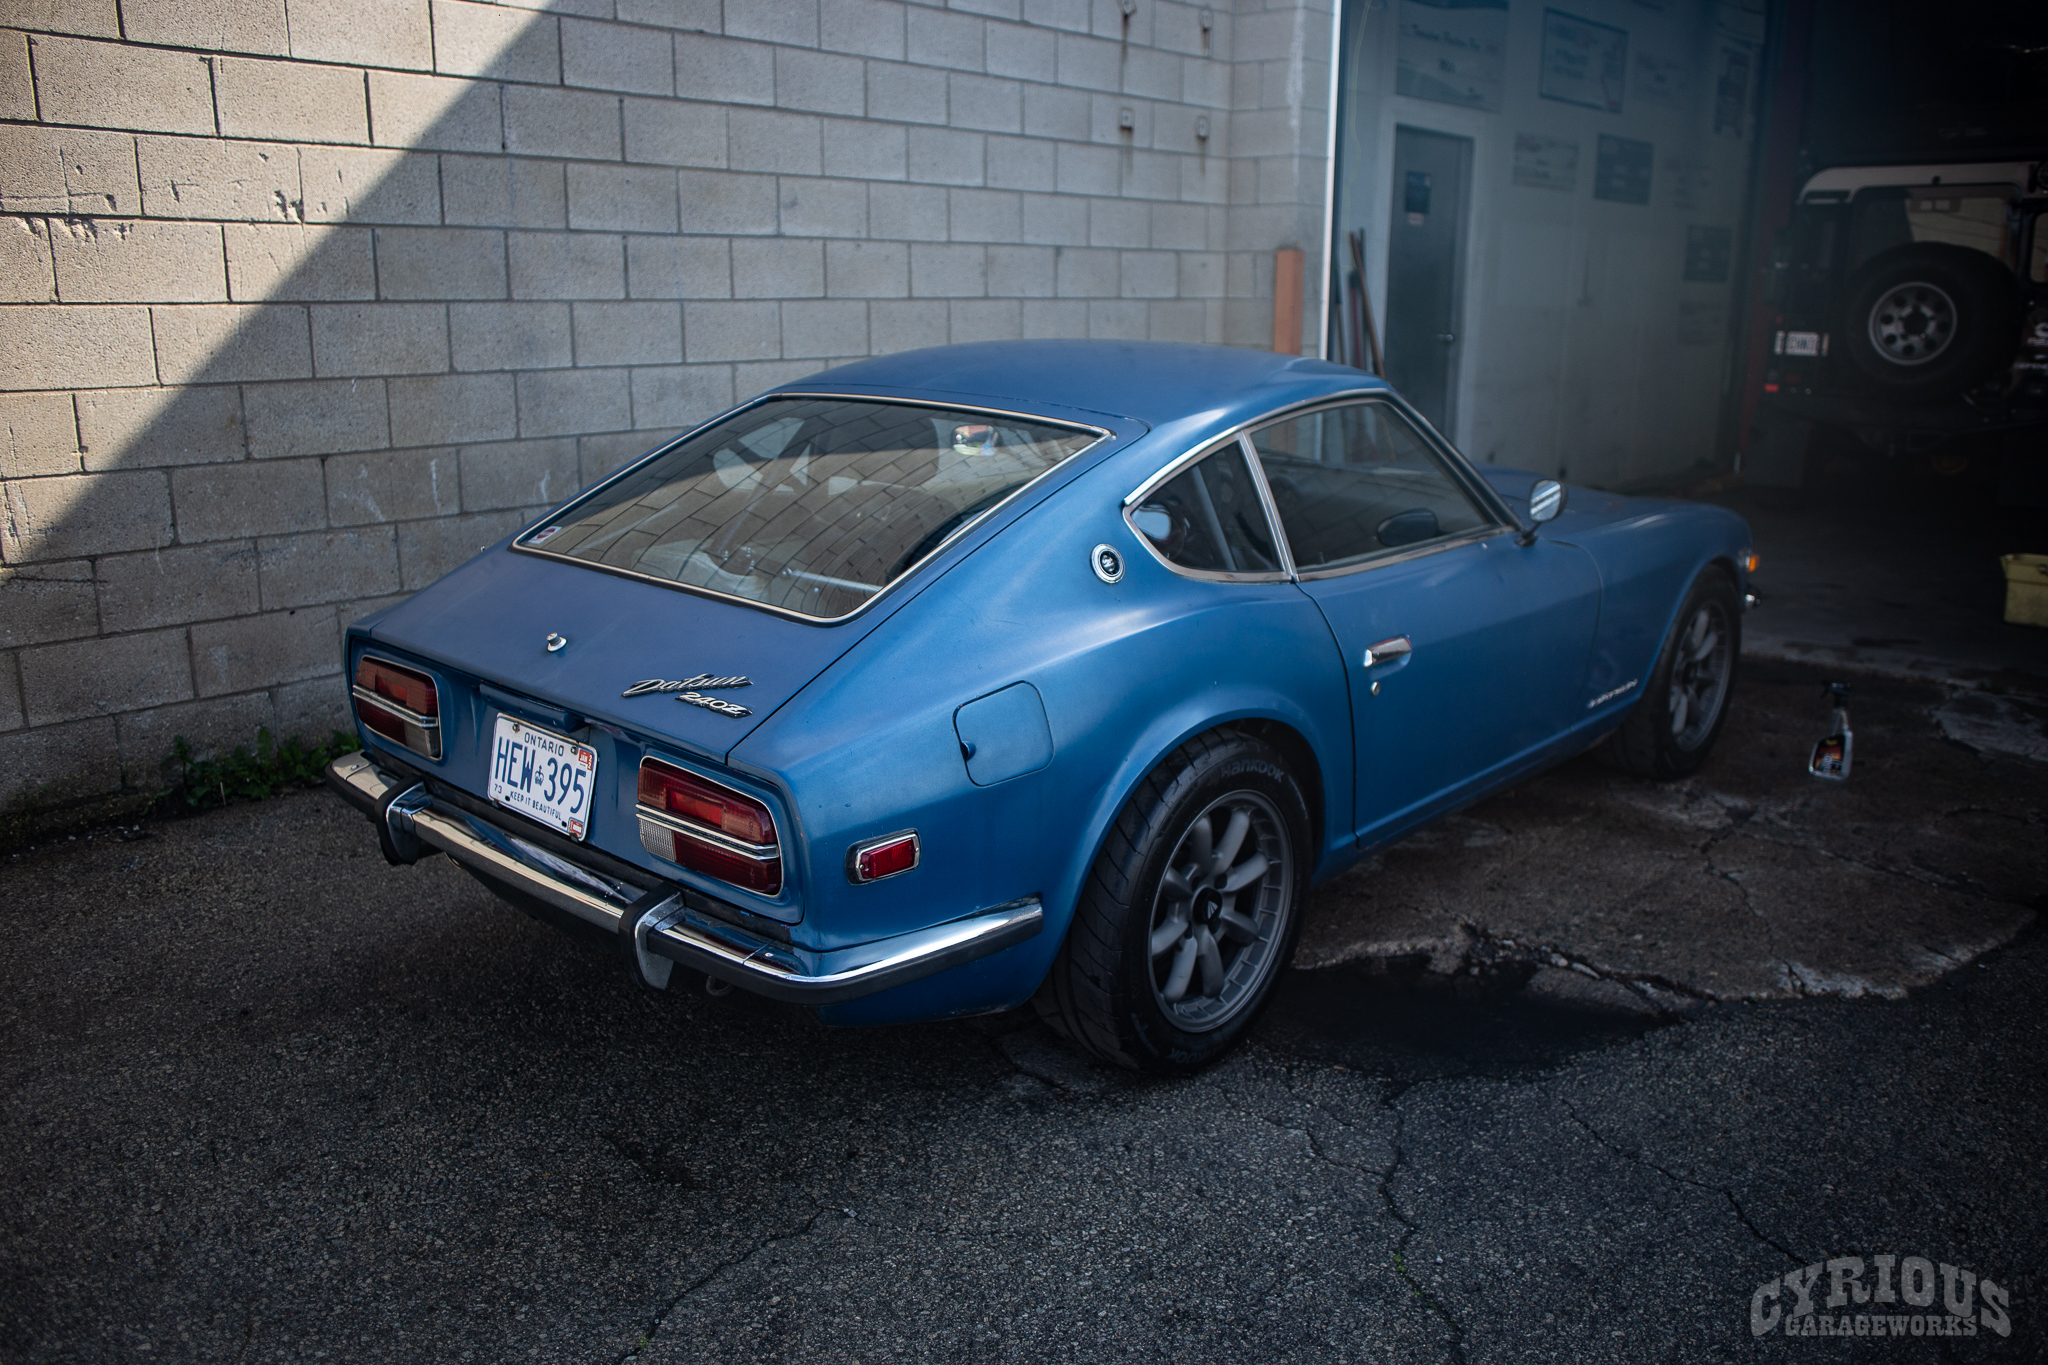
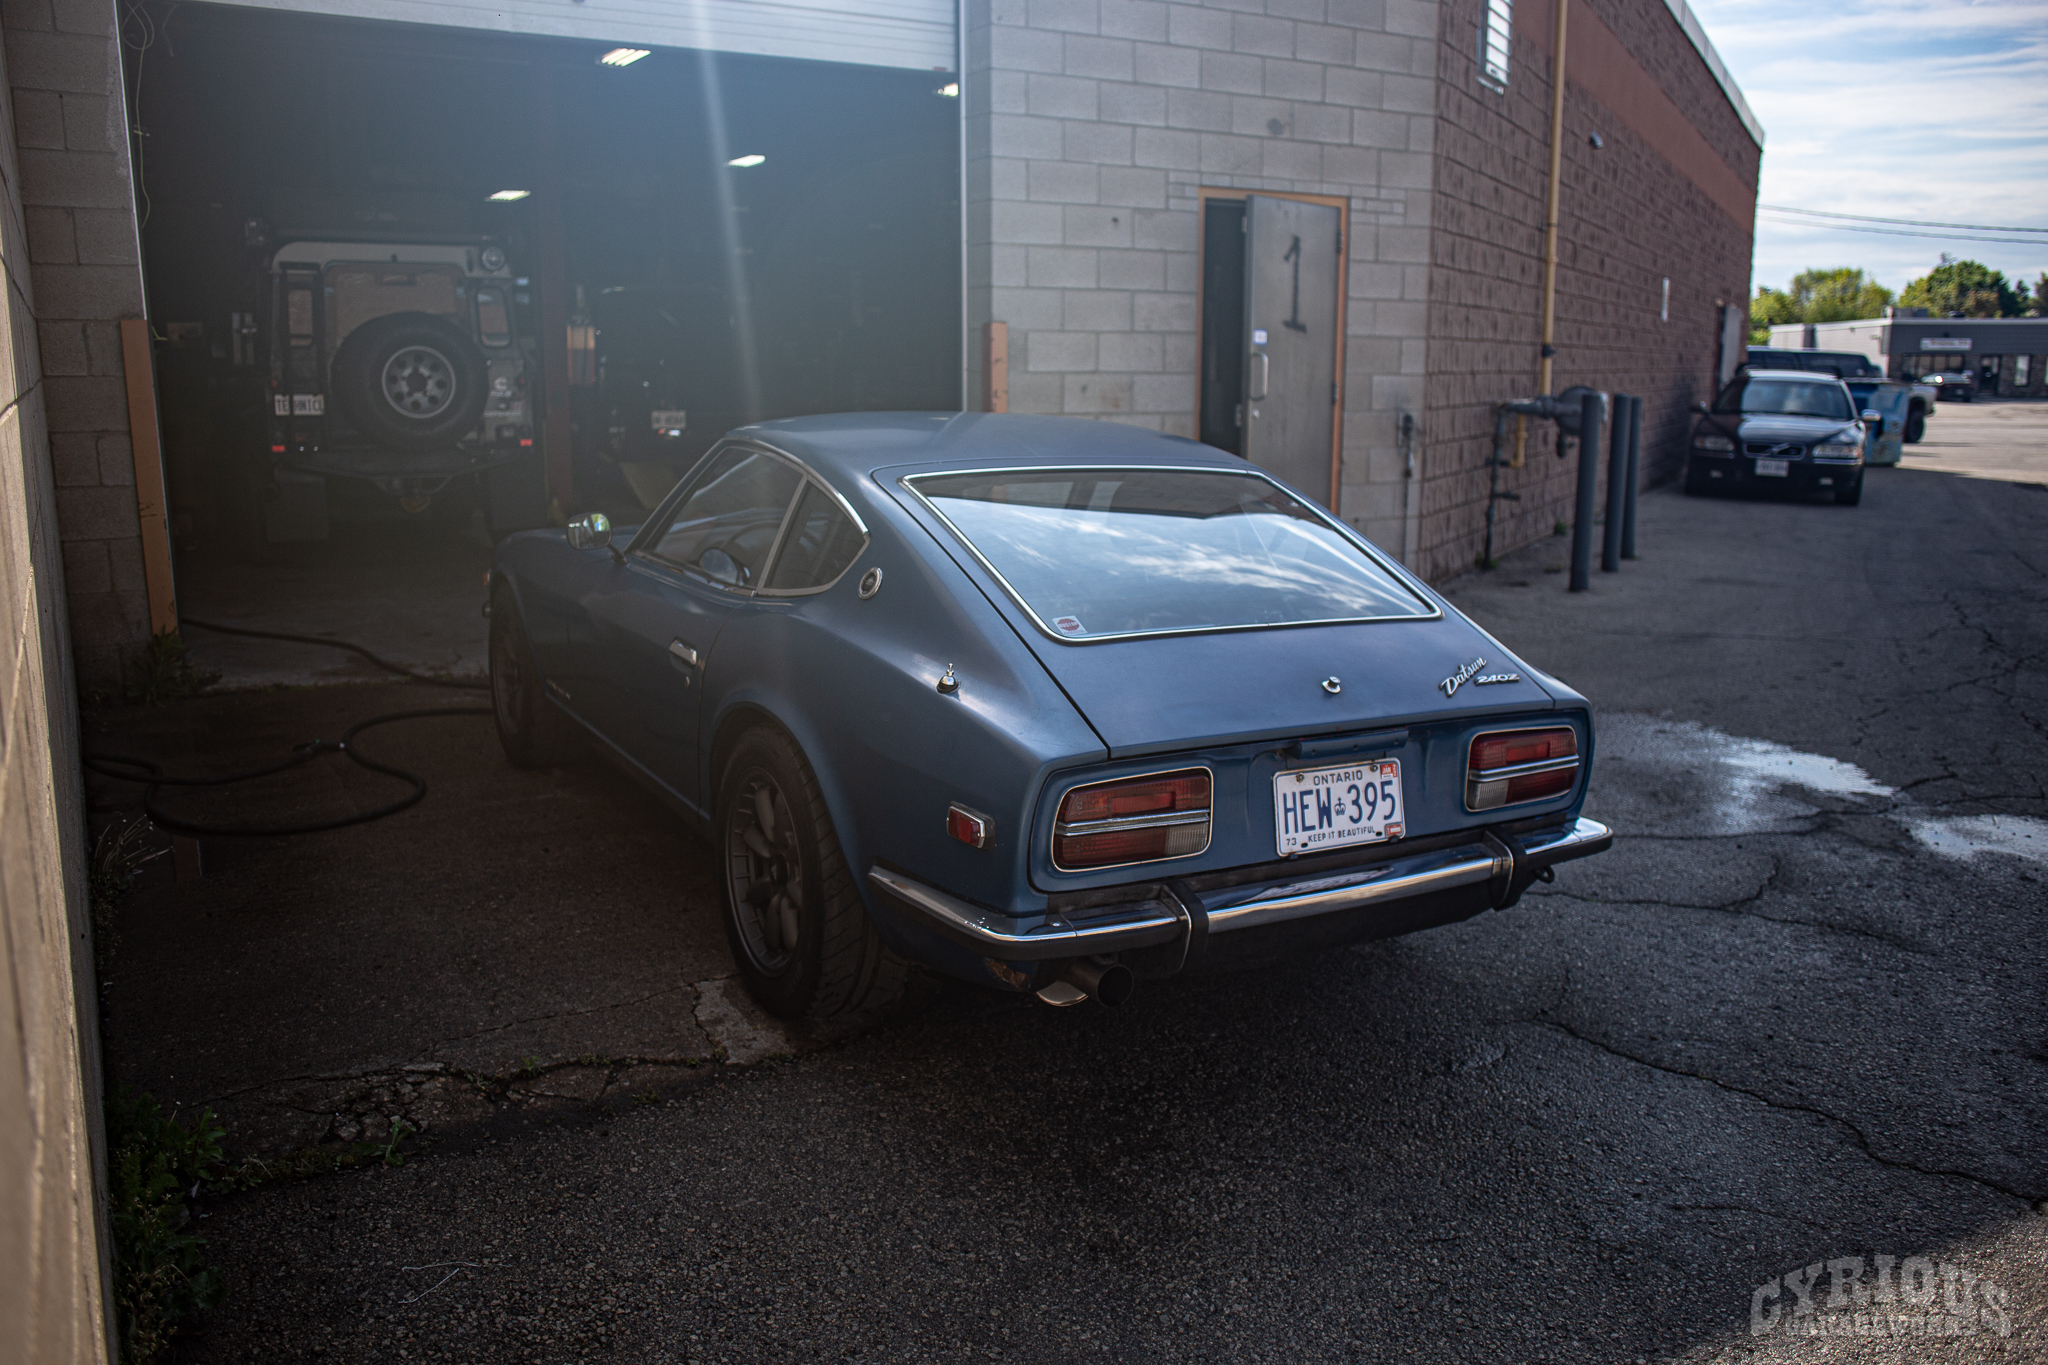
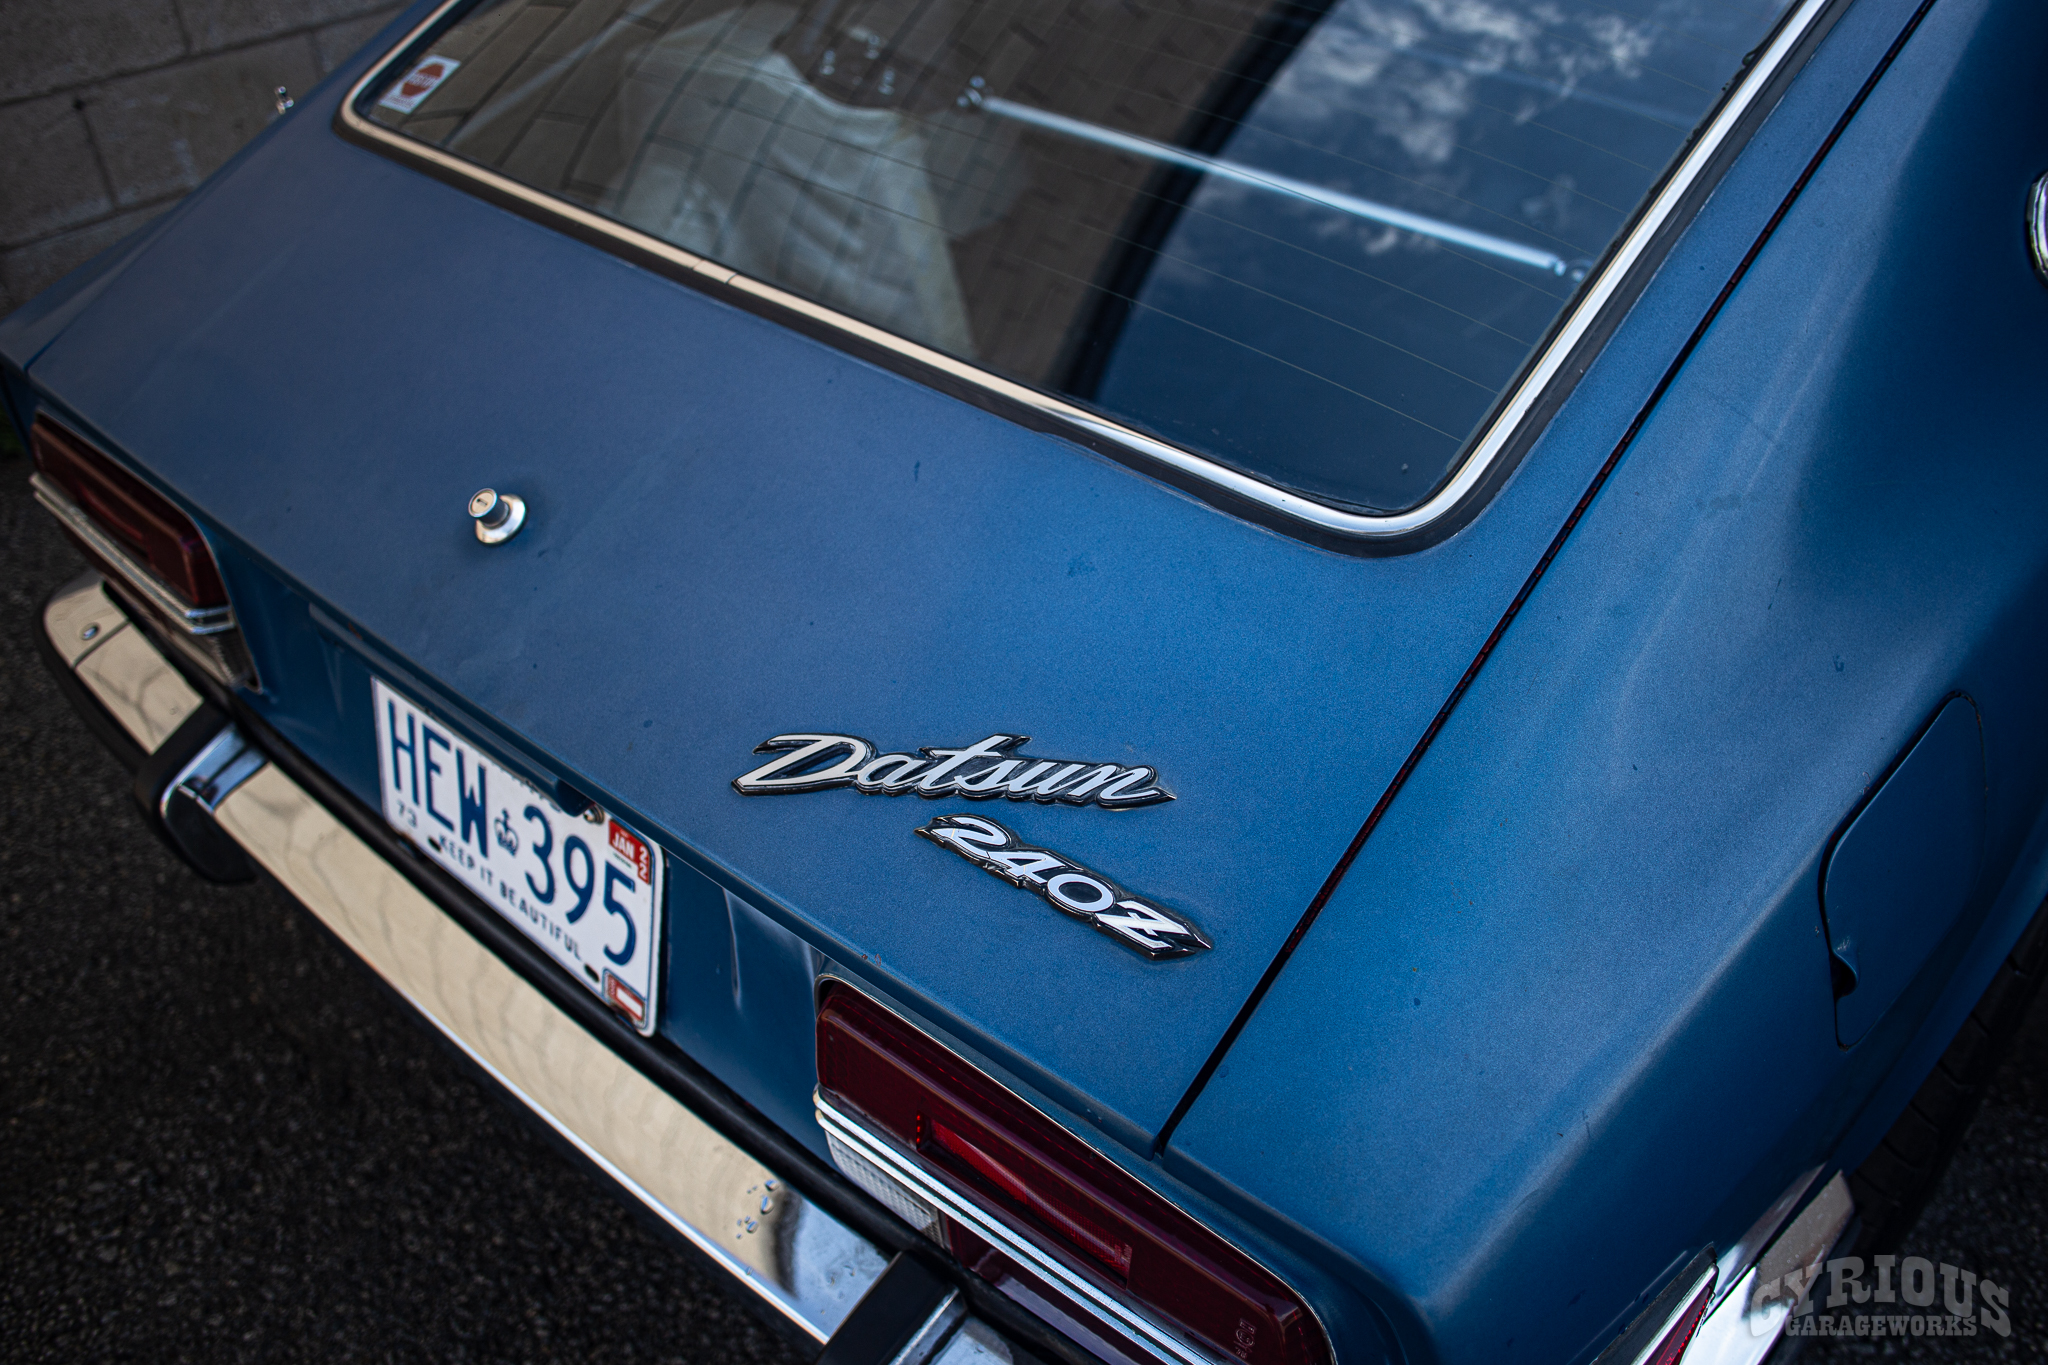
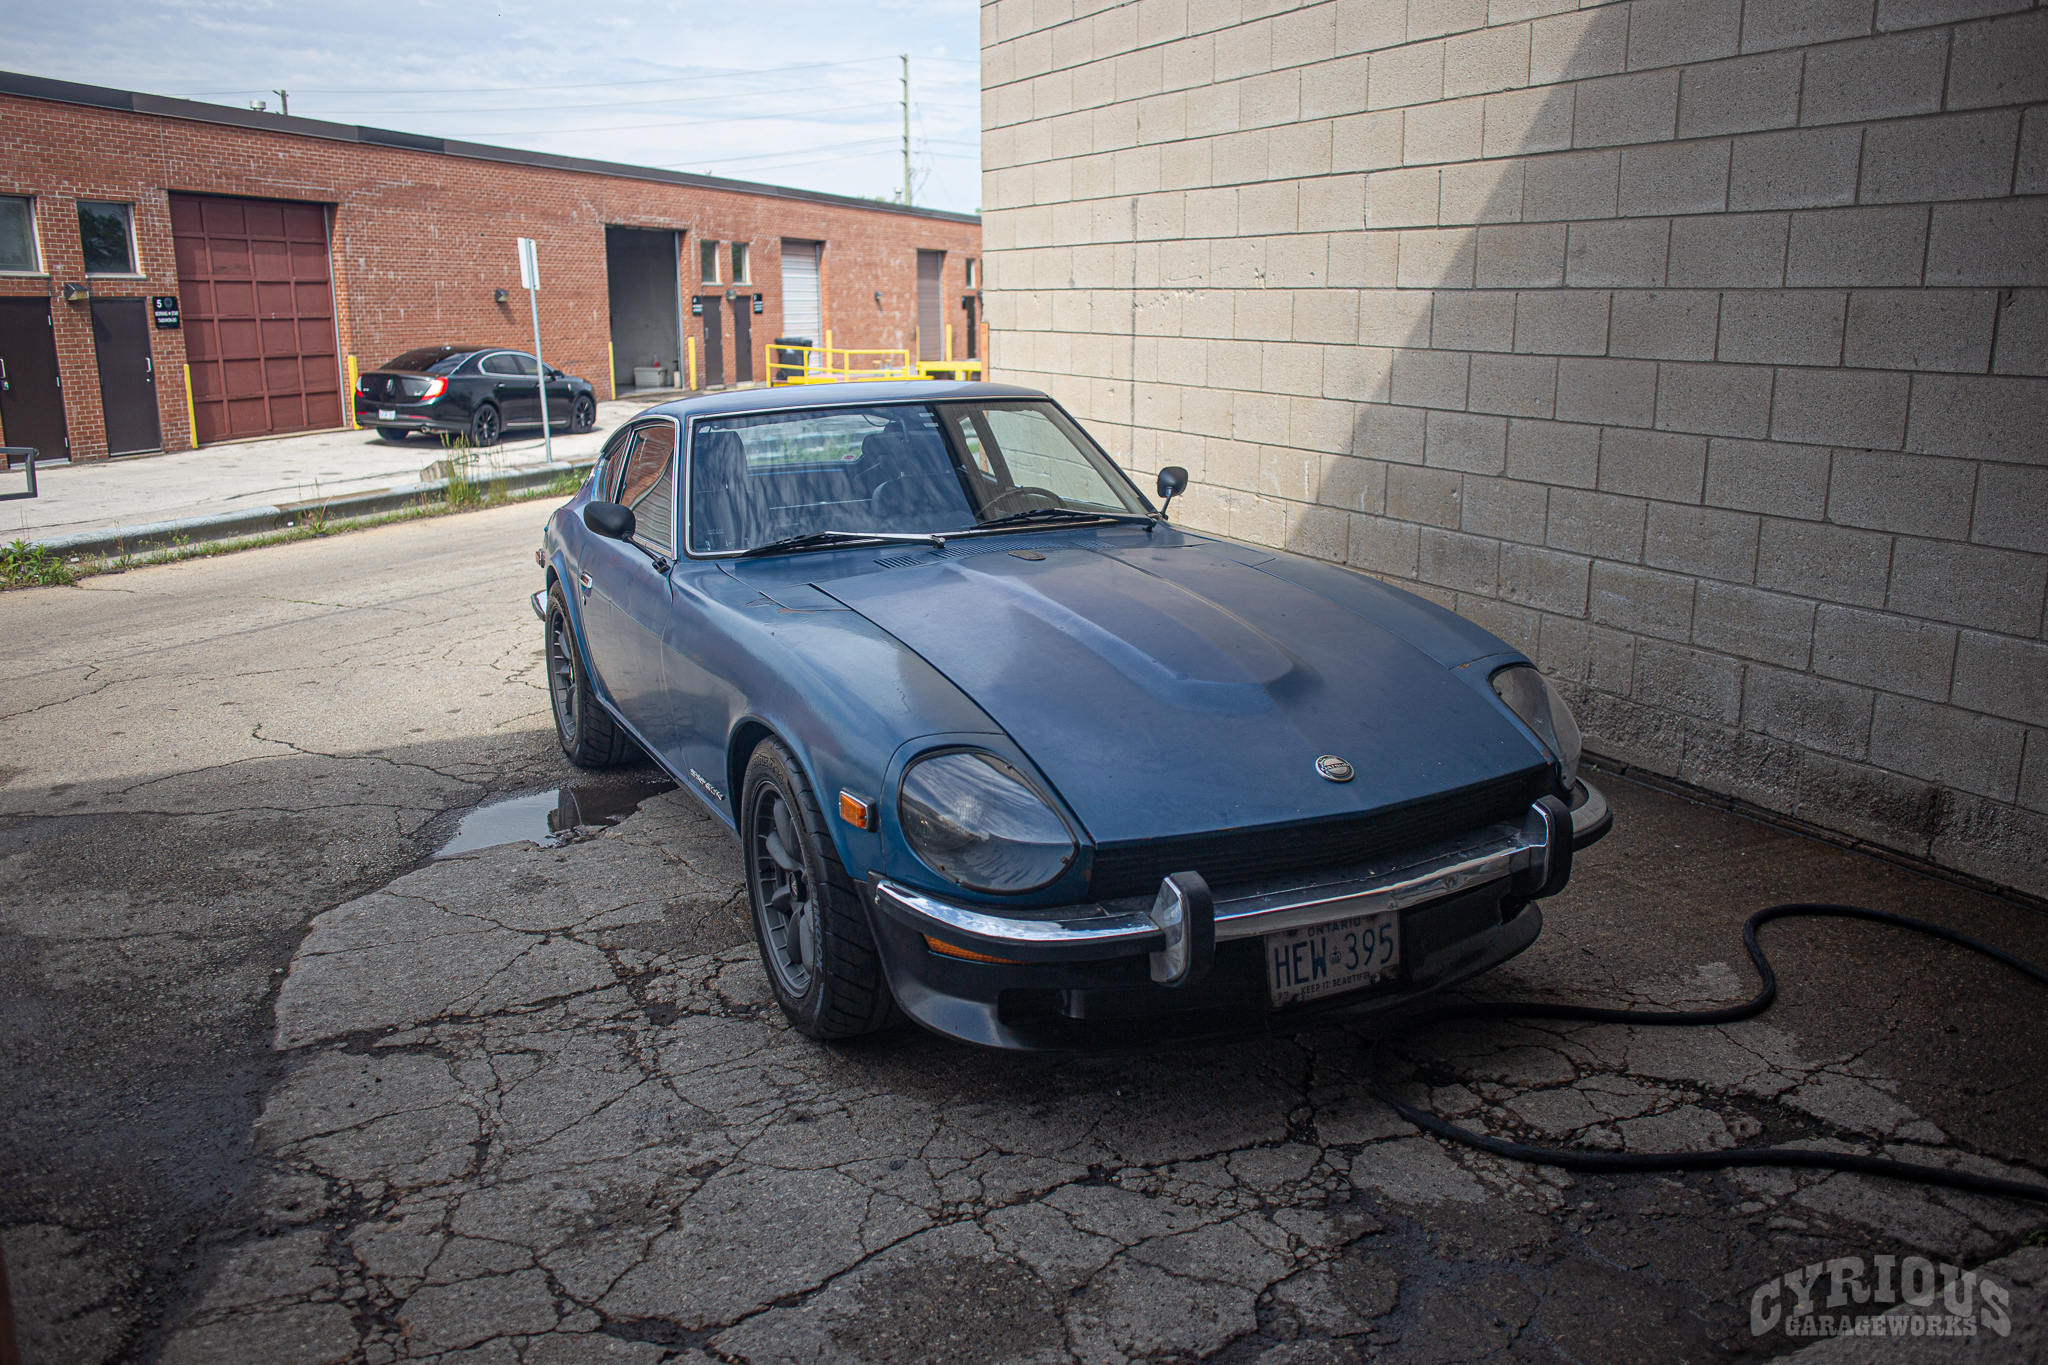
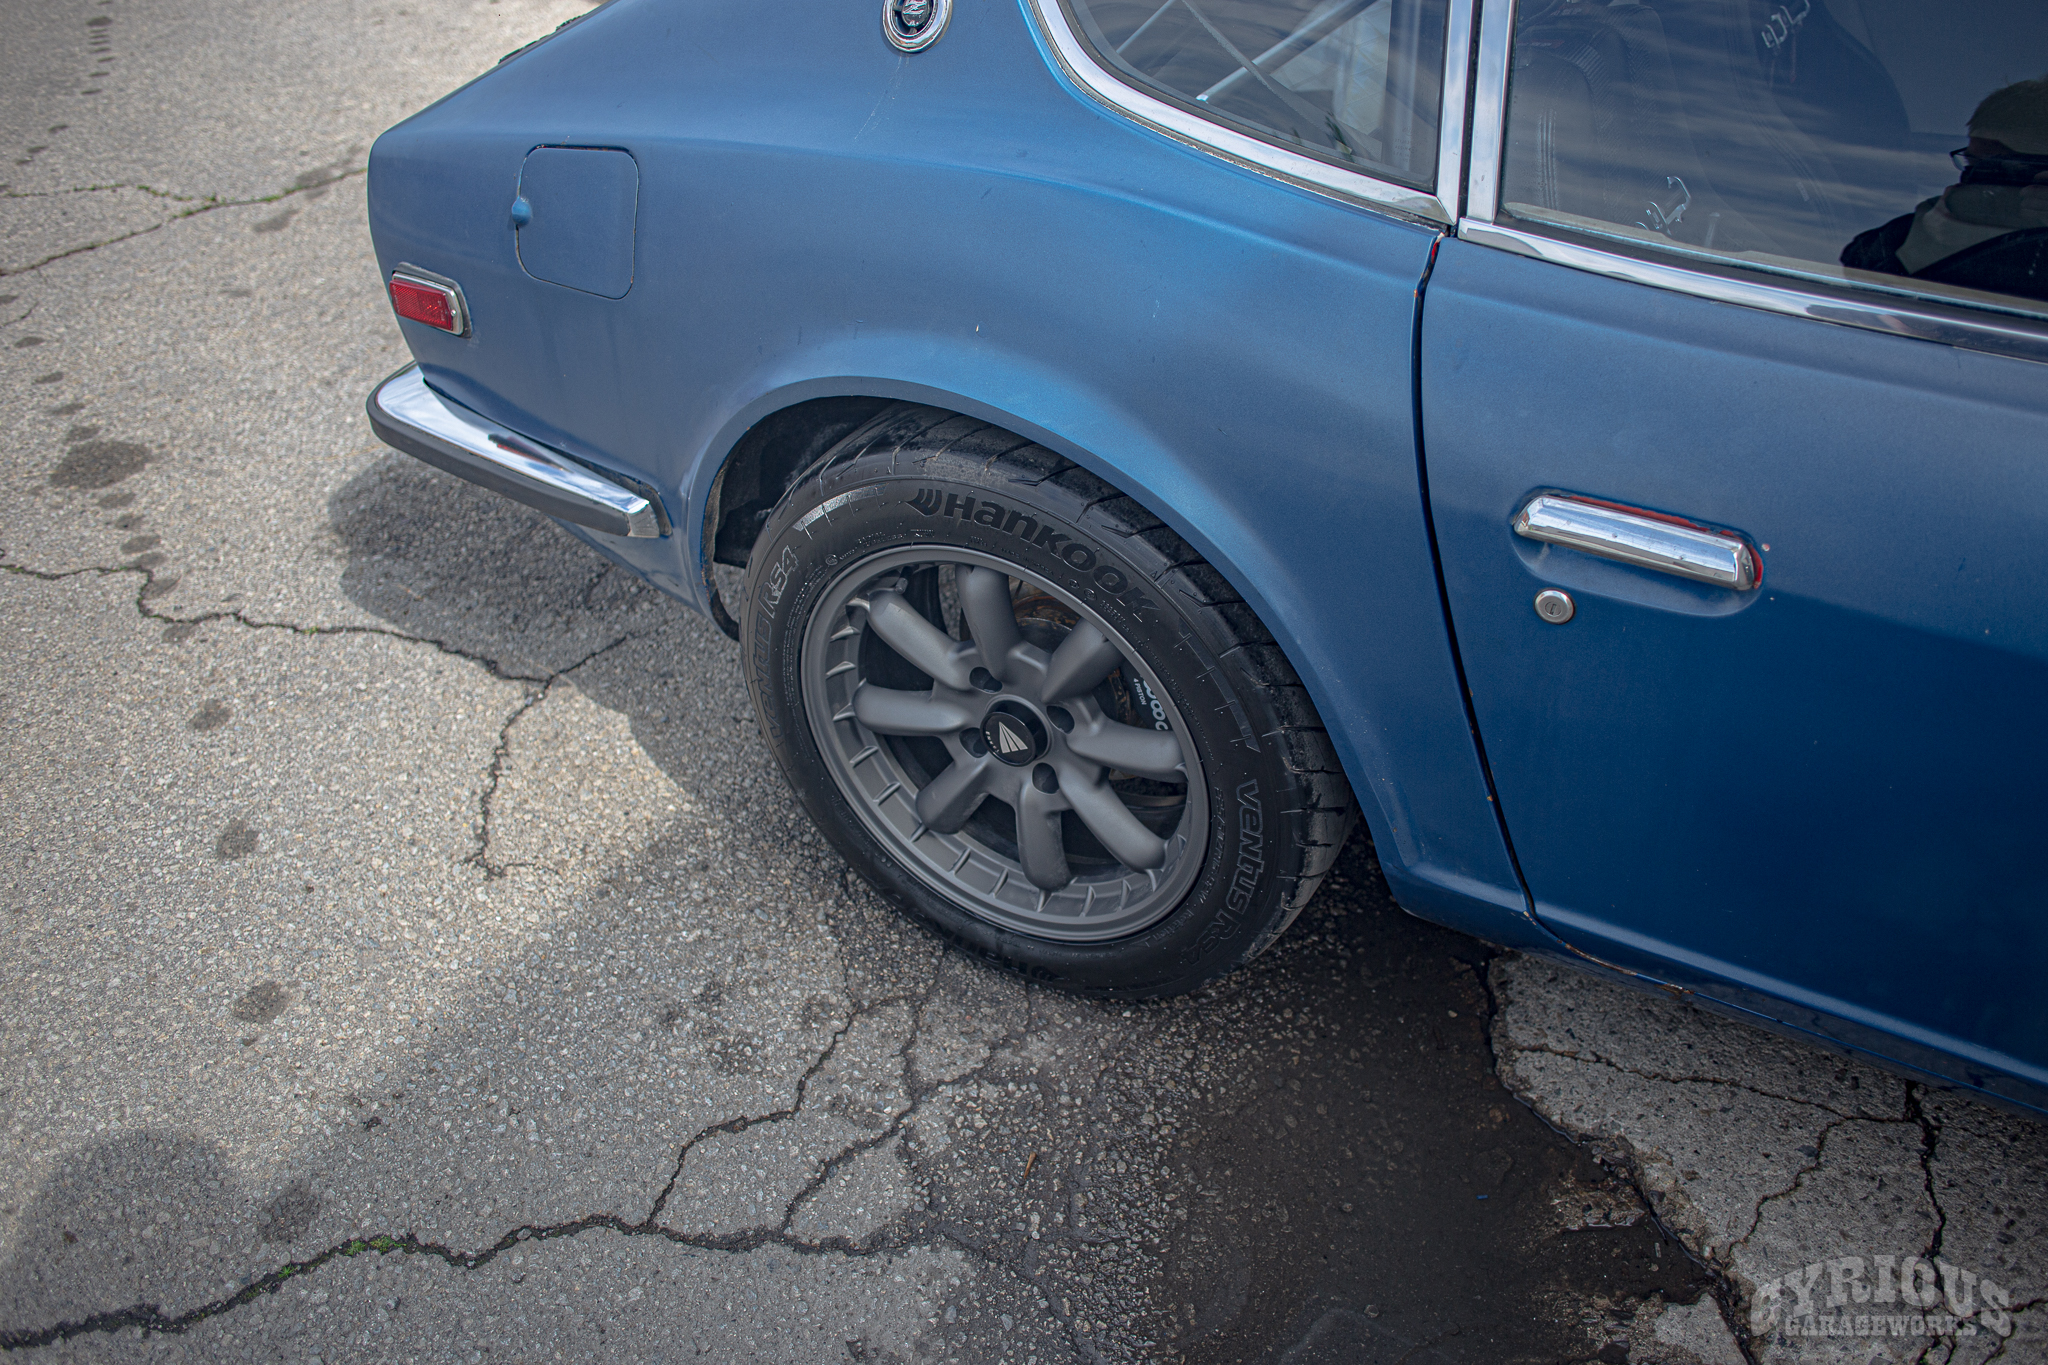
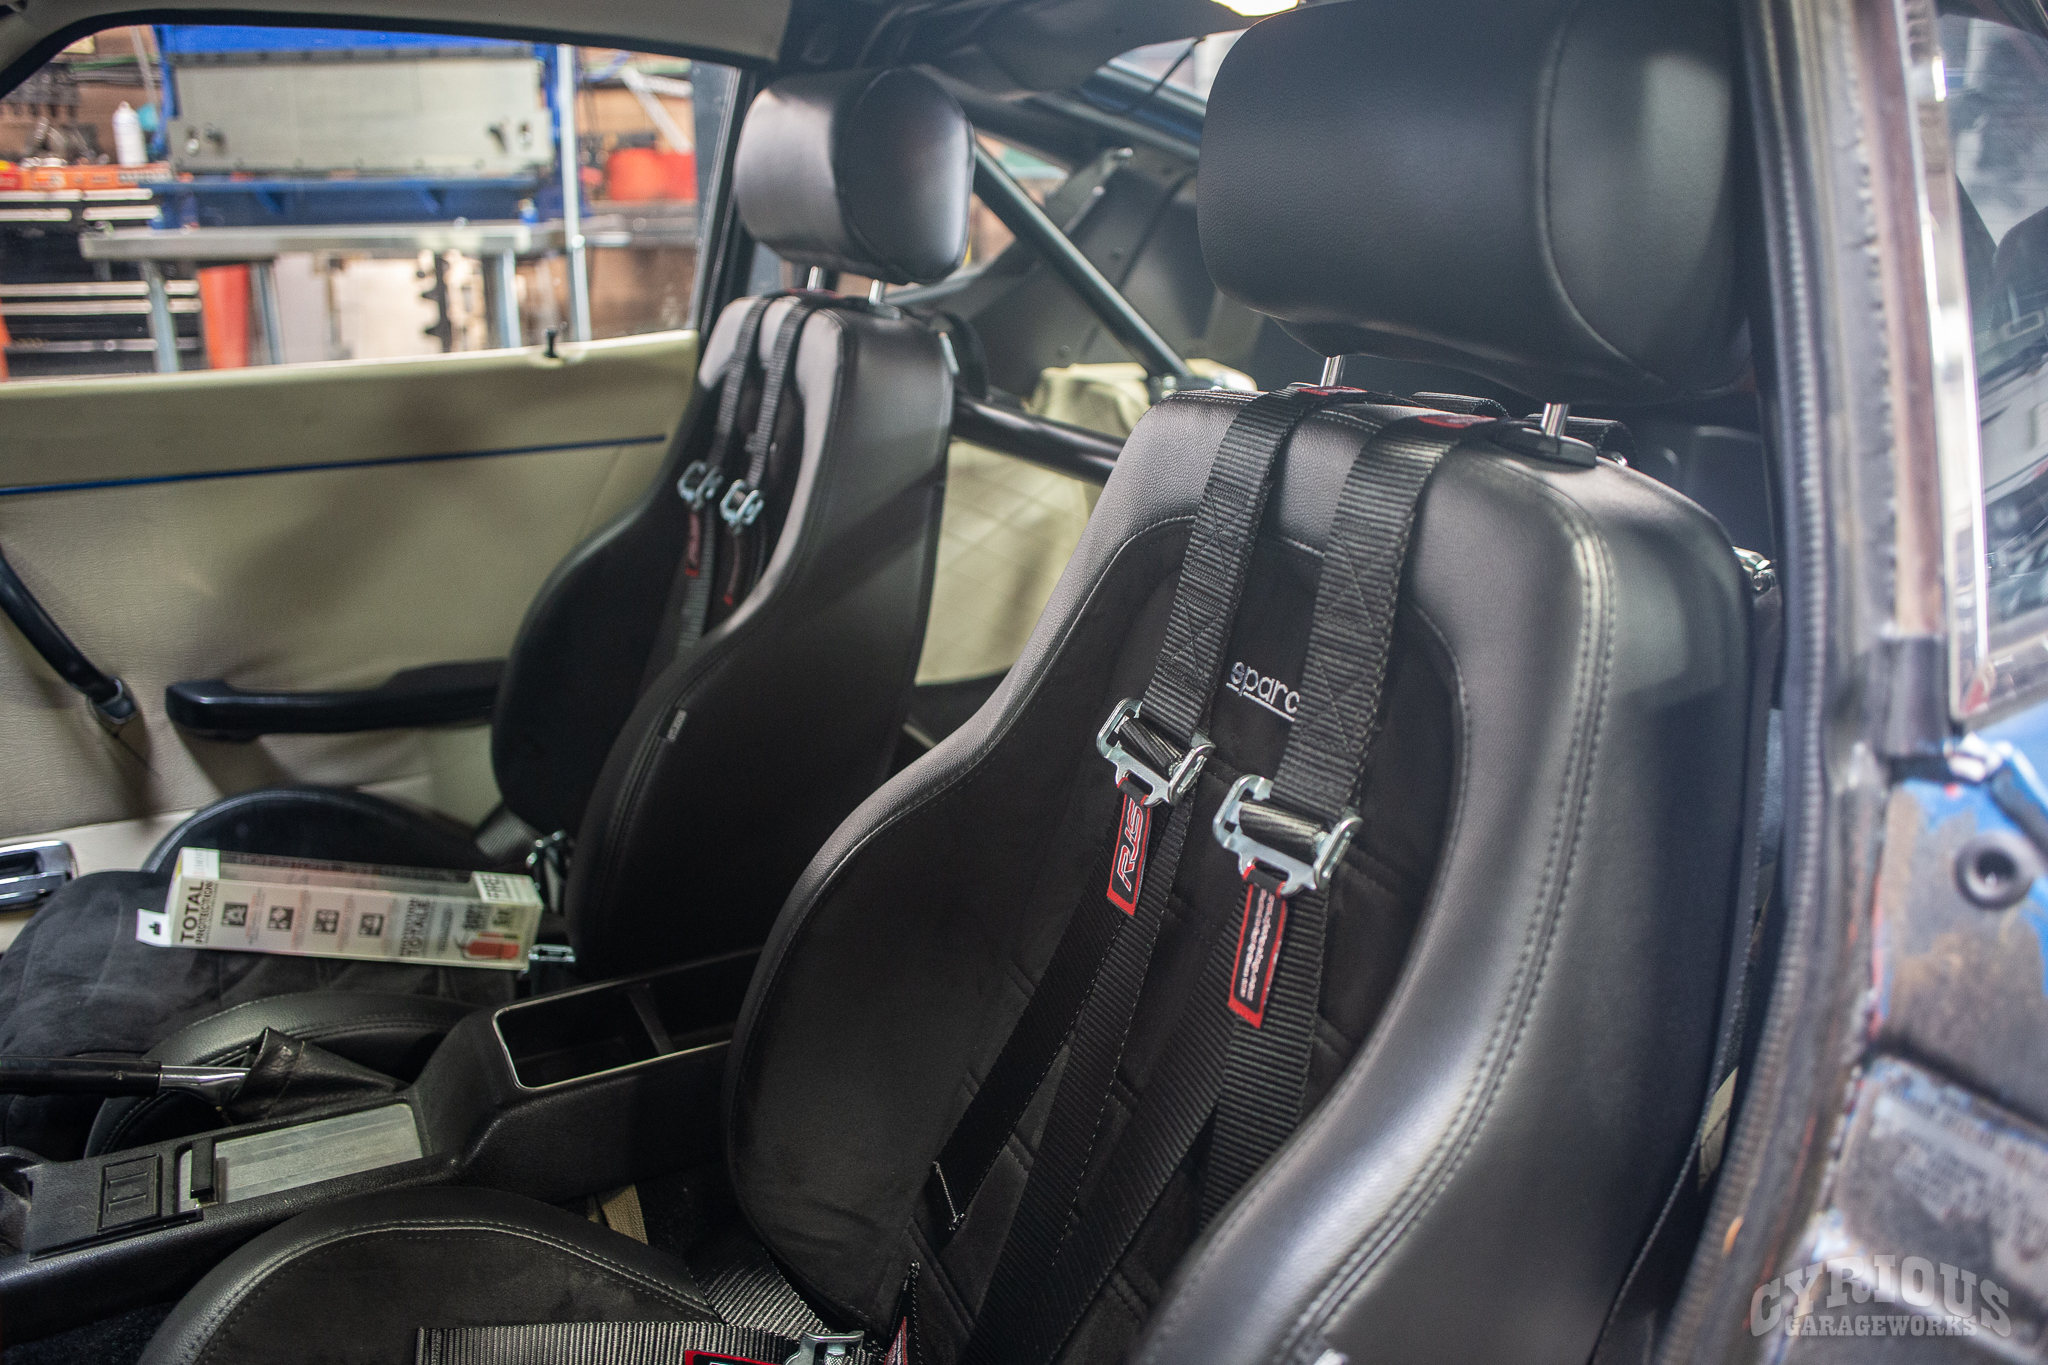
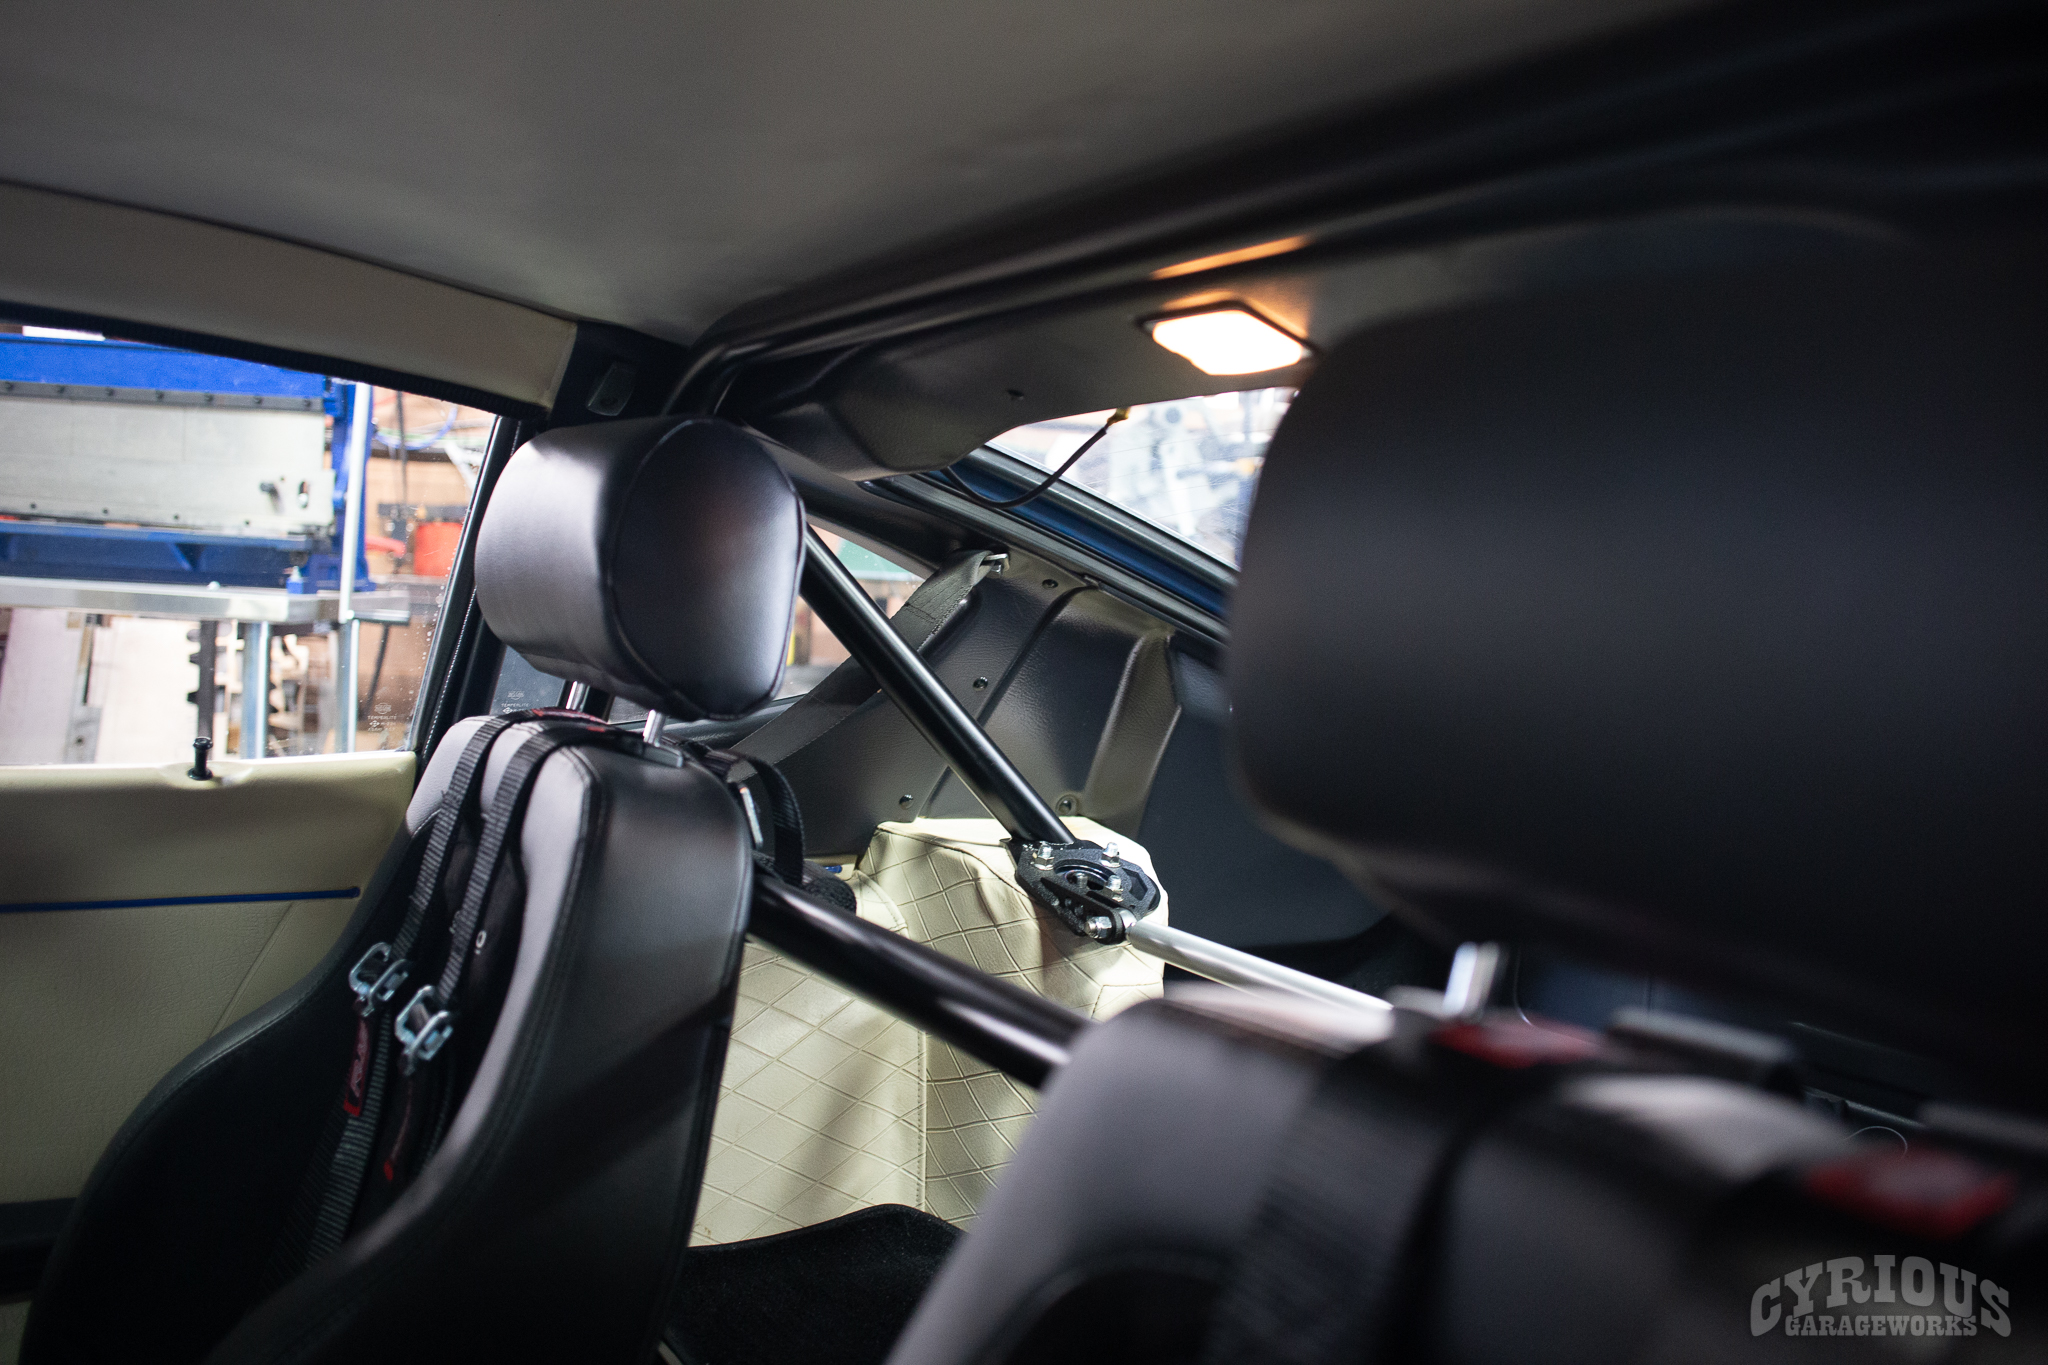
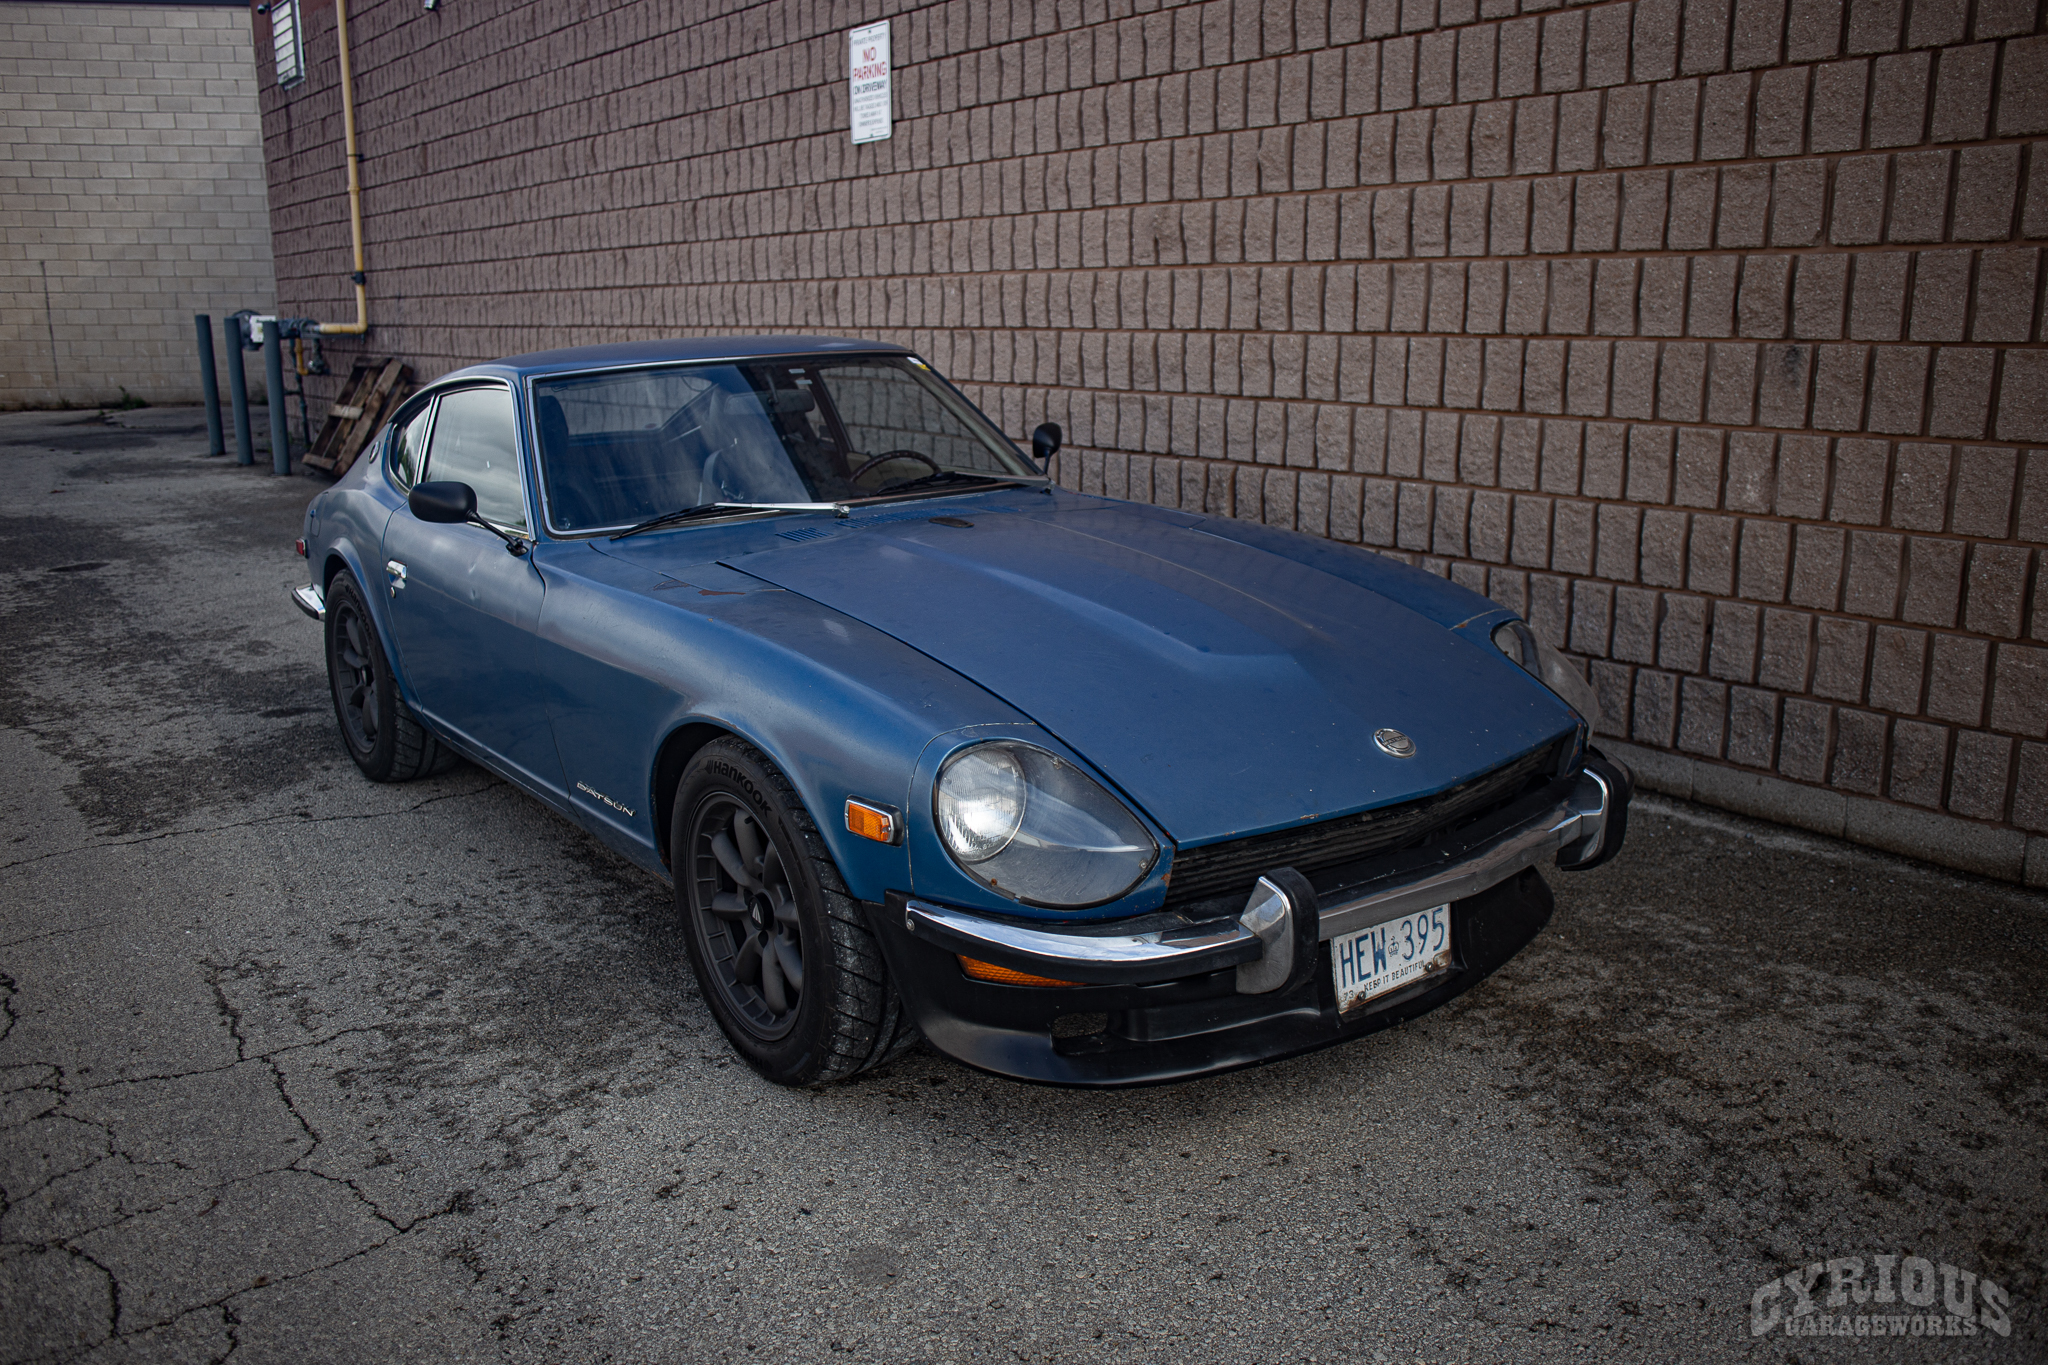
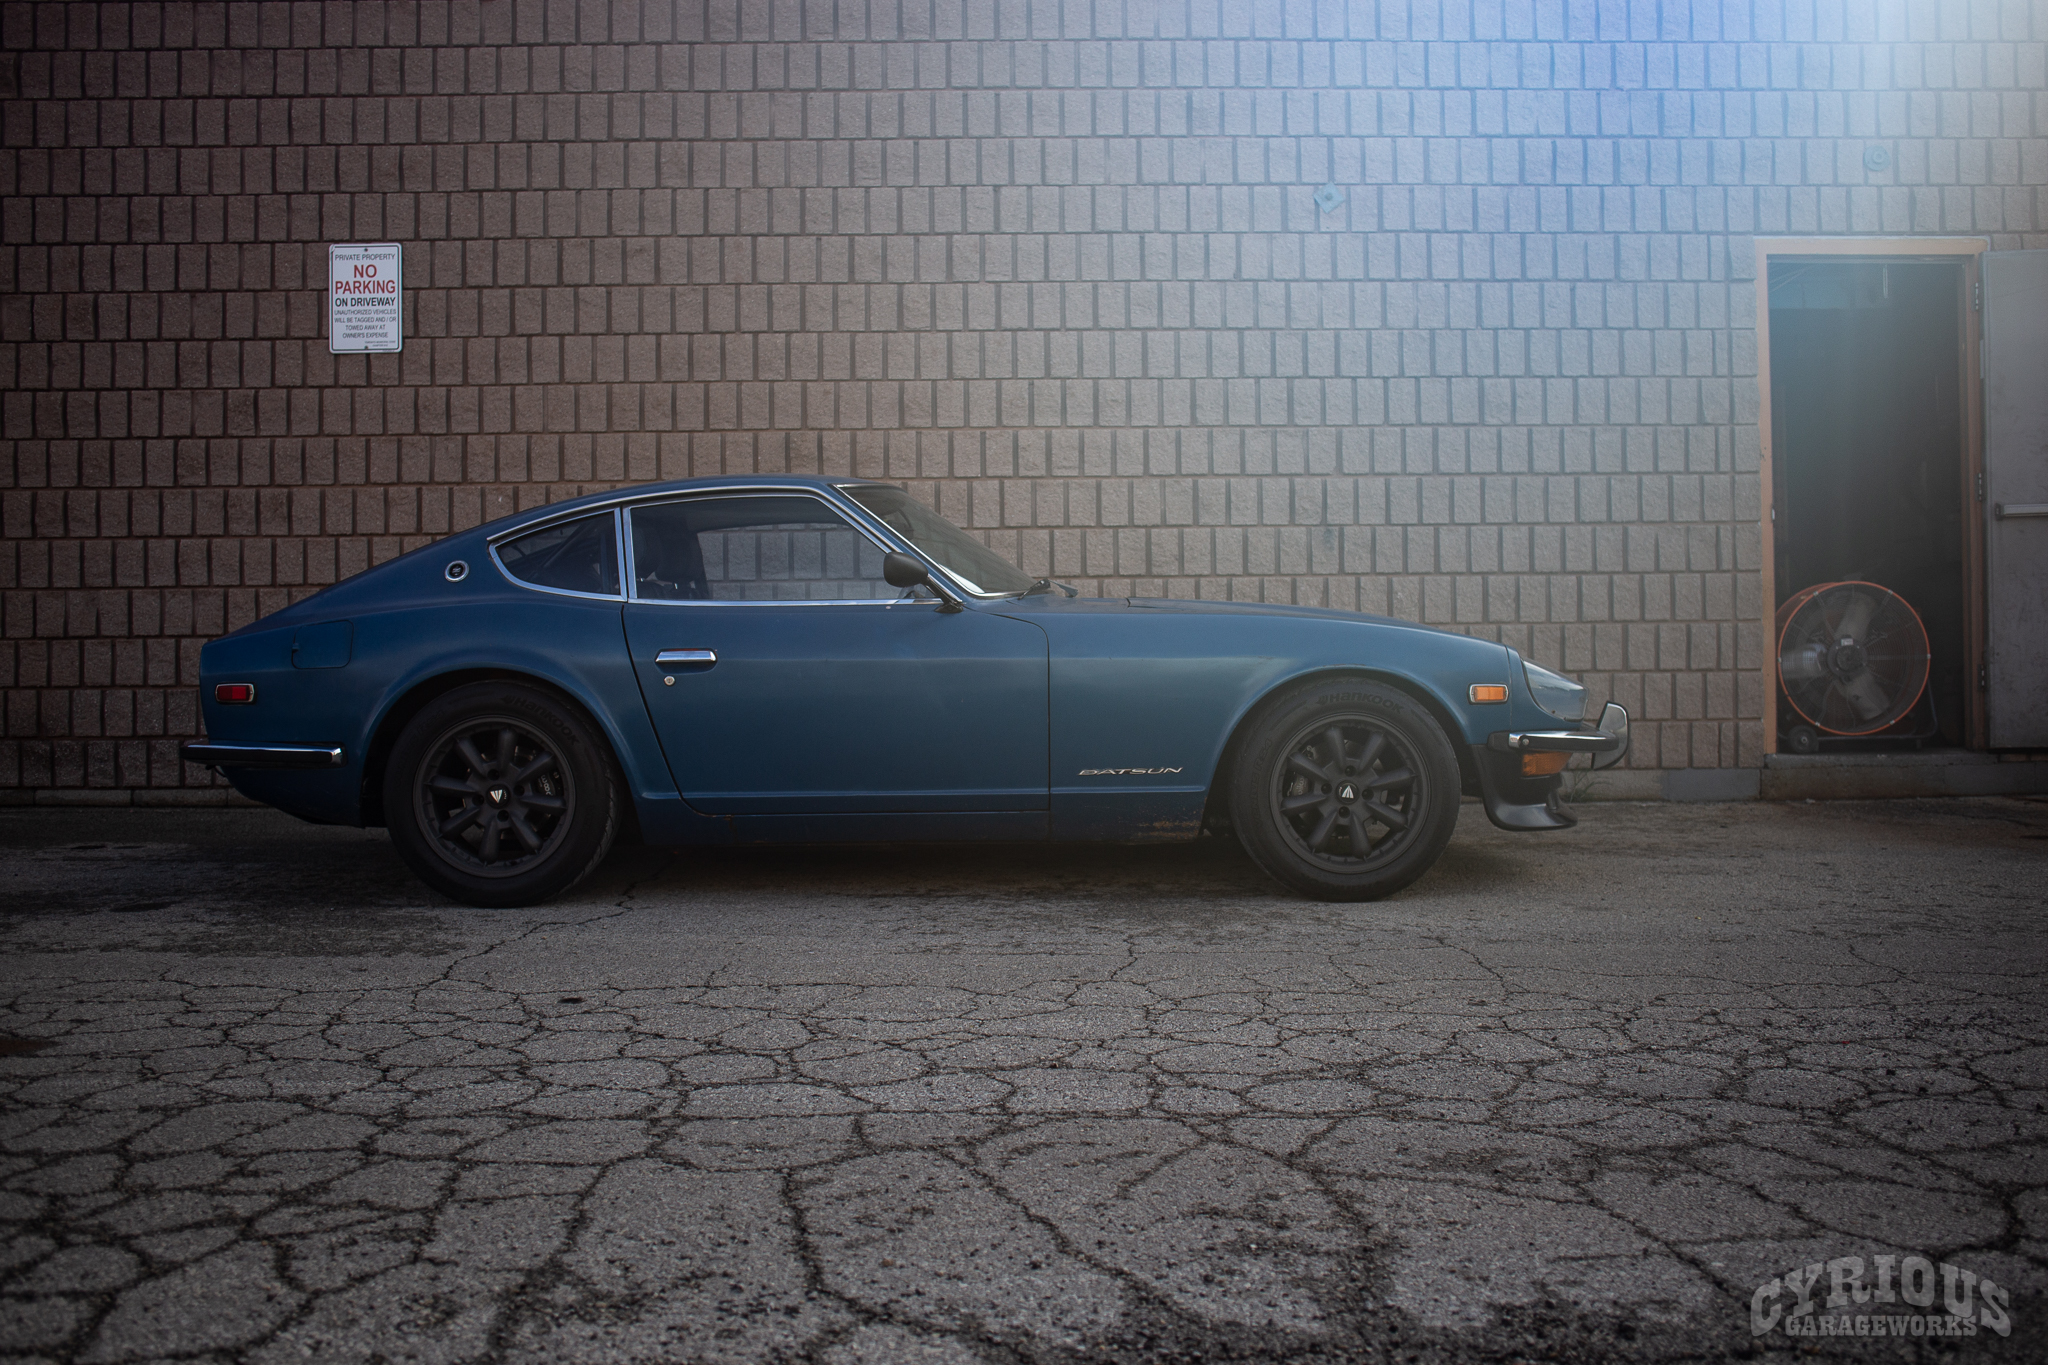
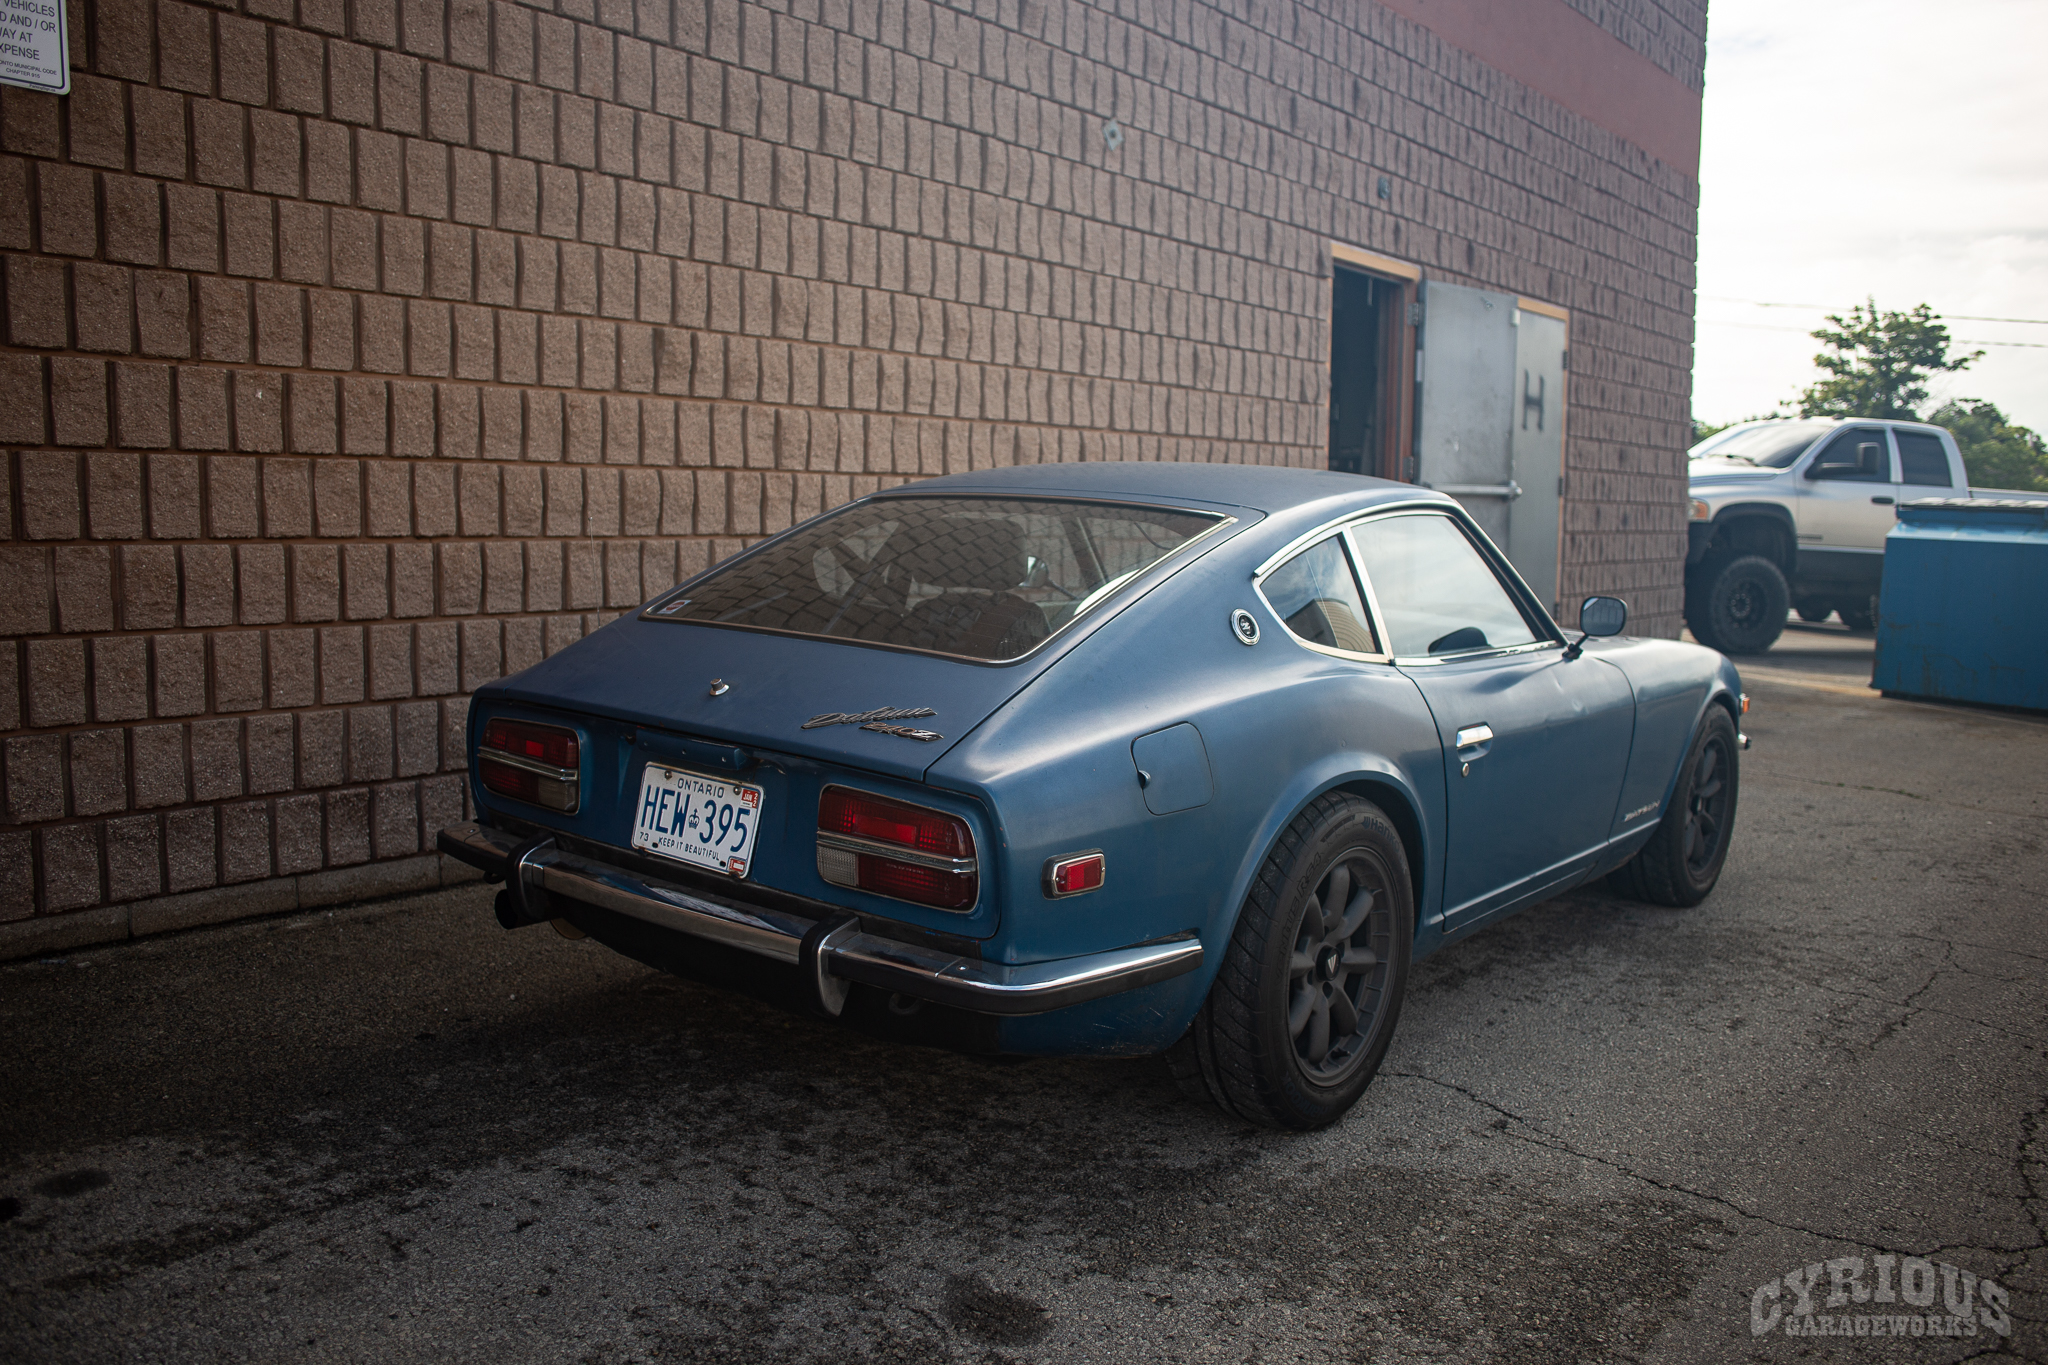
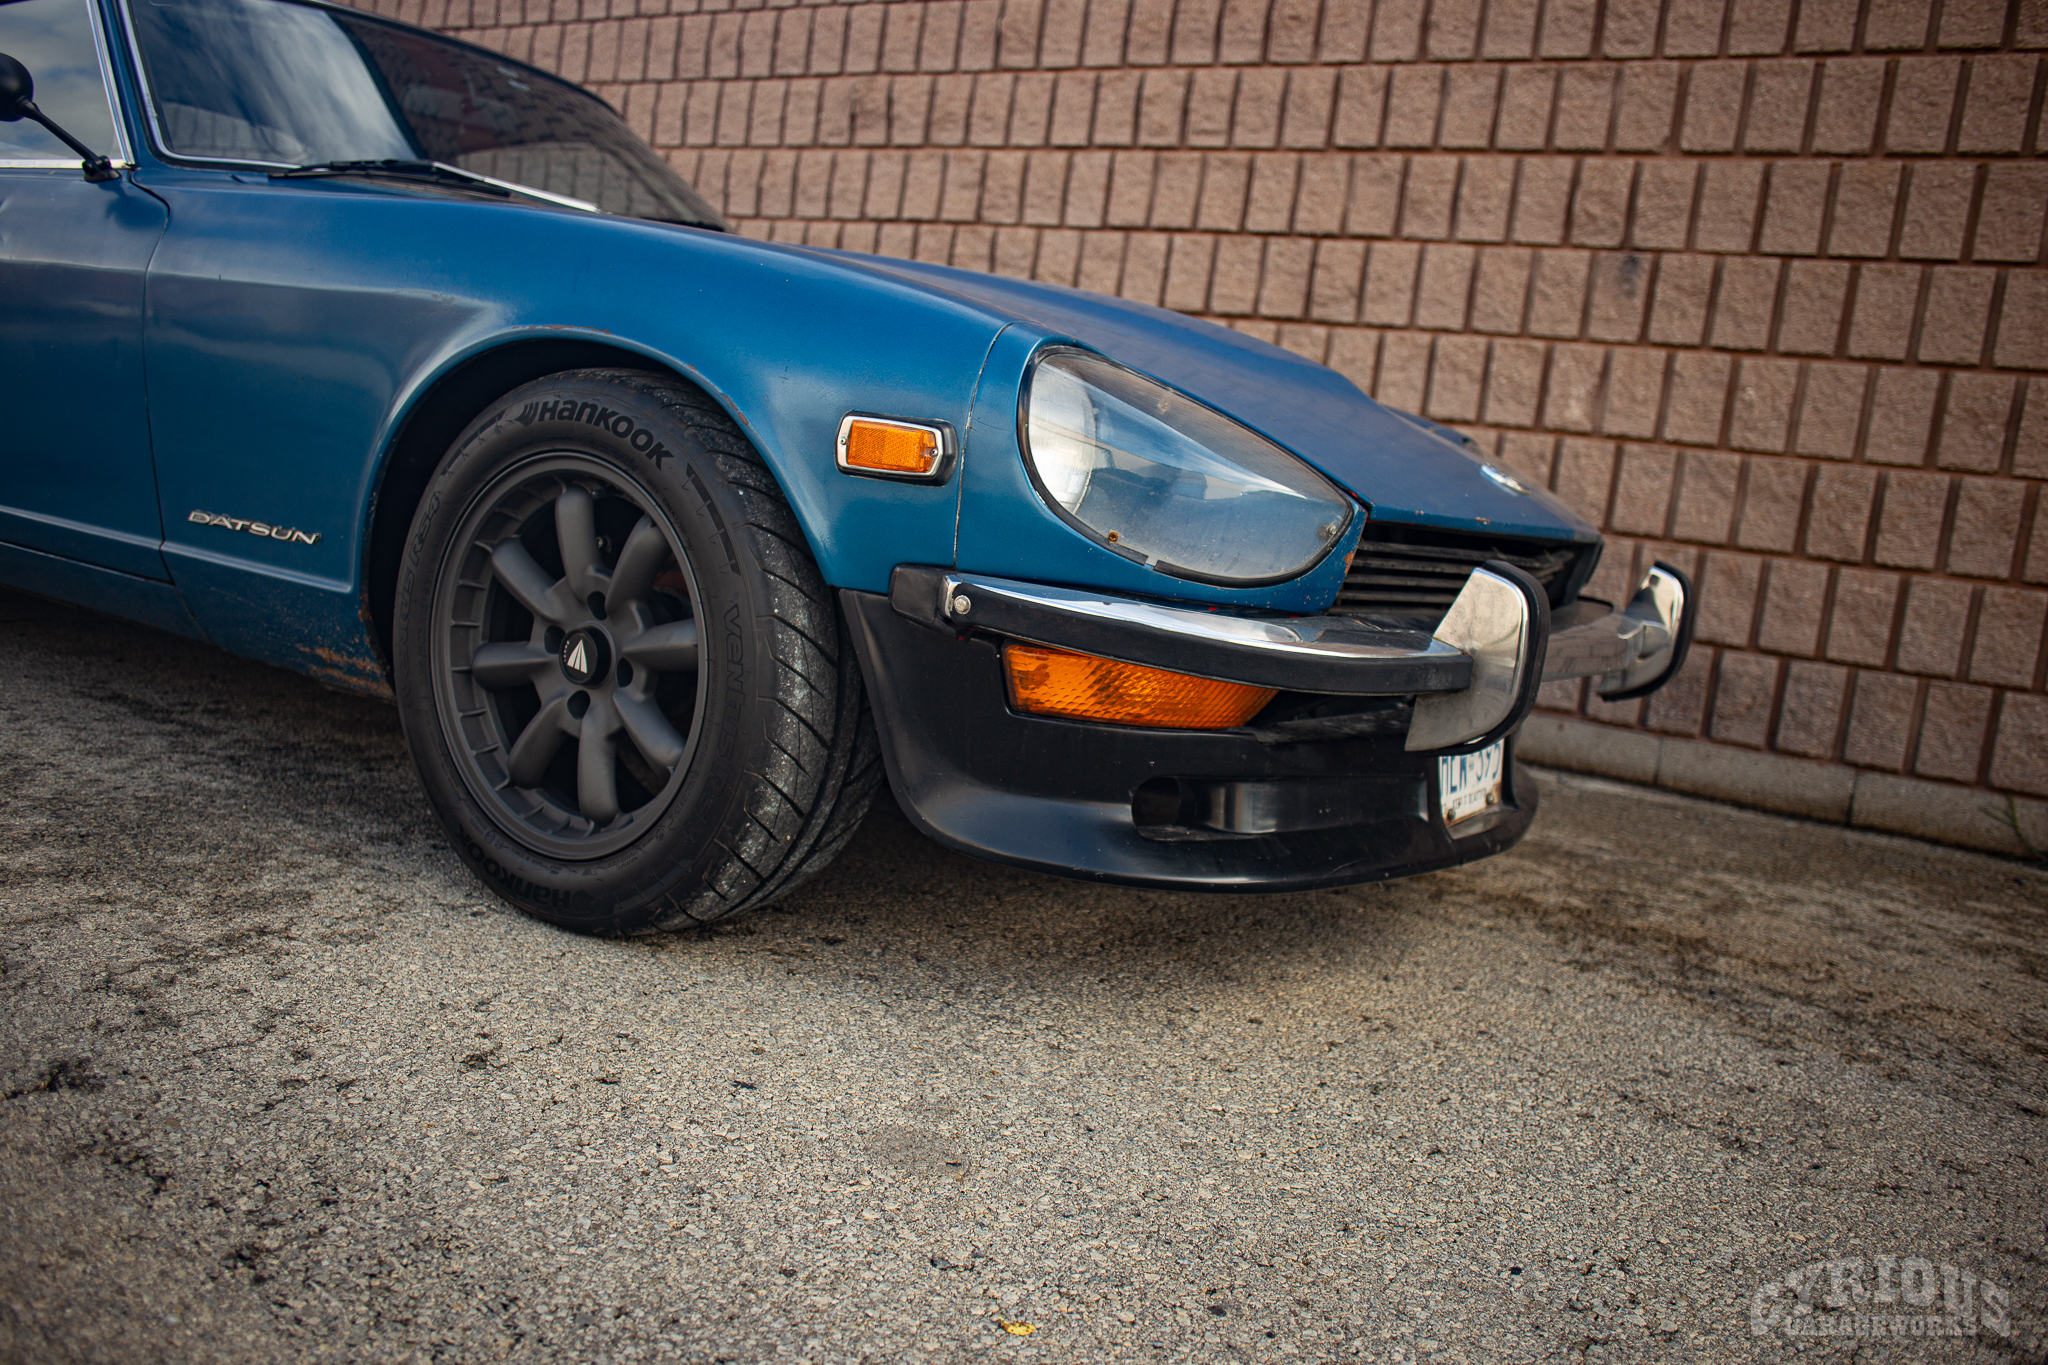
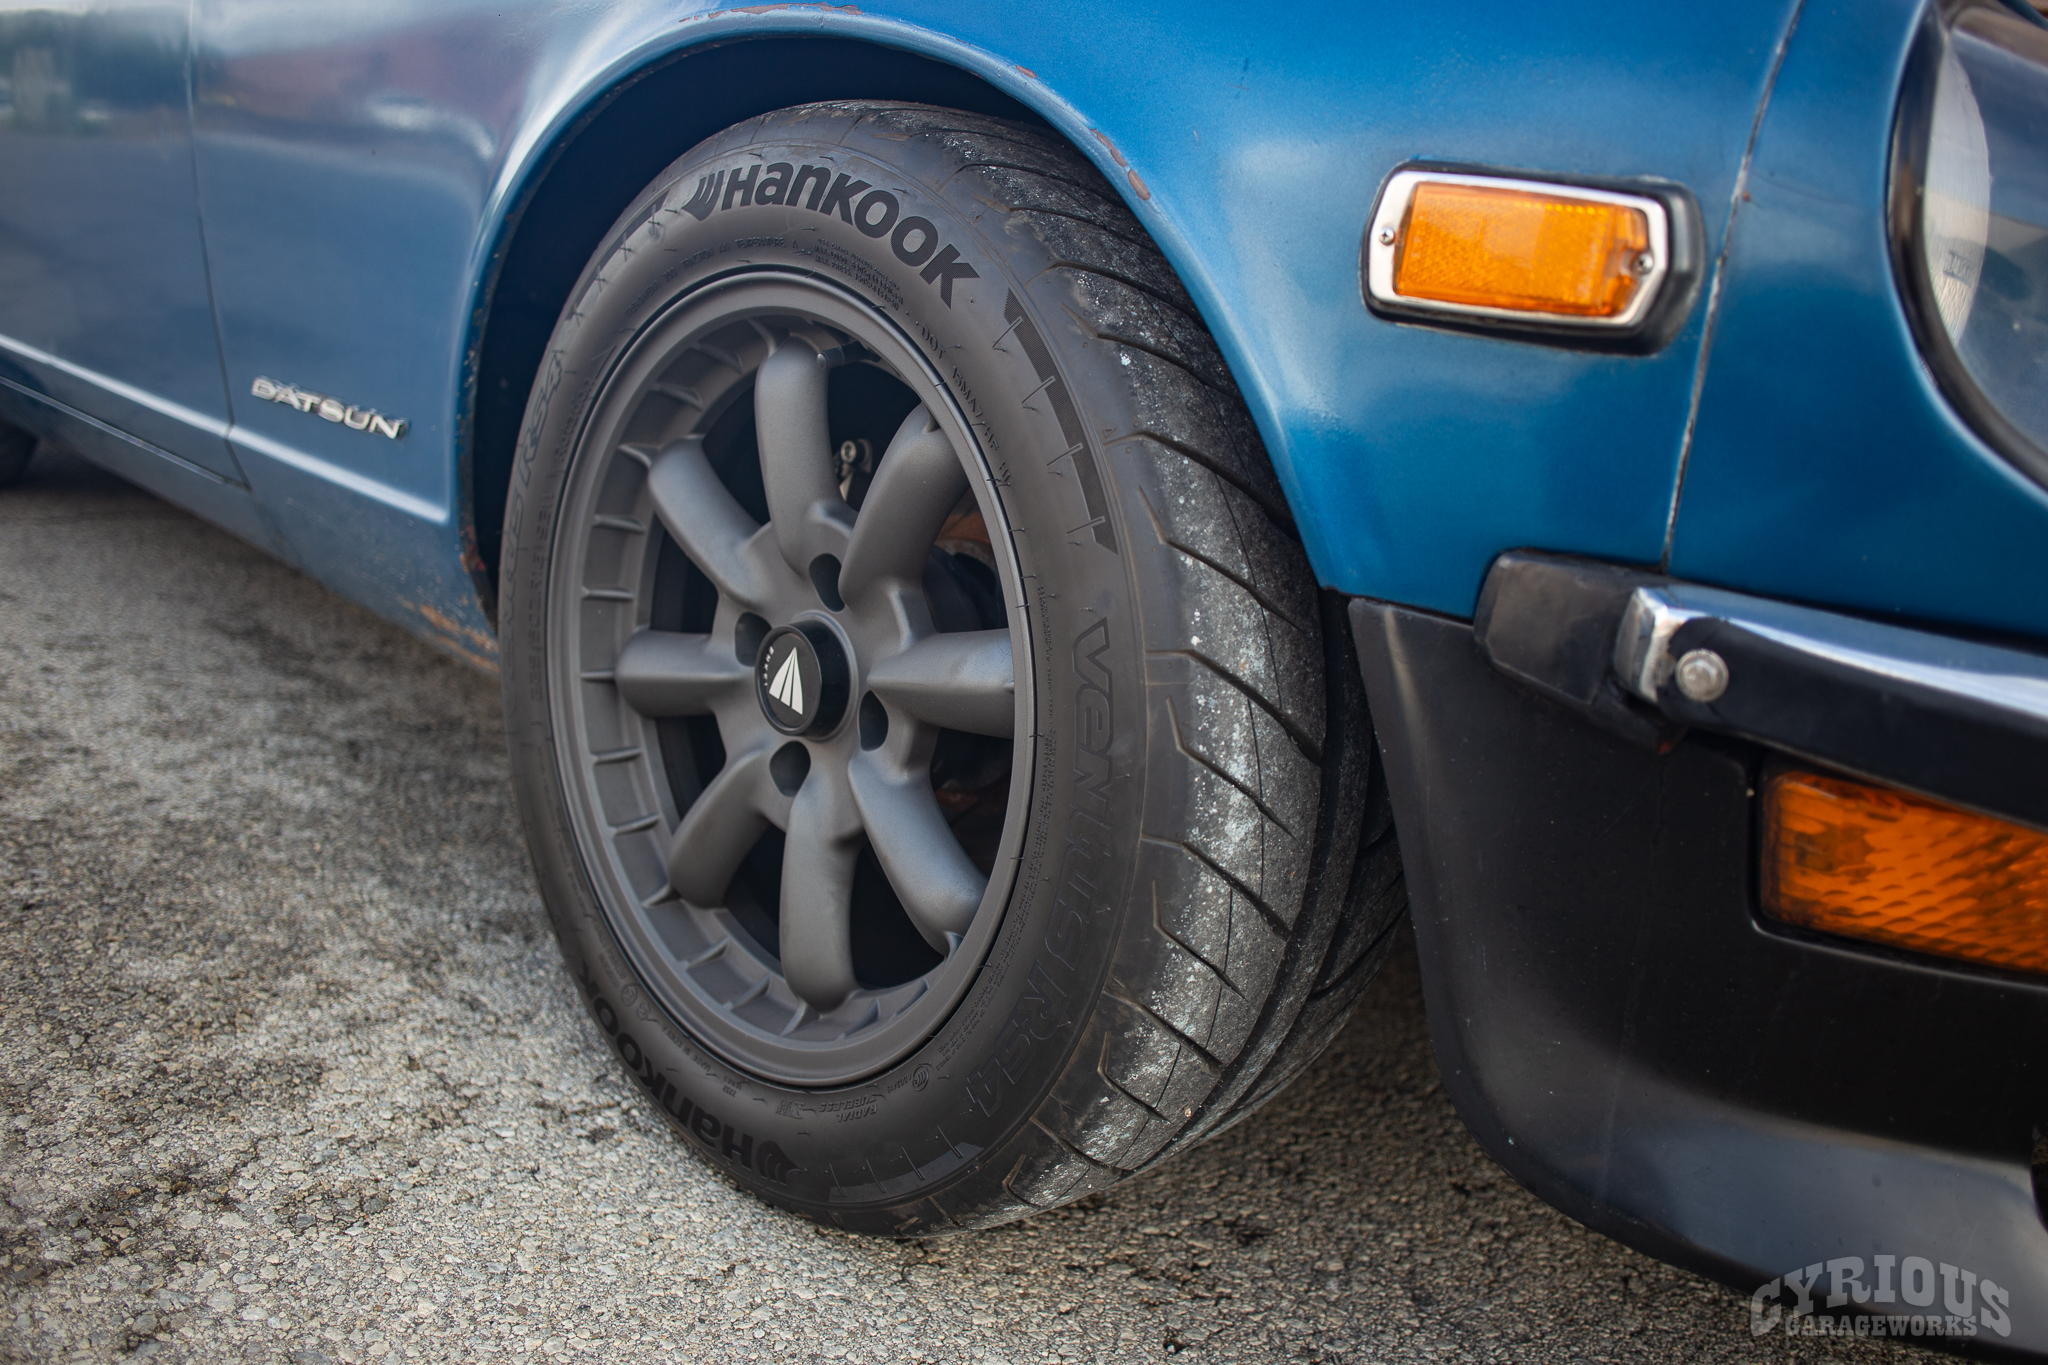
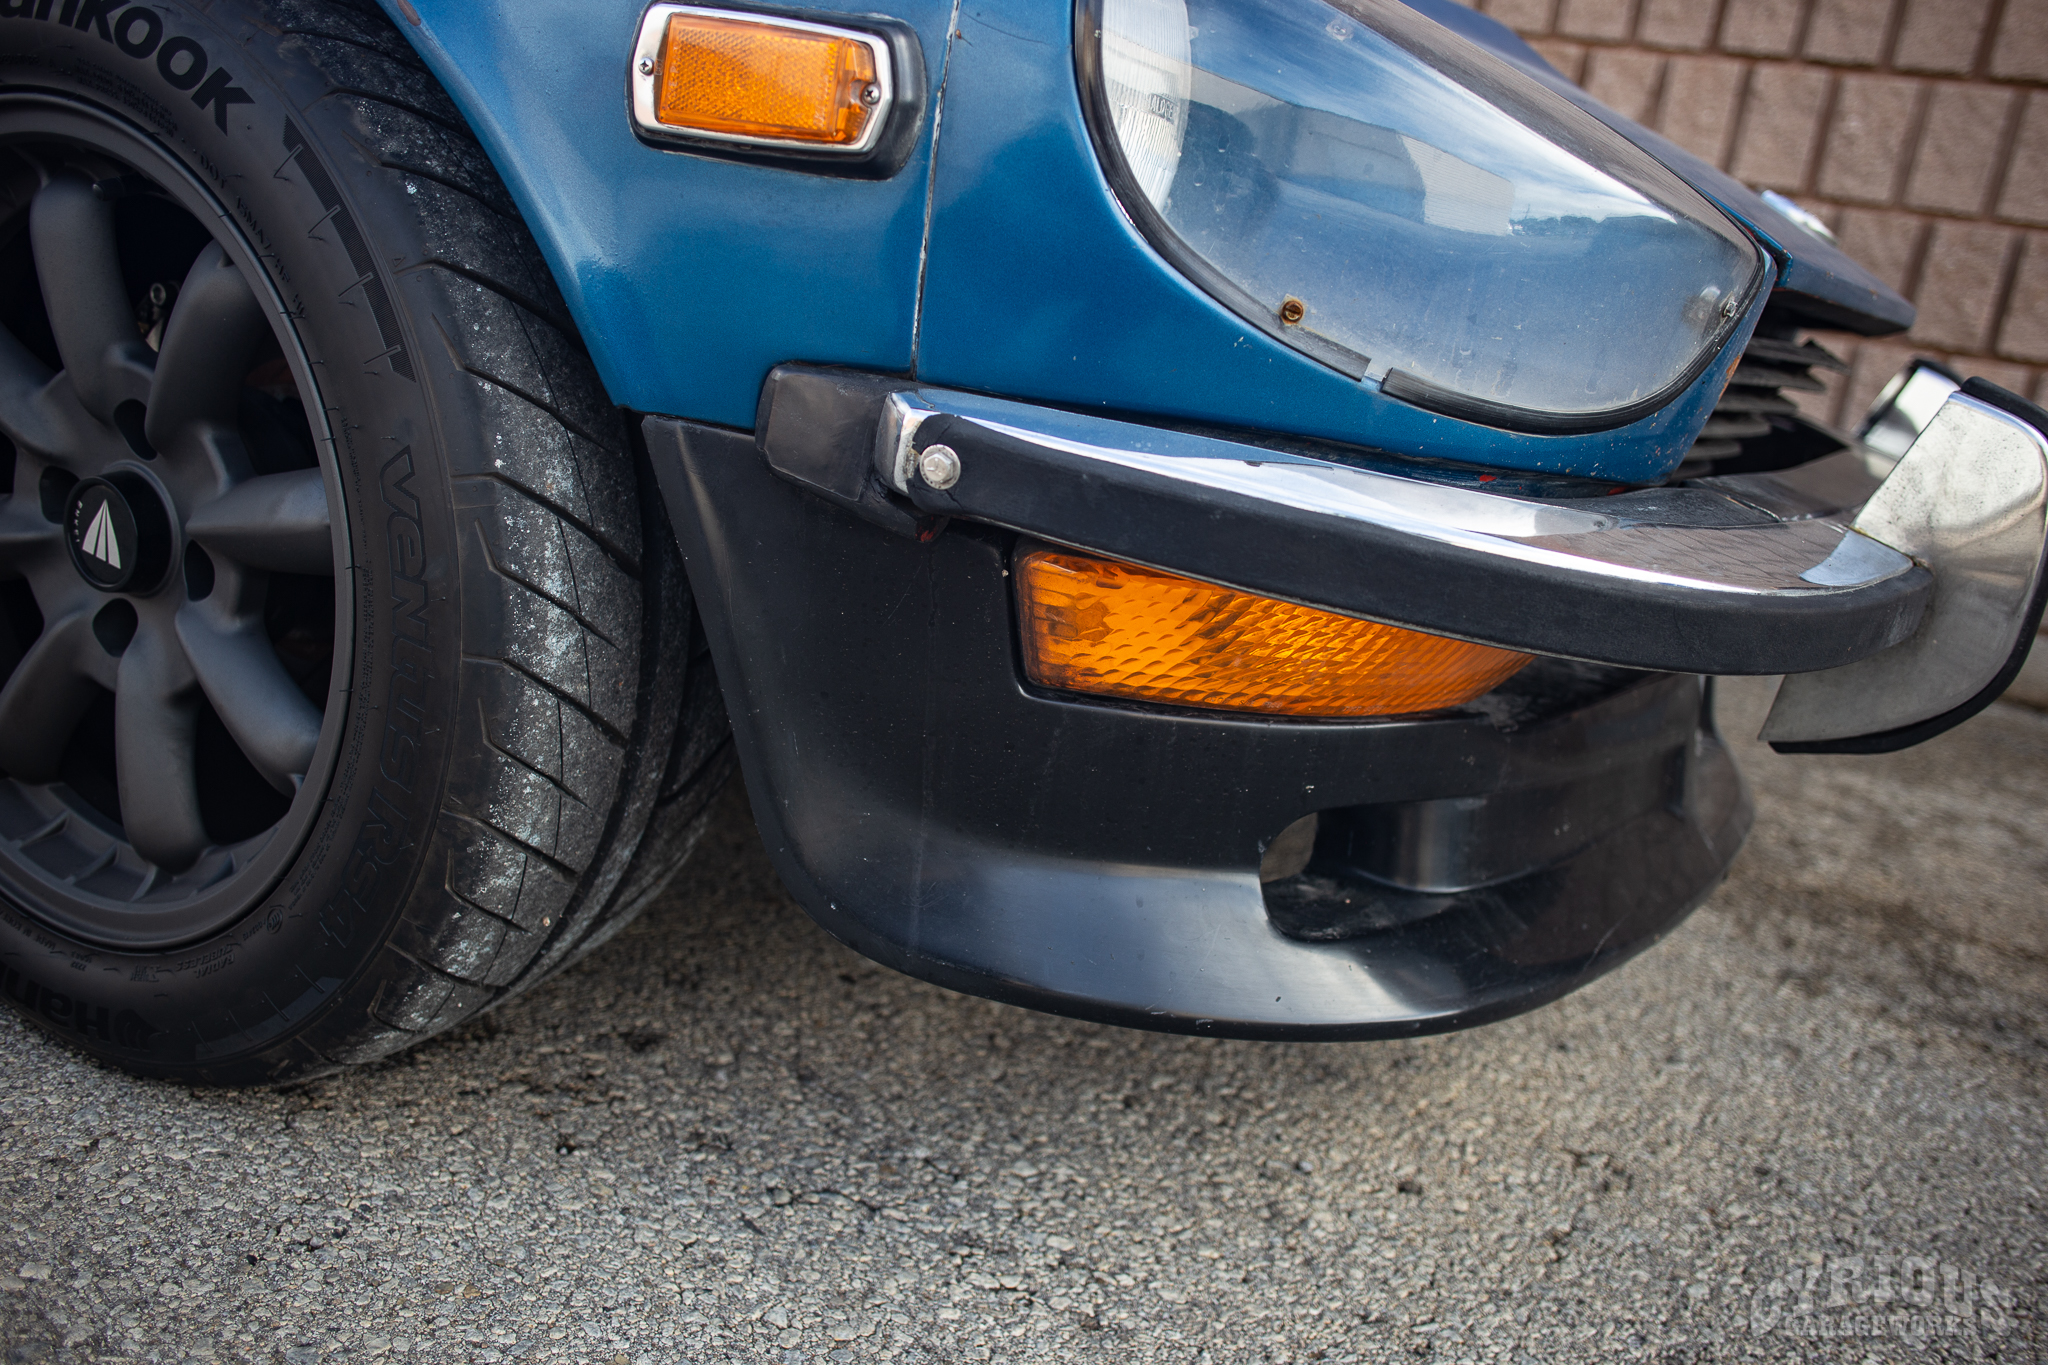
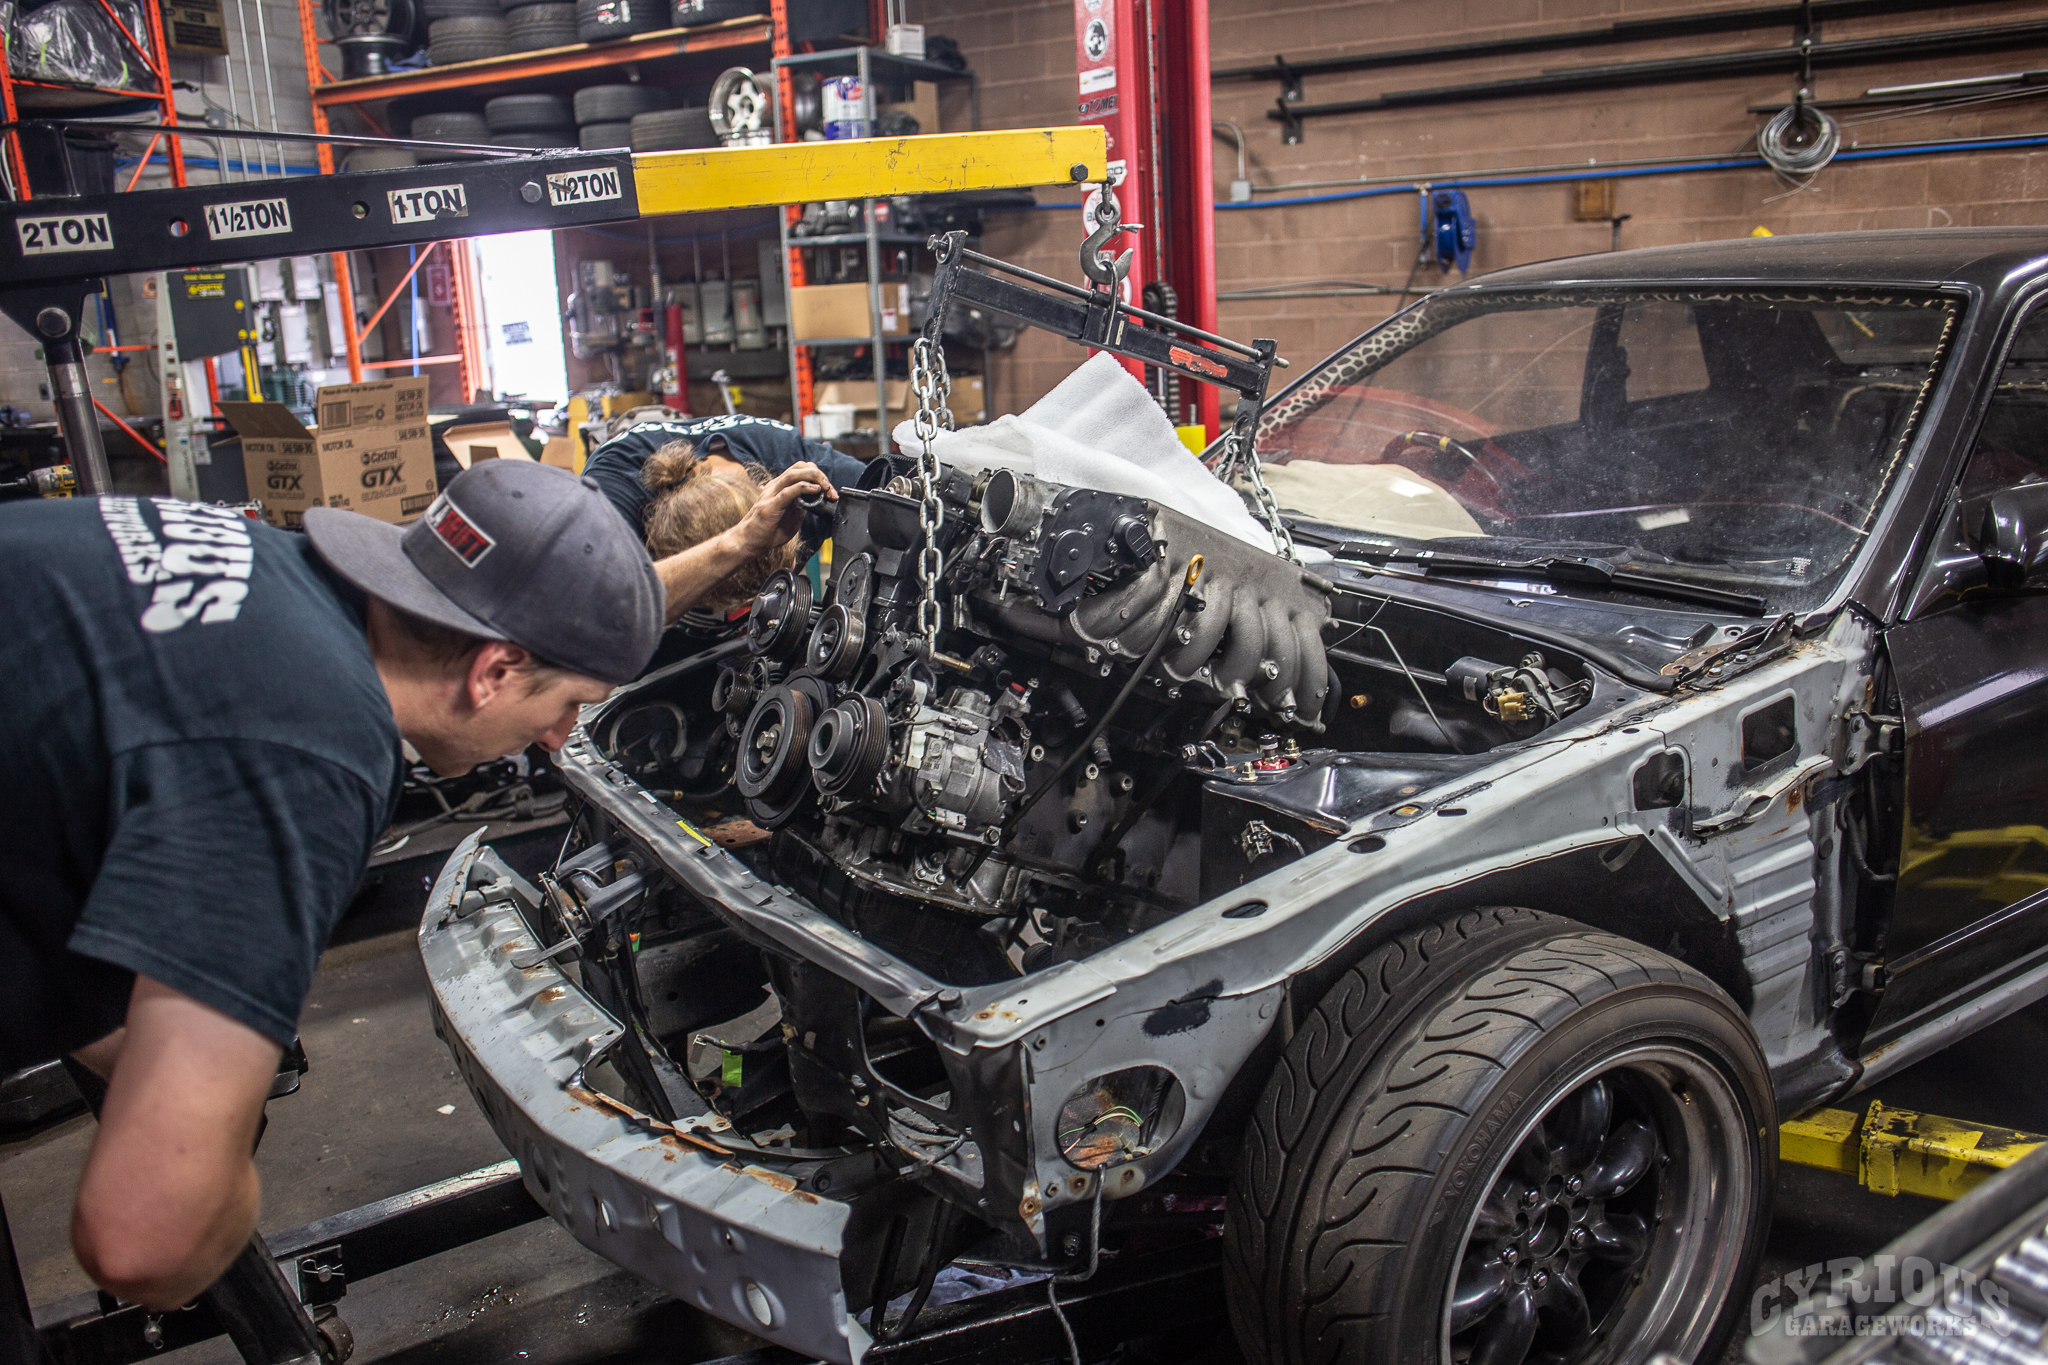
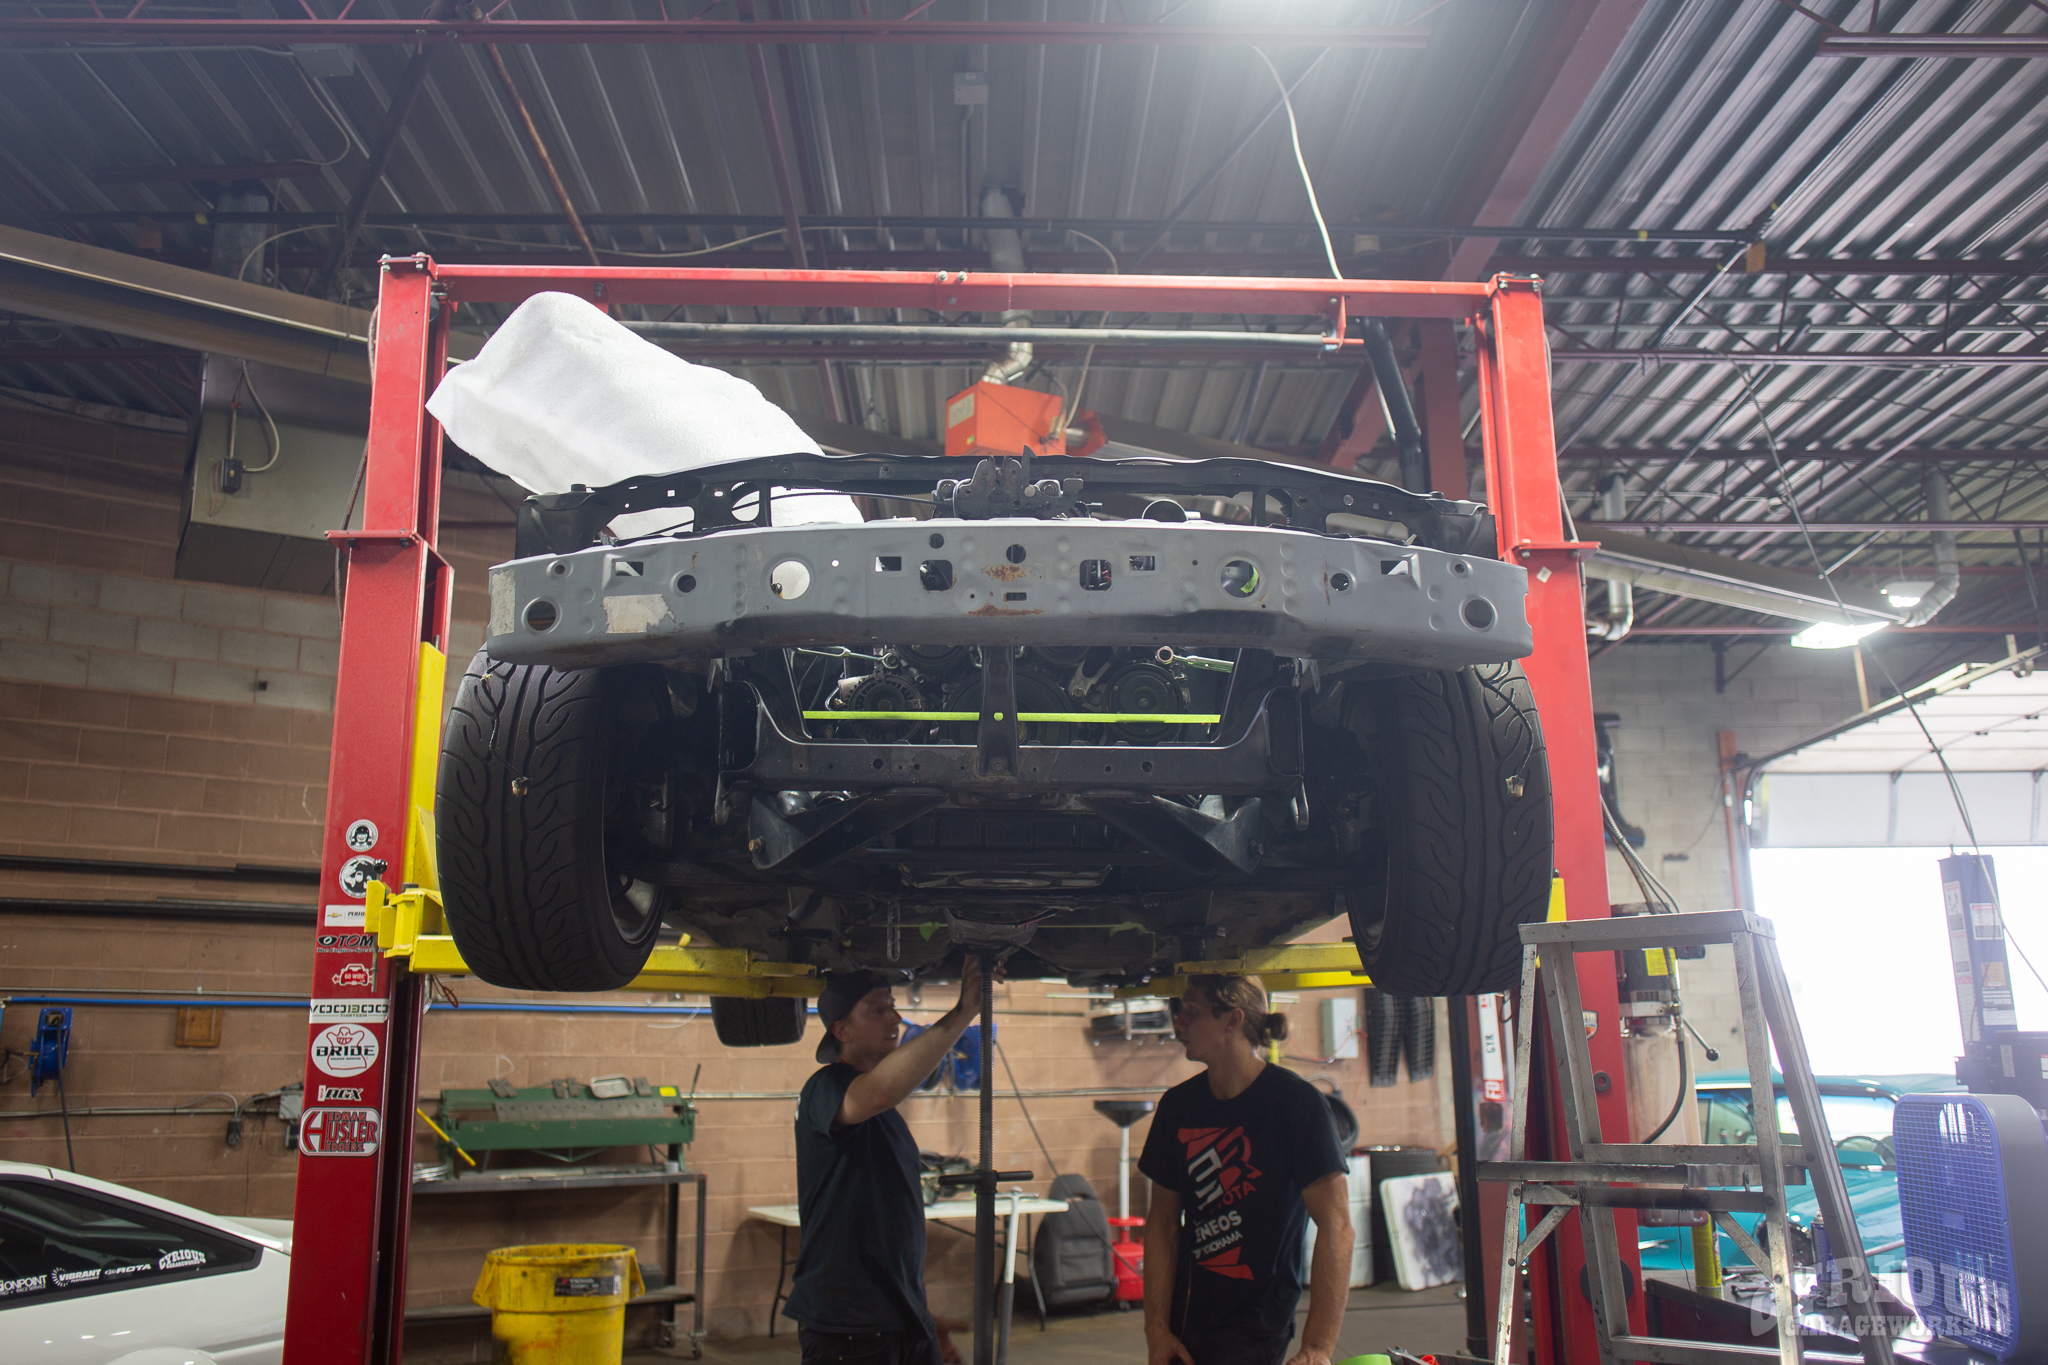
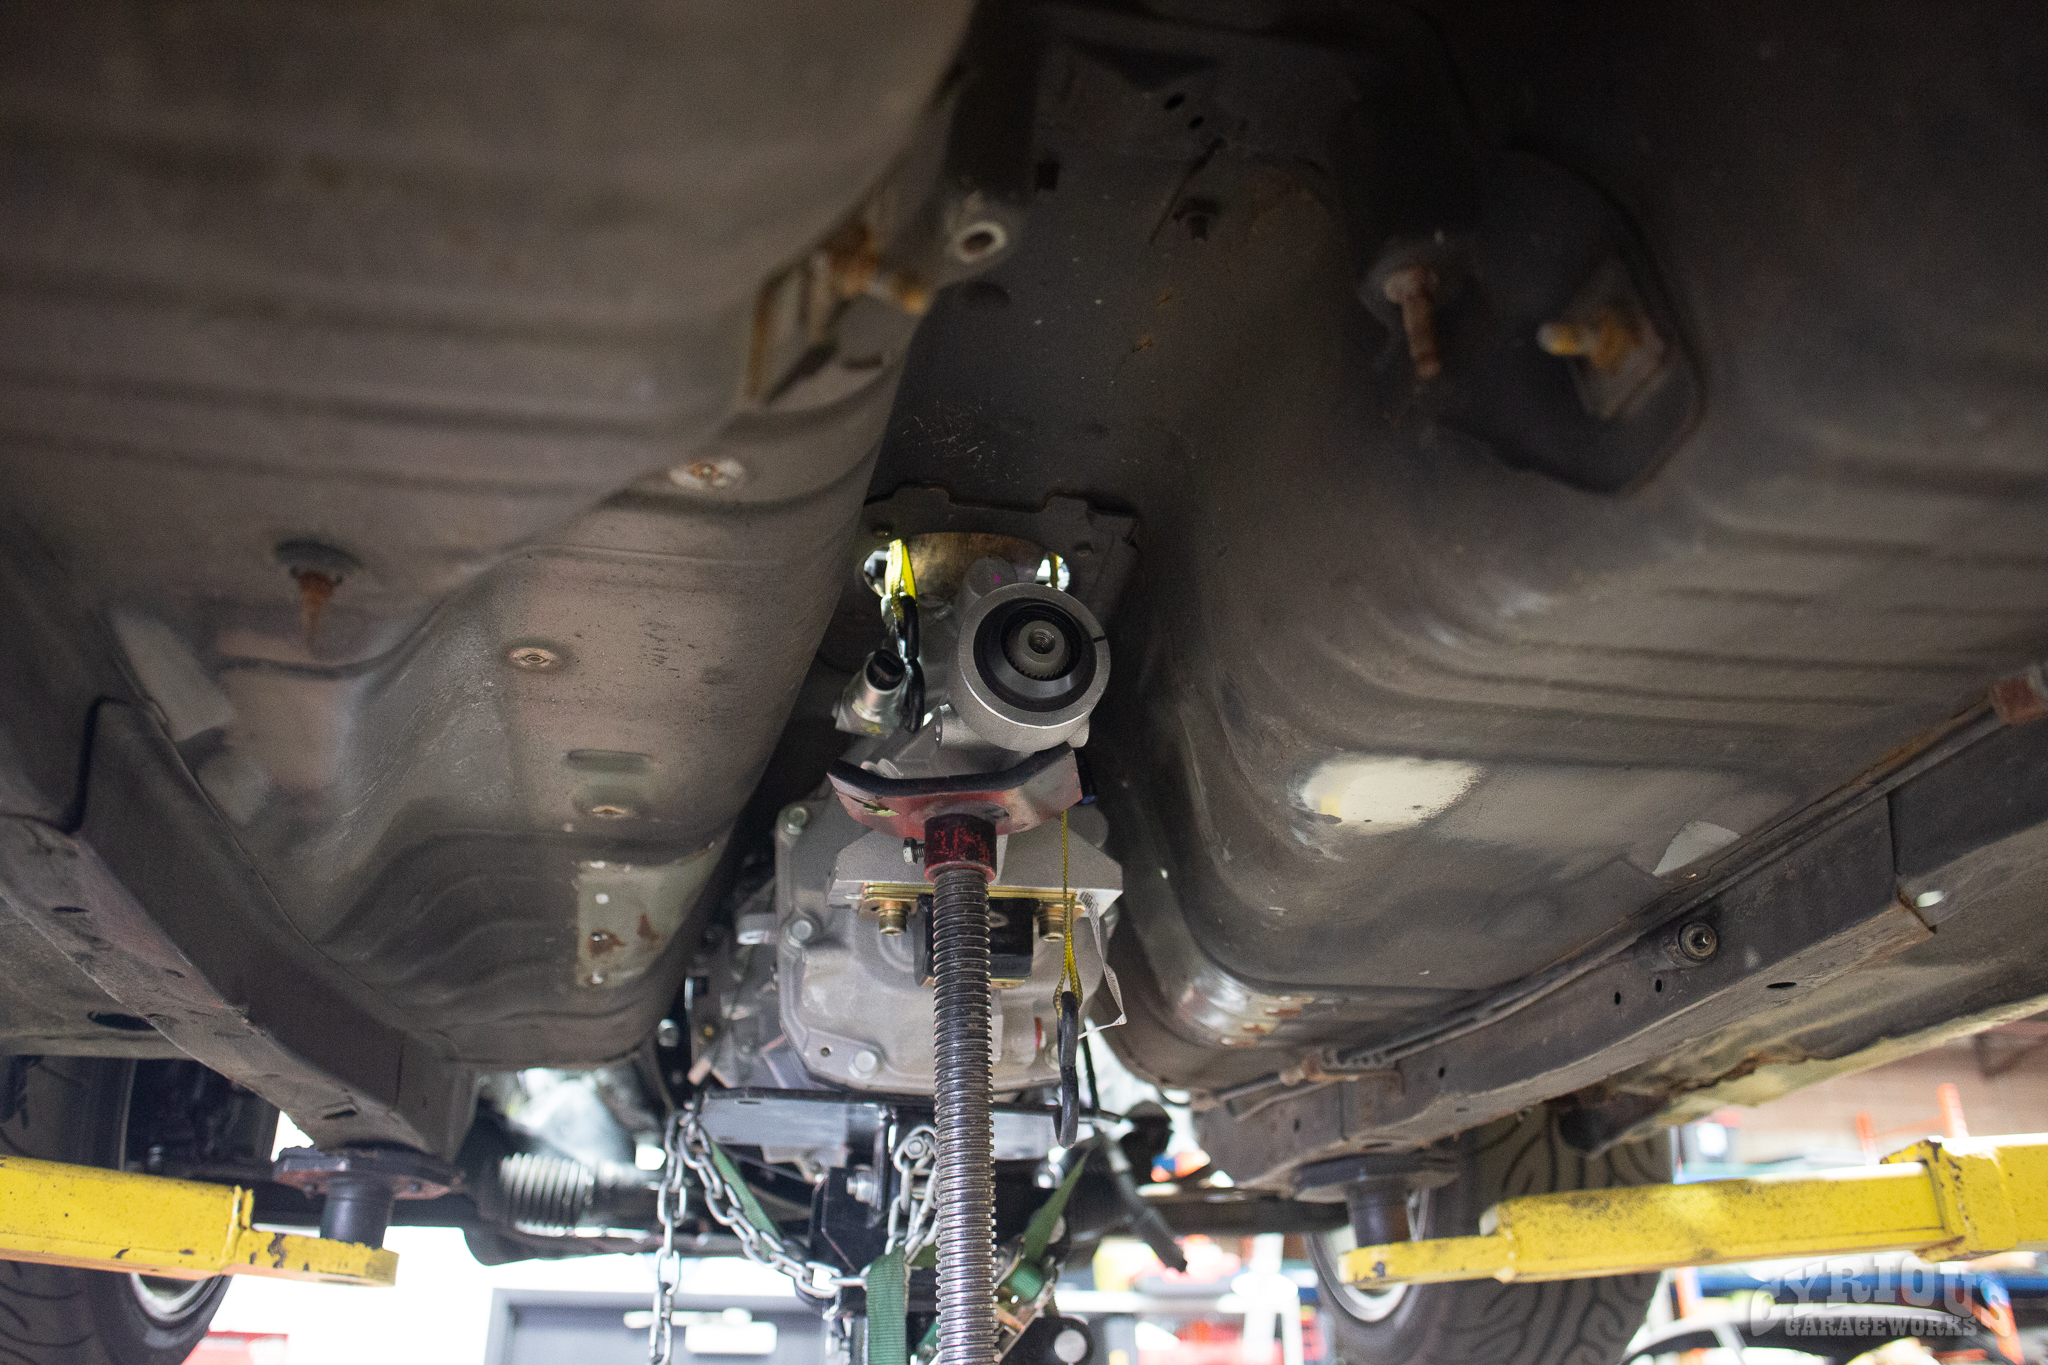
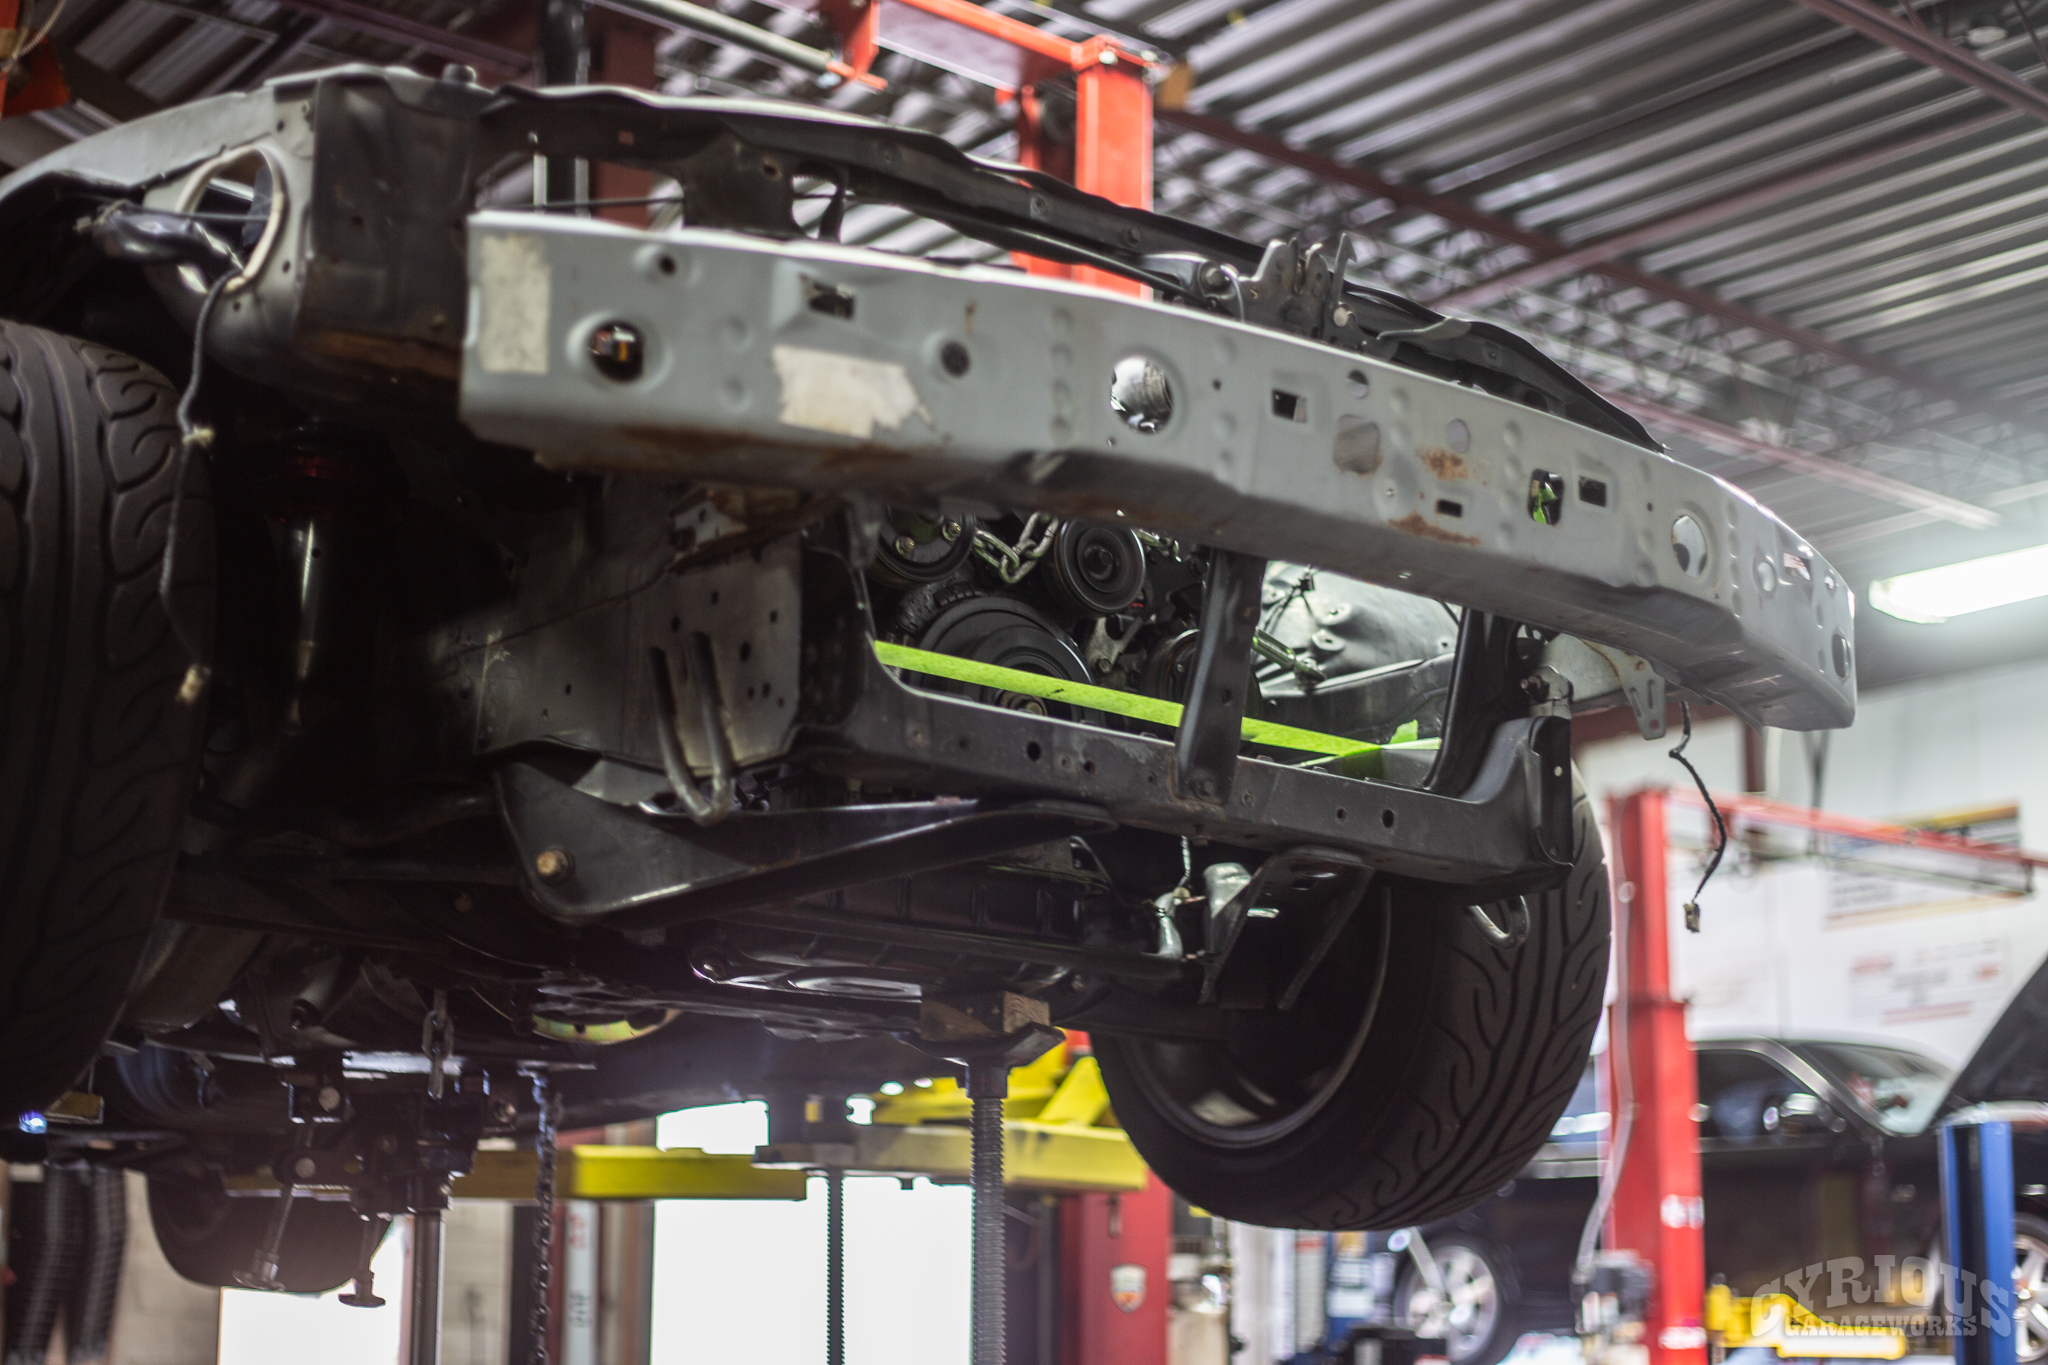
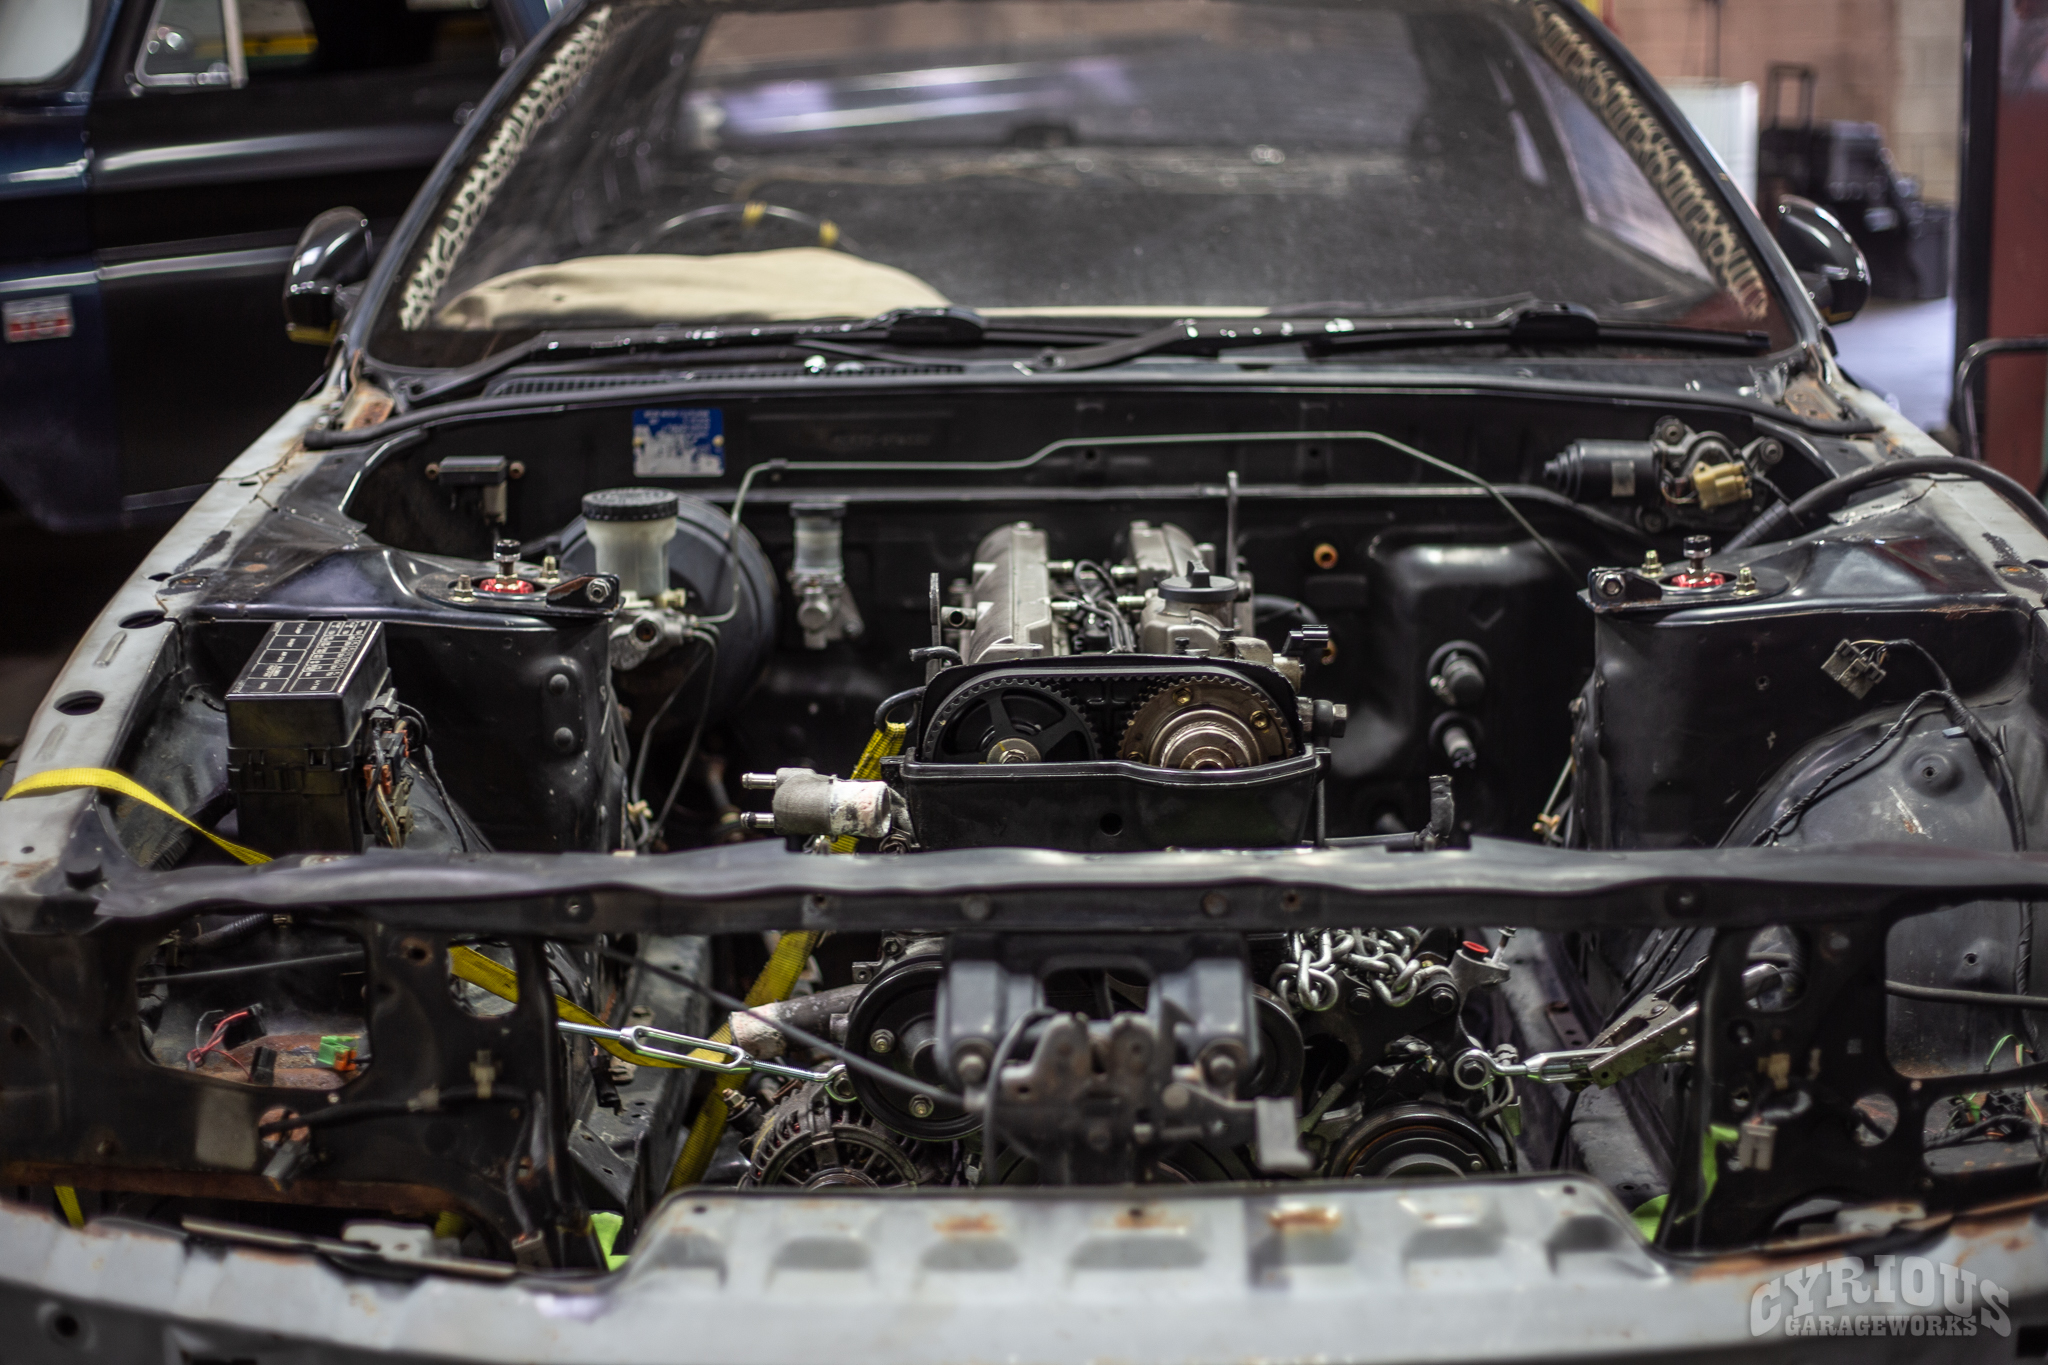
Another day, another Datsun 240Z getting engine swapped! We went a little bit of a different direction with this one, compared to some of our previous builds. For starters, we left the body original, for the most part. It might be something we look at in the future, but for now it’ll be a bit more of a low key build.
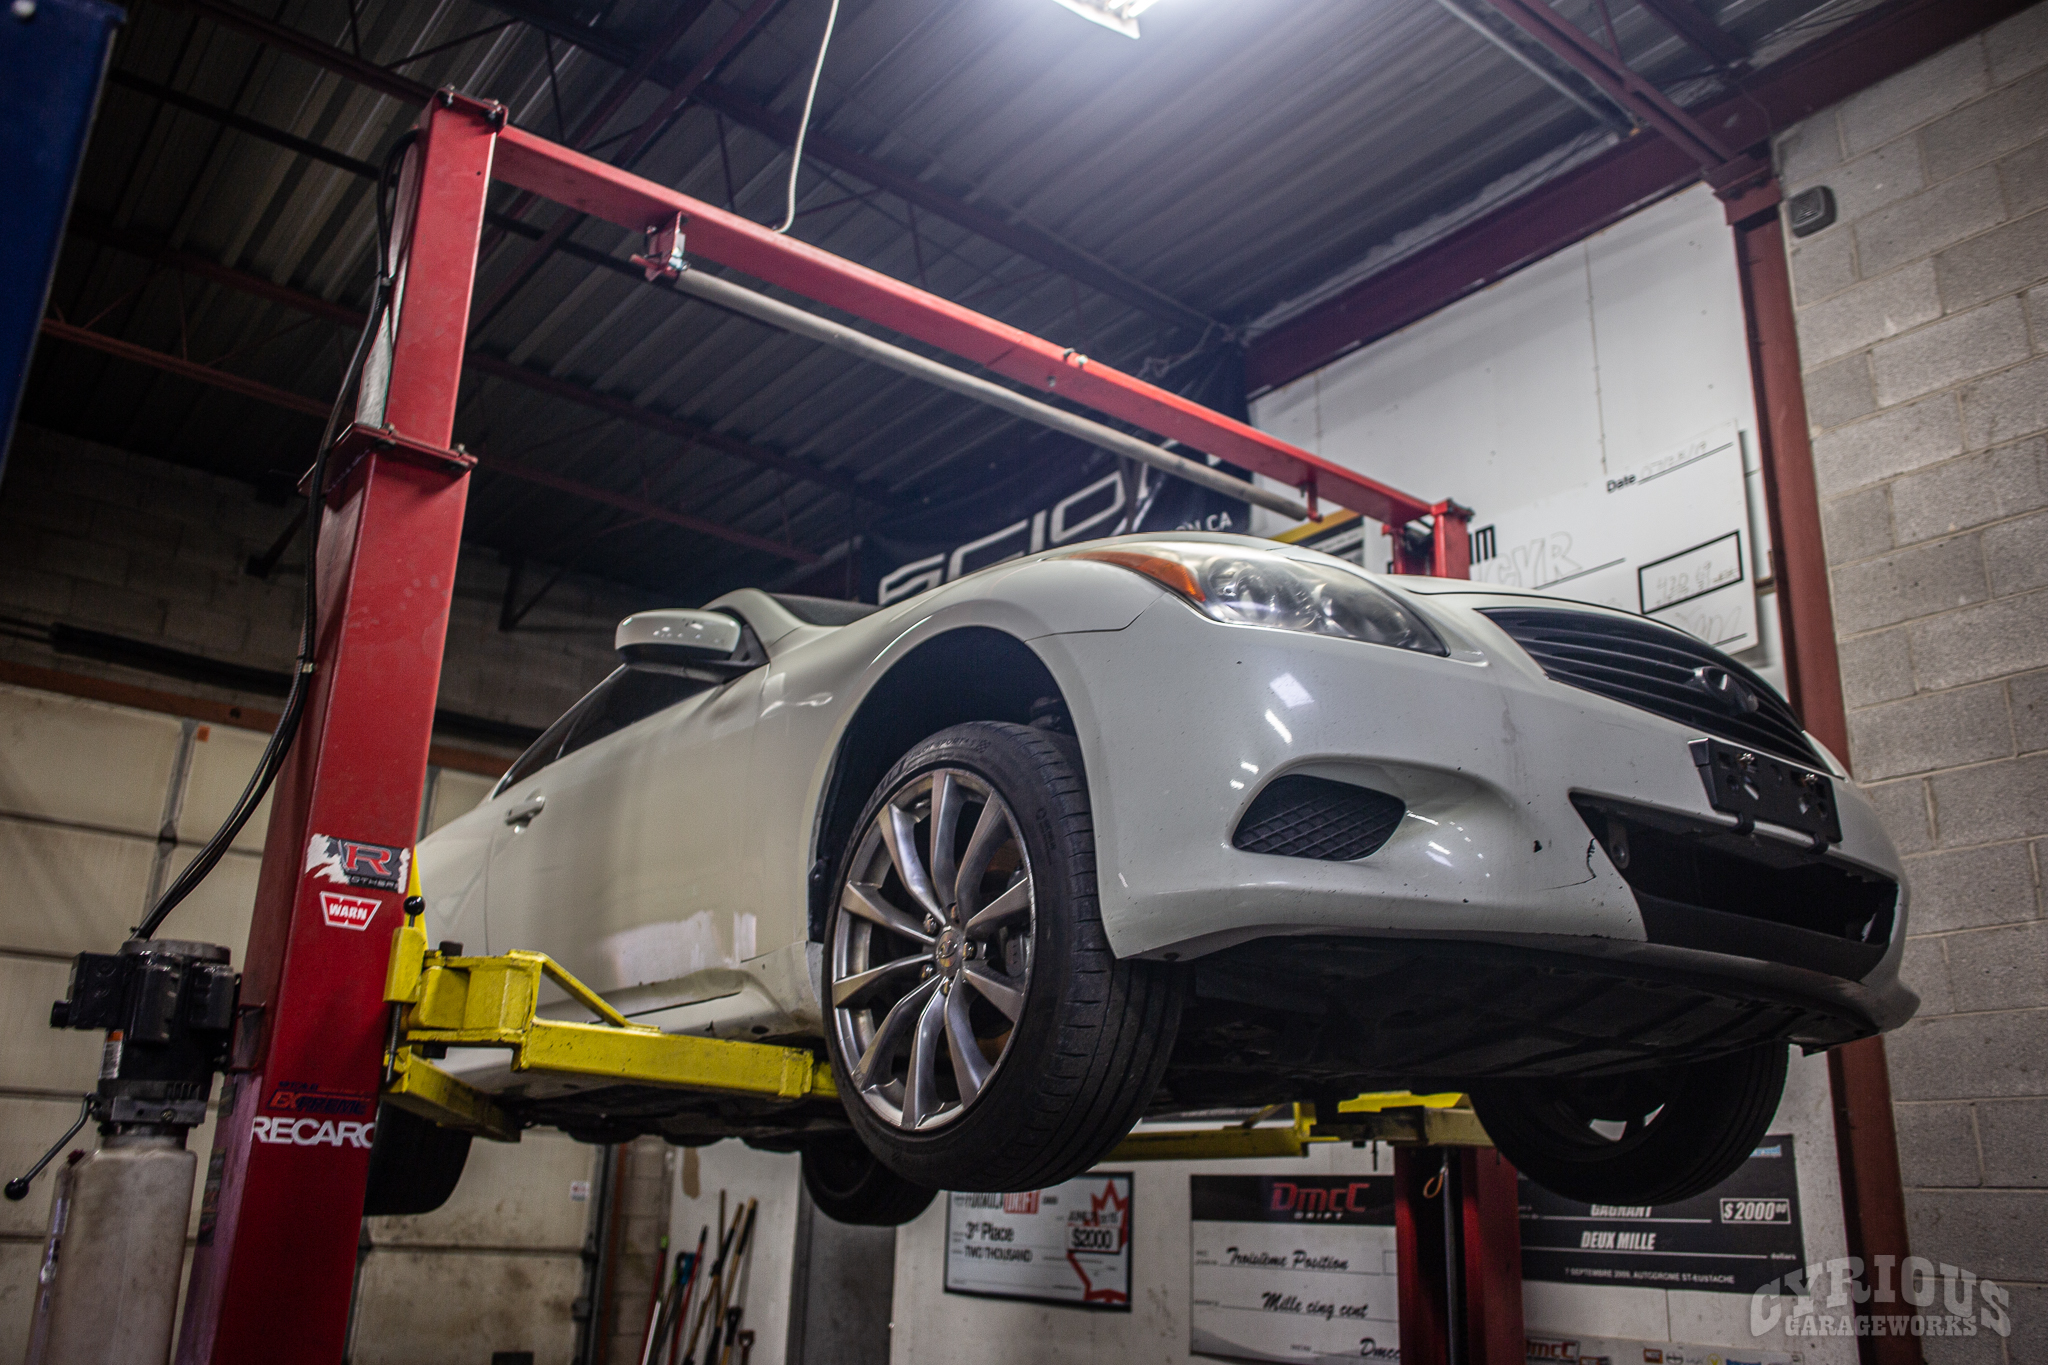
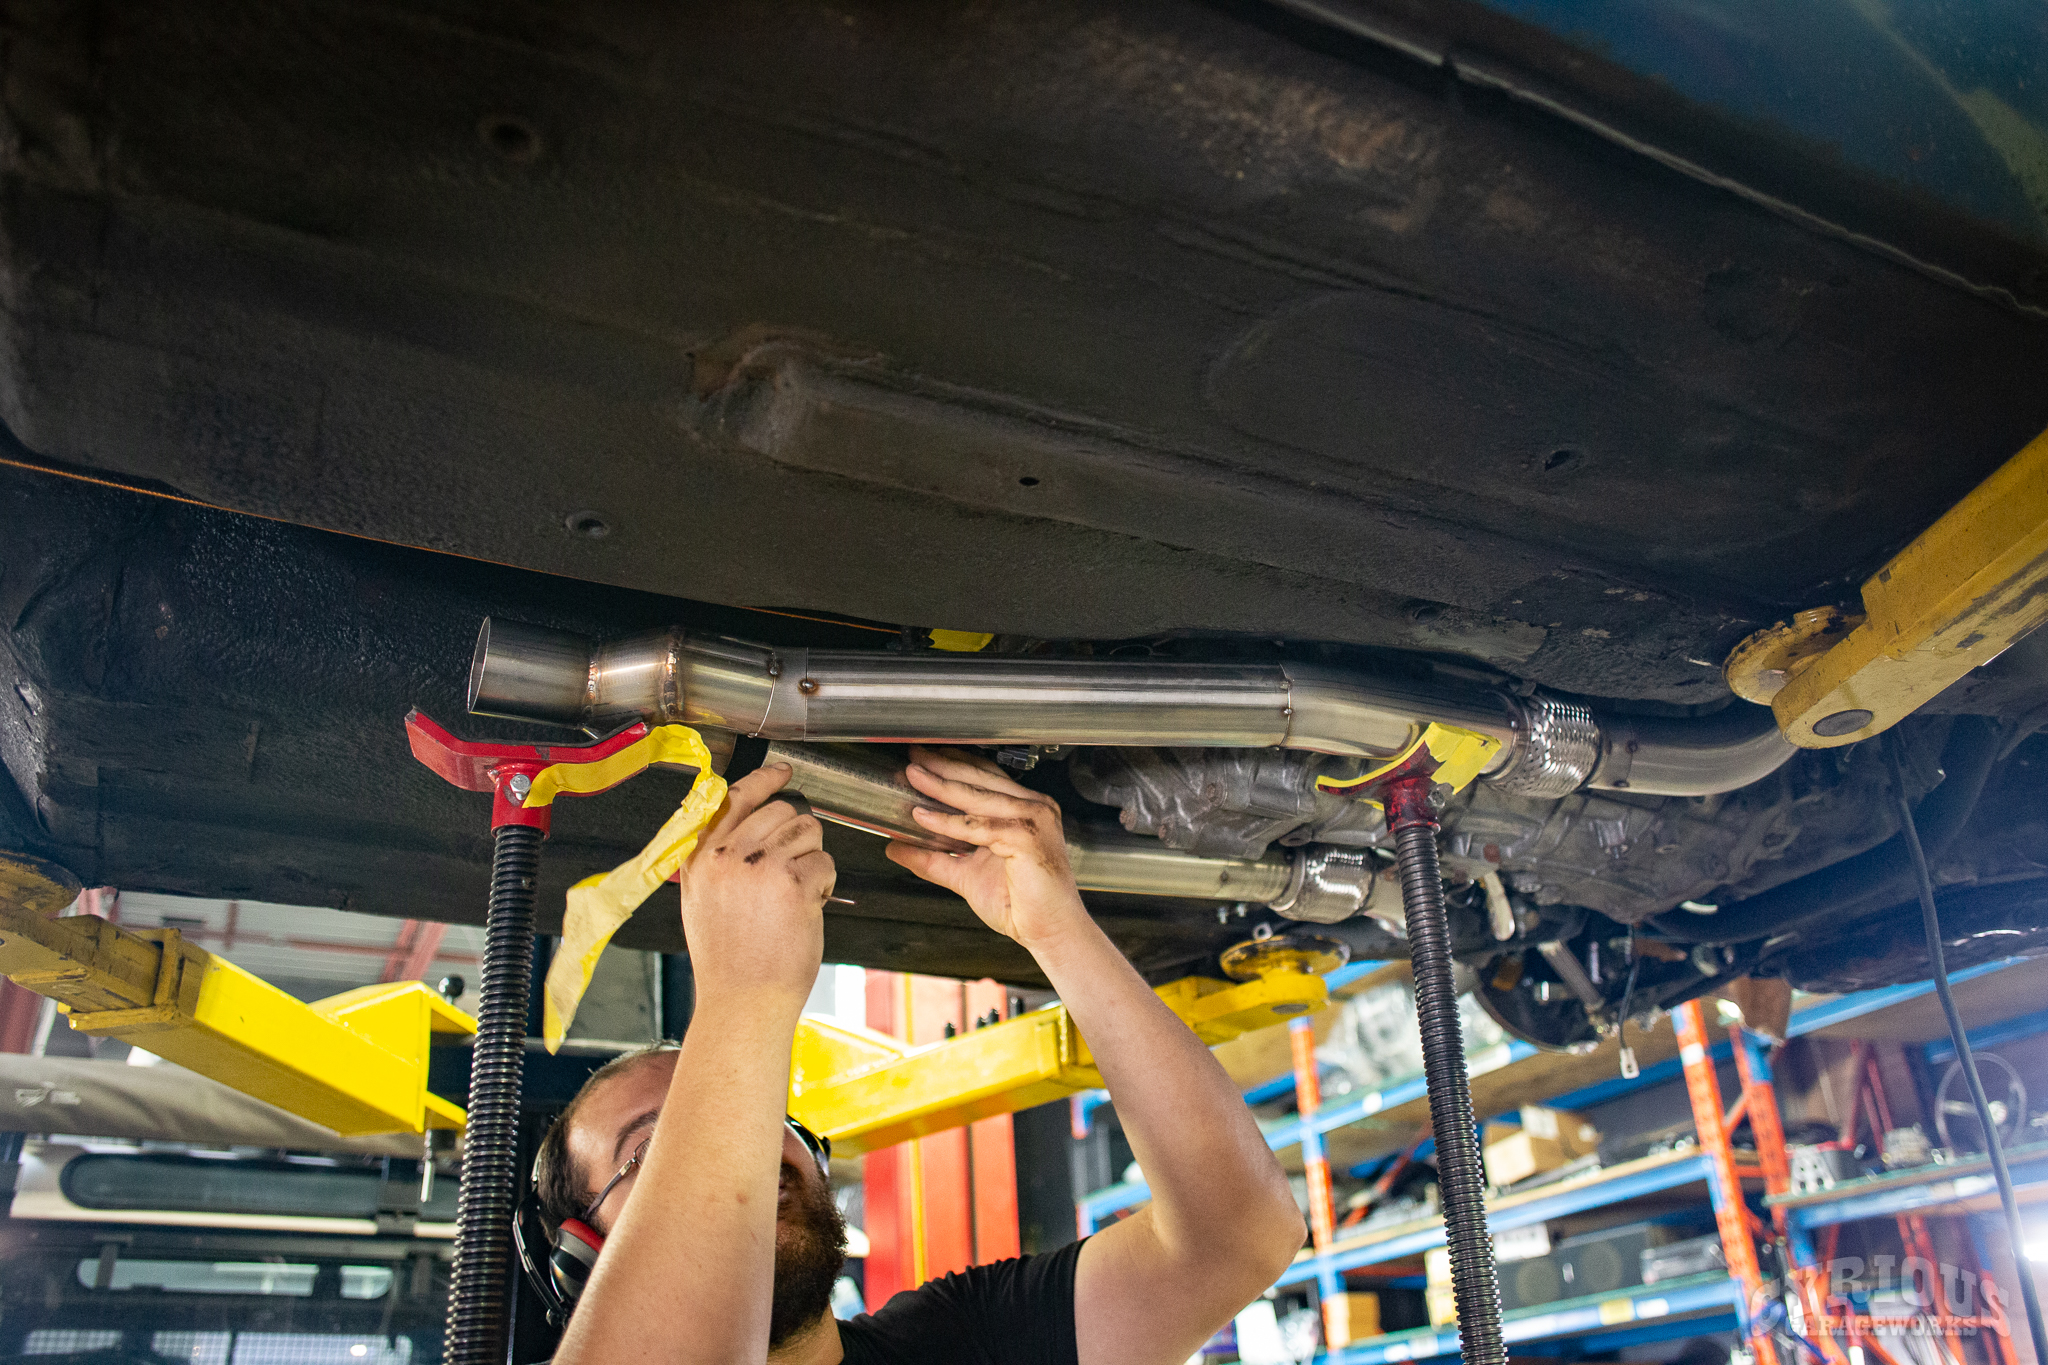
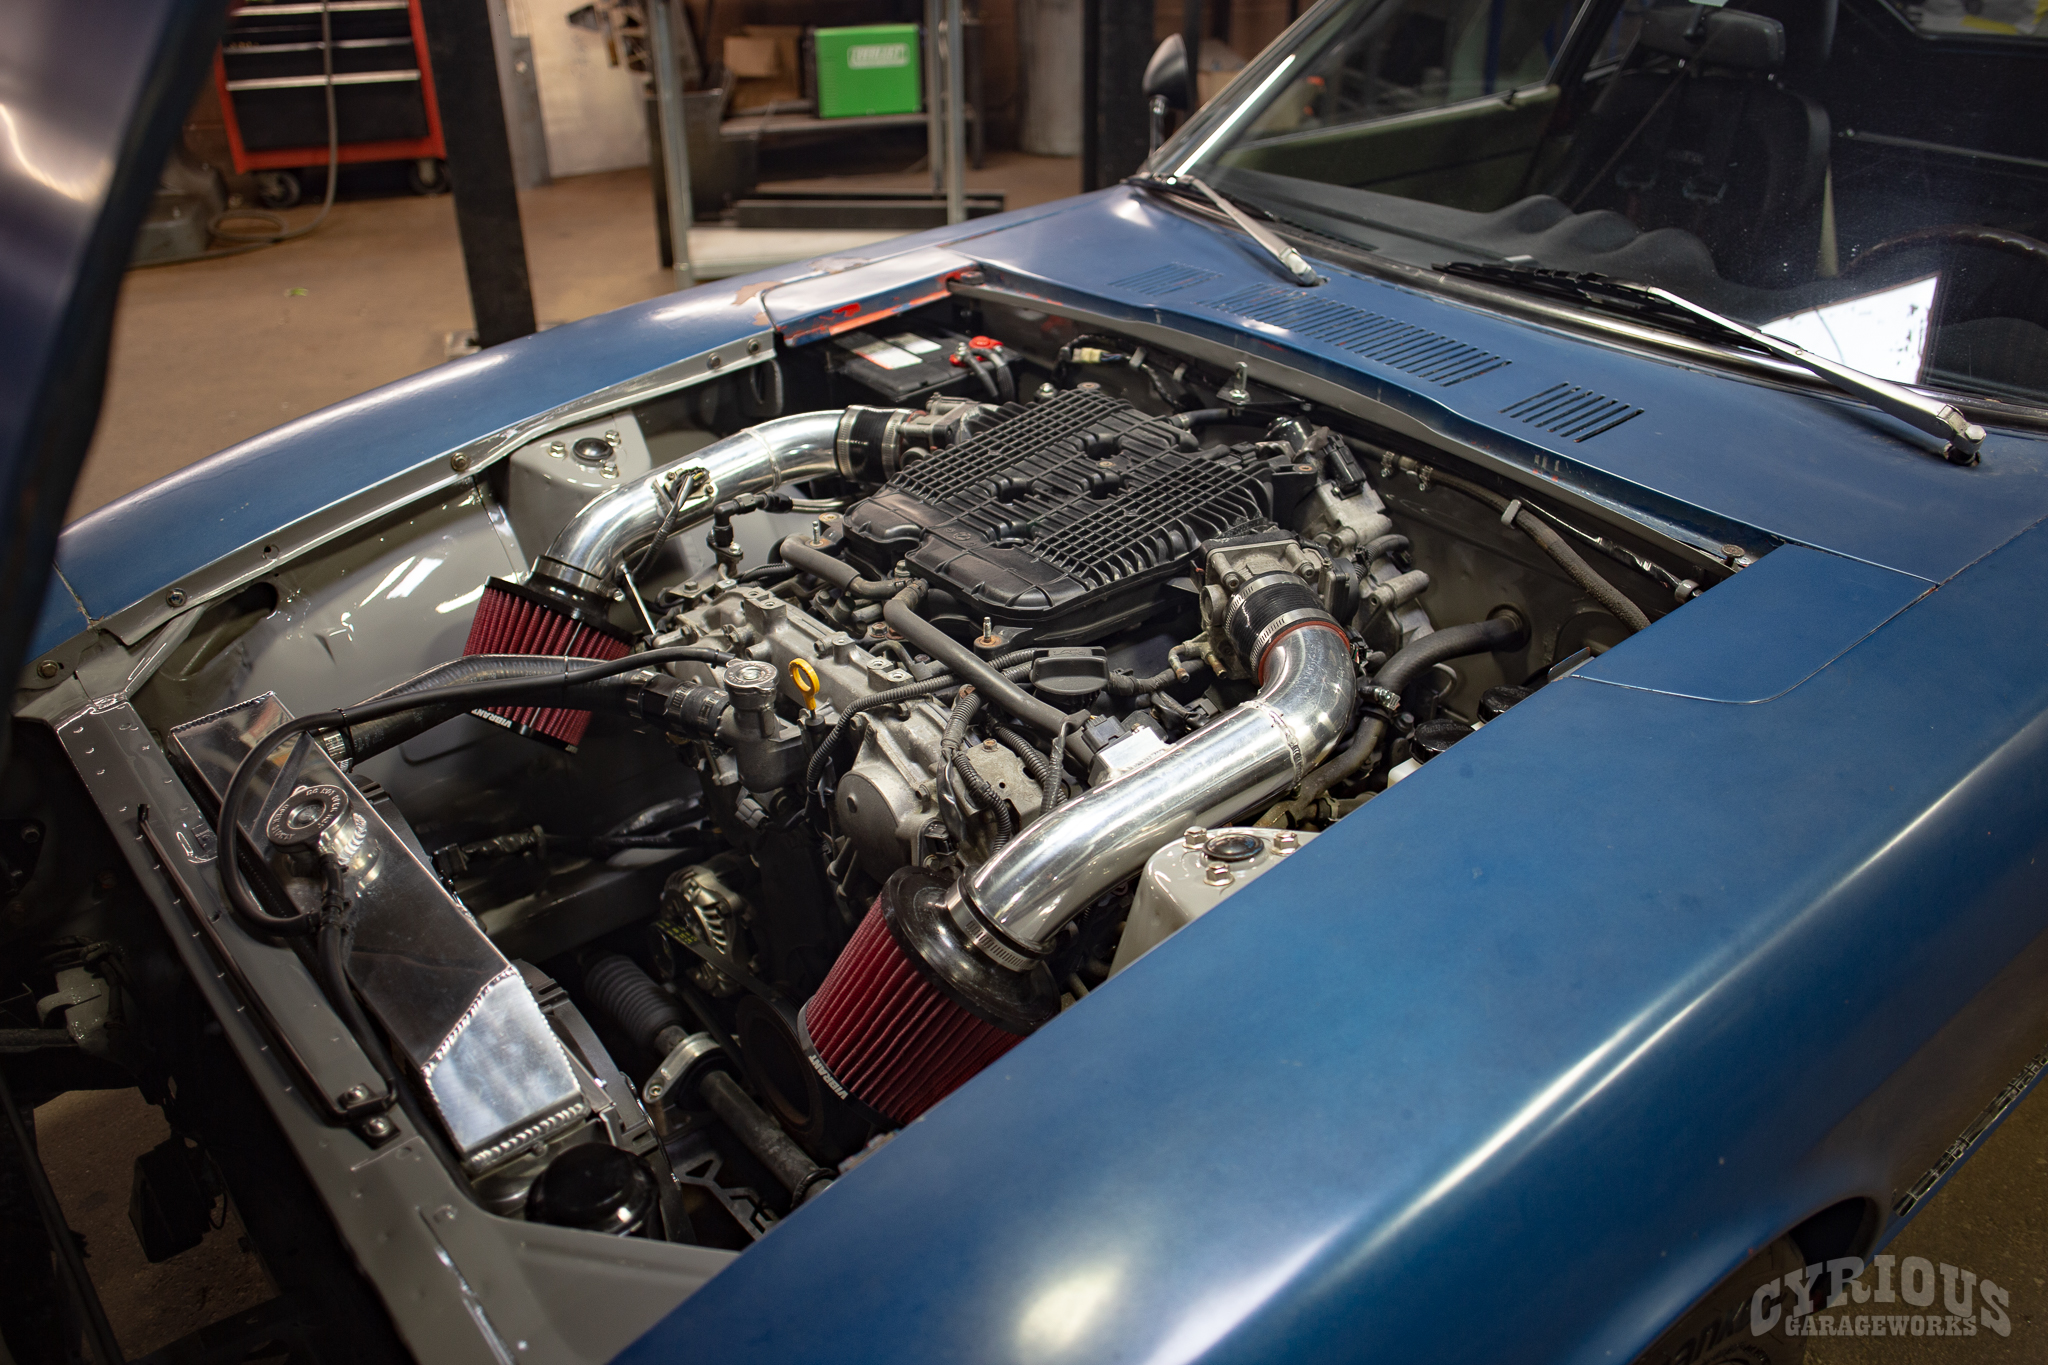
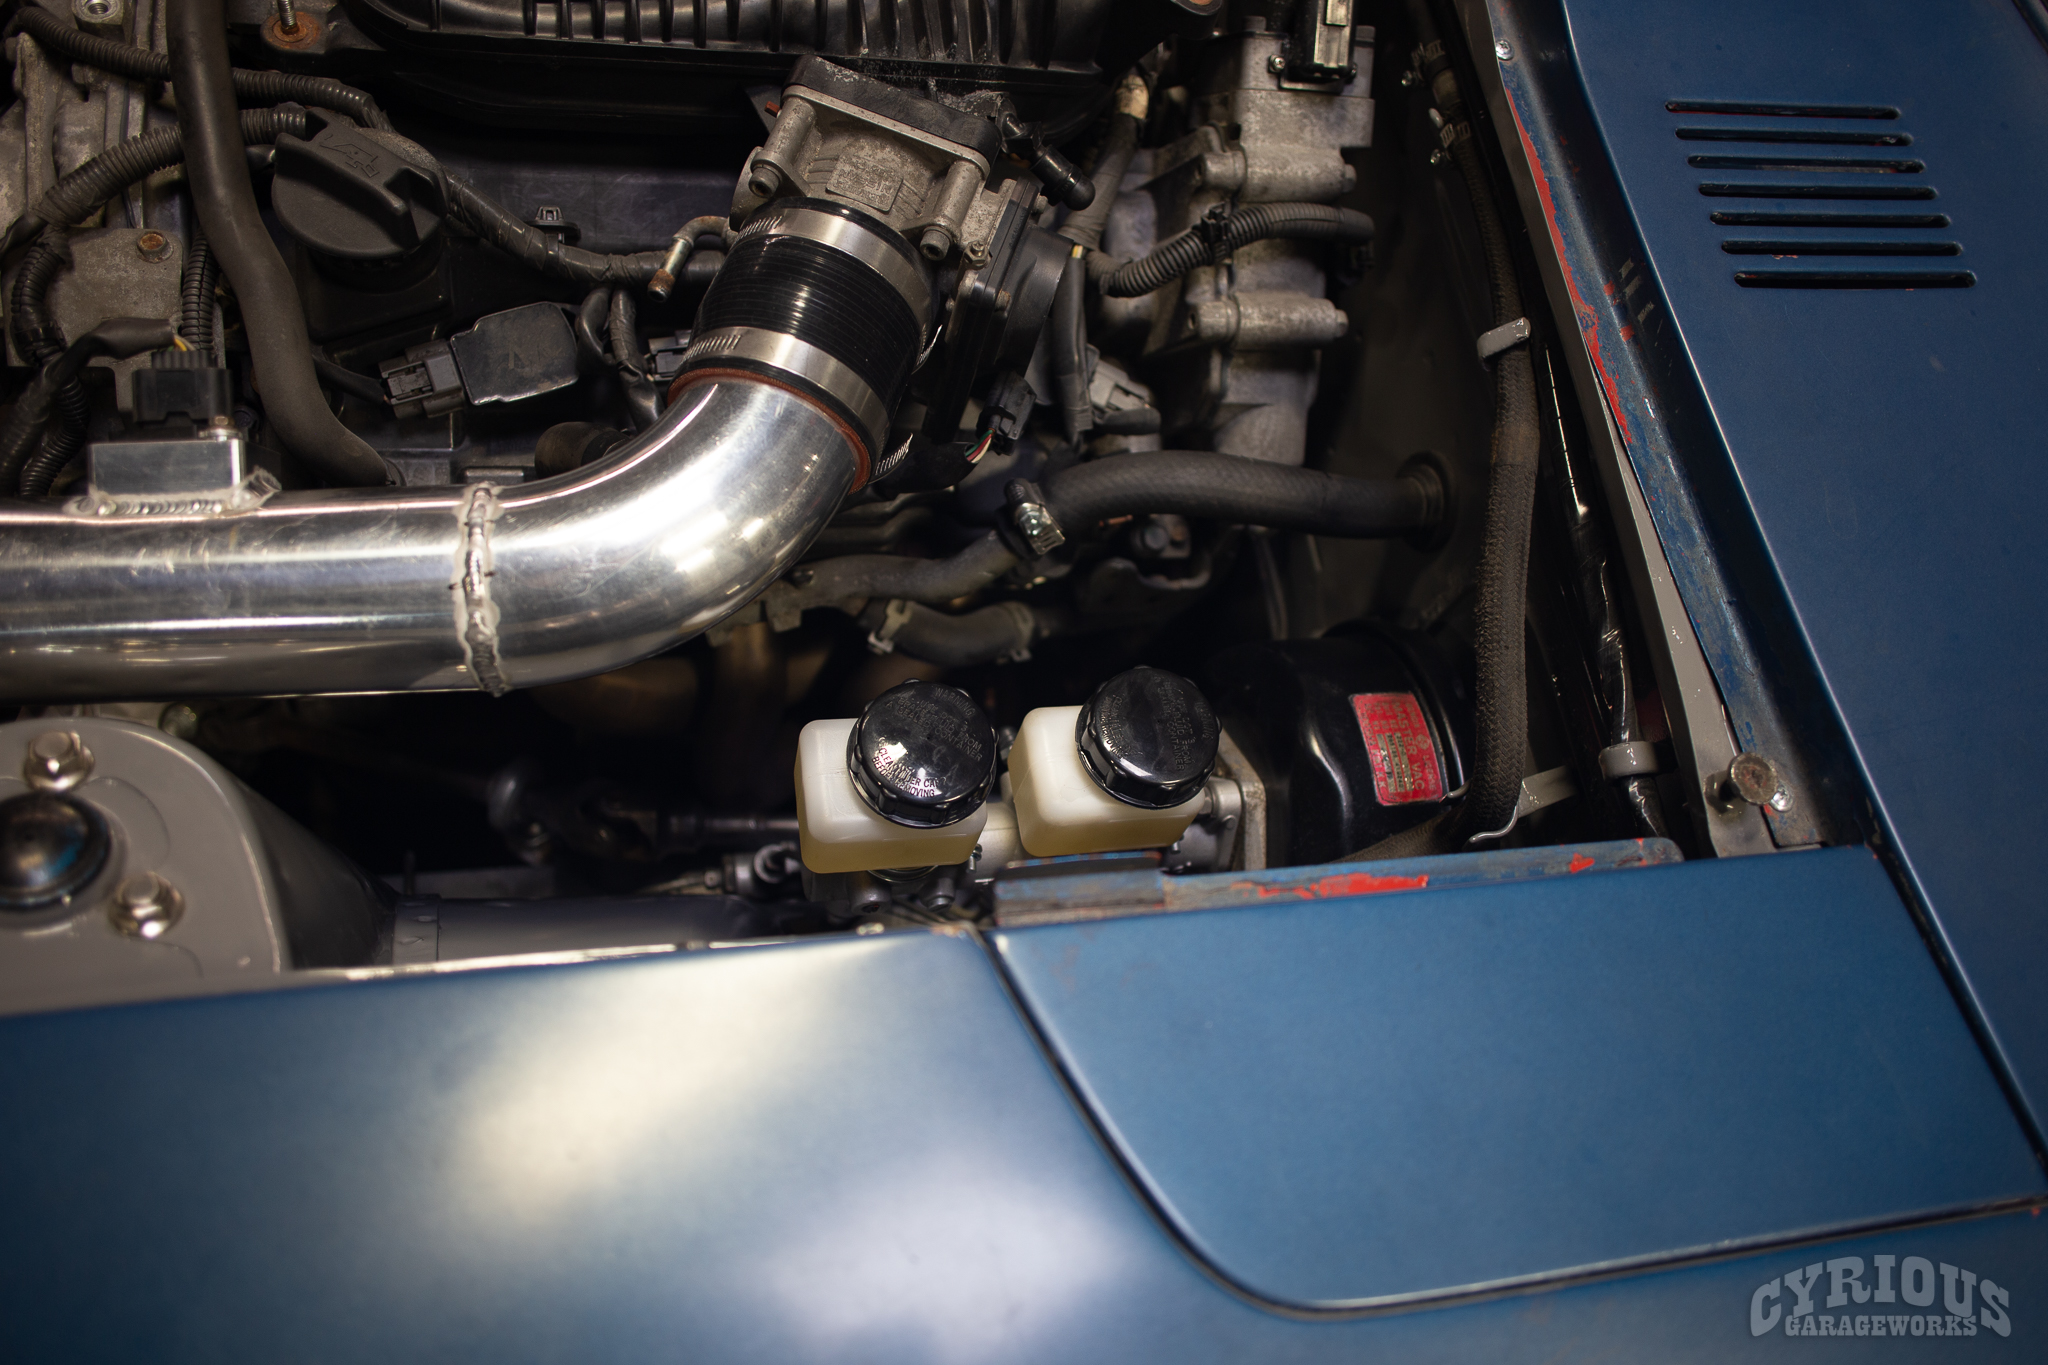
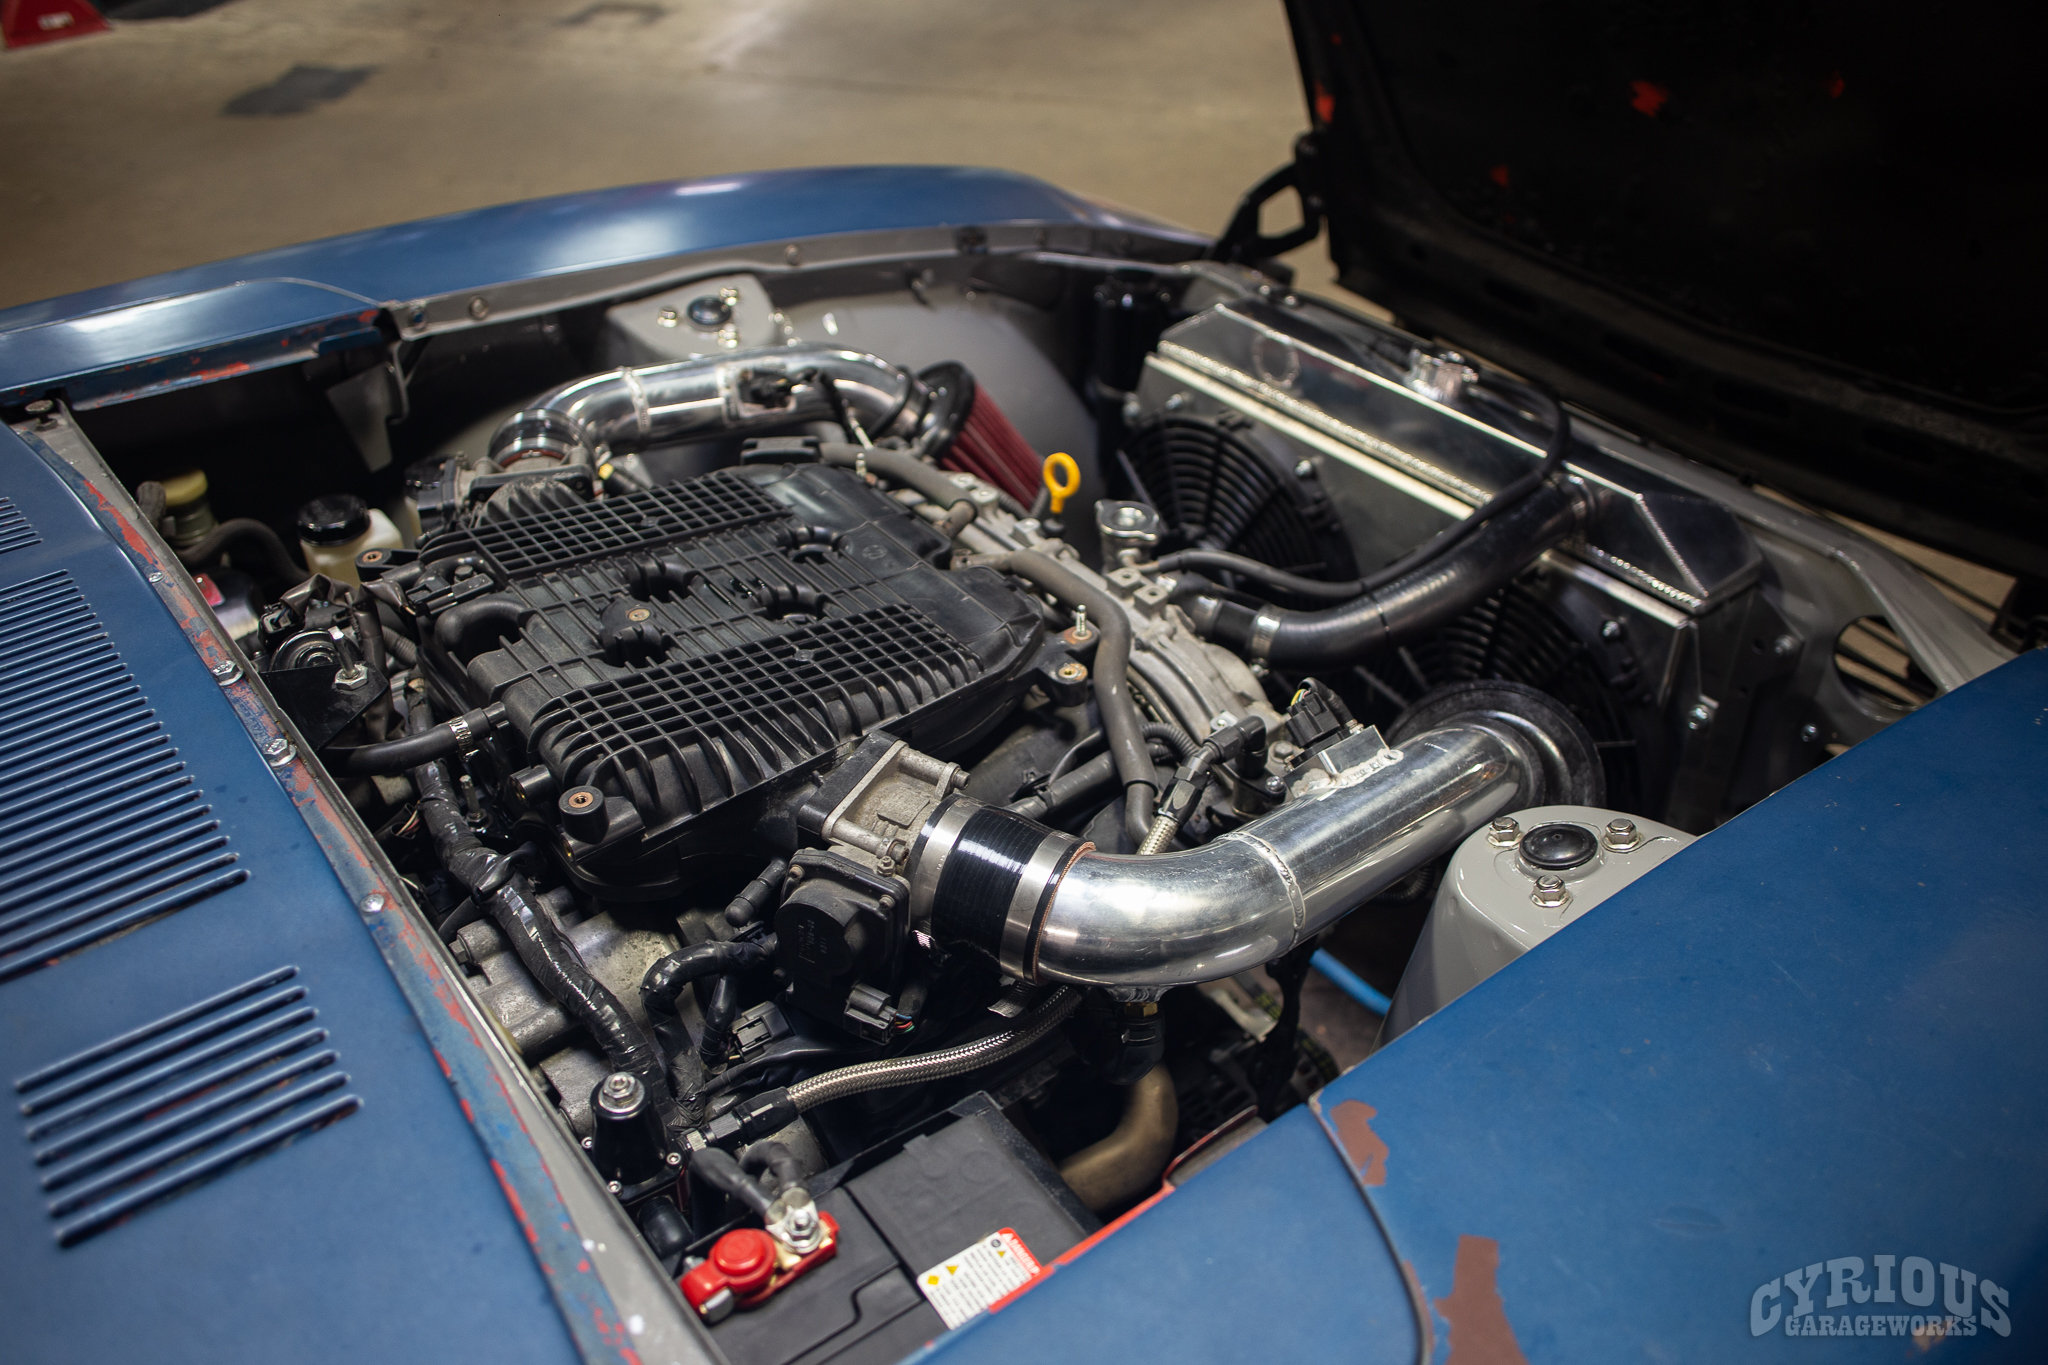
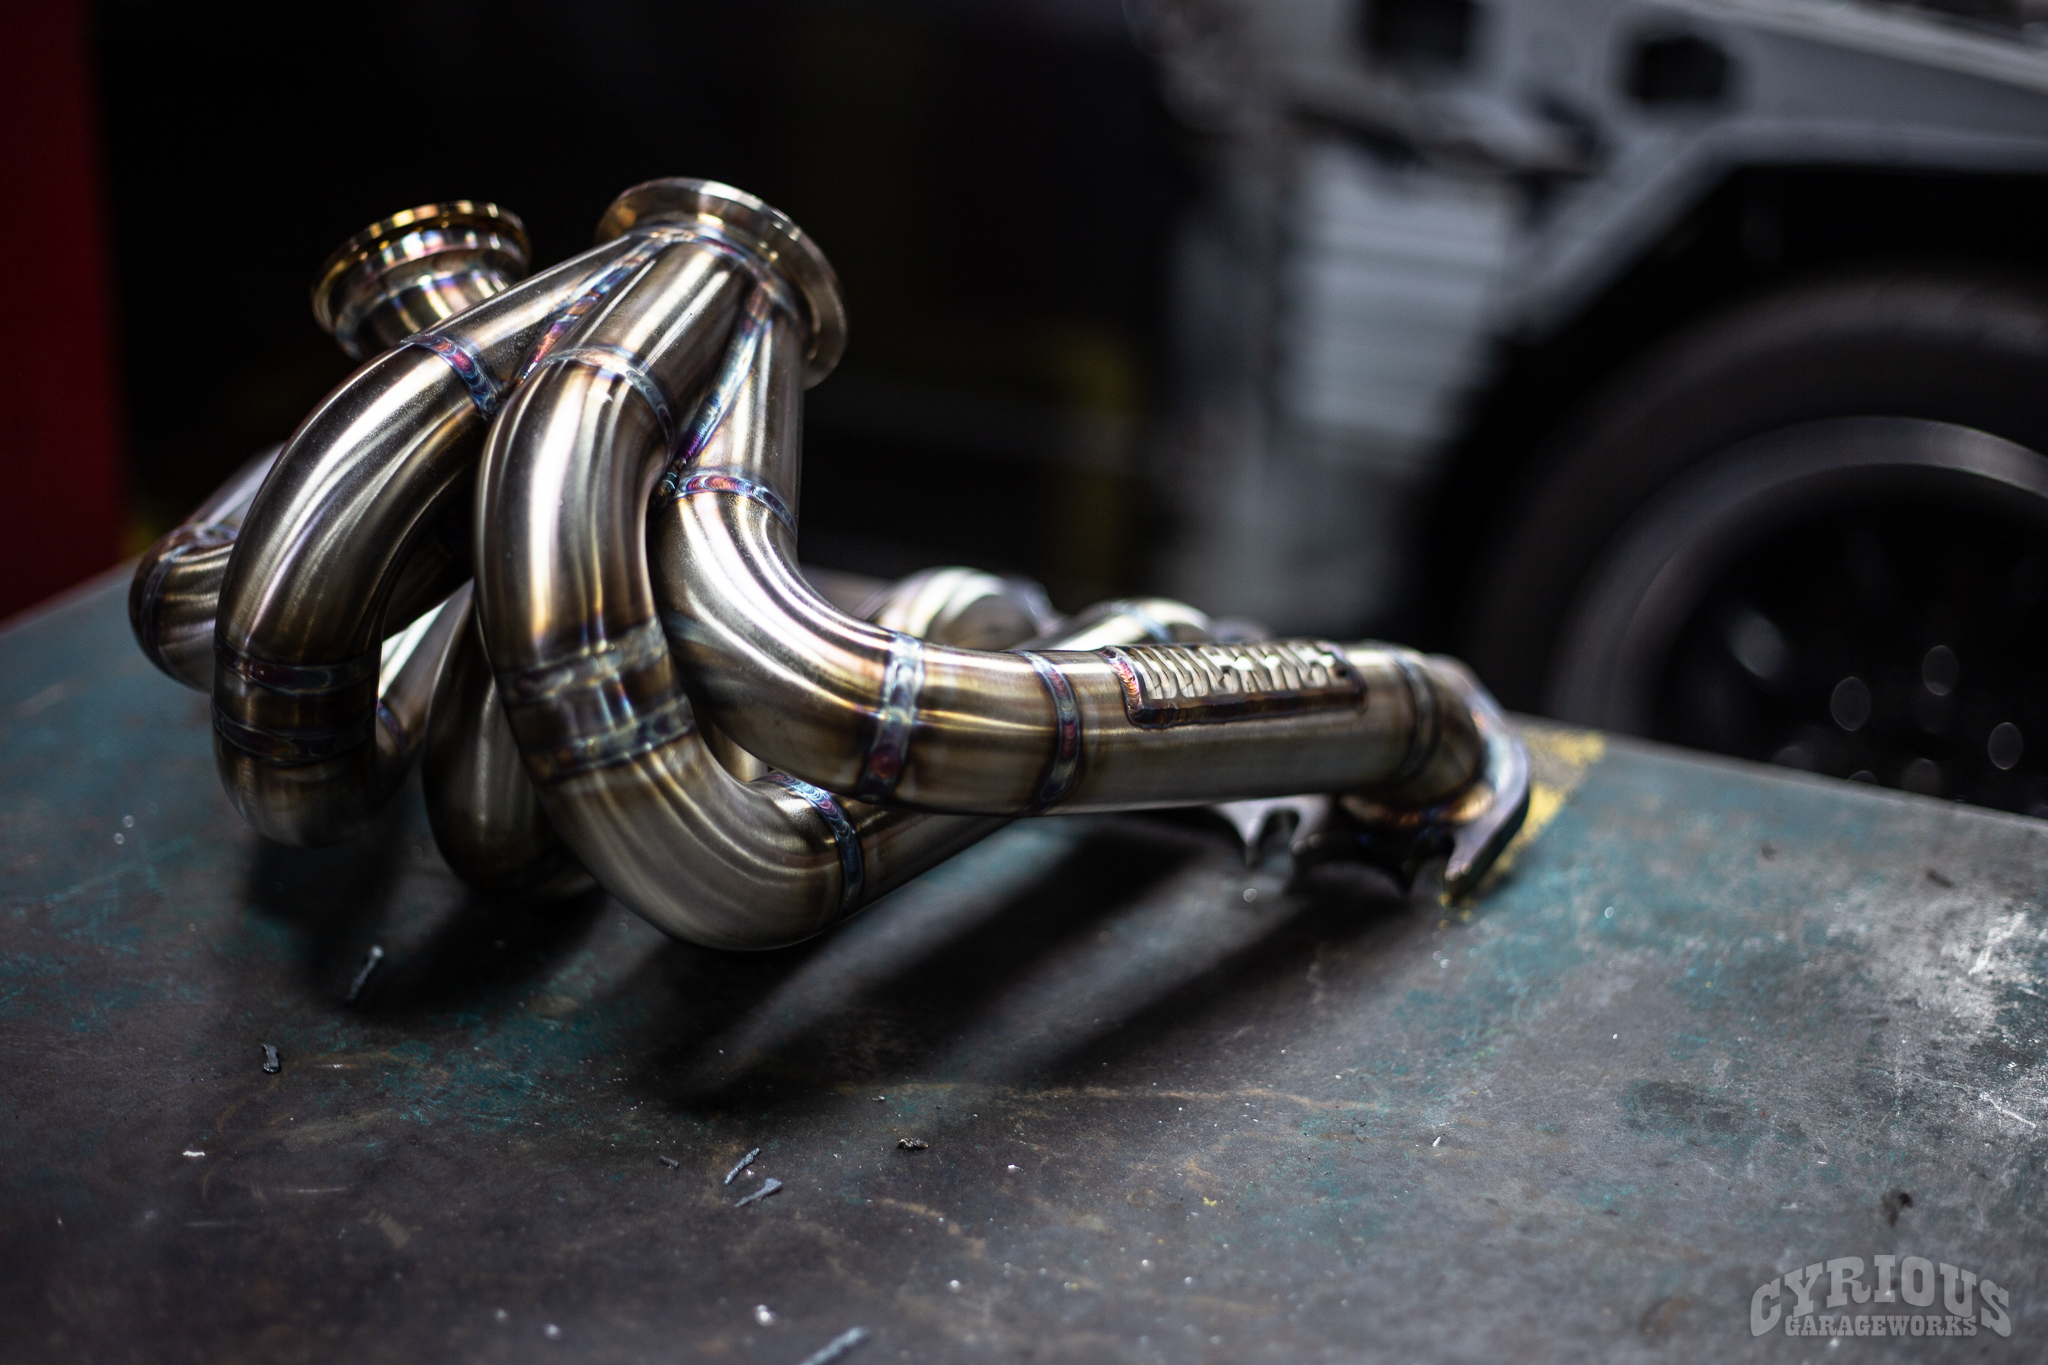
The power plant of choice is a VQ37VHR, sourced from an Infiniti G37 coupe. It’ll clearly be much better suited to this car. Along with the motor swap, we did a few performance upgrades to make sure this thing can handle and stop well along with its newly added power.
Without any further ado, check out the gallery below!
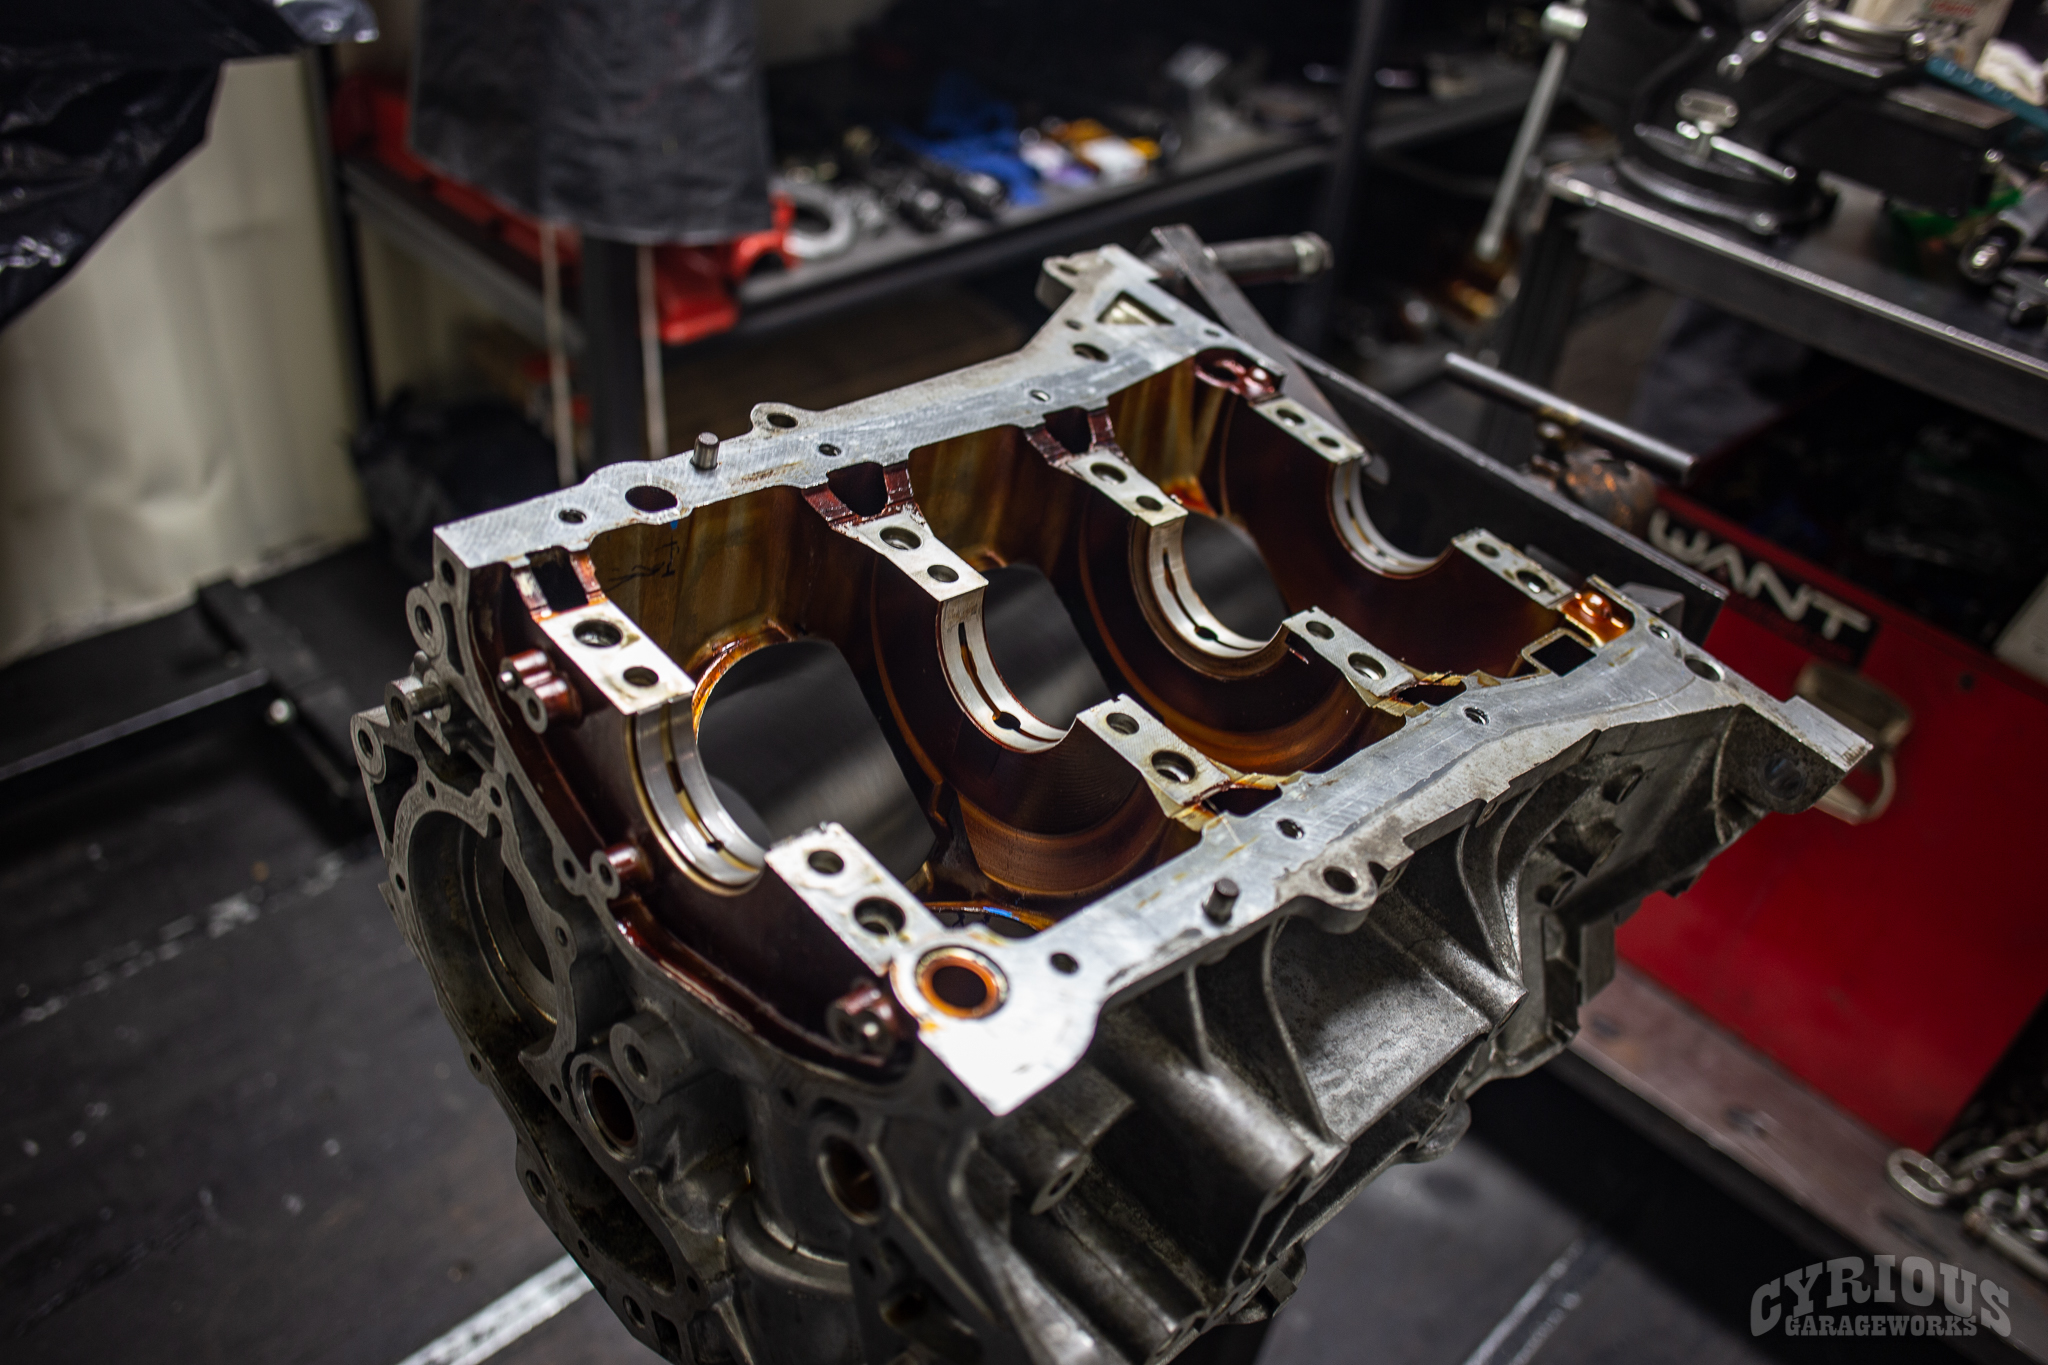
Donor car! Gotta get that VQ from somewhere!
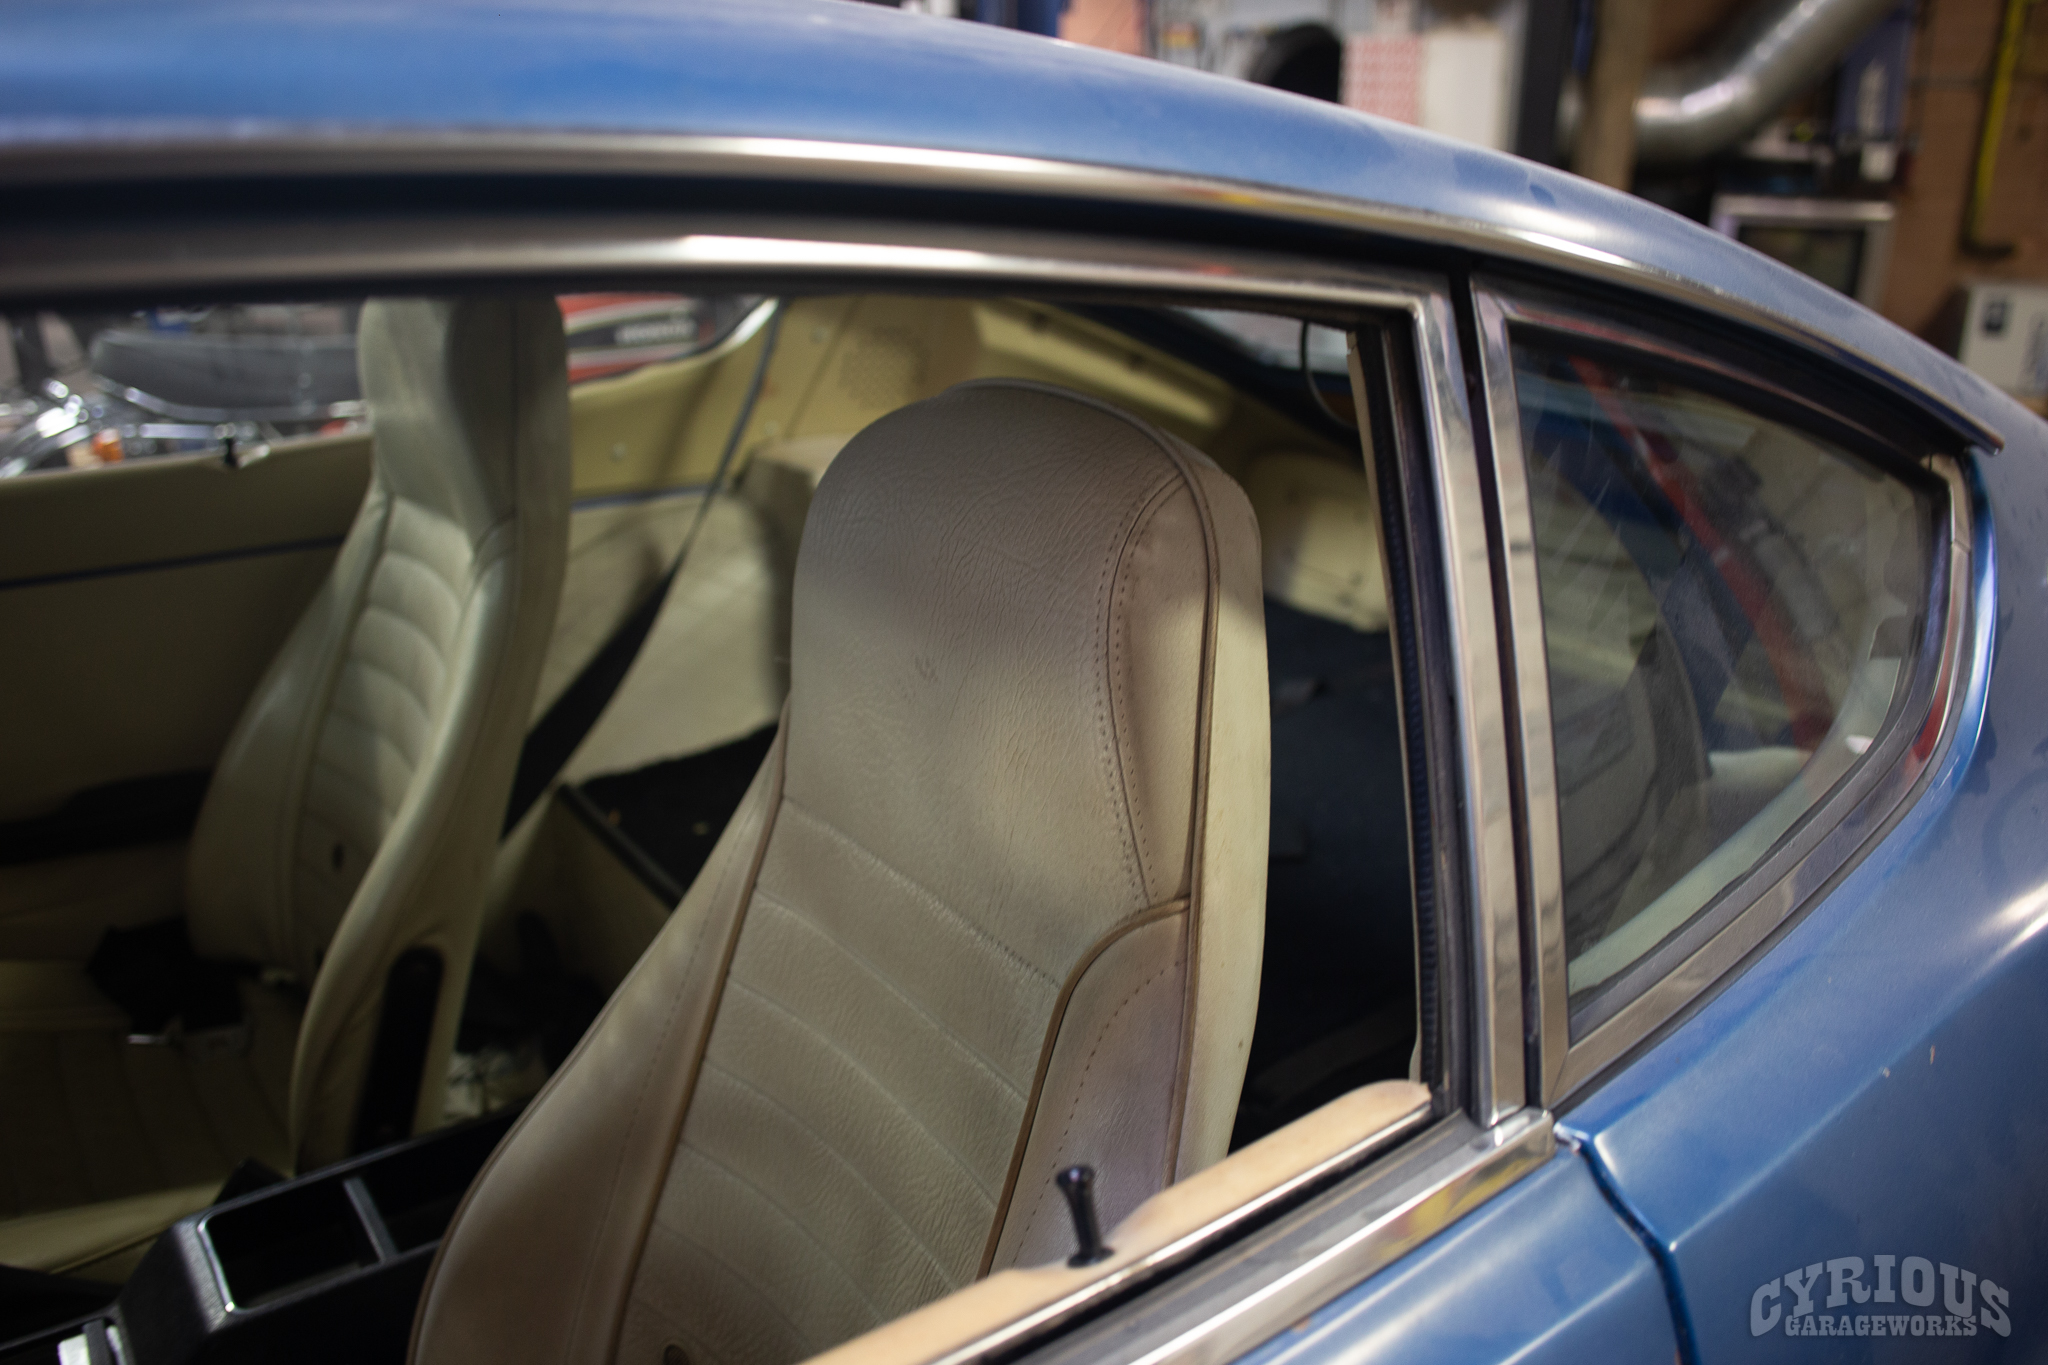
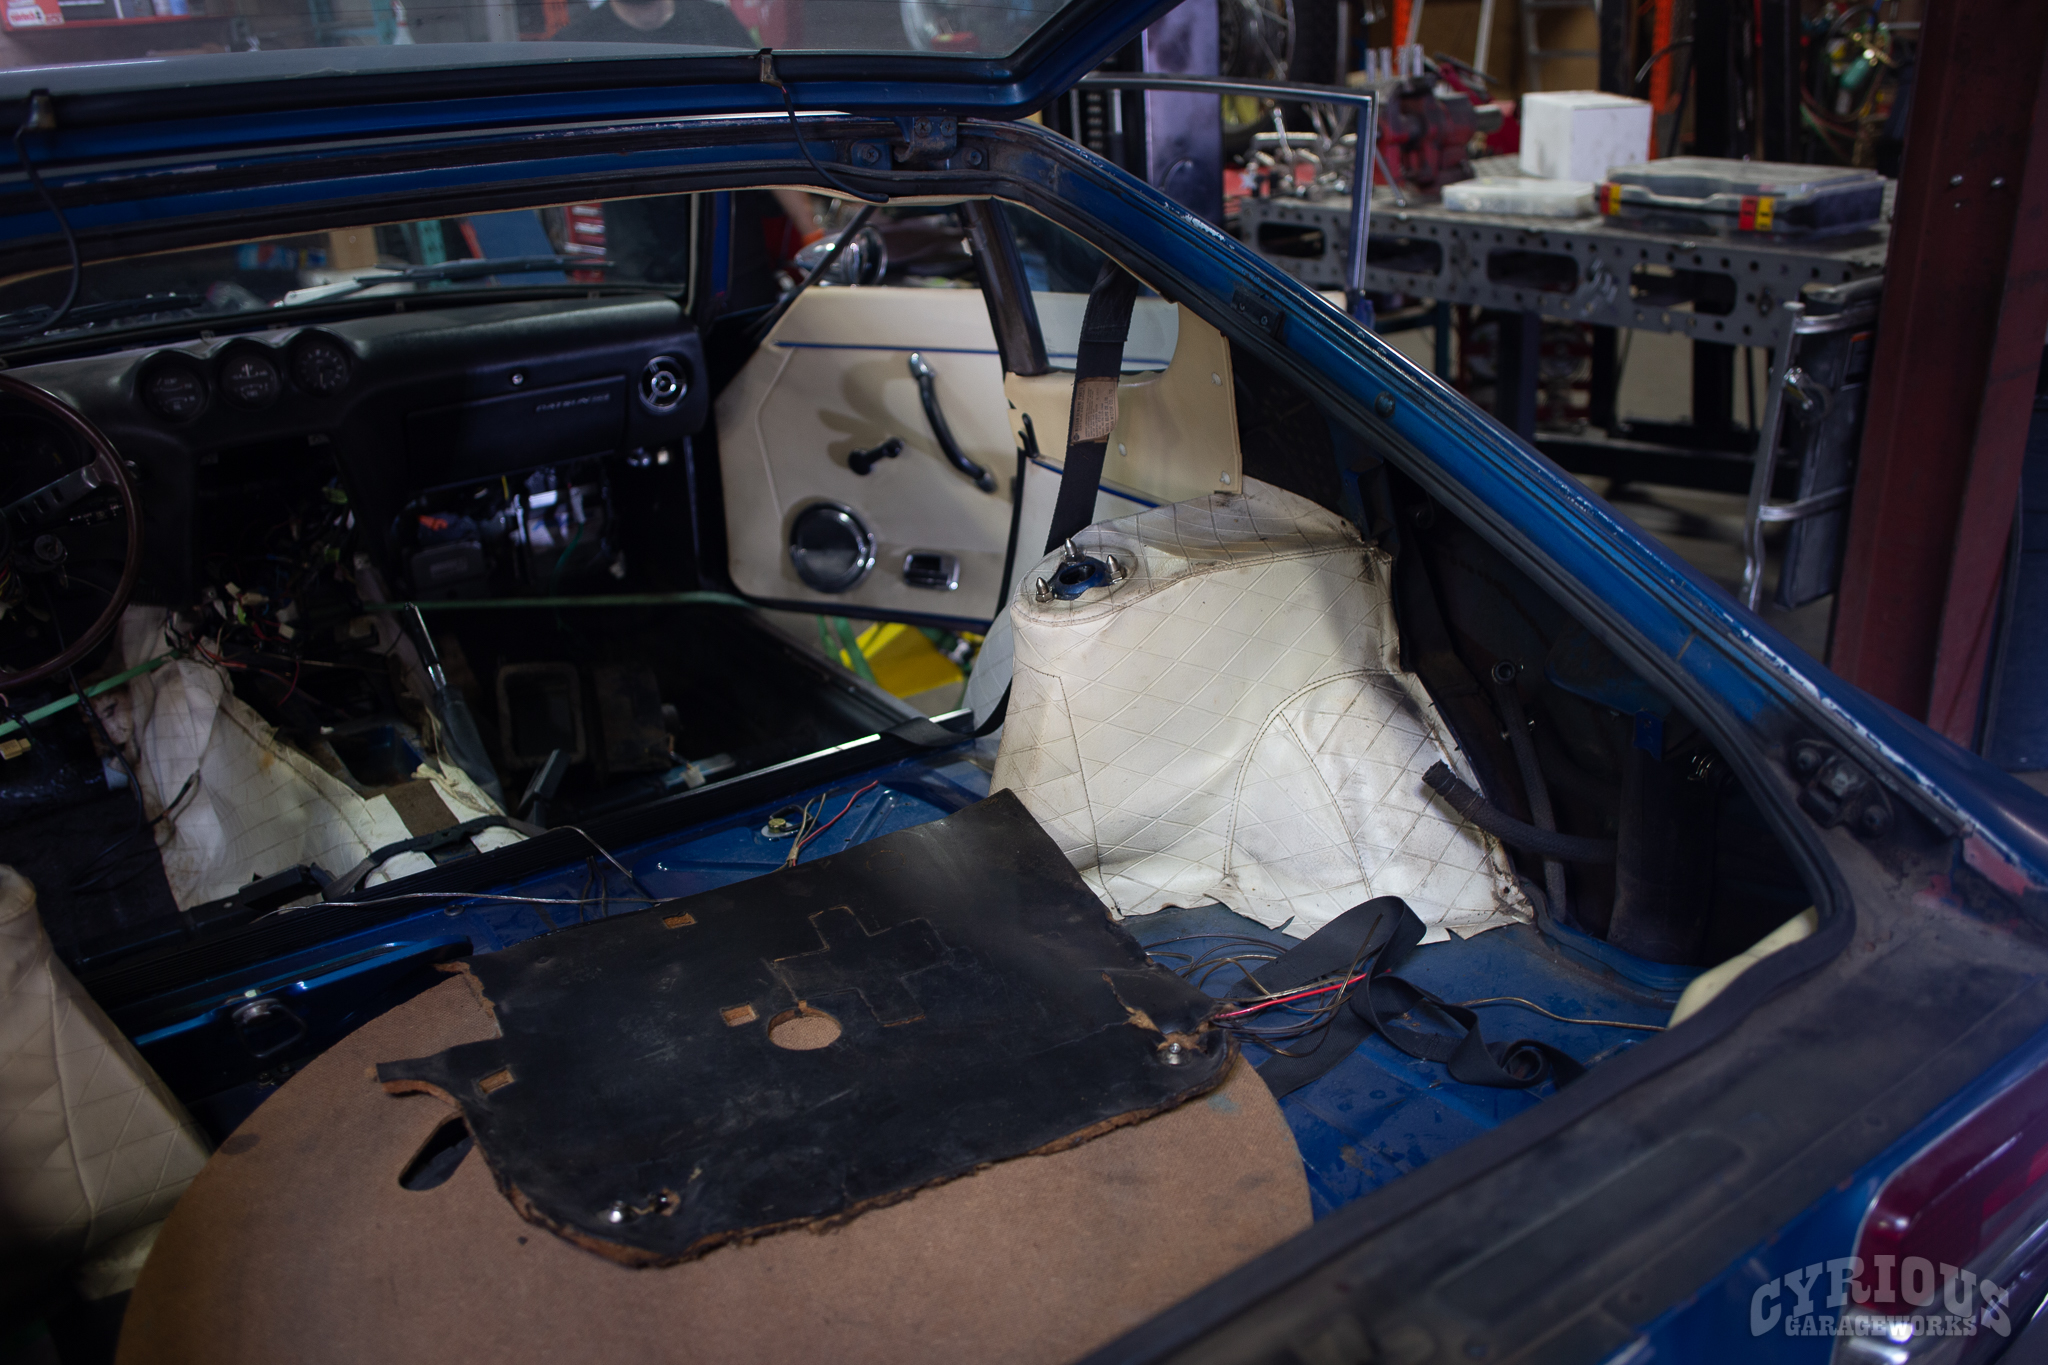
White vinyl seats. At one time these were probably really classy.
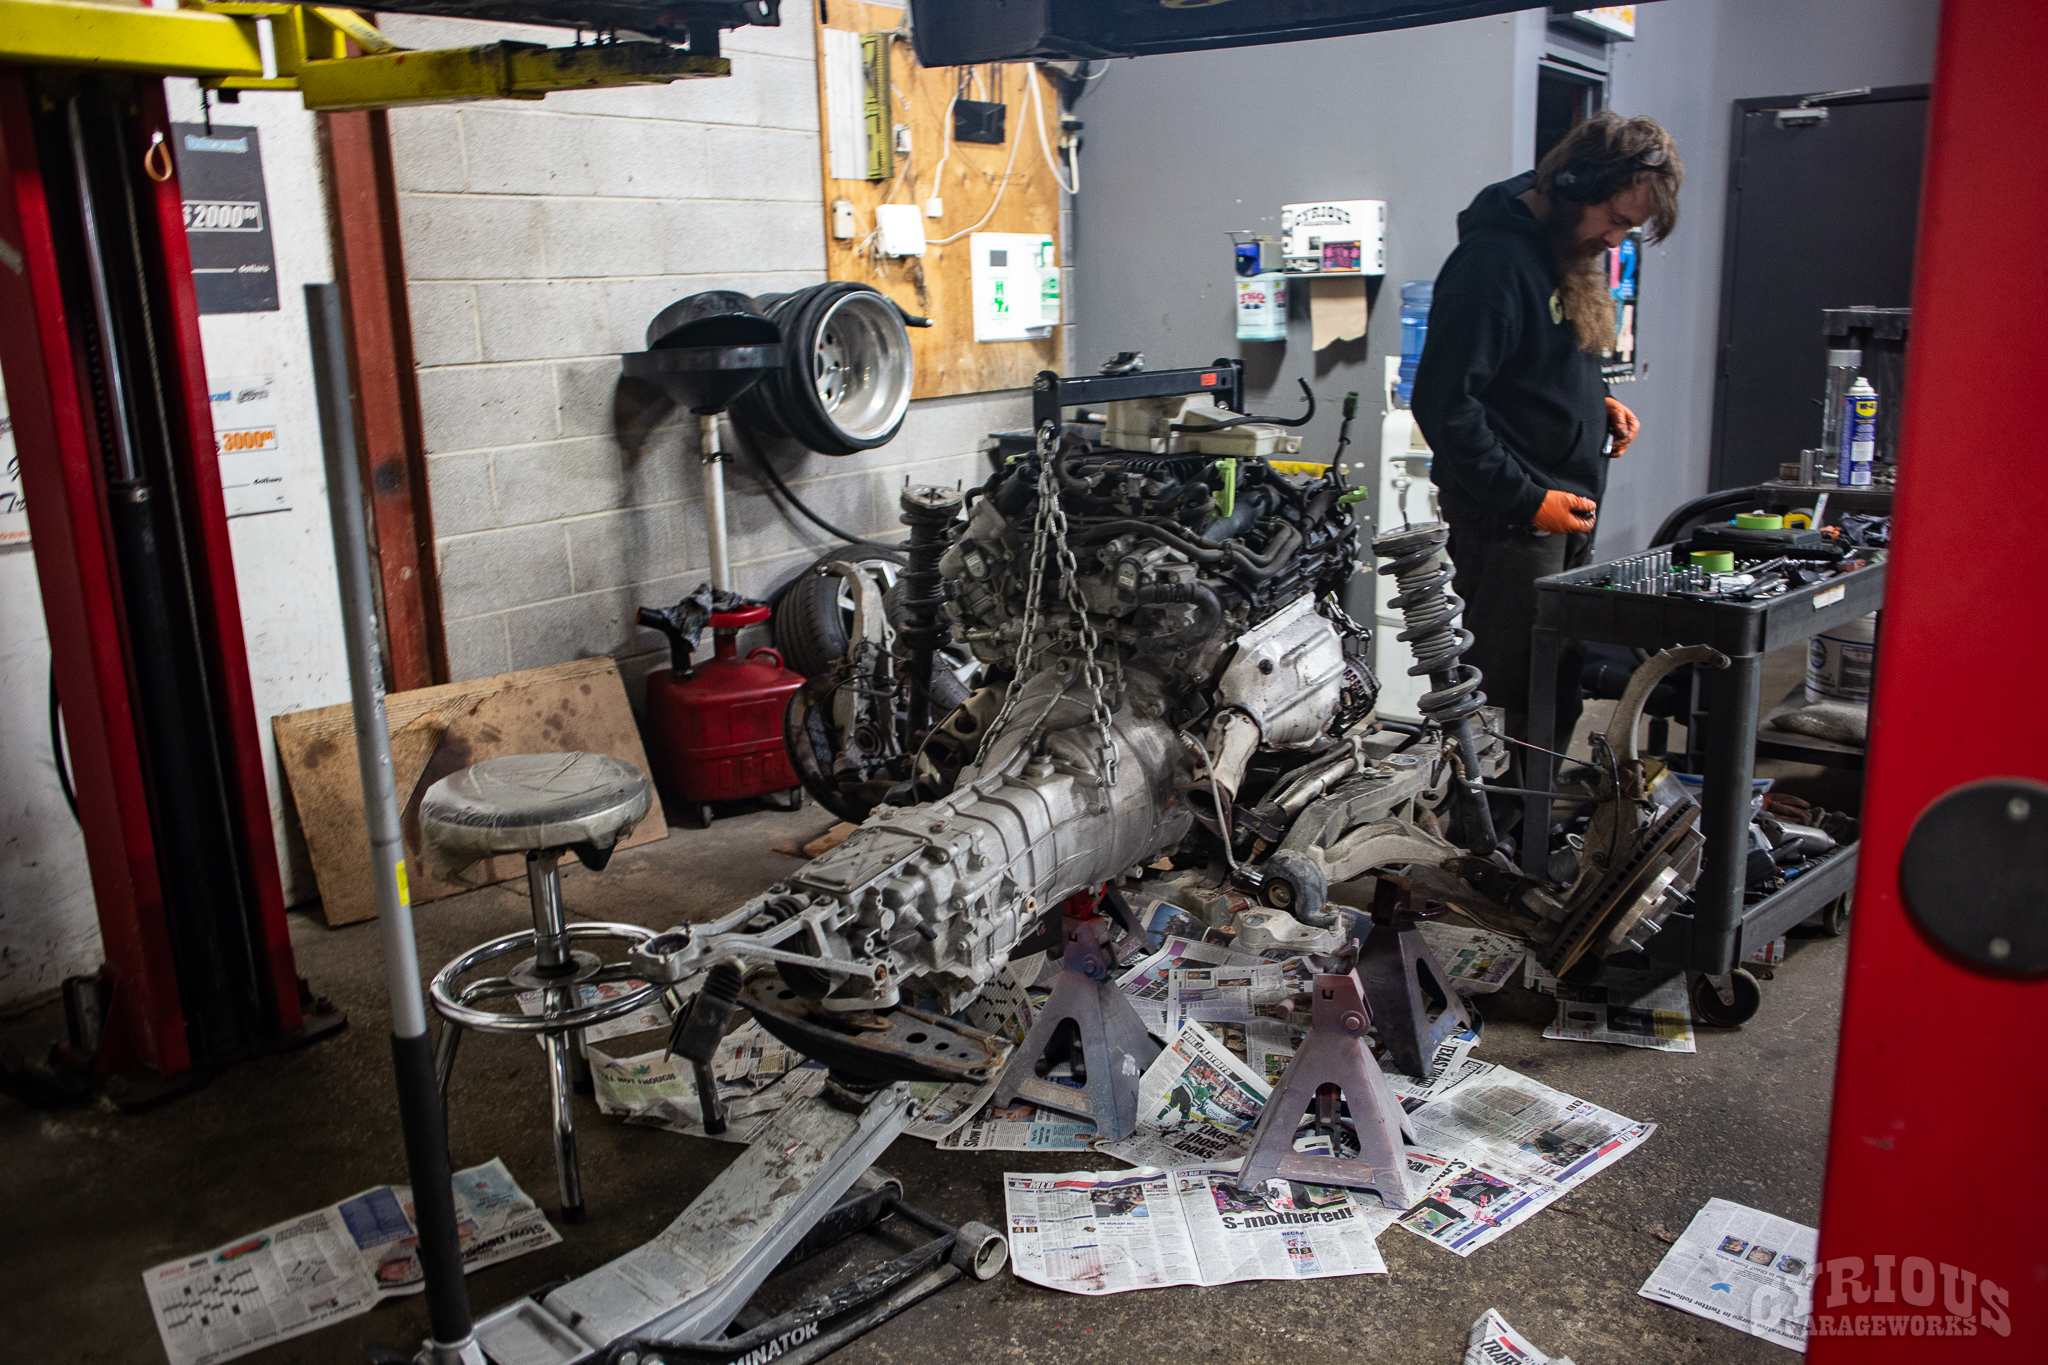
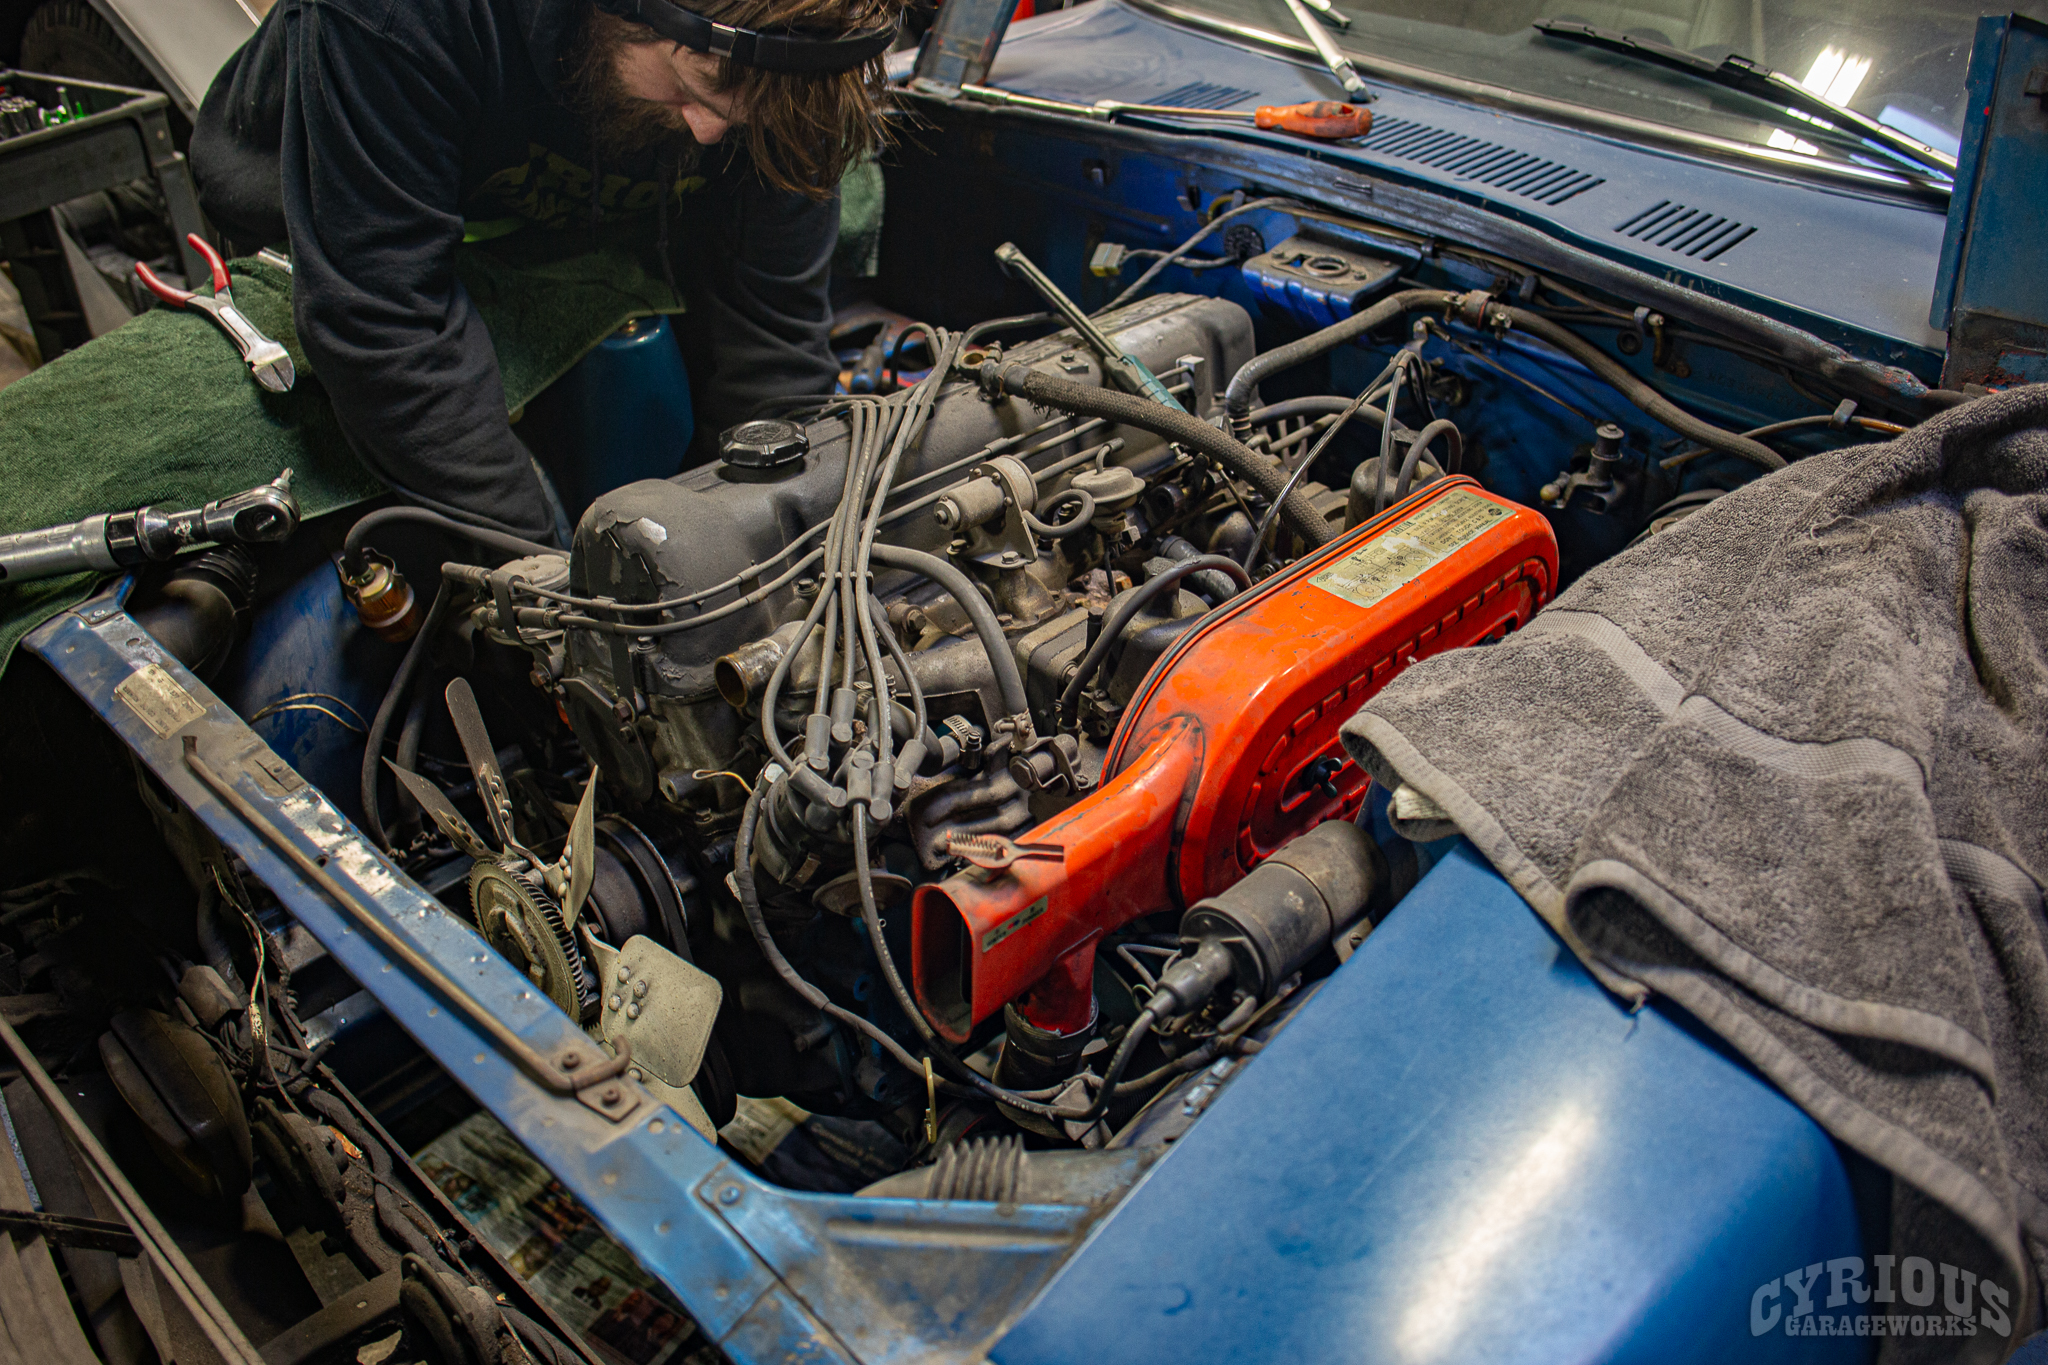
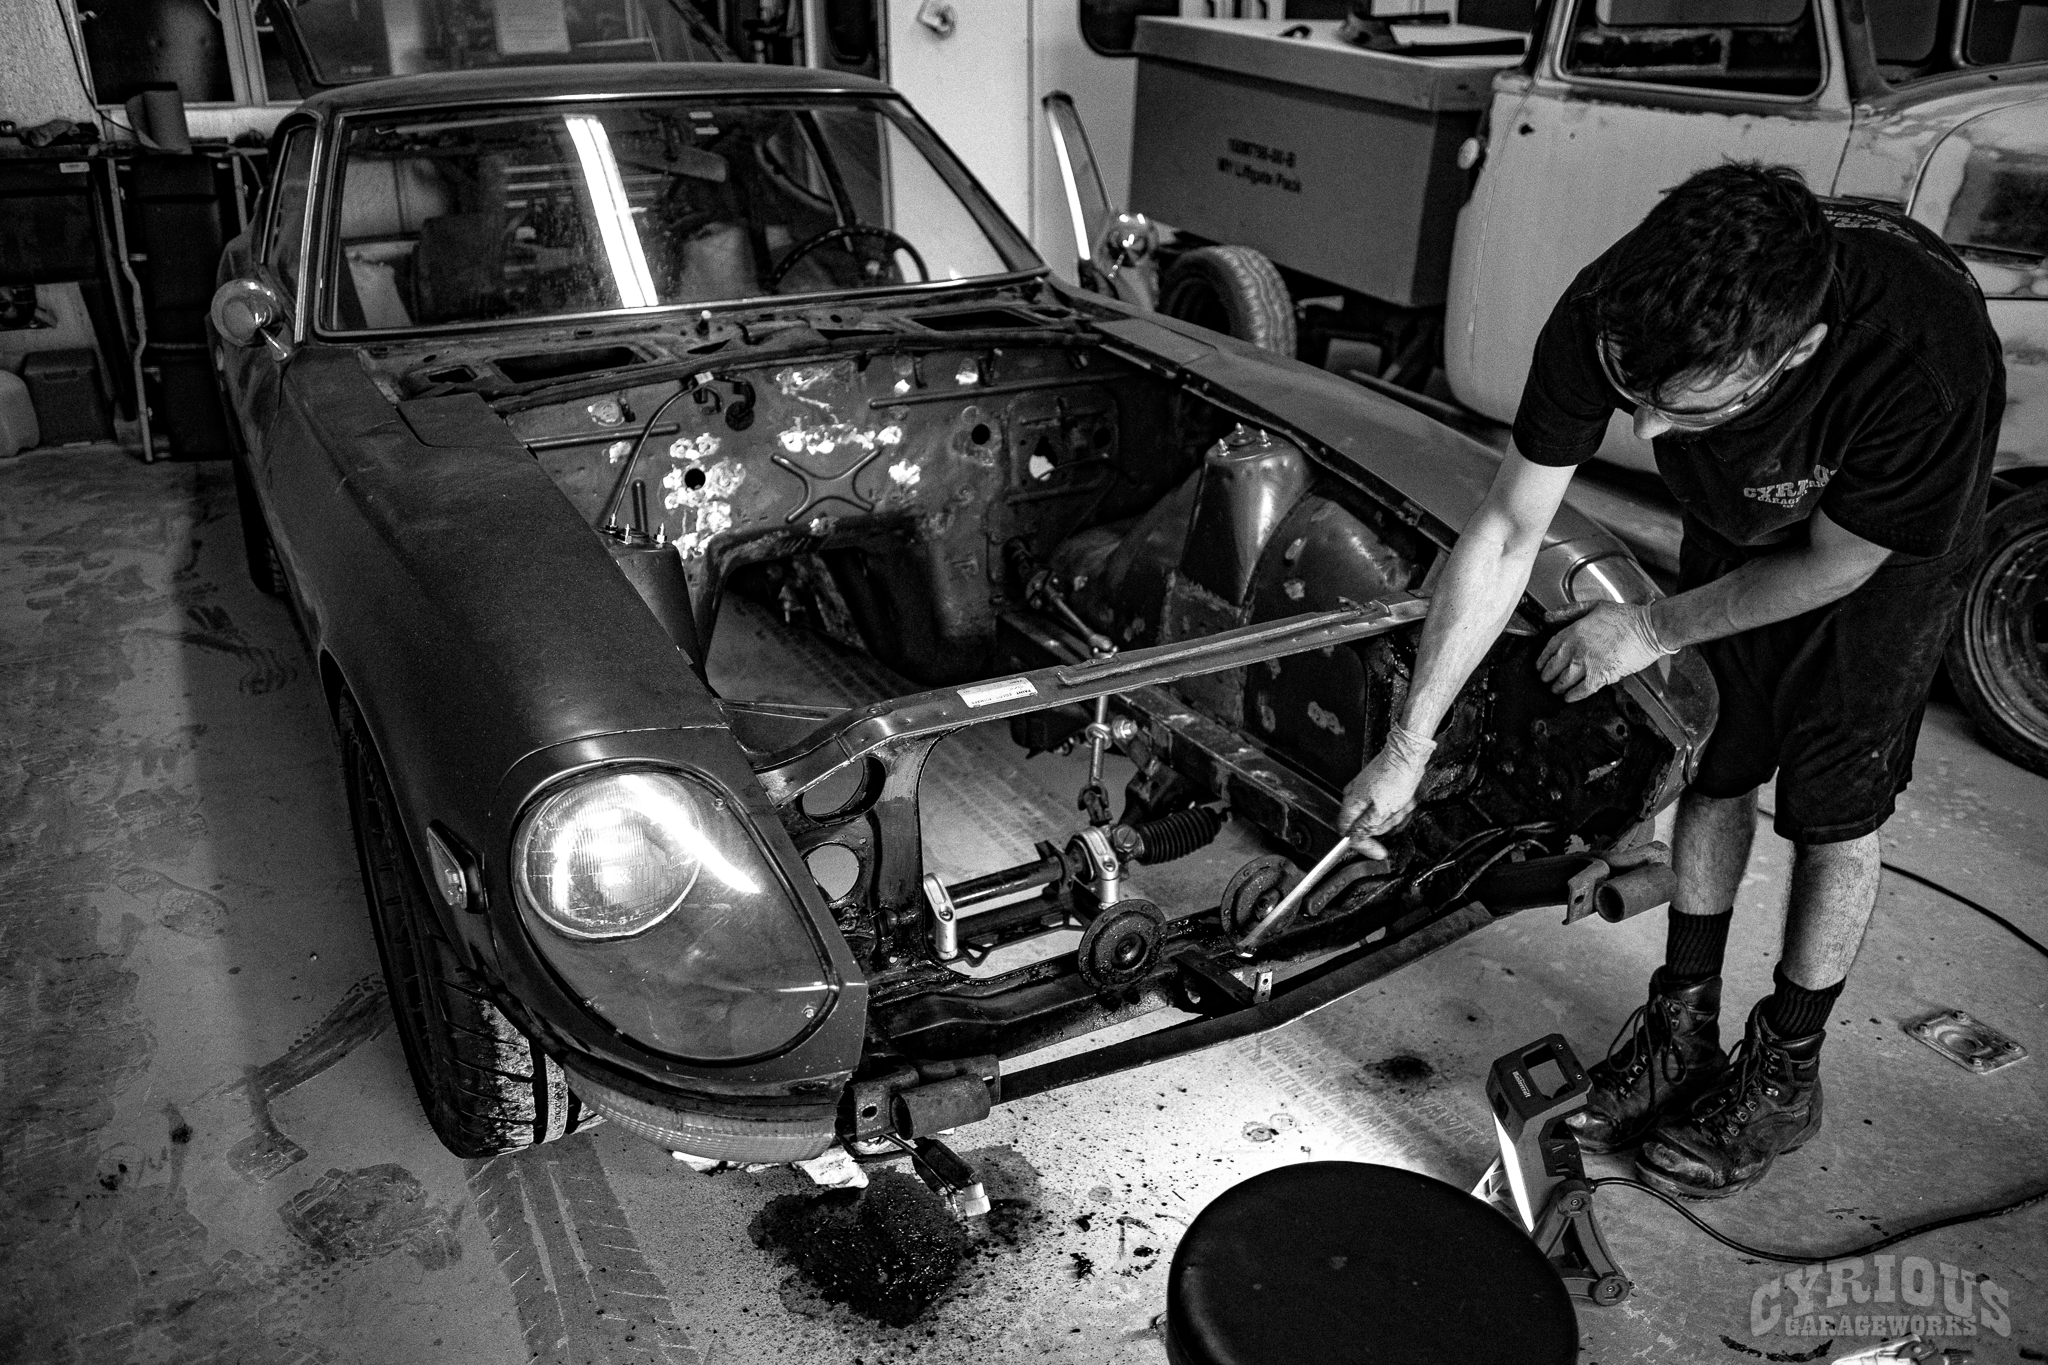
Time to get this tired old boat anchor outta here!
We might be leaving the body raw, but the engine bay had to look nice with the new swap!
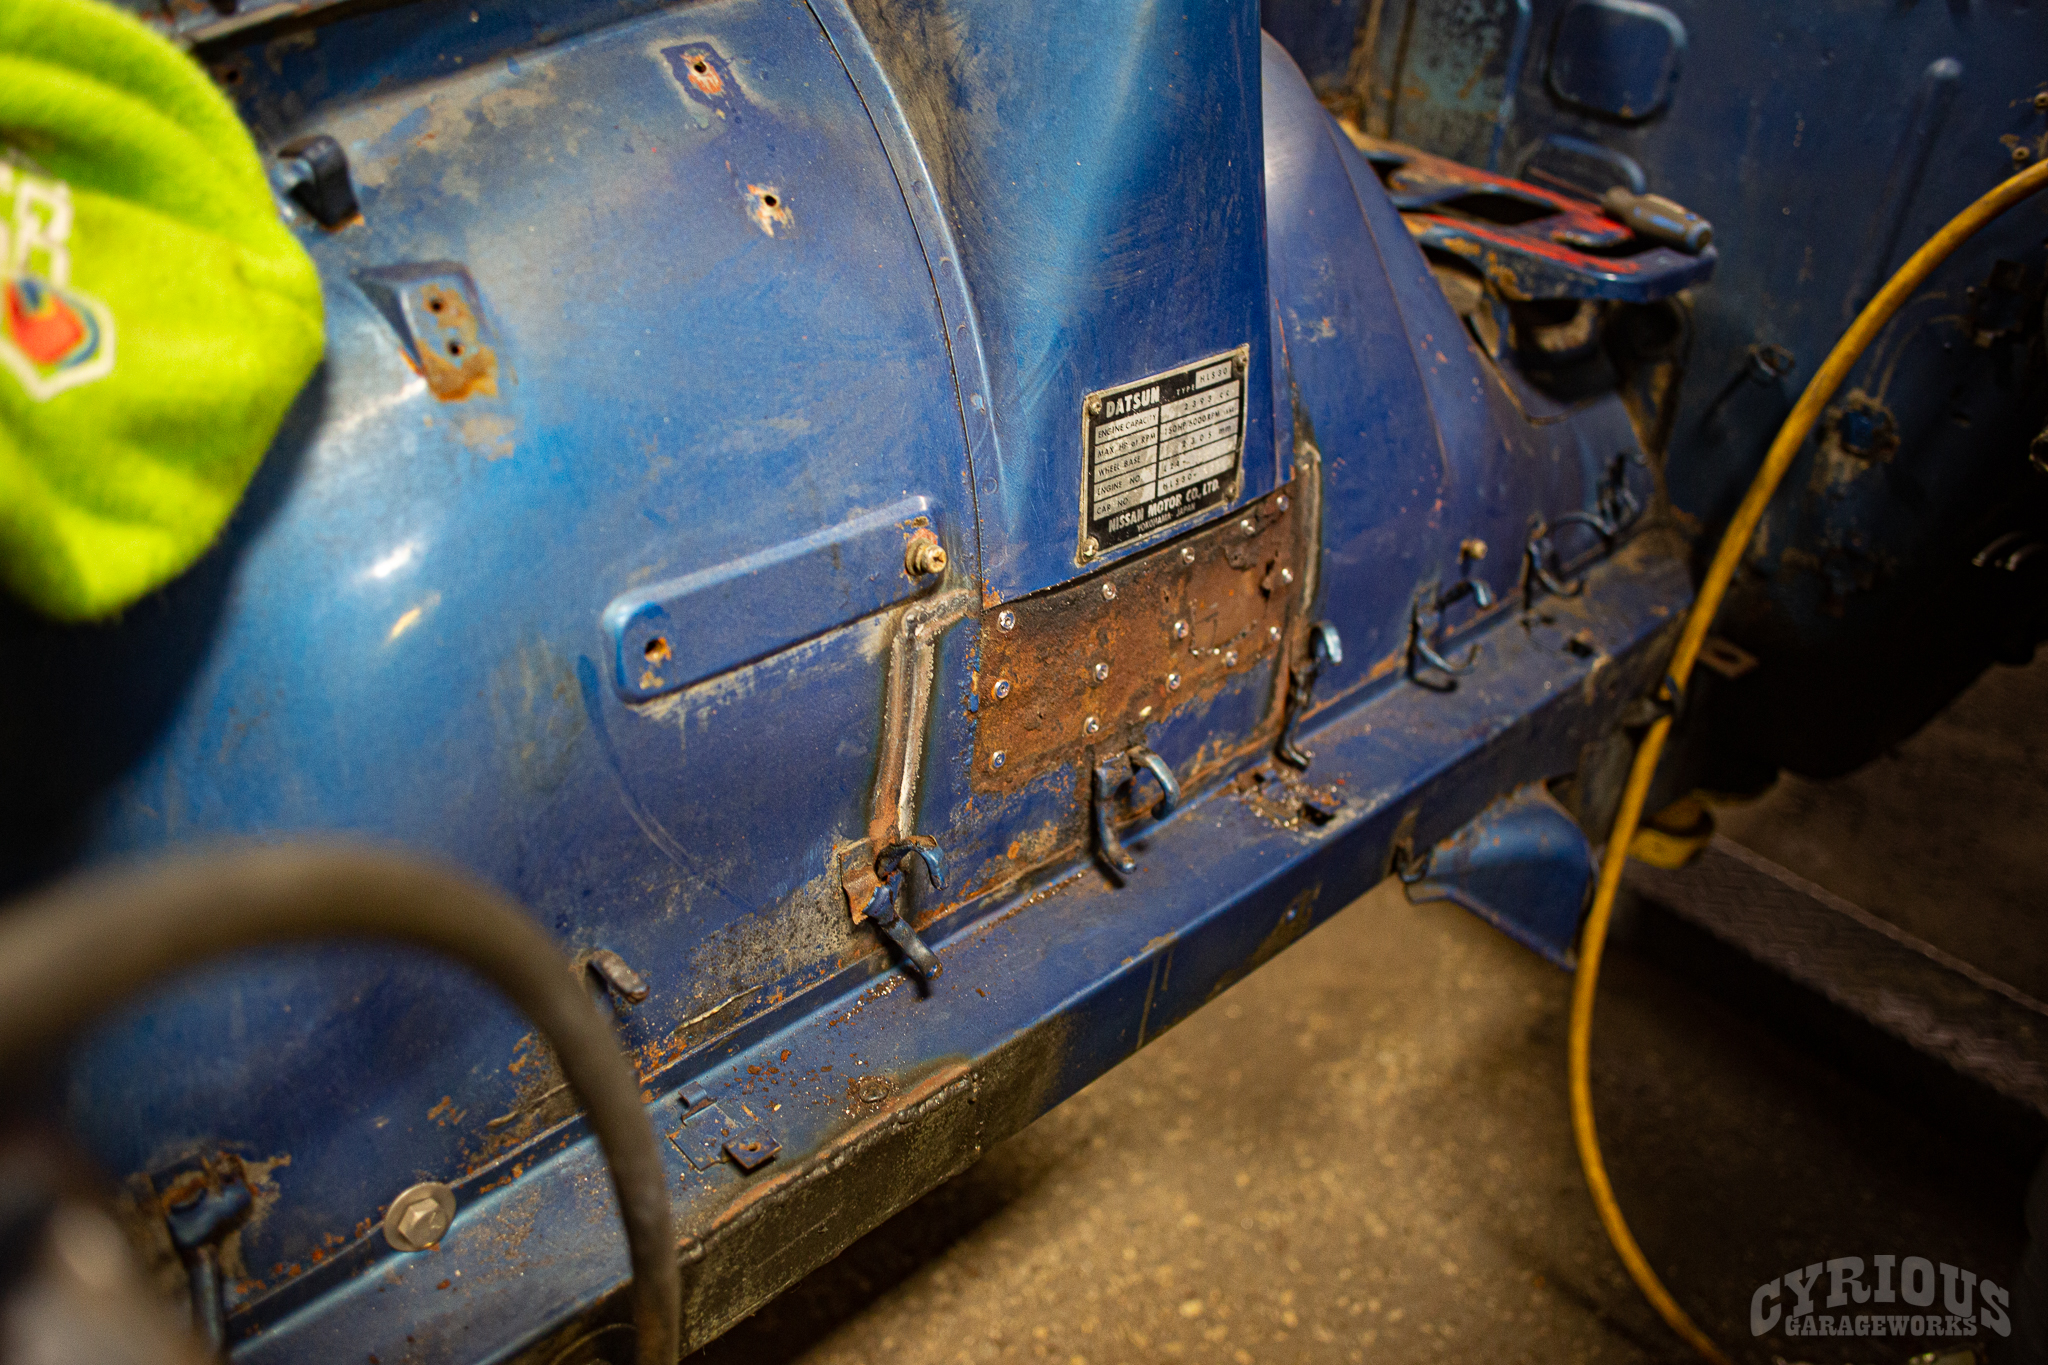
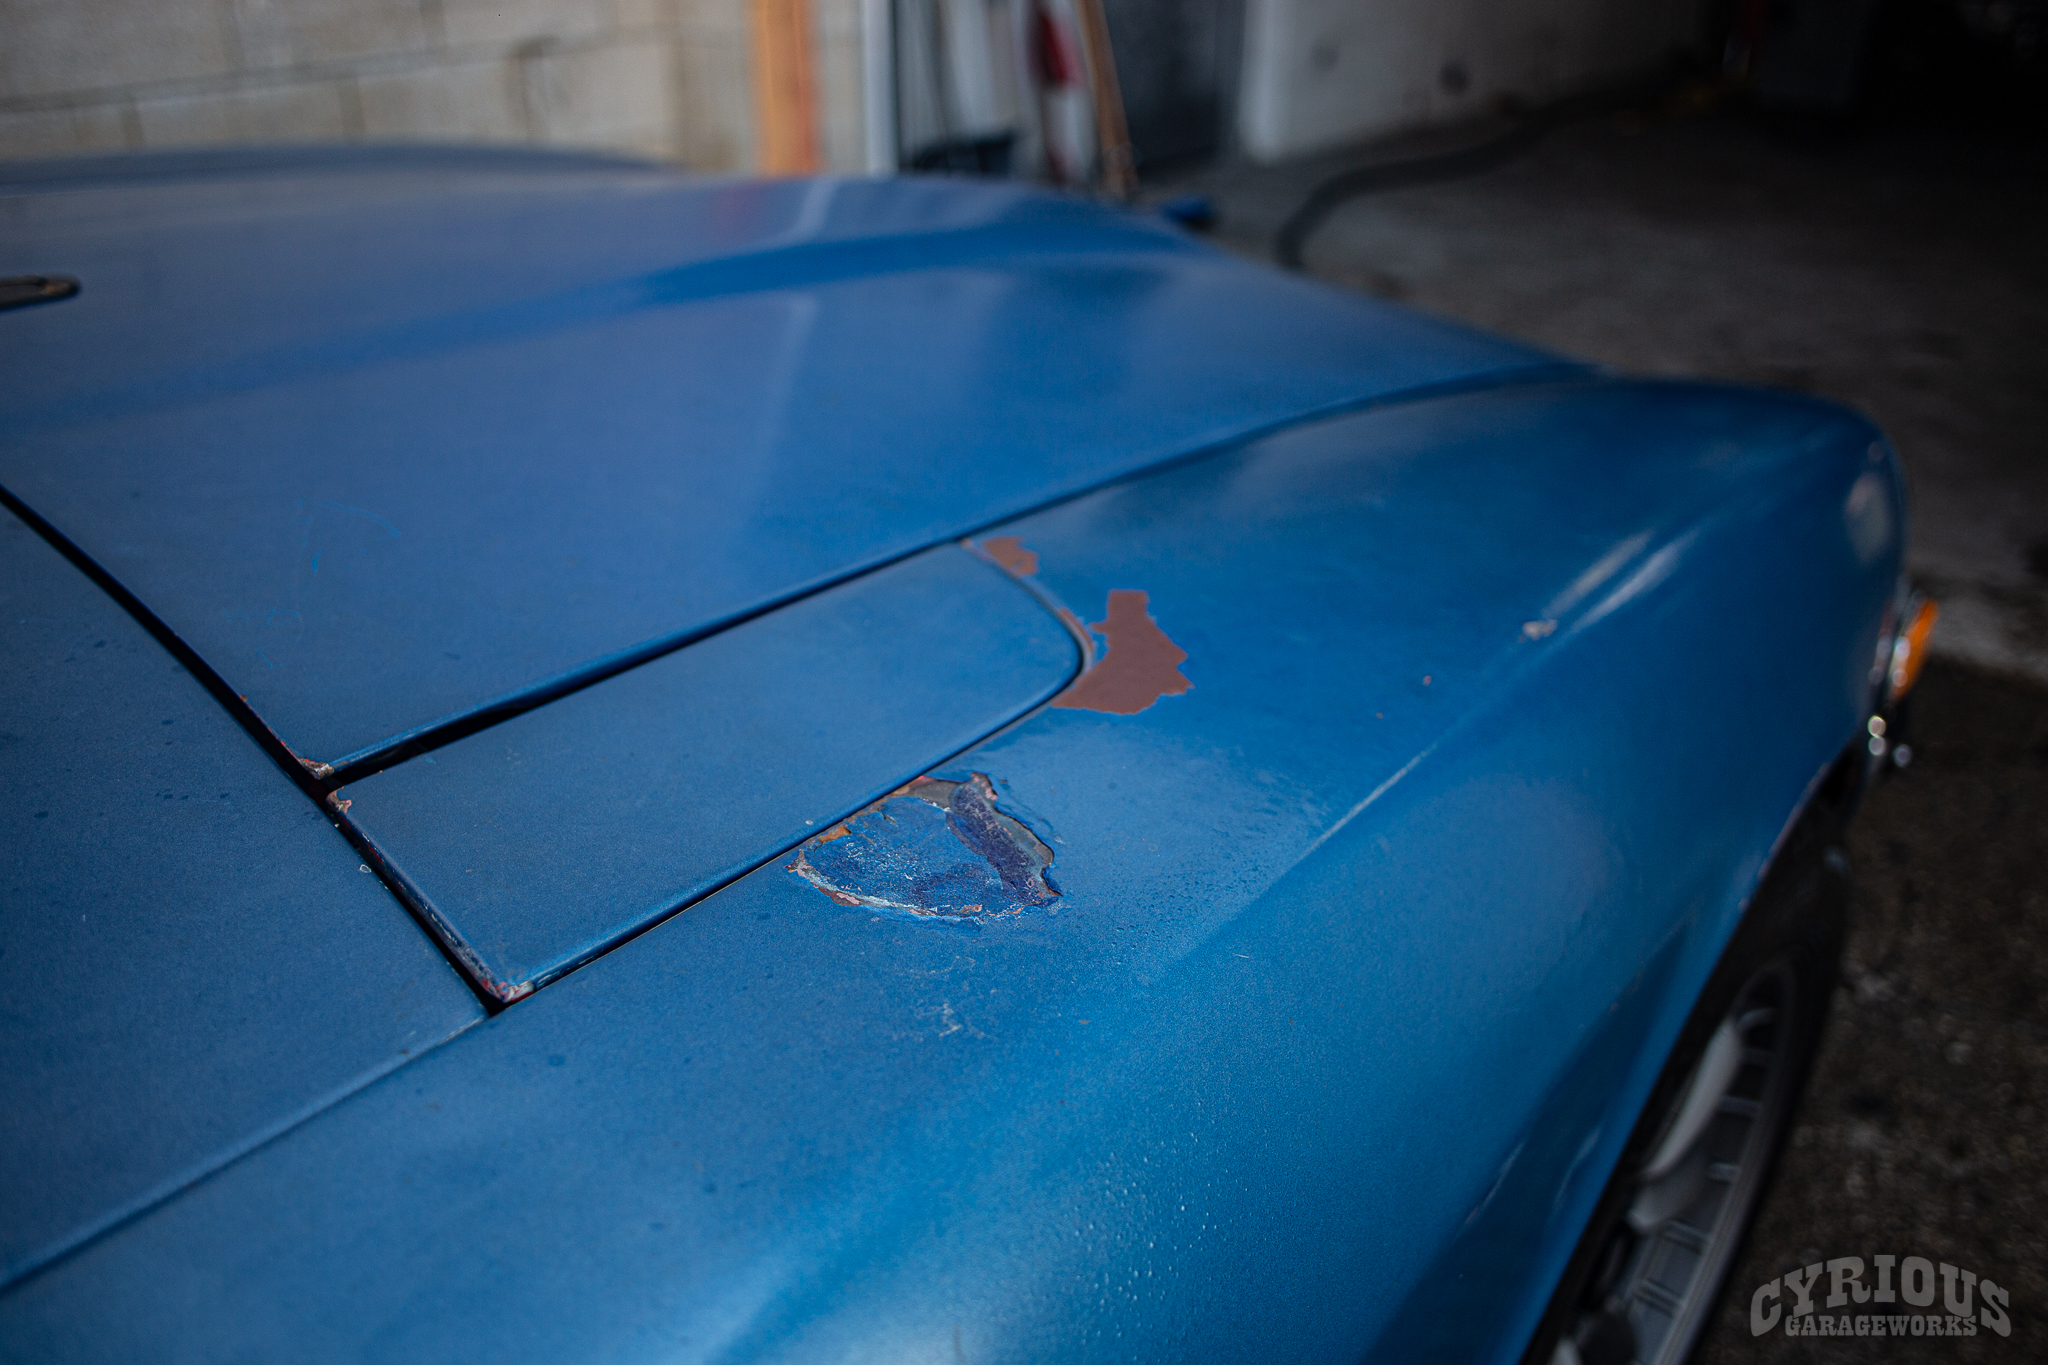
Normally, we would fix this. Sleeper status, though!
If you enjoy picking through the build photos, make sure you head over to our Youtube channel and take a ride along with Pat as he chats about some of the finer points of this truck. Thanks for stopping by!
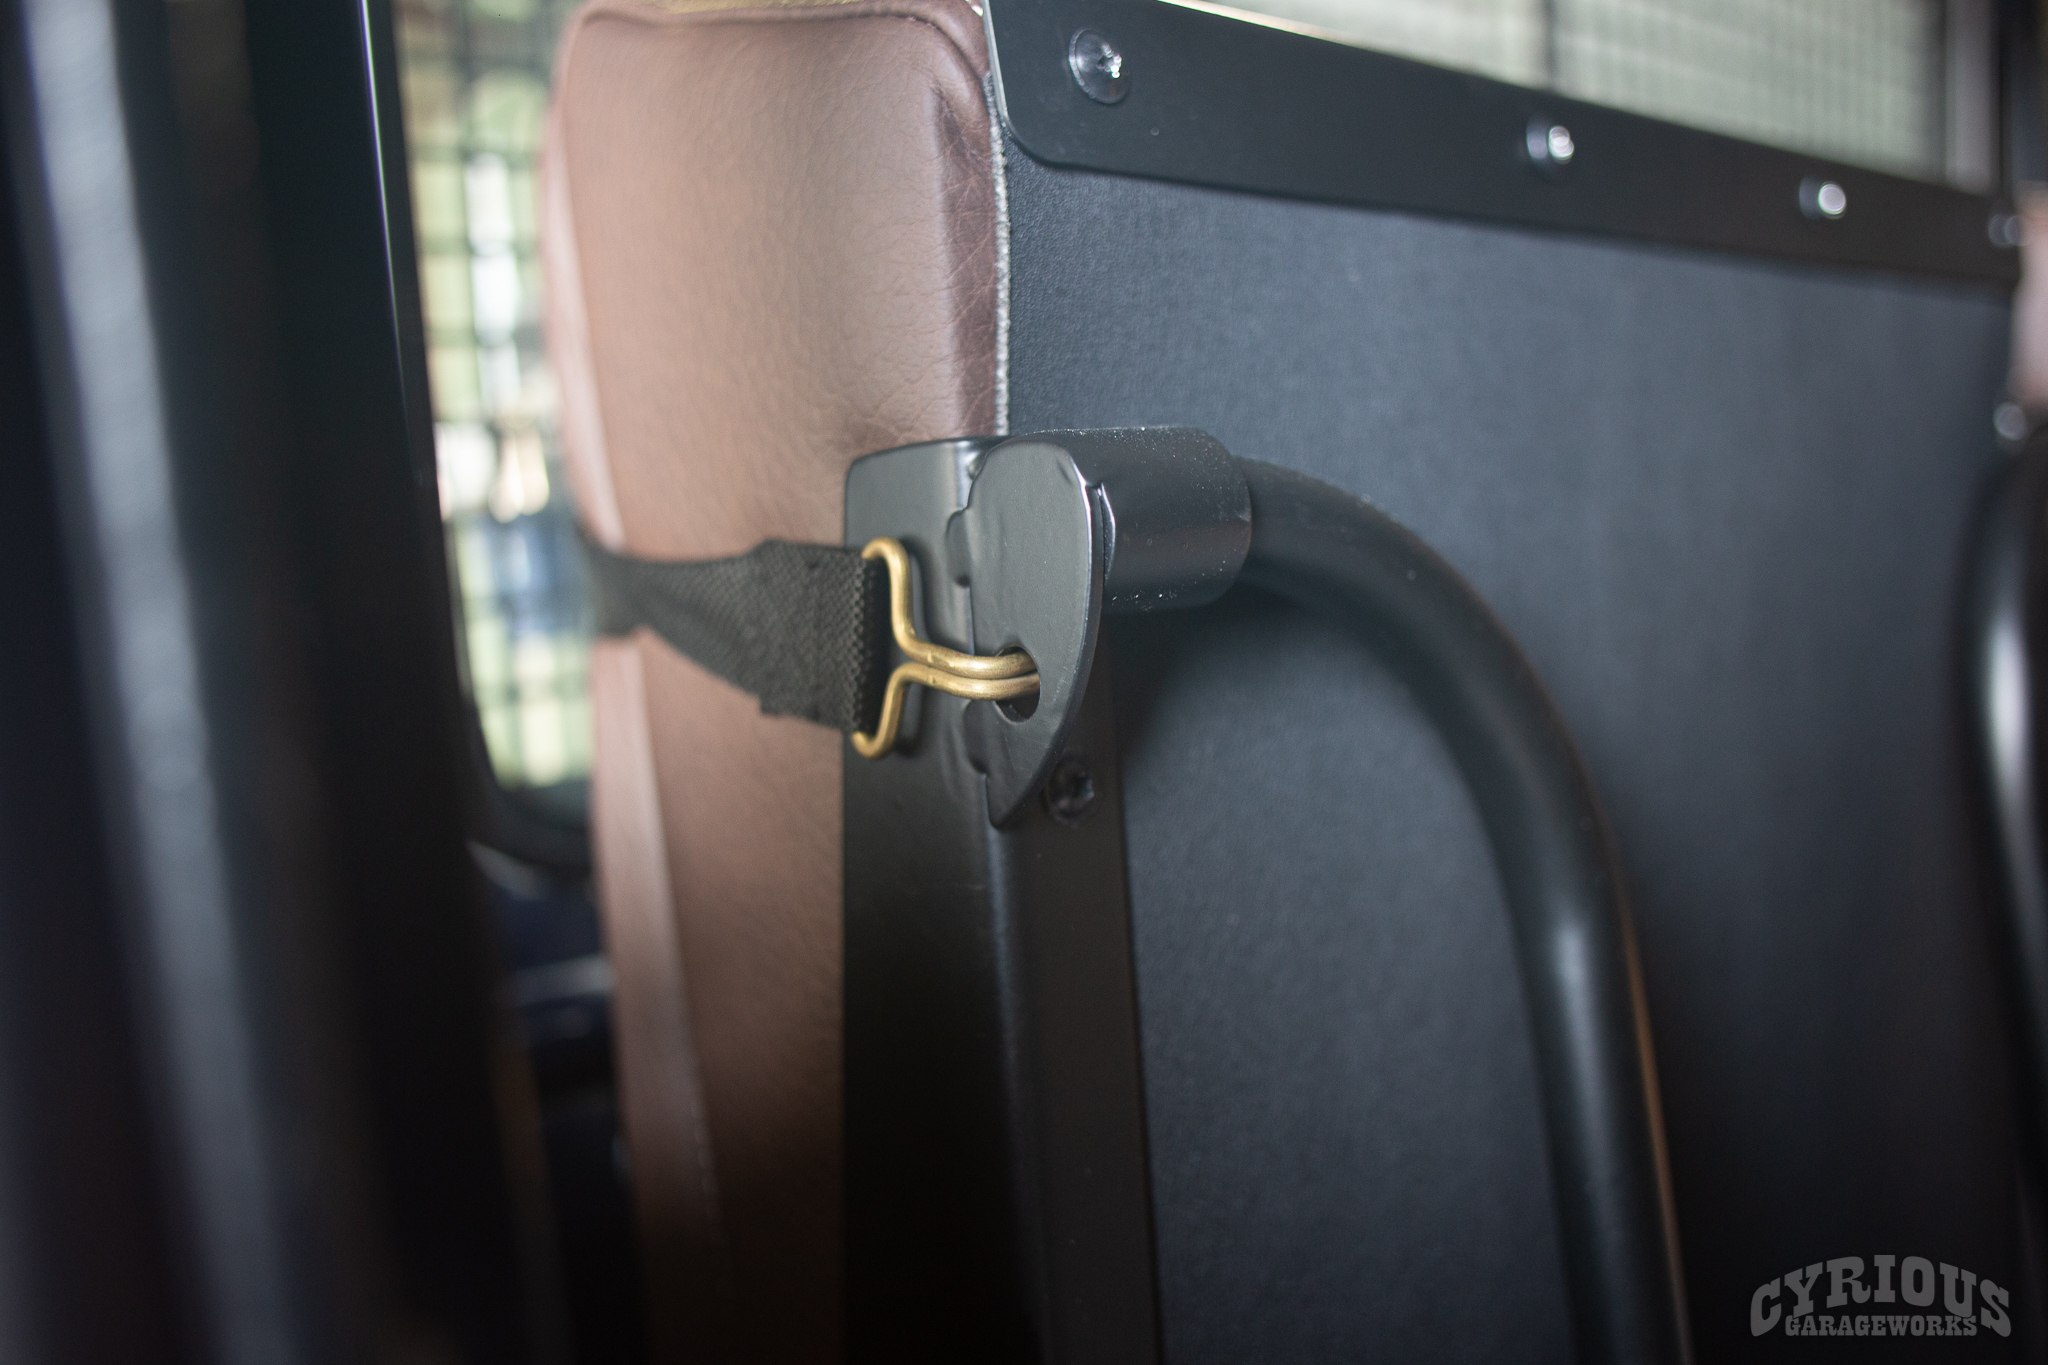
“Y’know those things they’d strap people into in medieval times?”
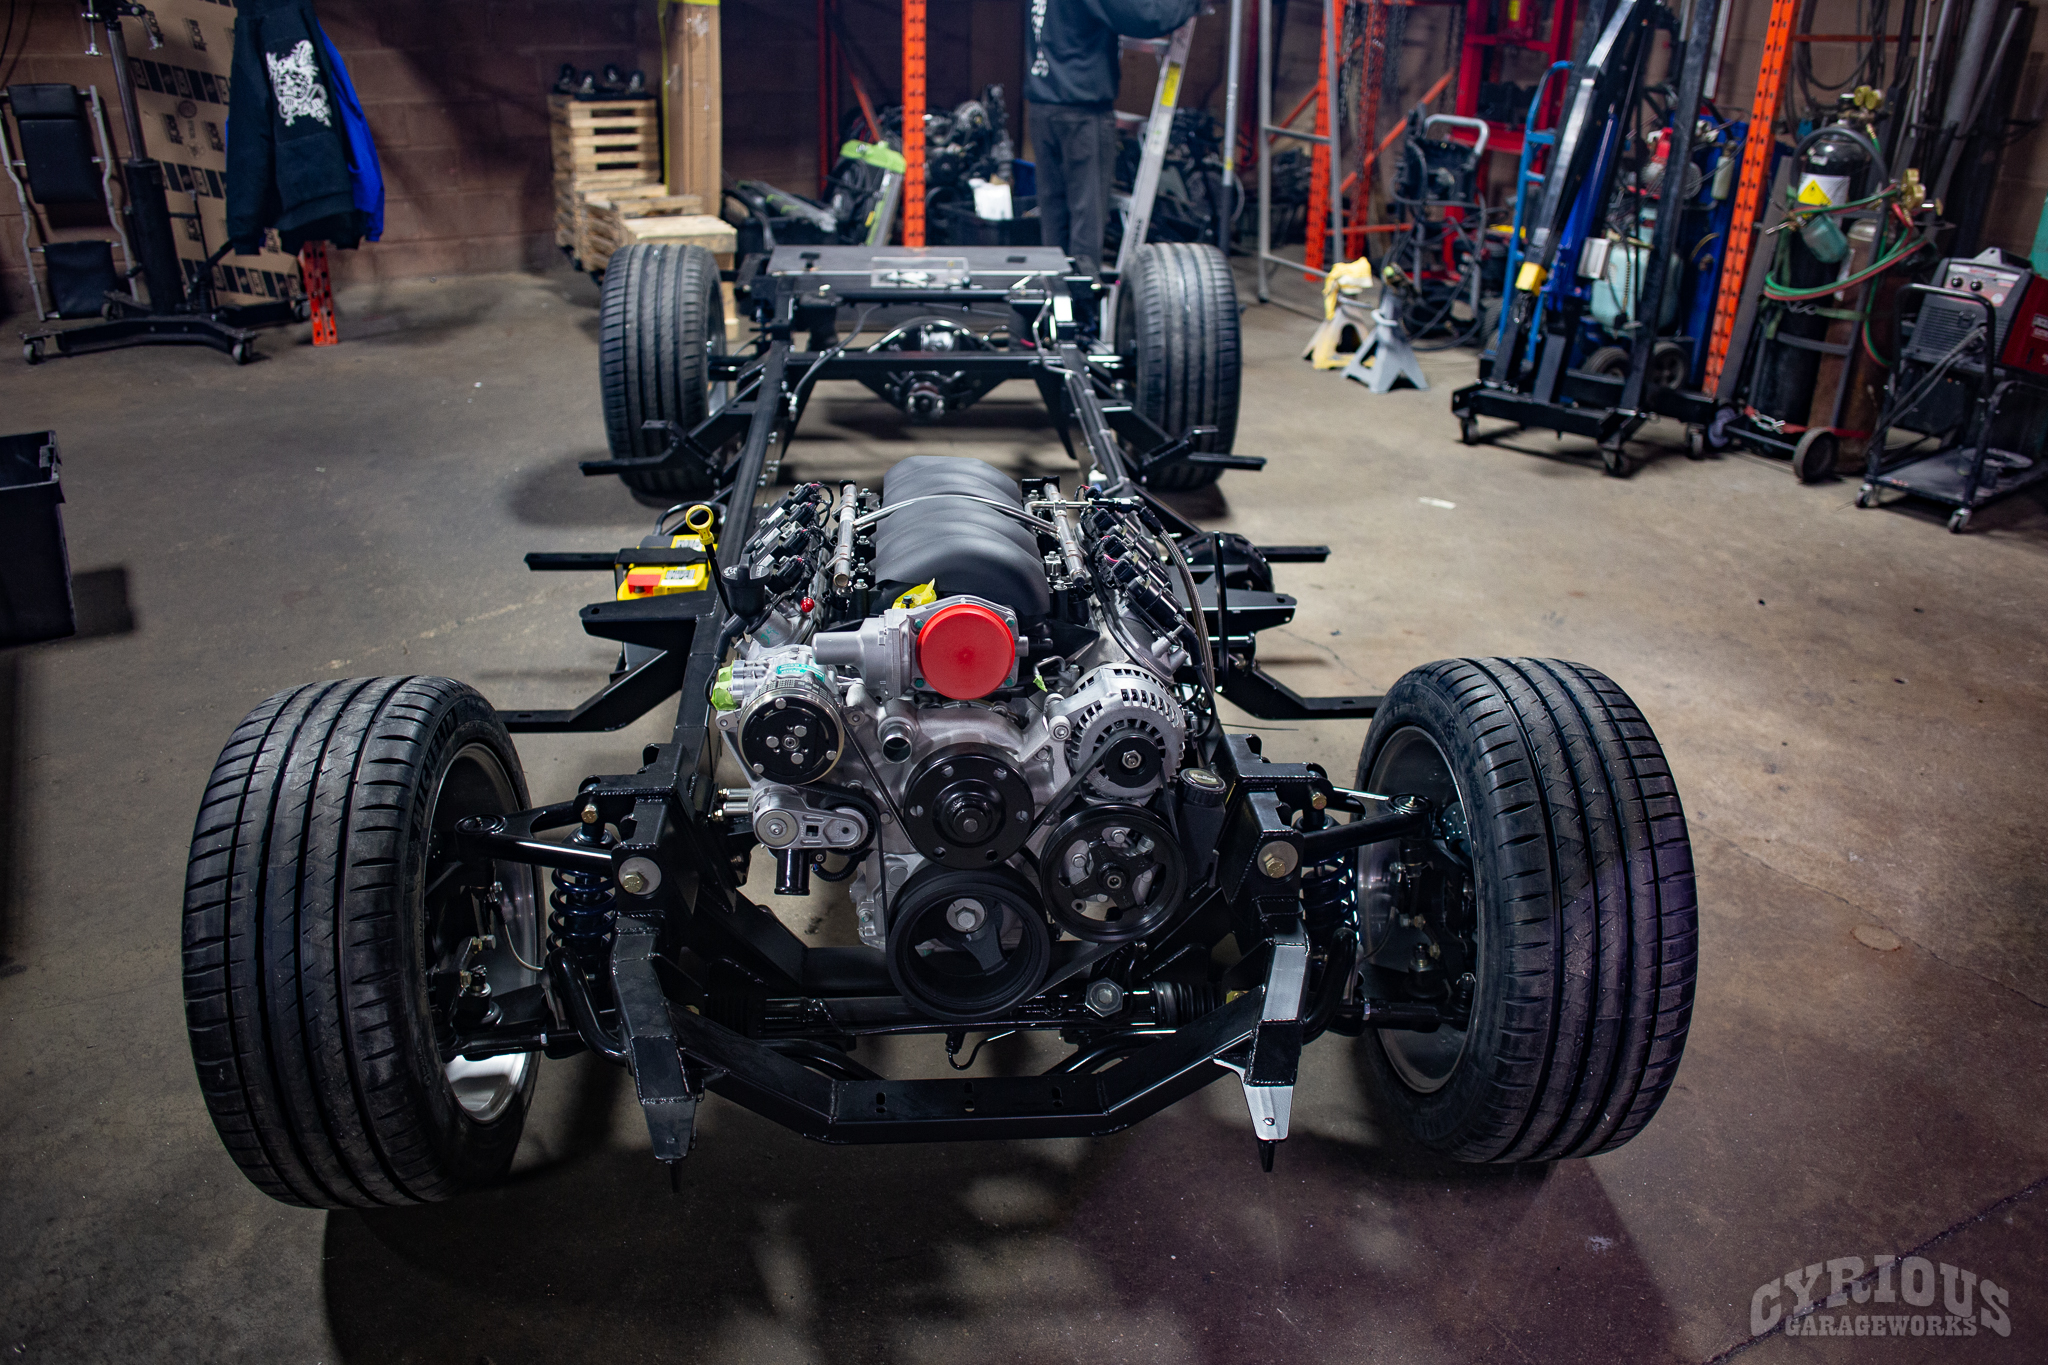
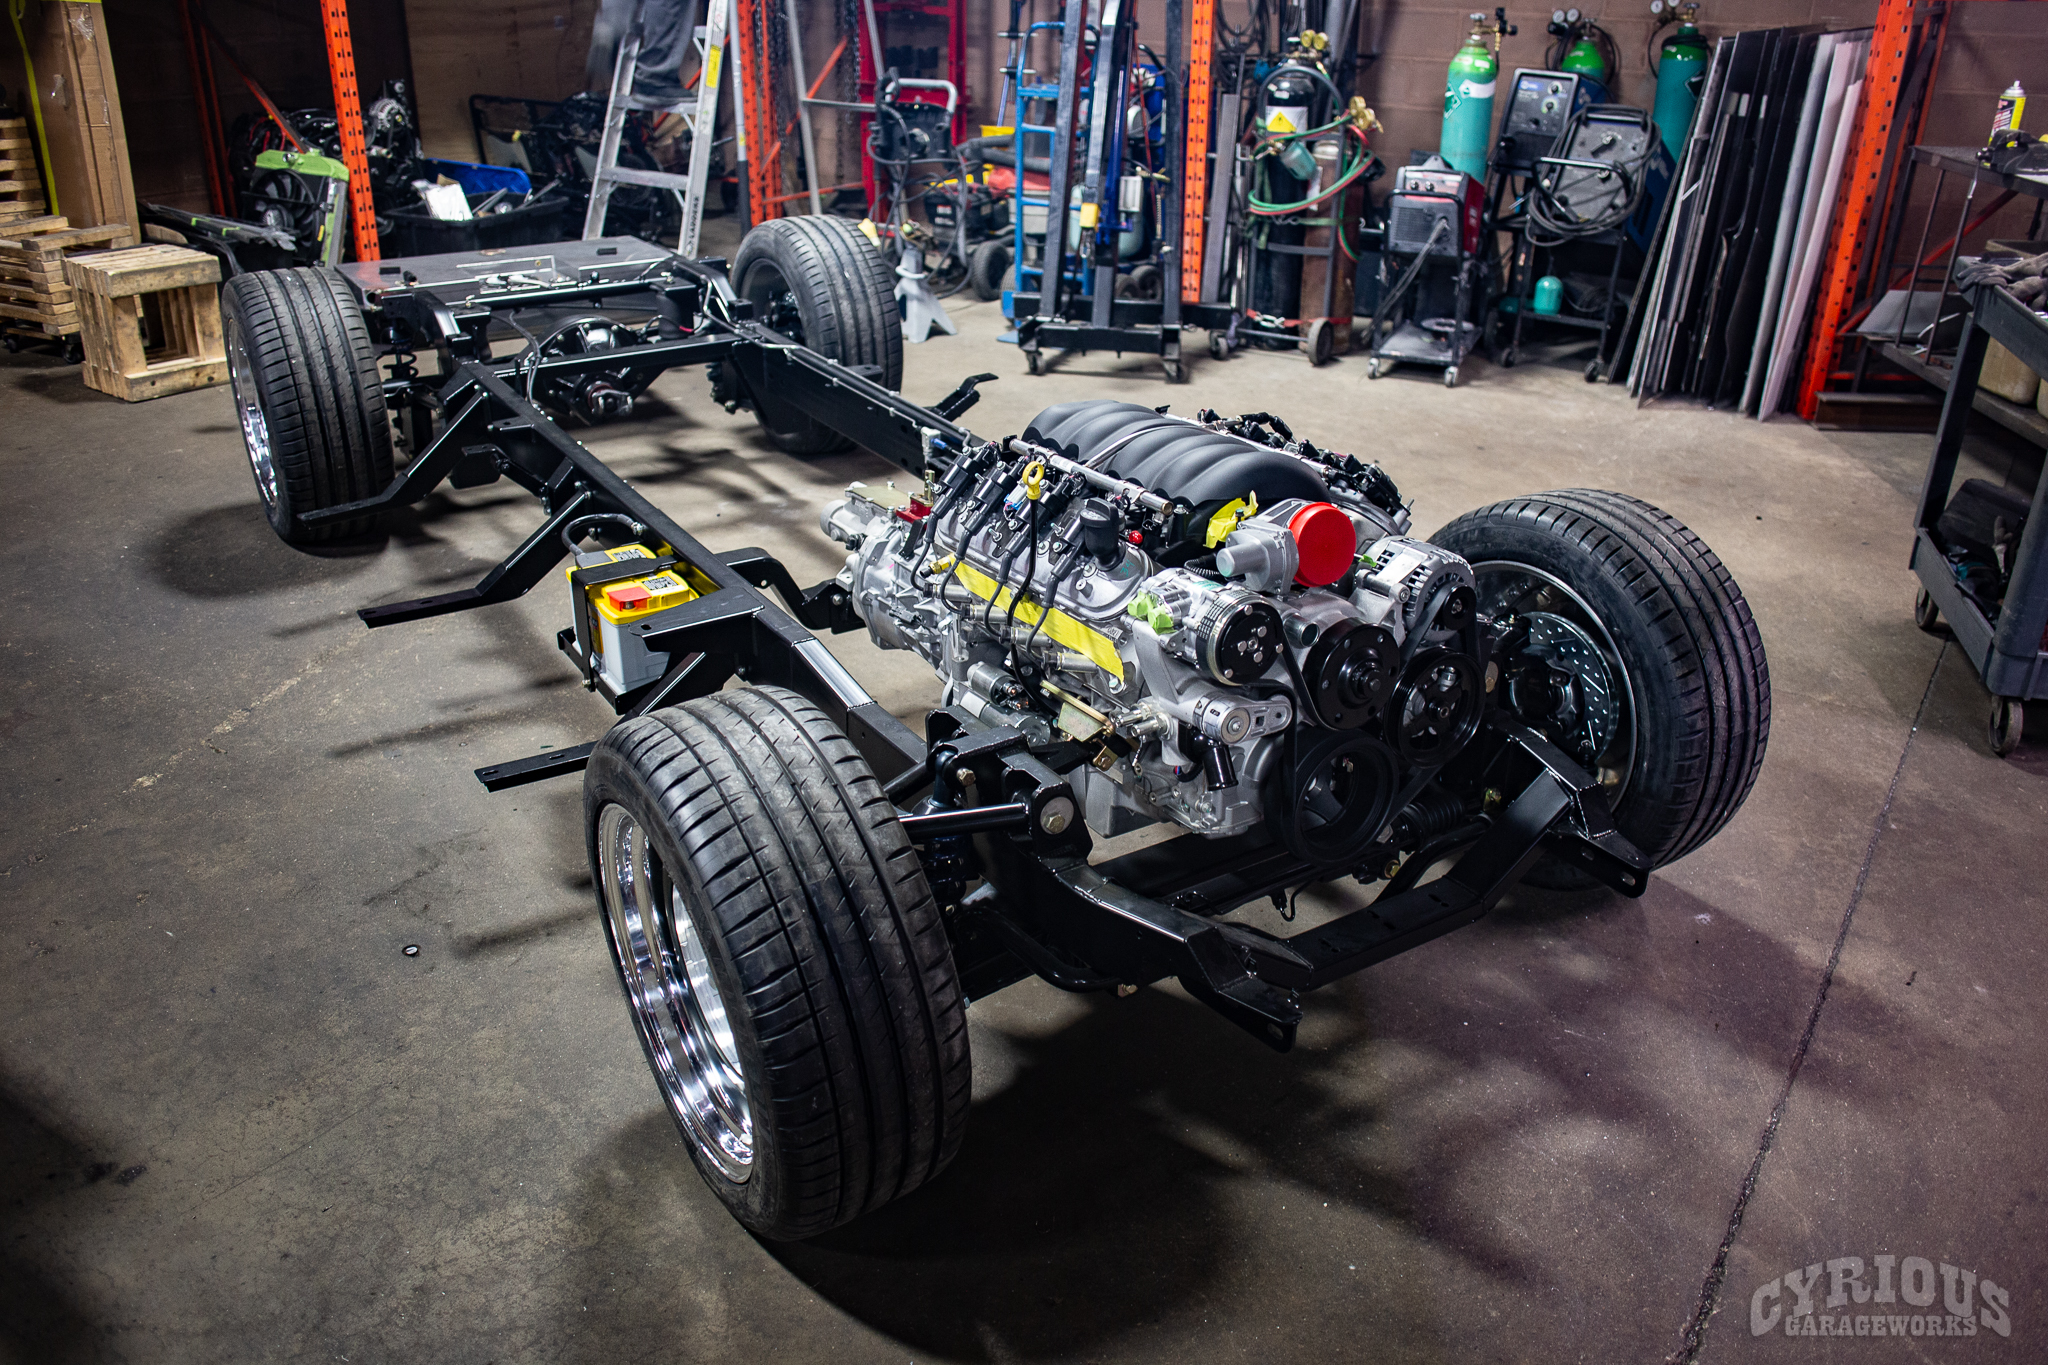
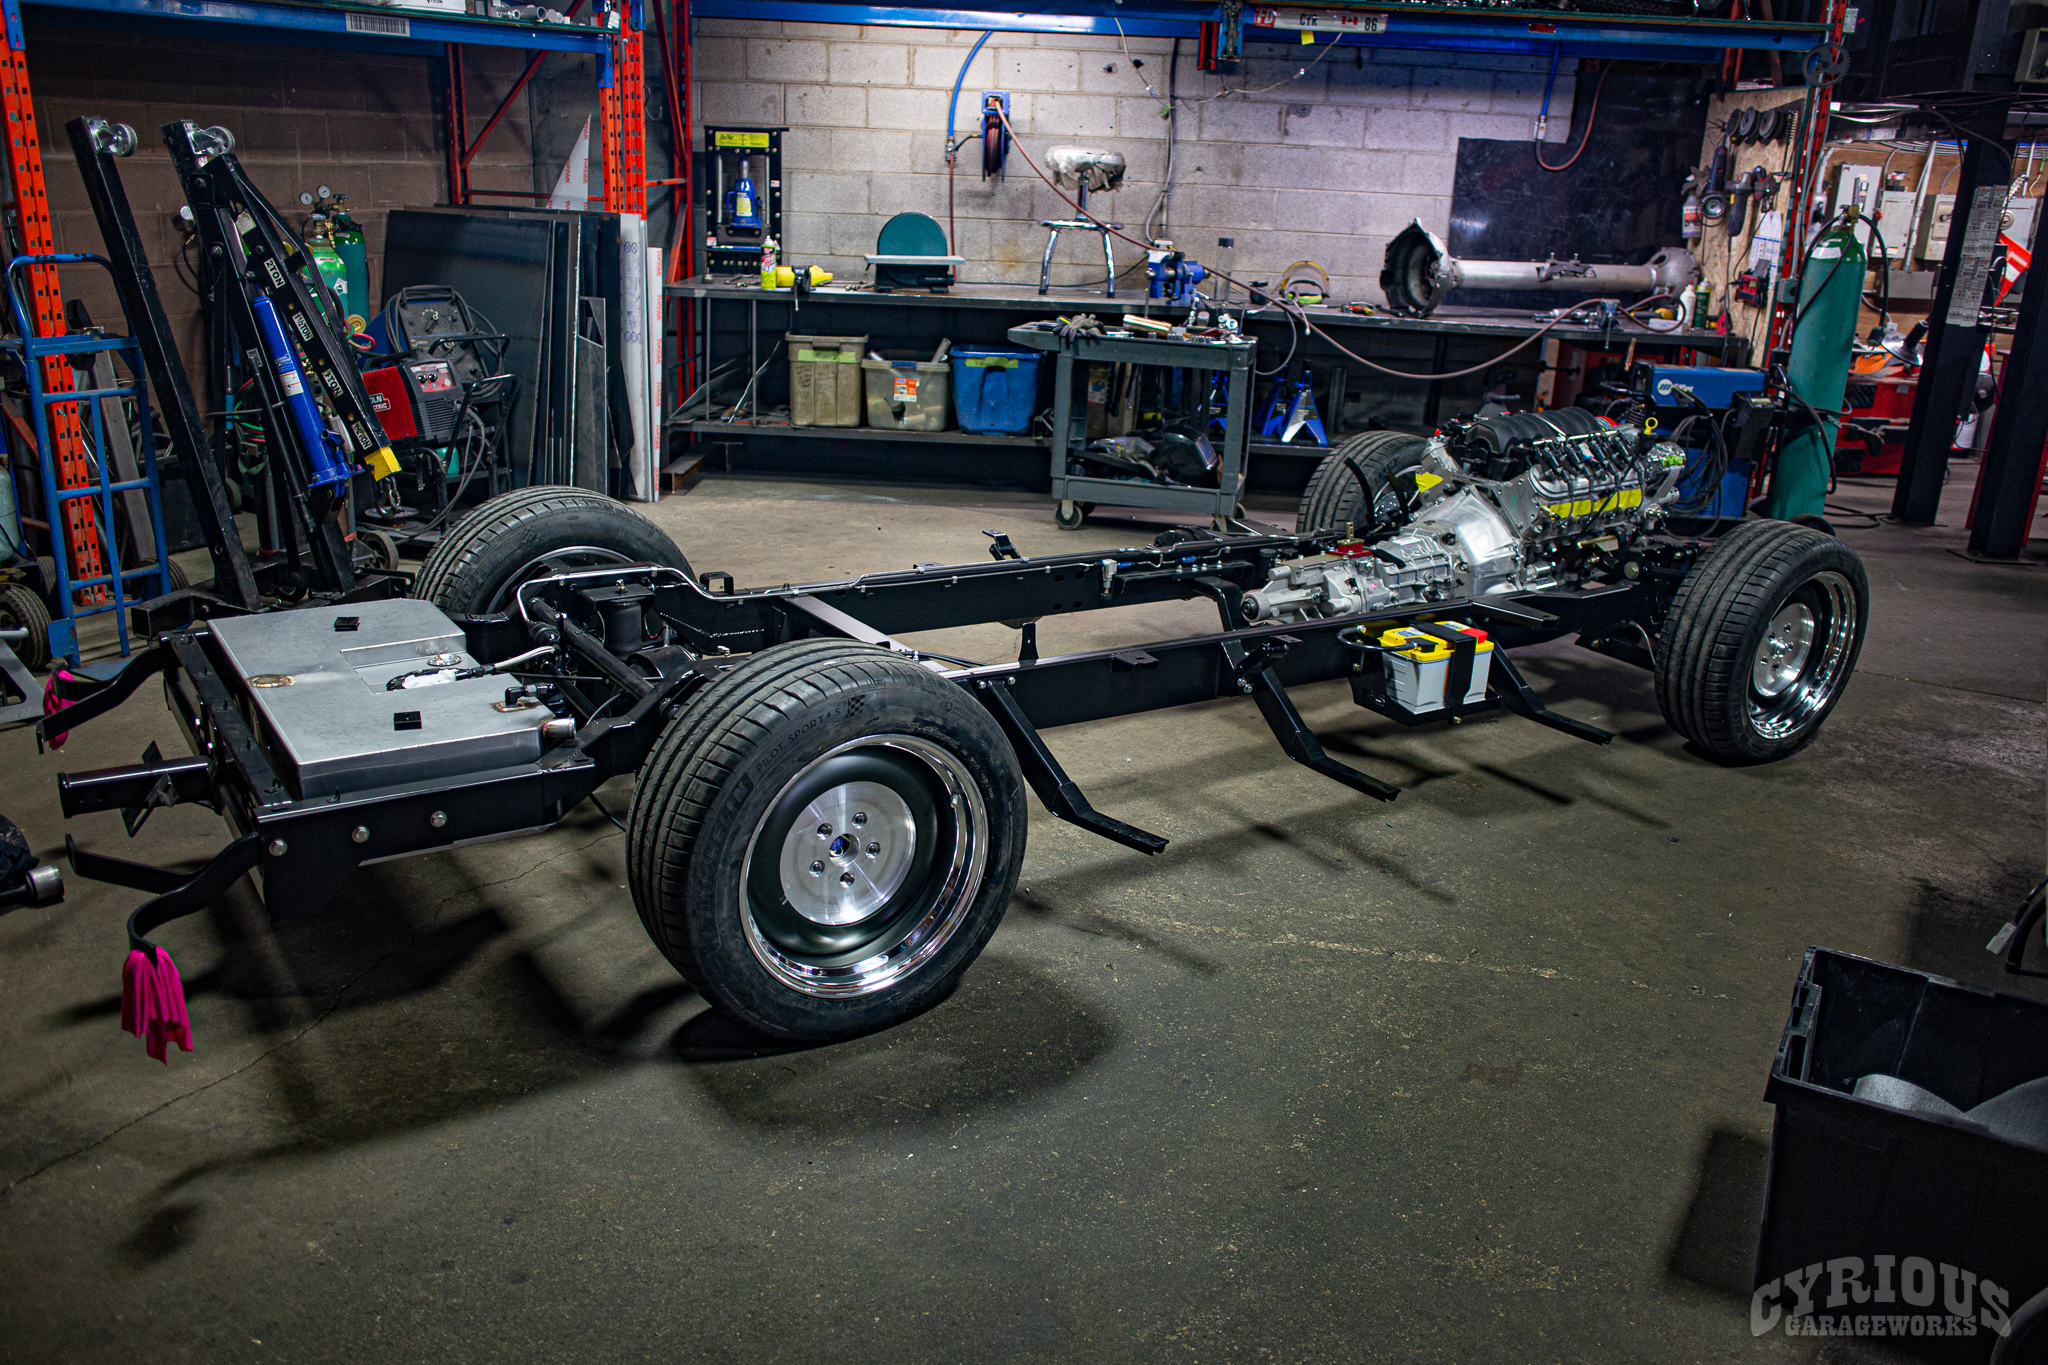
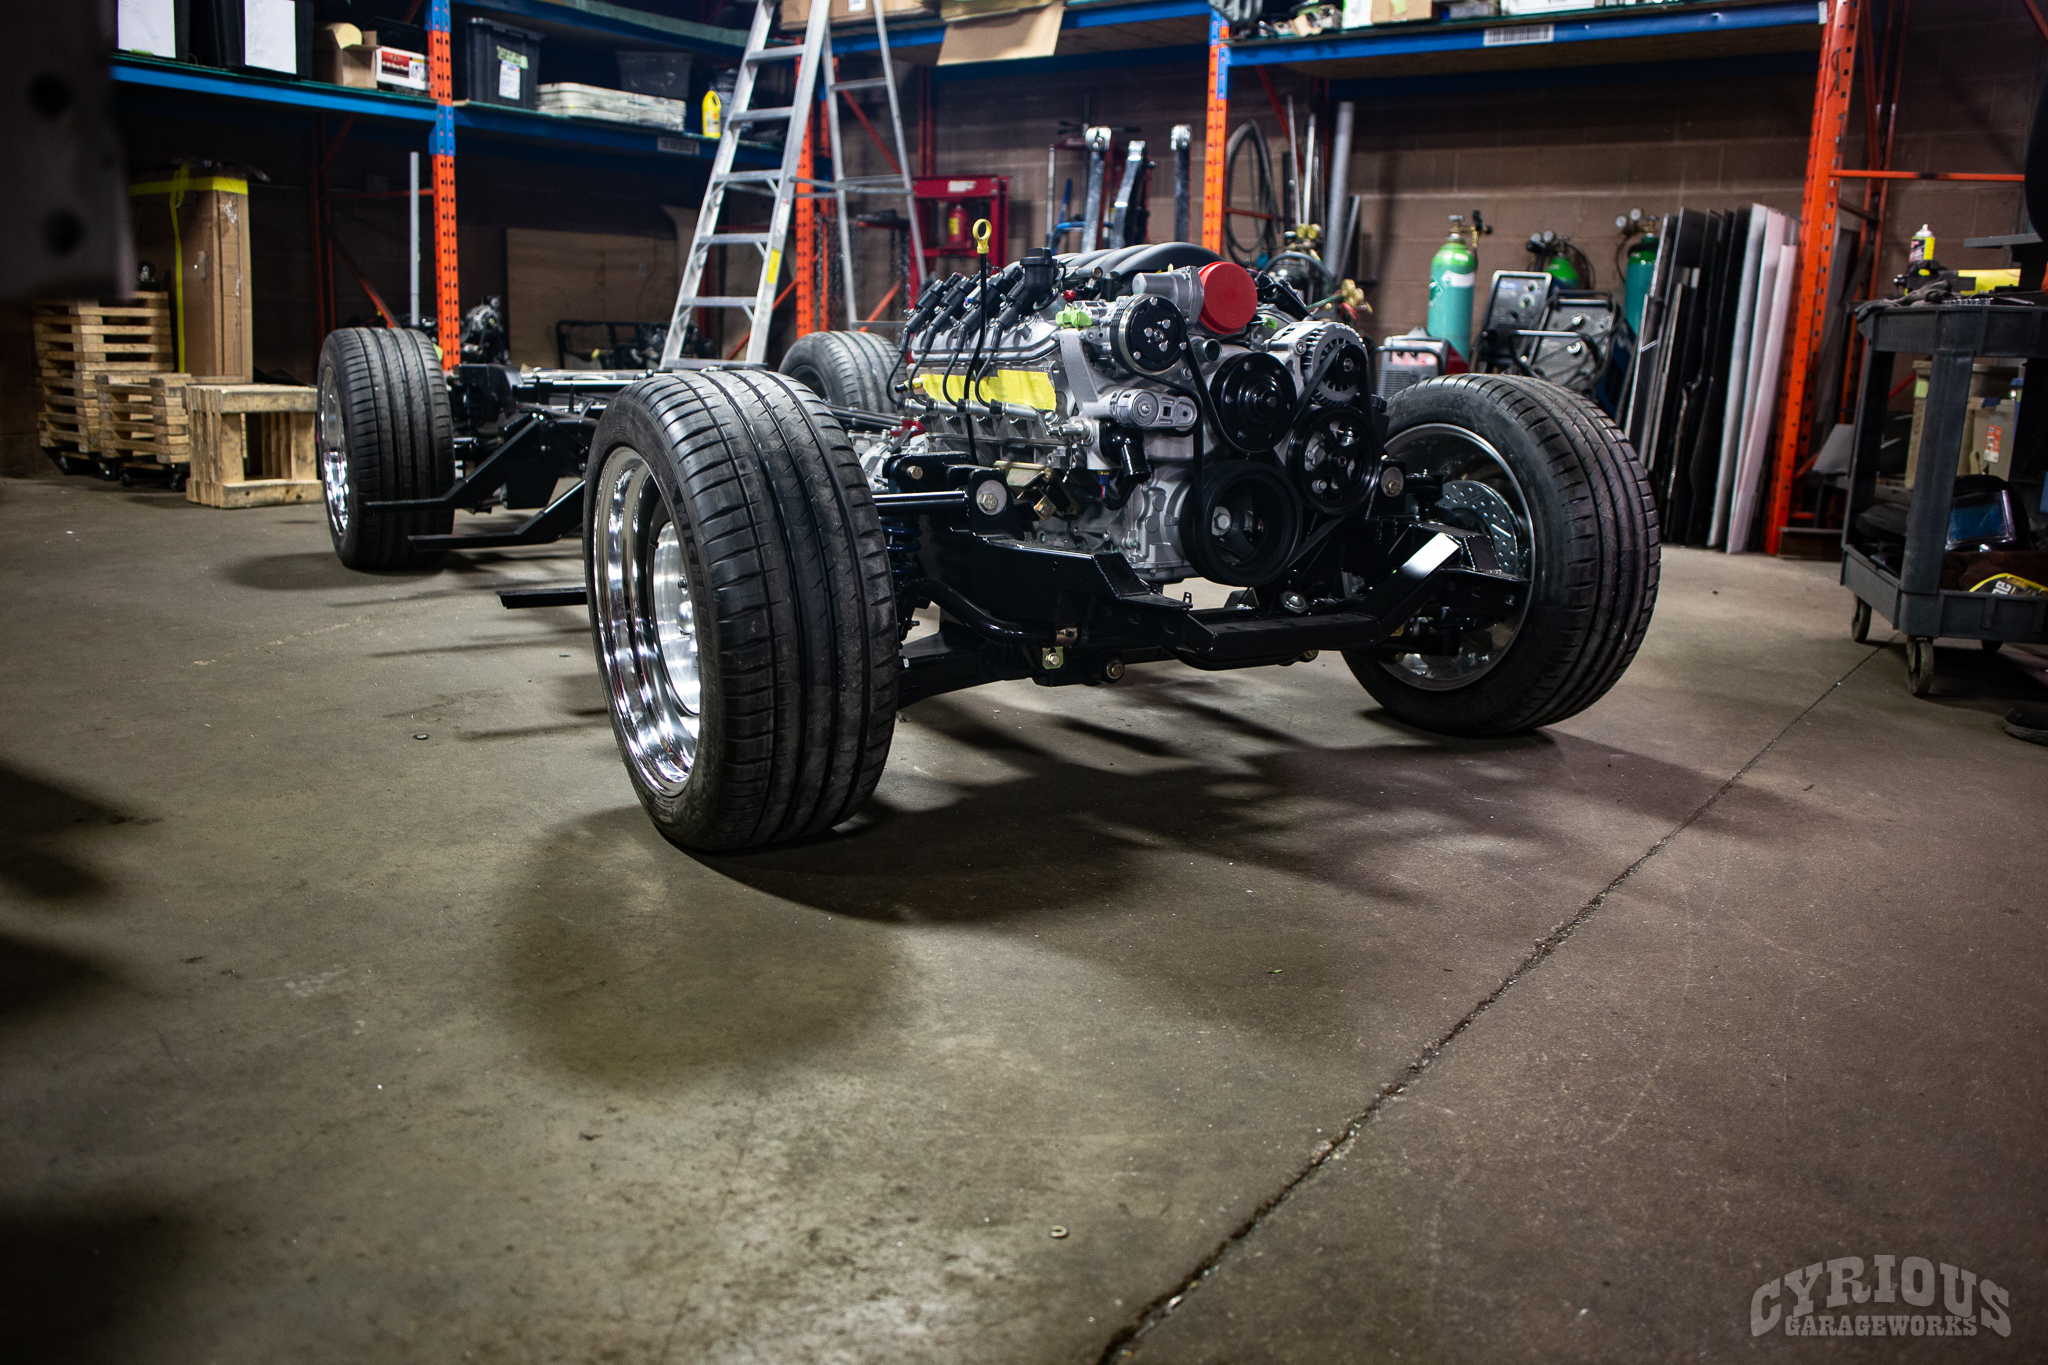
Welcome back! On our last episode, we had just finished getting things rolling, now it’s time to start adding some bits, and get to the bodyshop! Let’s dig right in!
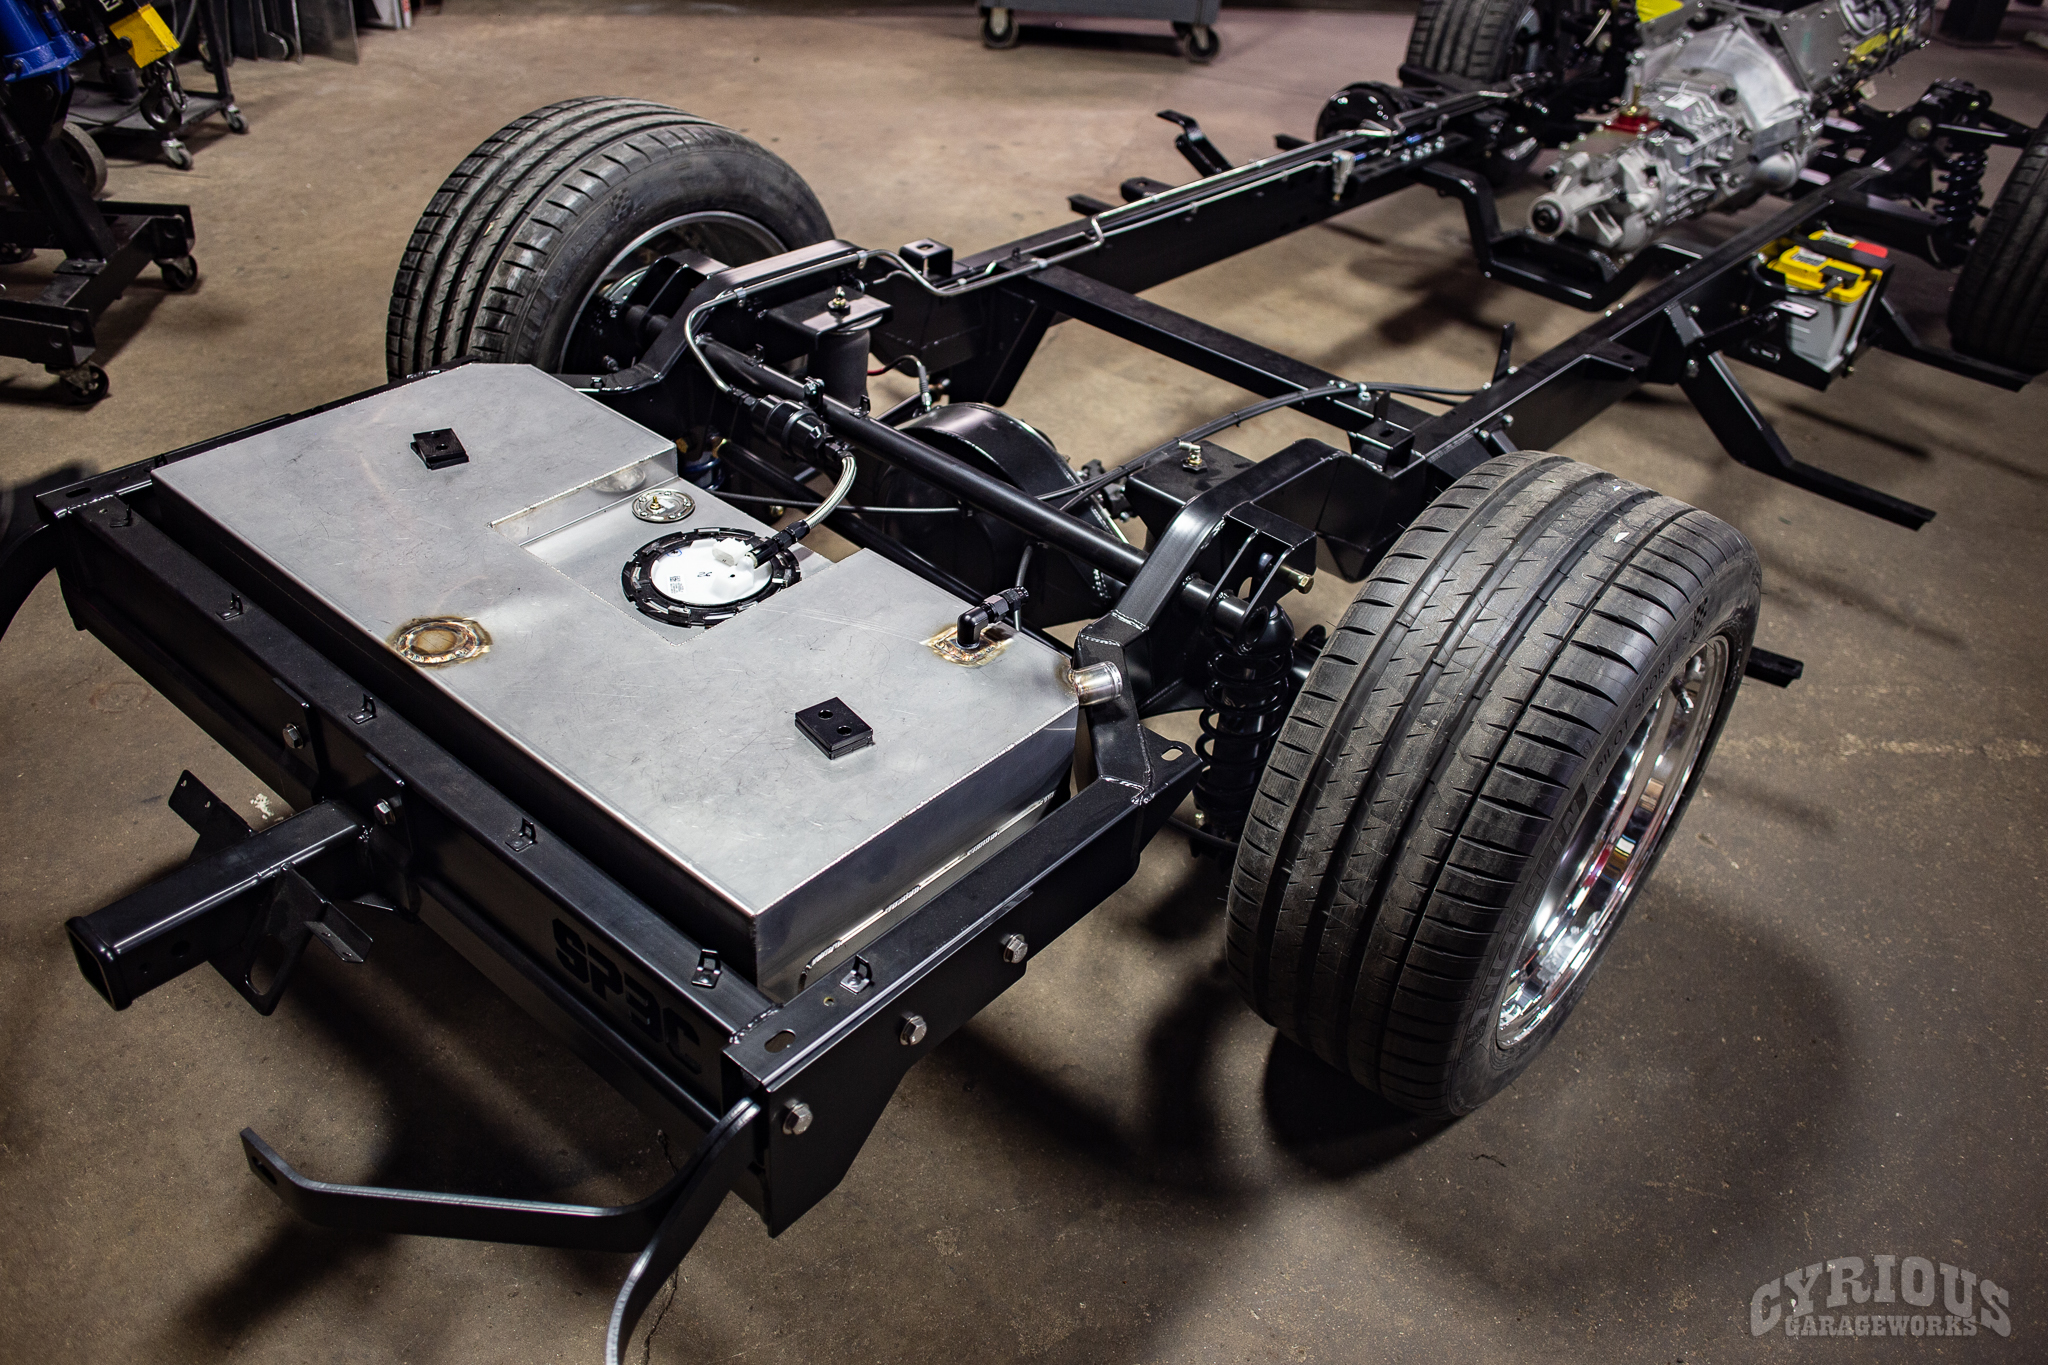
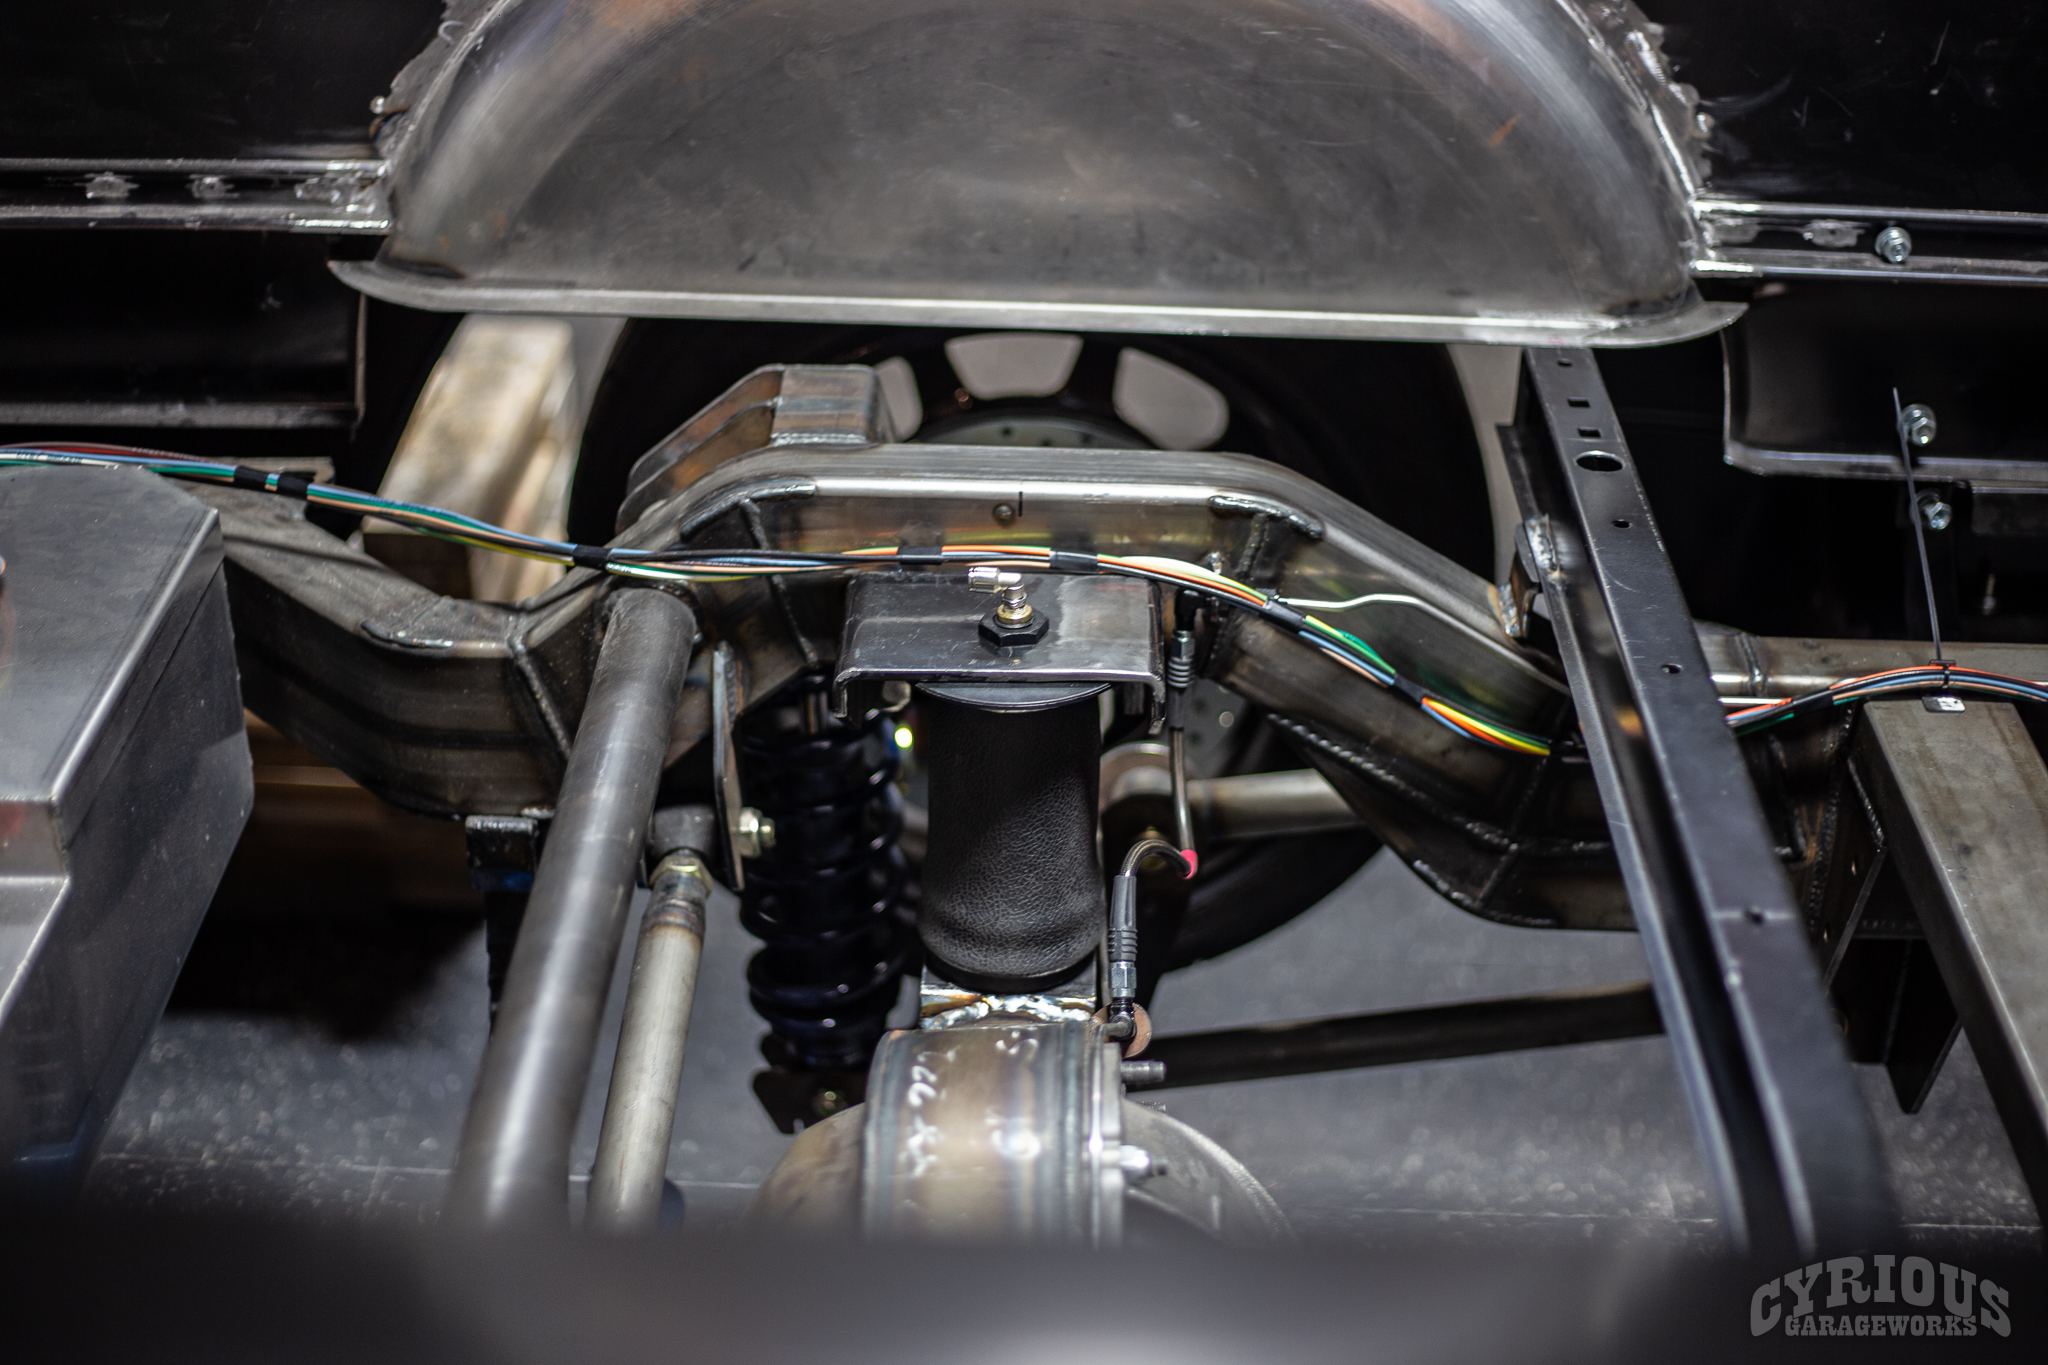
It’s not enough to just have a badass truck on a custom chassis, this thing needs to be able to tow stuff too! Load leveler air bags make it so that this truck can haul some serious weight without issue.
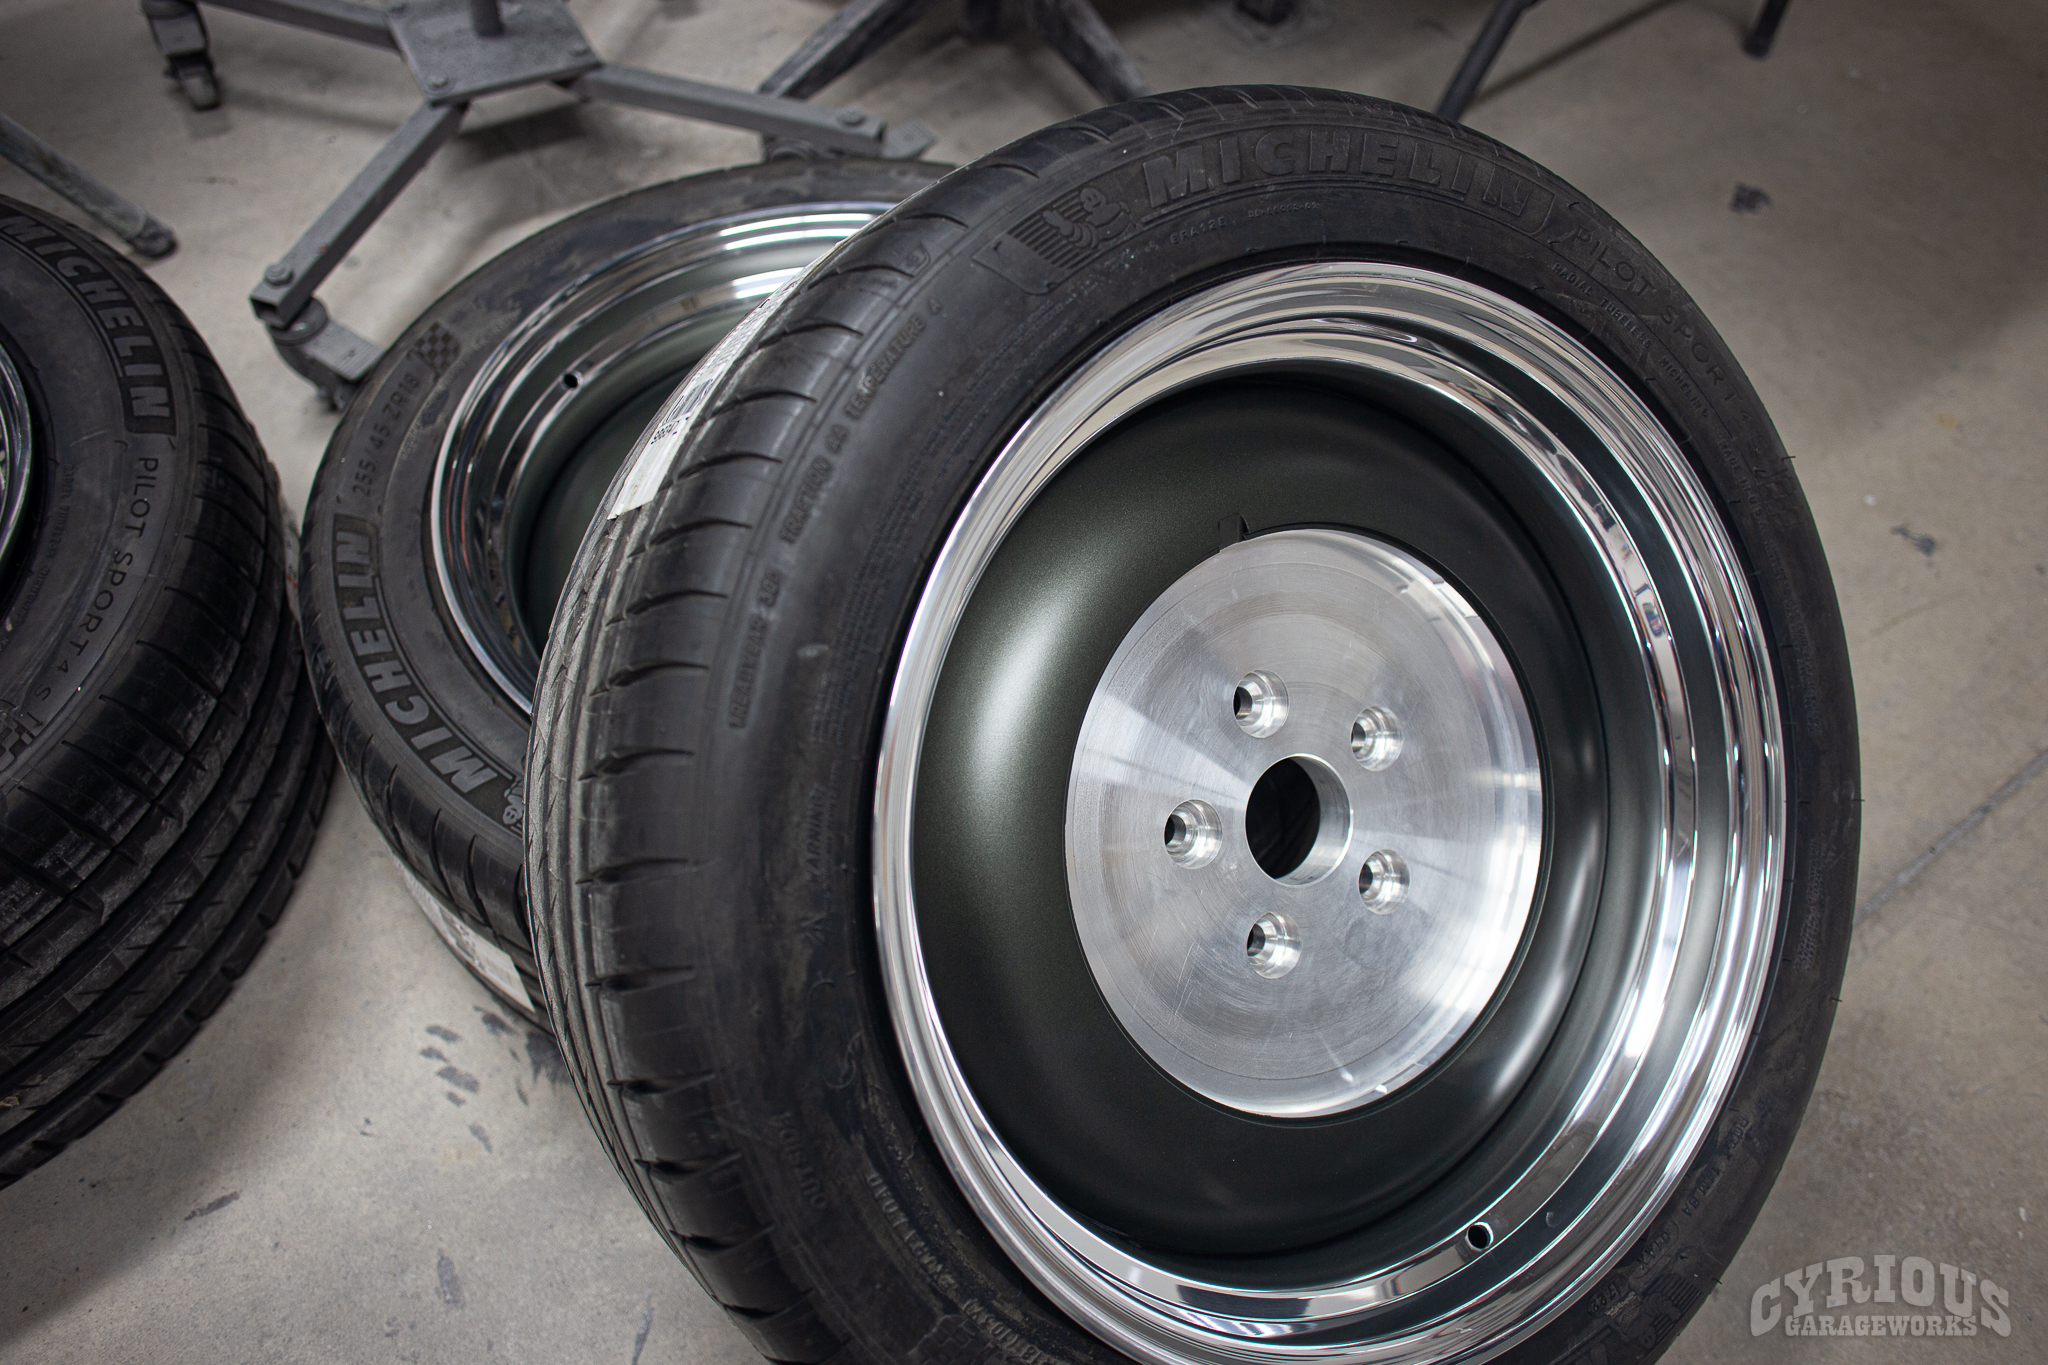
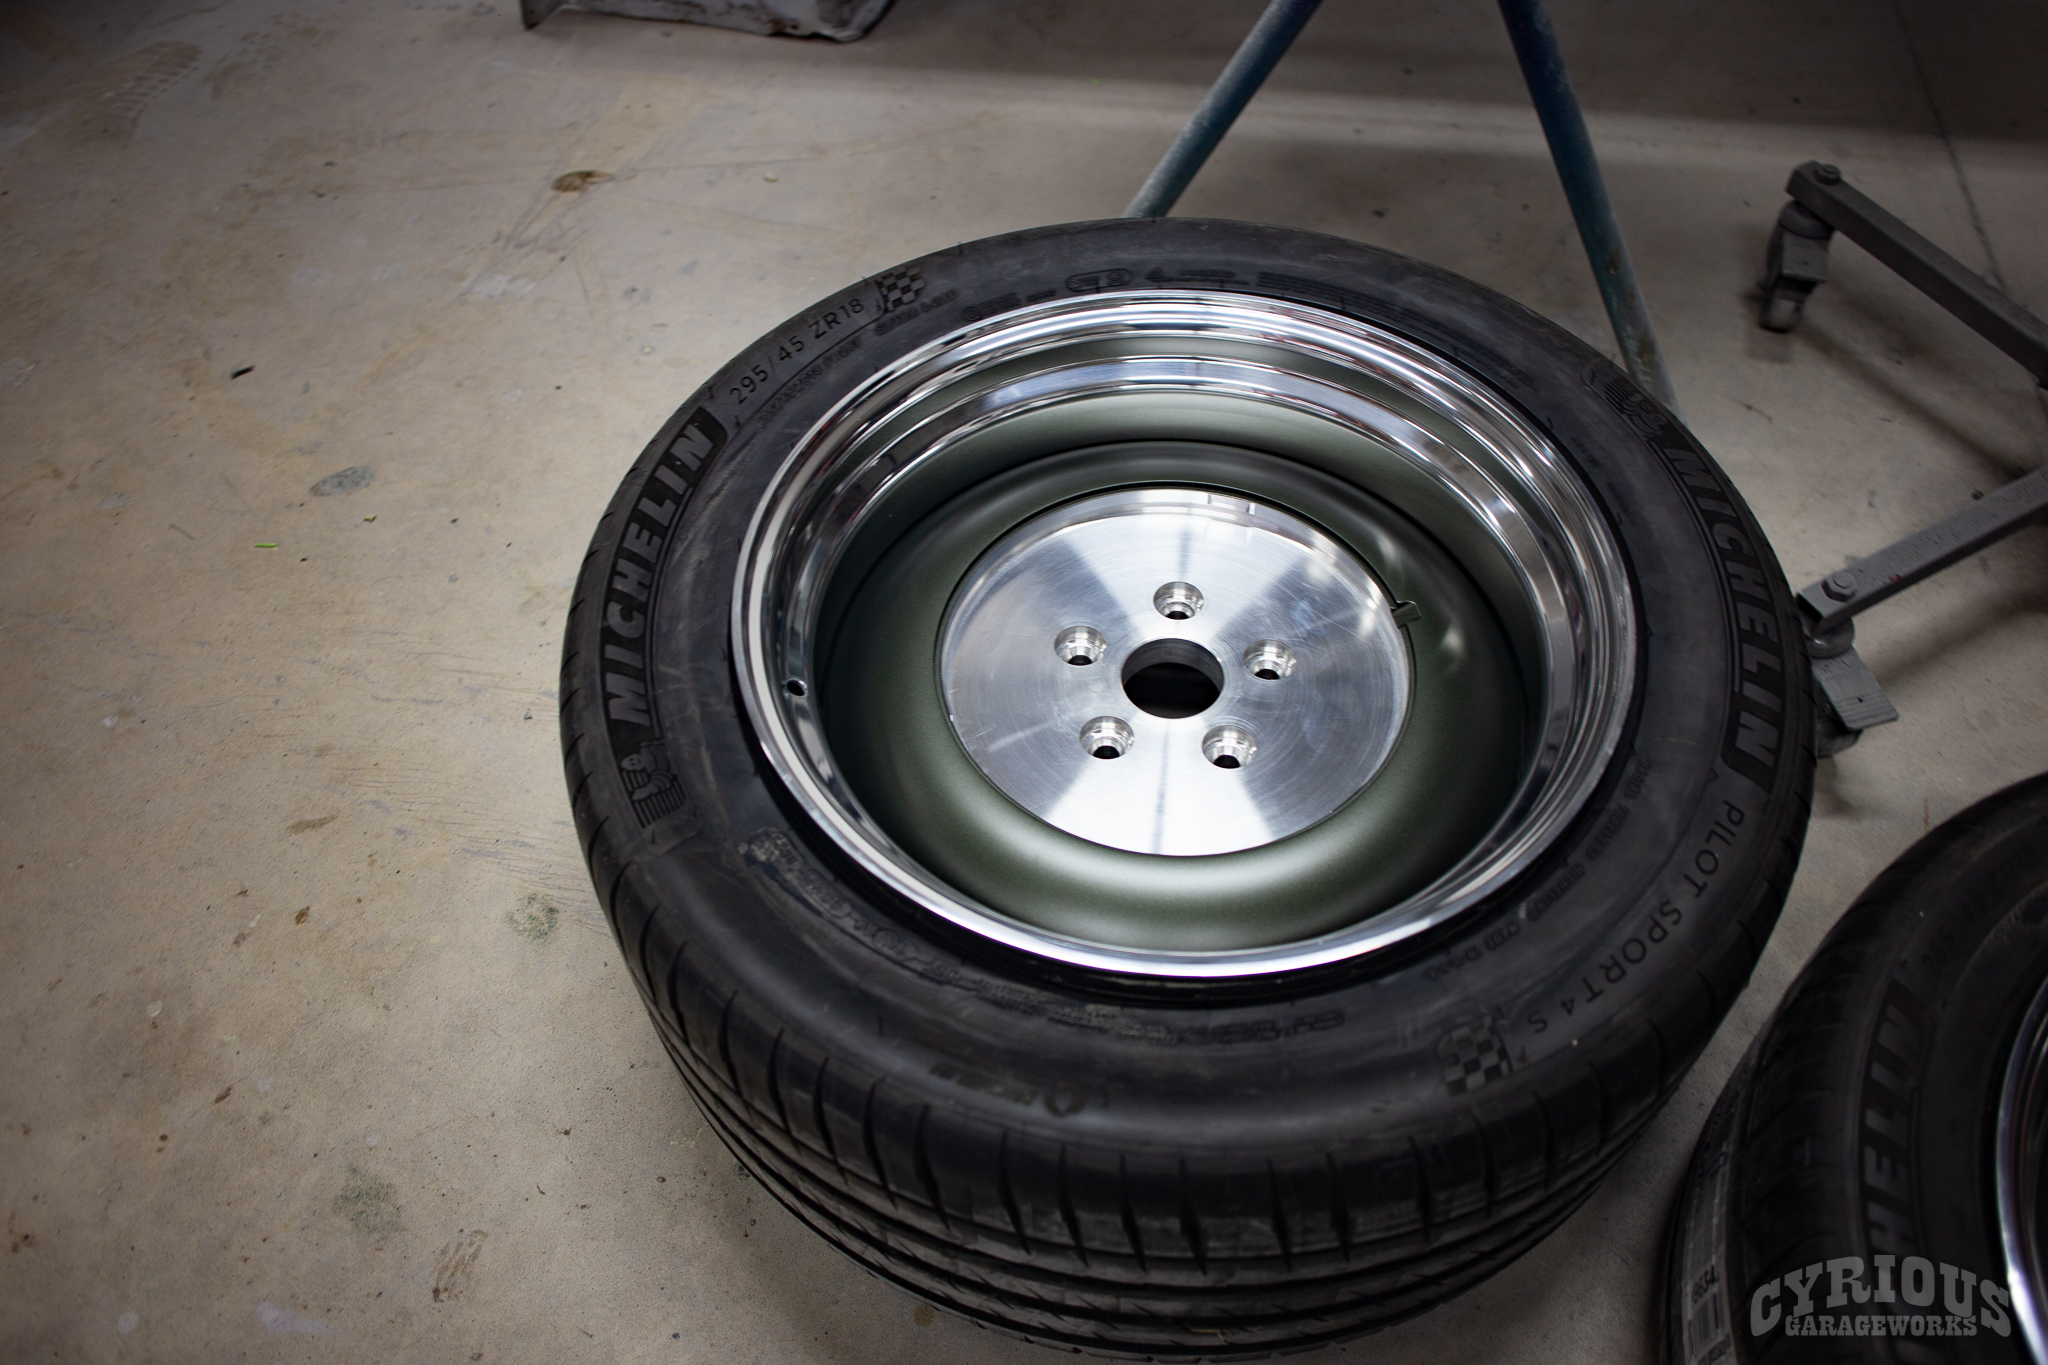
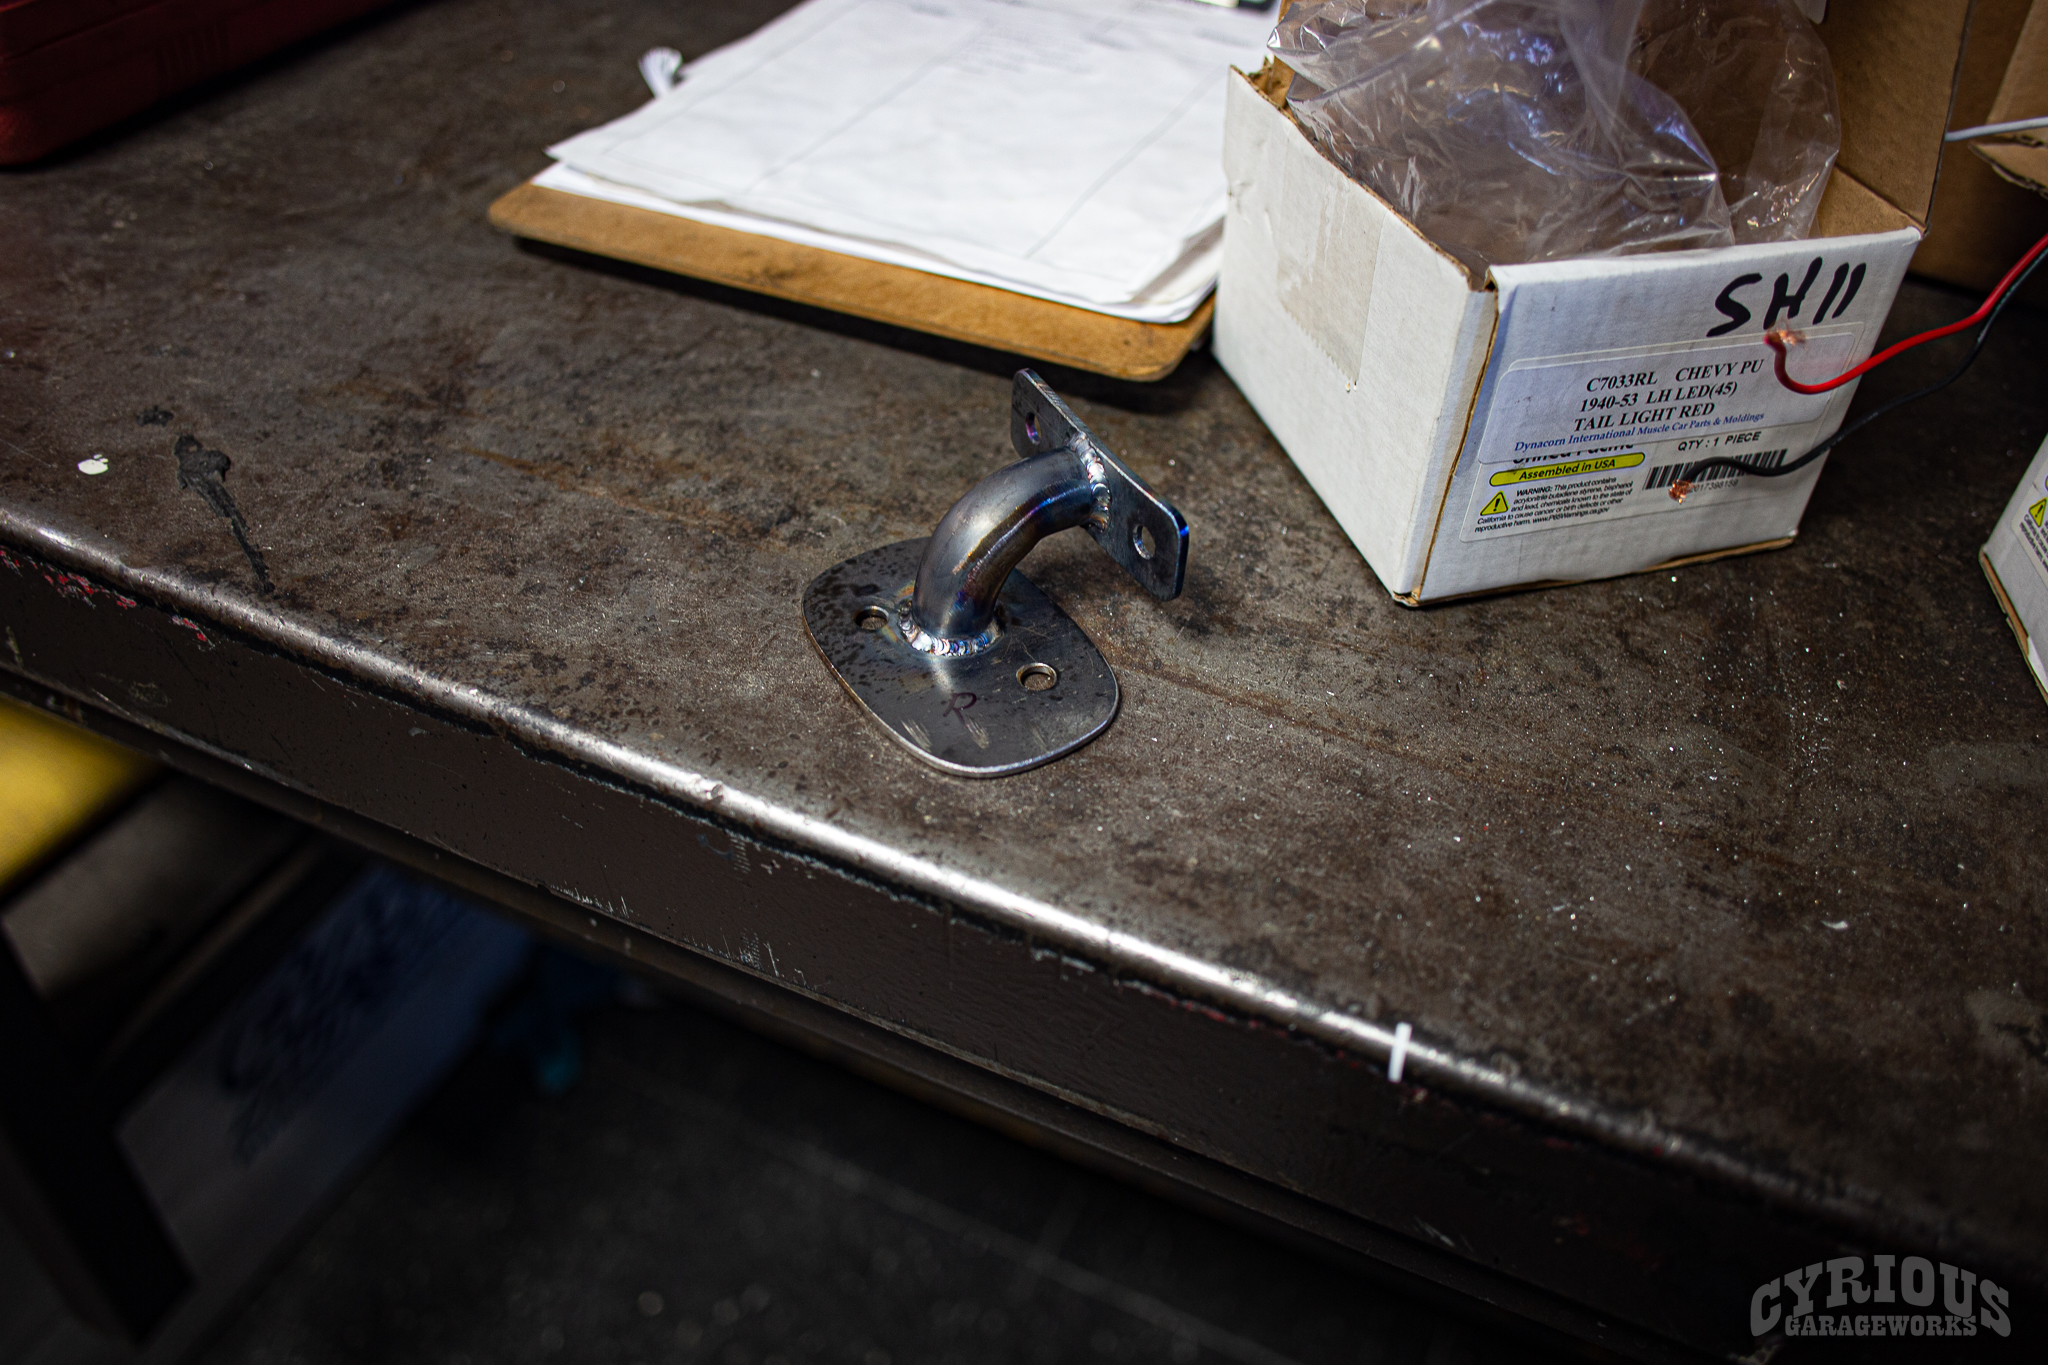
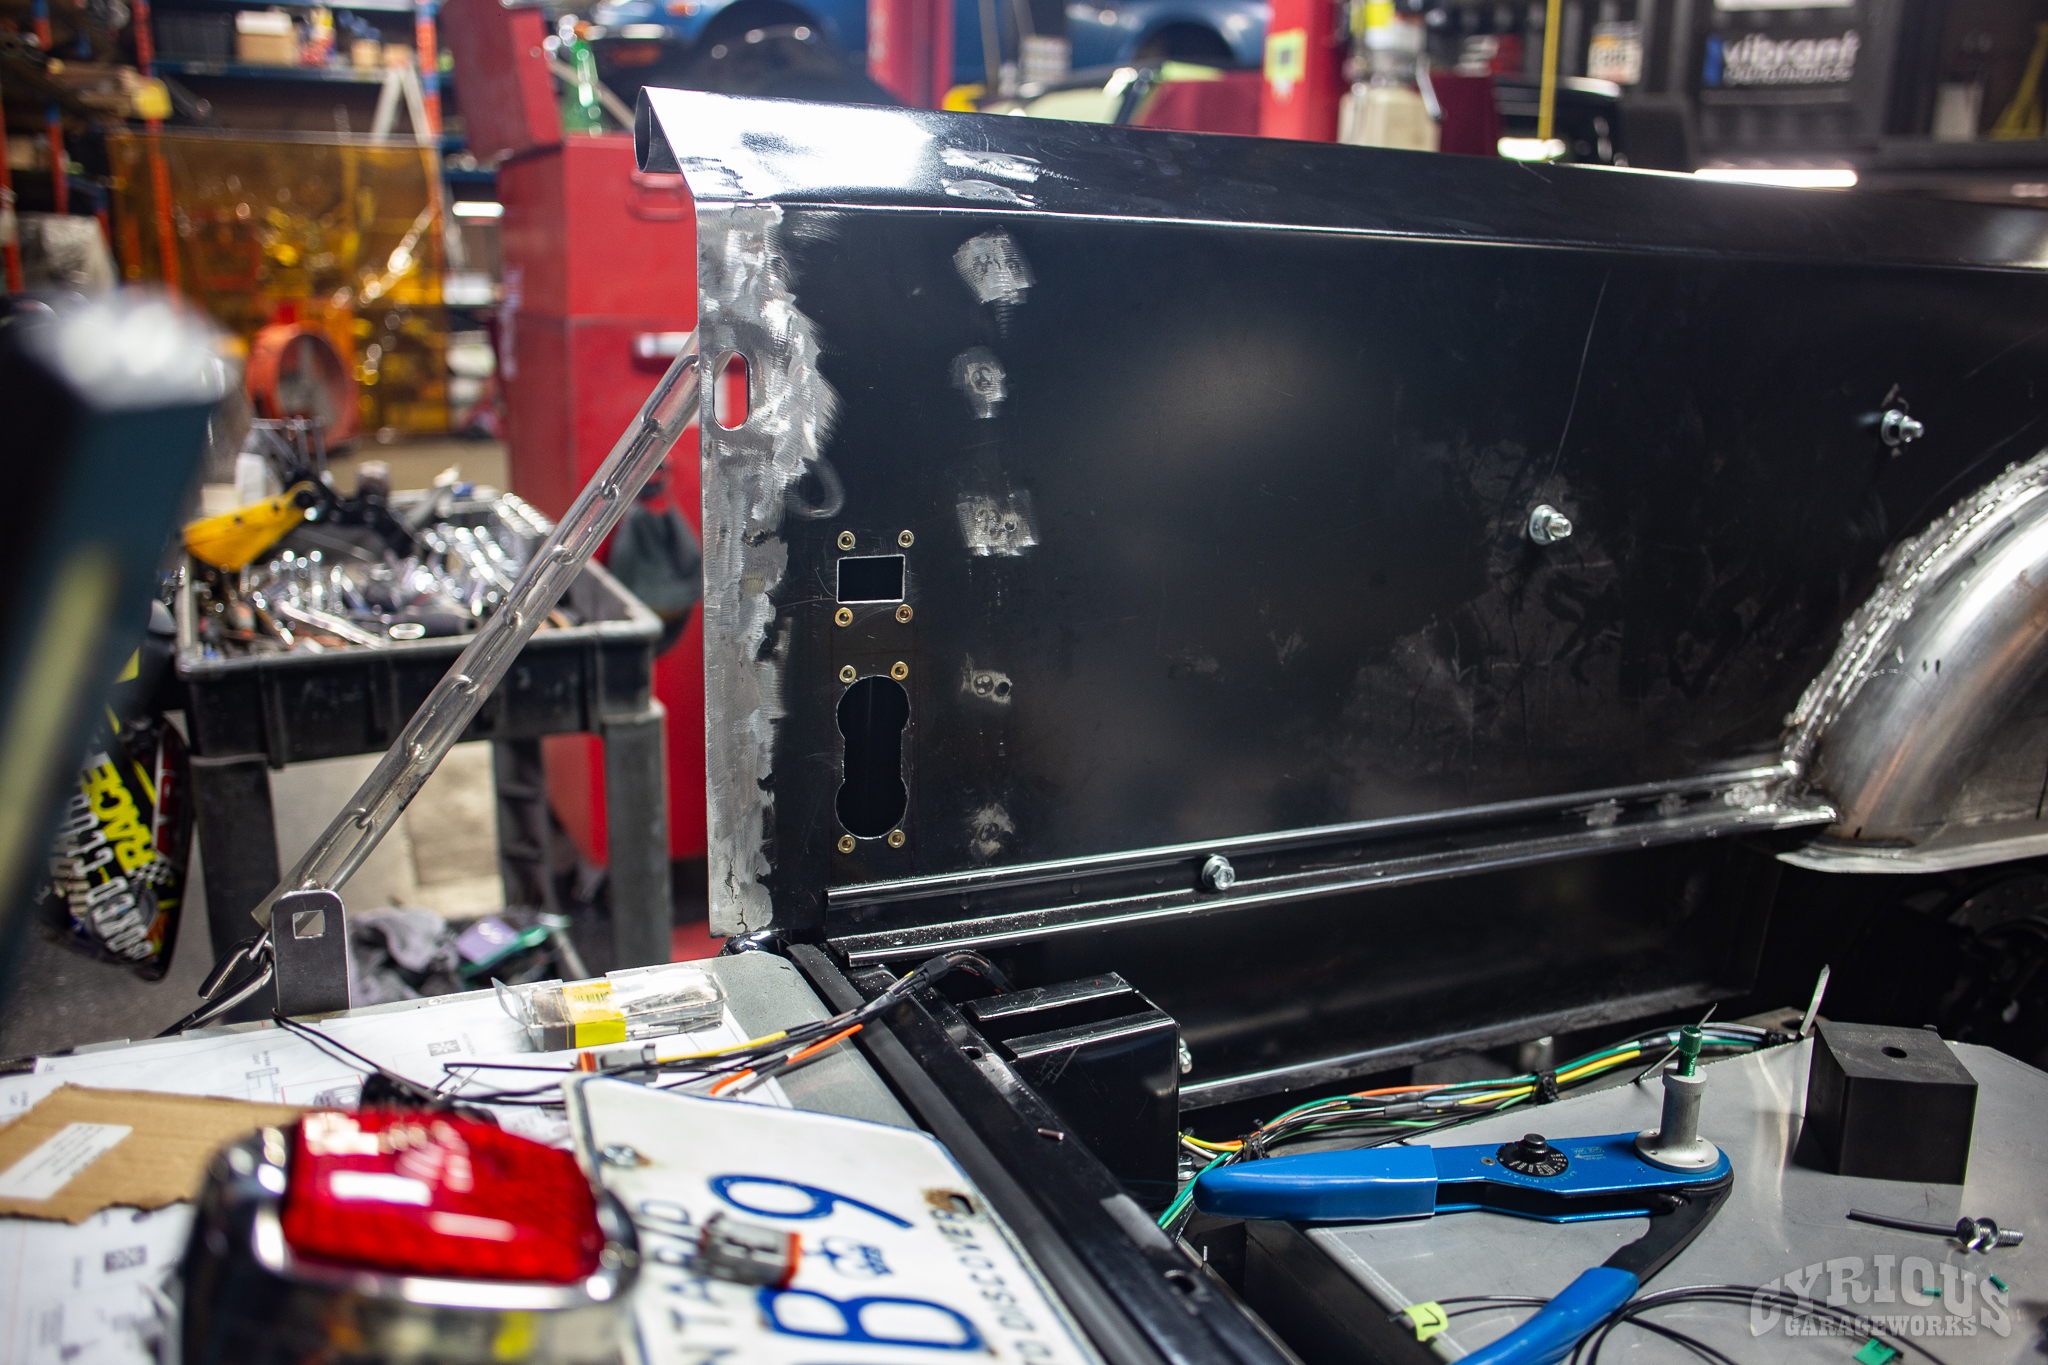
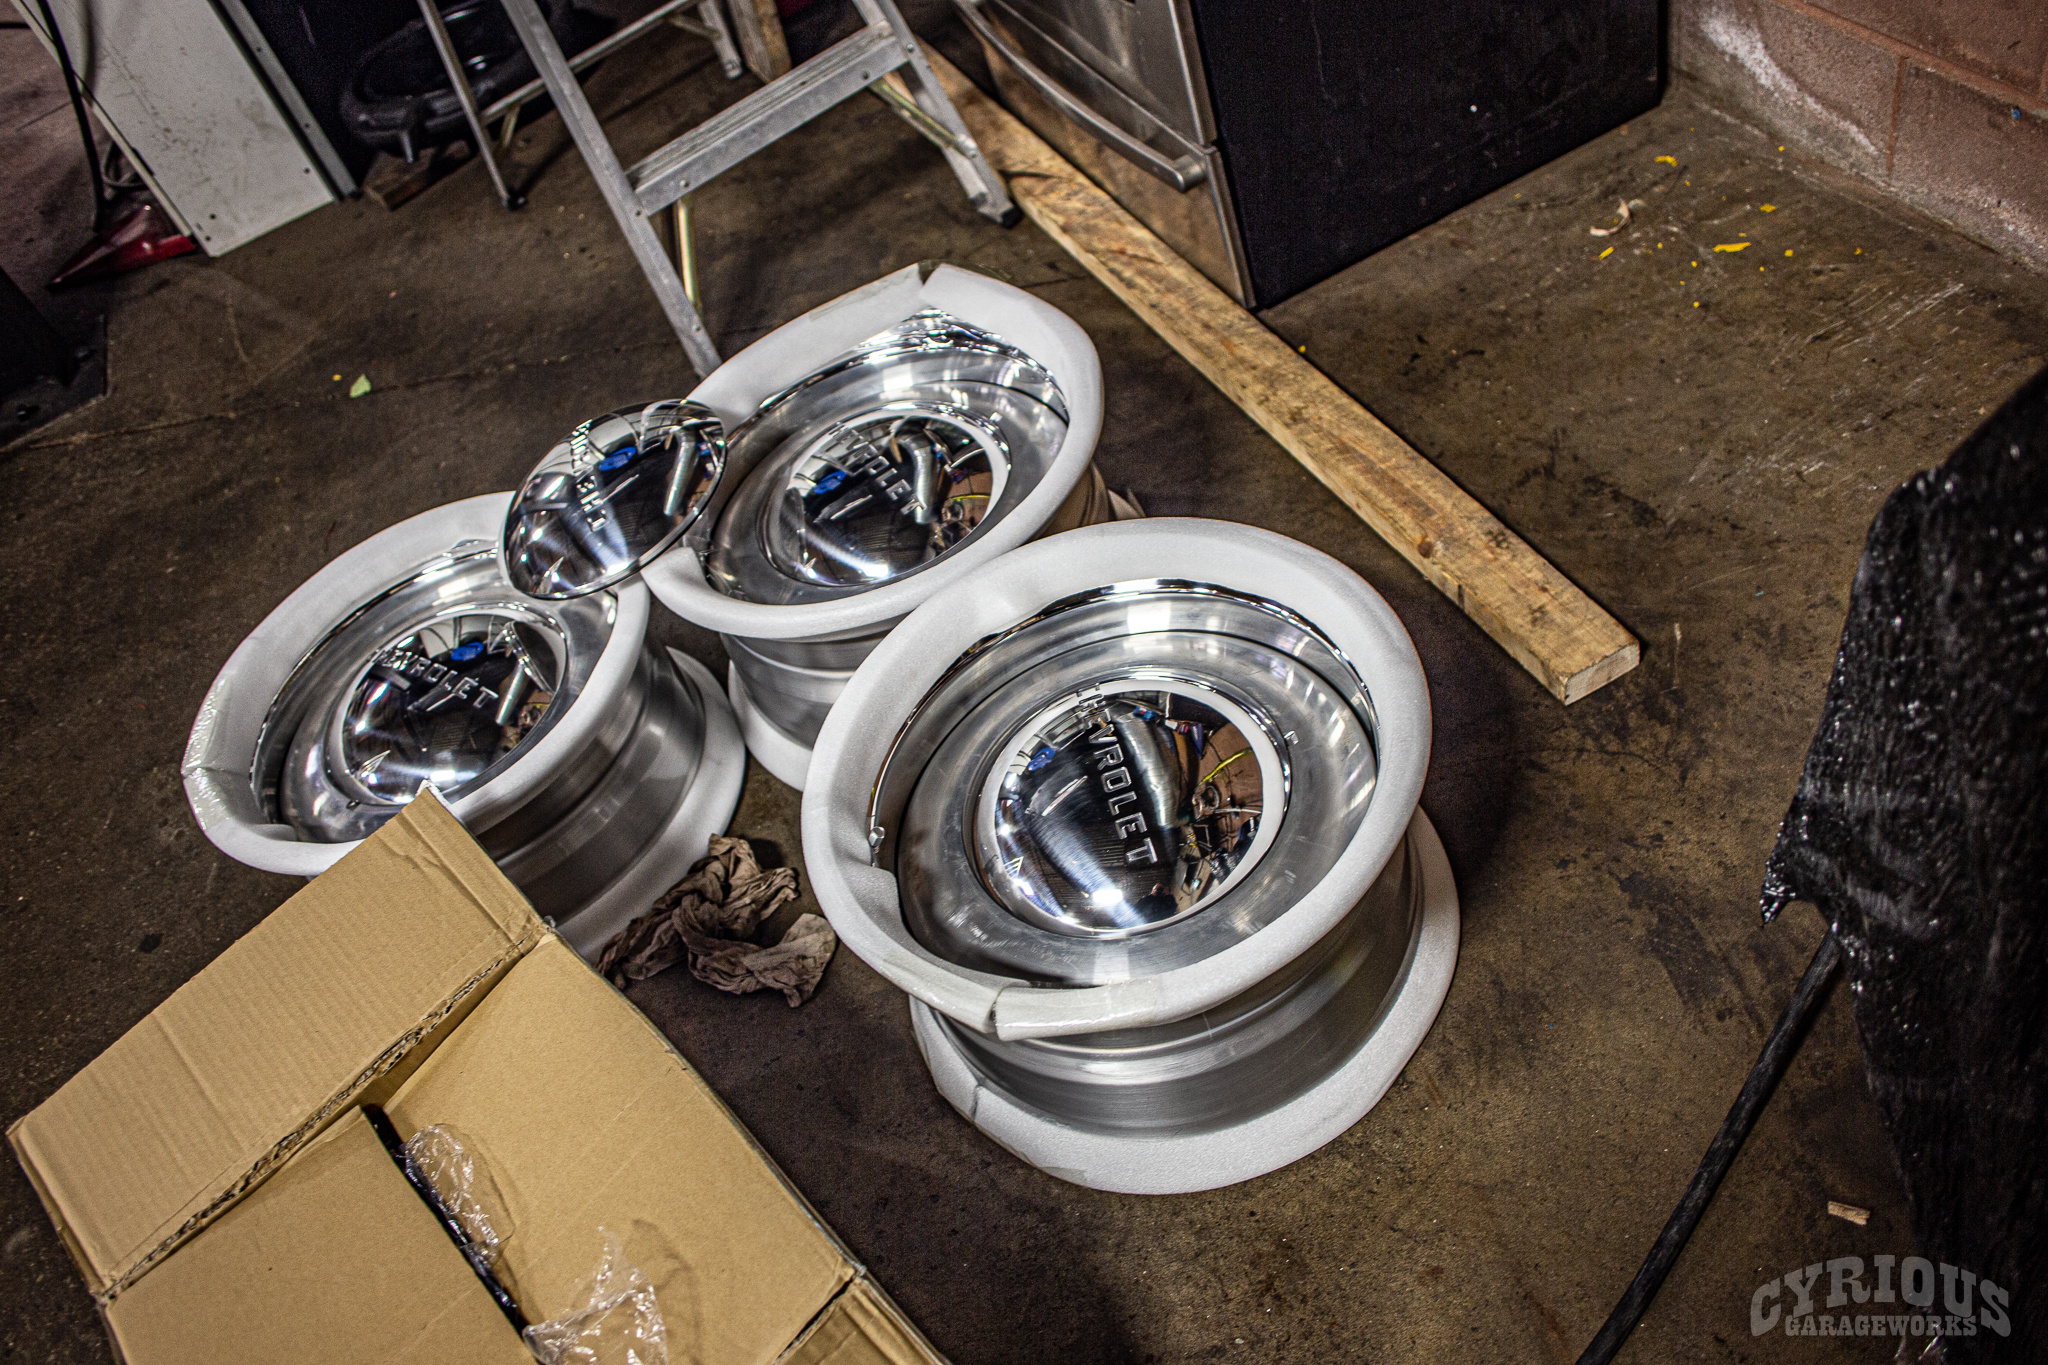
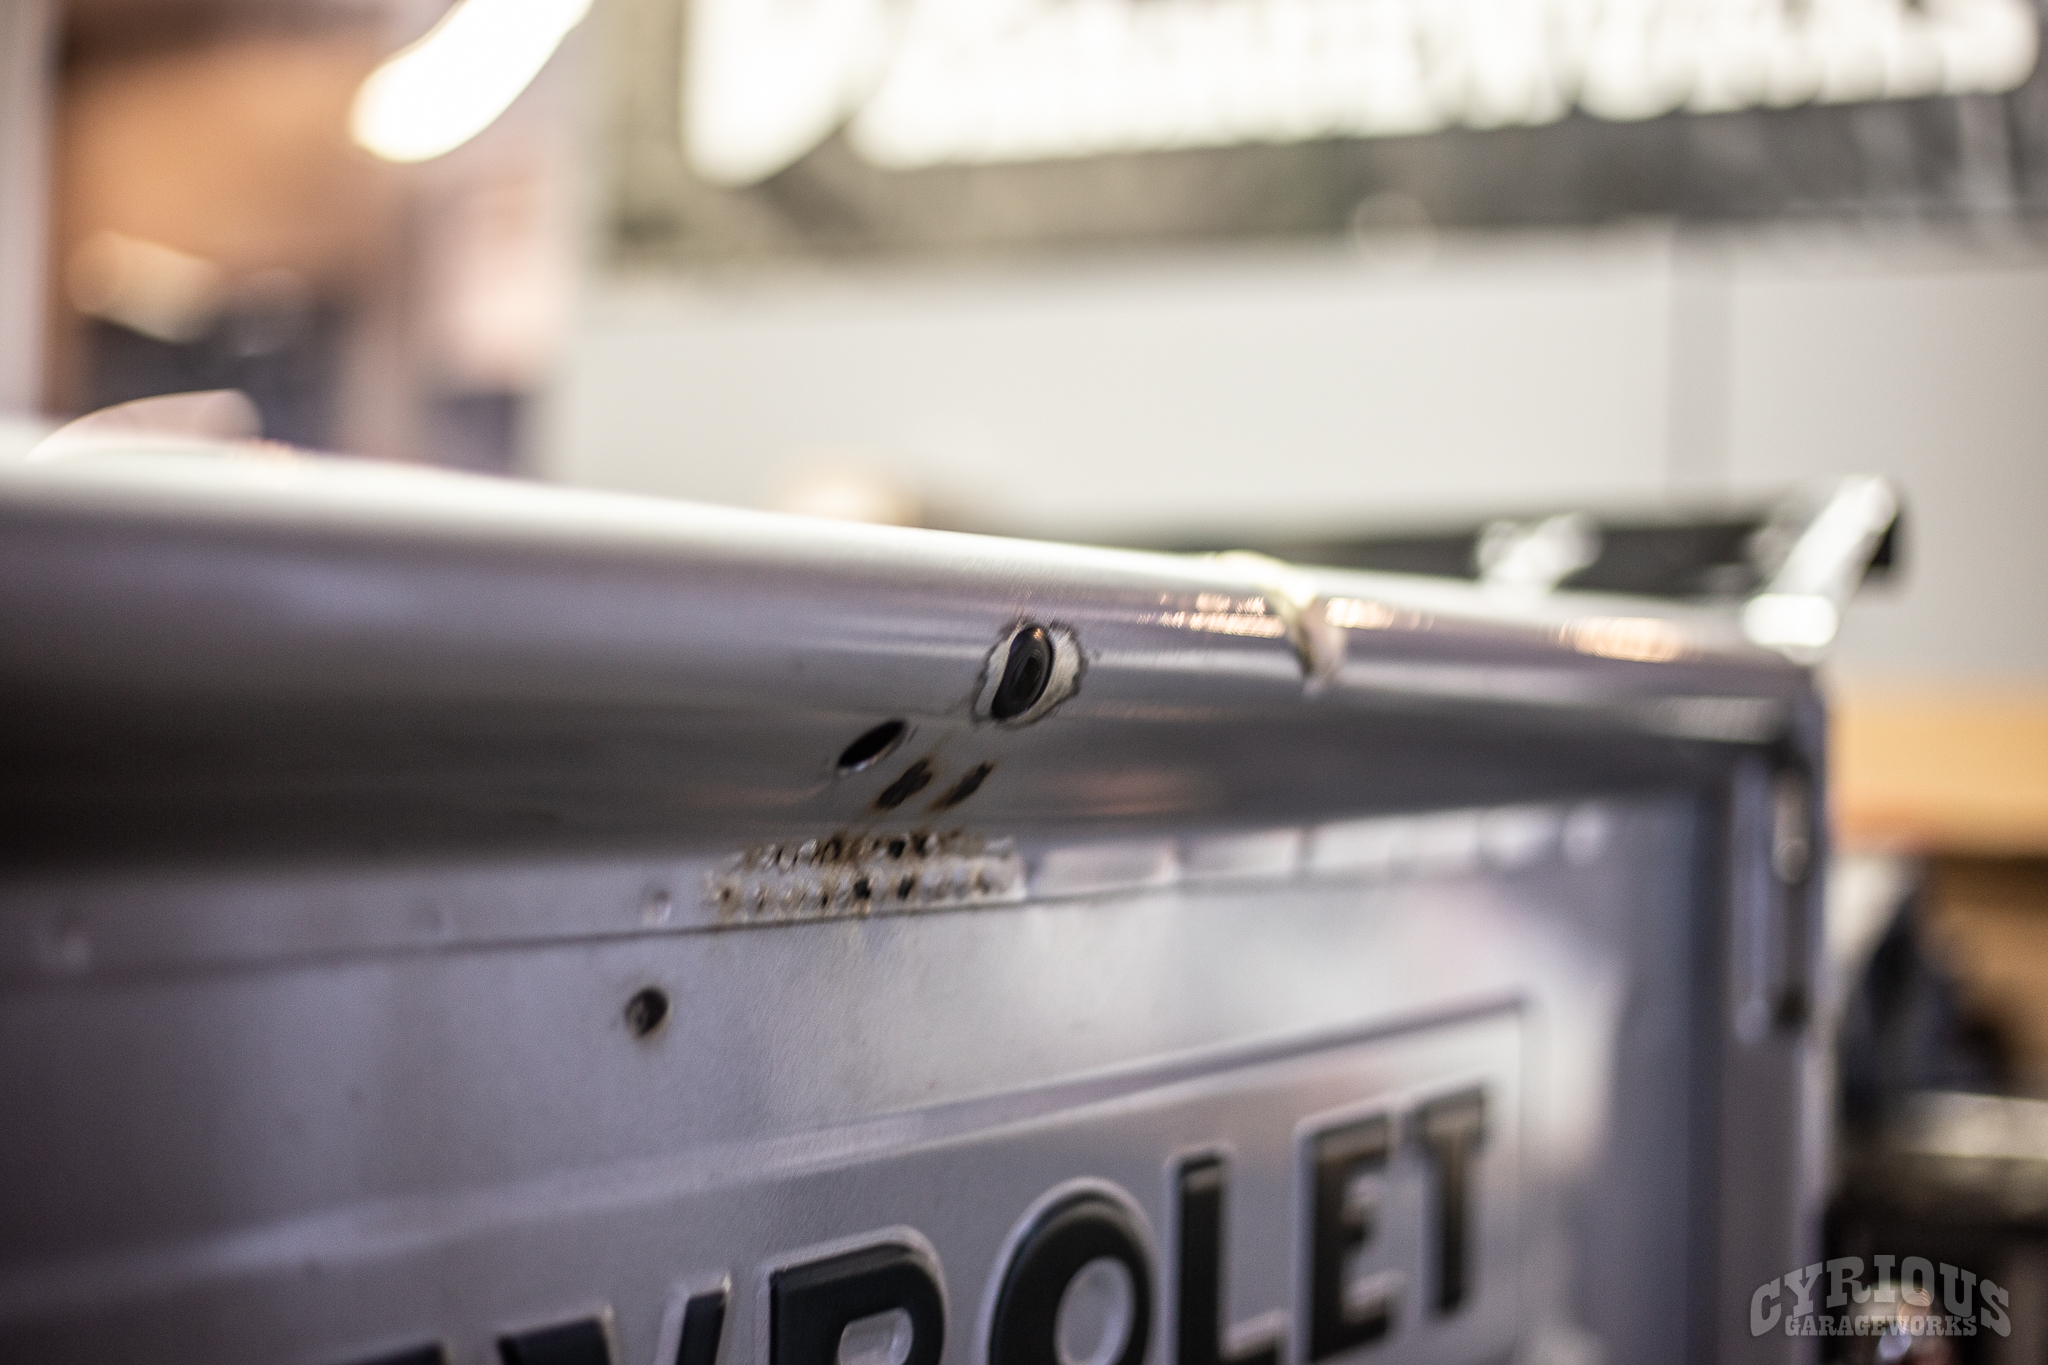
Remote locked tailgate? CheckCustom brackets for tail lights allow us to route wiring through the bracketCustom billet aluminum ‘steelie’ wheels with smooth caps
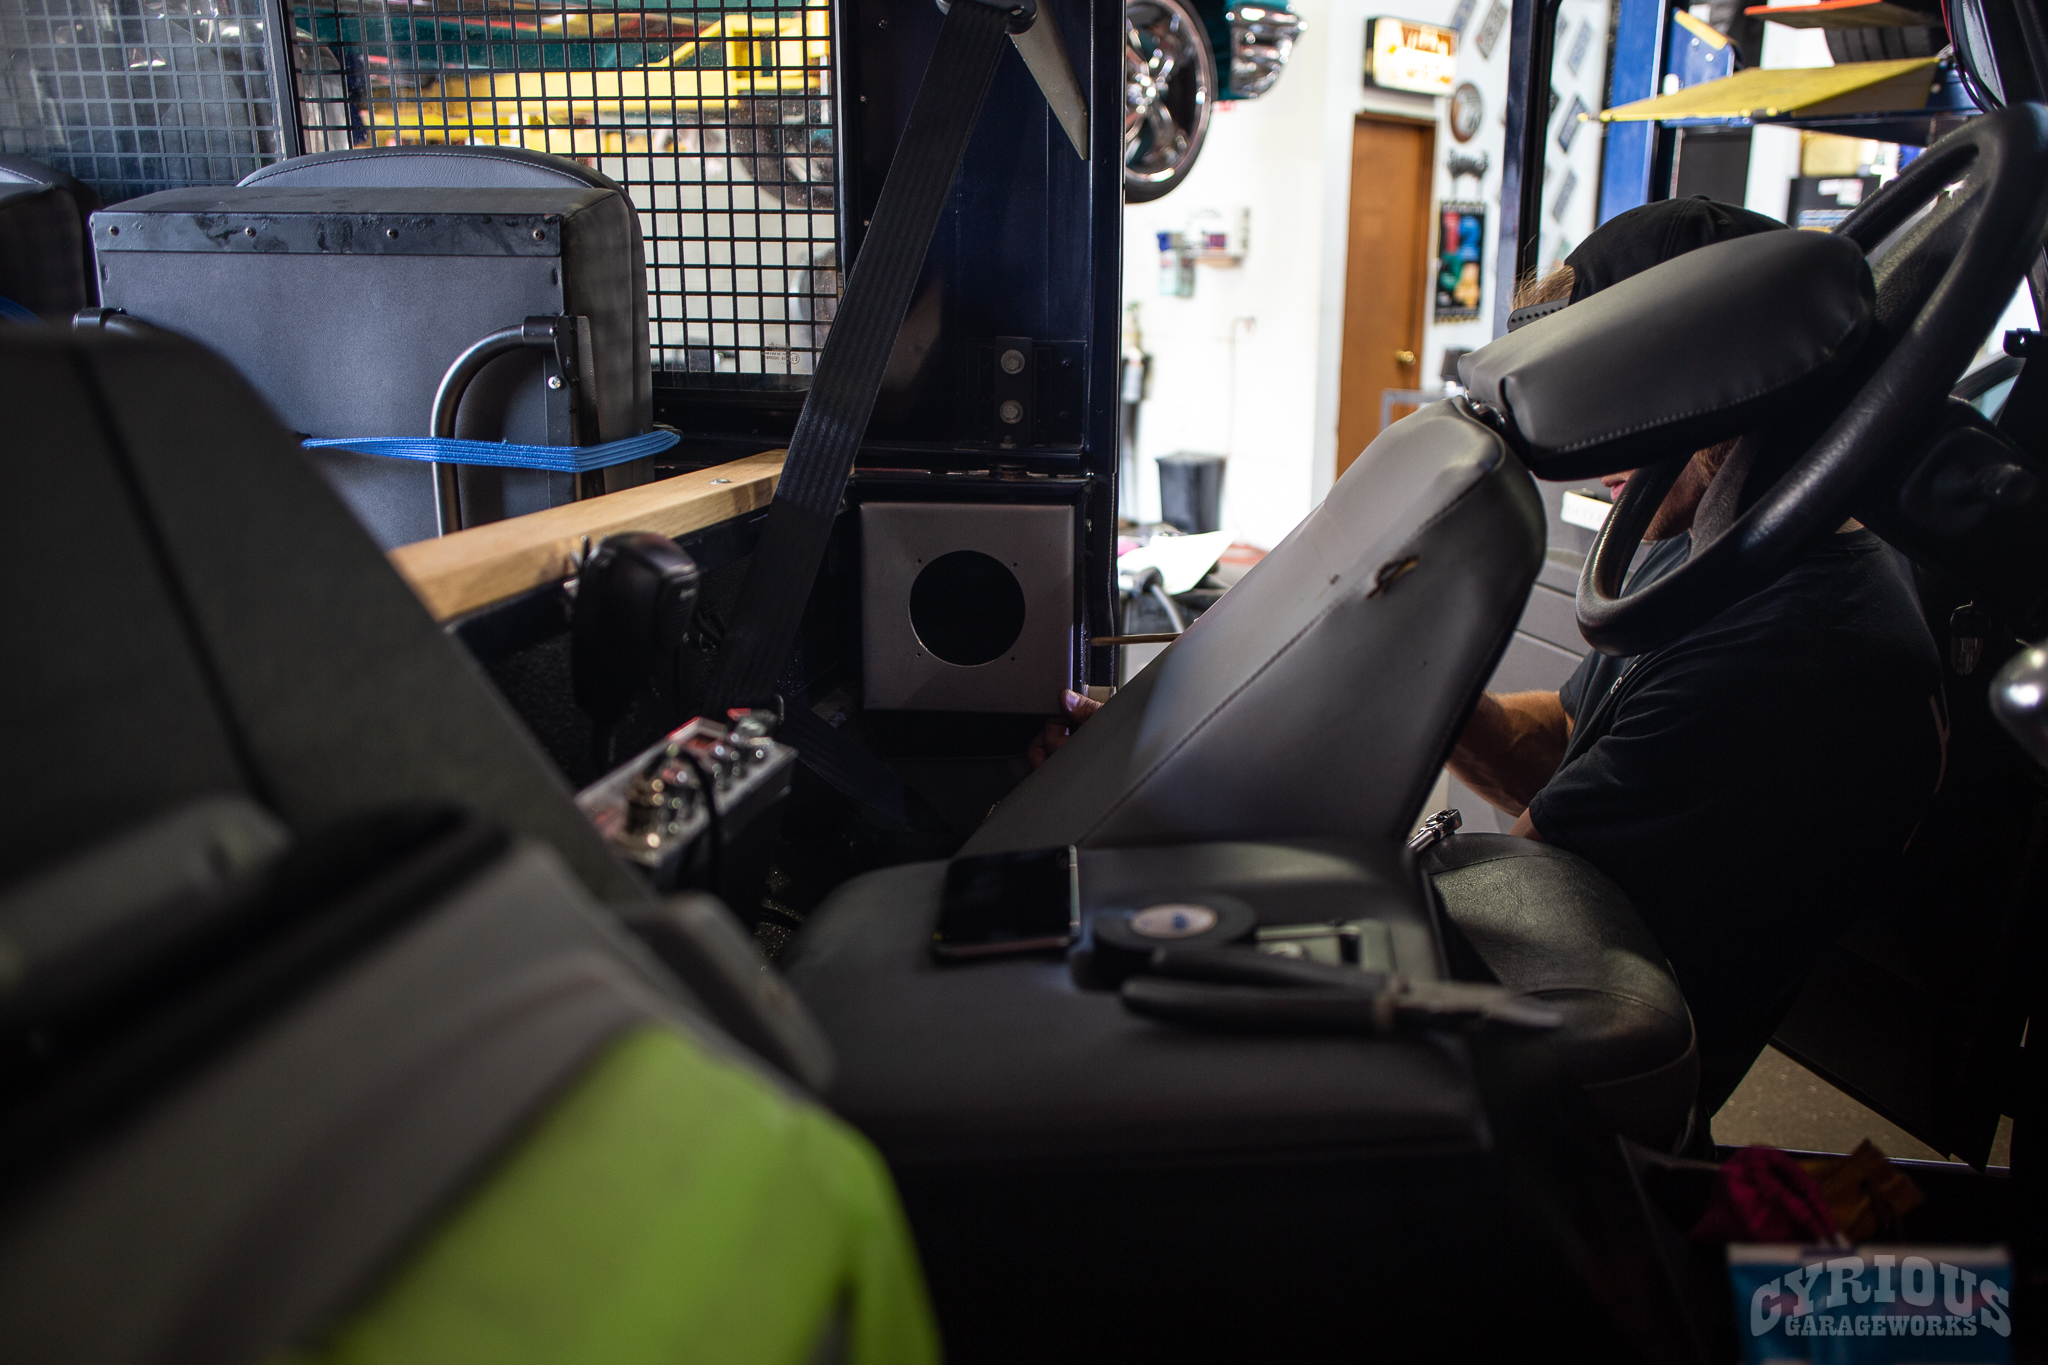
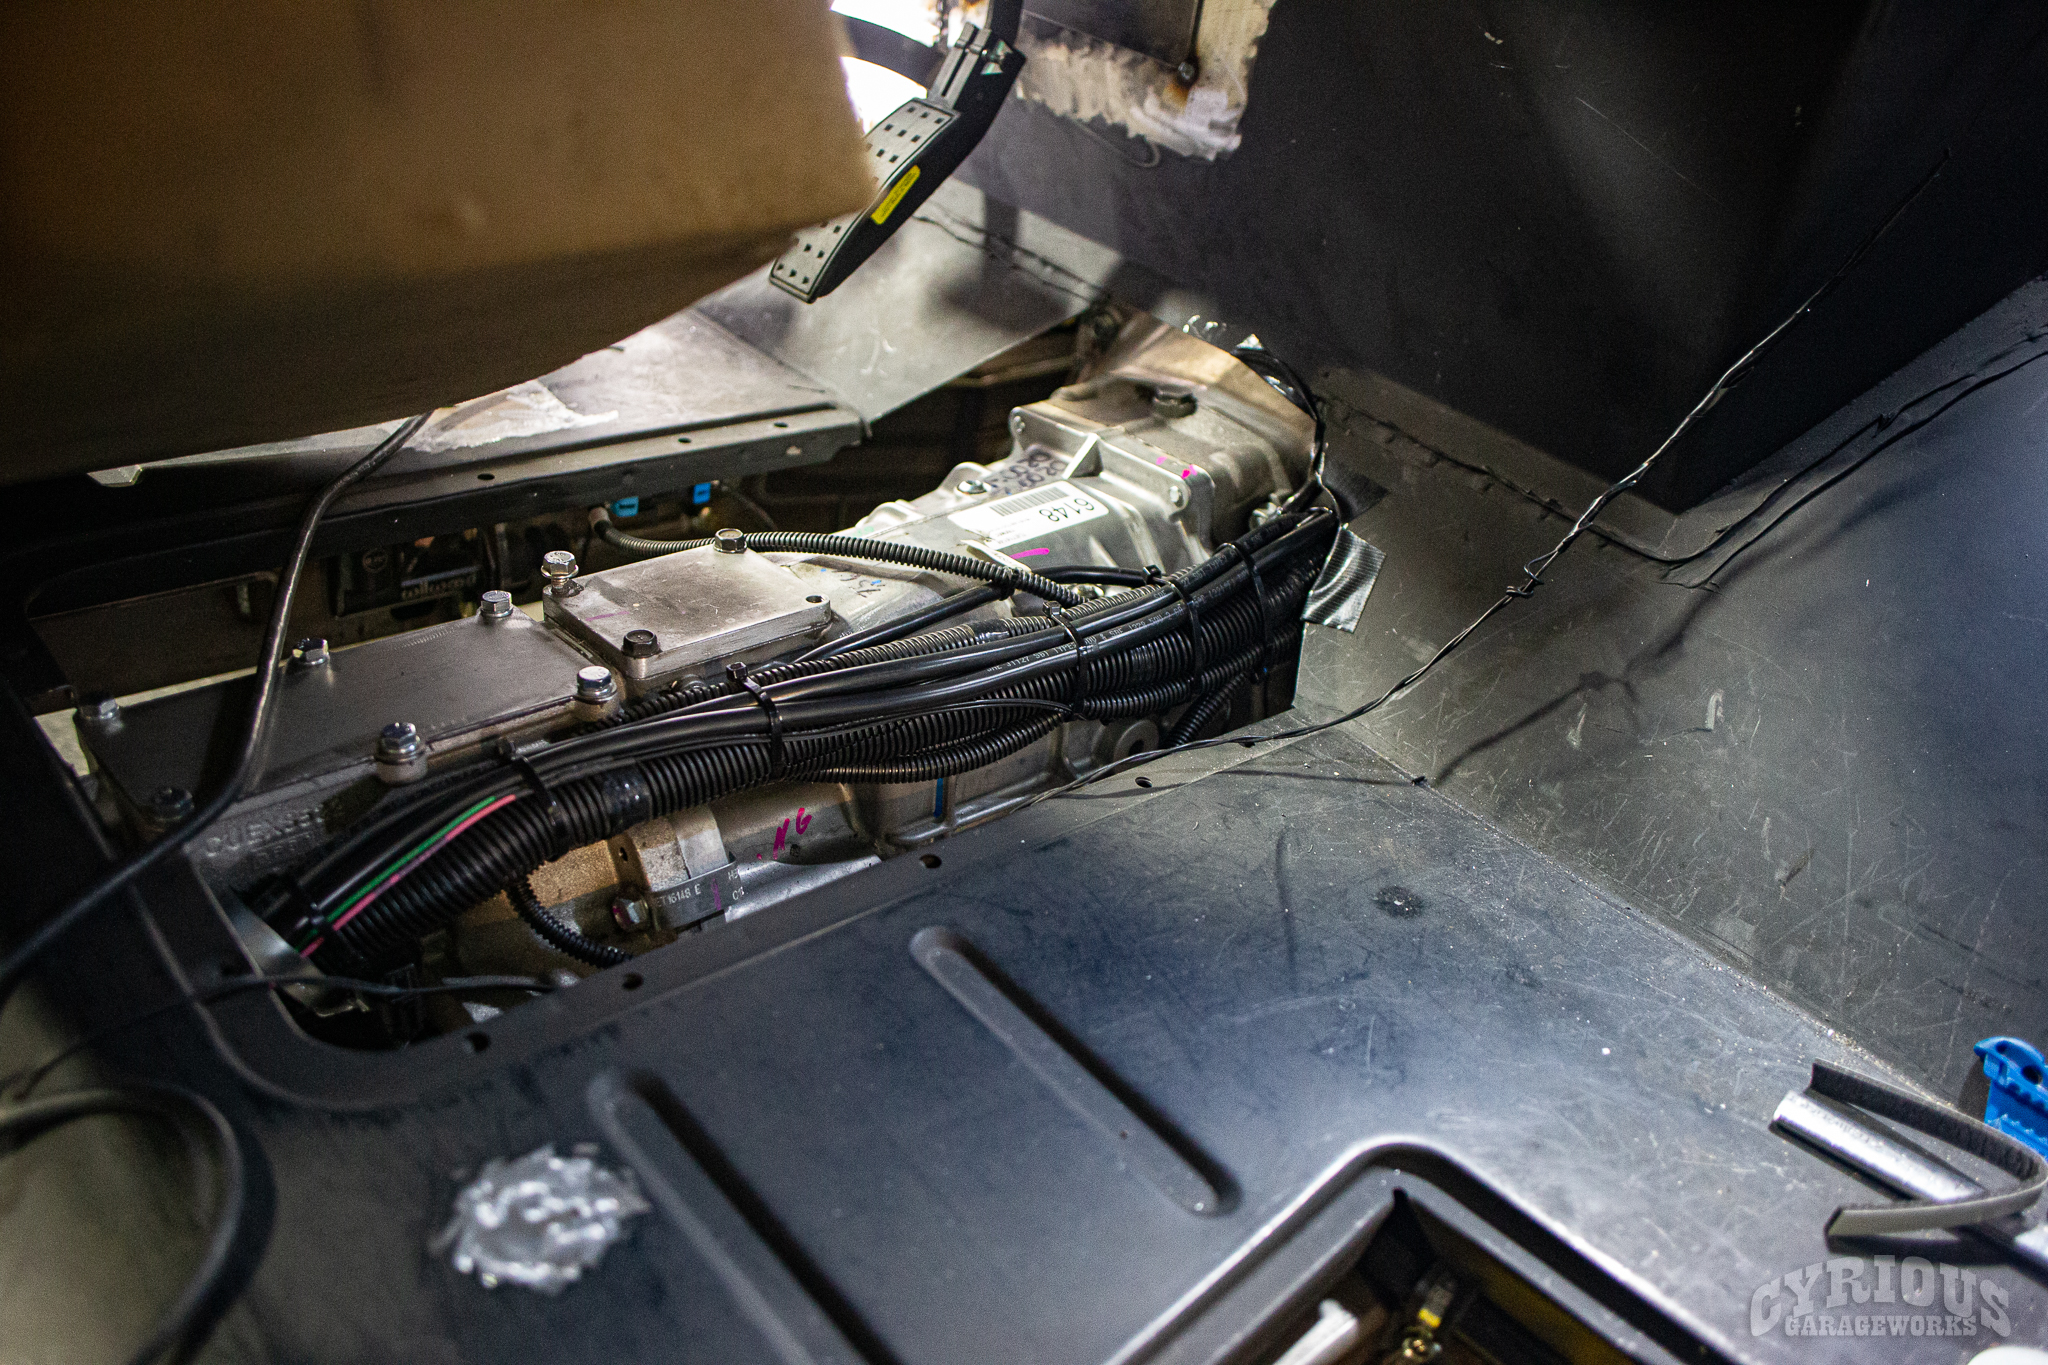
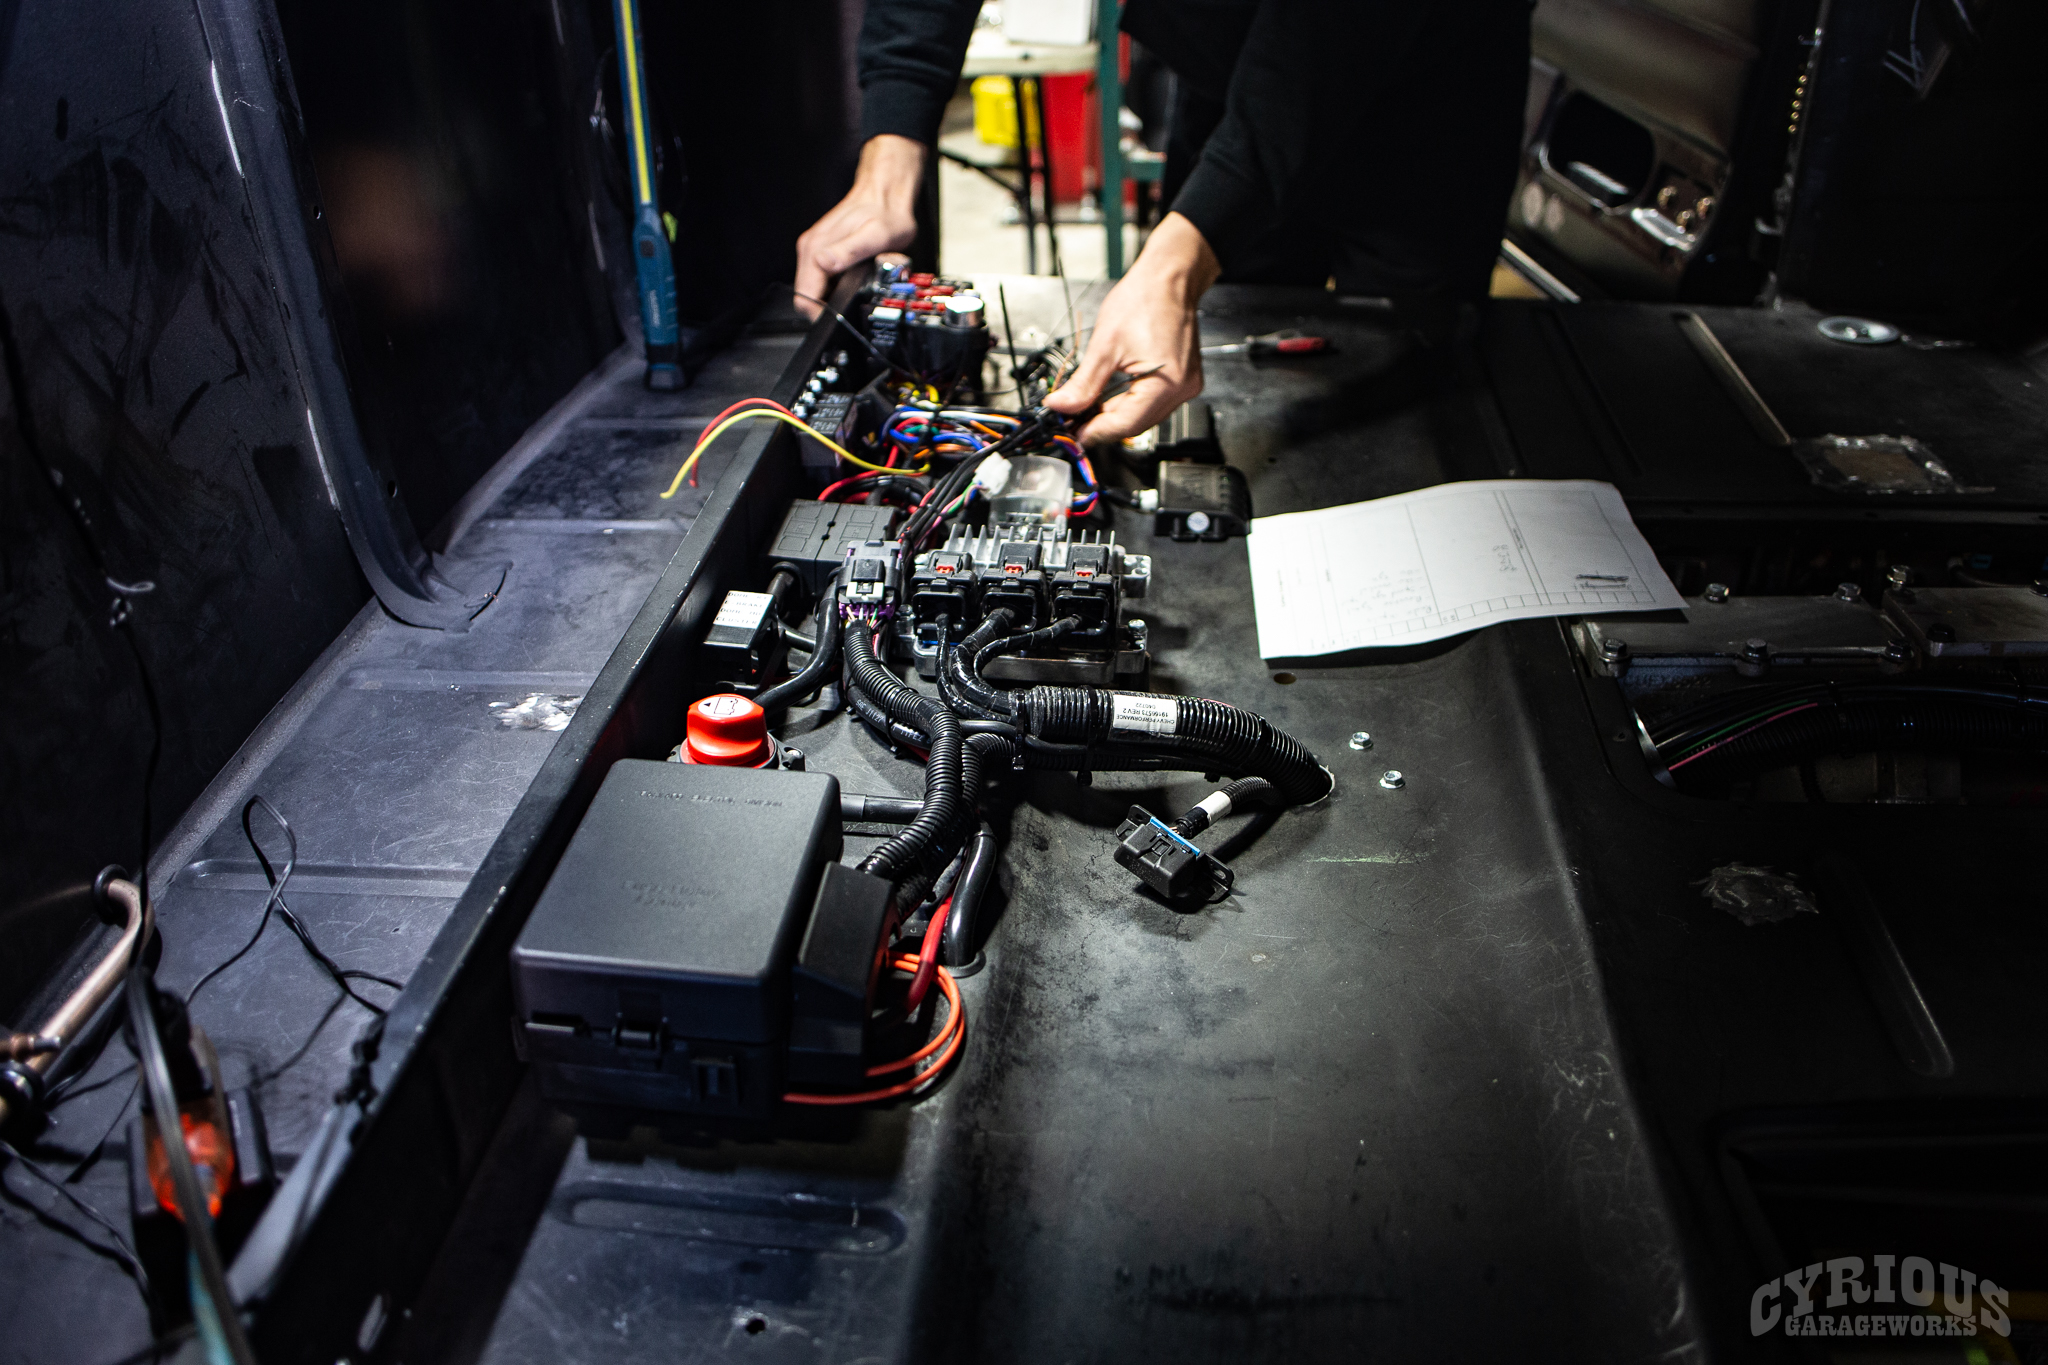
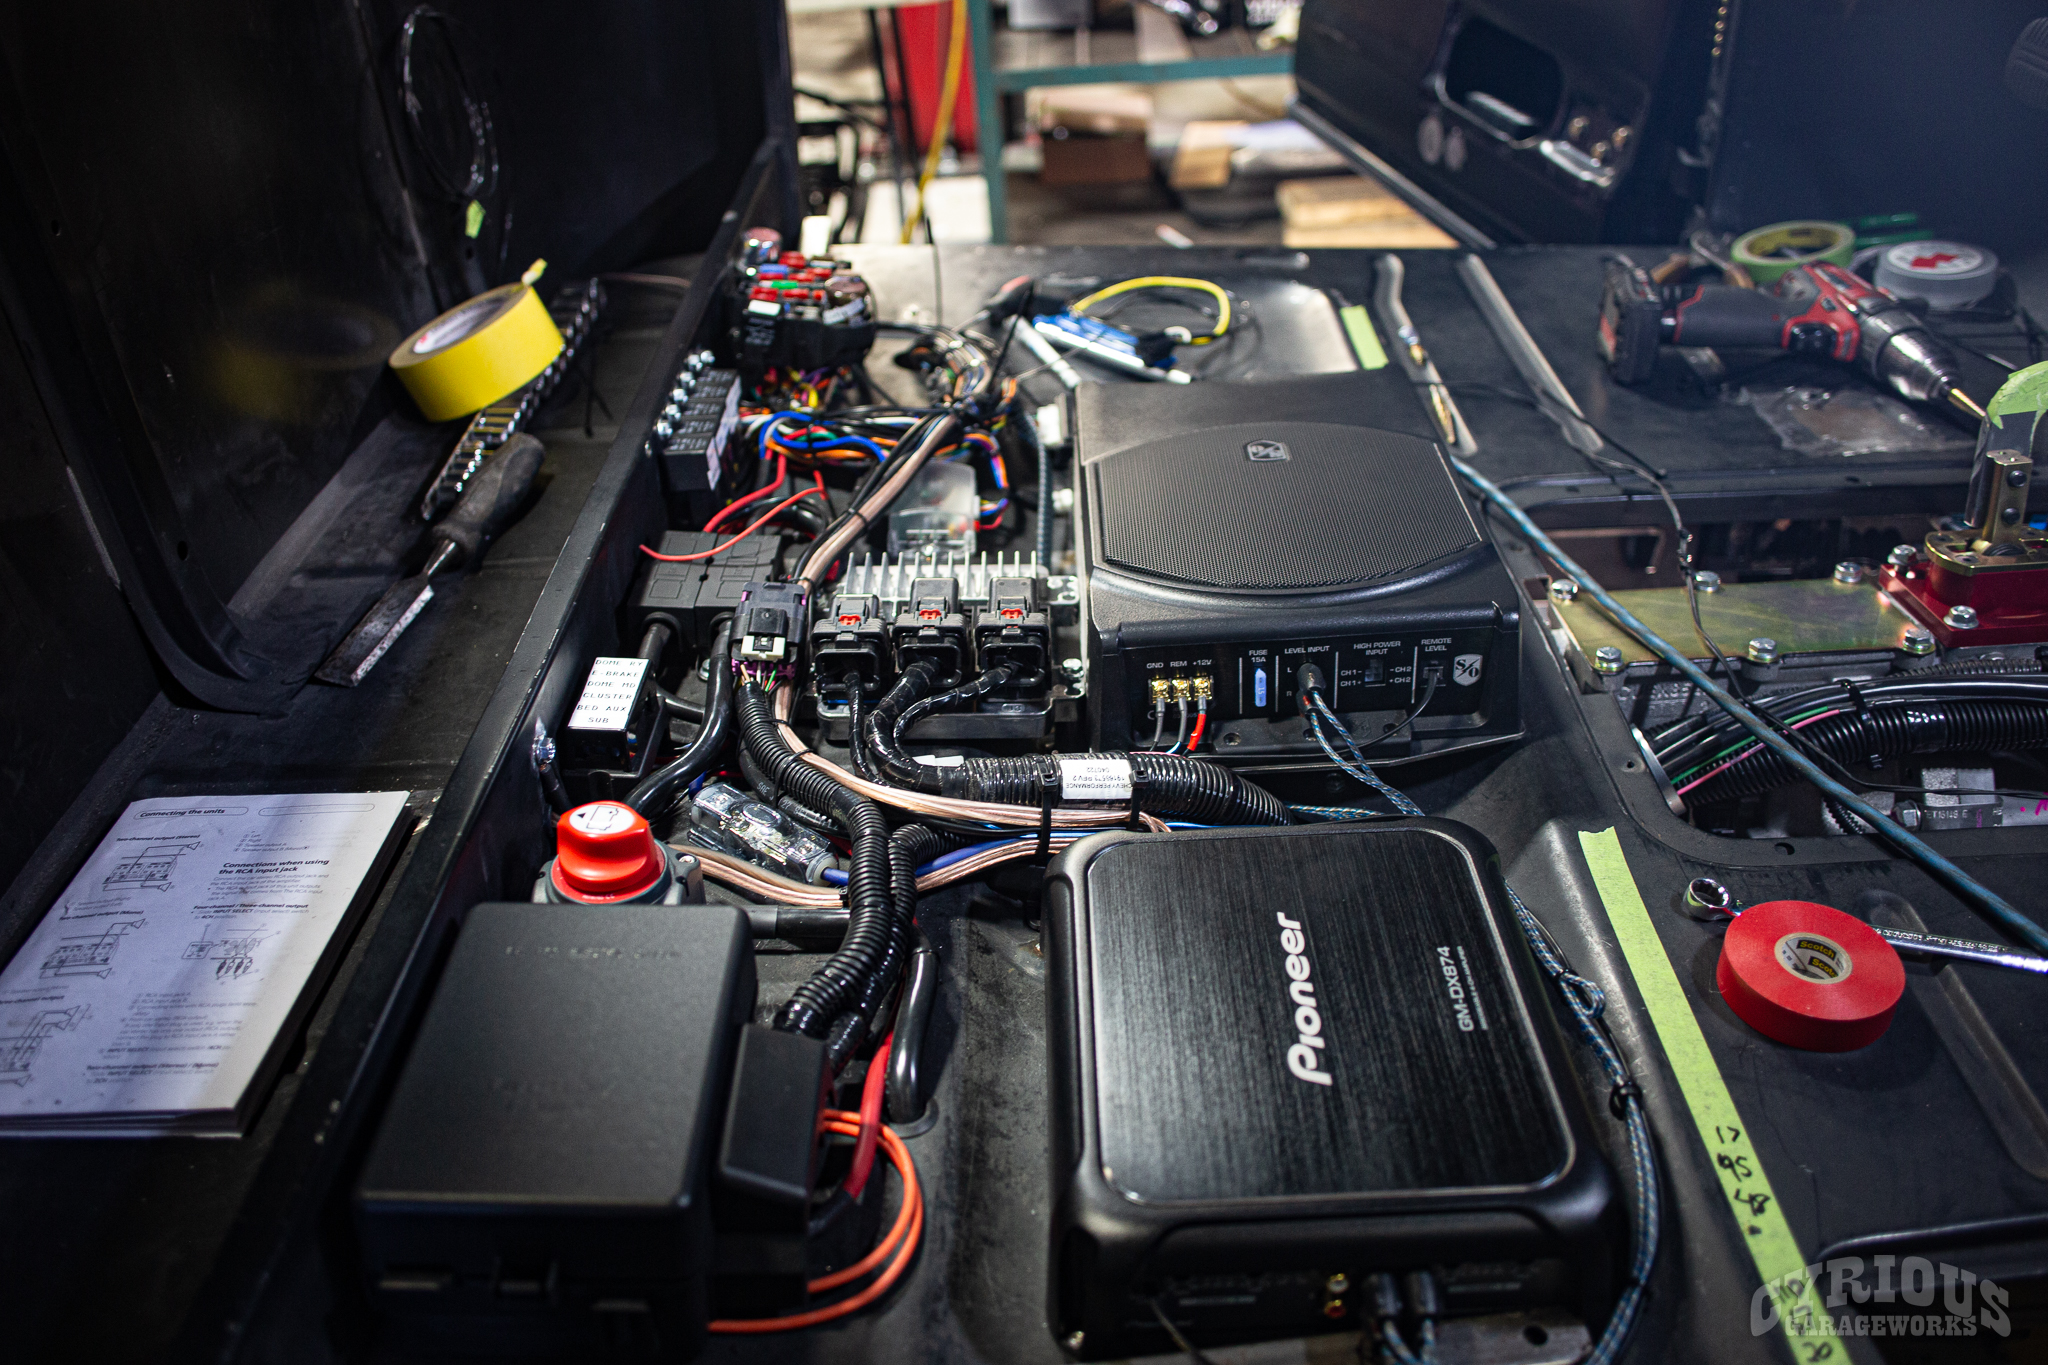
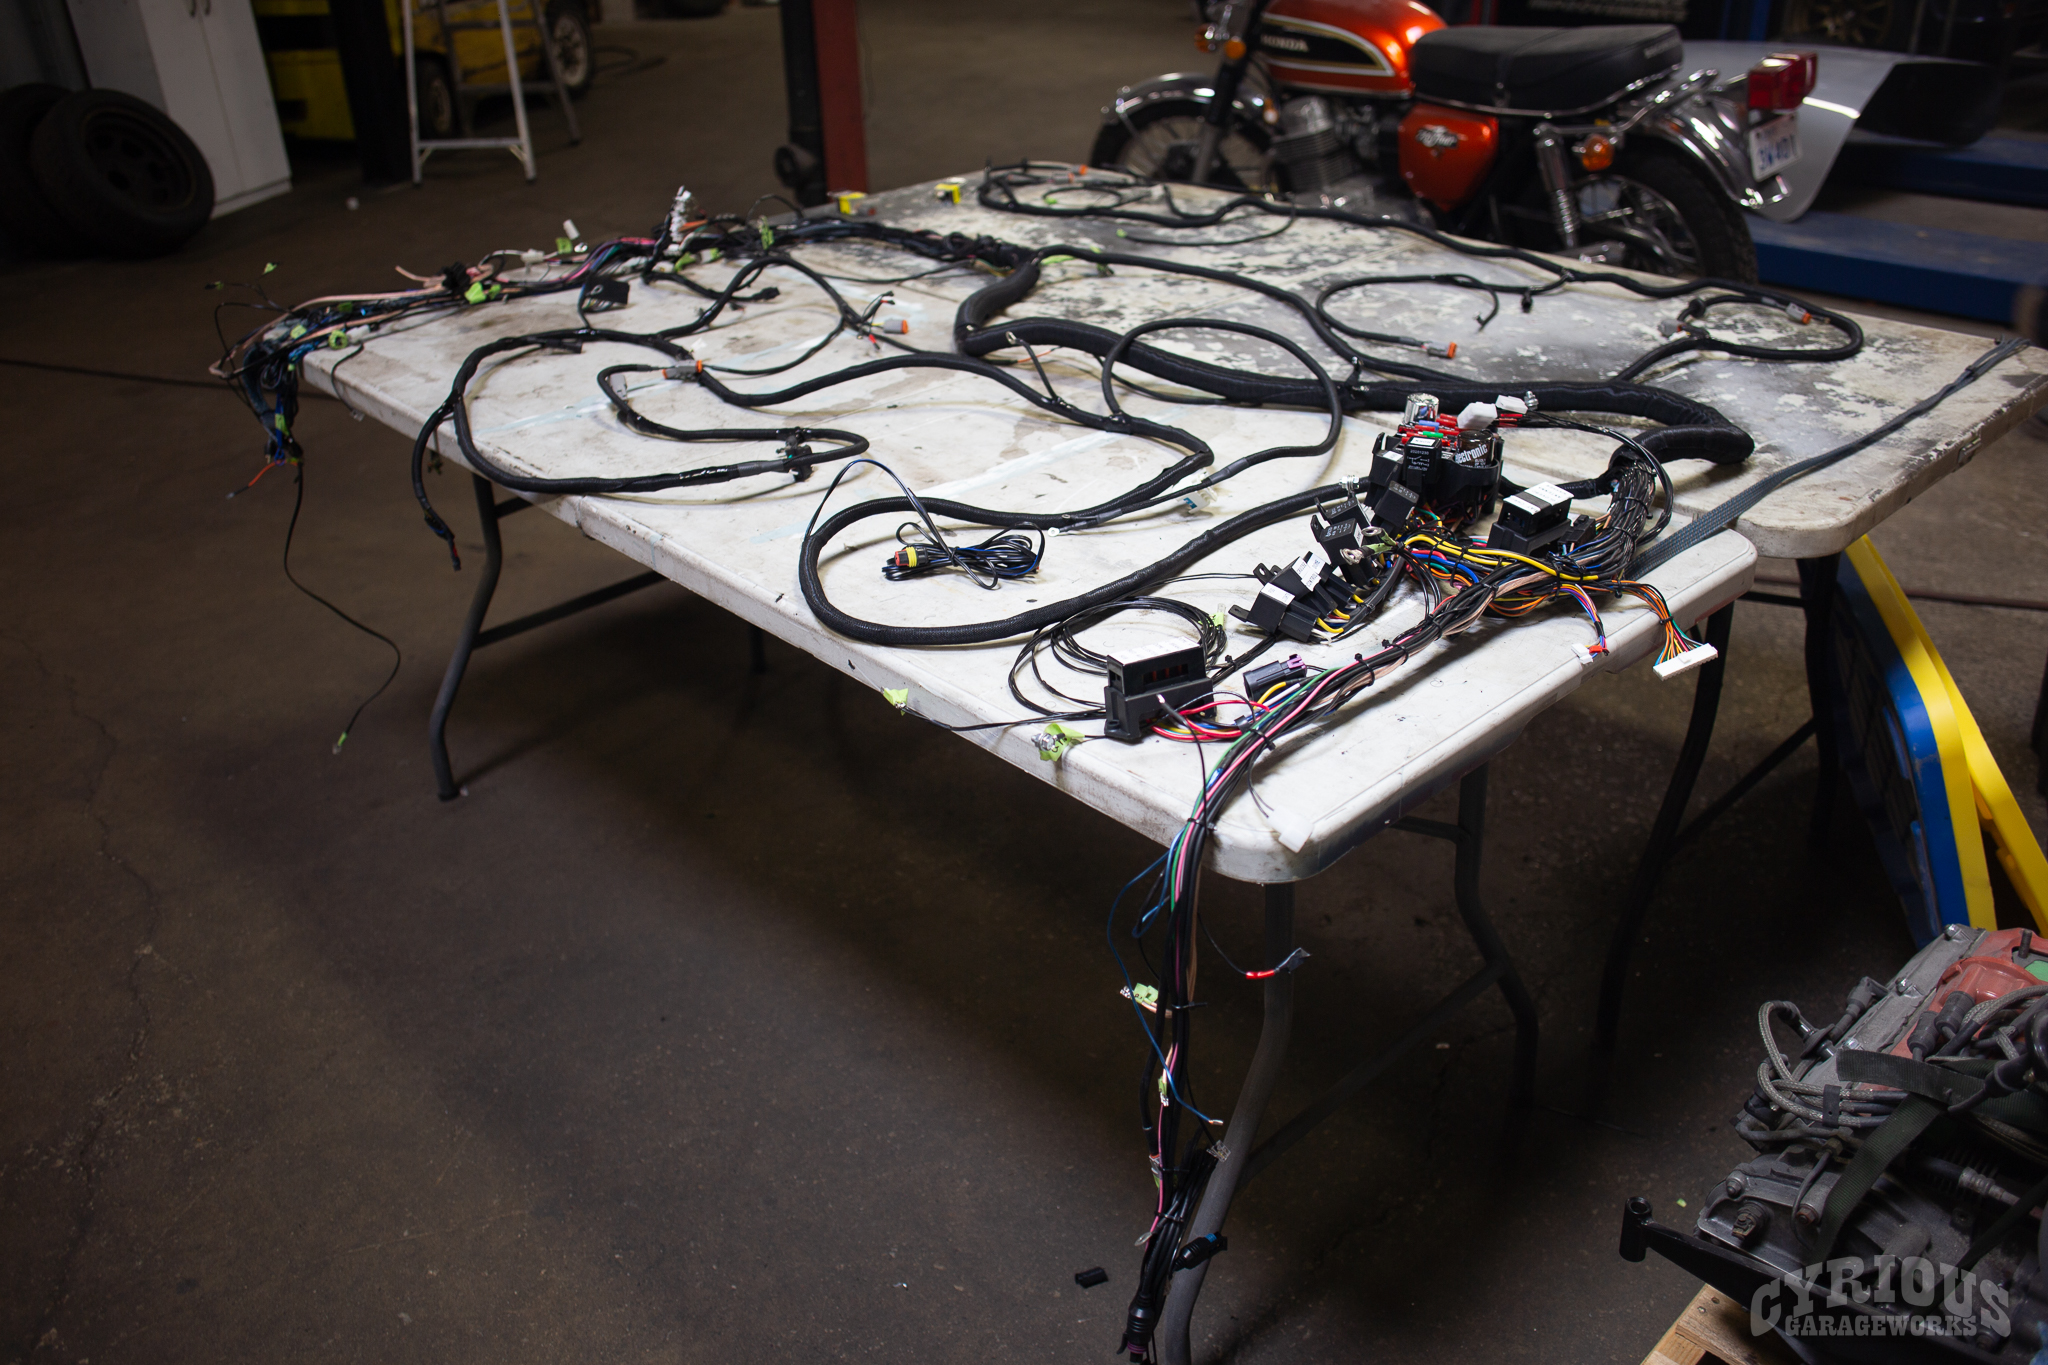
Lots of electronics, and they’ve all gotta go somewhere! Thankfully there’s a nice area underneath the seat with plenty of space, so that’s where it all goes.
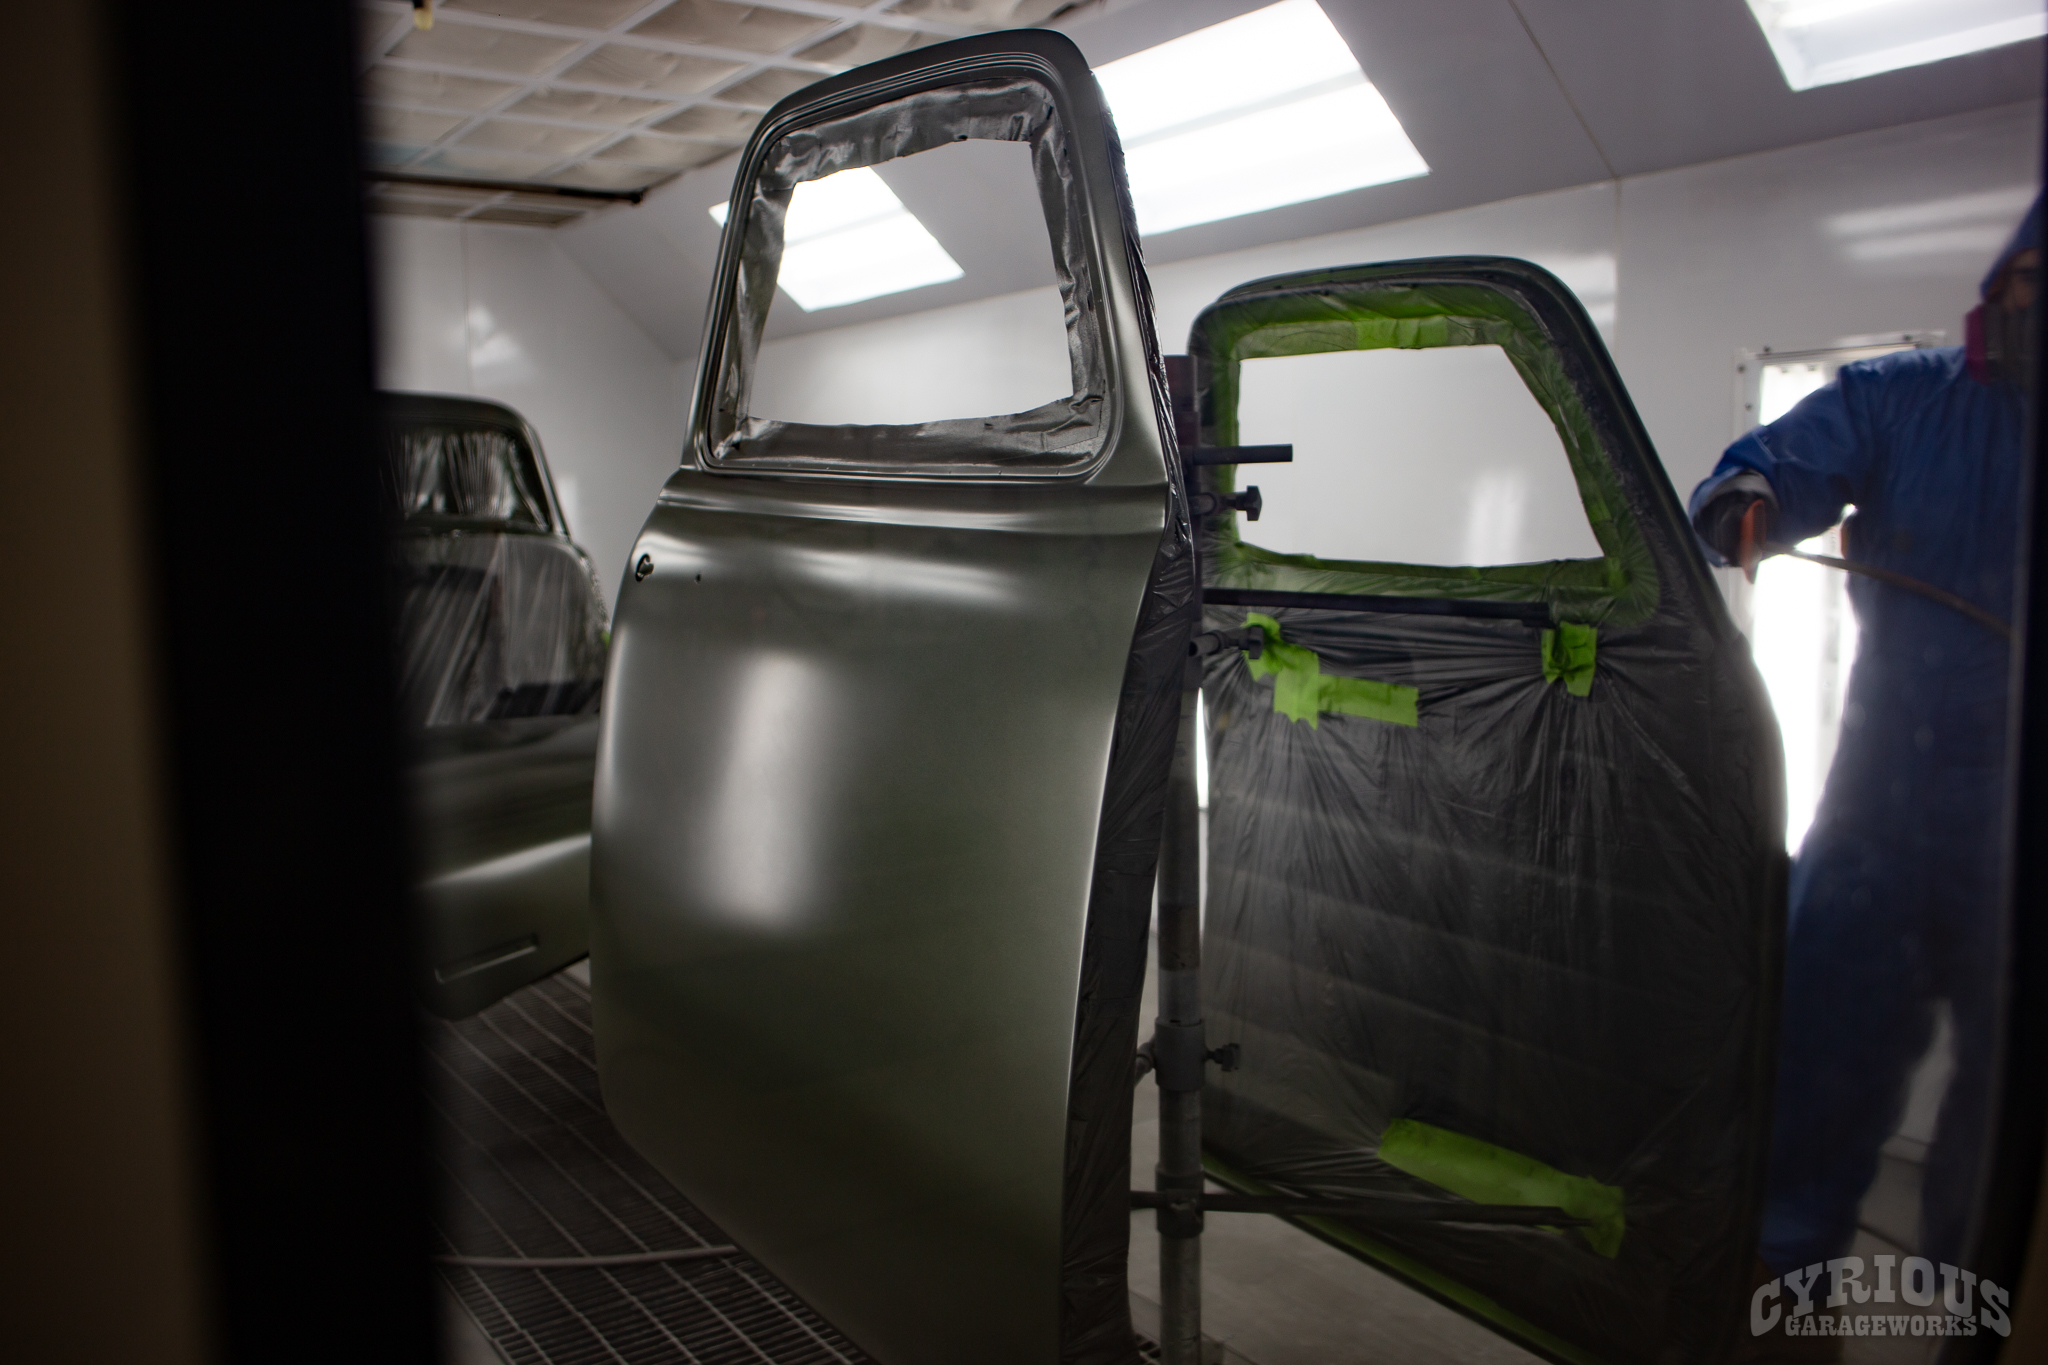
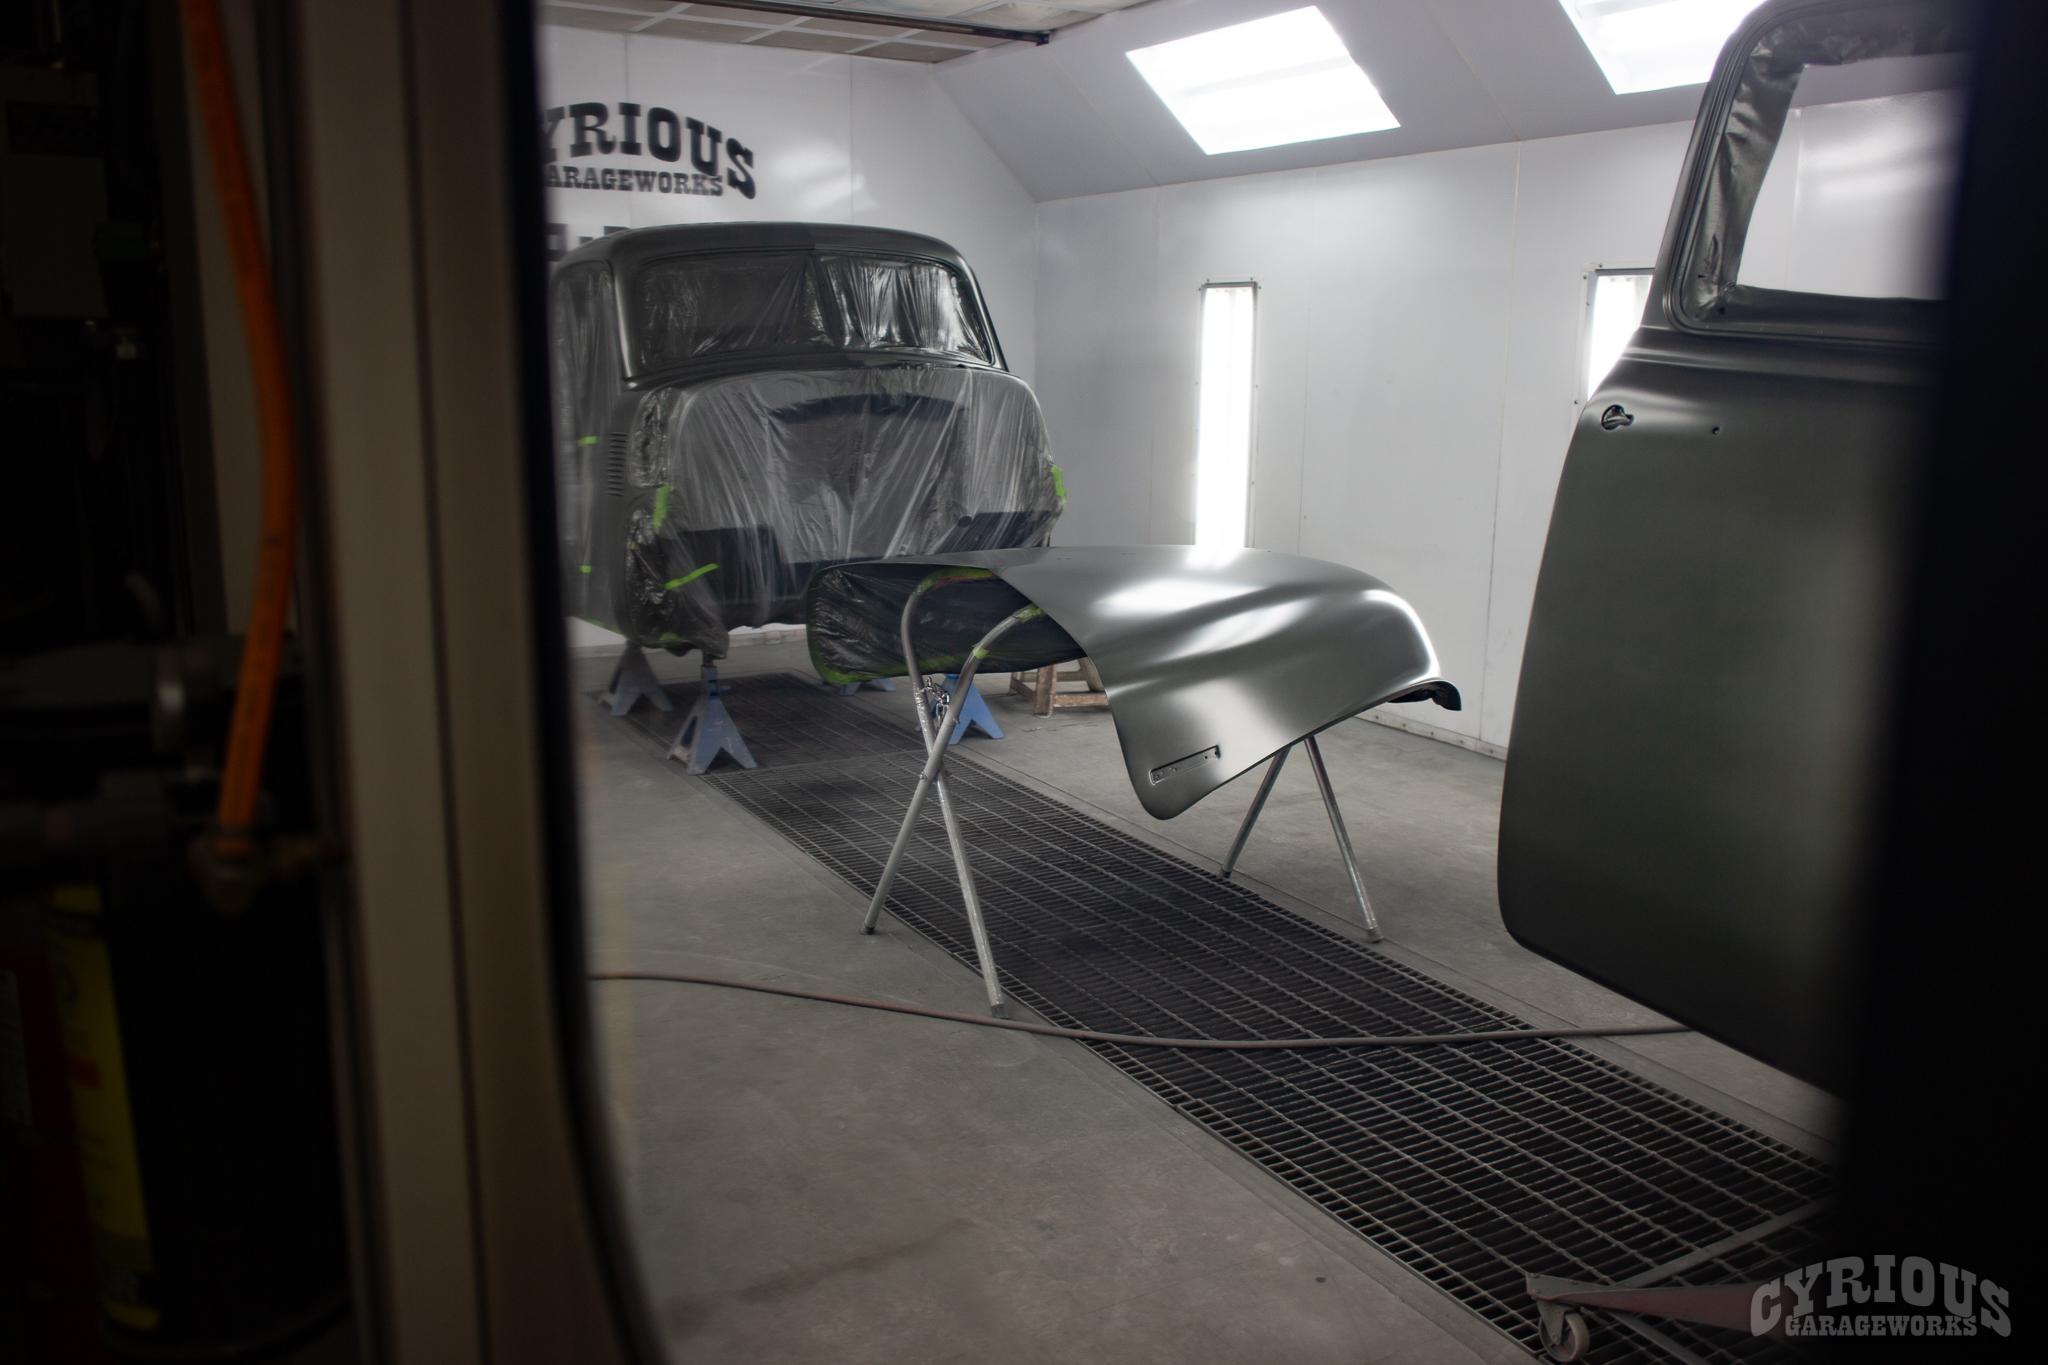
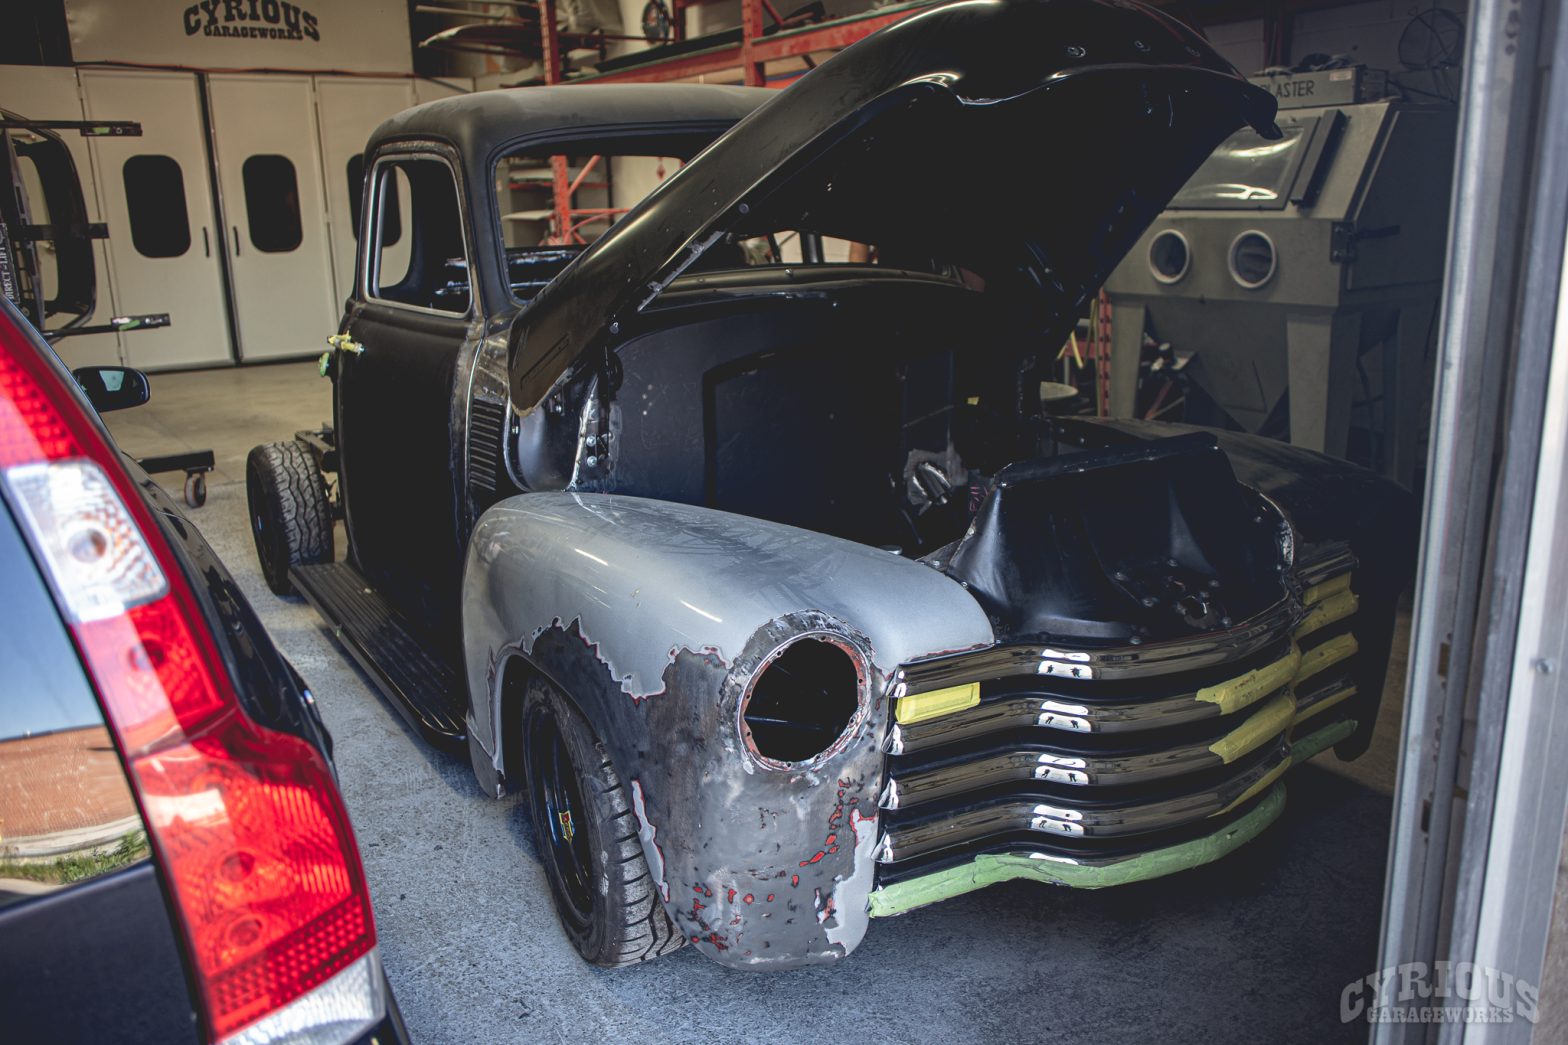
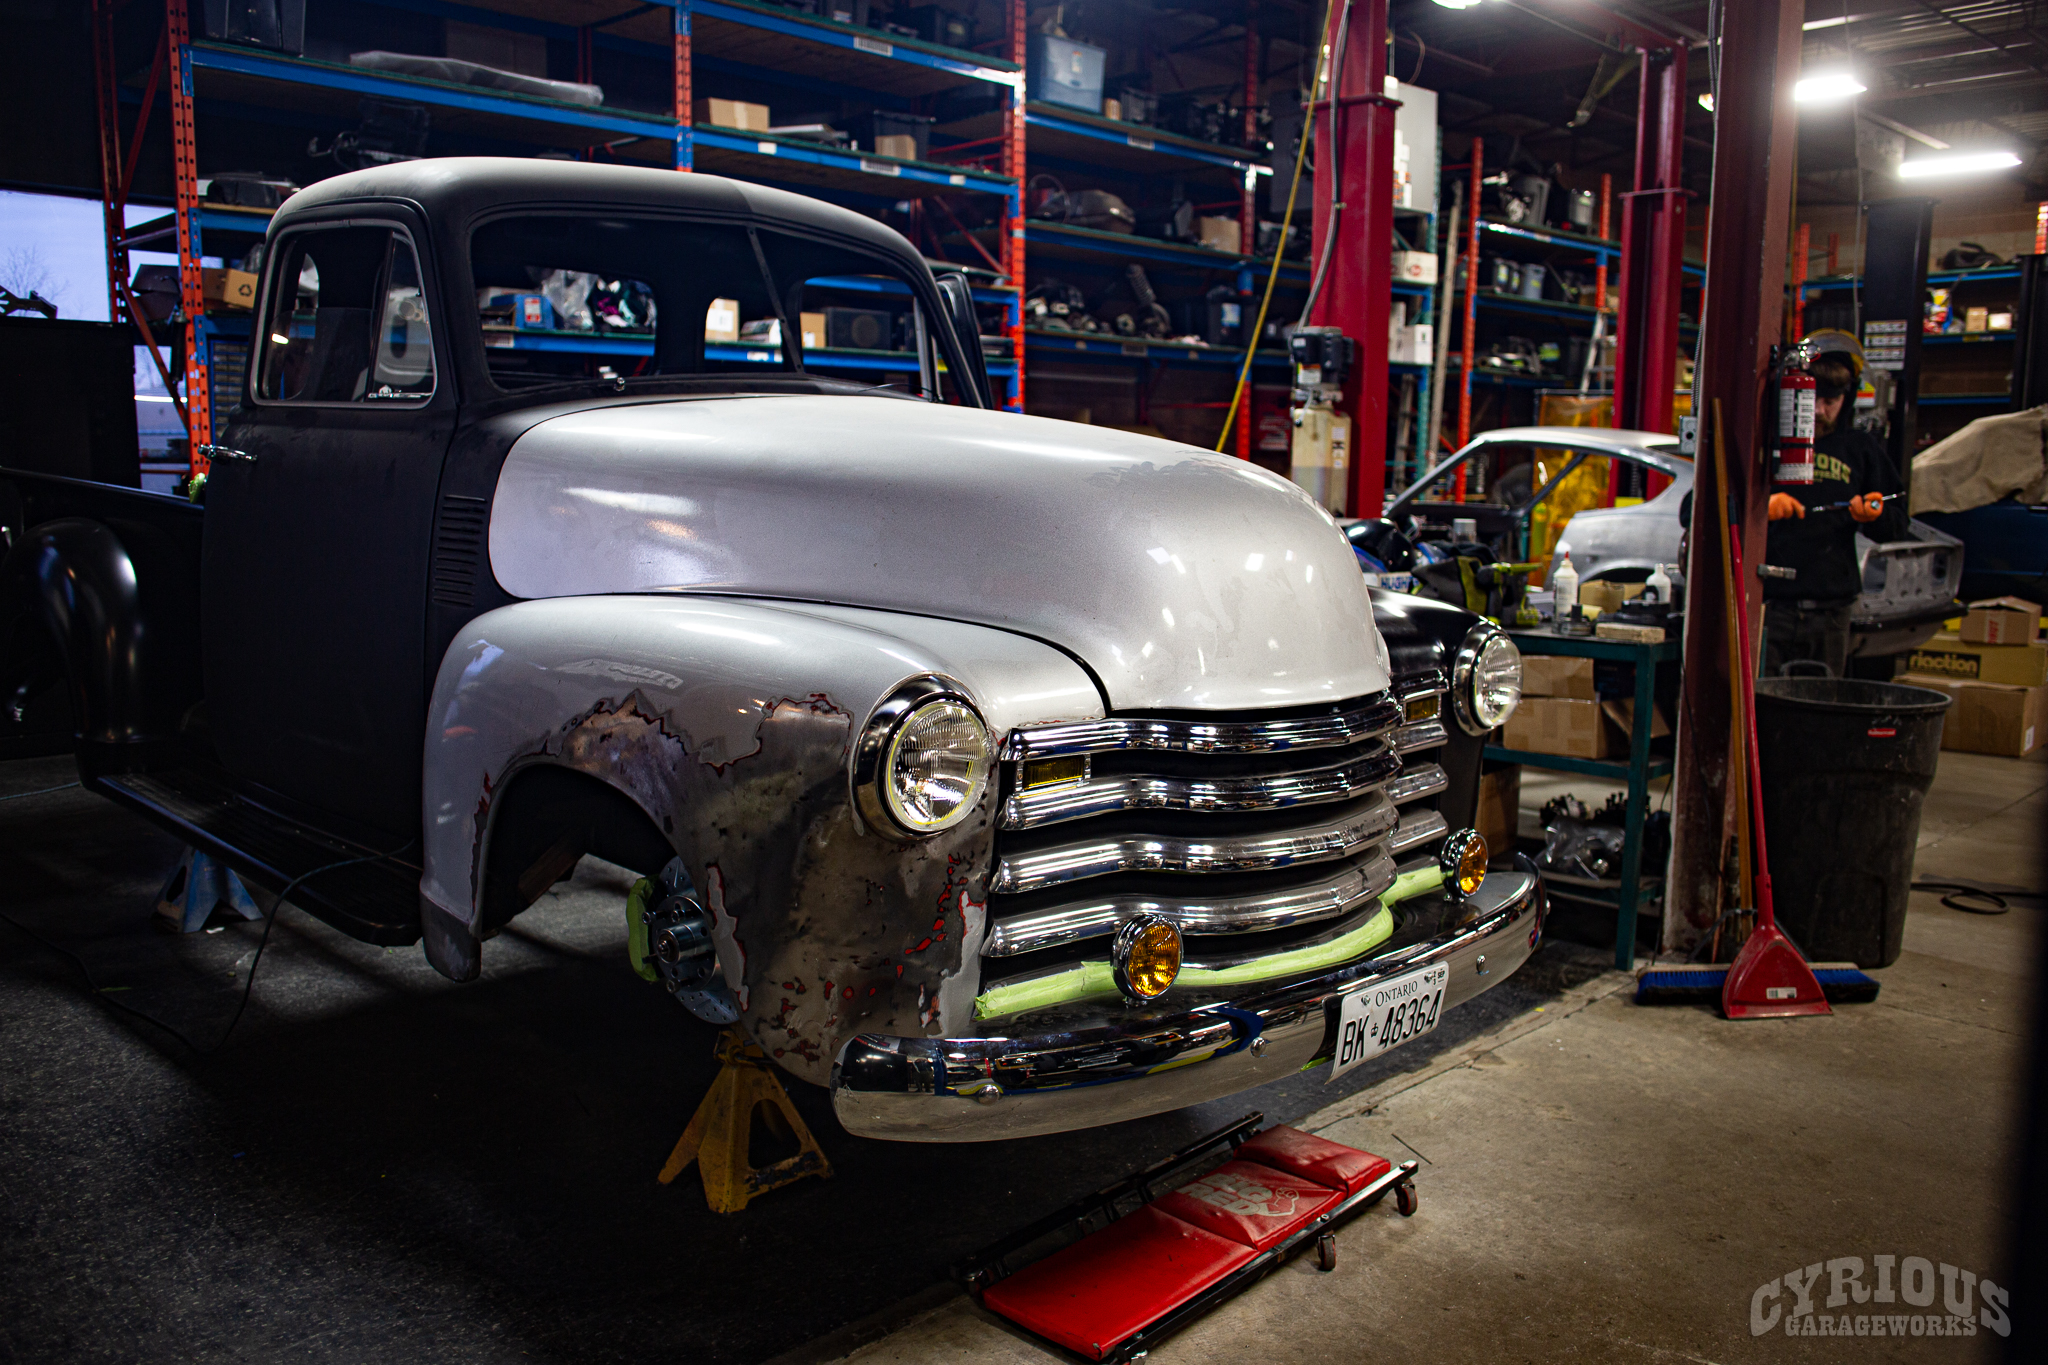
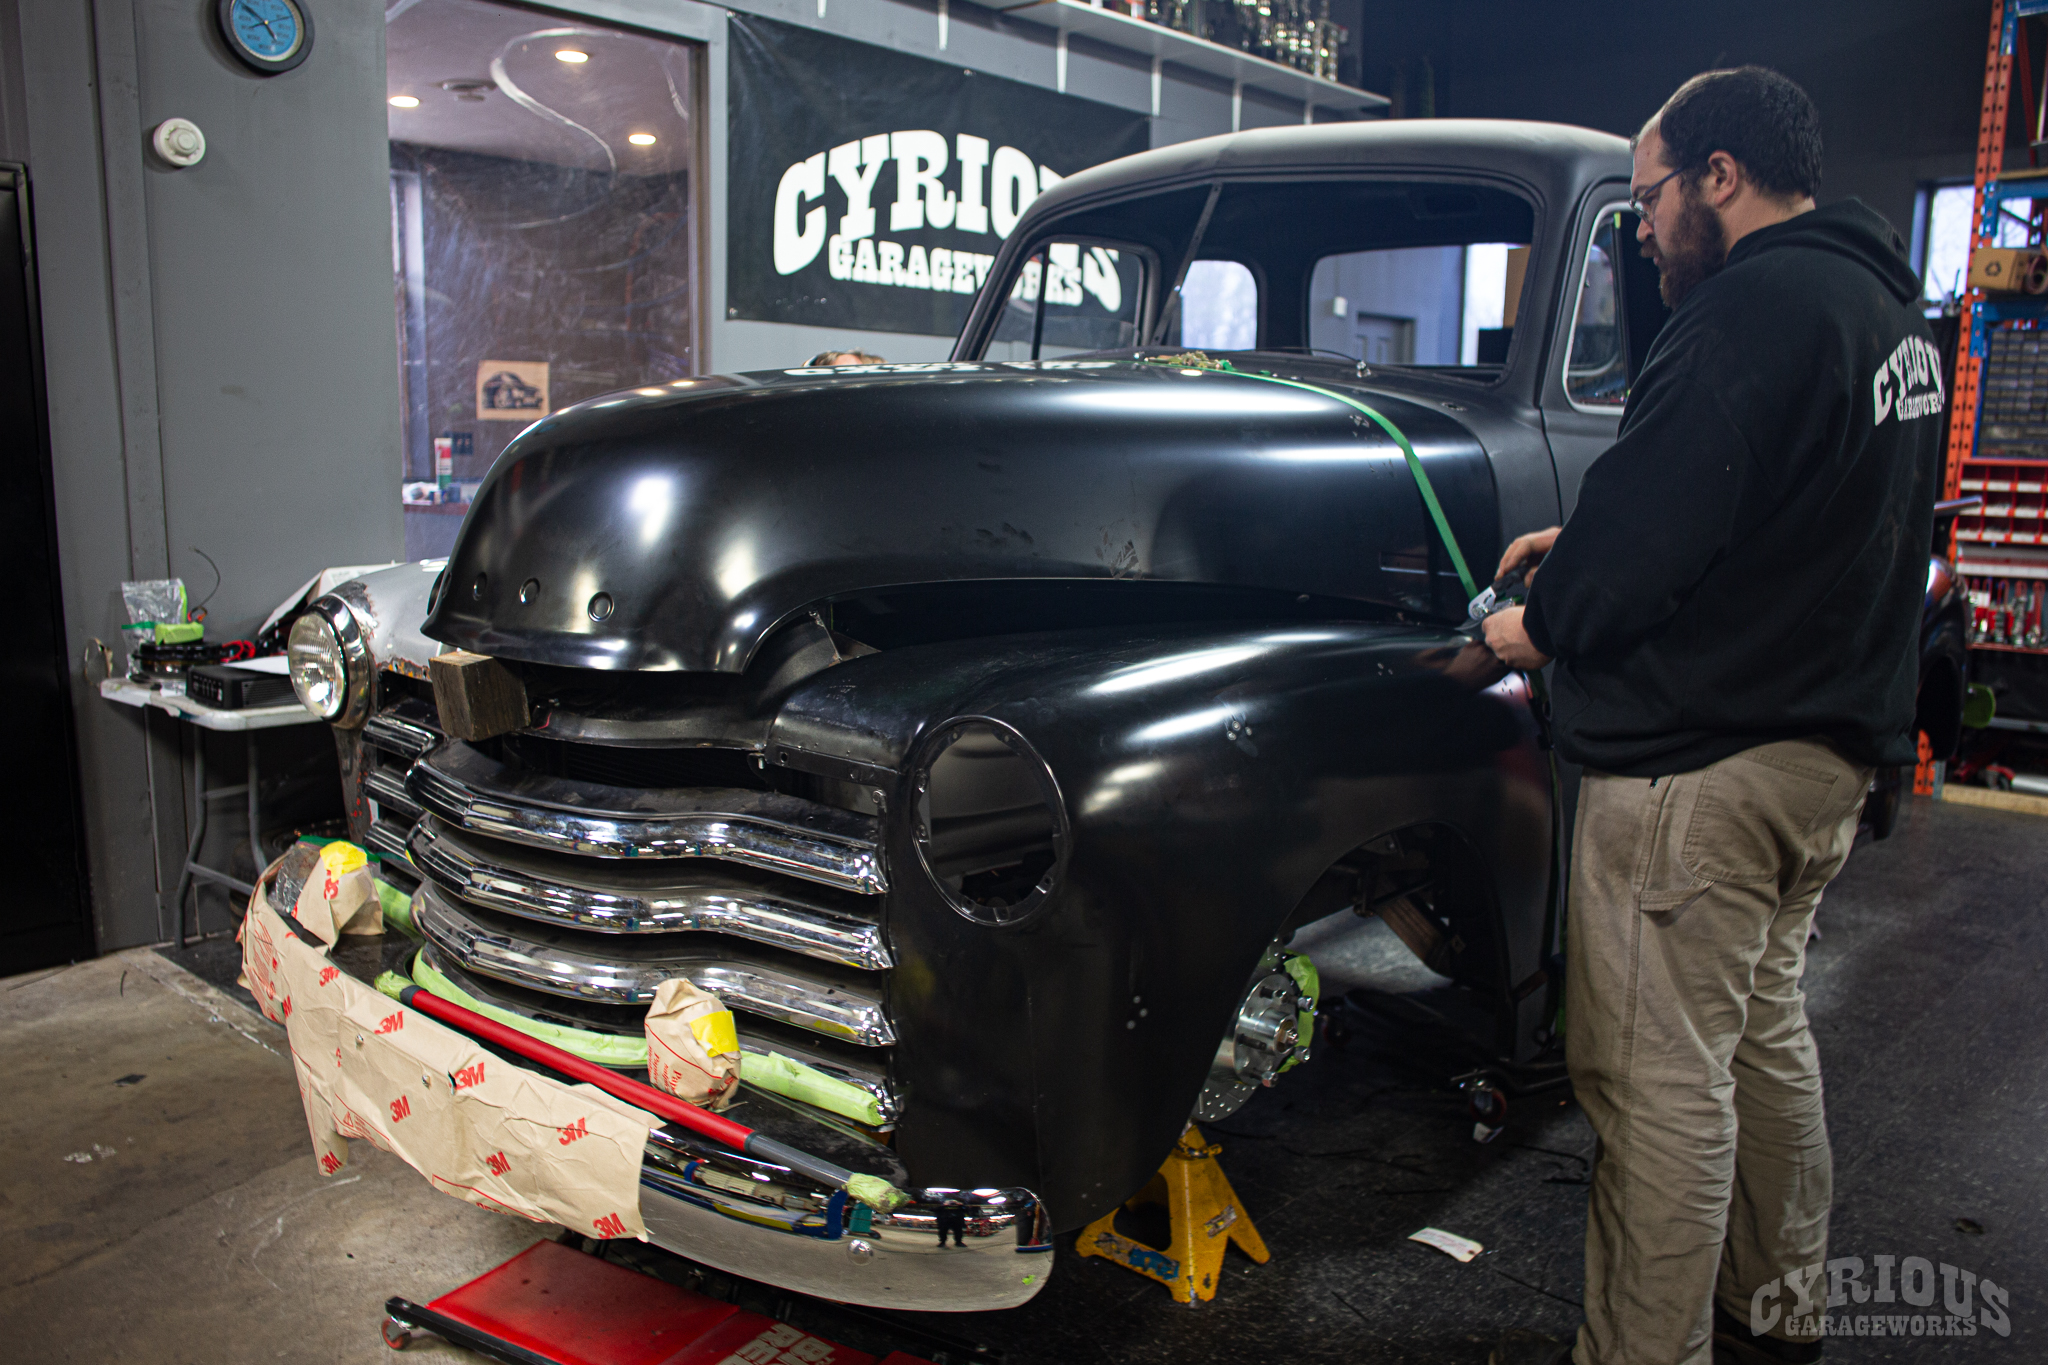
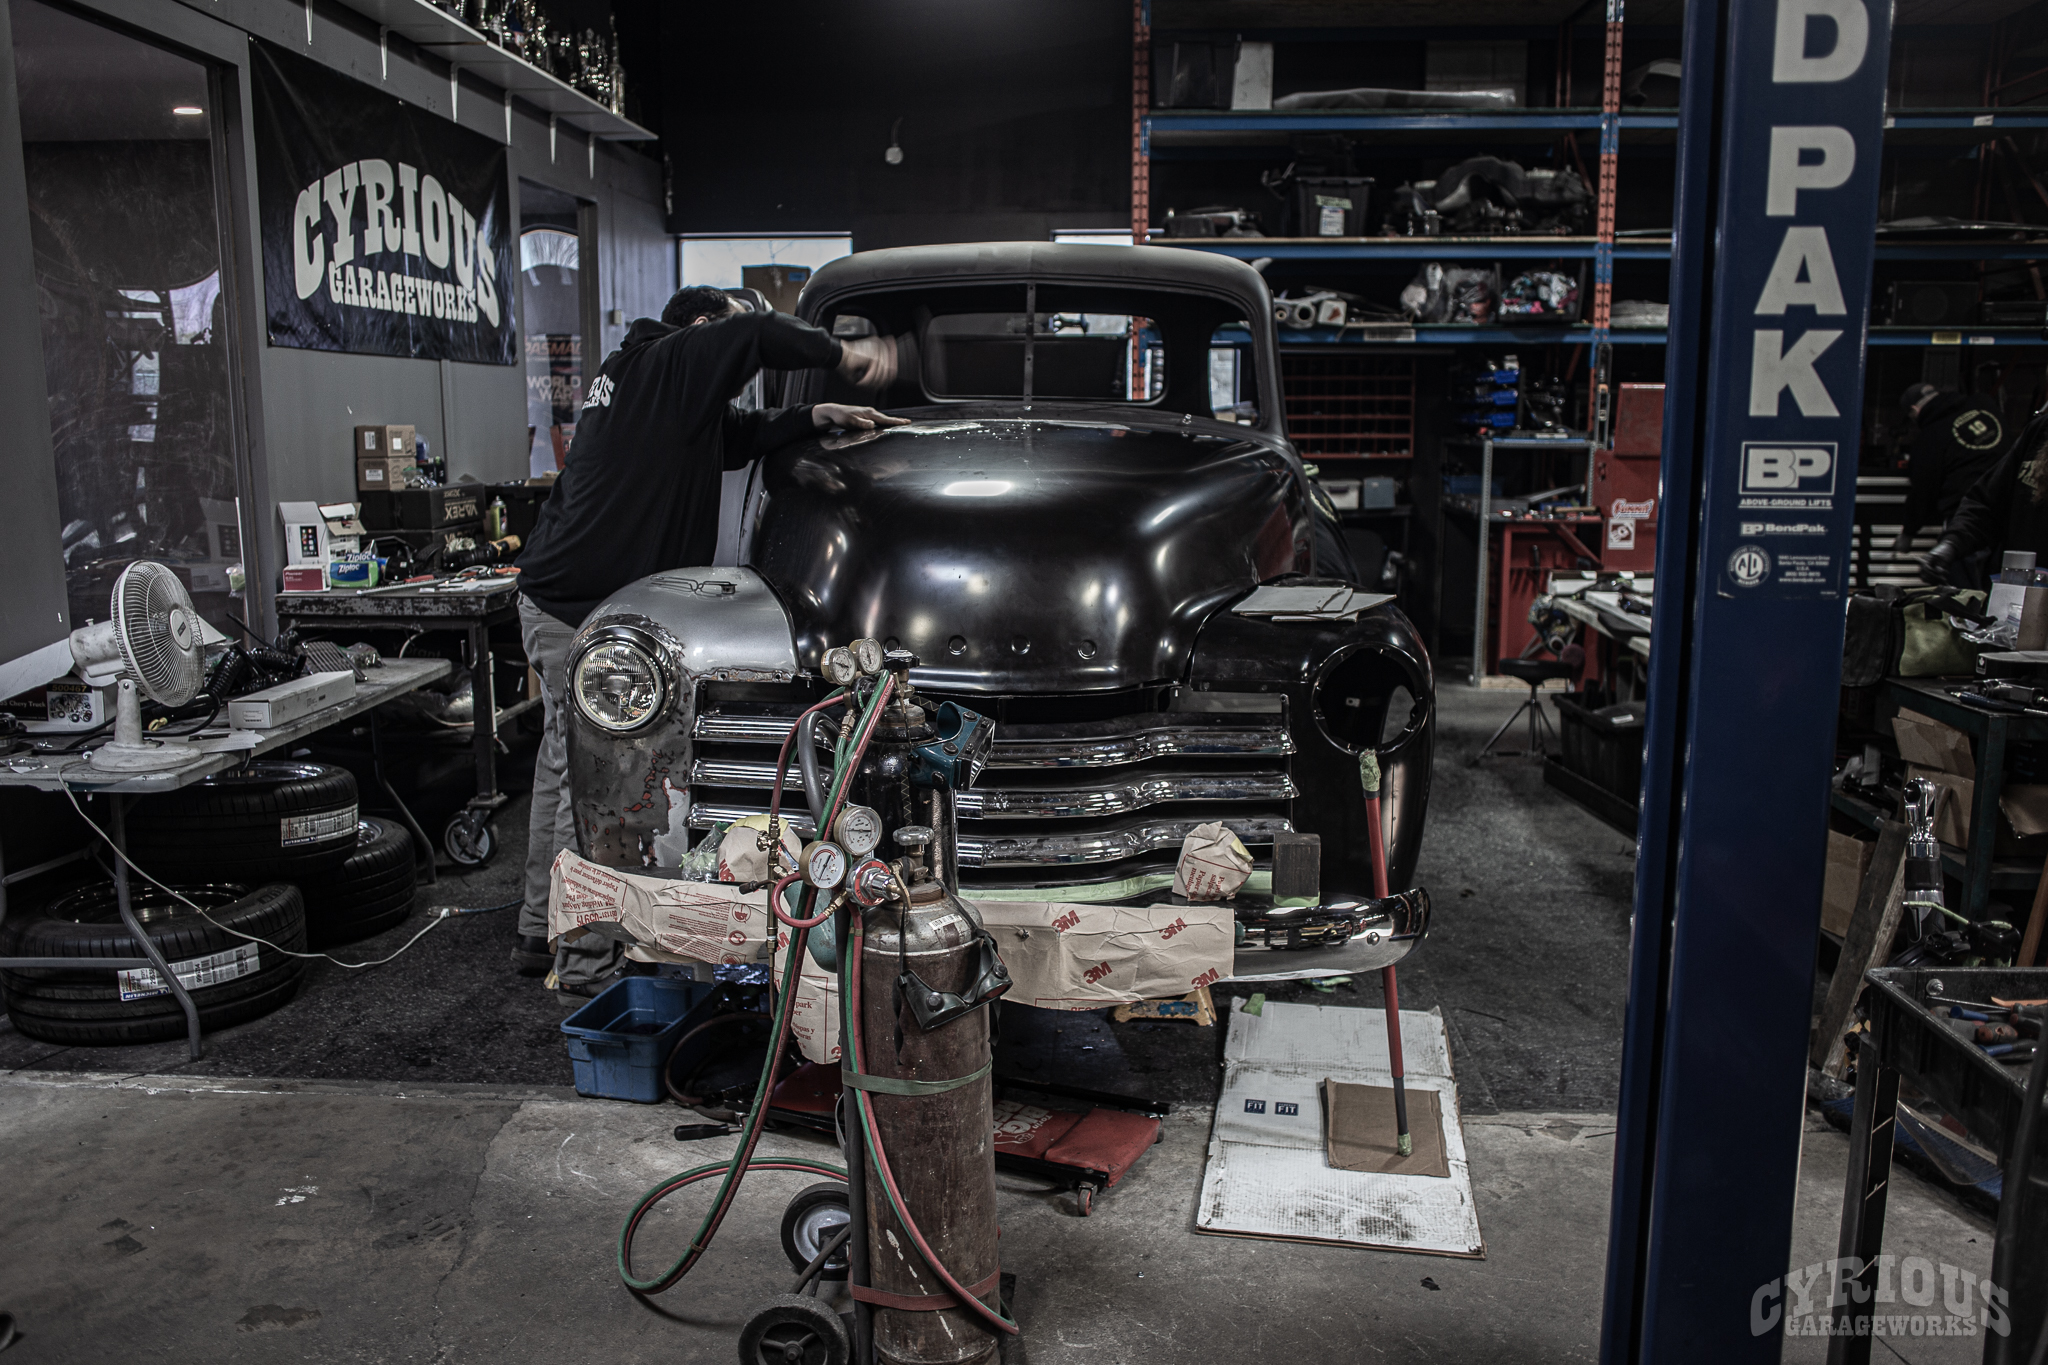
We made an attempt at preserving as much of the original truck as we could. Not much was left, but at least the fender and hood made it! … If it’s not obvious, the fender was rough, and fitment from the hood was a bit of a struggle. Seeya later silver hood!
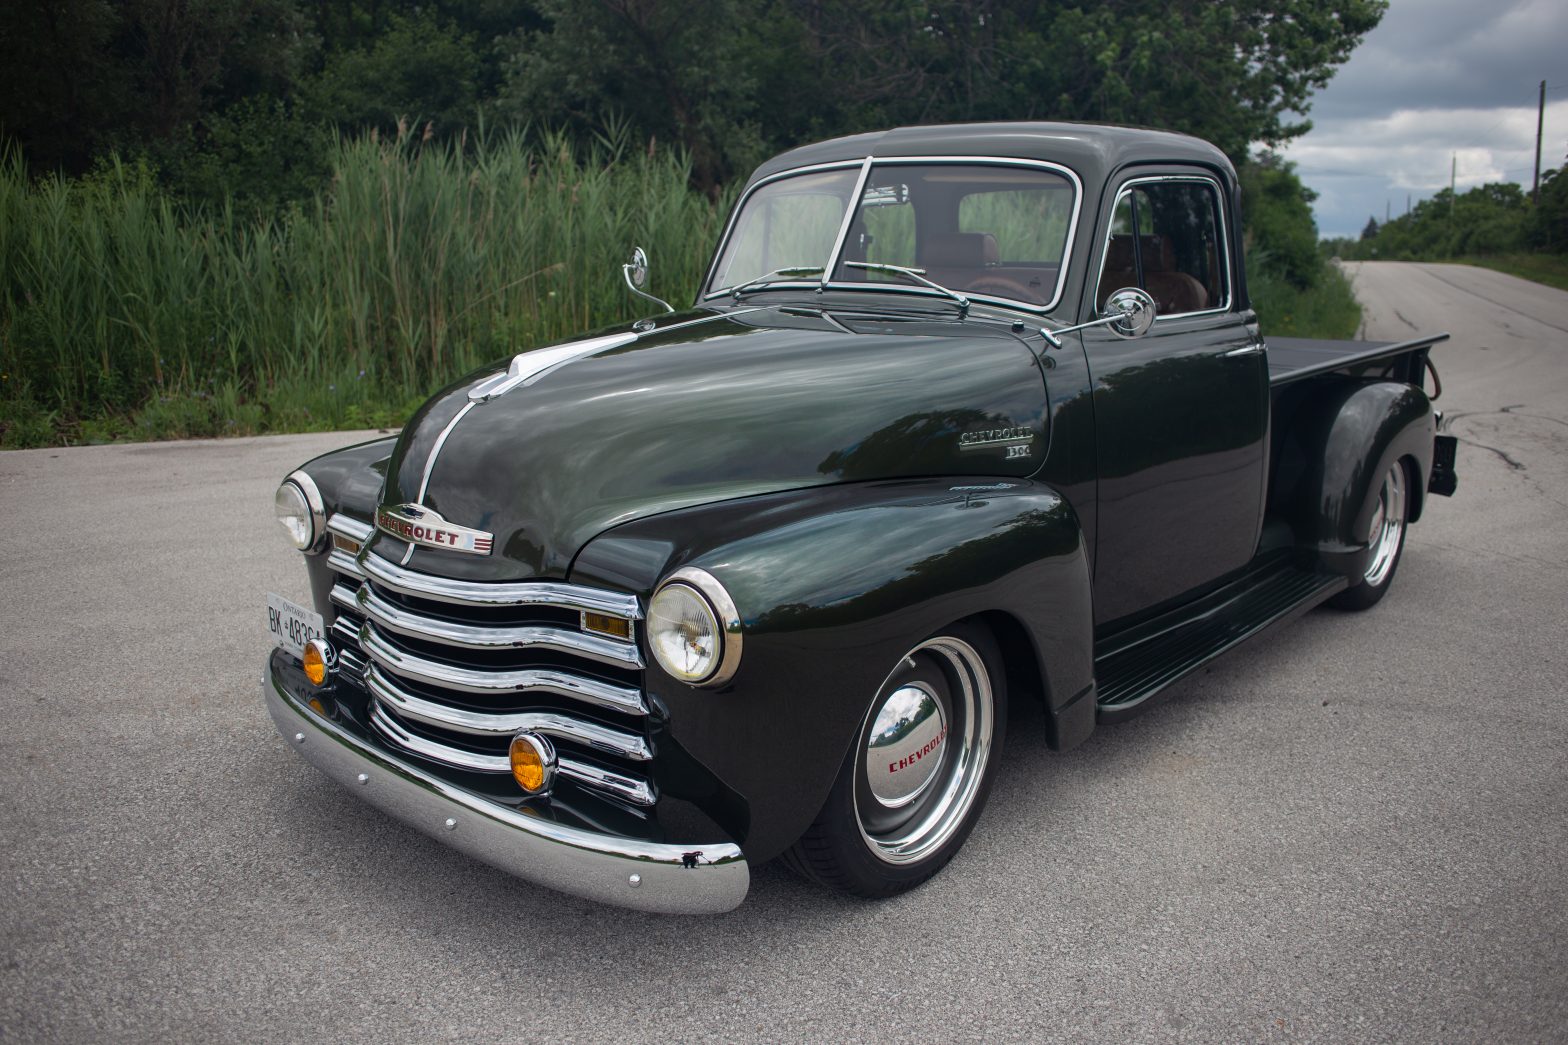
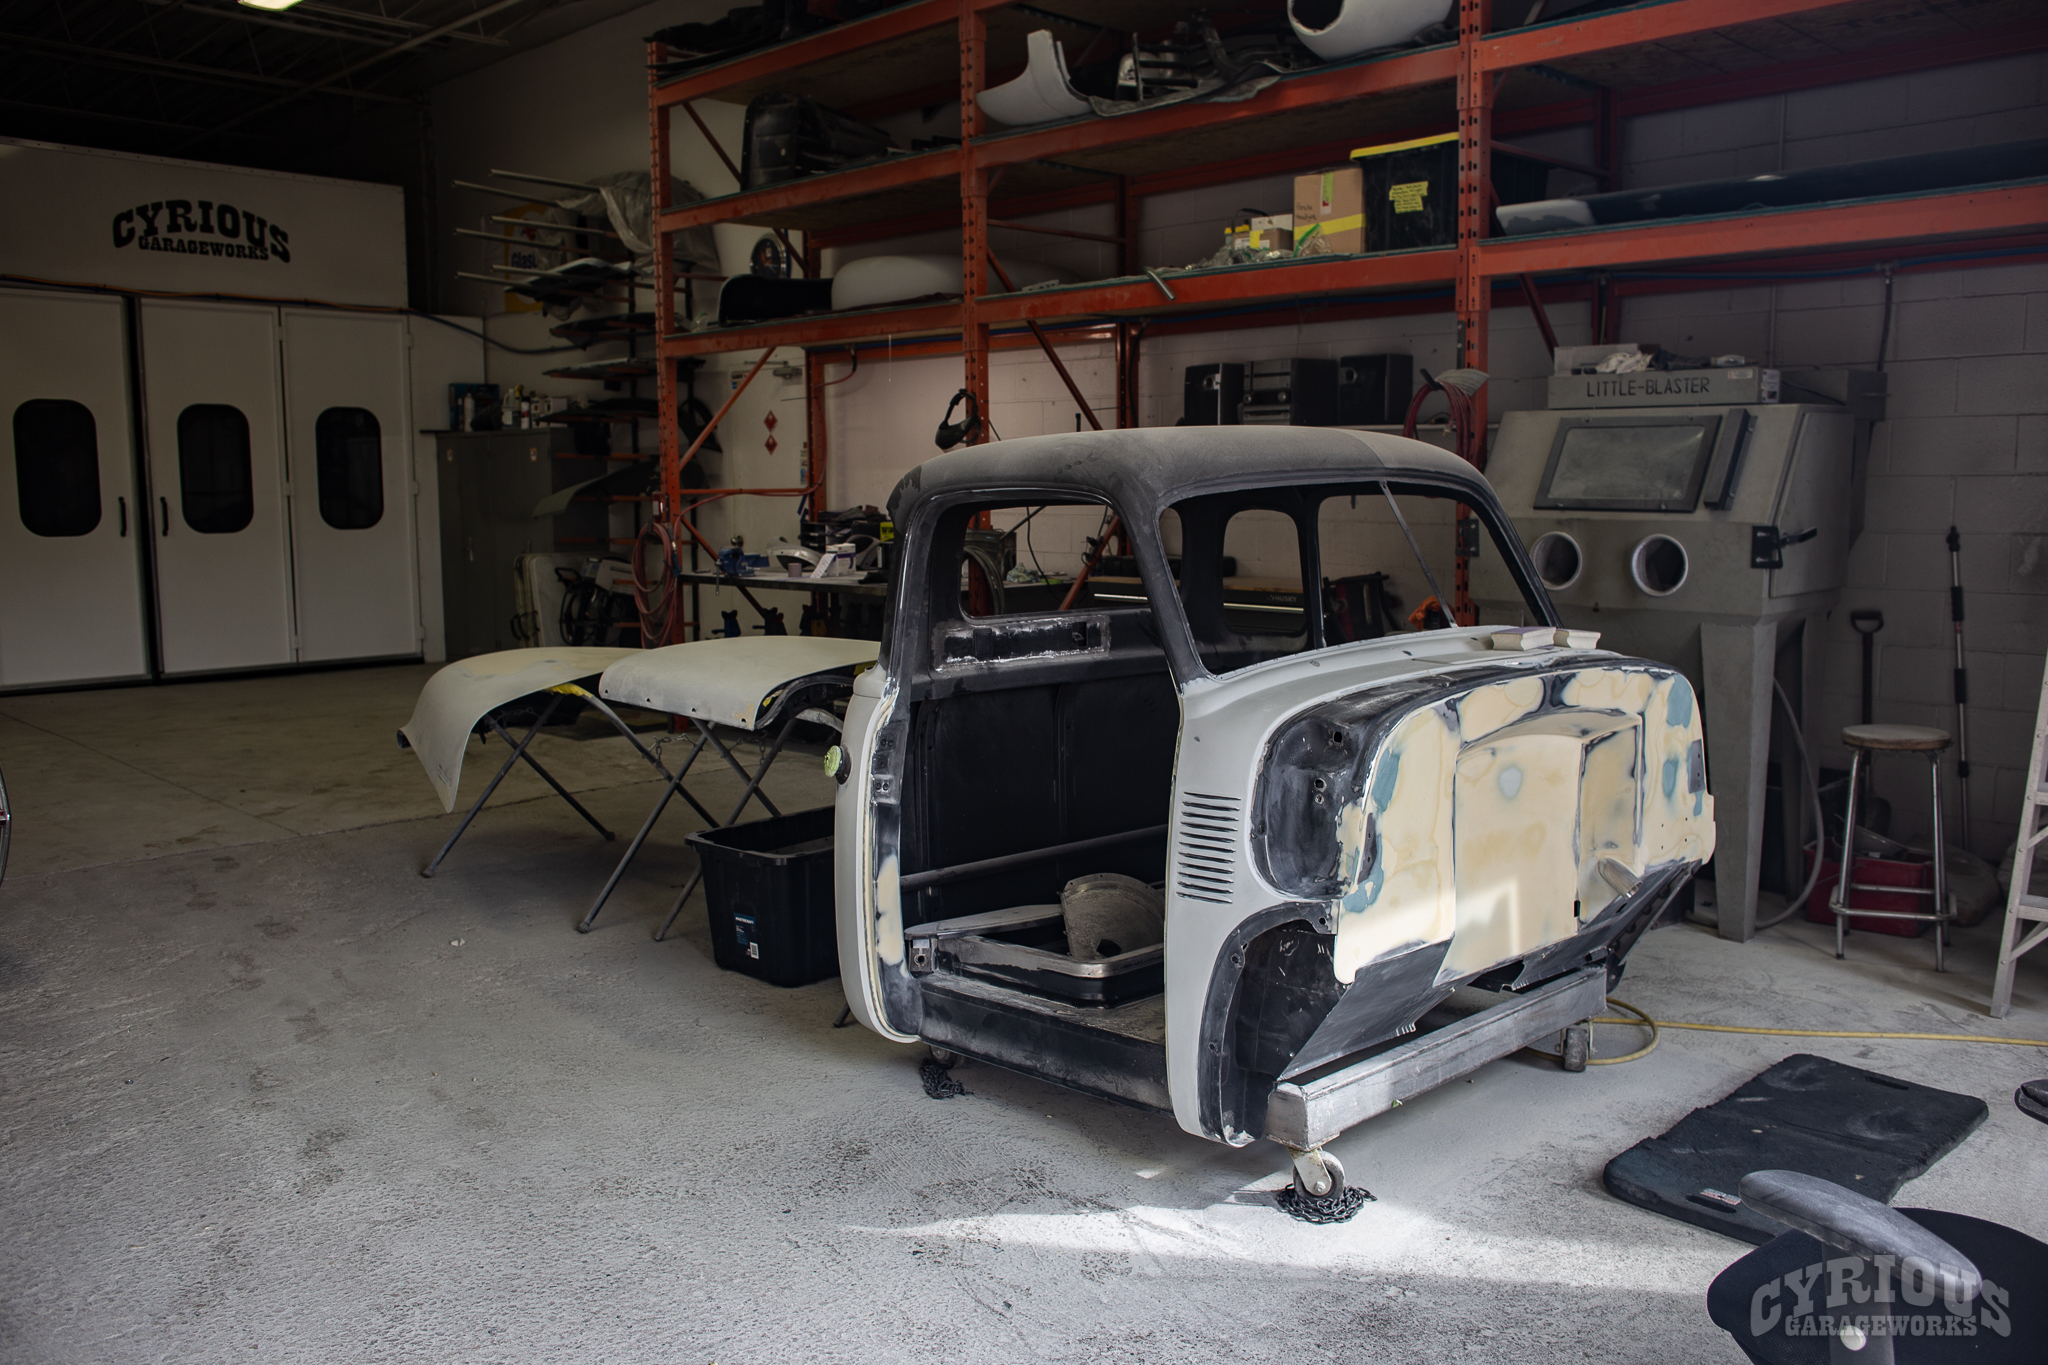
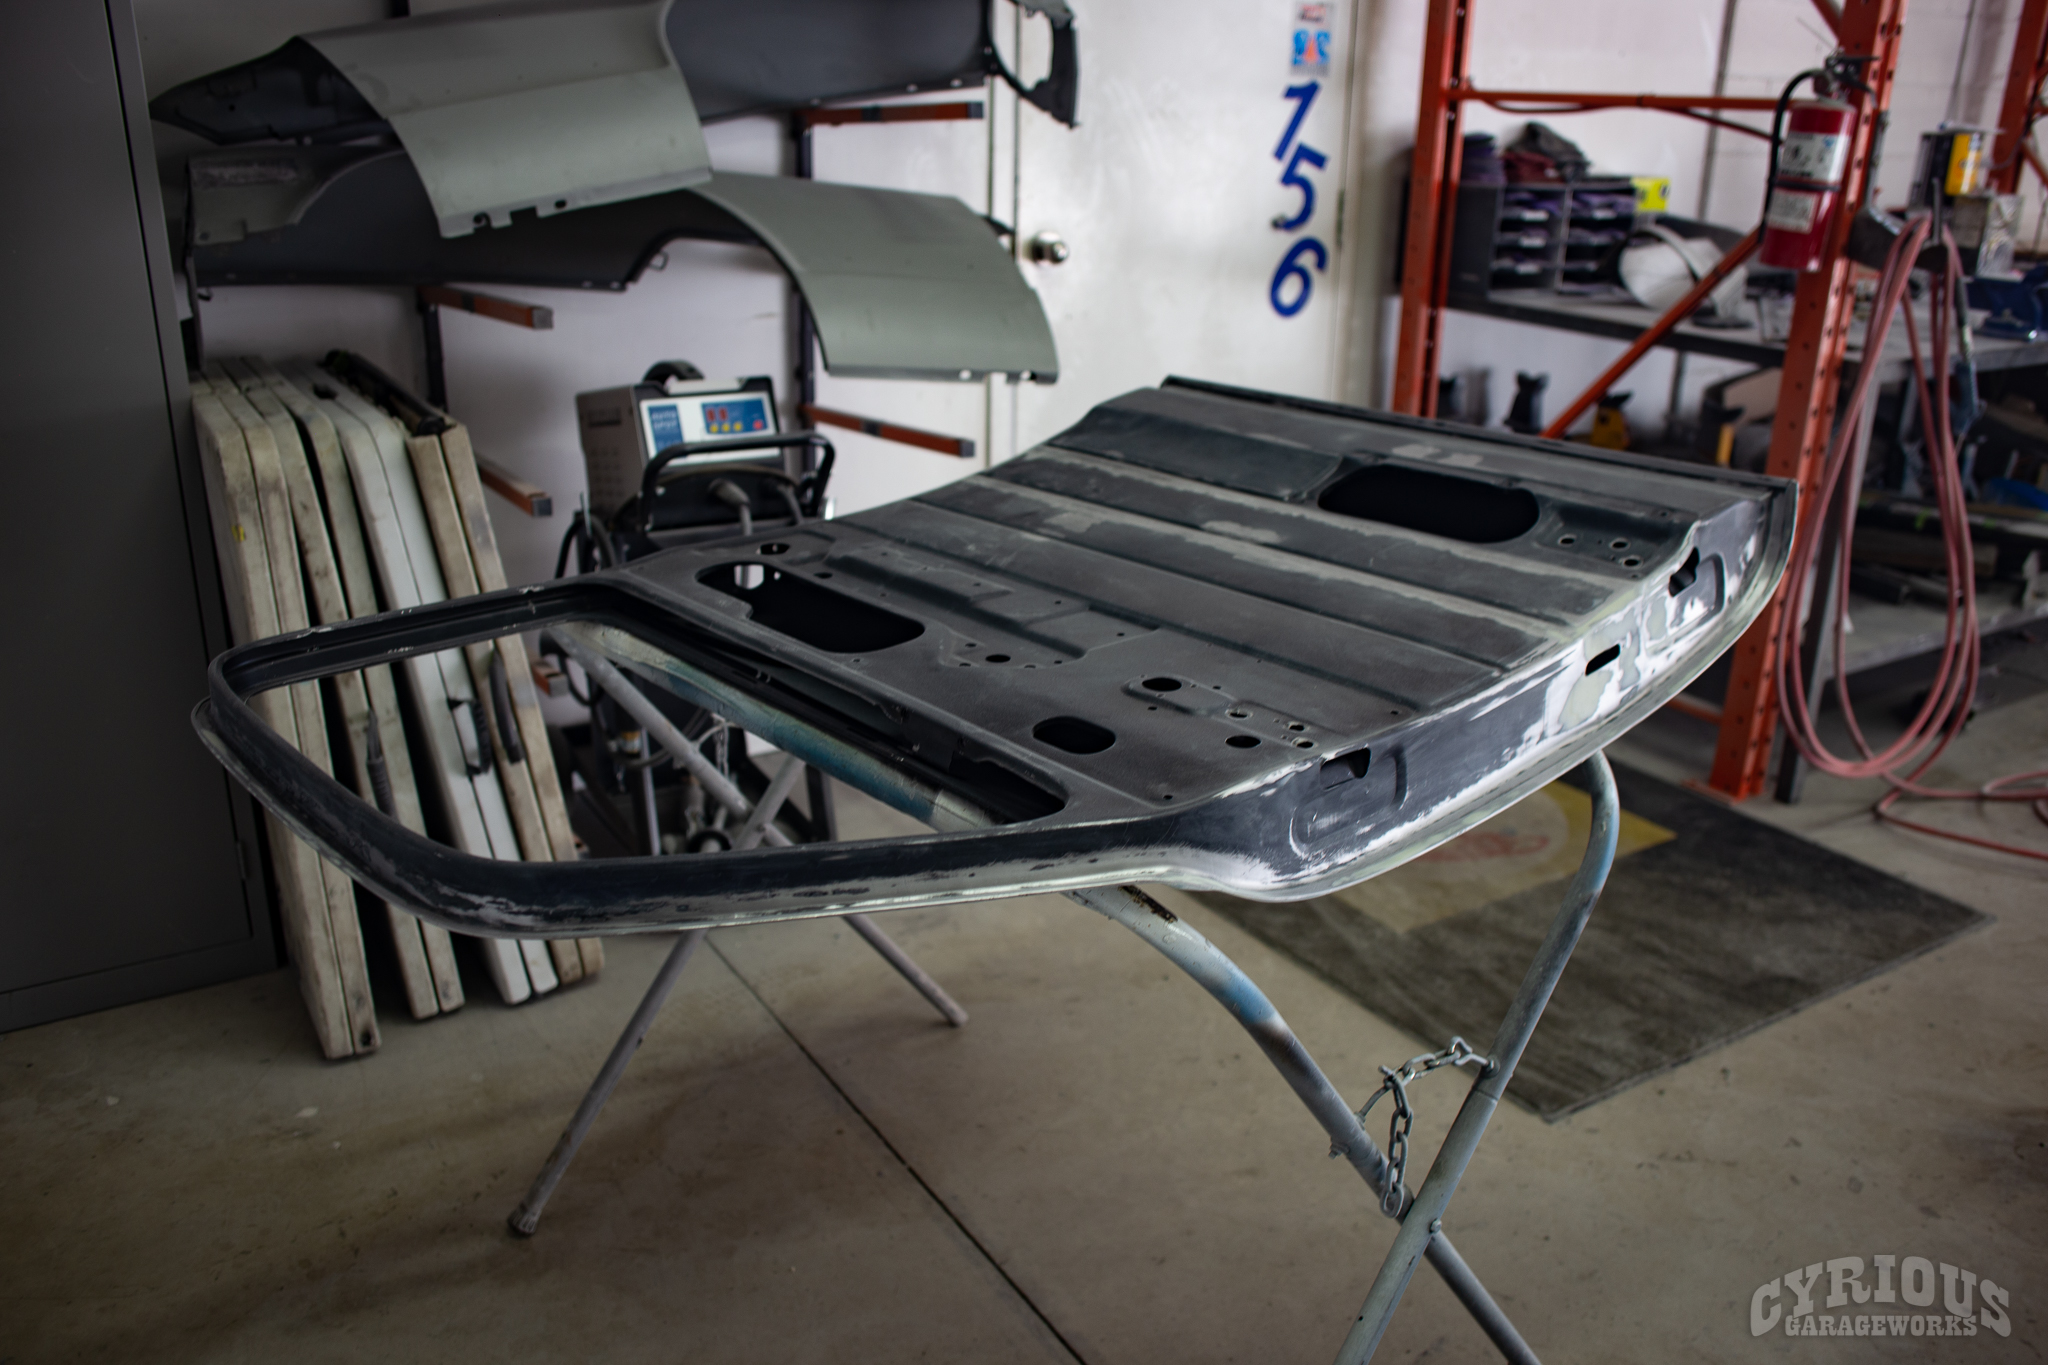
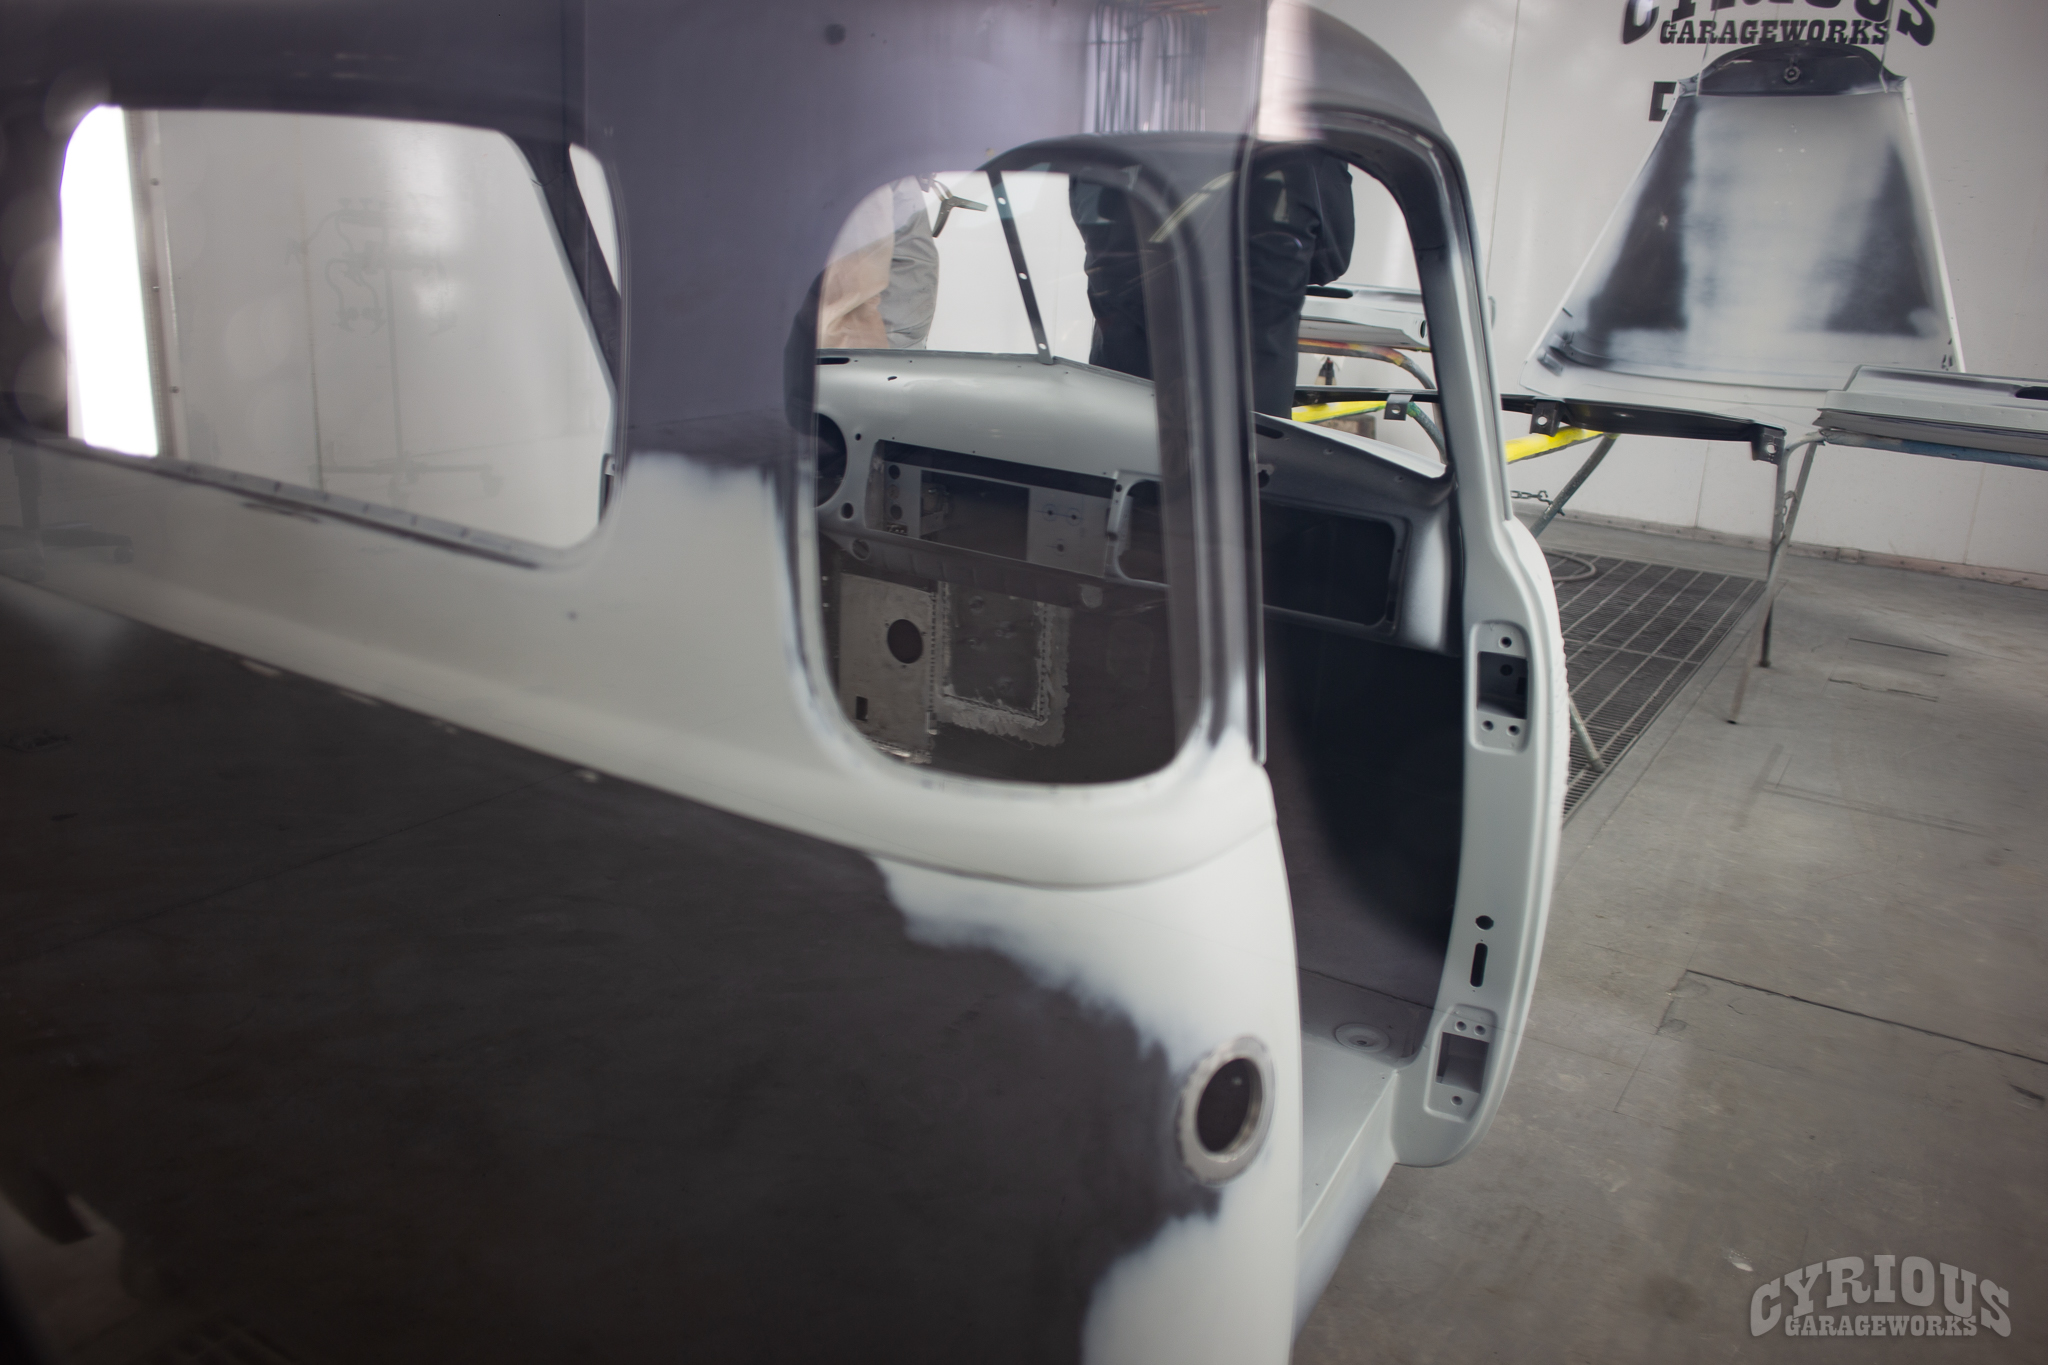
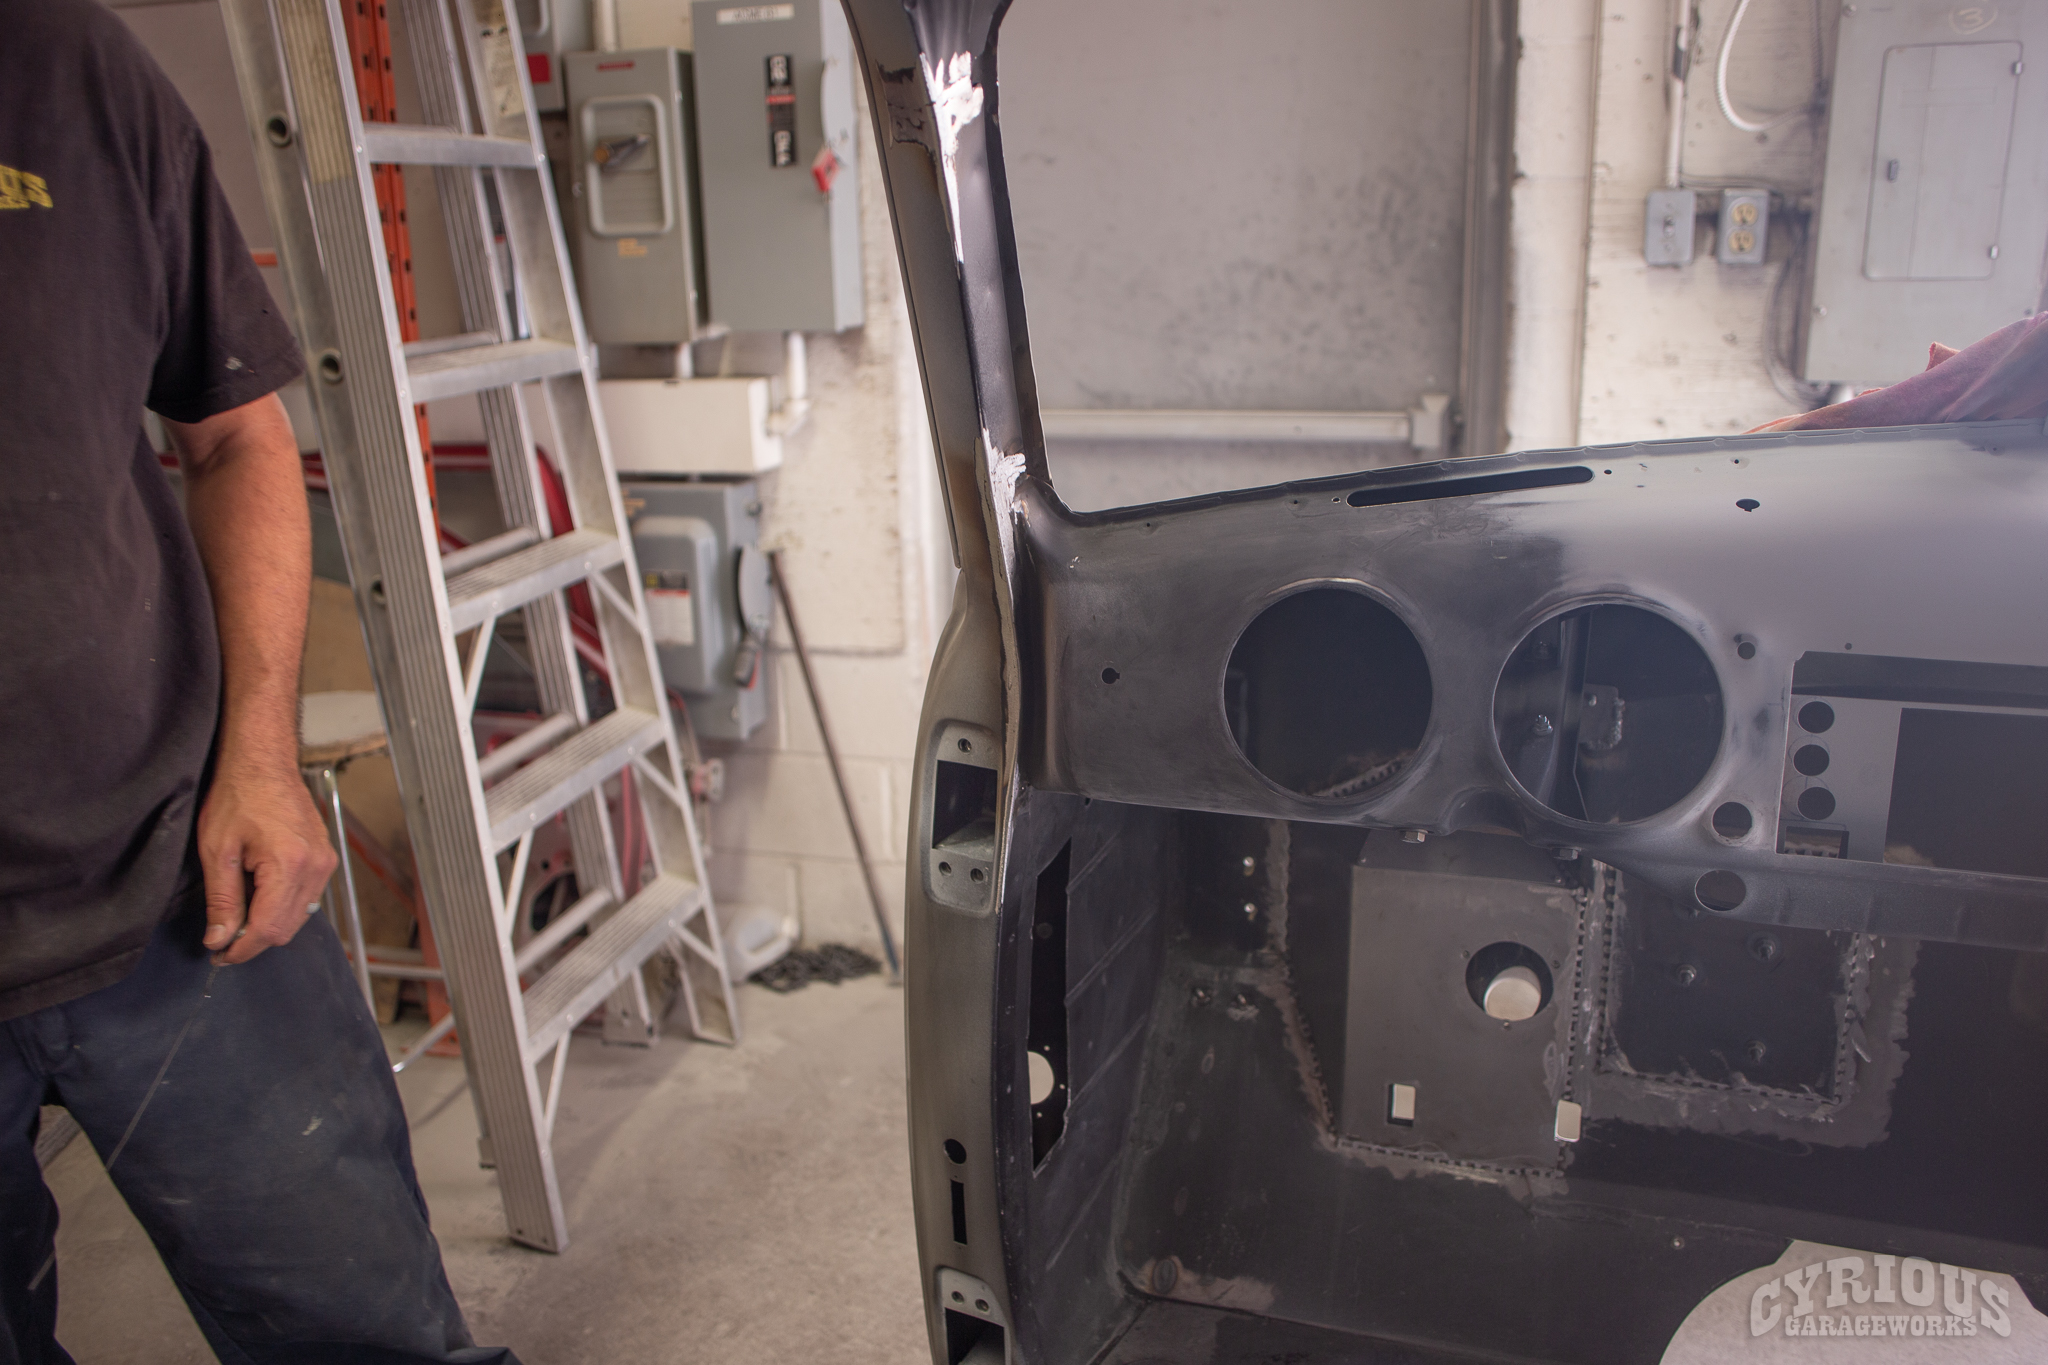
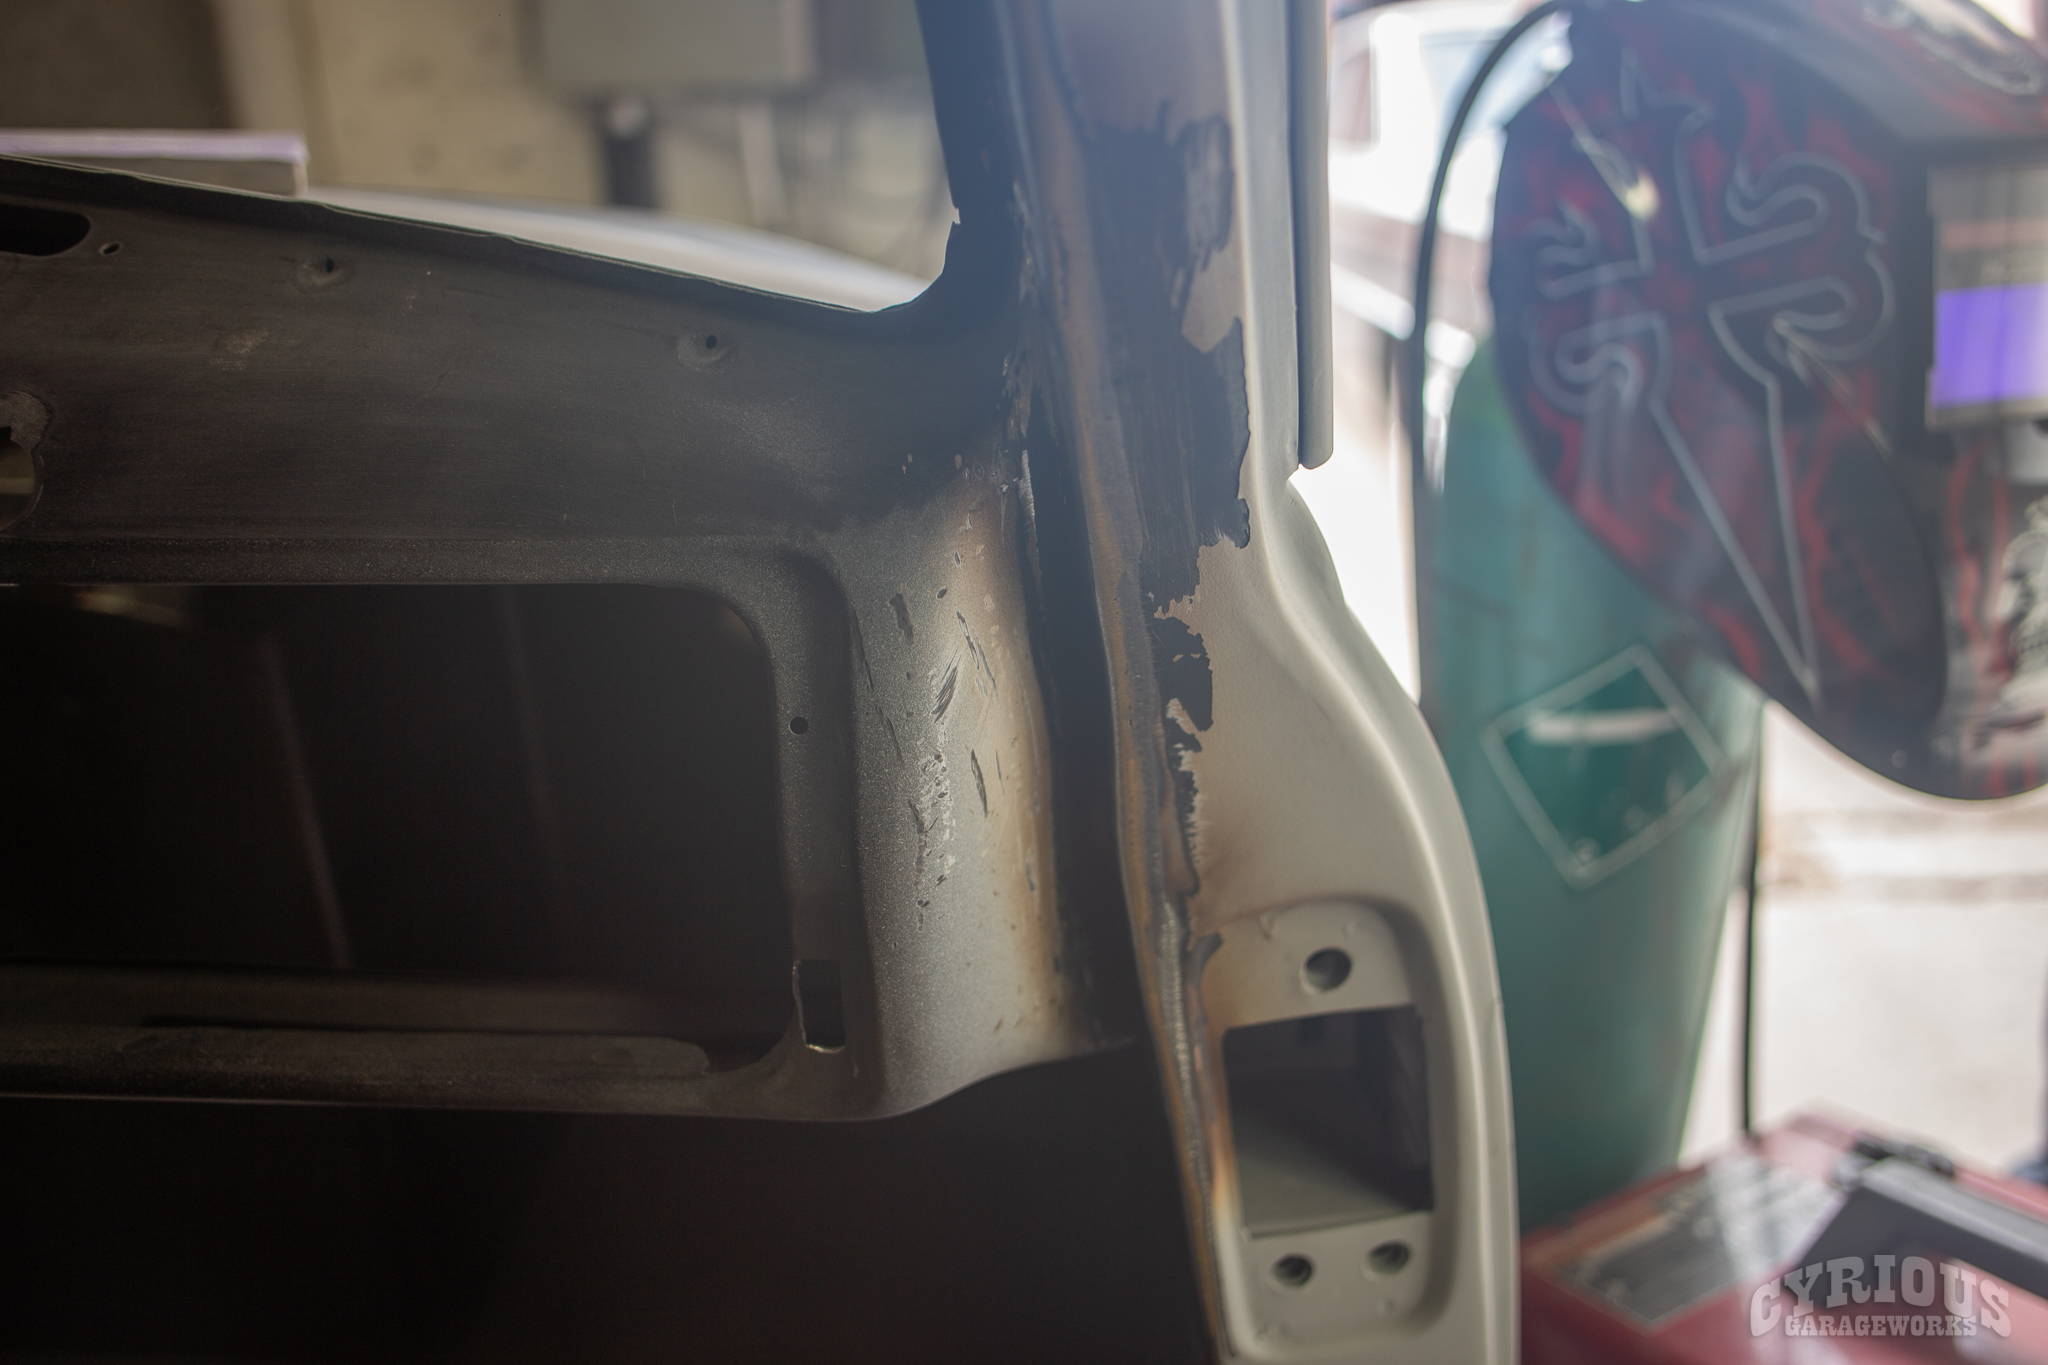
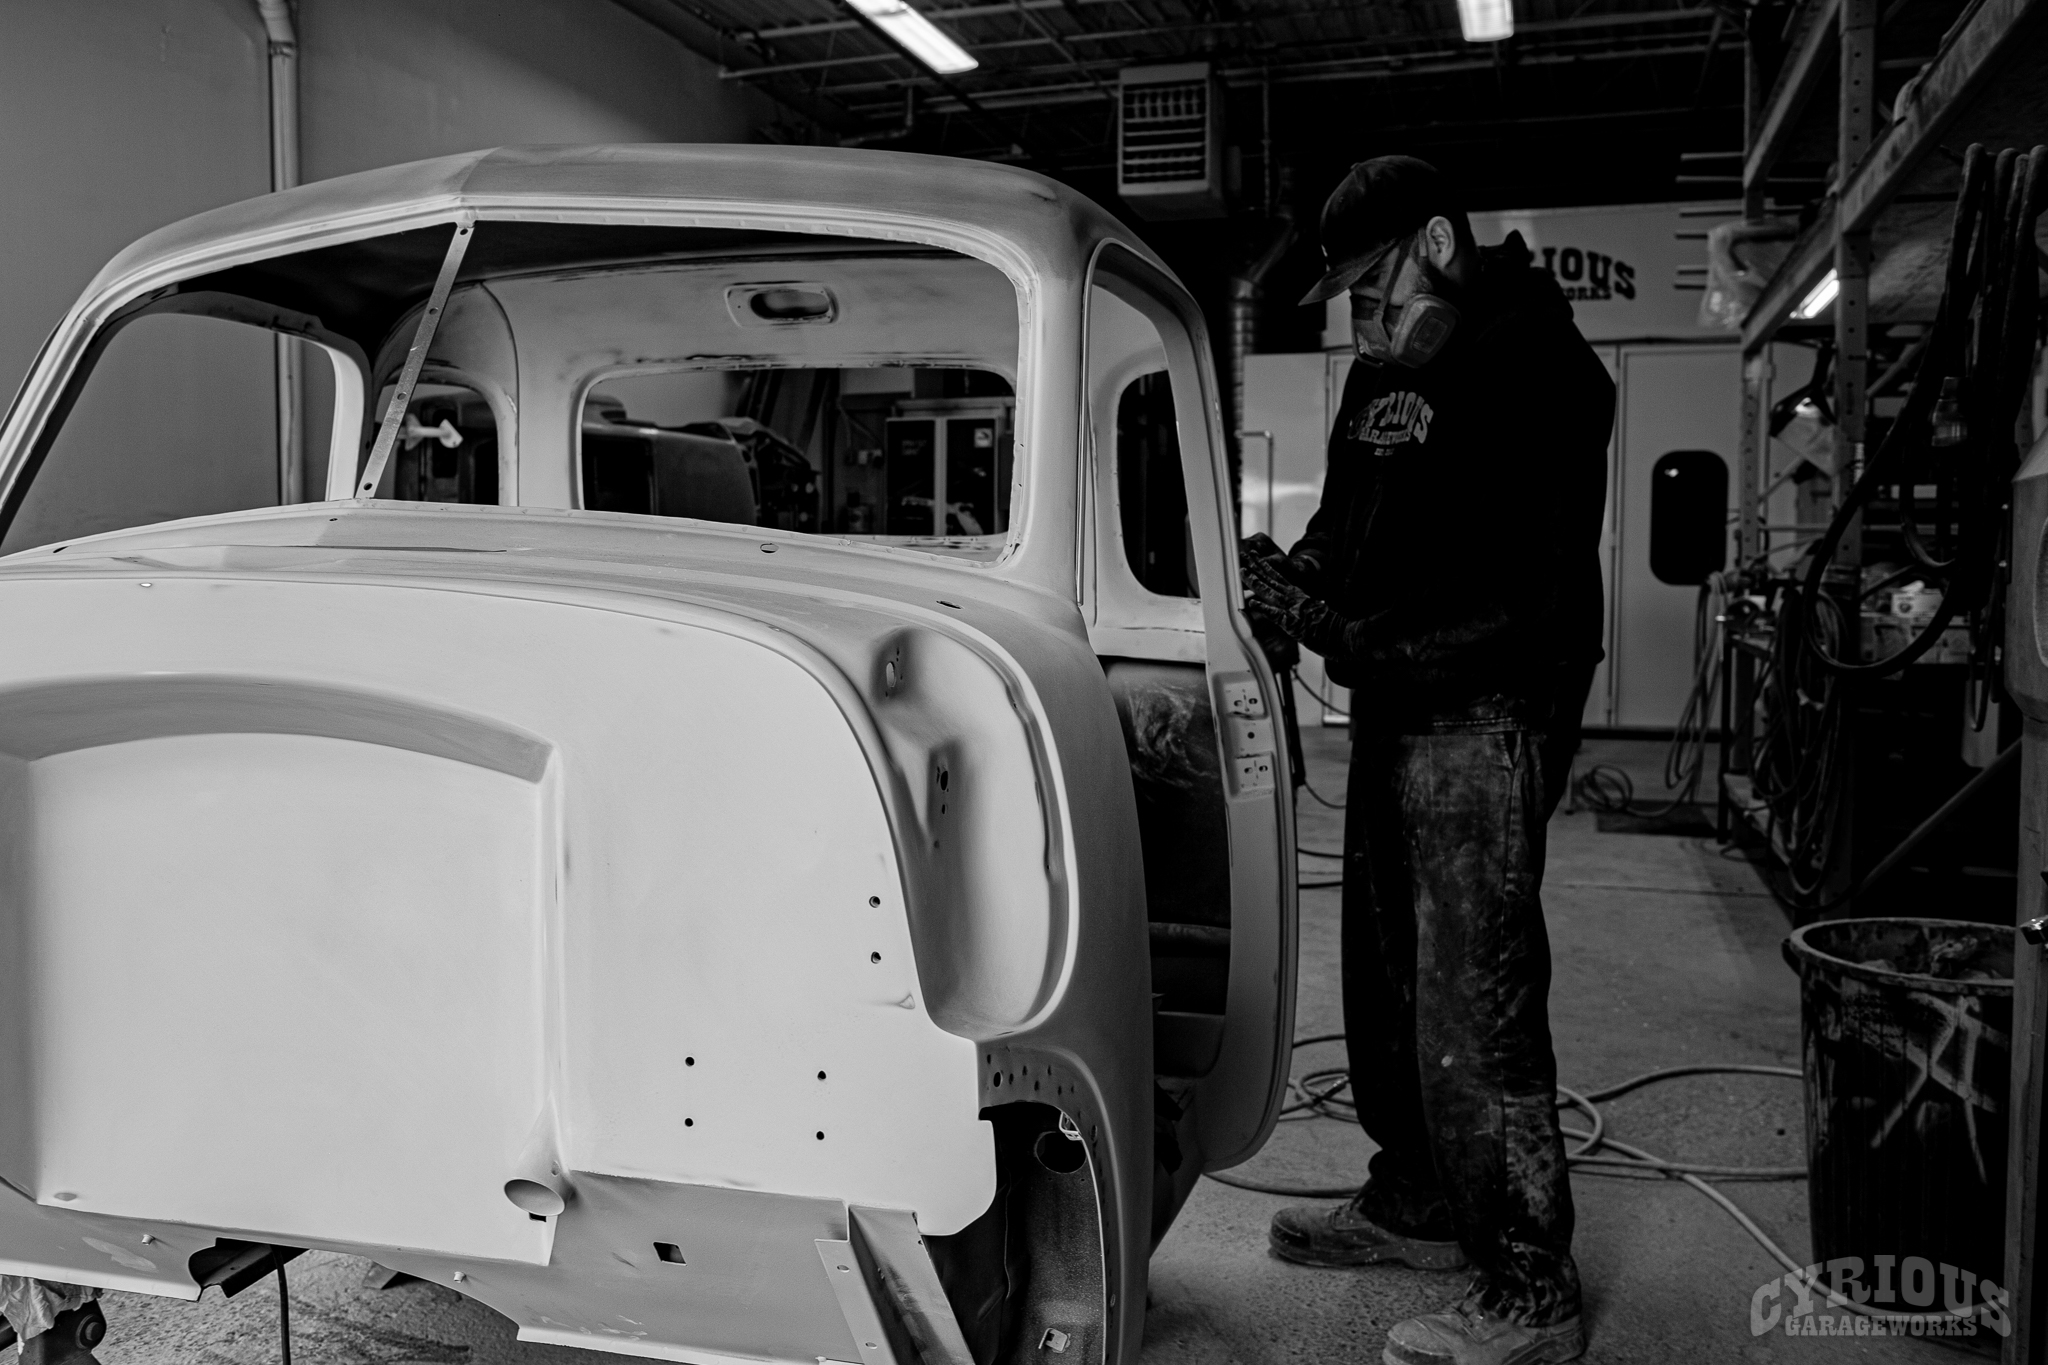
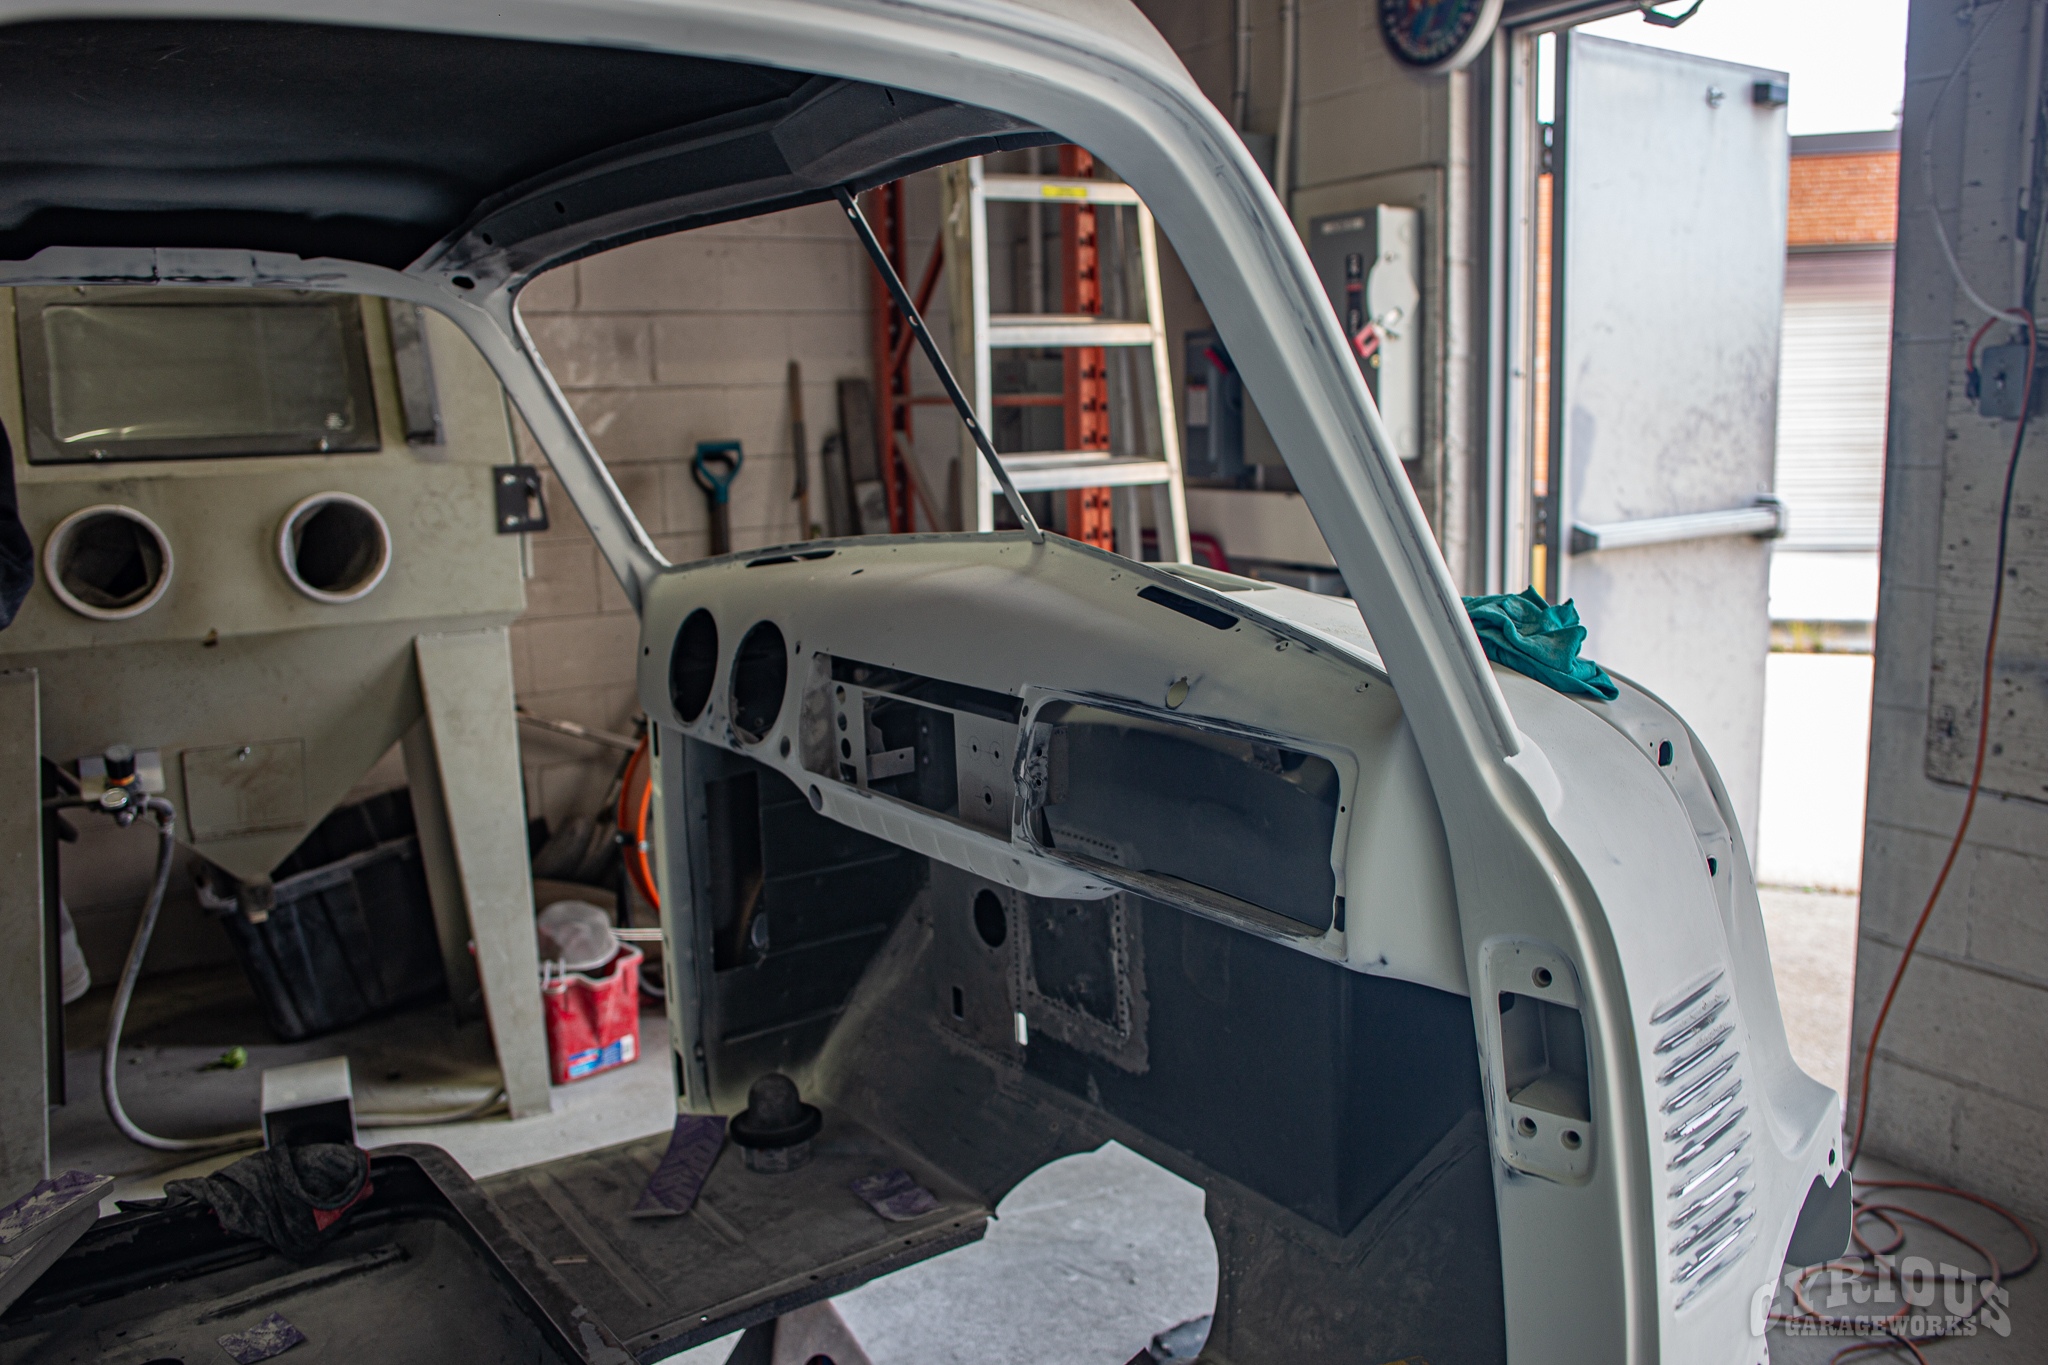
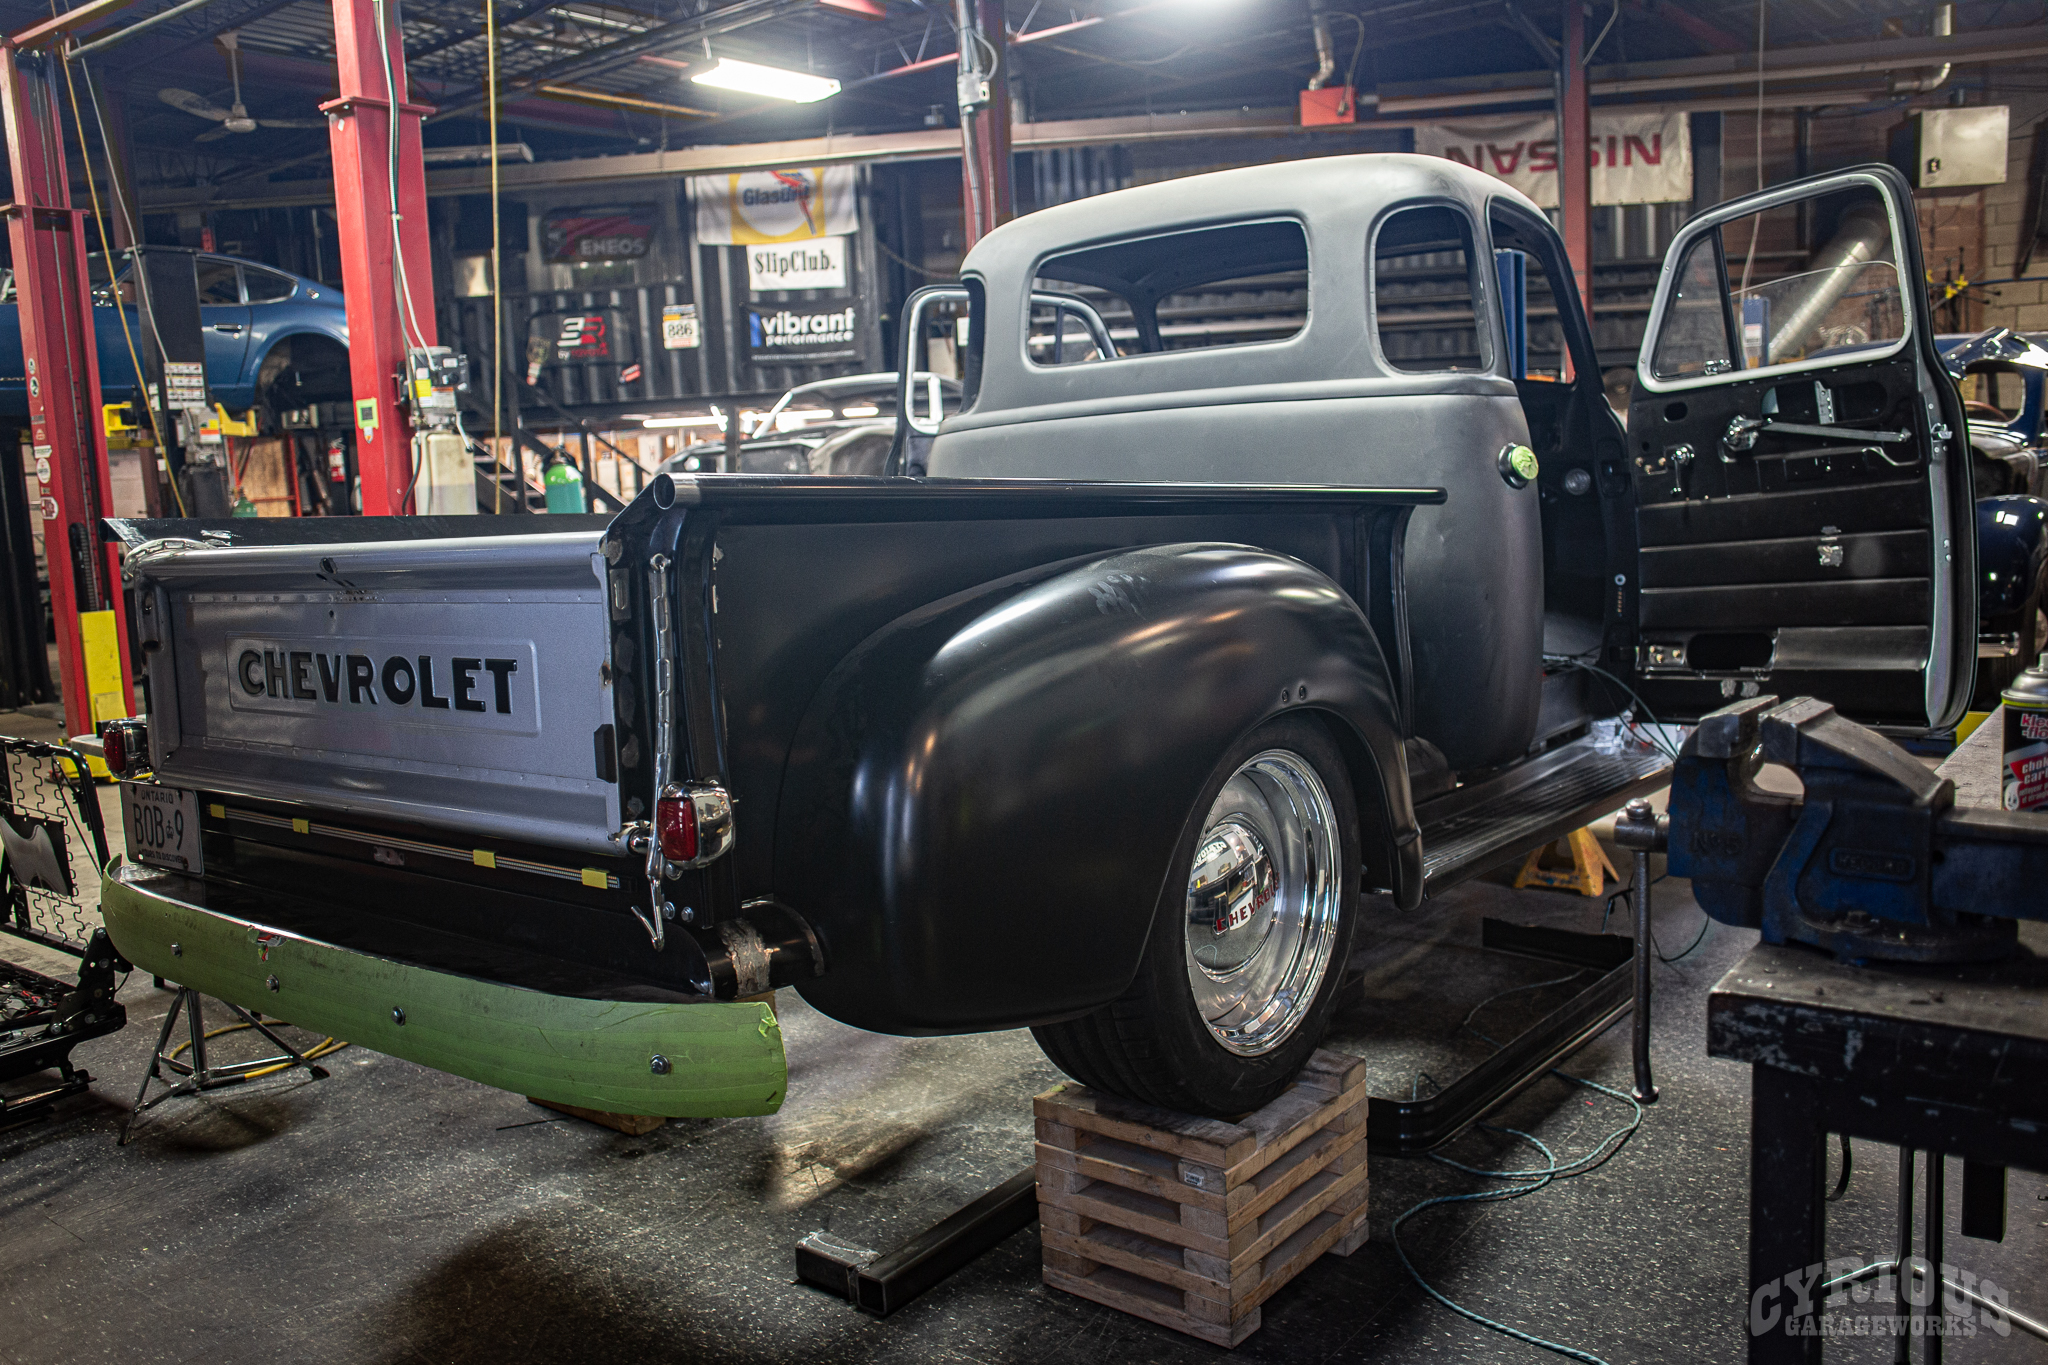
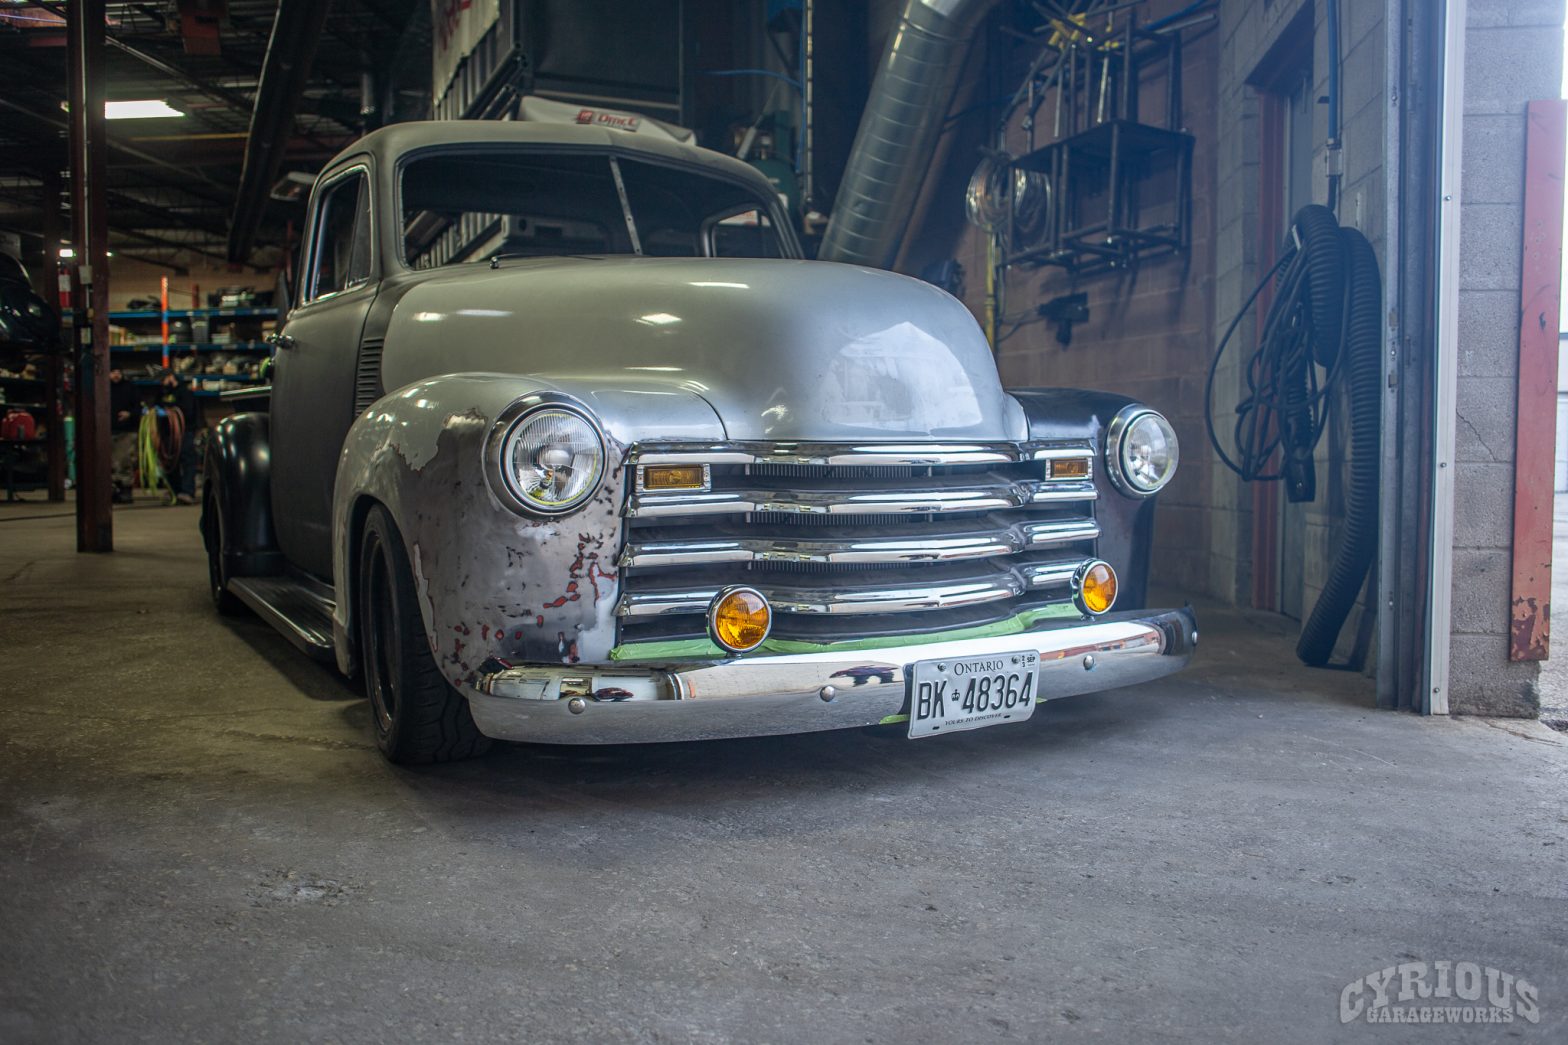
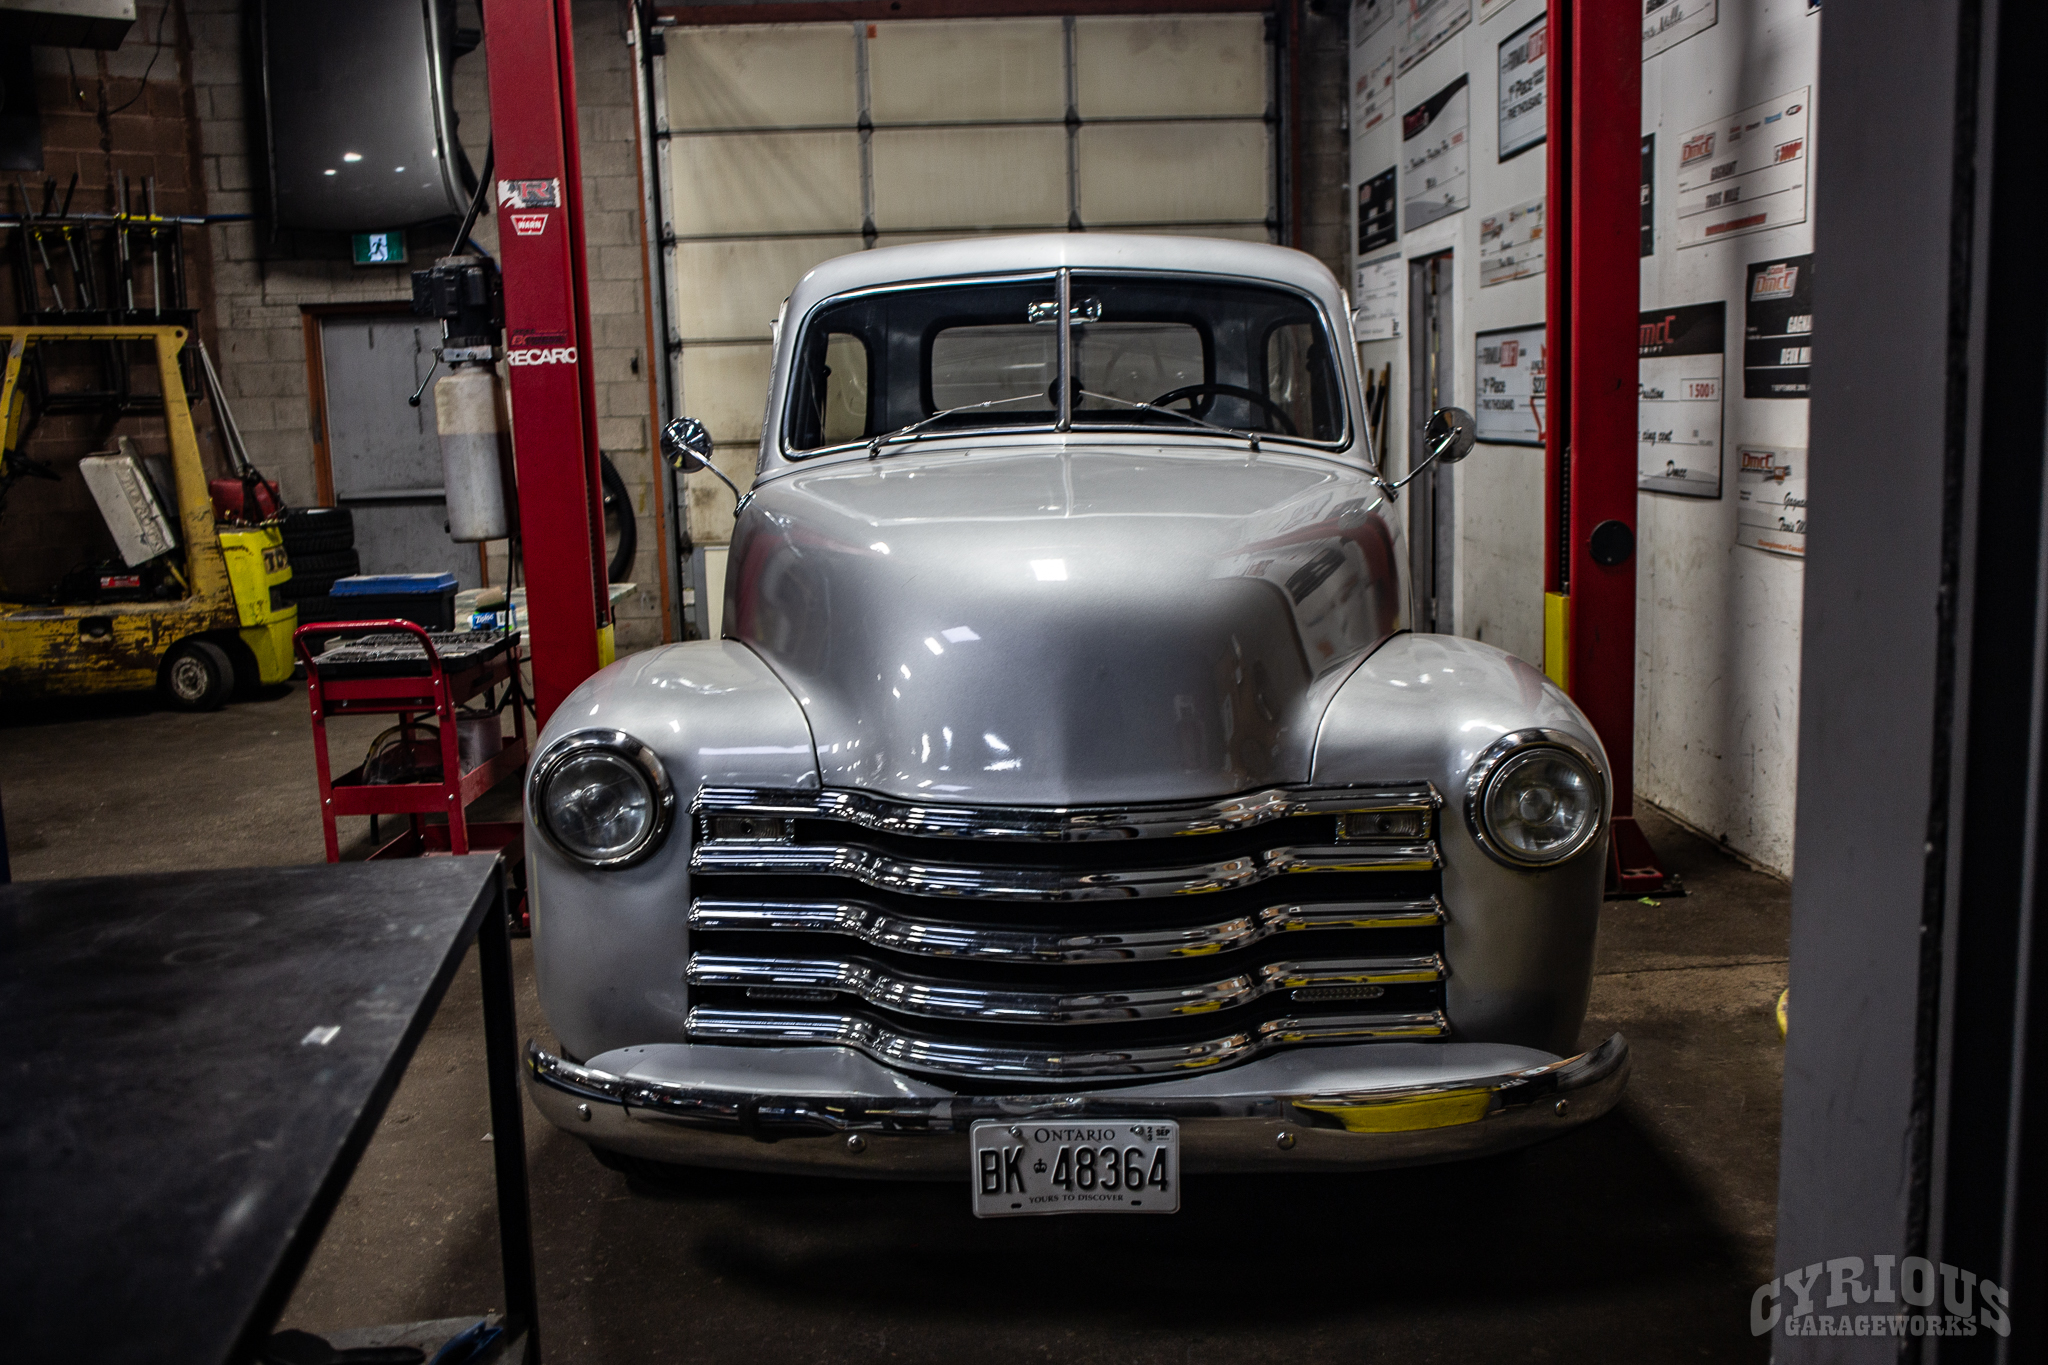
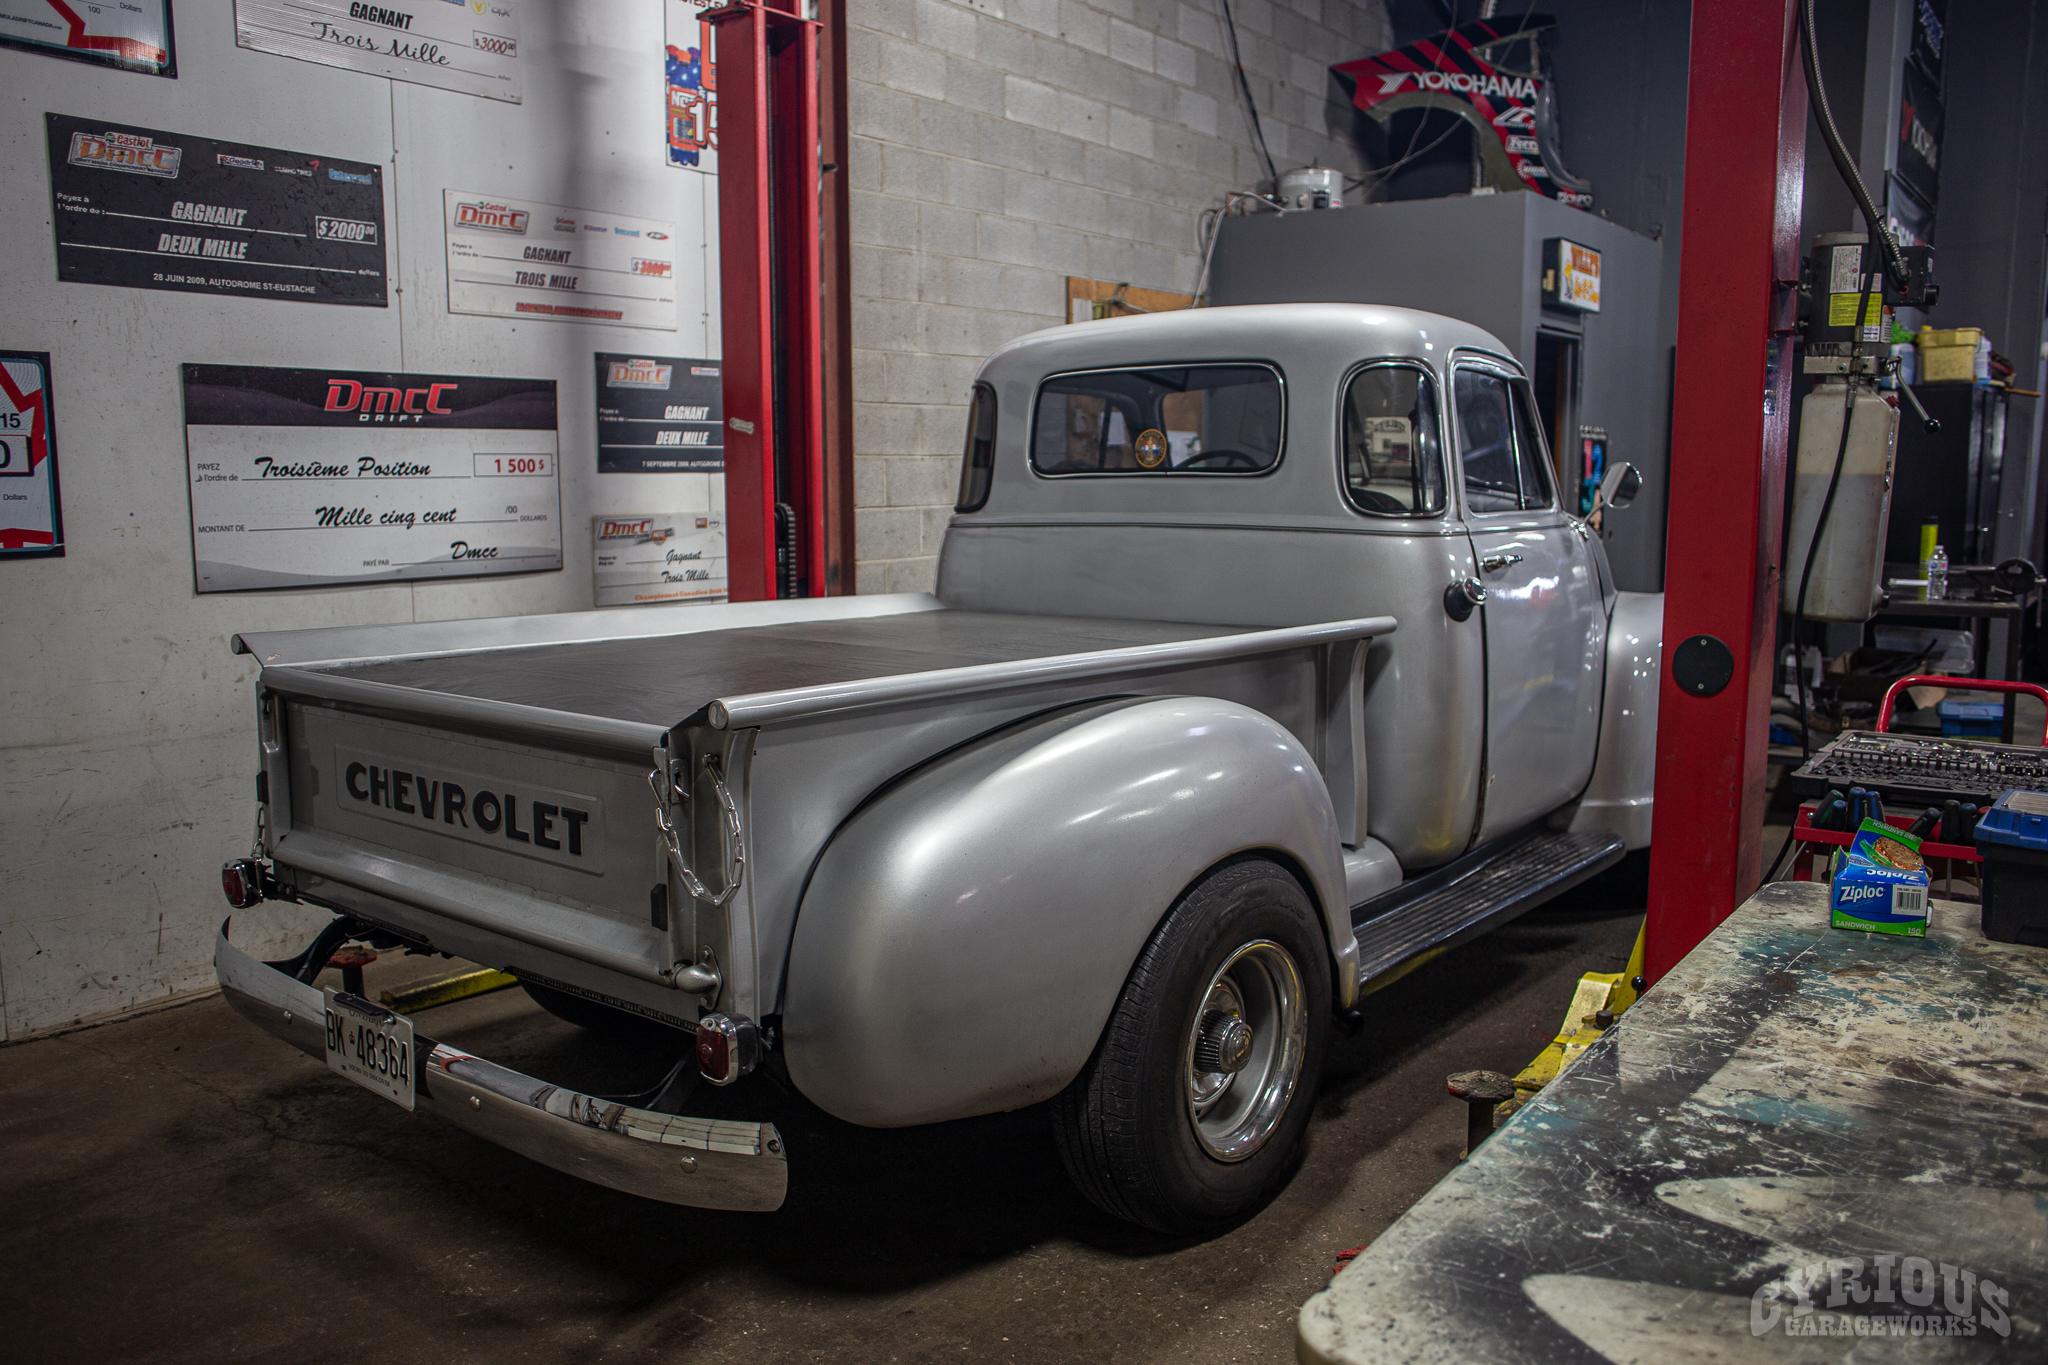
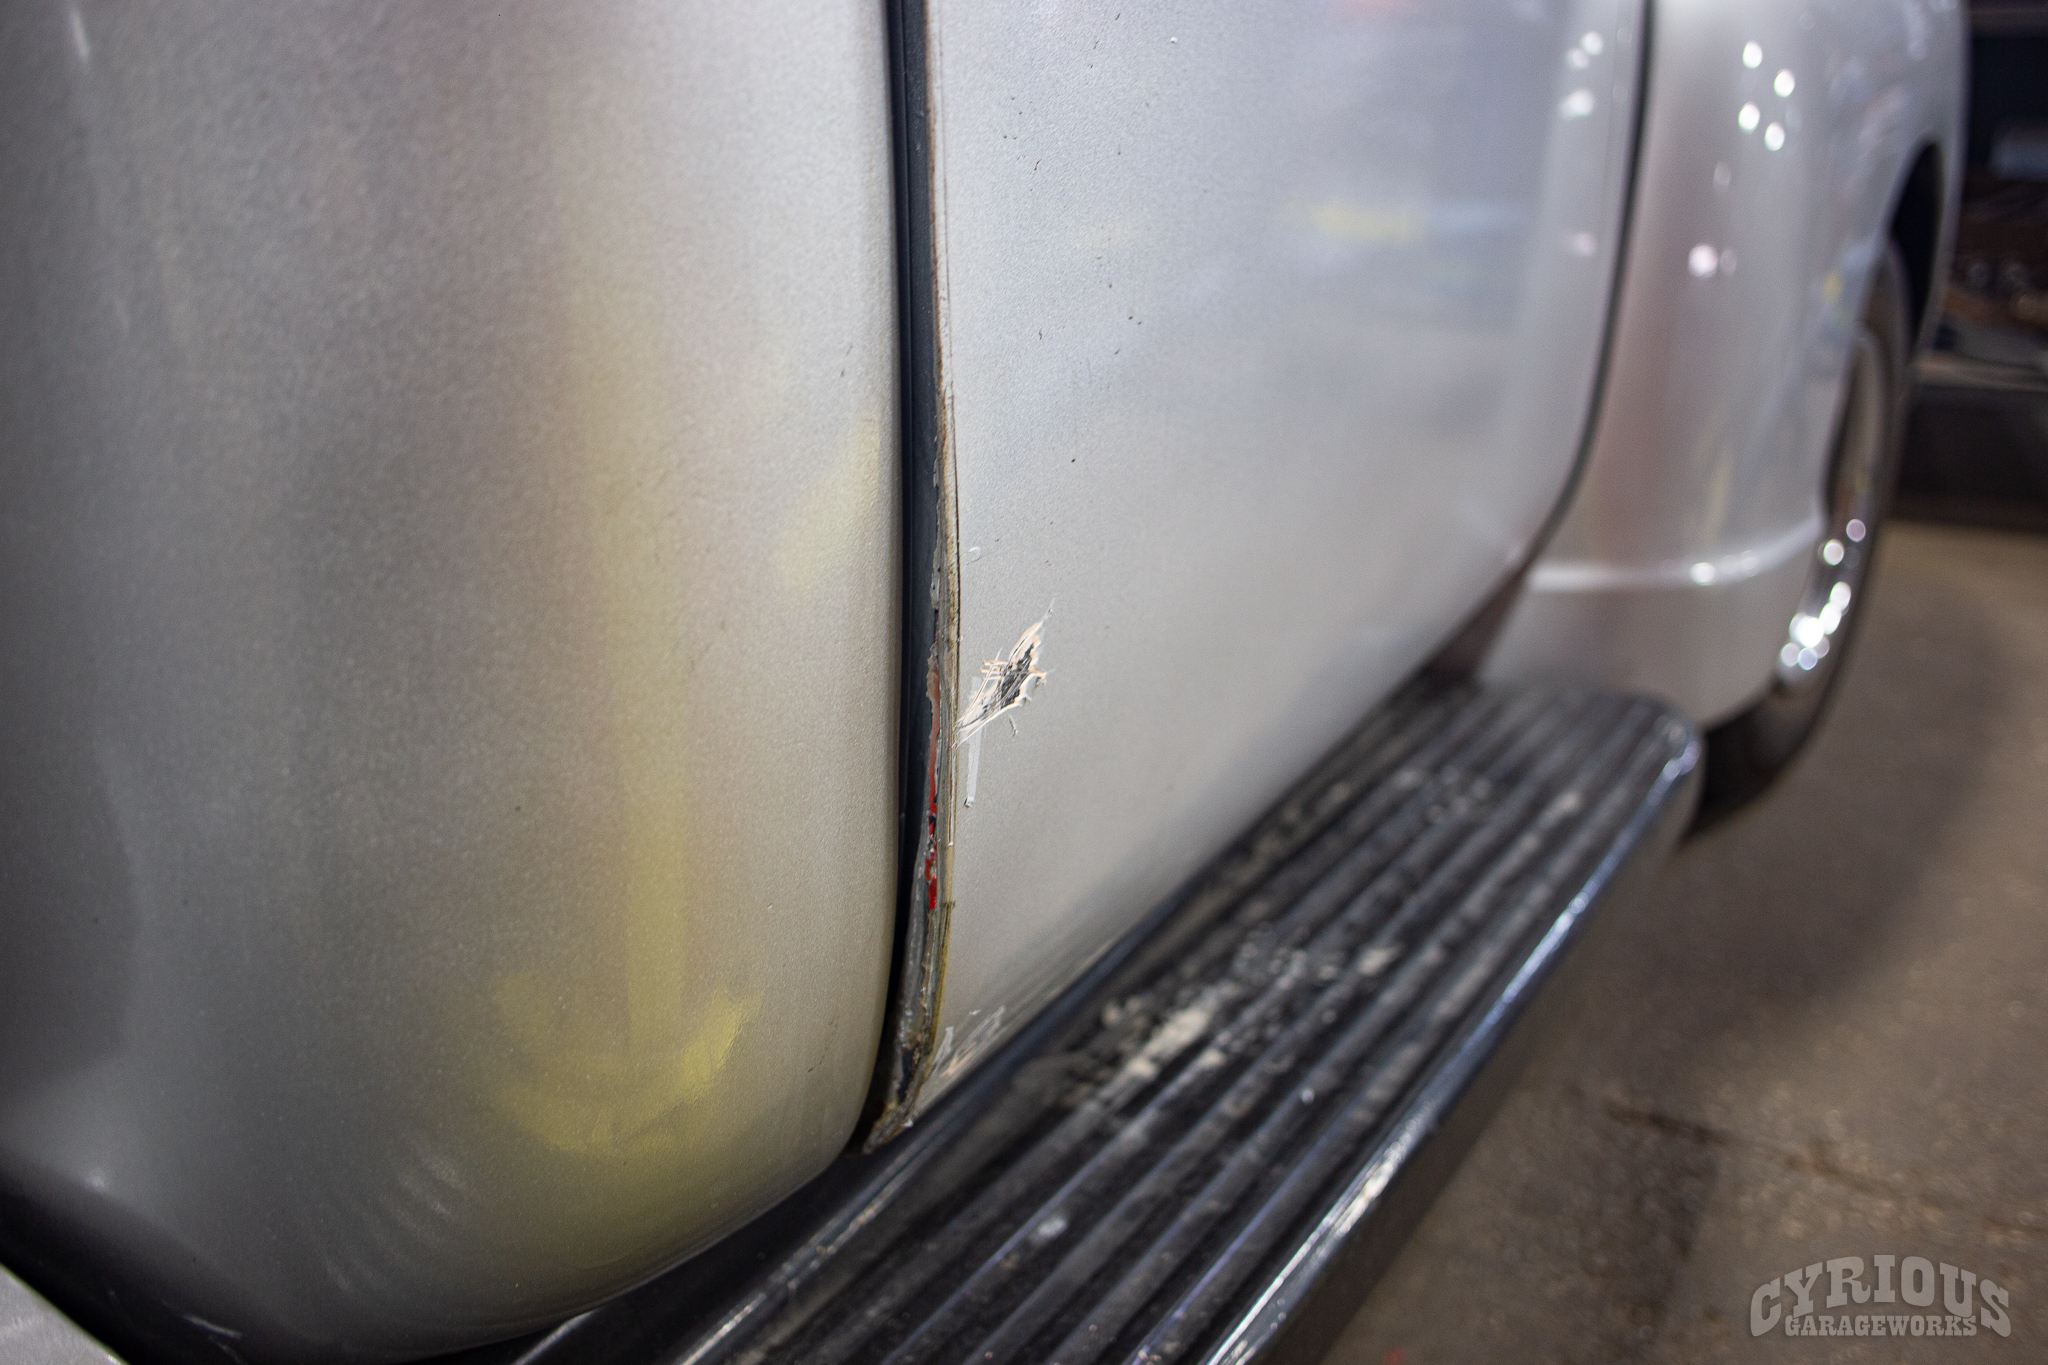
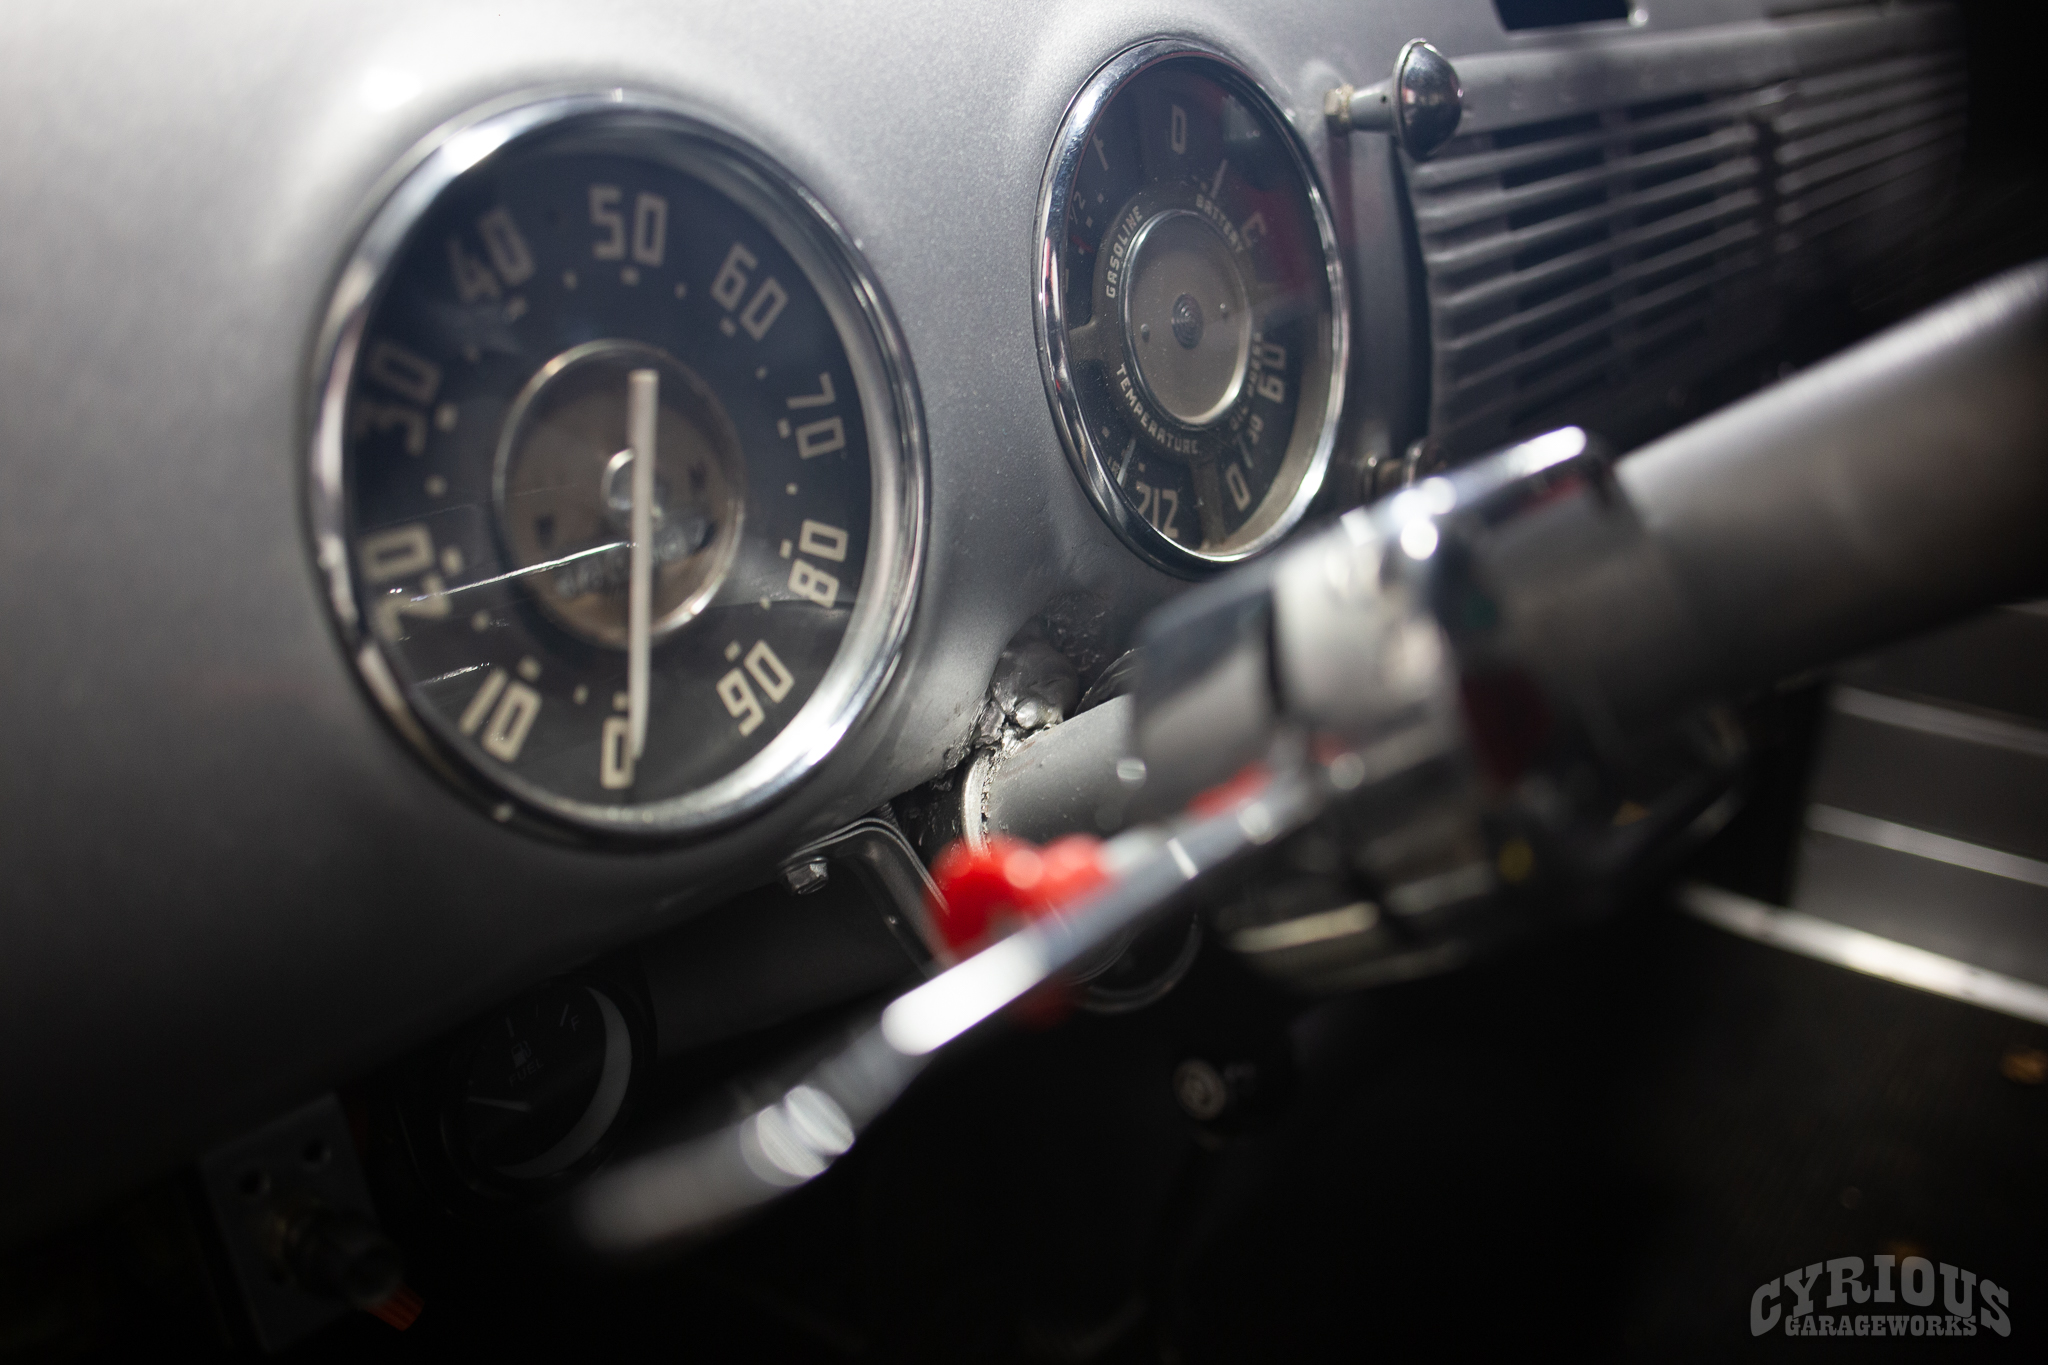
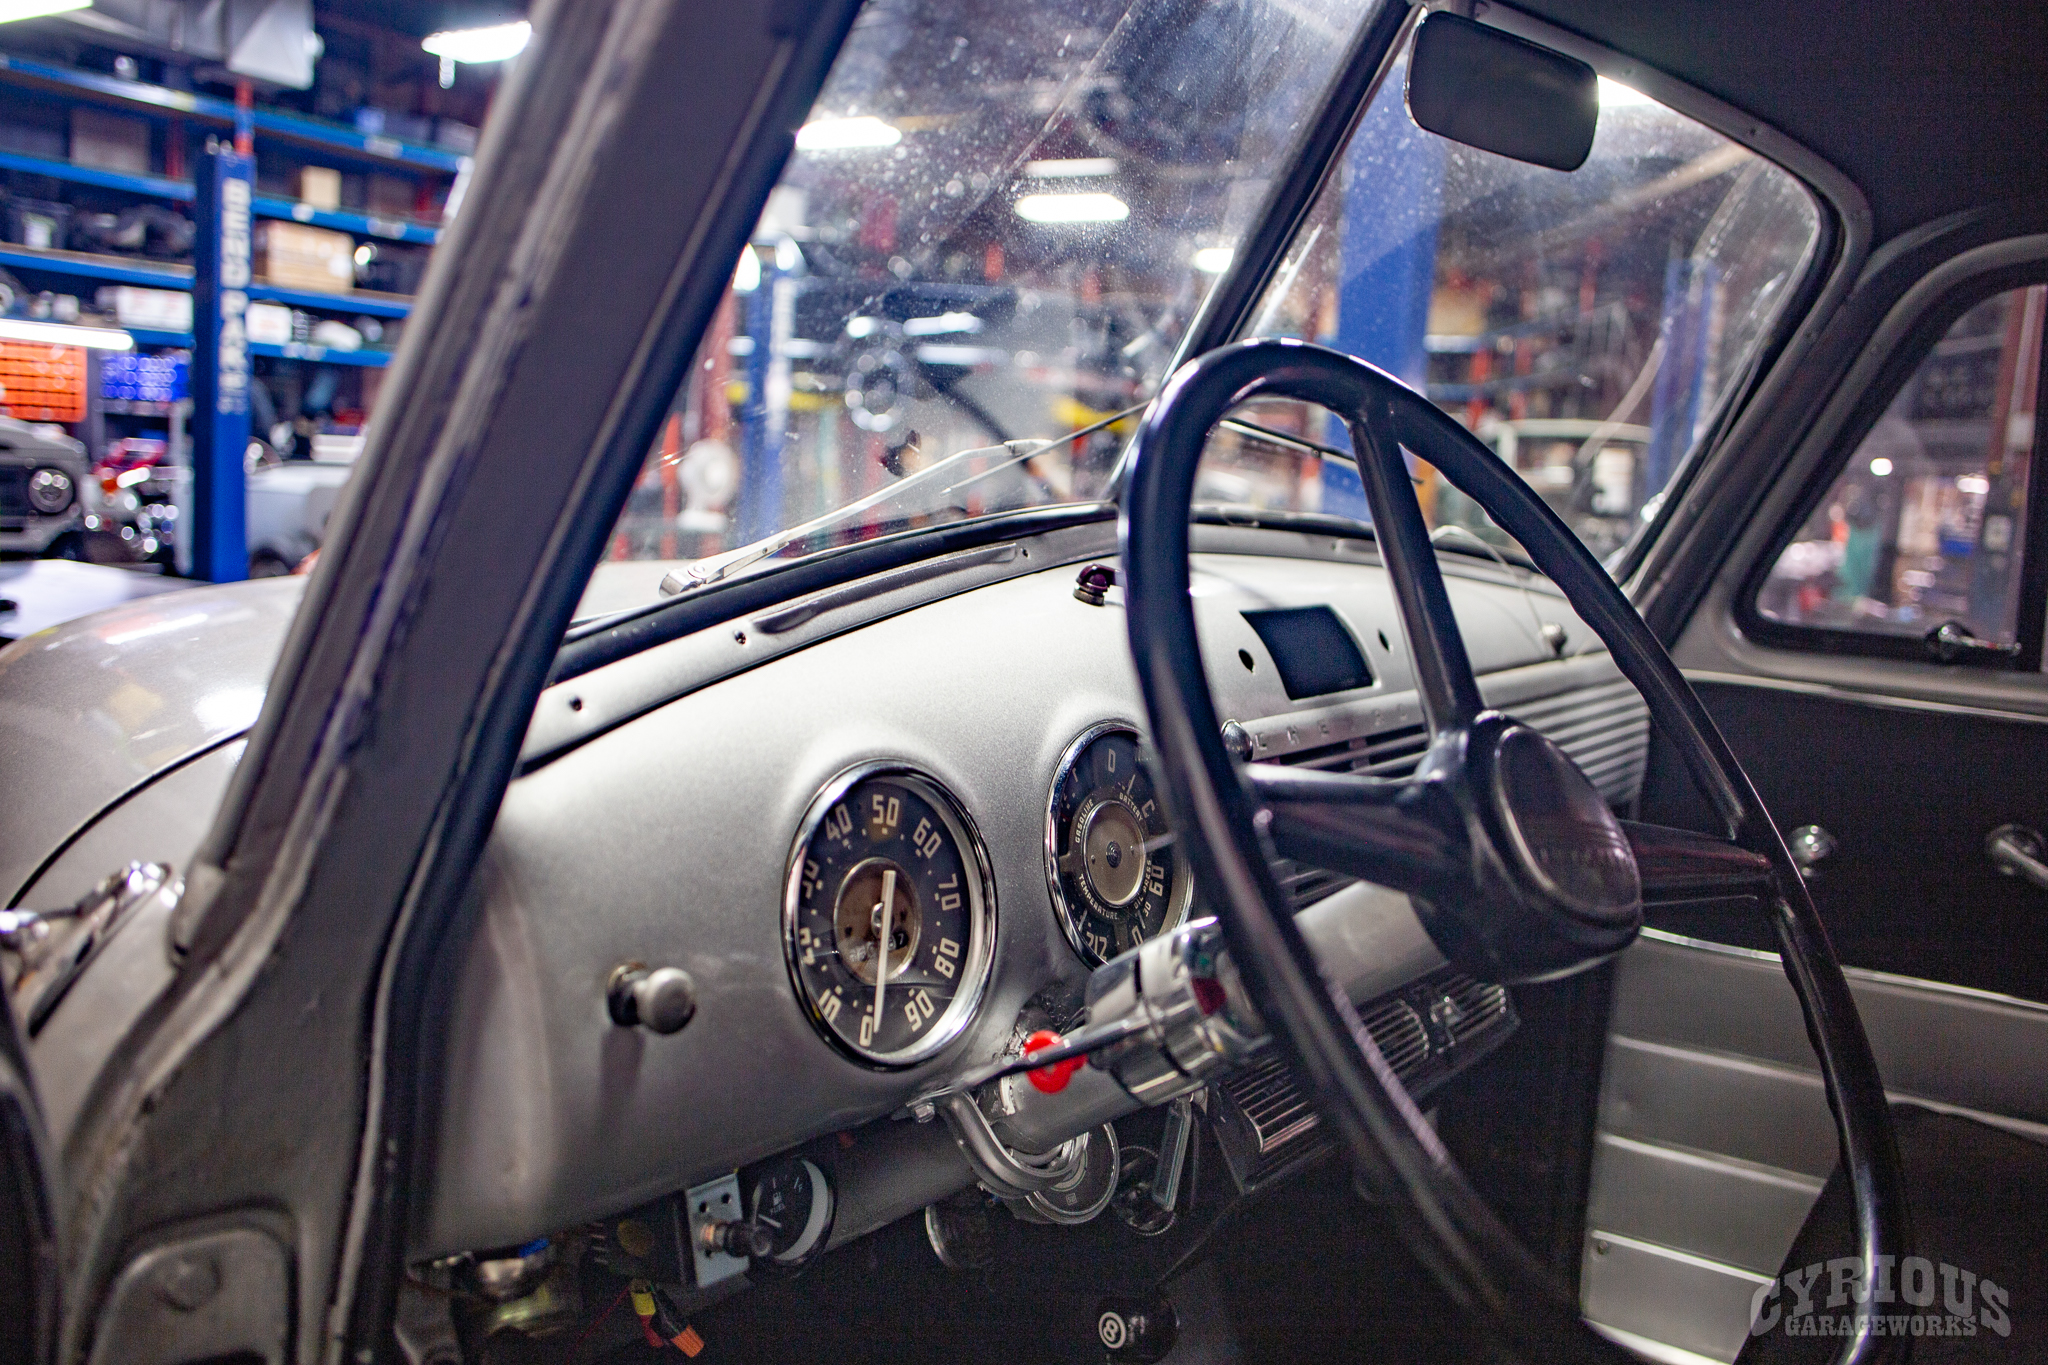
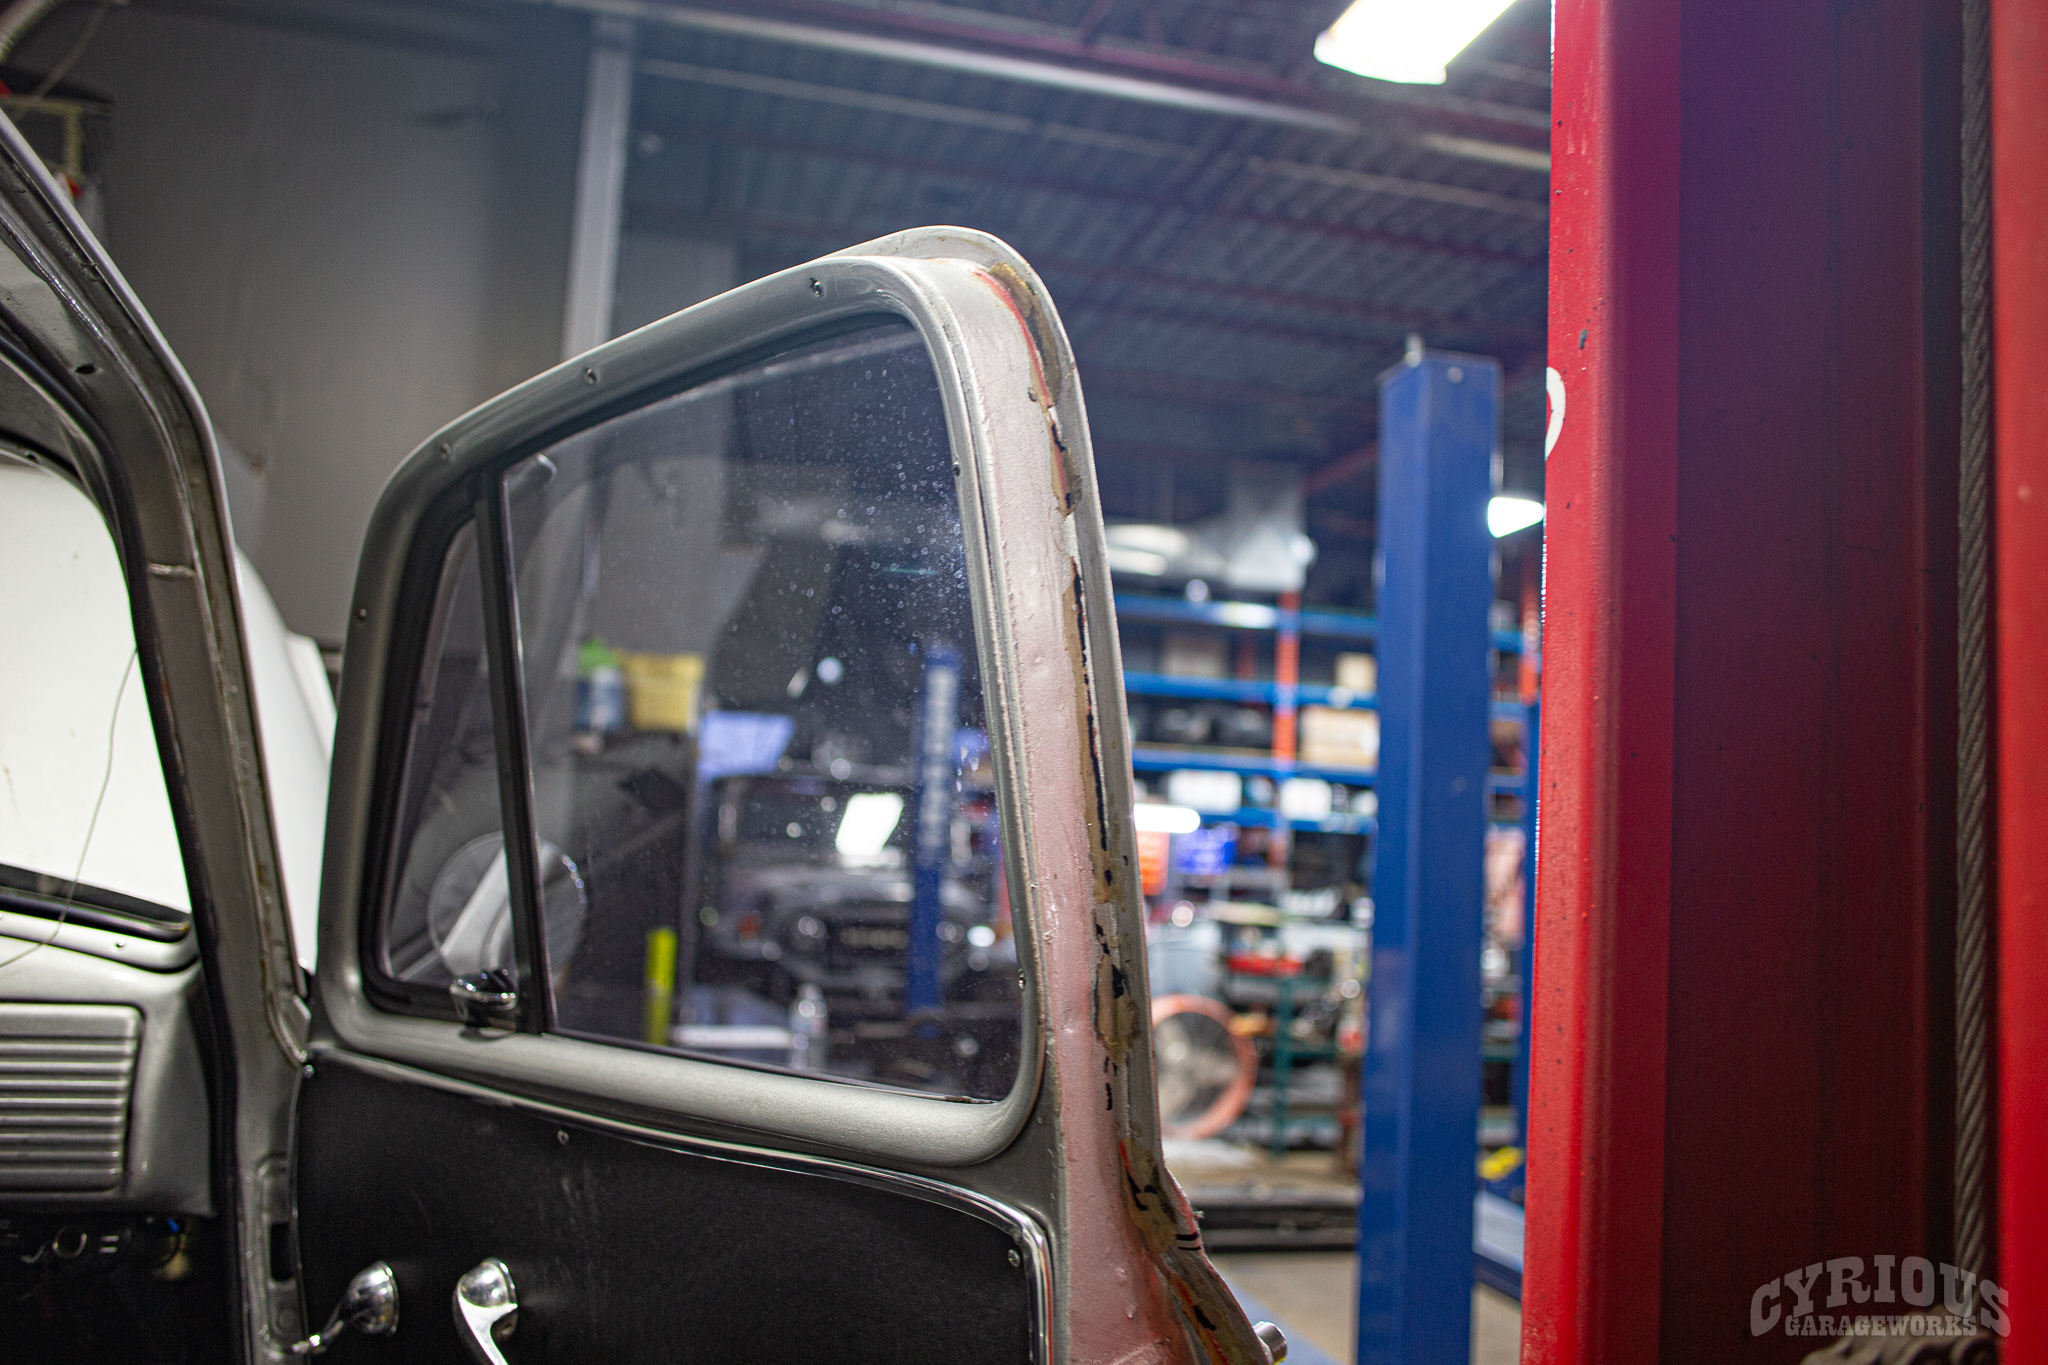
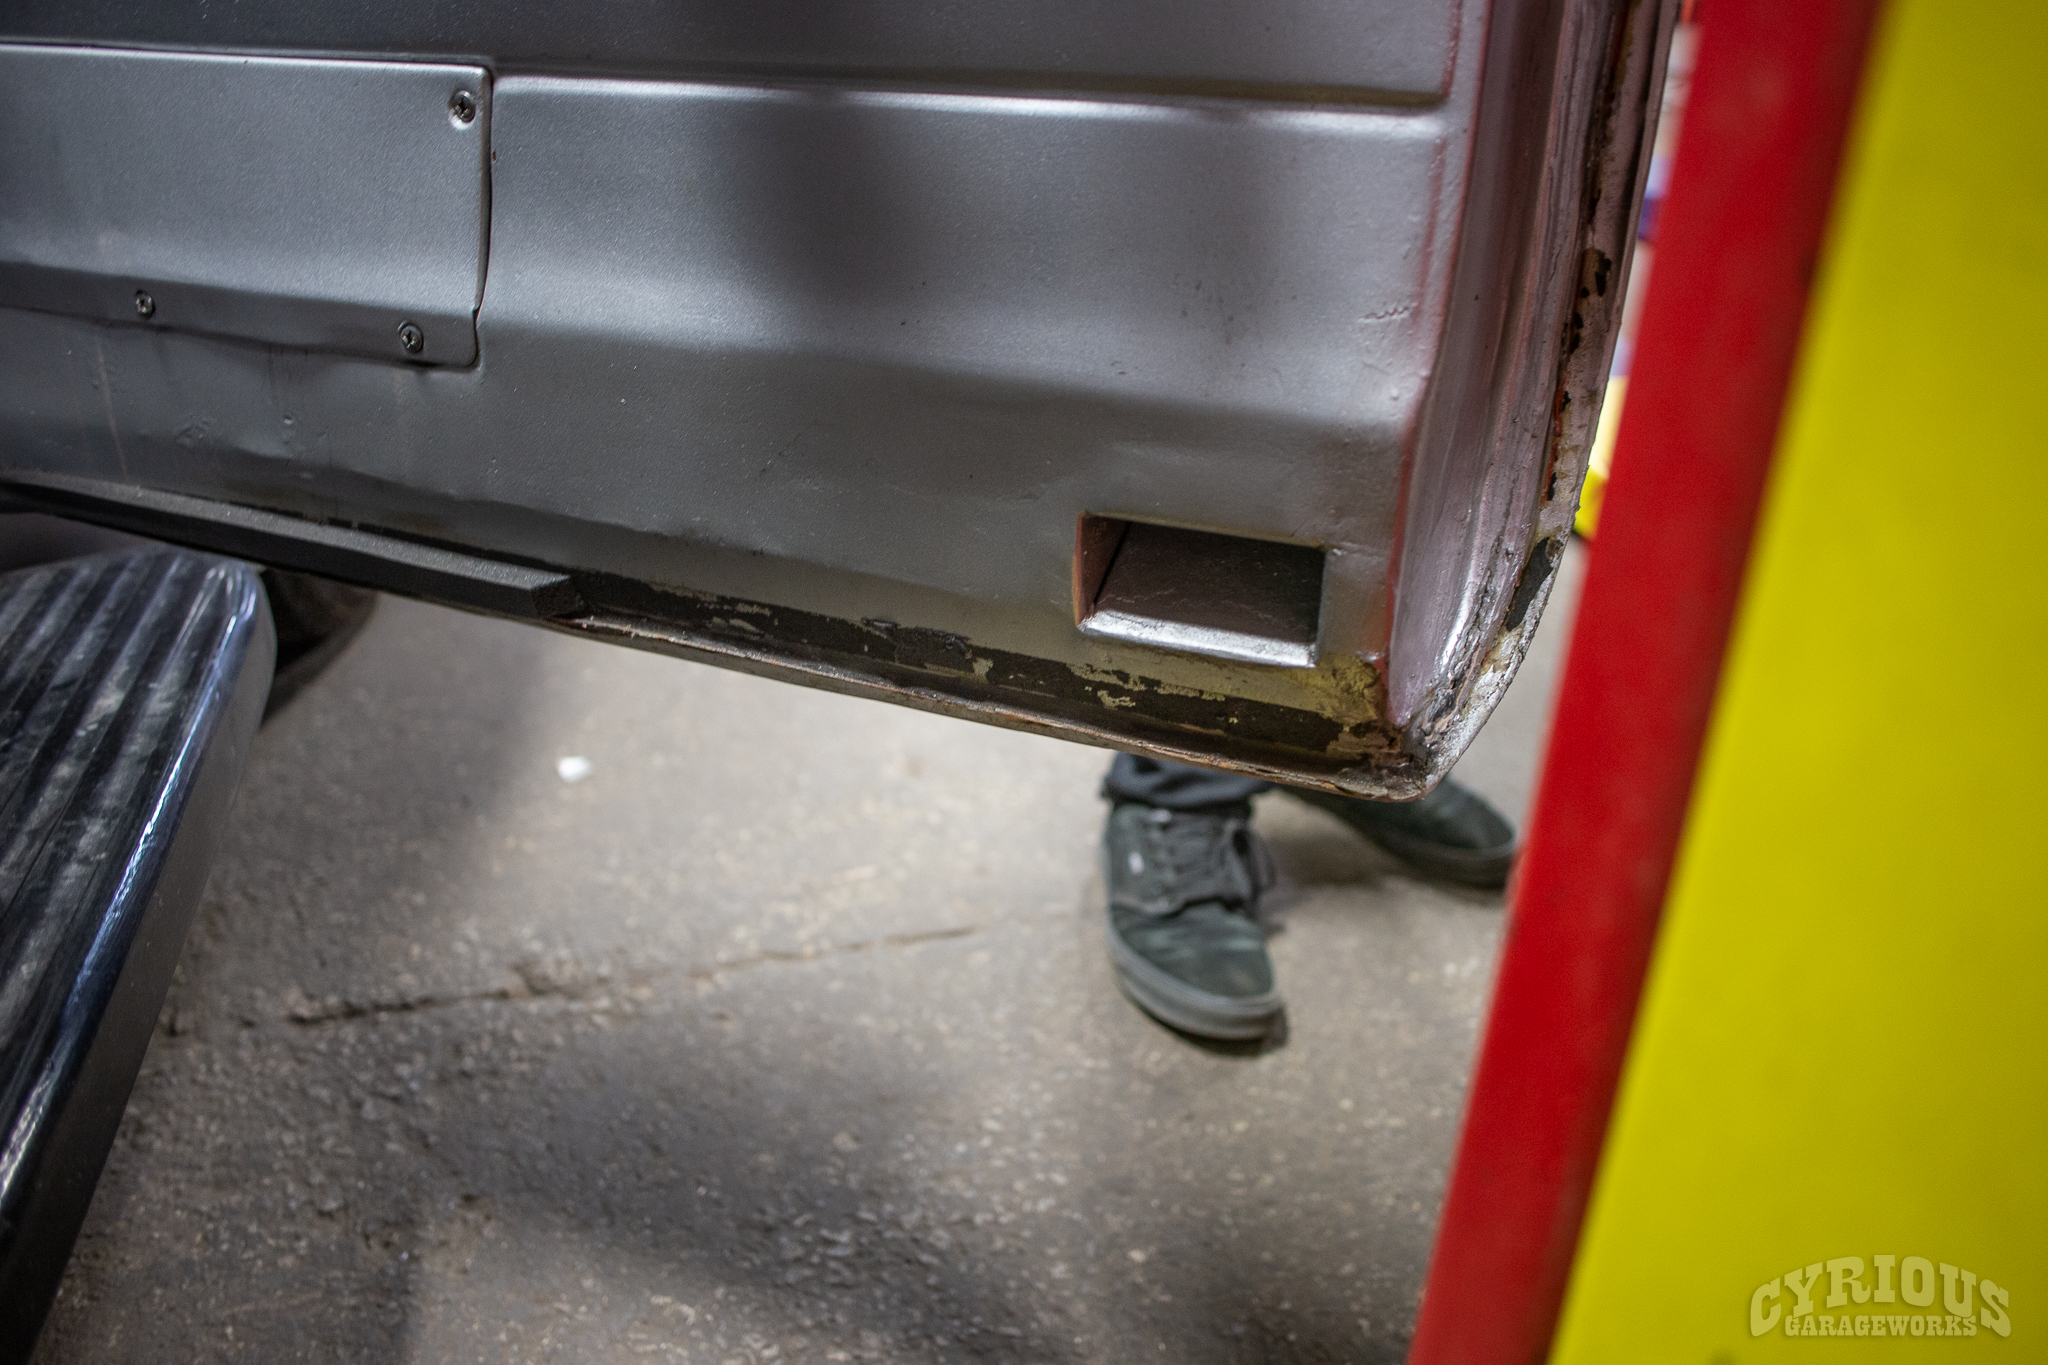
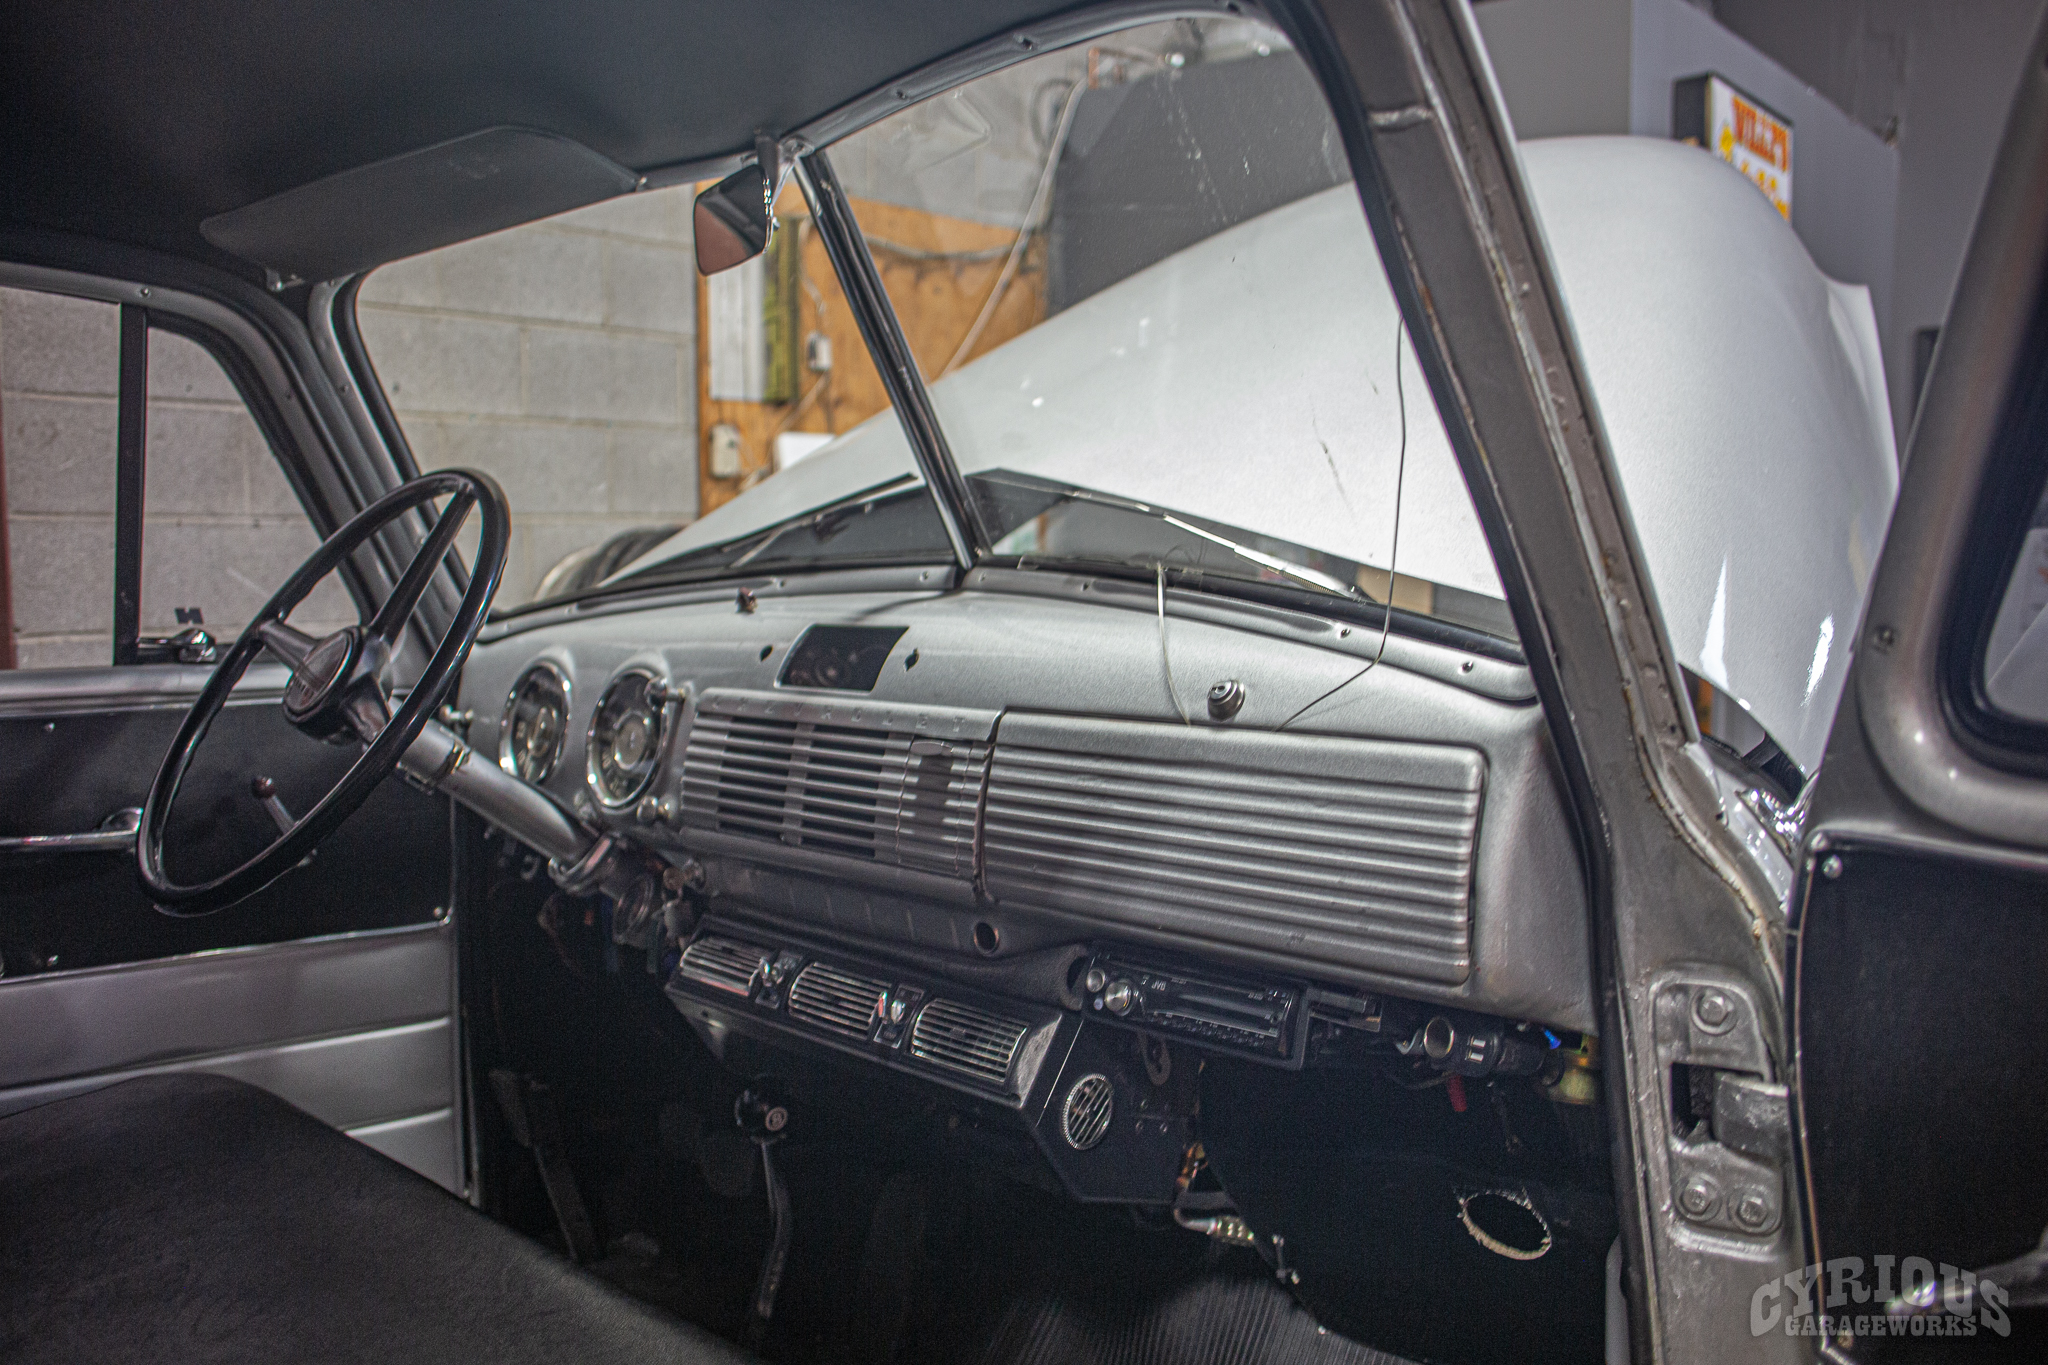
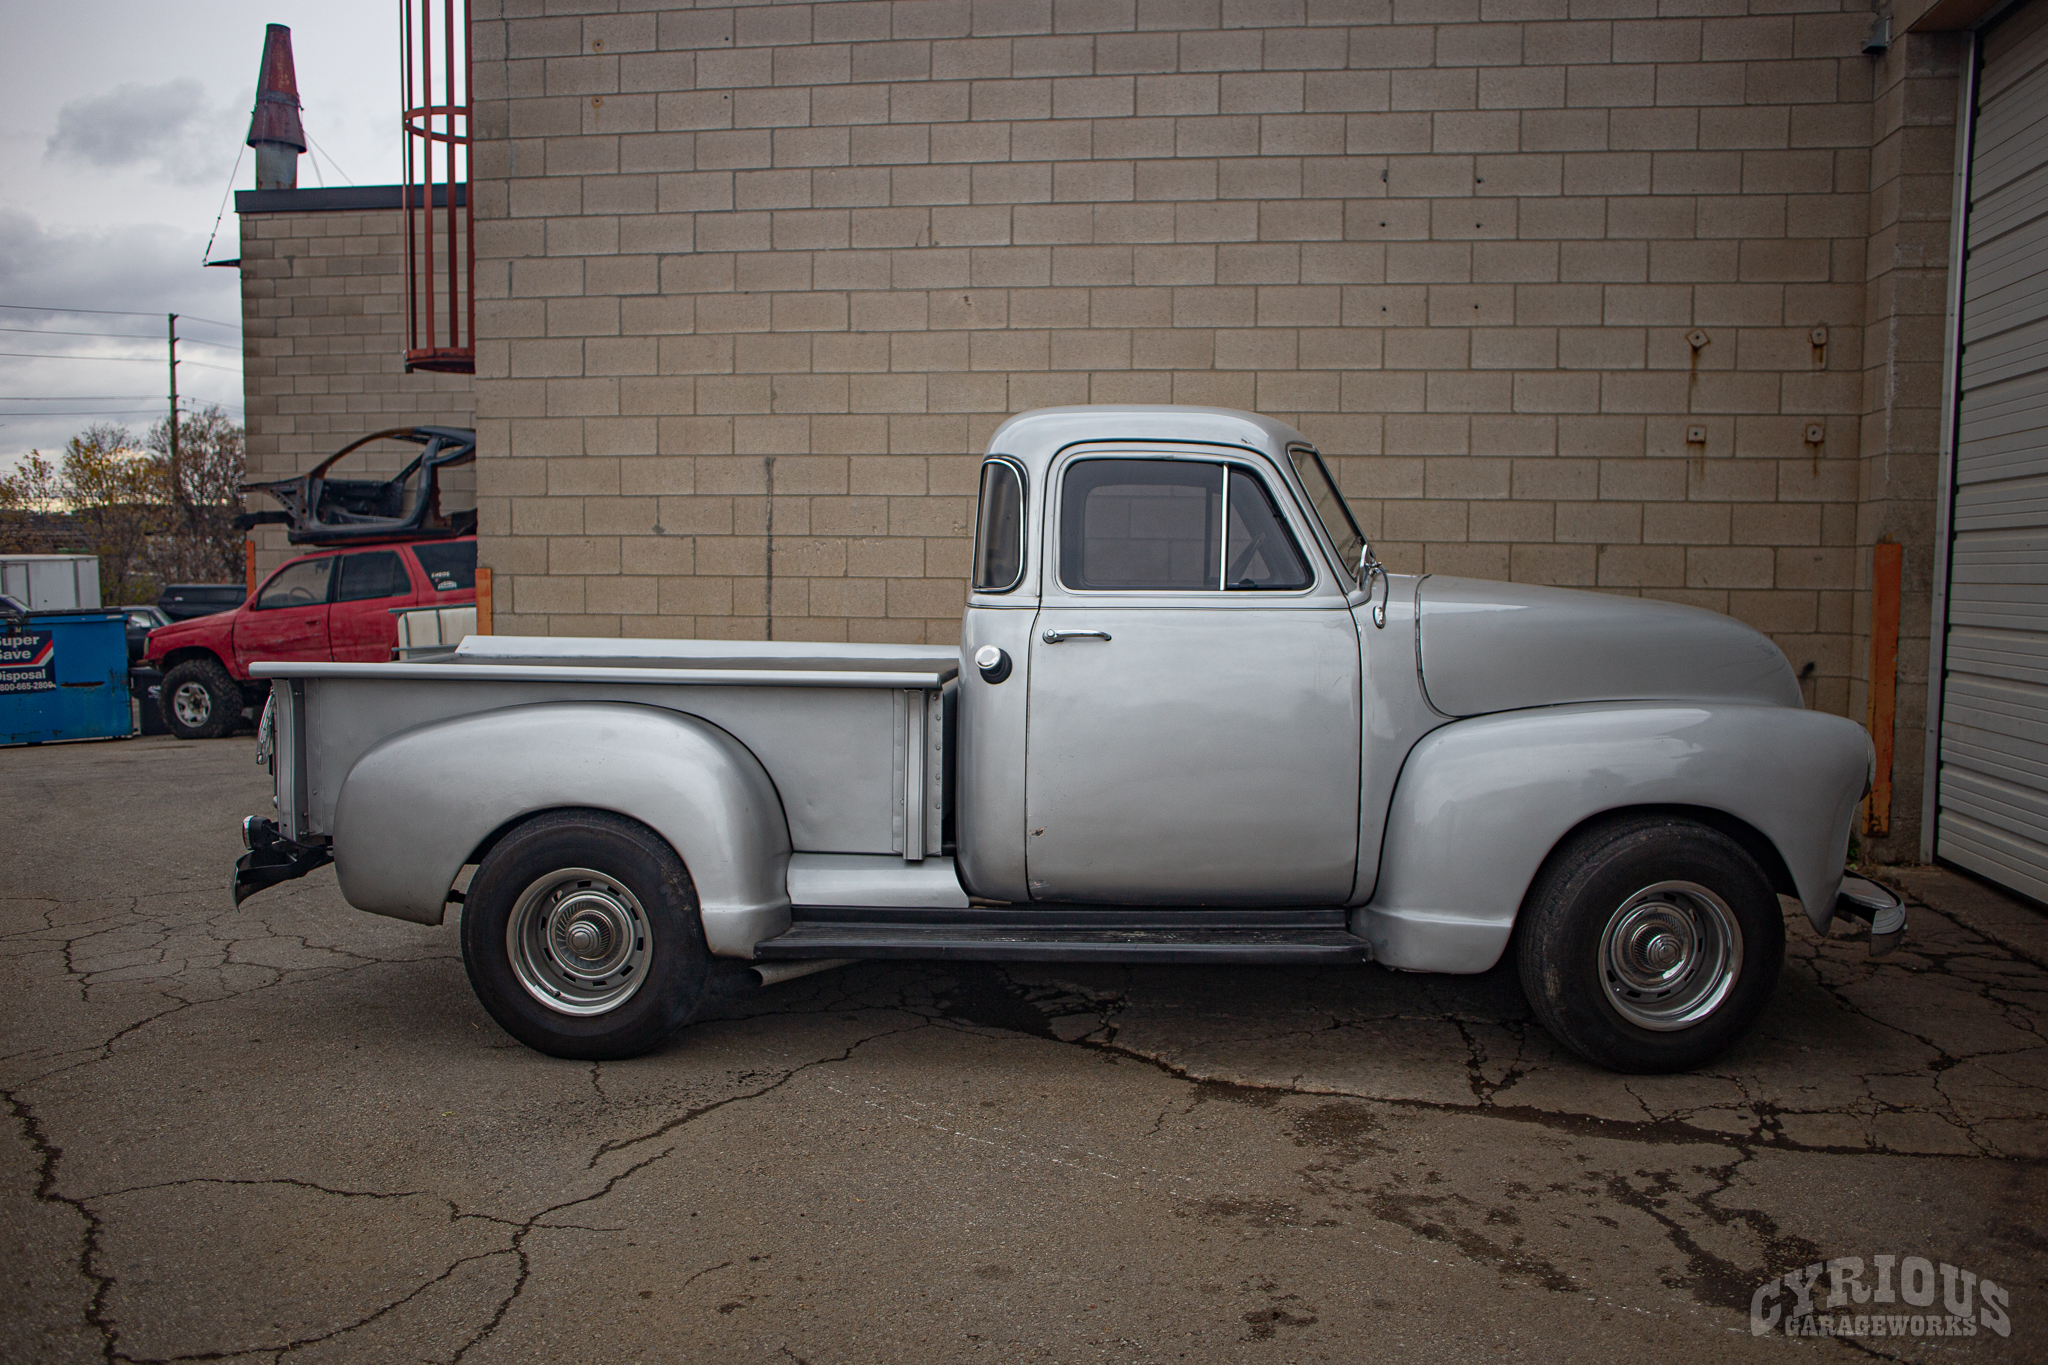
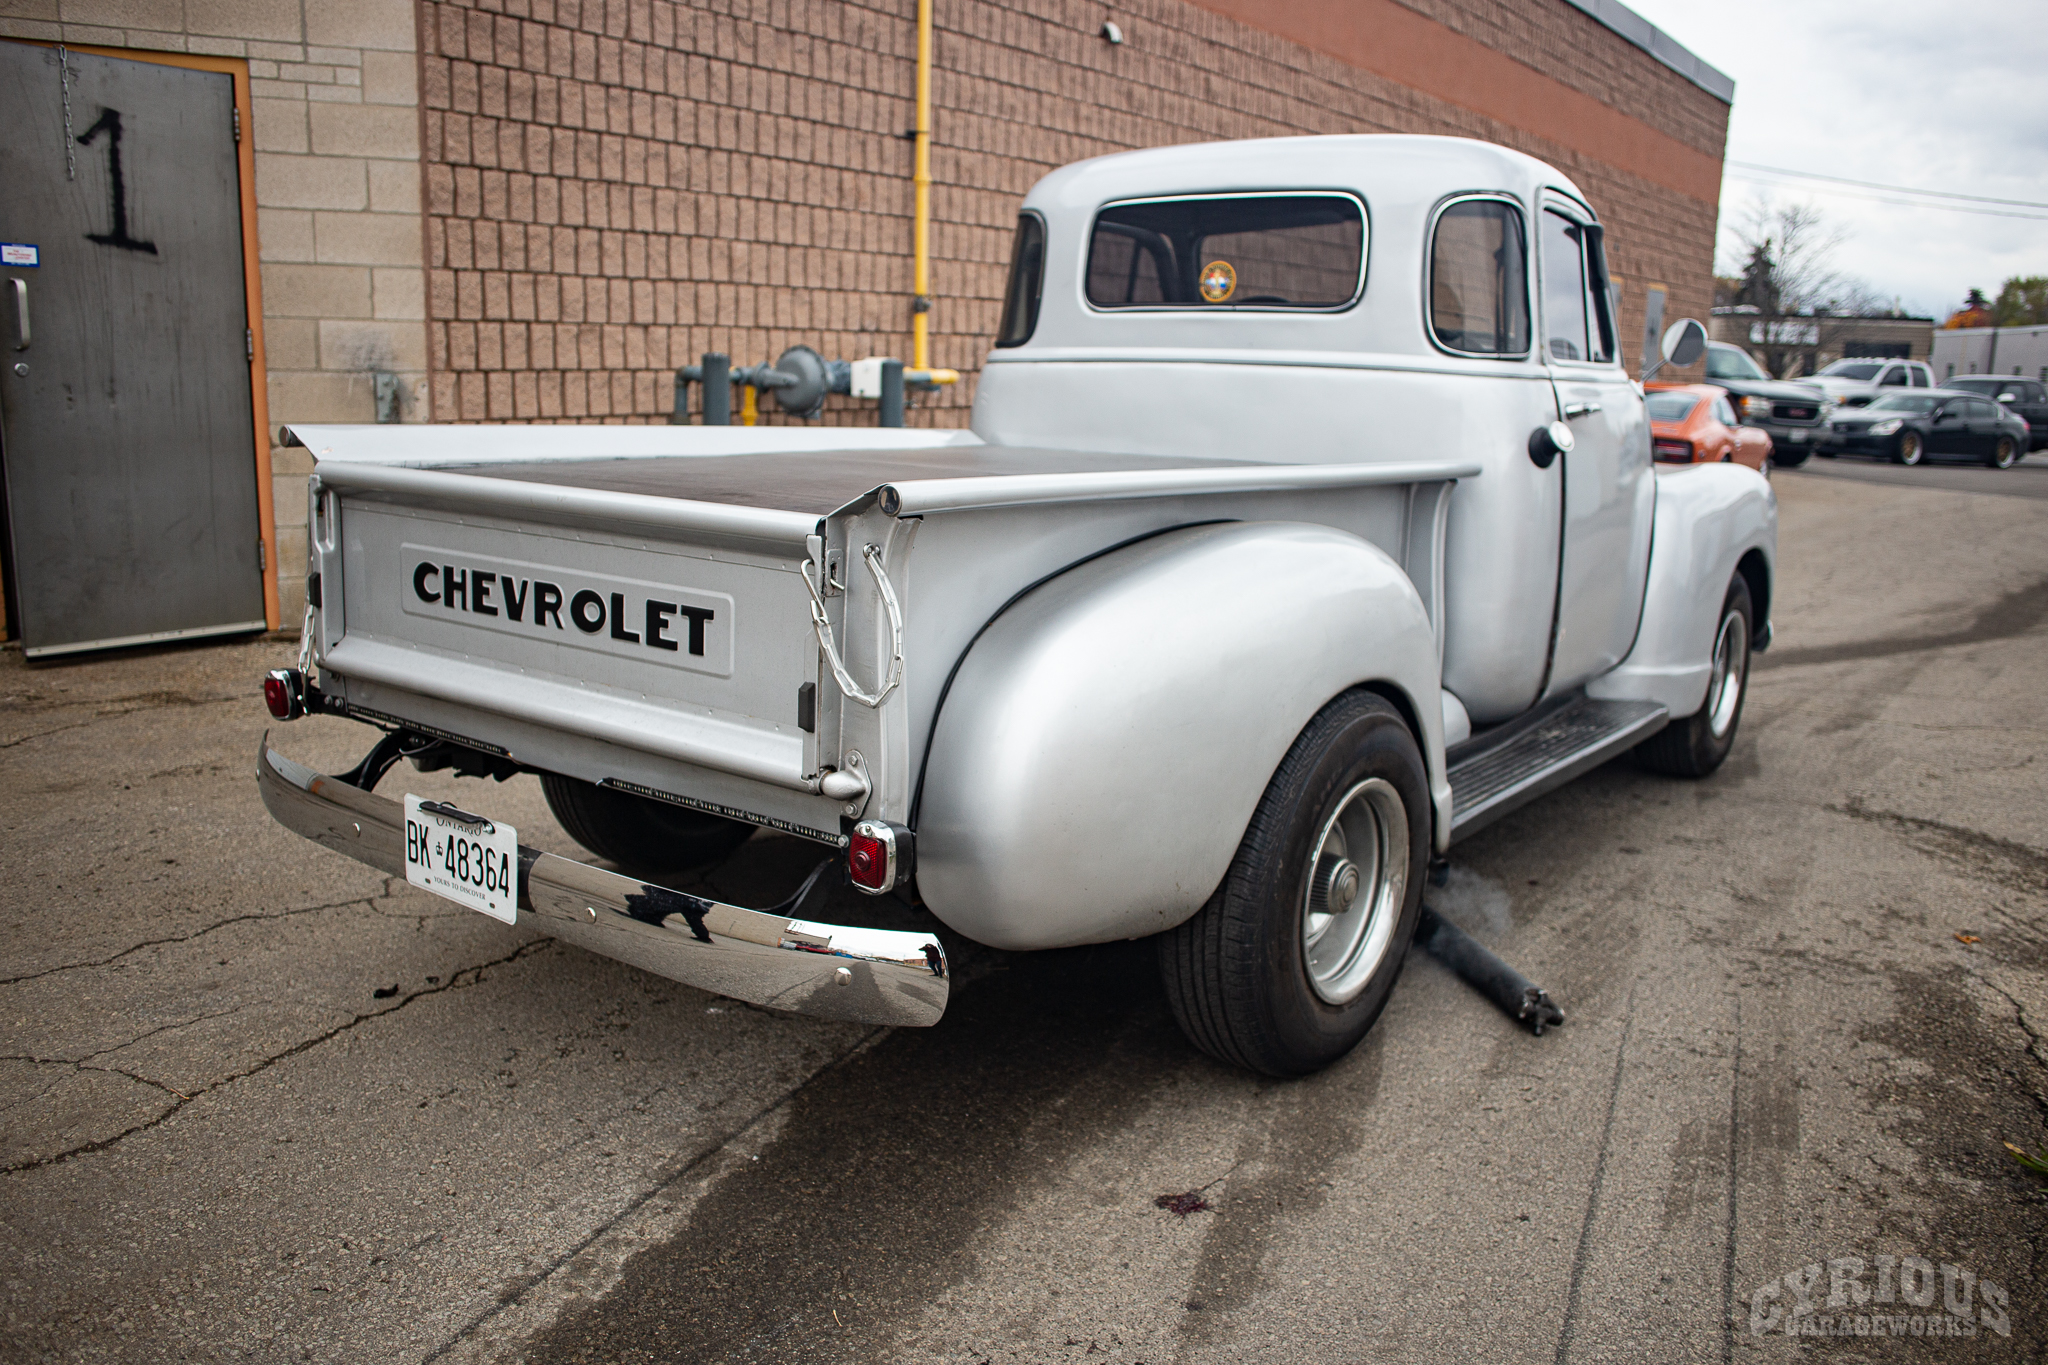
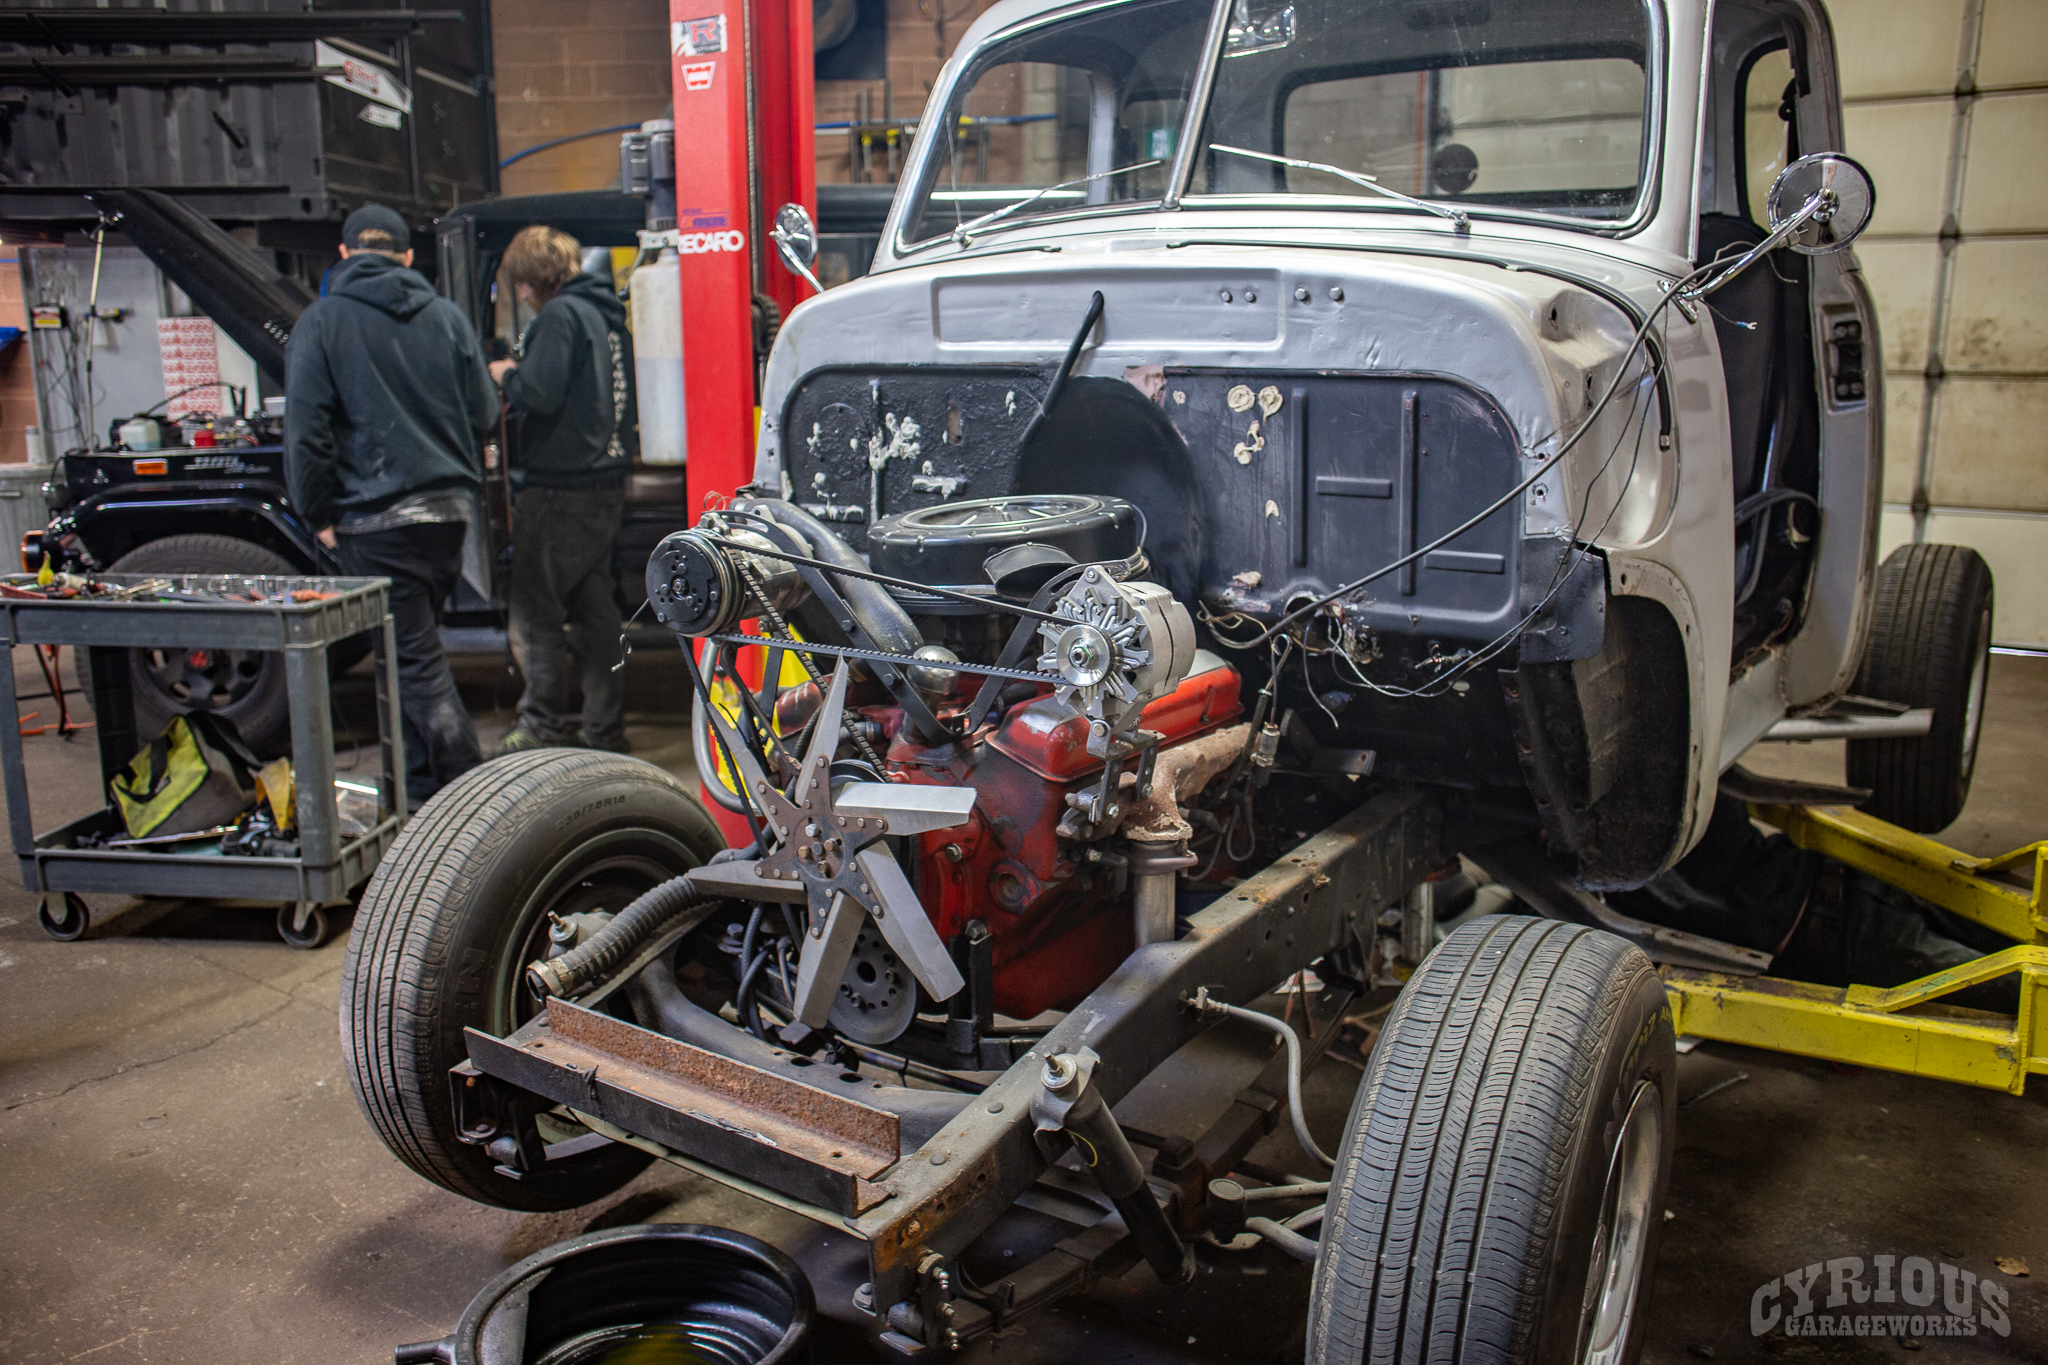
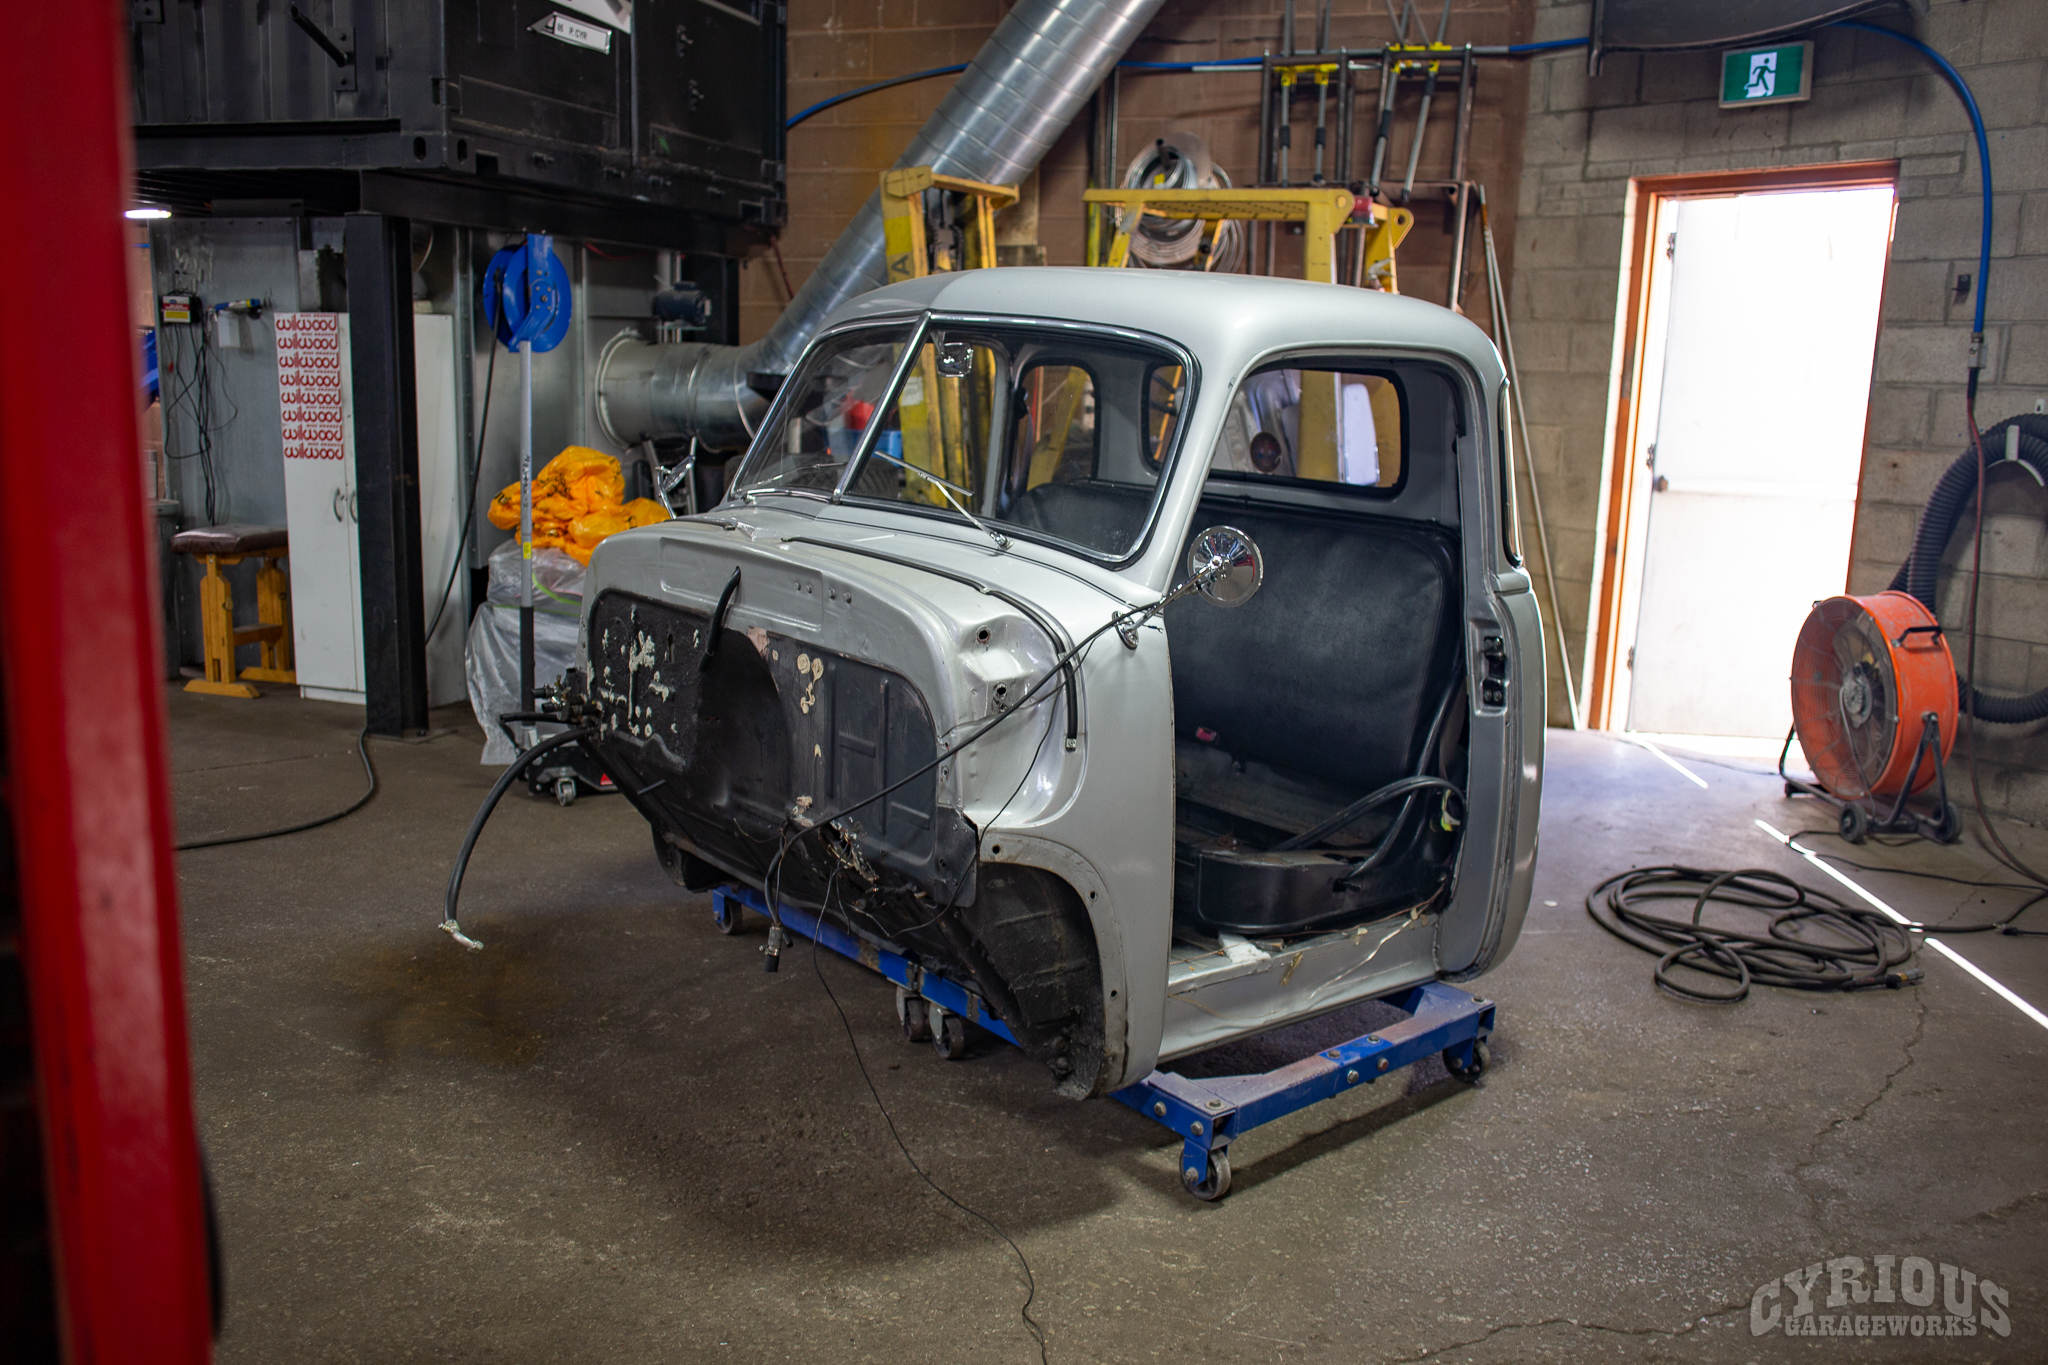
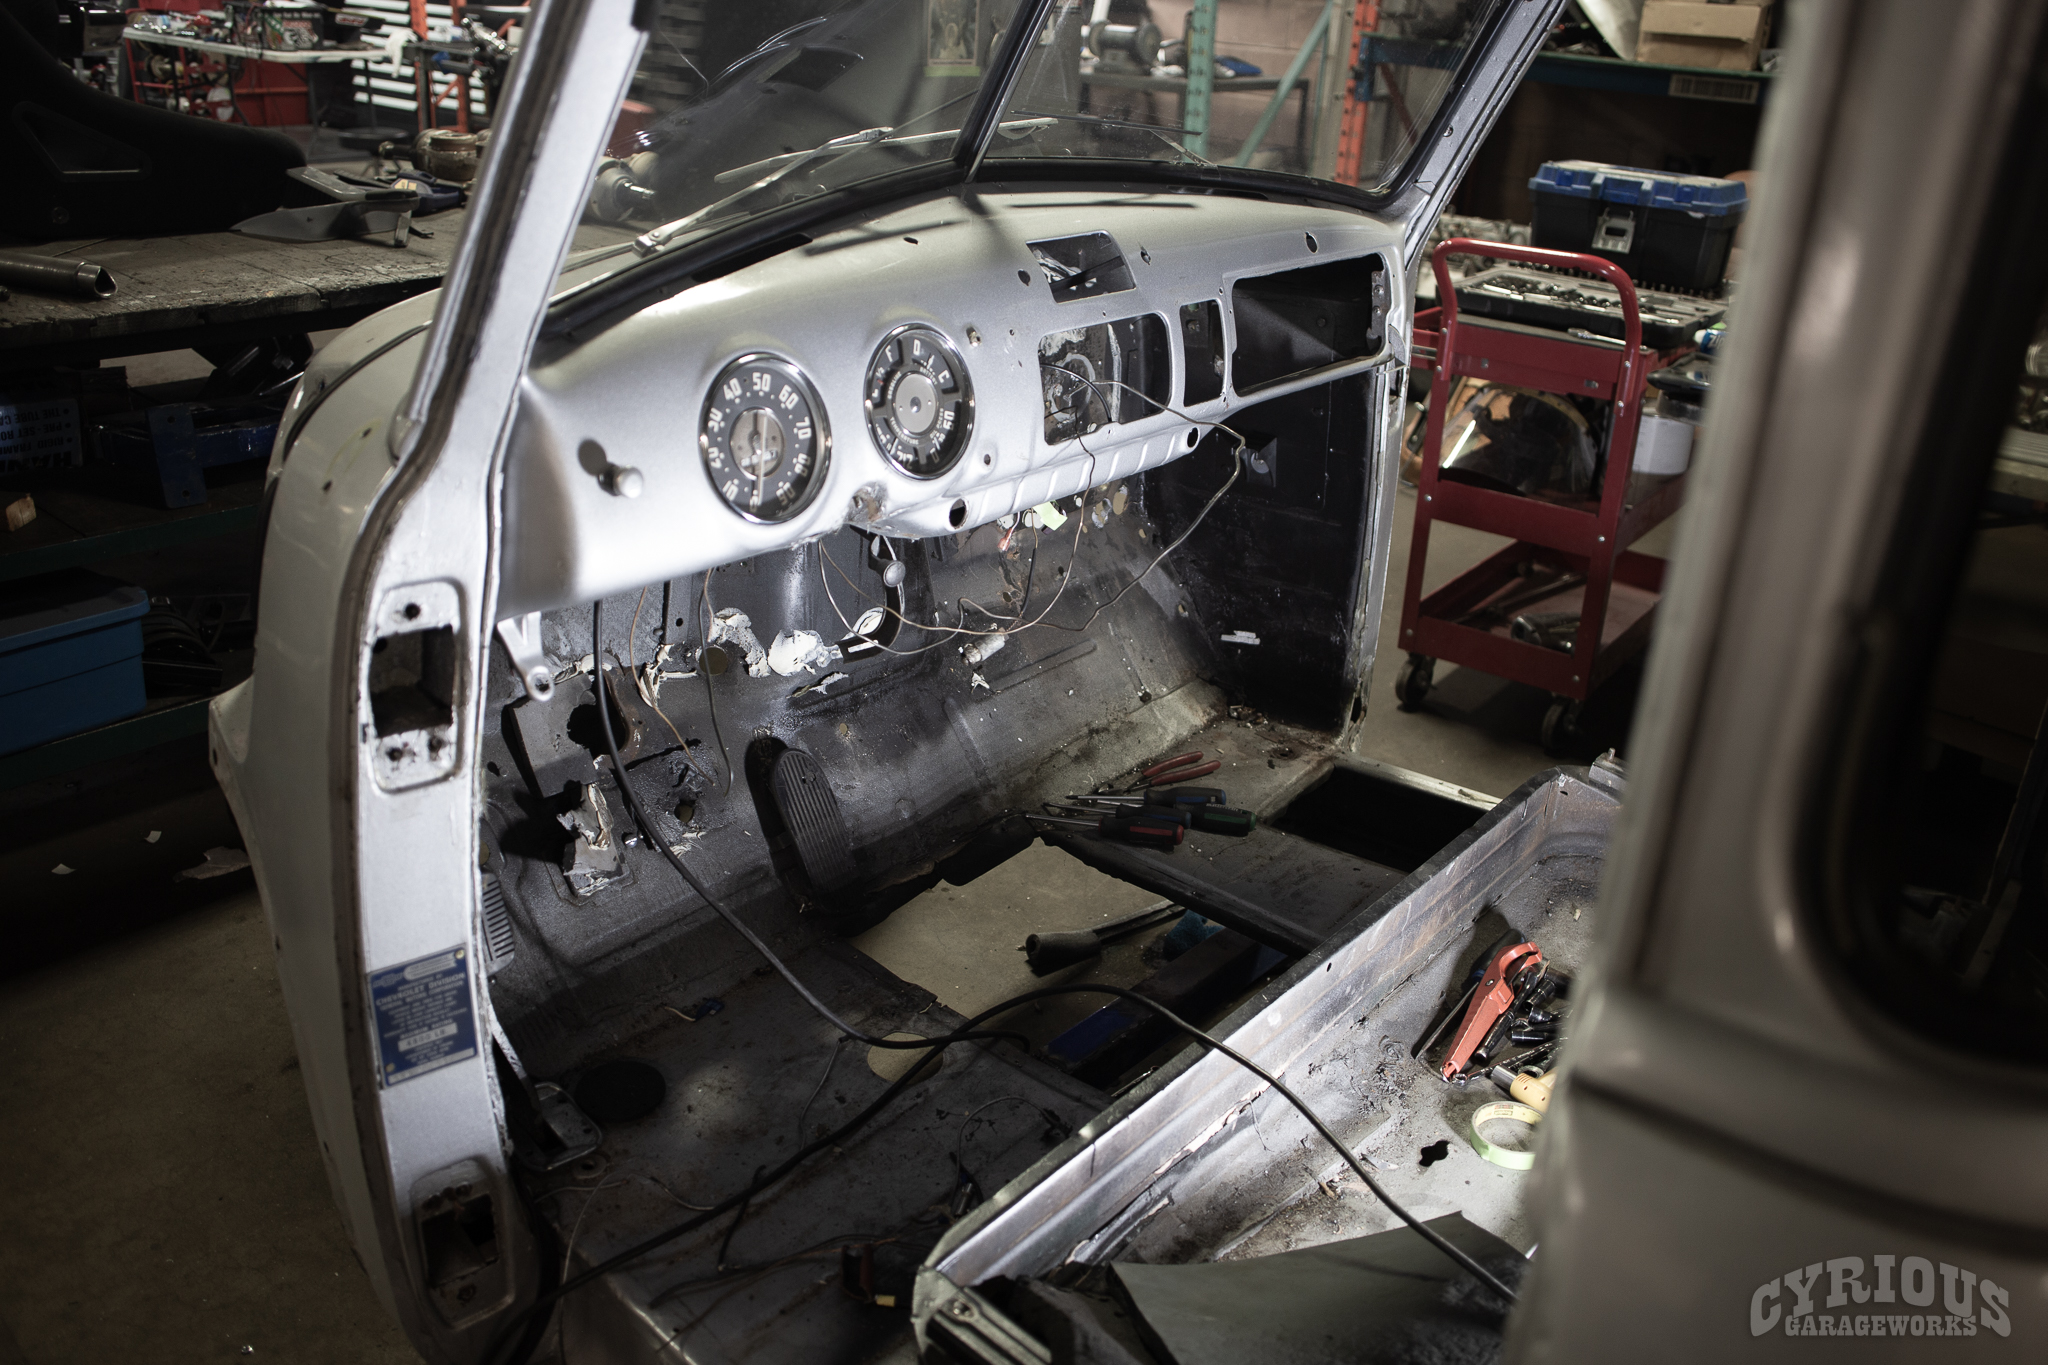
Not every restoration project comes to us looking visibly rough. Lots of the vehicles that we see come through here have already been restored at some point in their lives, and we’re getting it on its 2nd or 3rd go ’round. This truck started its life out as the family truck/work truck for the owner’s Dad many years ago. Much like our recent FJ45 project, this 1952 Chevy Truck looks okay on the surface! There are some warning signs though. For starters, the passenger door is closed in the photo above.
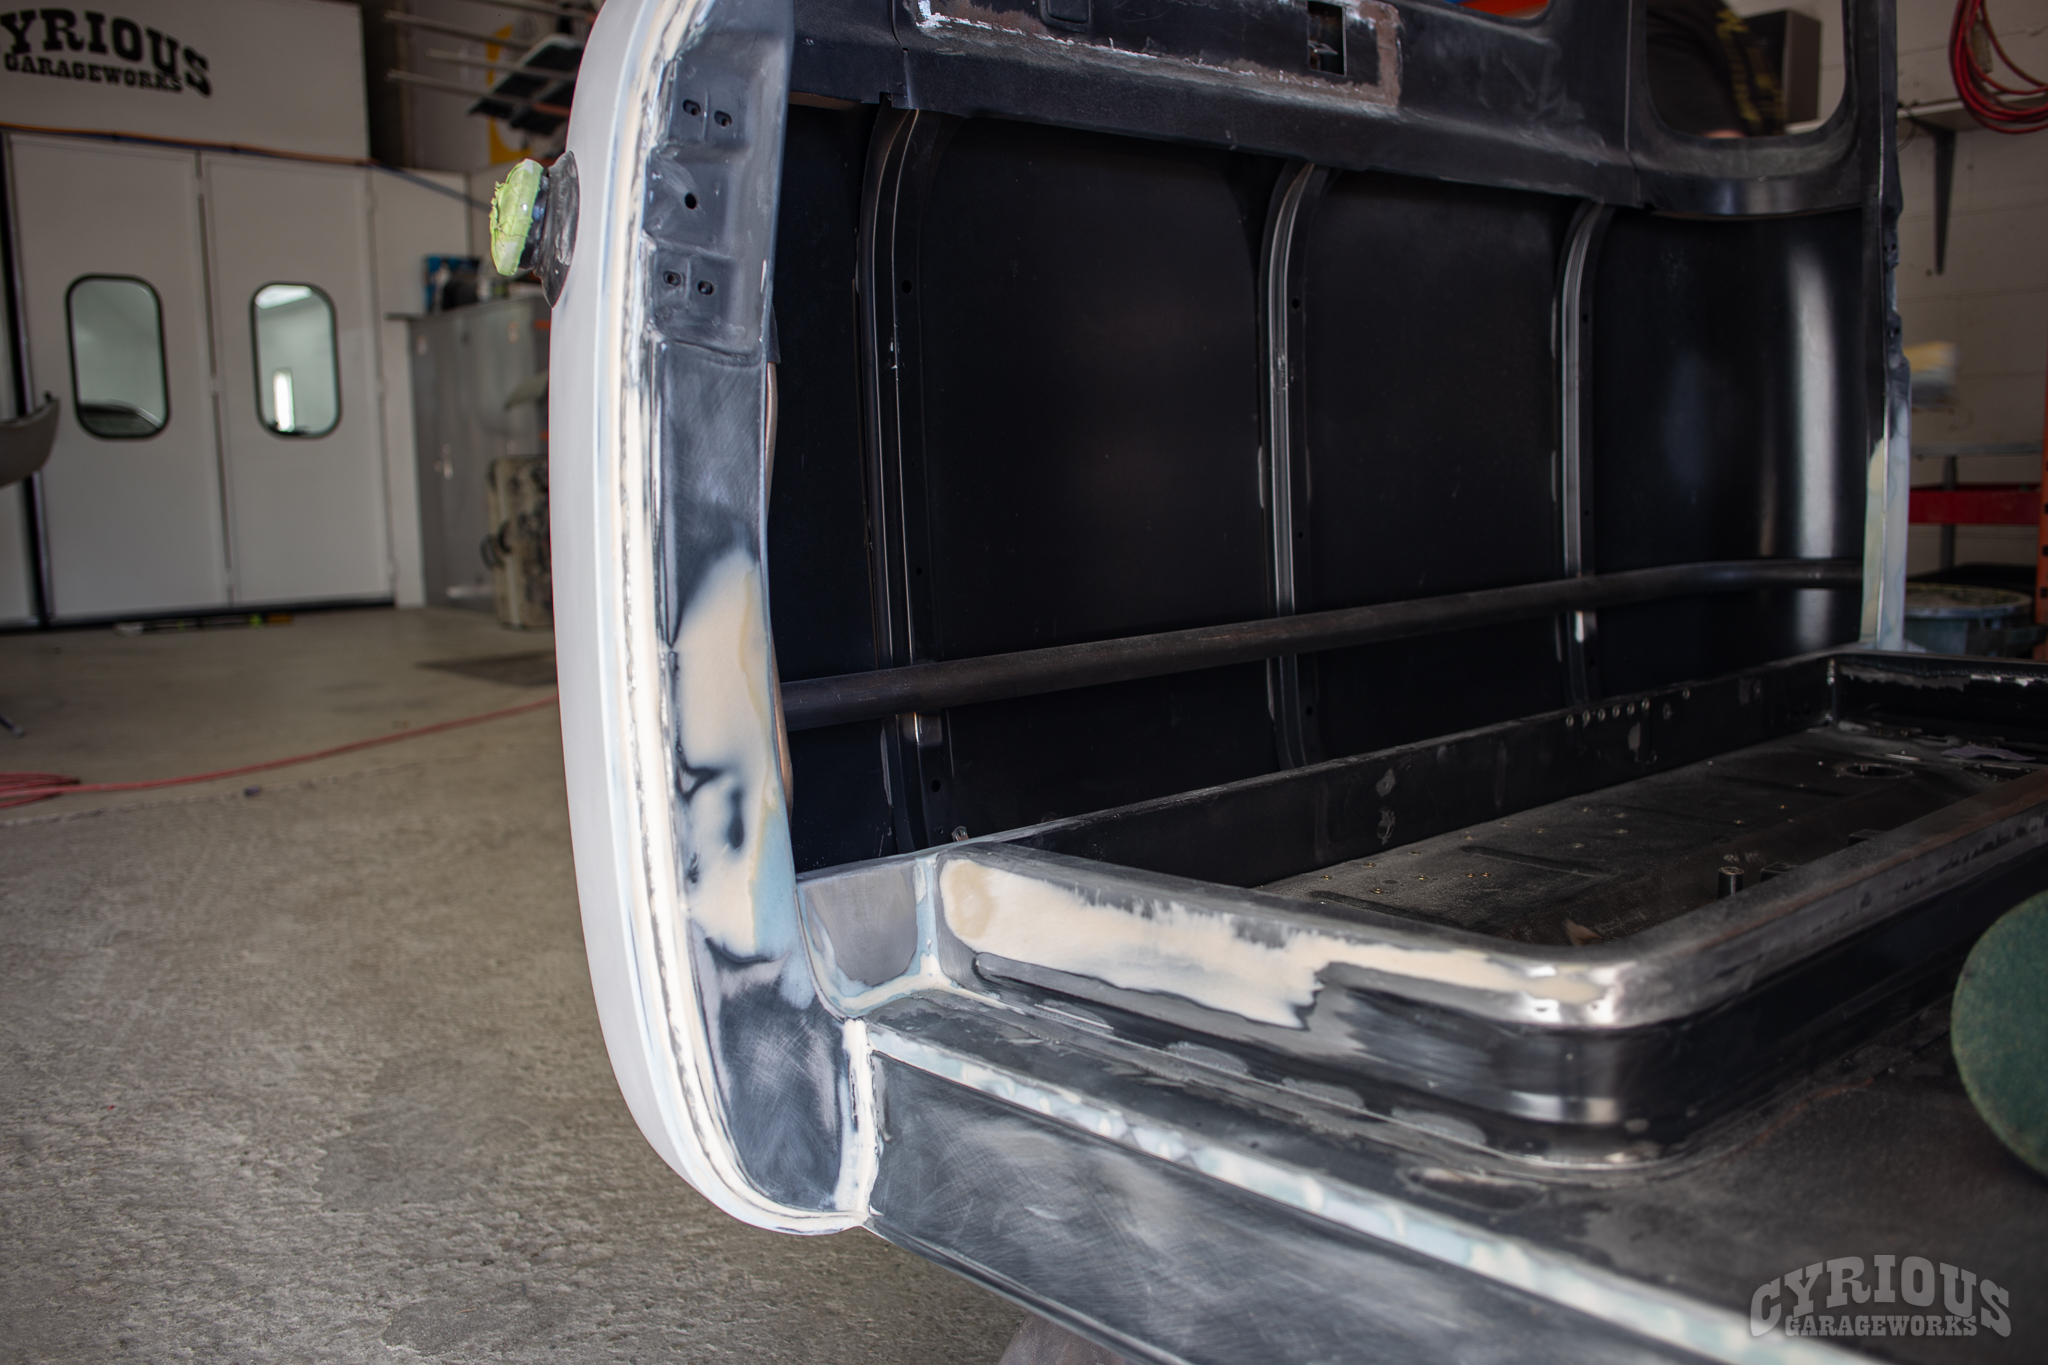
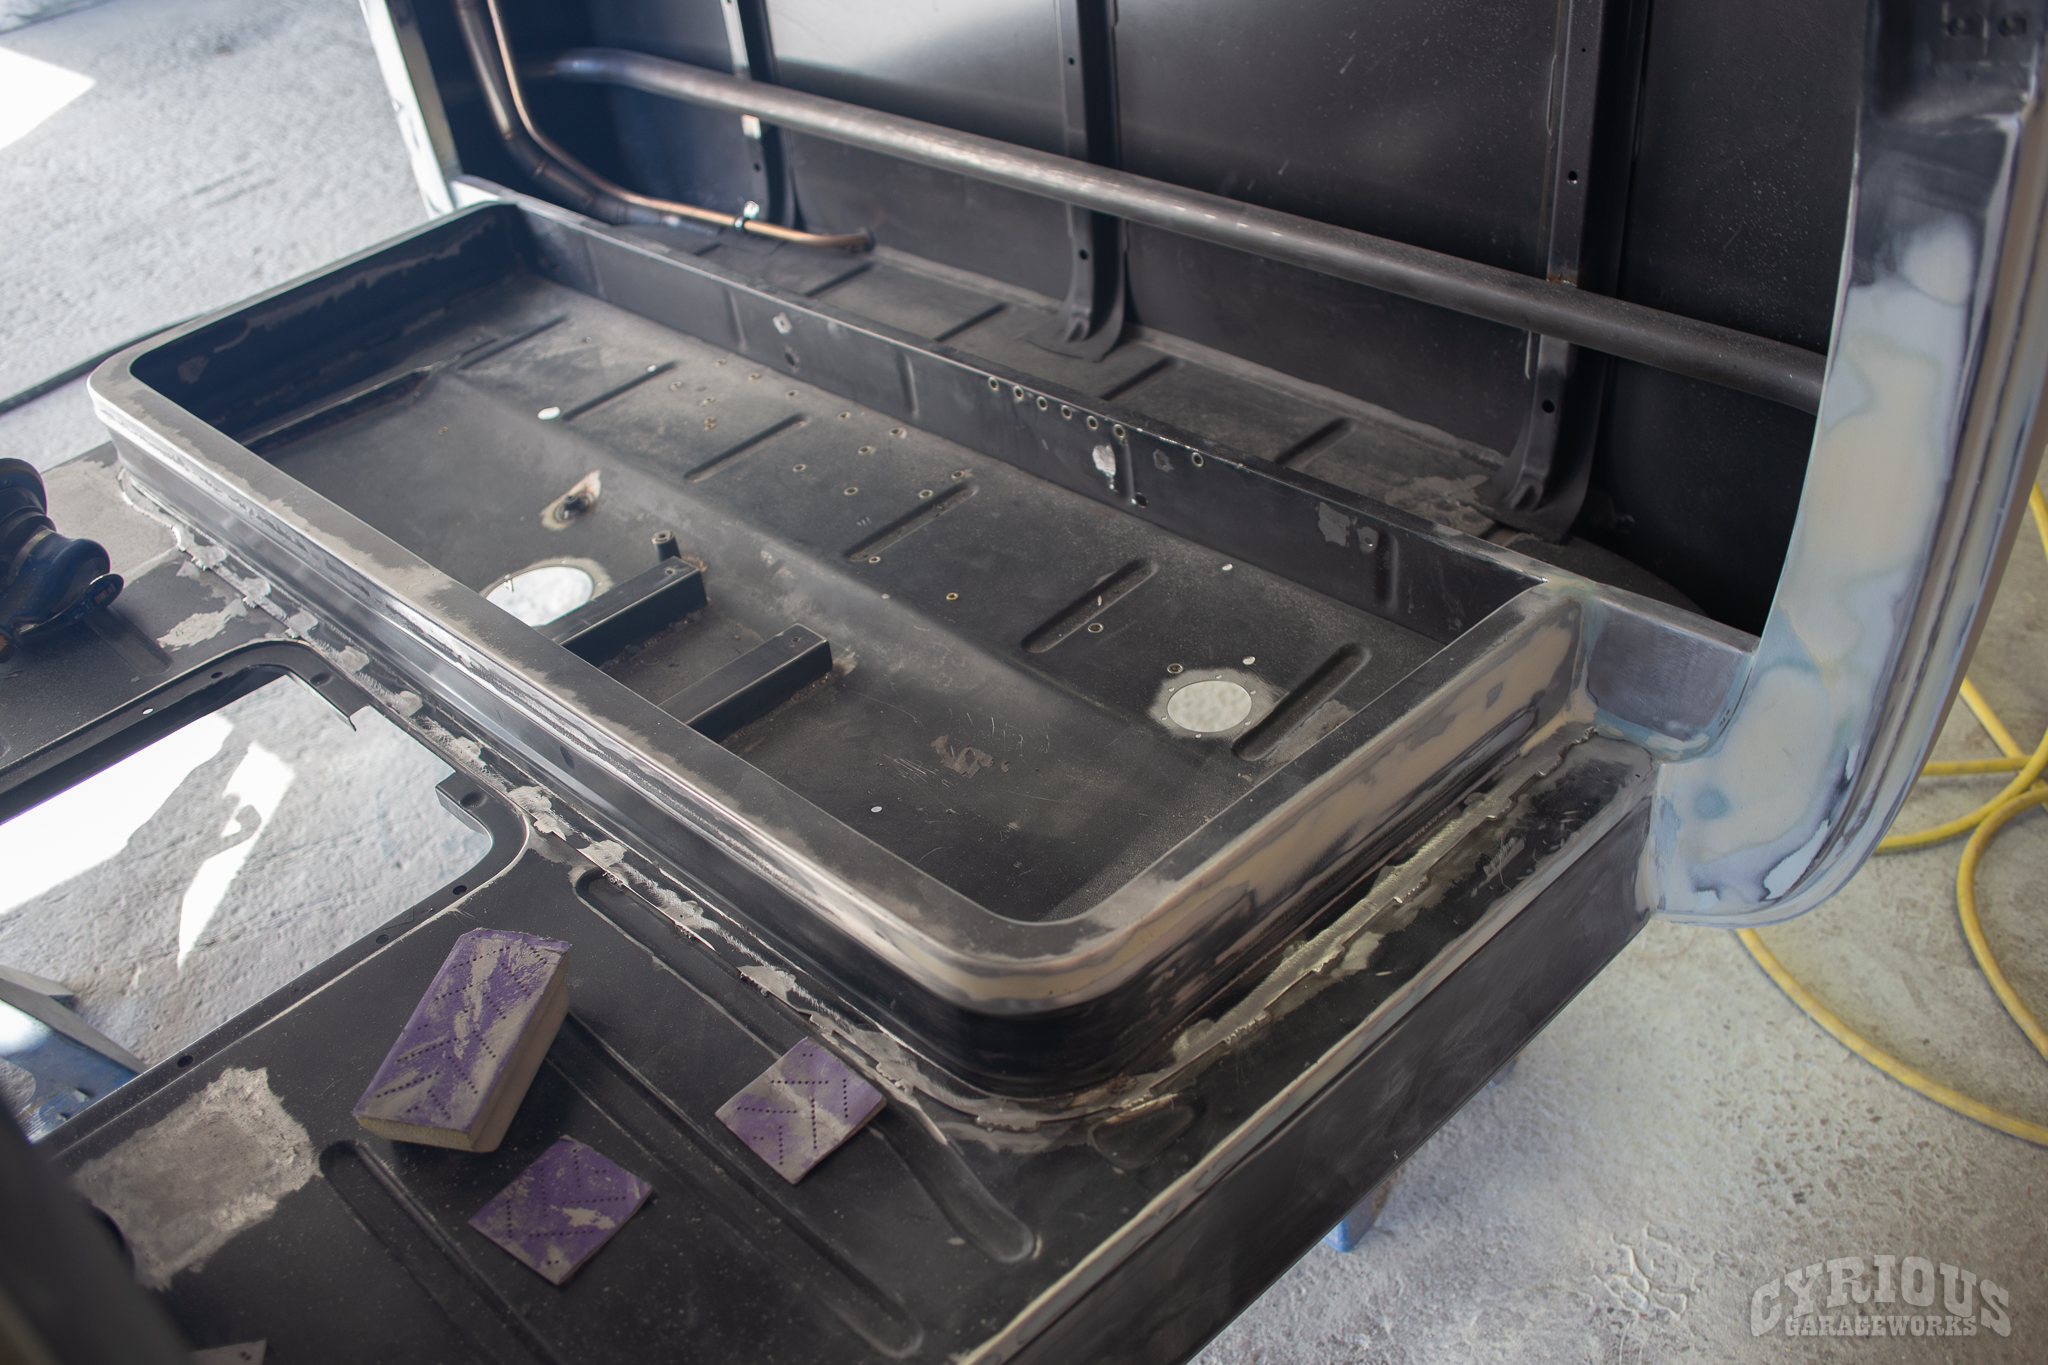
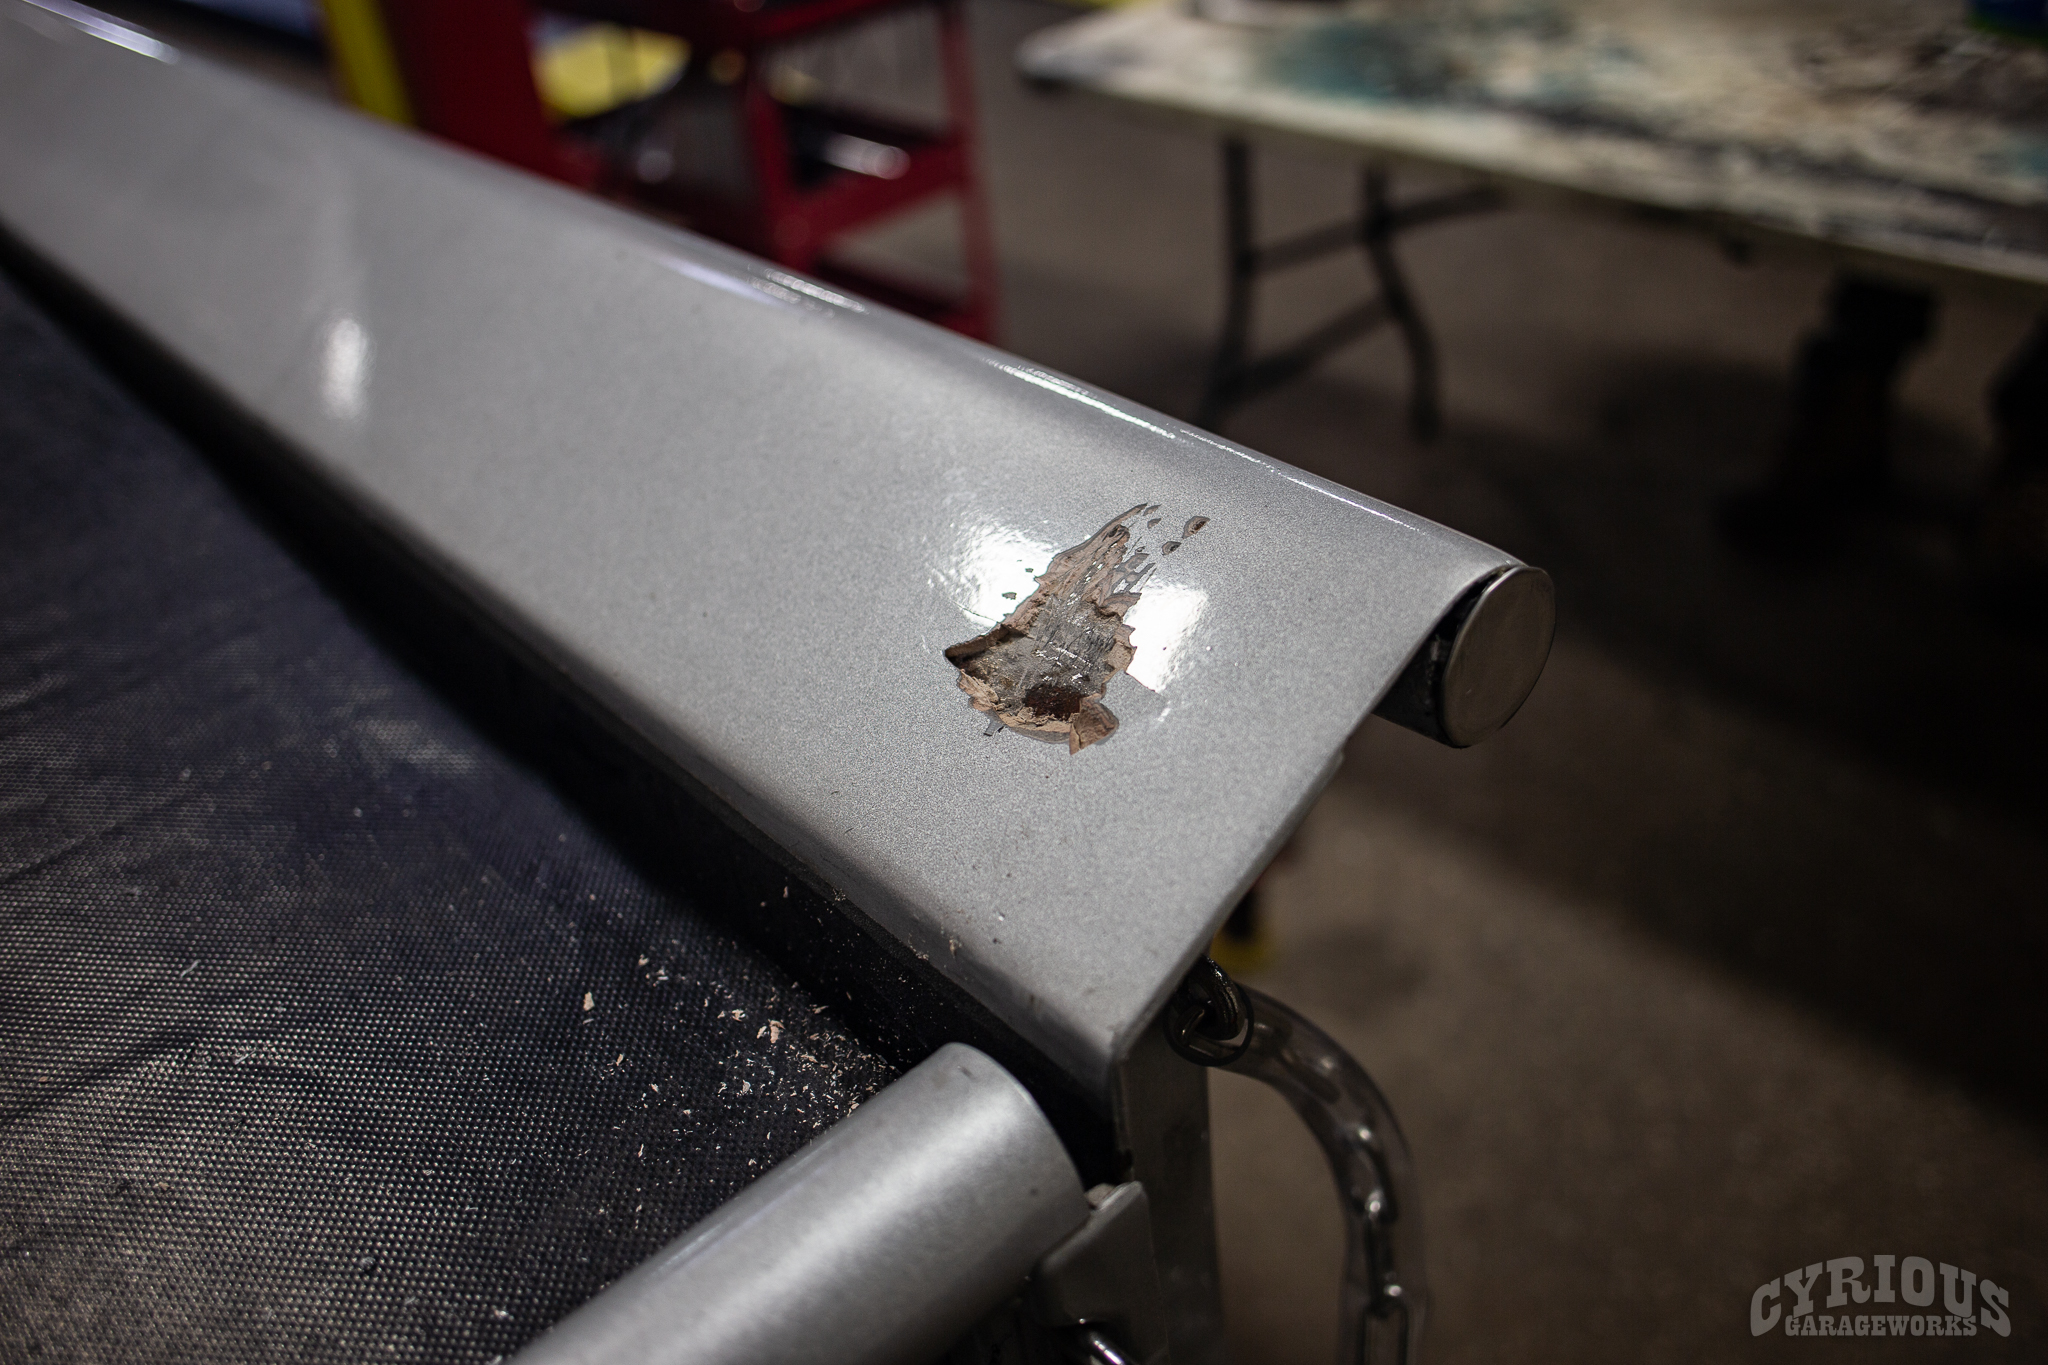
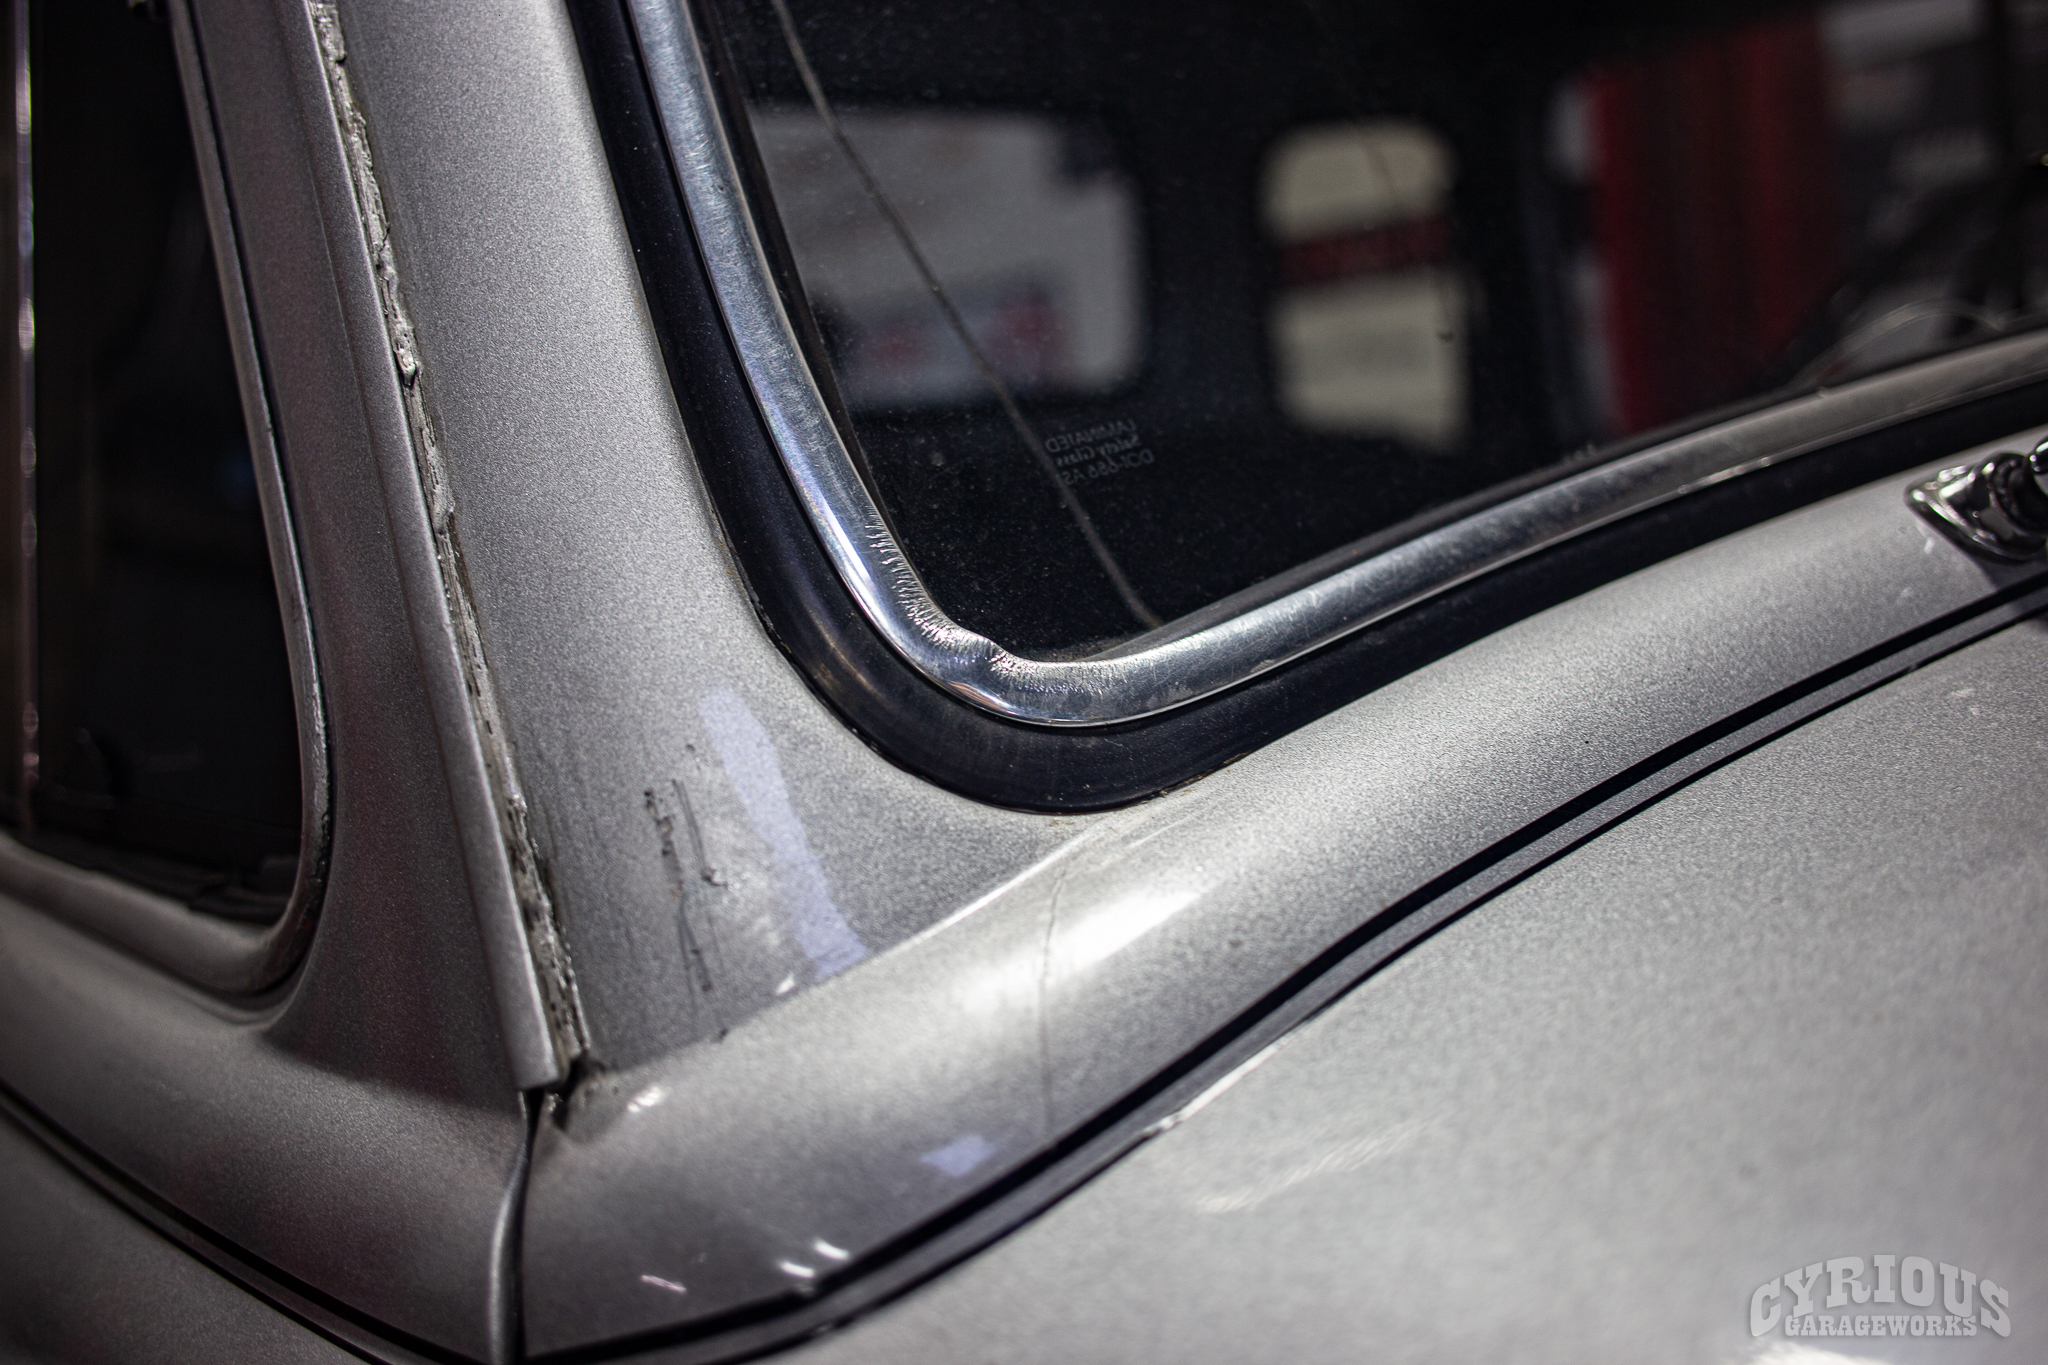
Ah yes, there it is. There is so much body filler you can barely find the metal underneath. Of course, it’s not just in one spot. It varies in thickness, but the whole truck is pretty much covered. It appears that rust is beginning to form under the filler, which is definitely not a good sign.
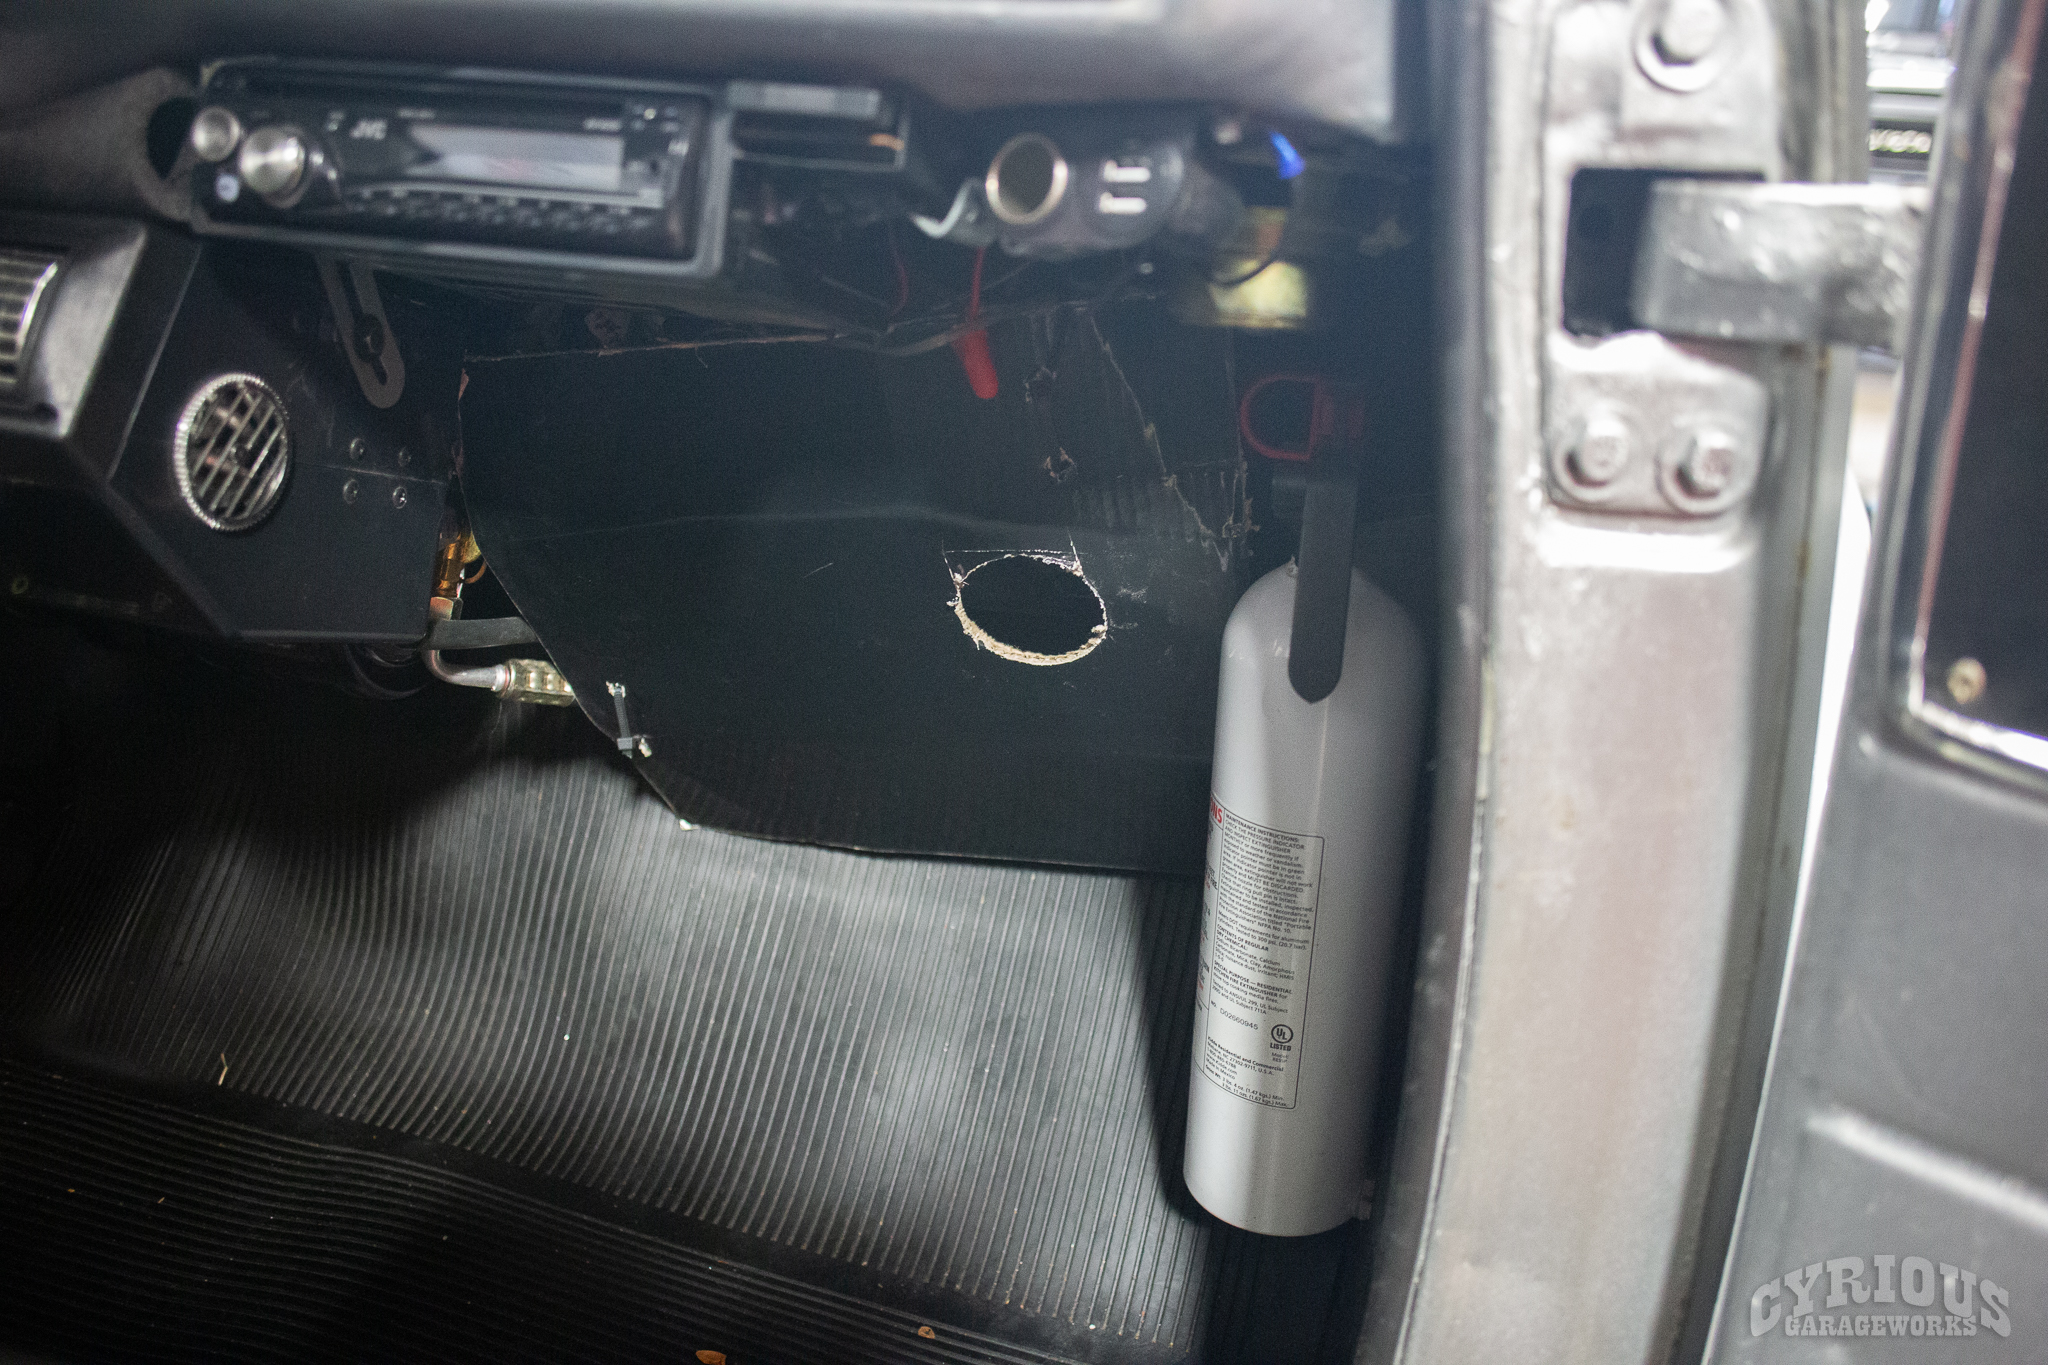
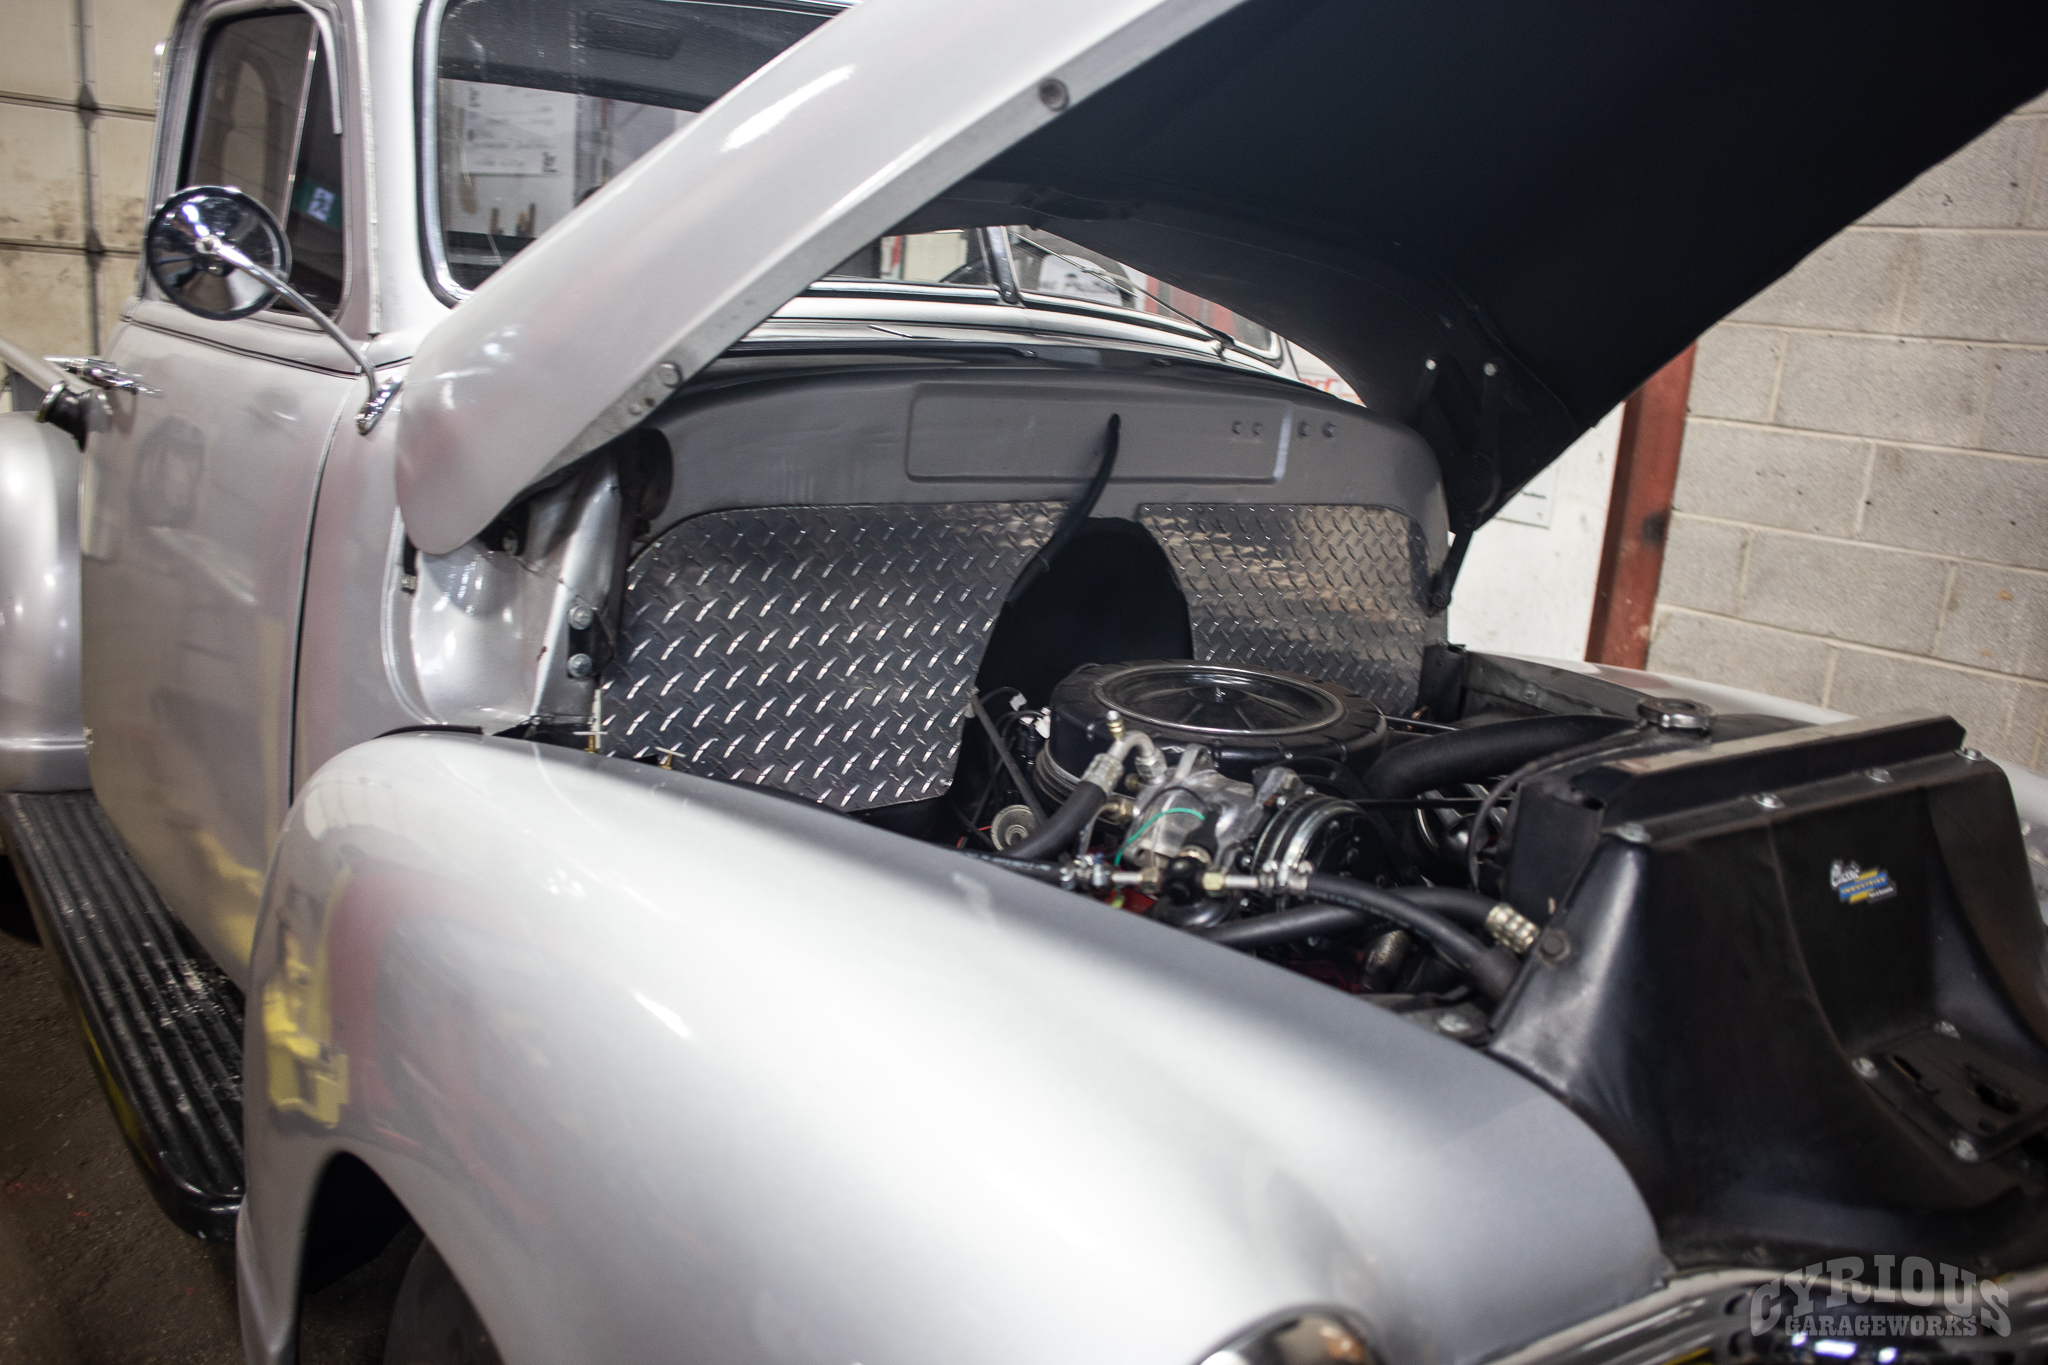
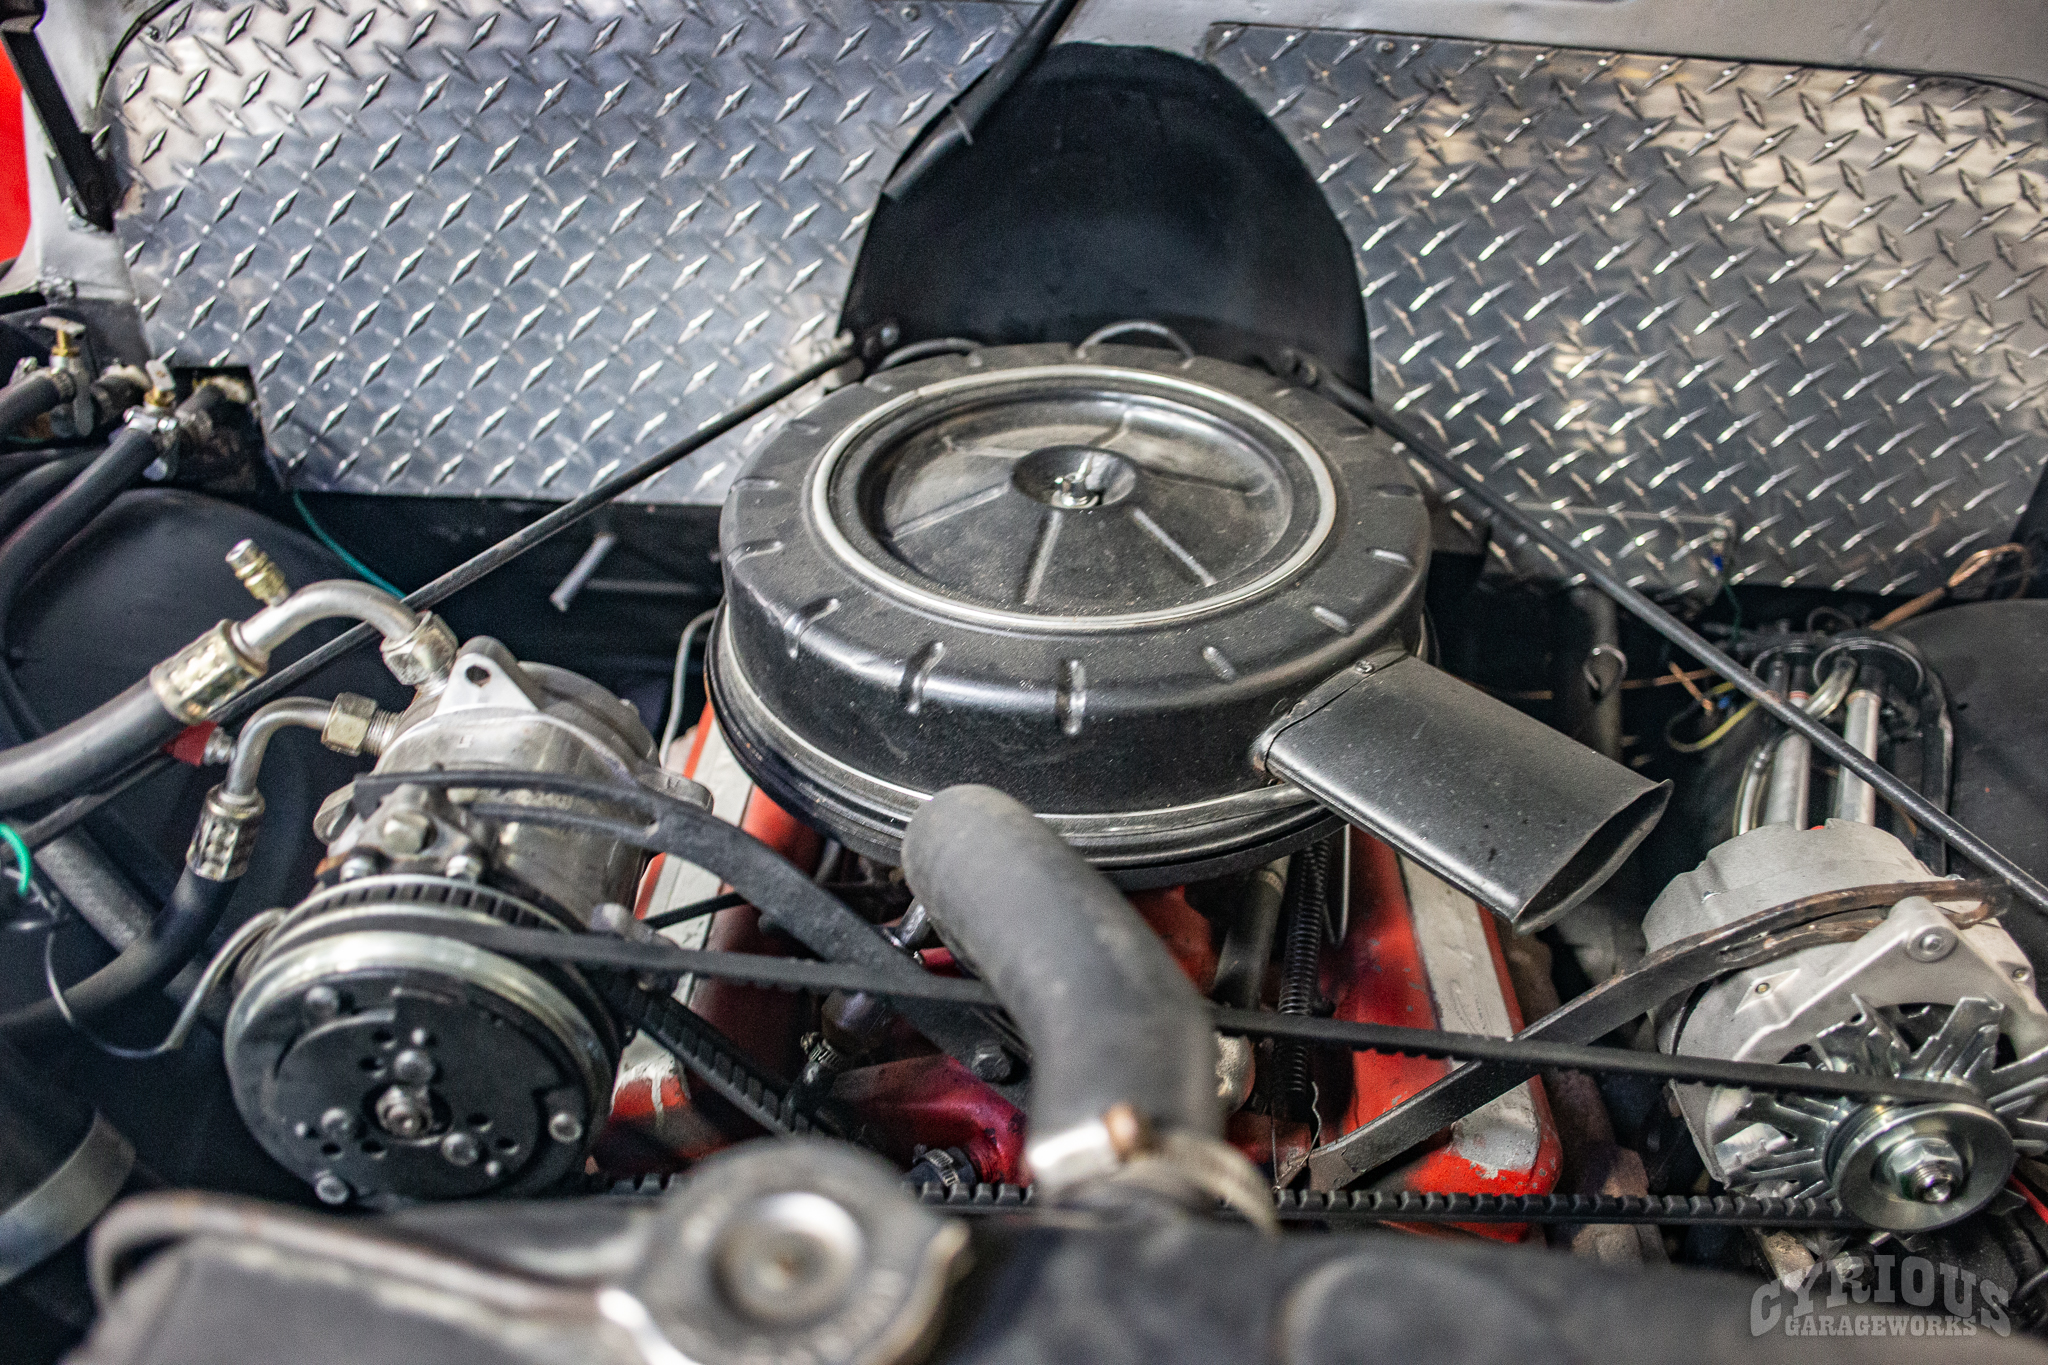
Lots going on here, none of it is goodKitchen fire extinguisher… just in caseFew things scream 90s more than diamond plate. Hell yeah brotherYou can almost hear the engine: “I’m so tired, please no more”
Knowing that the entire drivetrain is going to scrap, we’d might as well see if this thing can do a burnout:
It cannot. Looks like it’s getting pushed back into the shop. At this point, we’ll start disassembly and see what other fun secrets and surprises we’ll find. Once we’ve stripped it right down to a bare chassis, we’ll send everything off for a quick acid bath and really see what we’re lookin’ at.
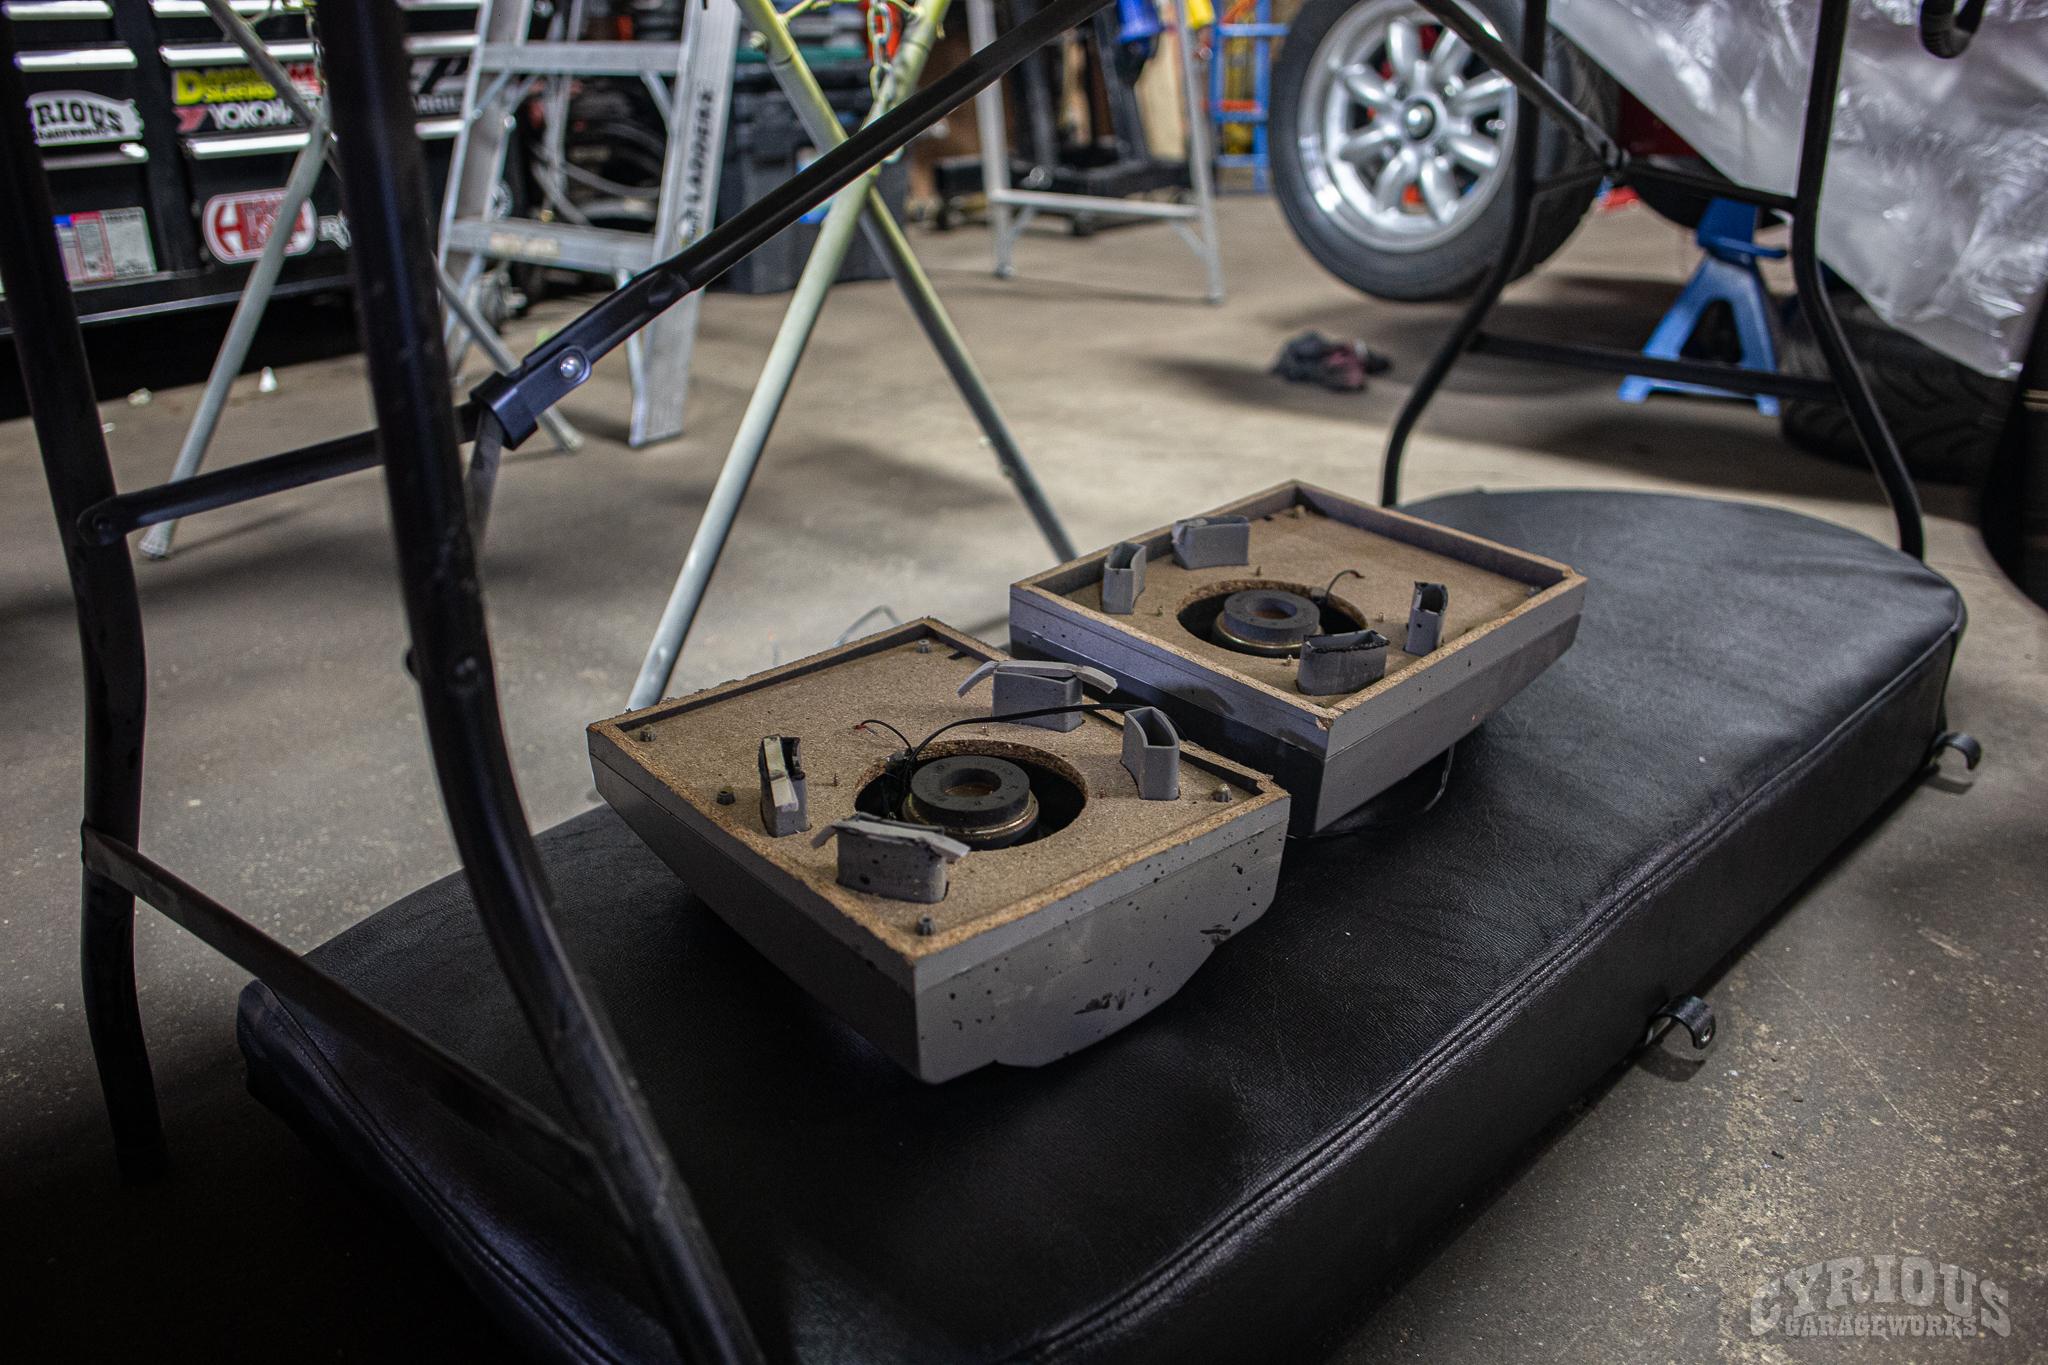
This is not the first time somebody has used home stereo equipment in a car, and will likely not be the last. This is a fairly creative example though, it appears that they are stereo speakers that were sawed in half and the rear half was shortened and glued back on. That’s certainly one way to do it, but these should probably be replaced for the final build.
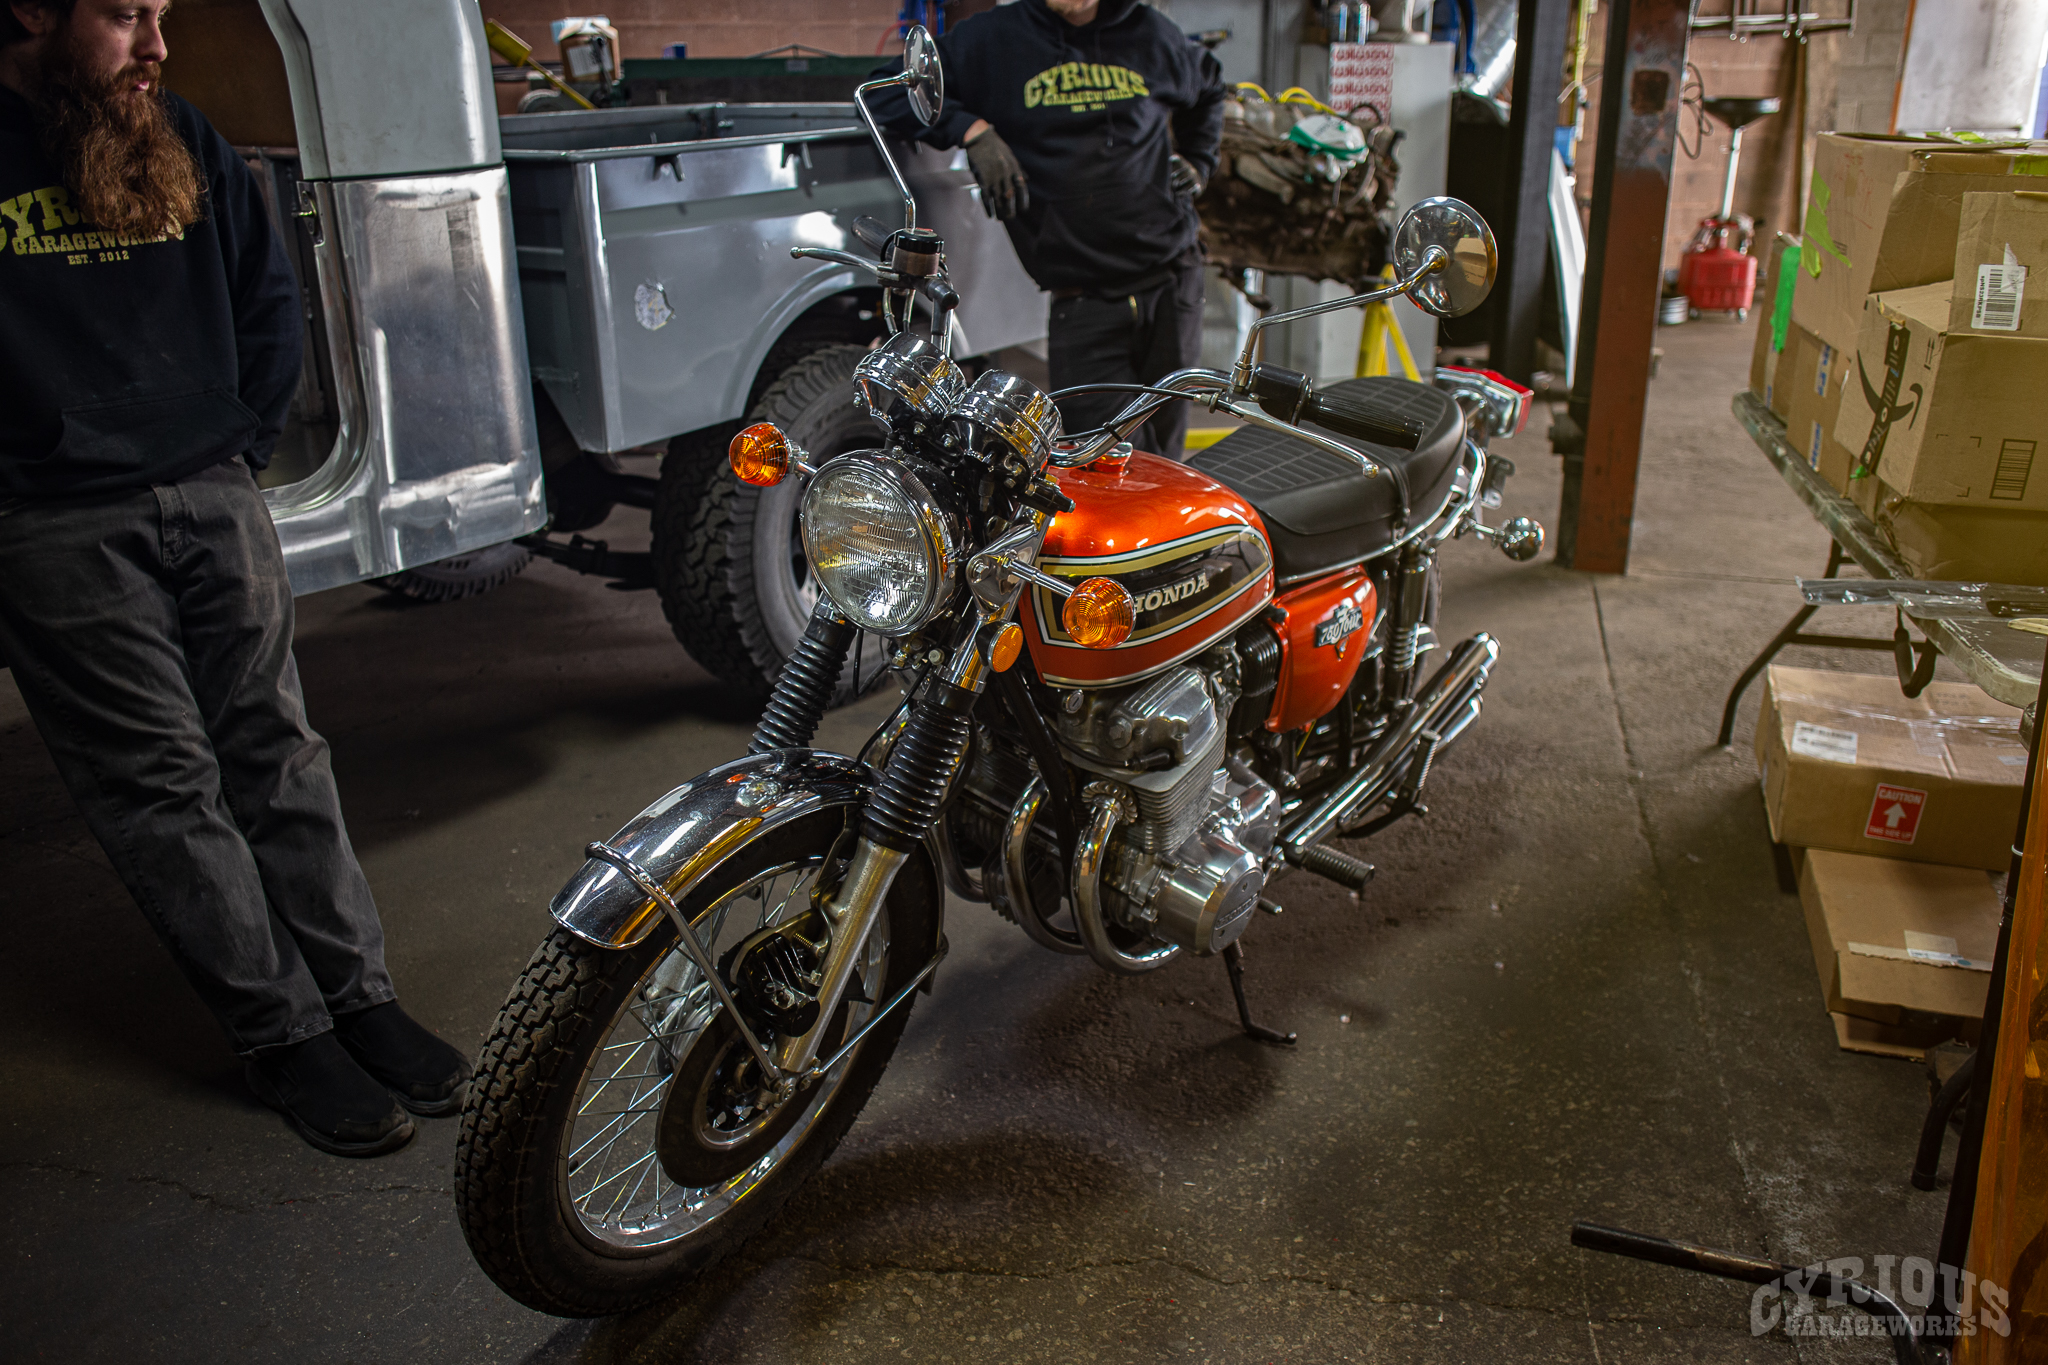
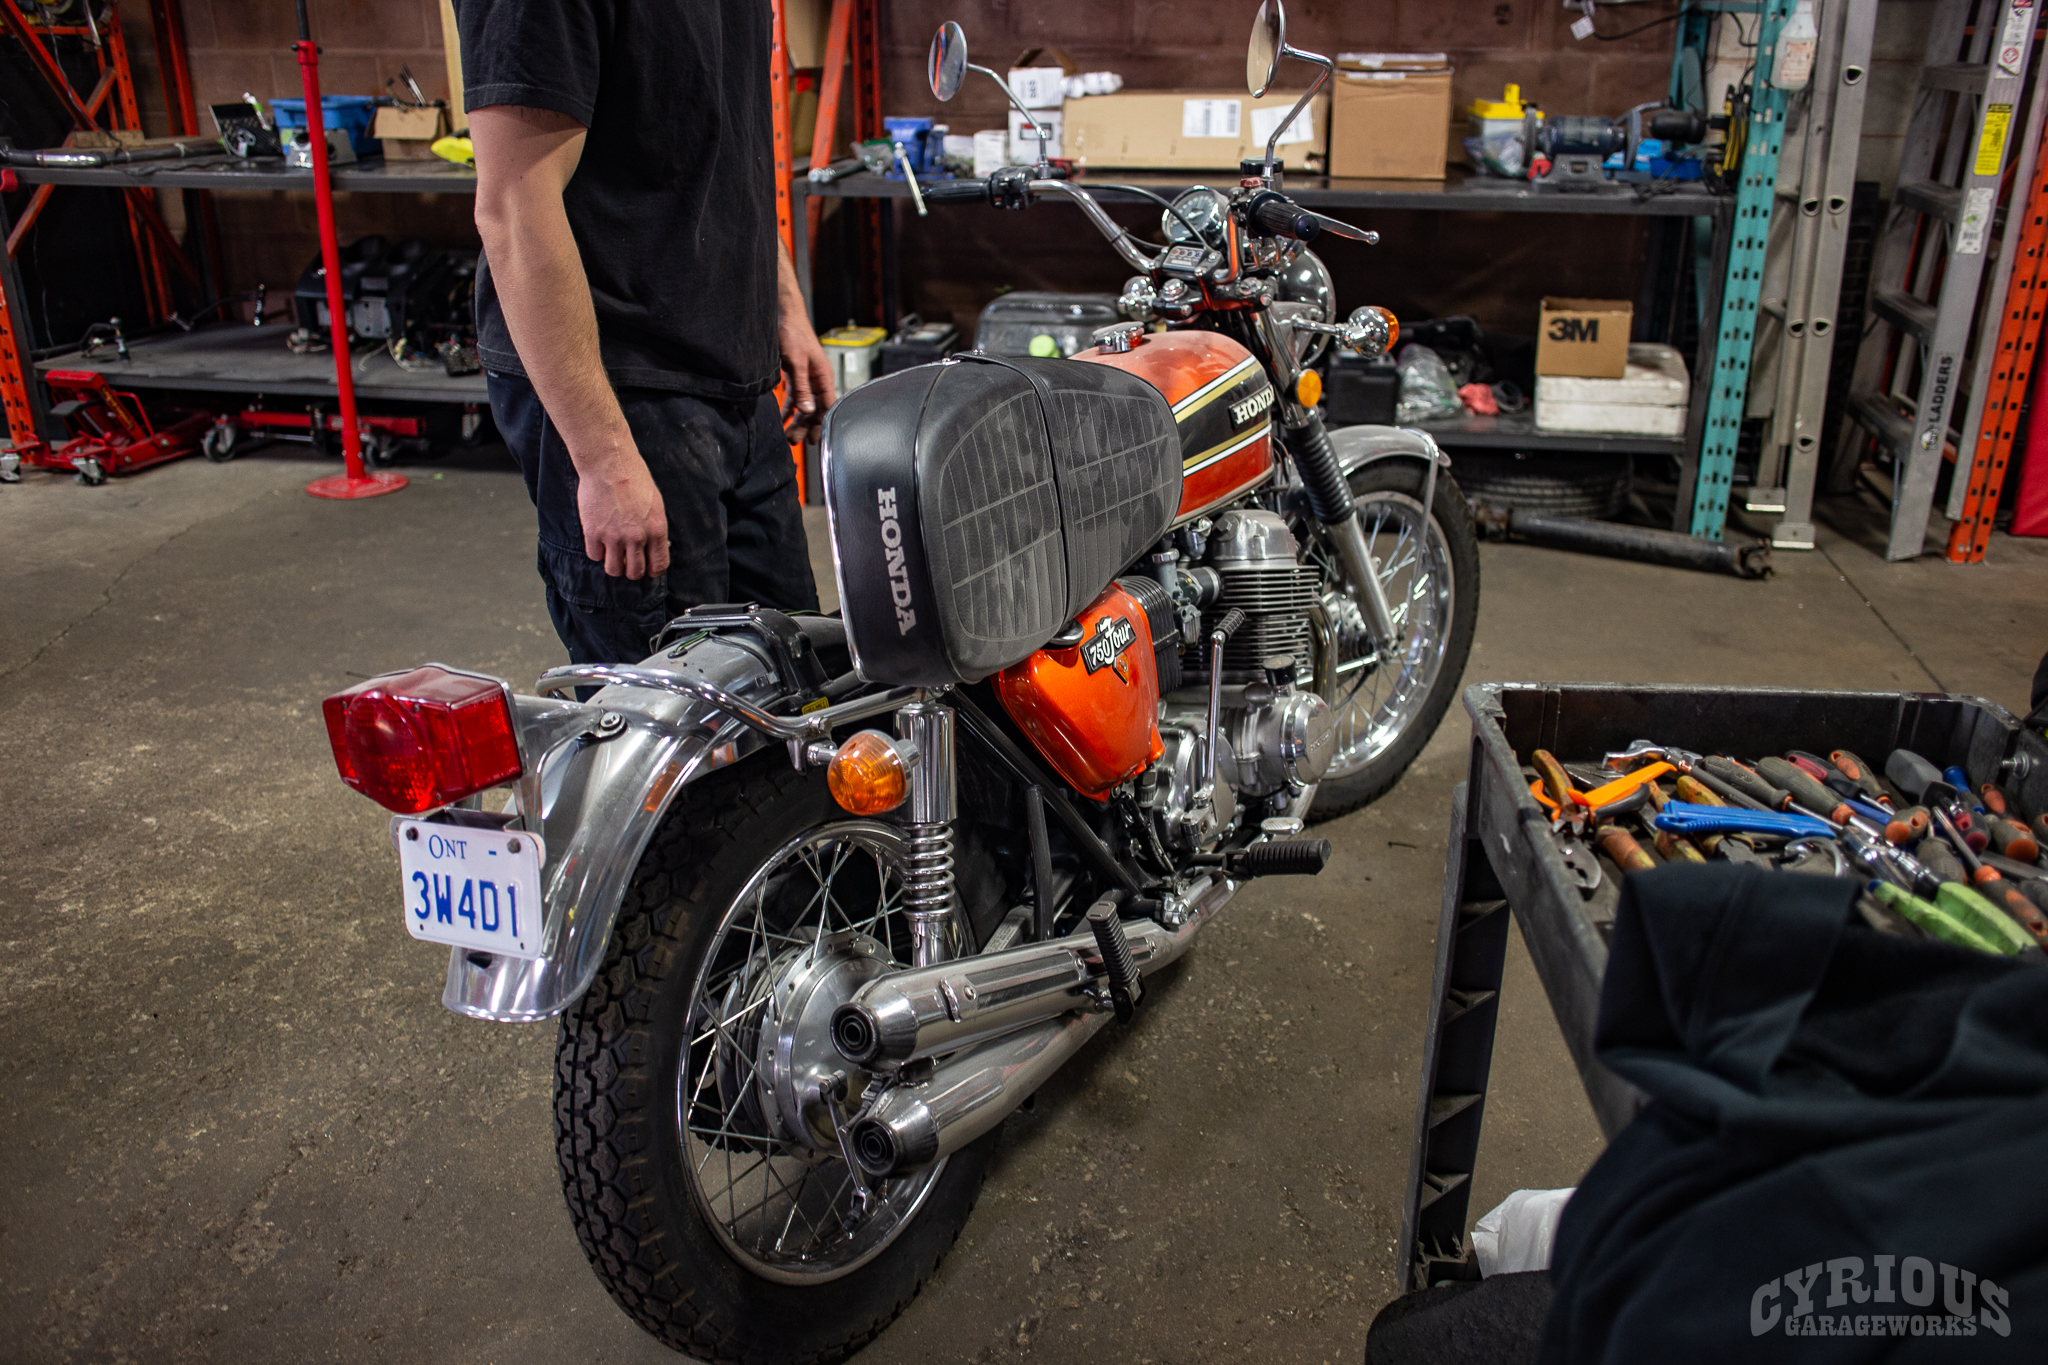
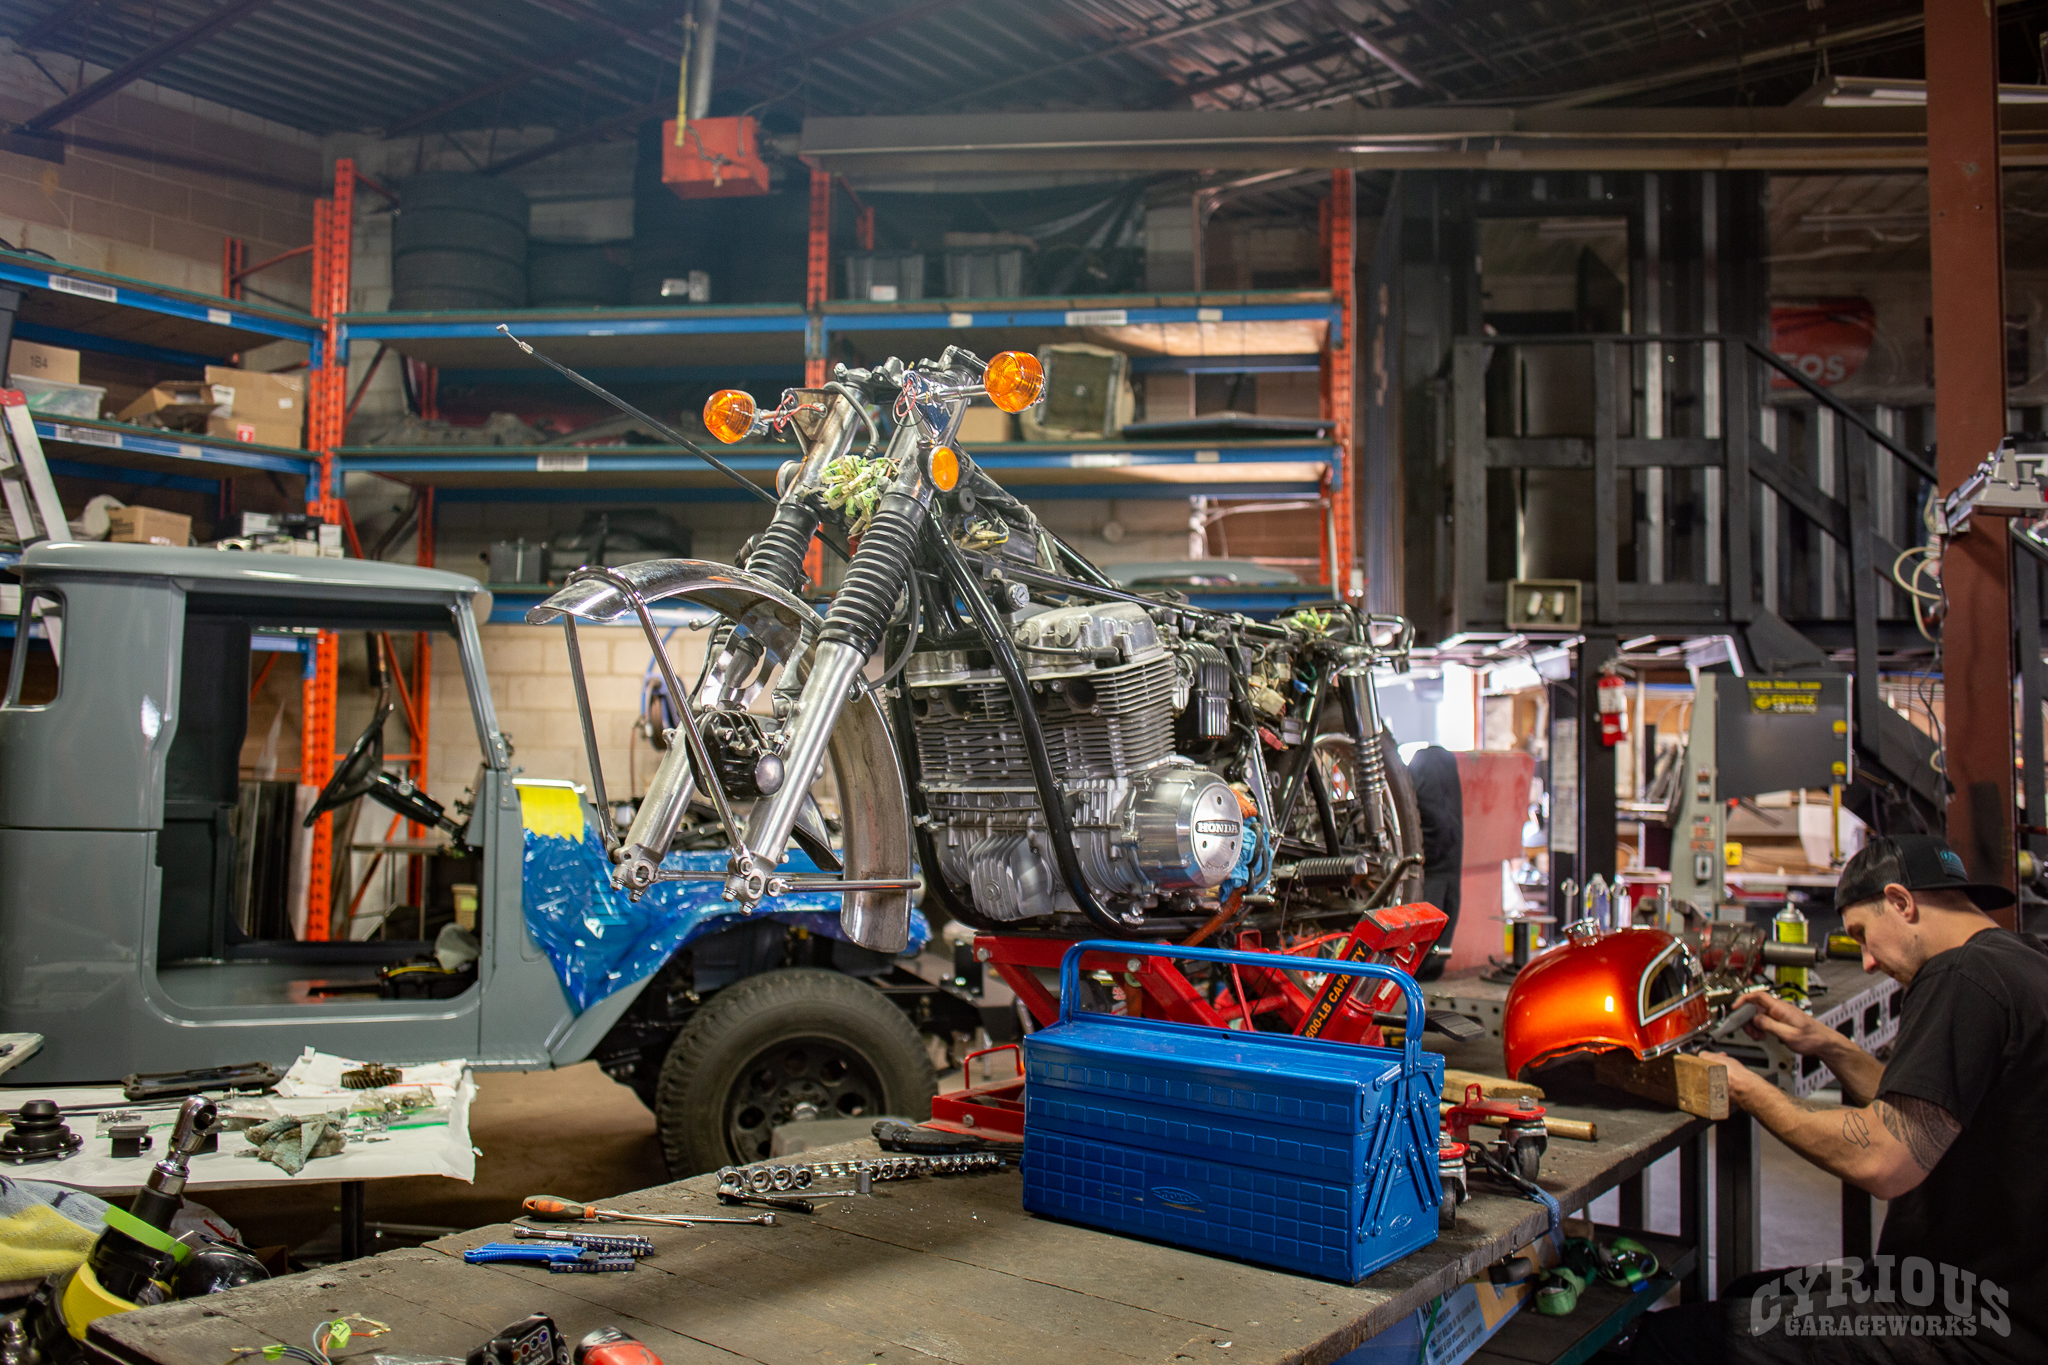
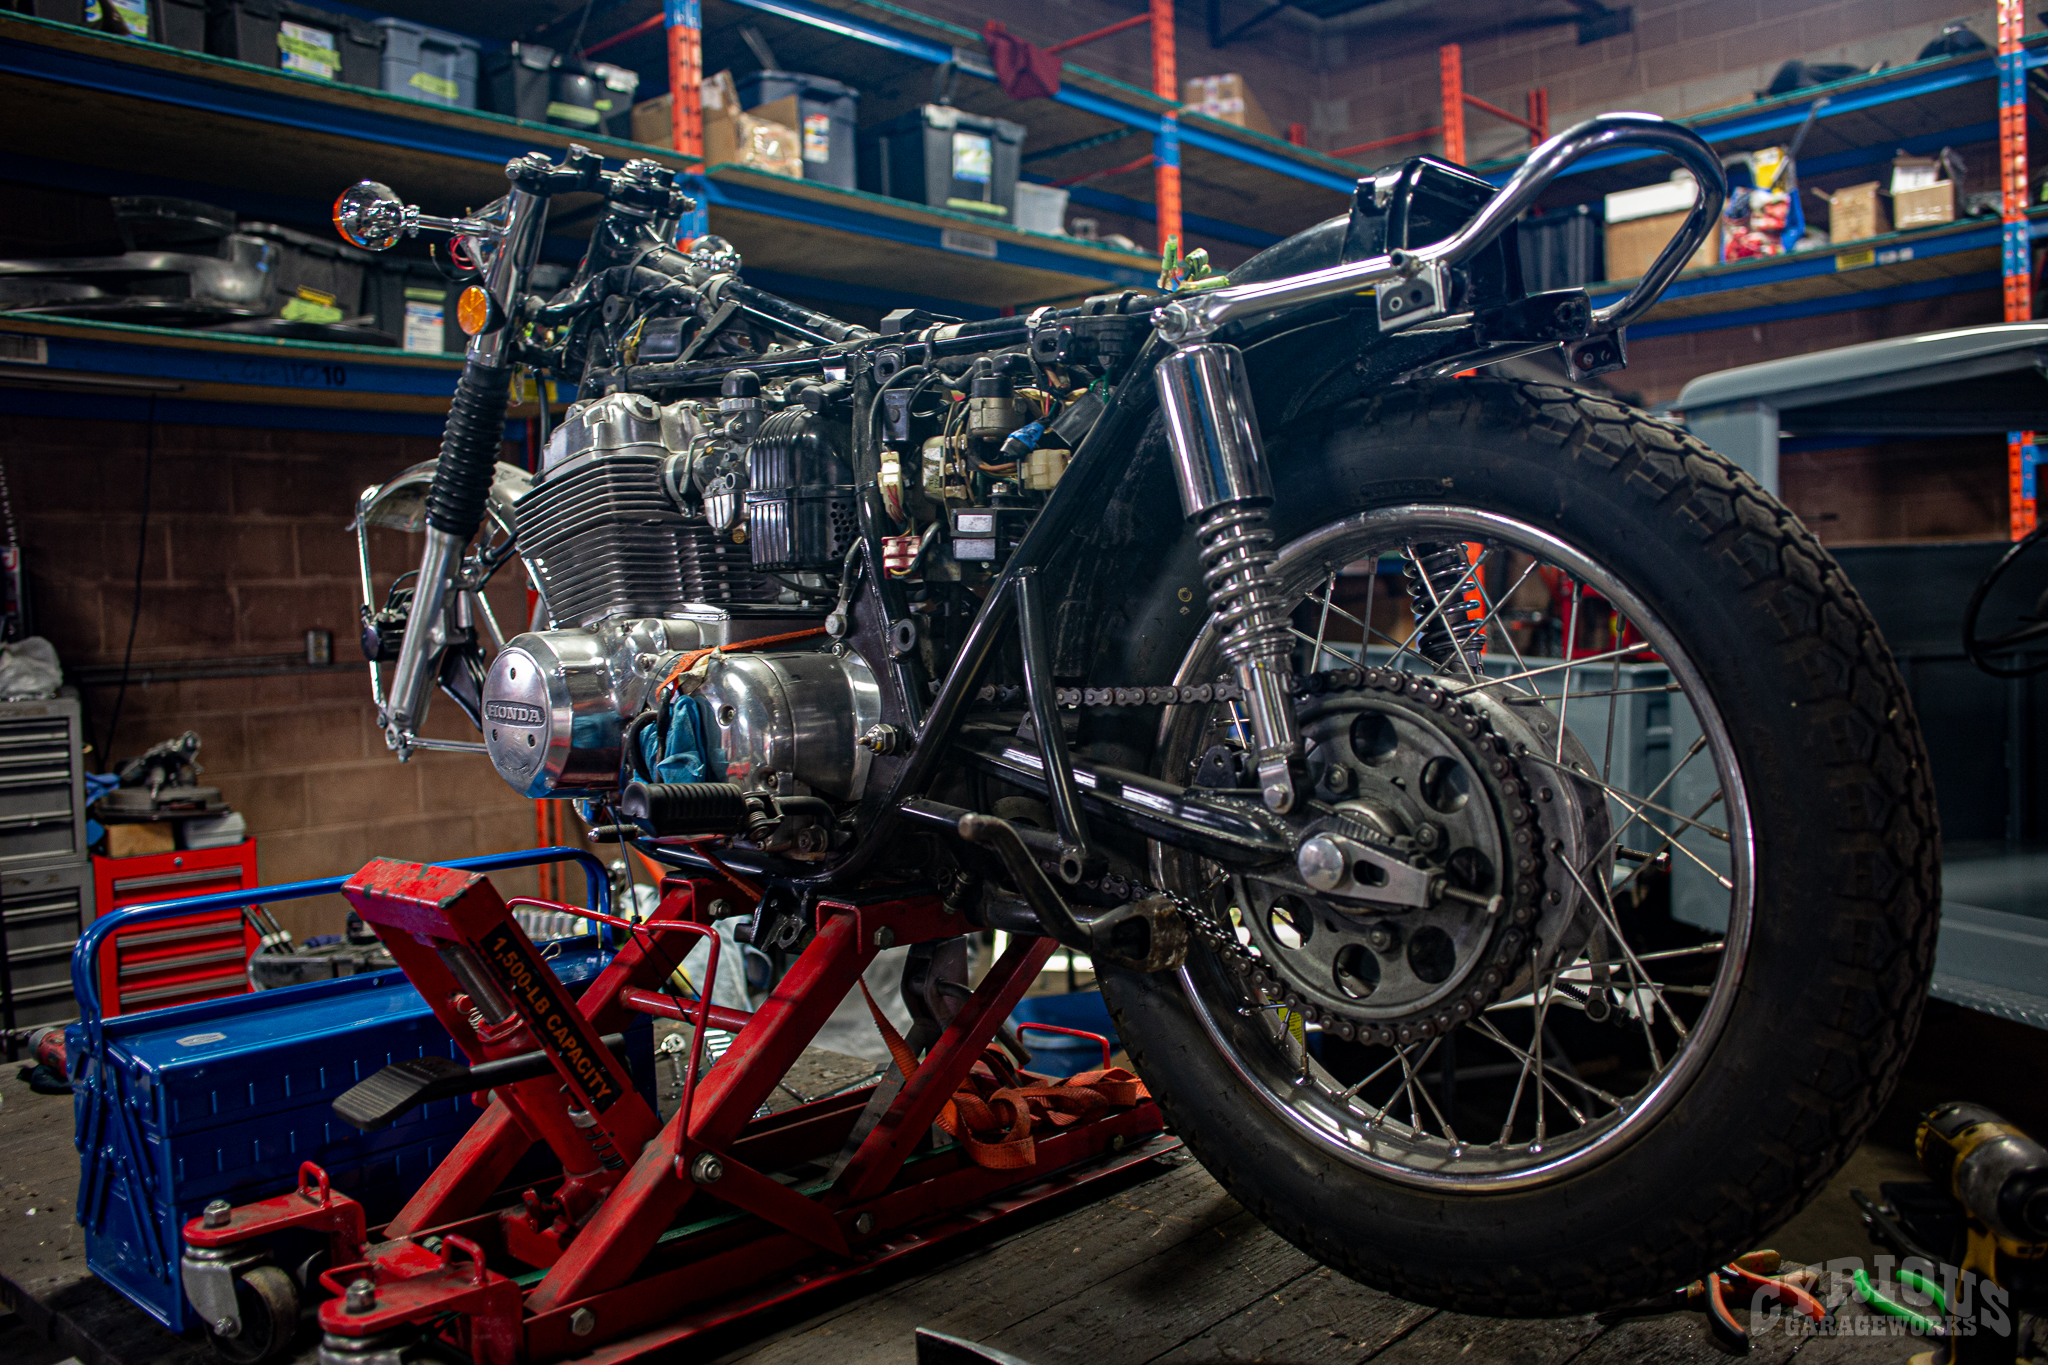
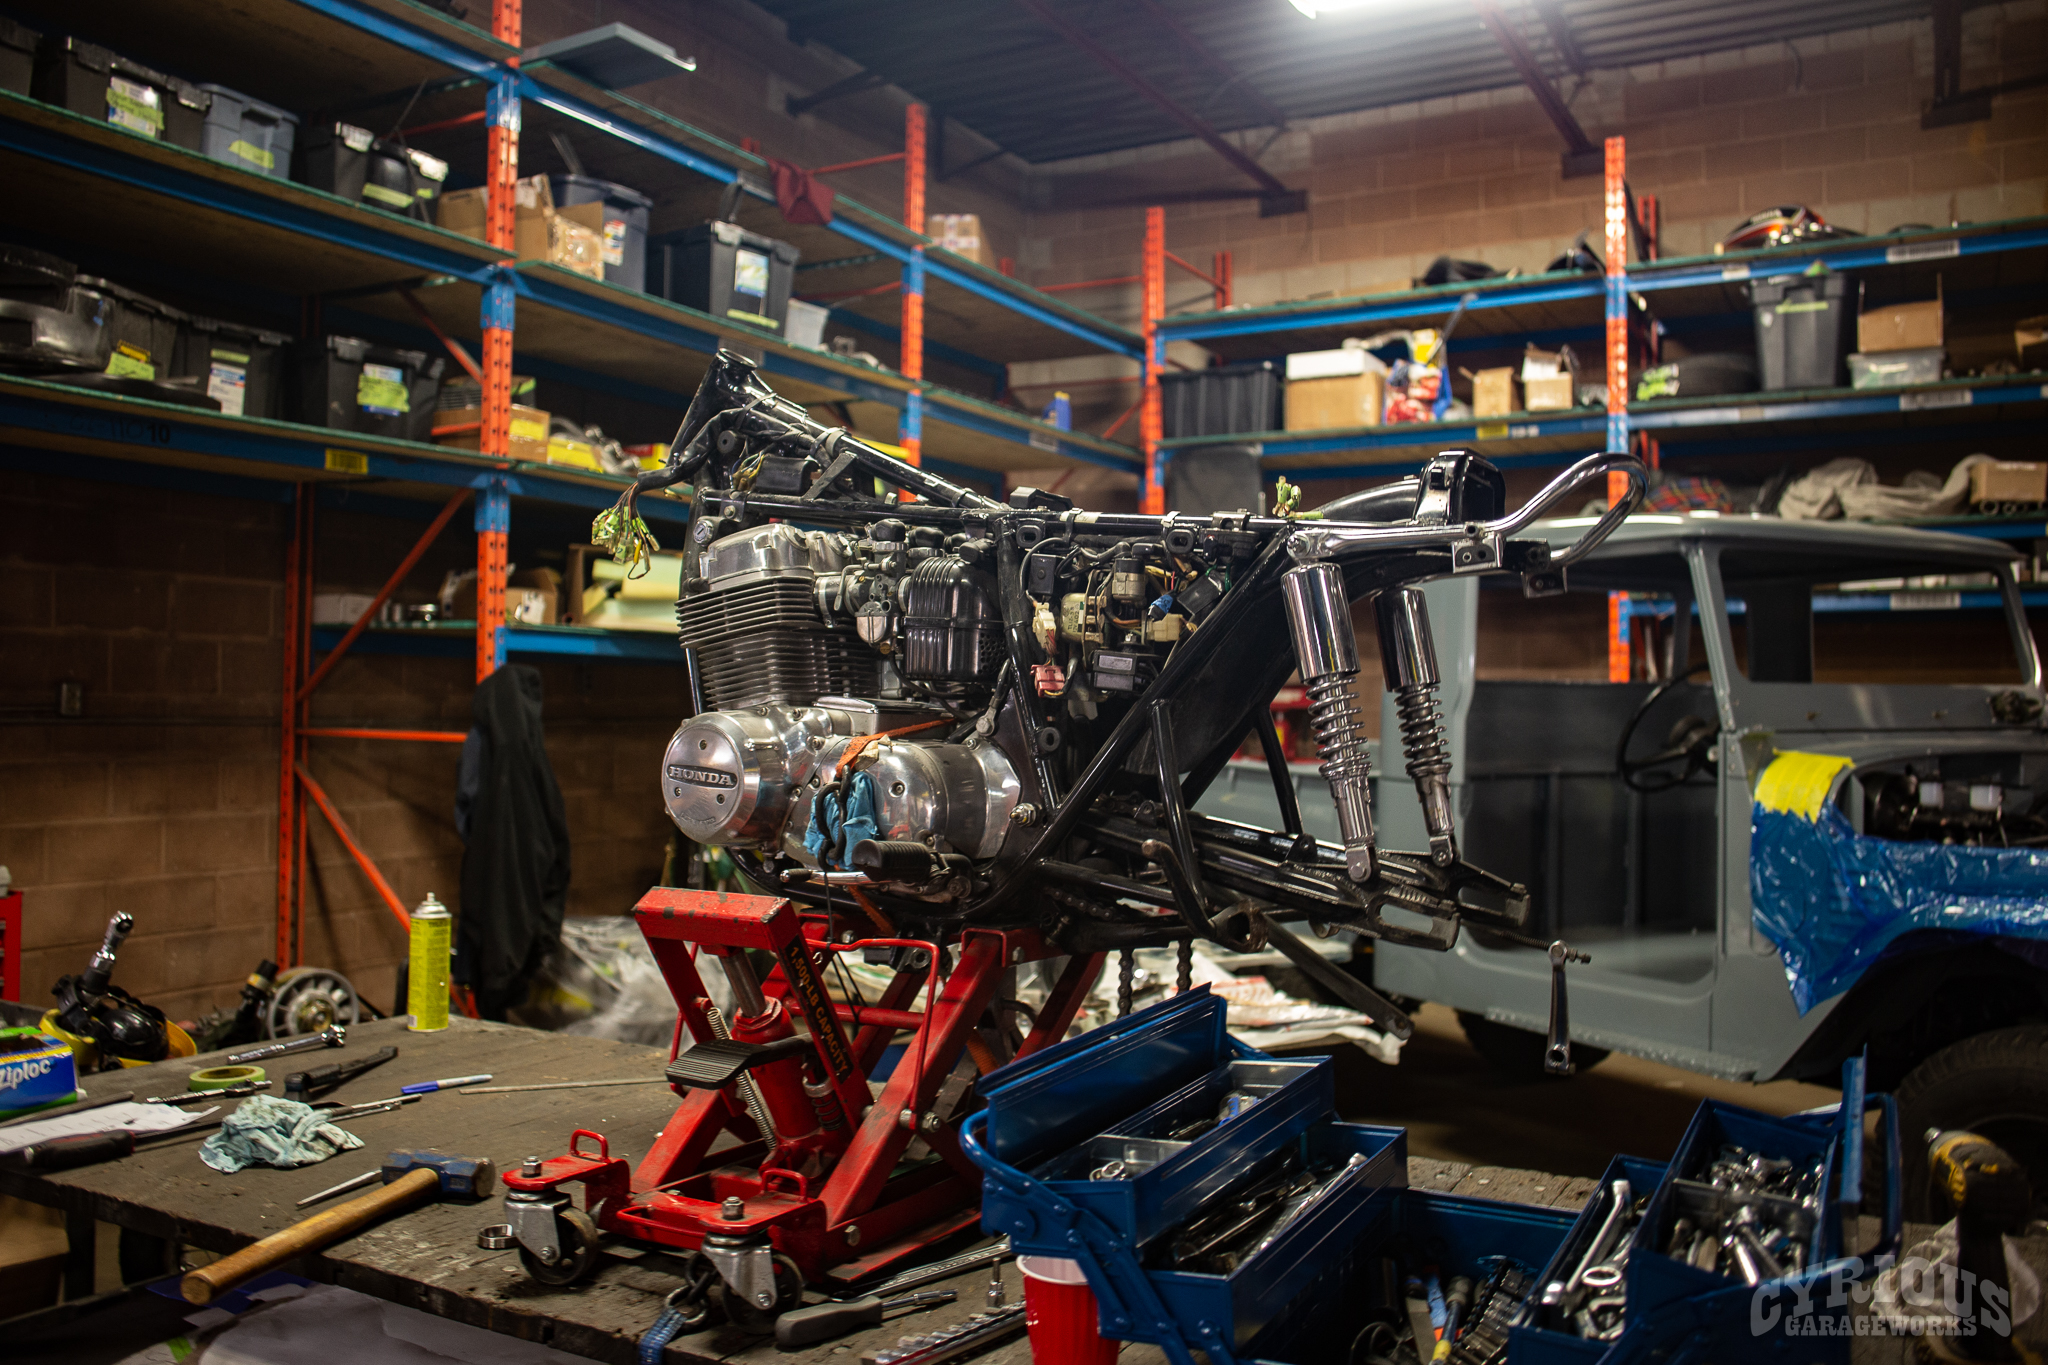
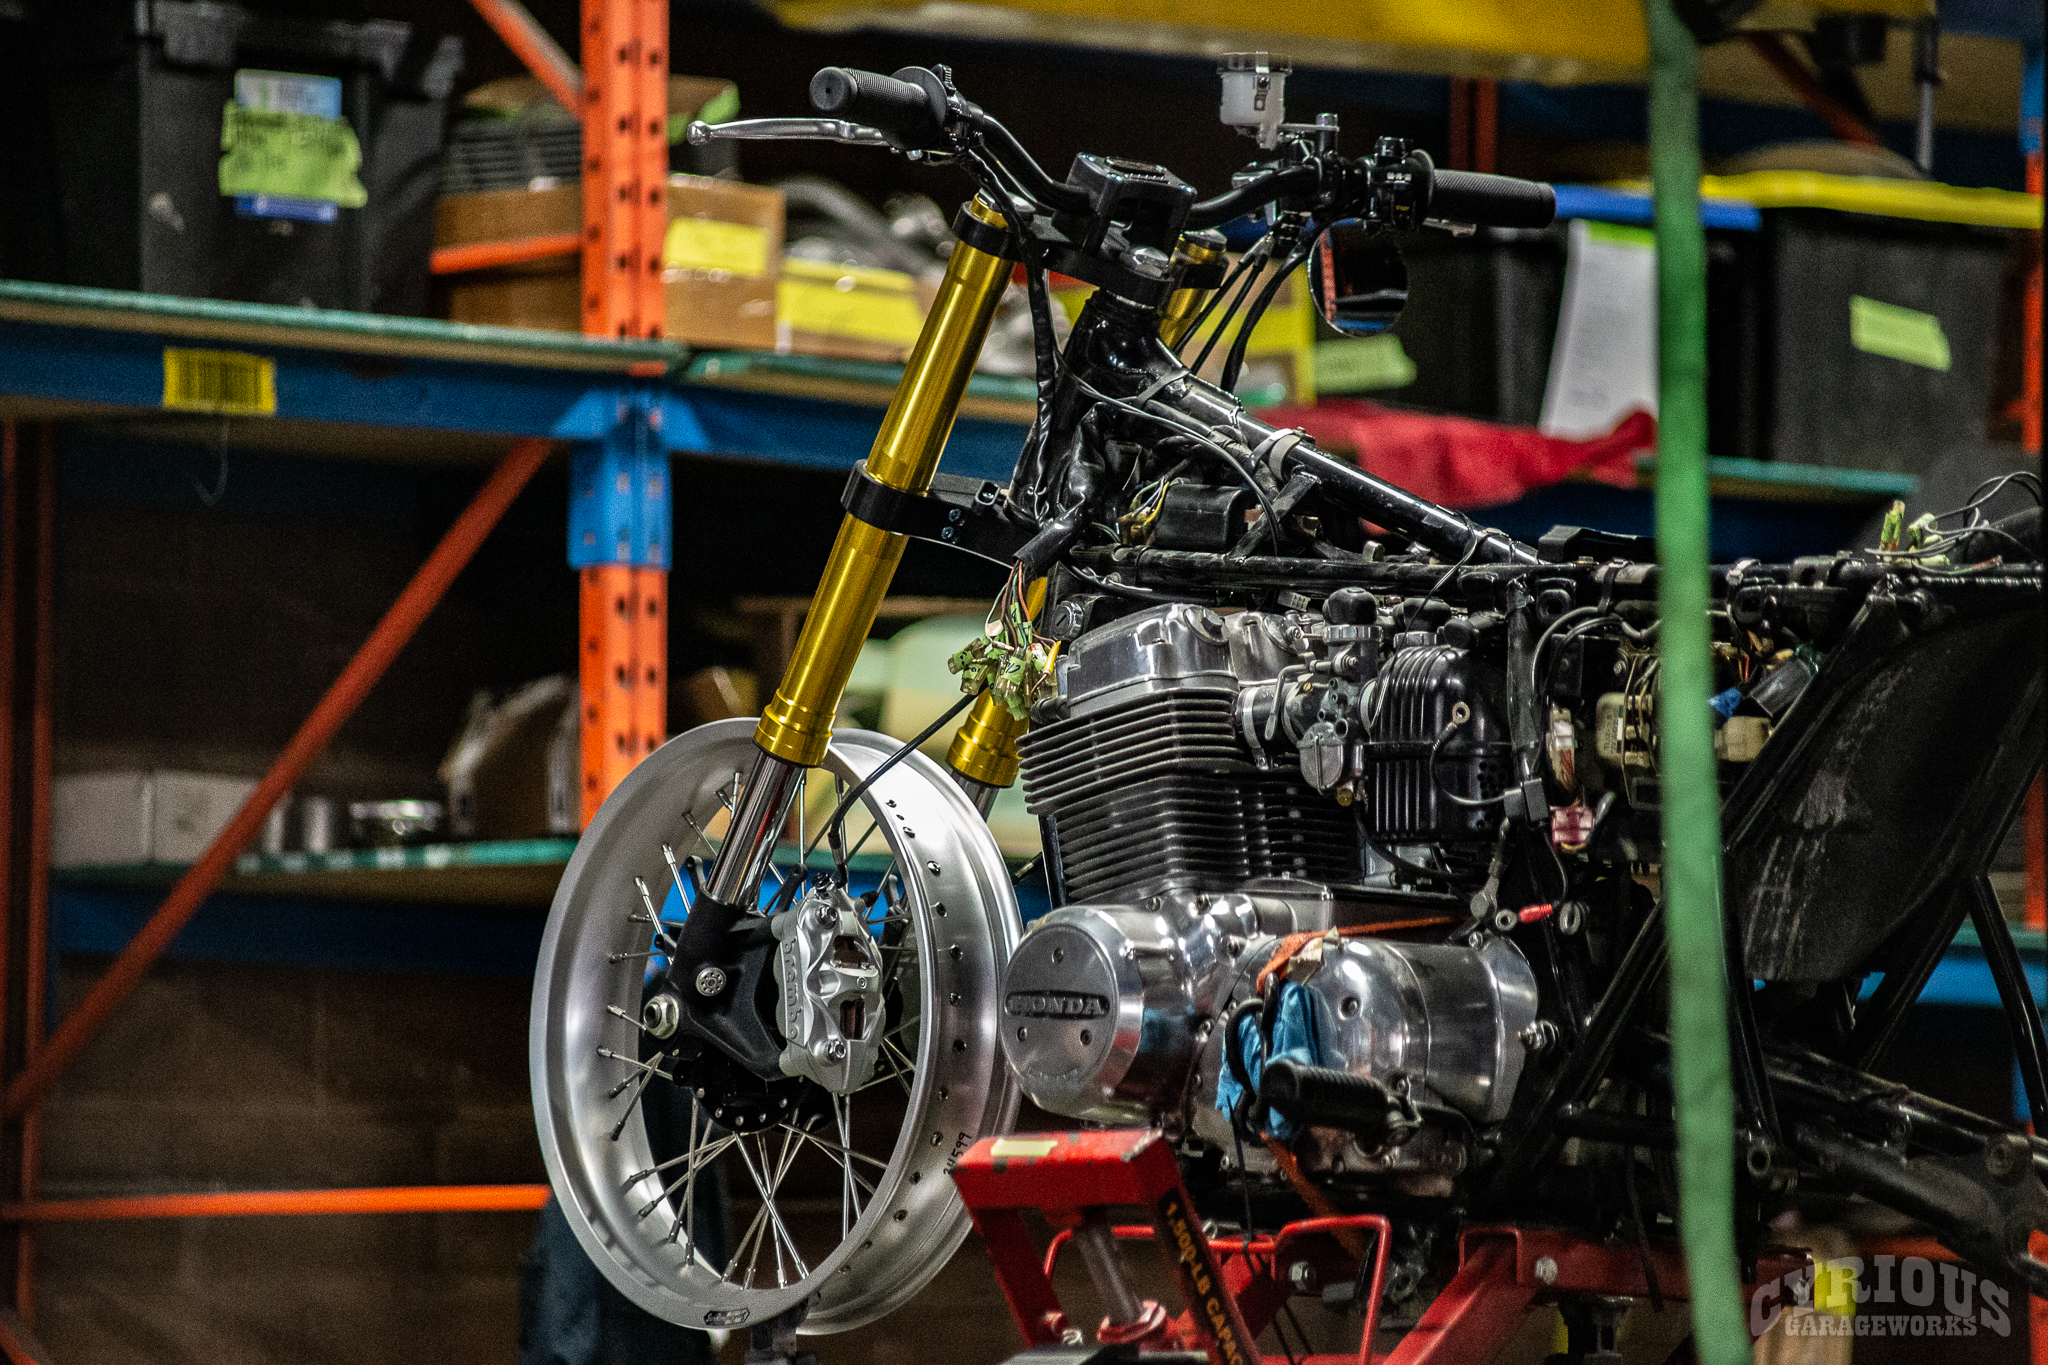
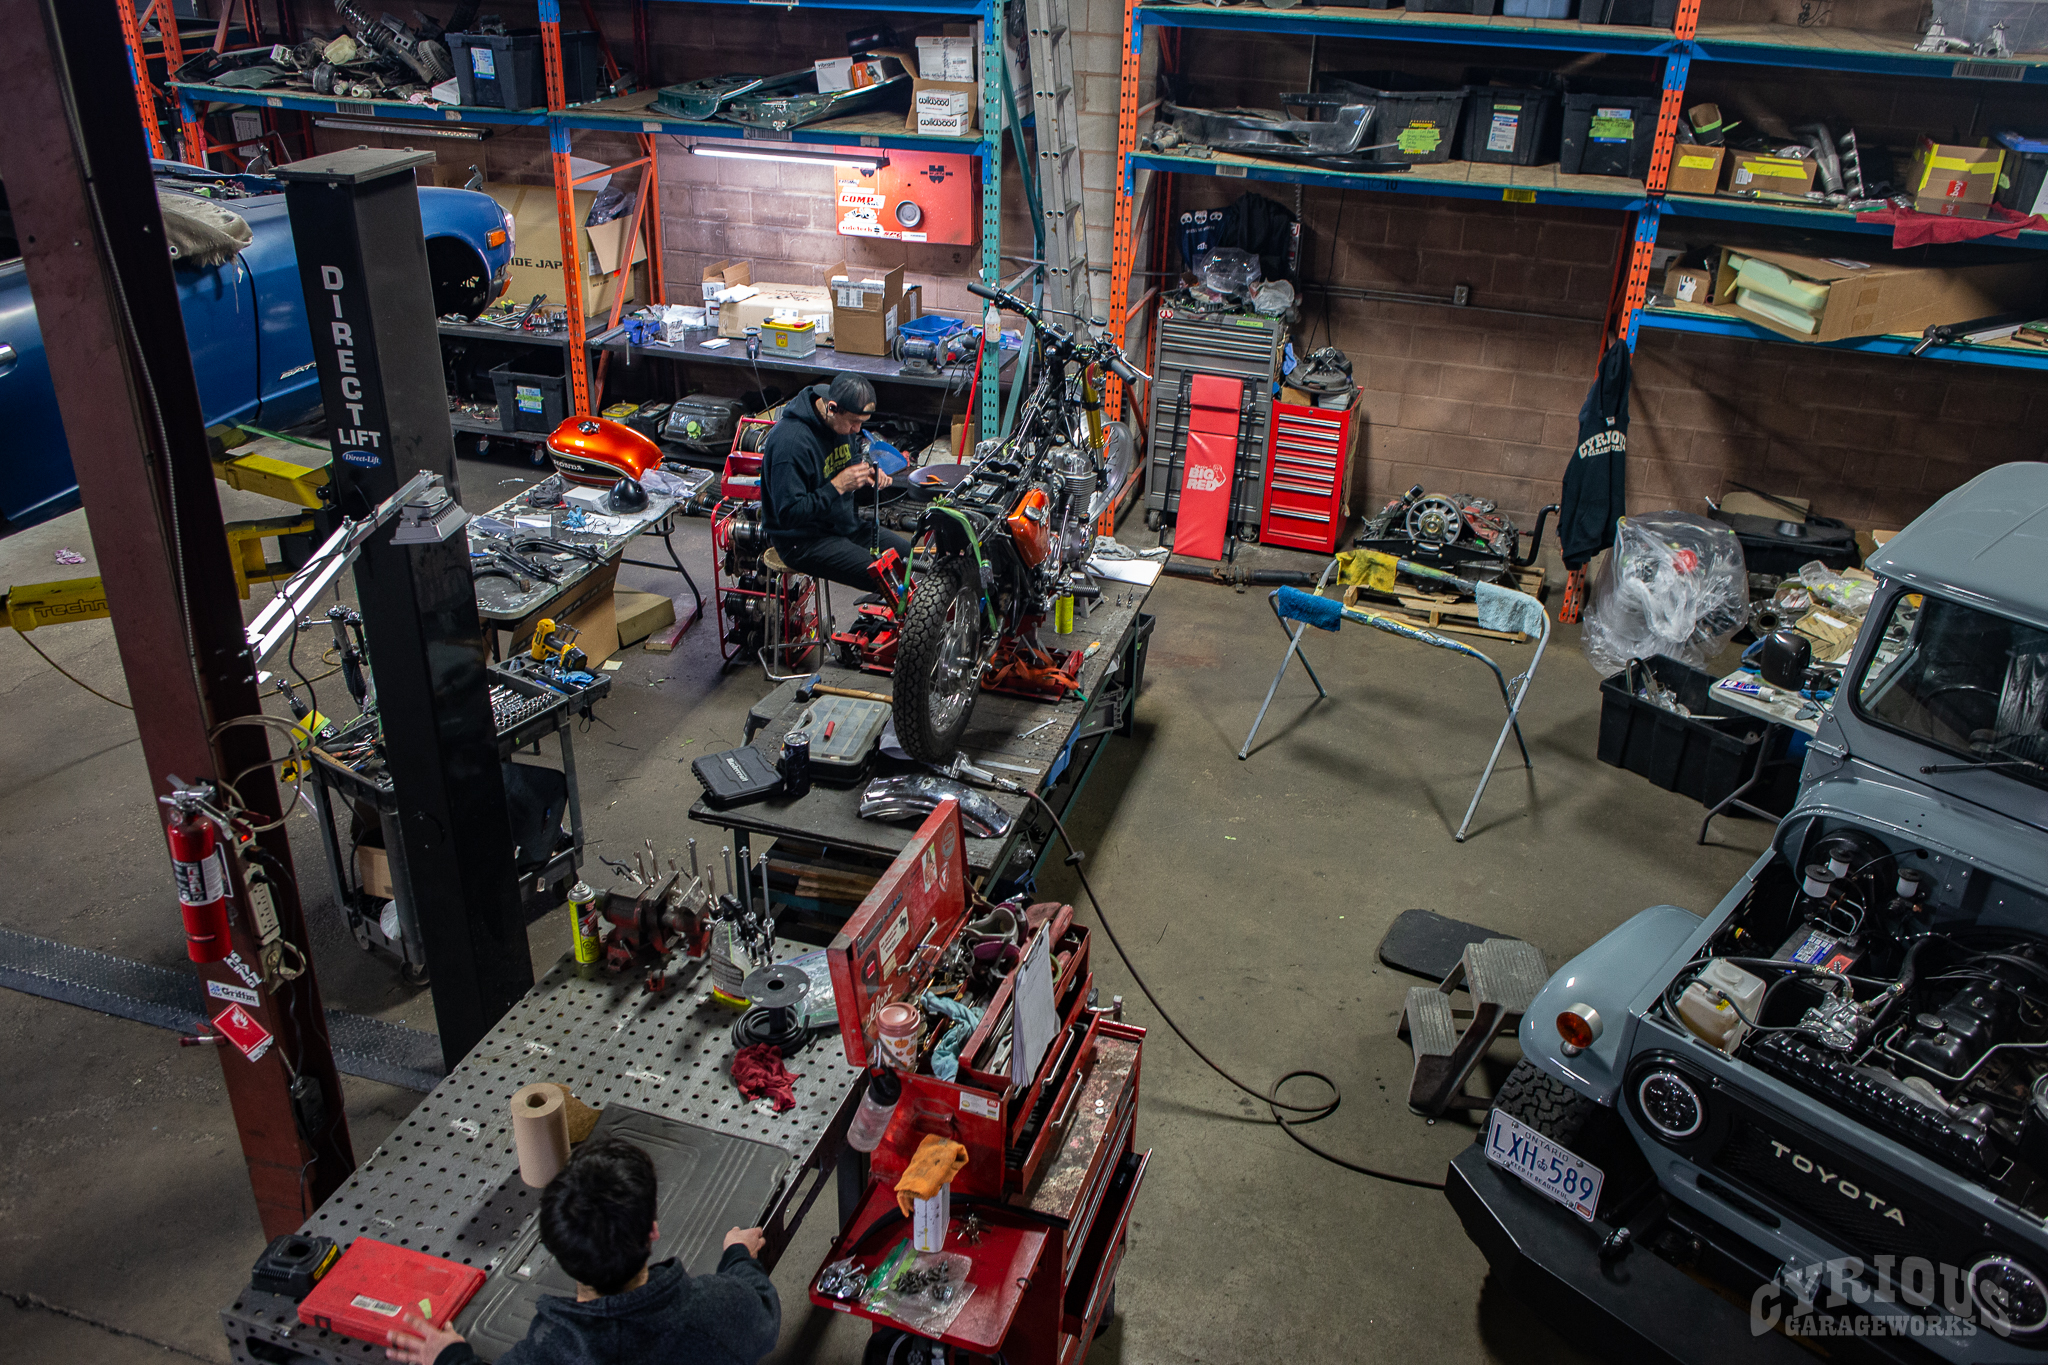
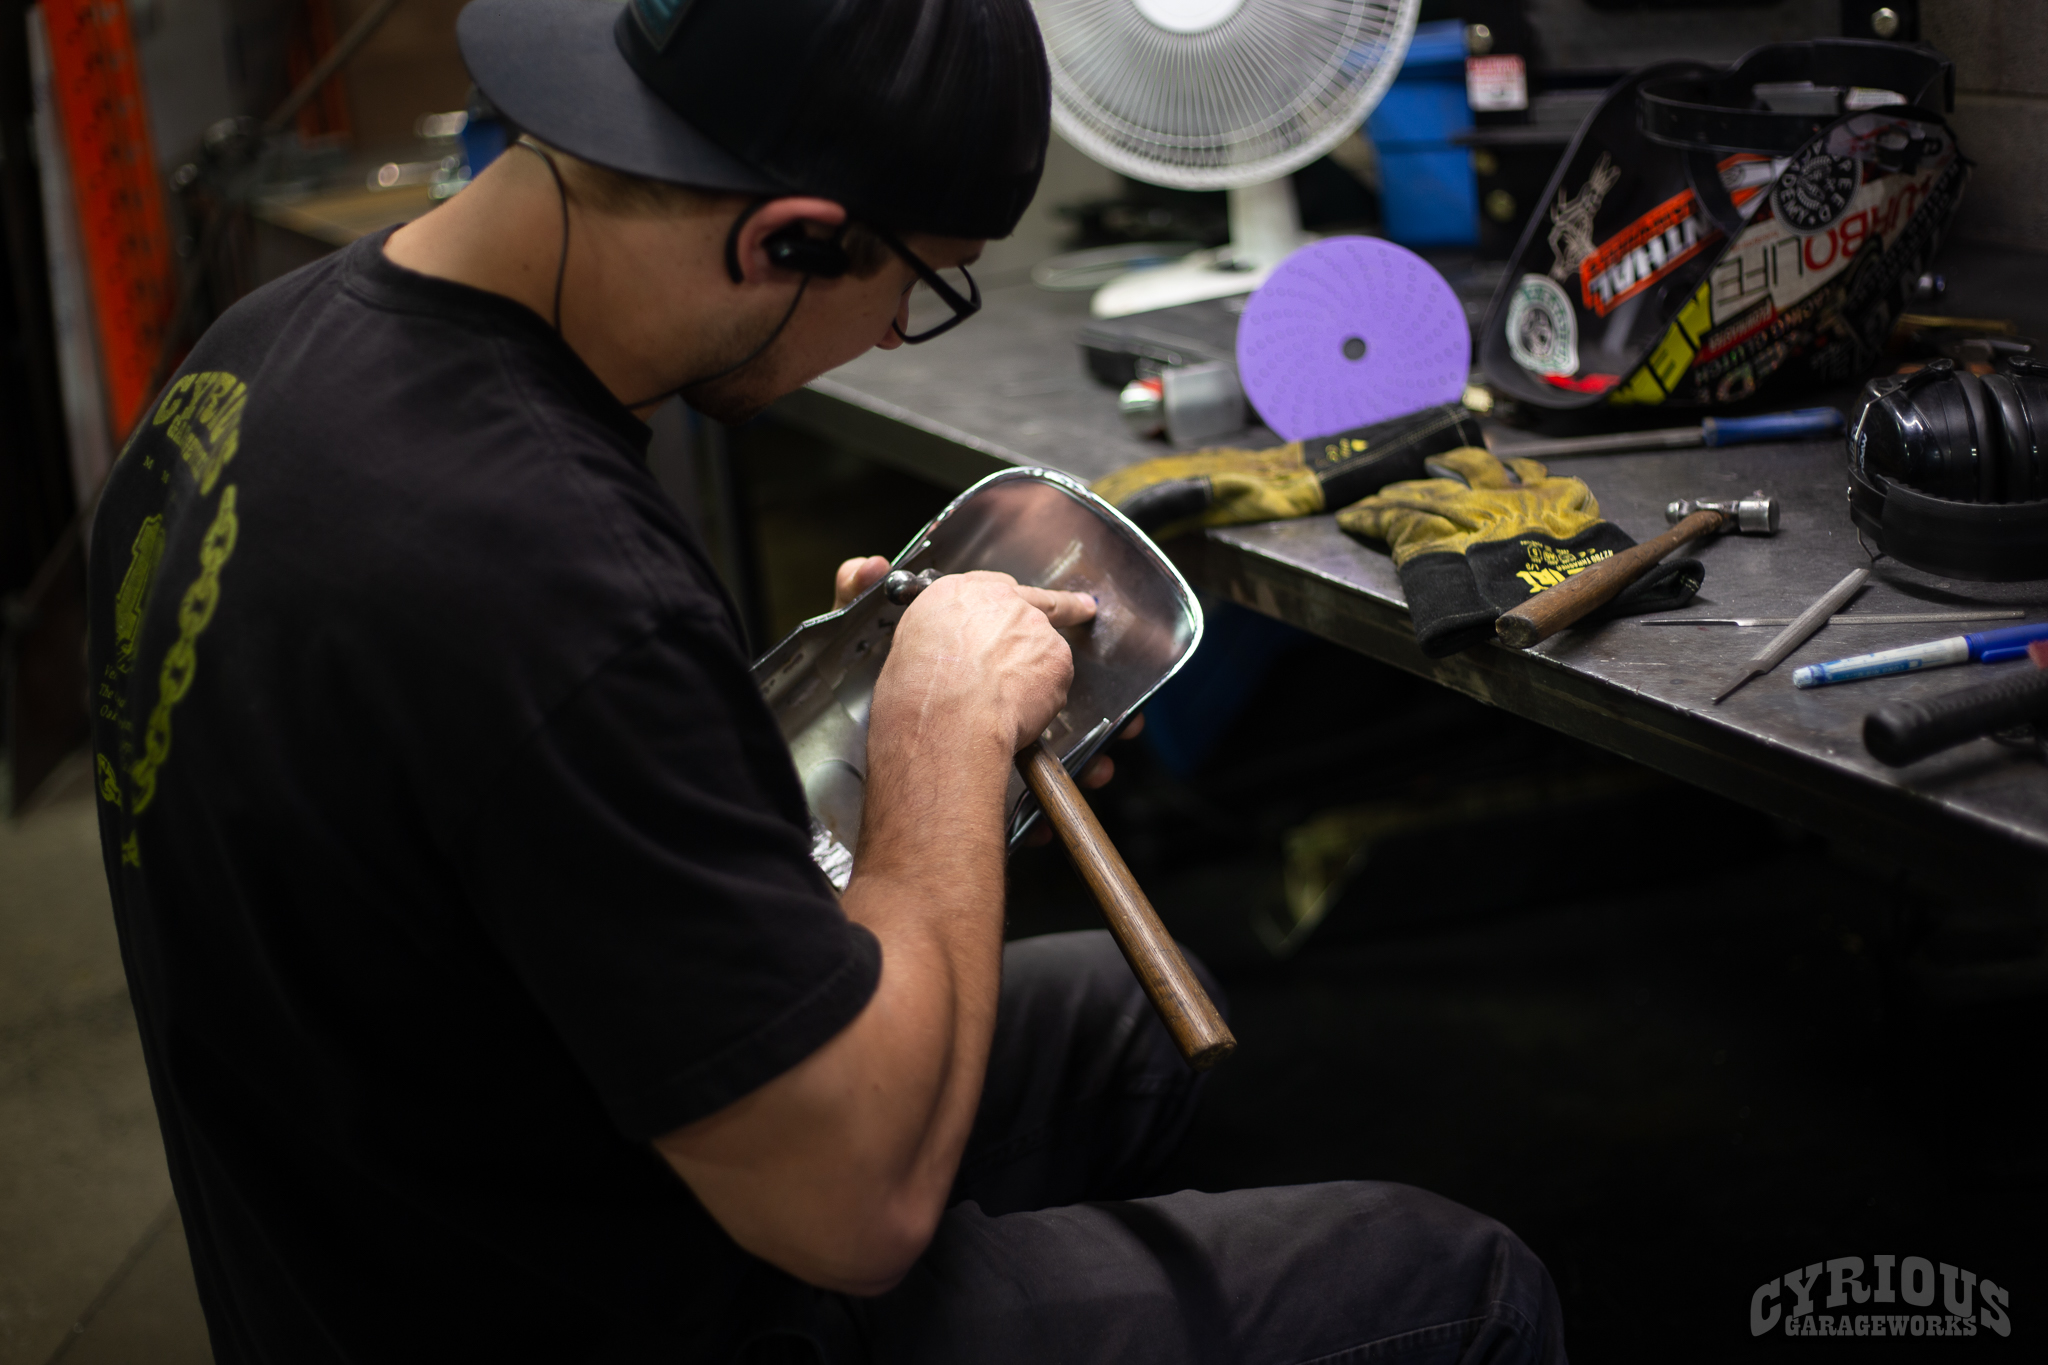
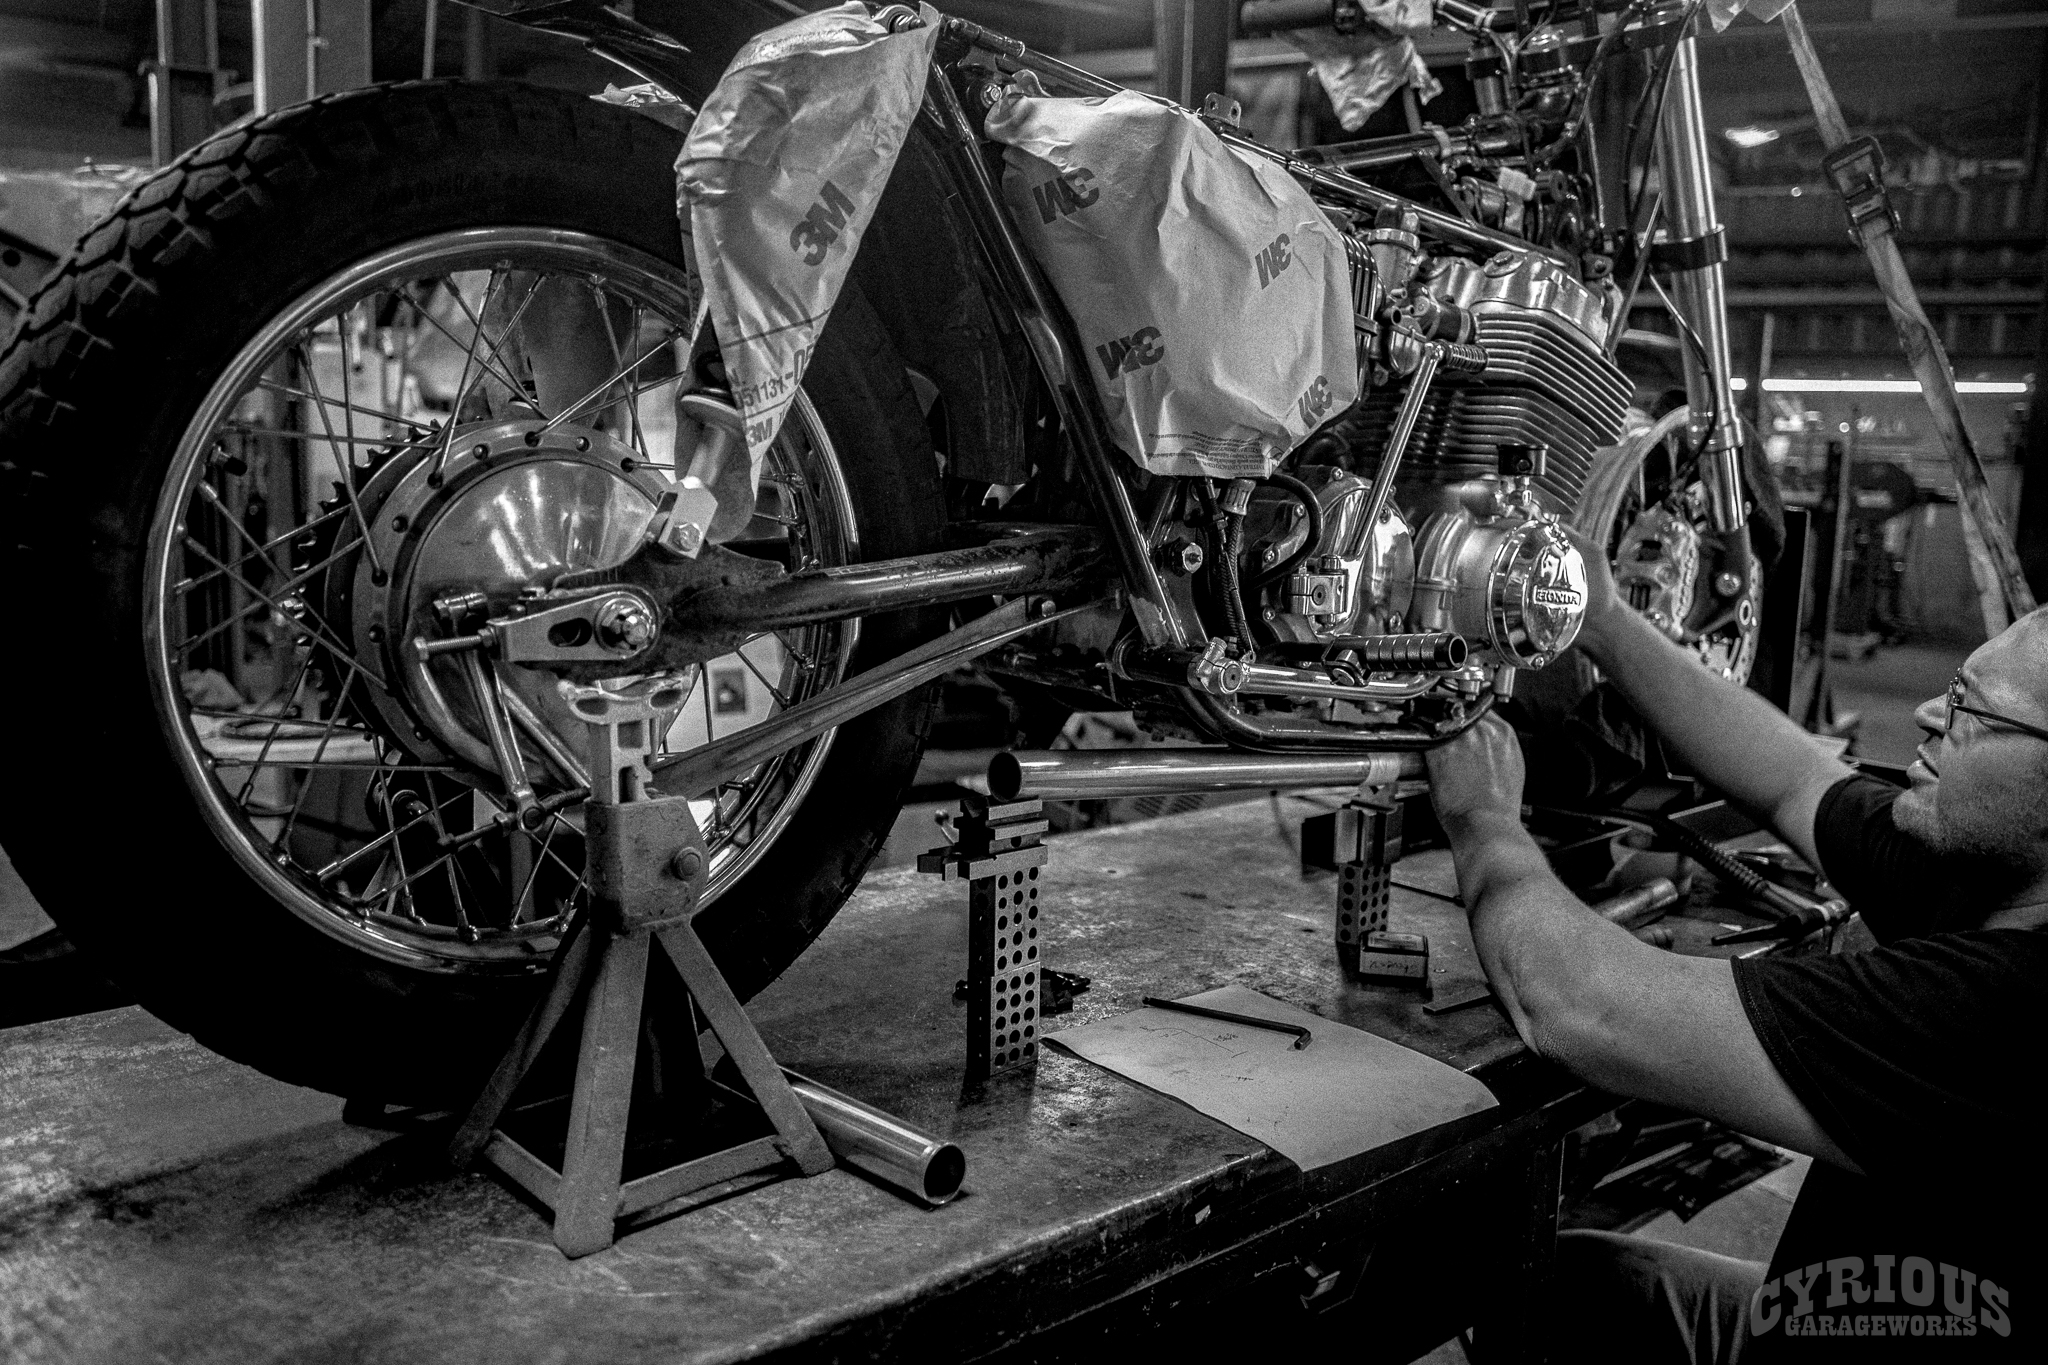
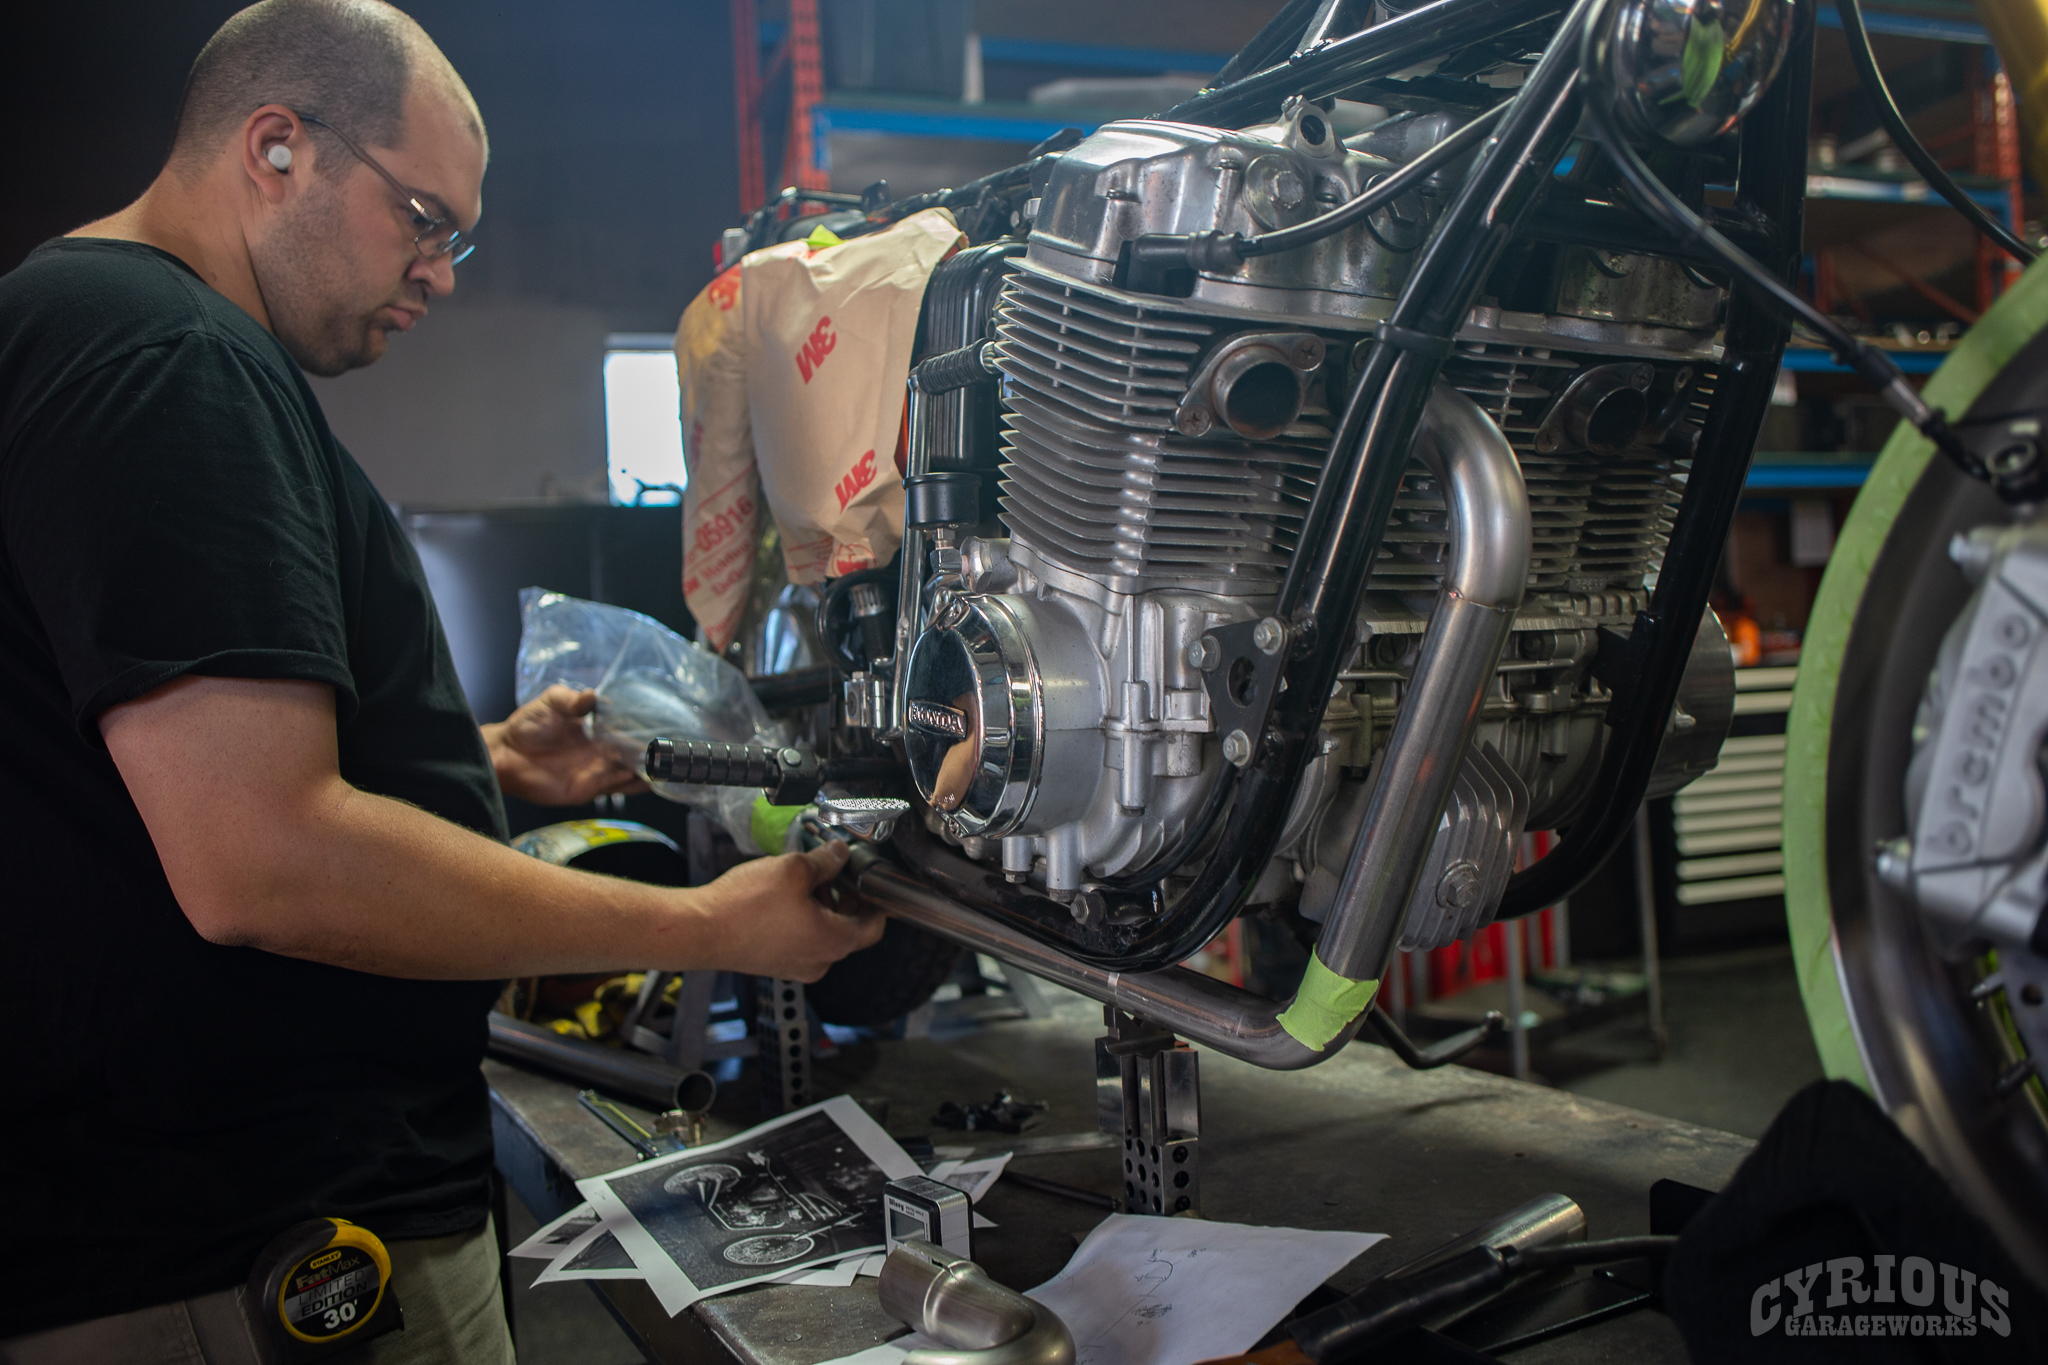
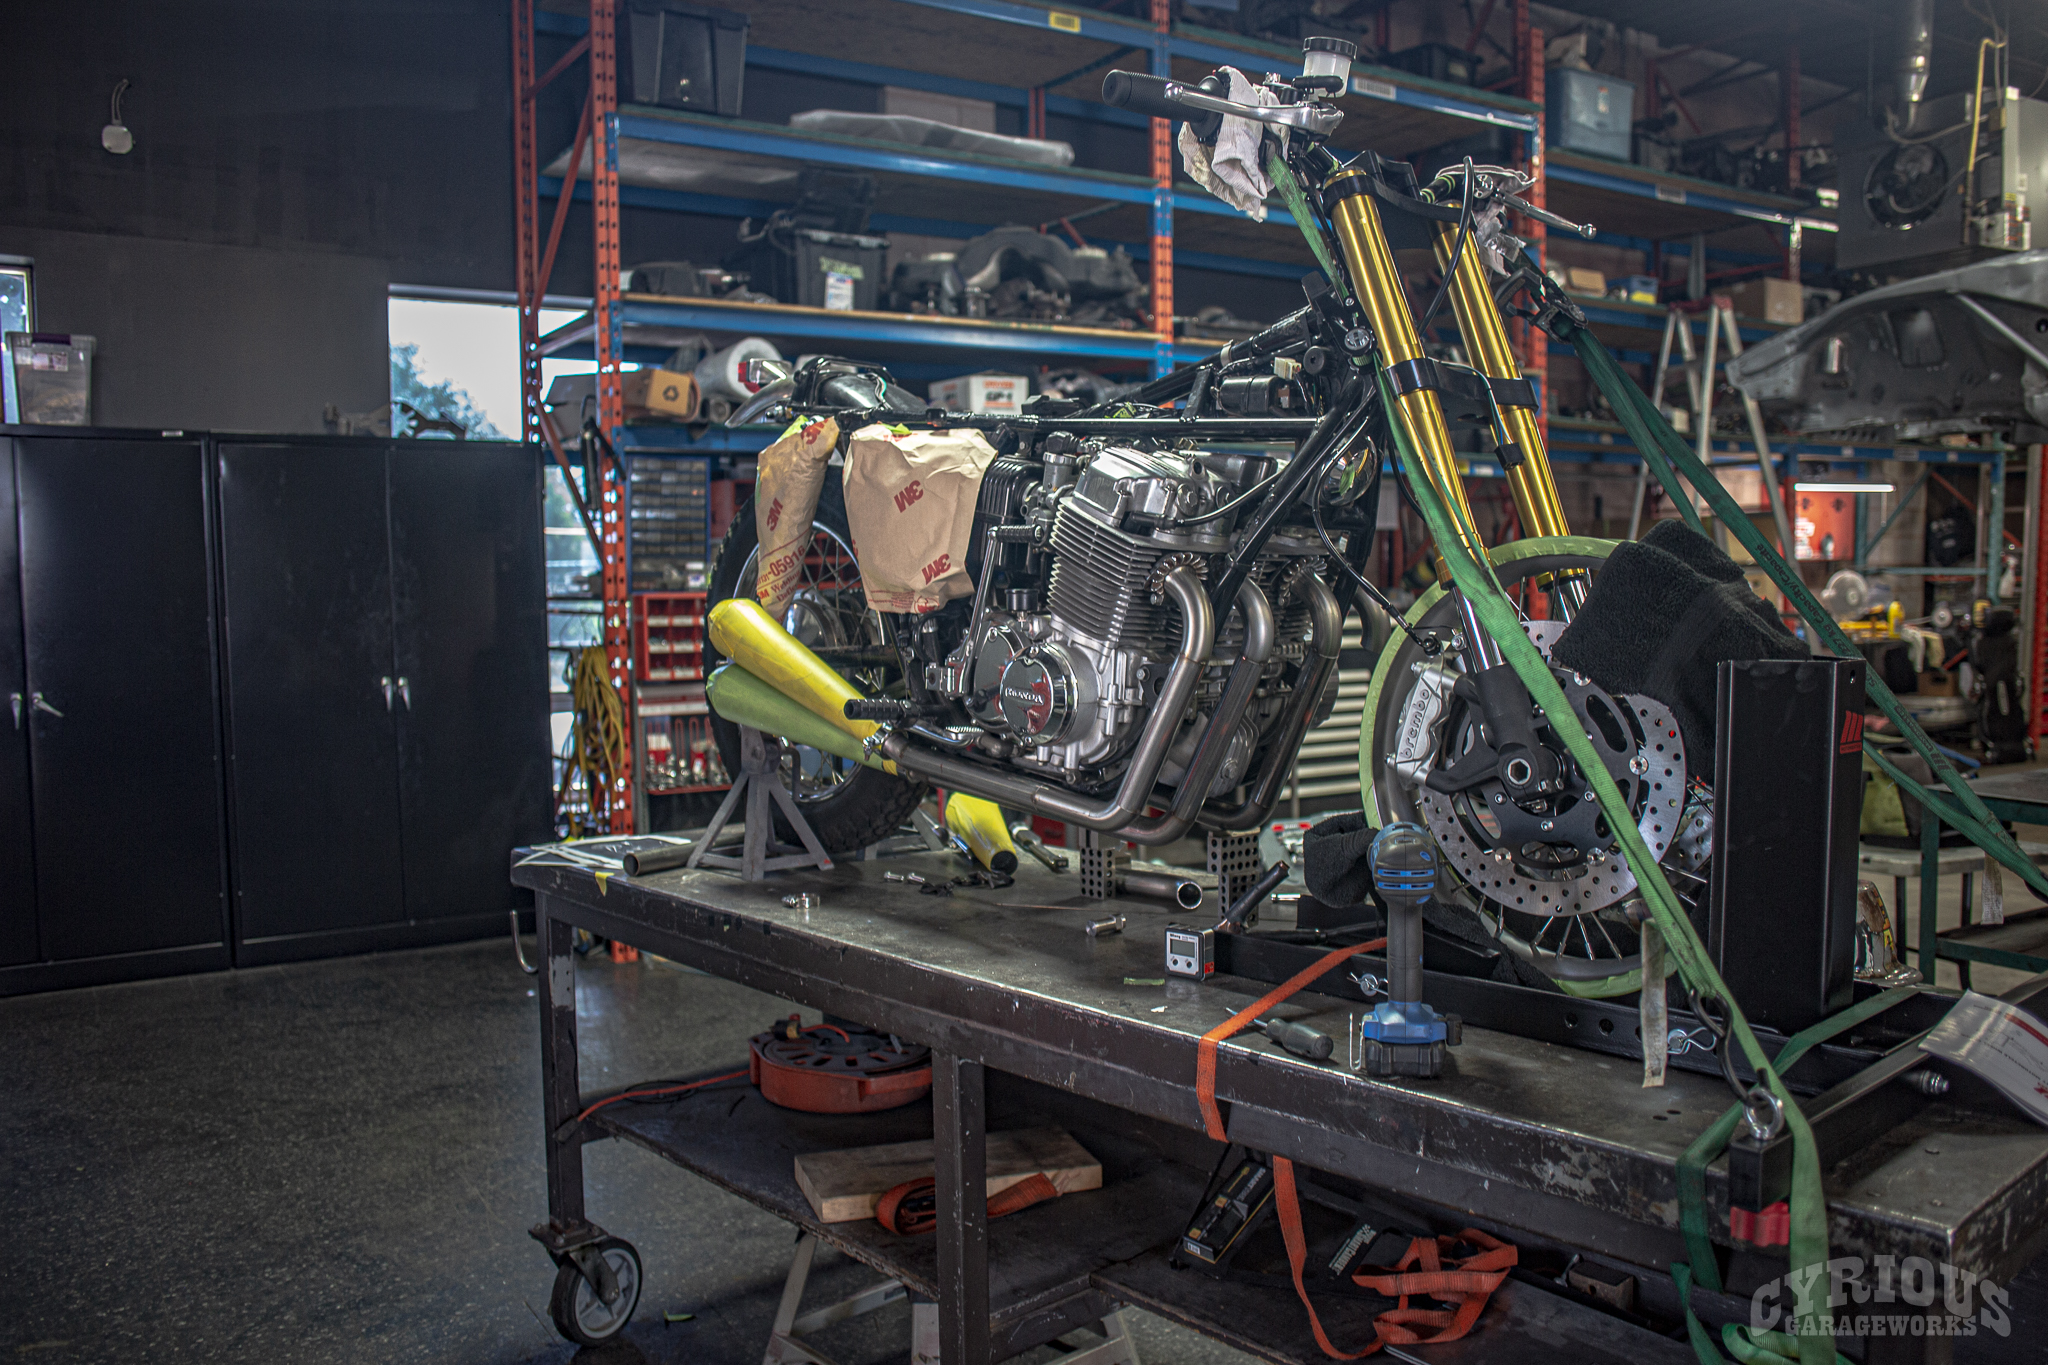
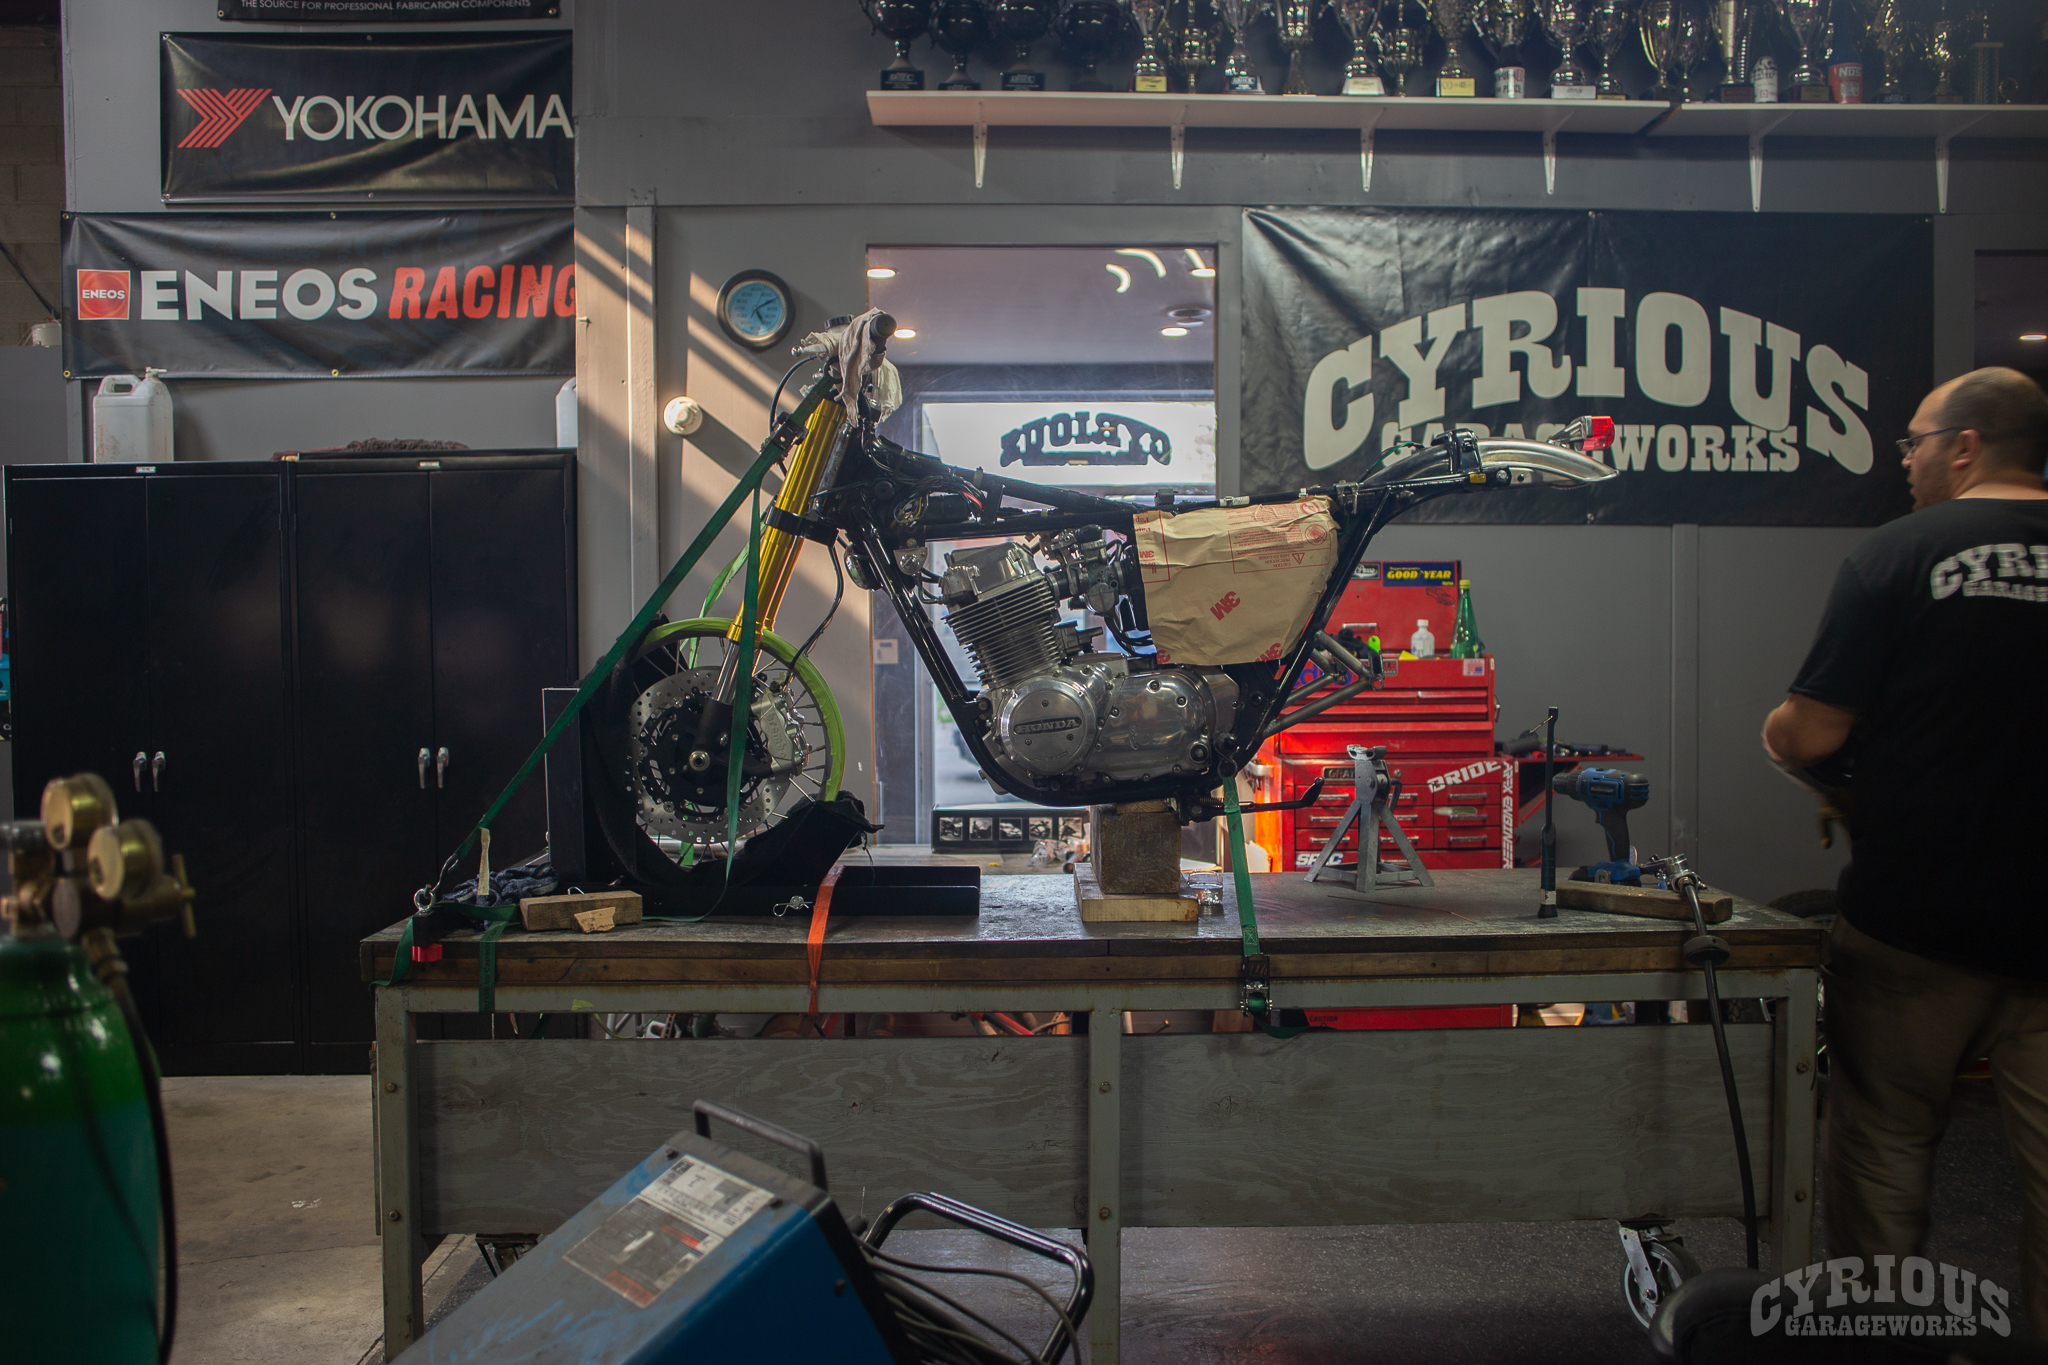
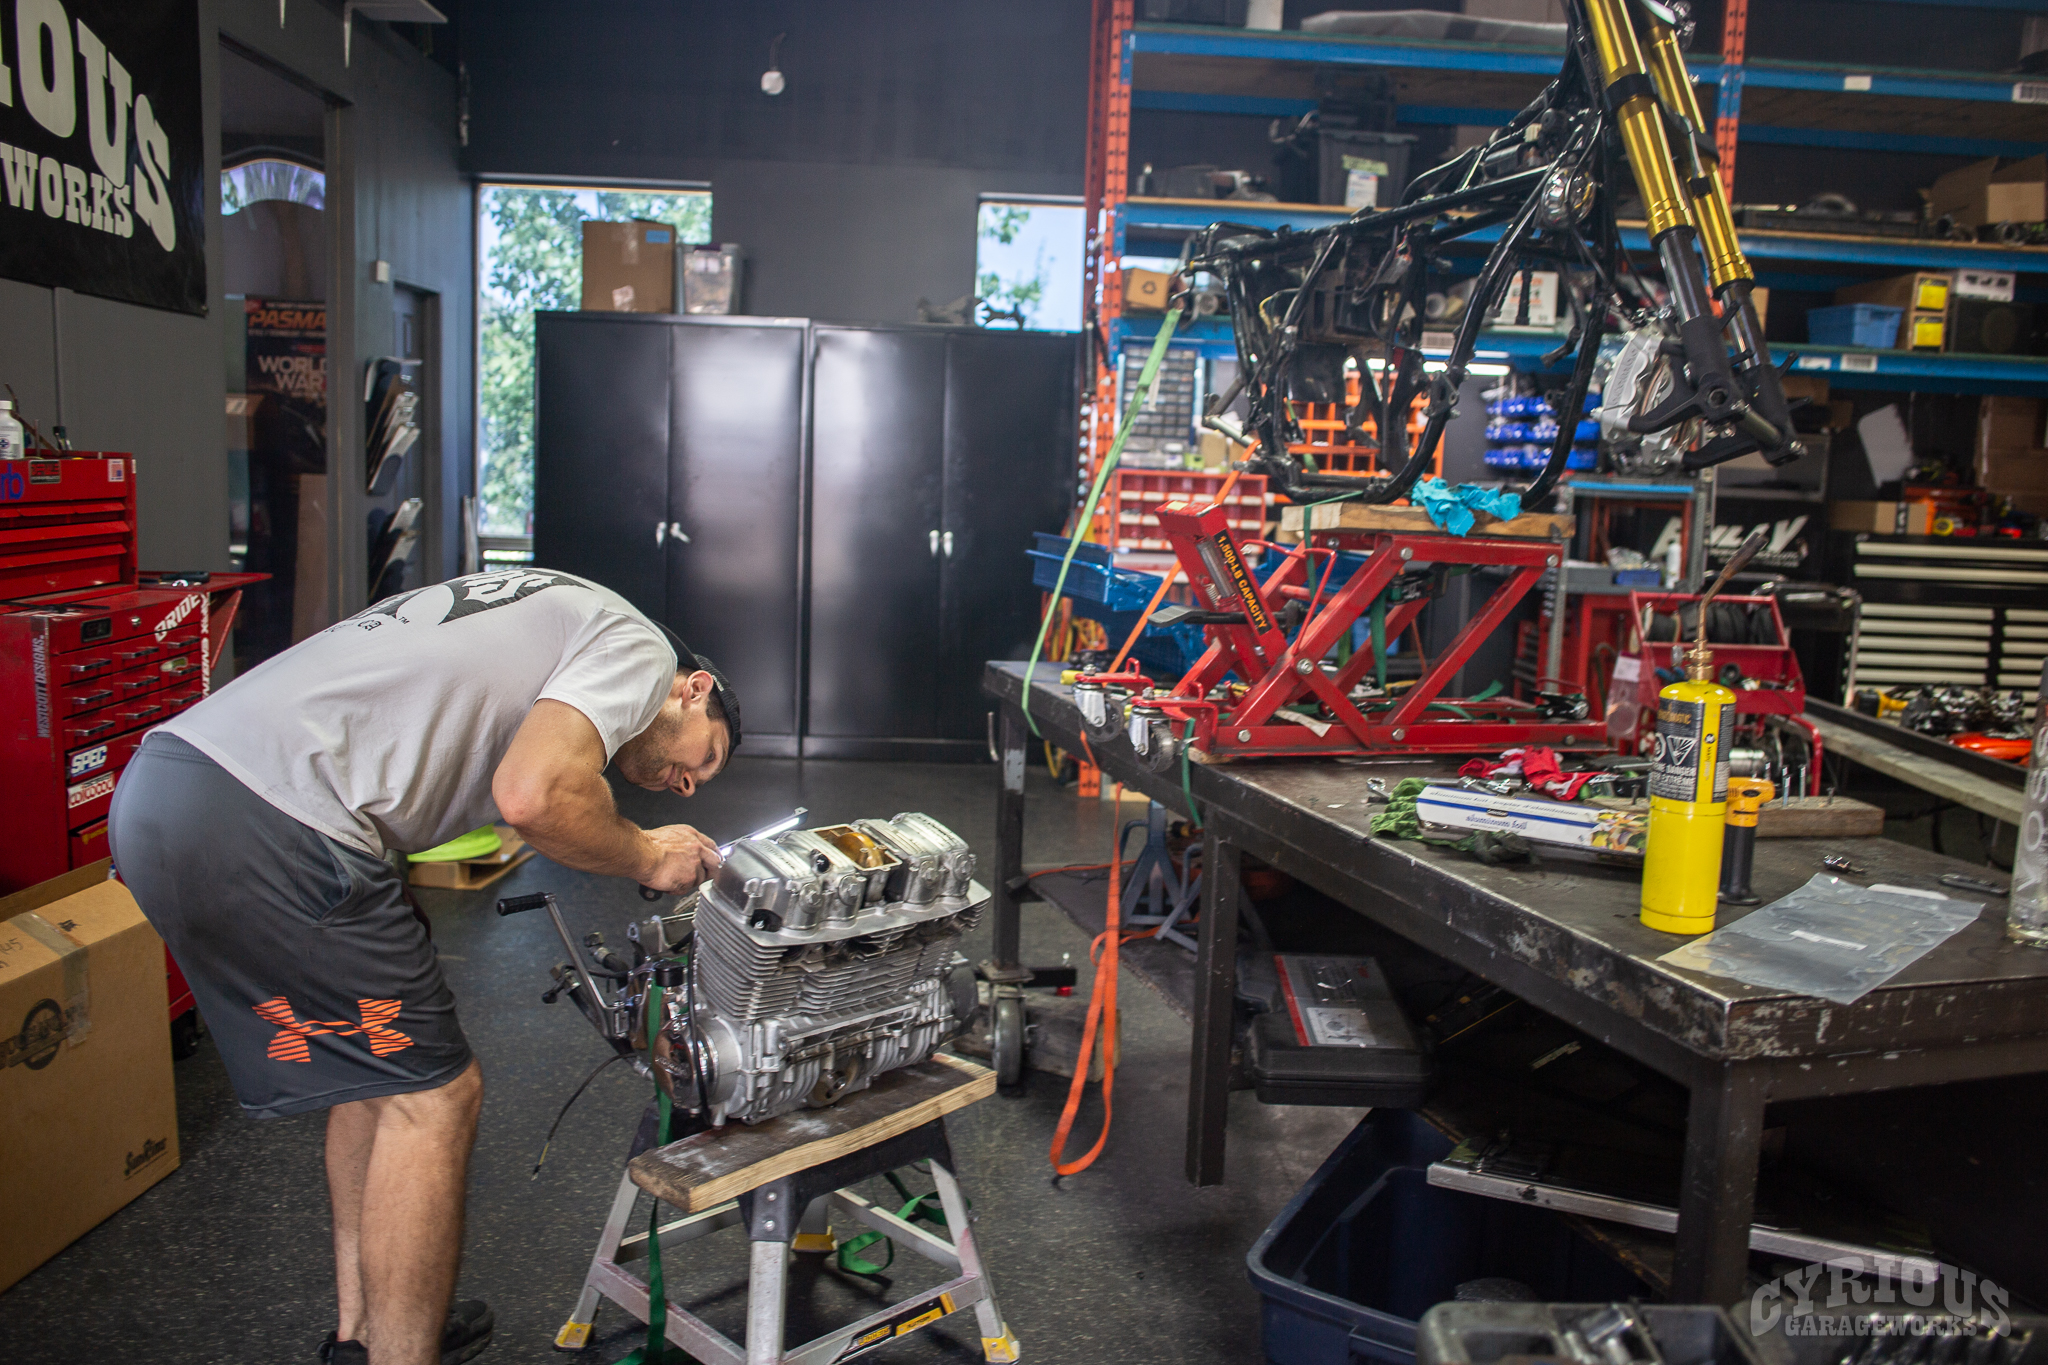
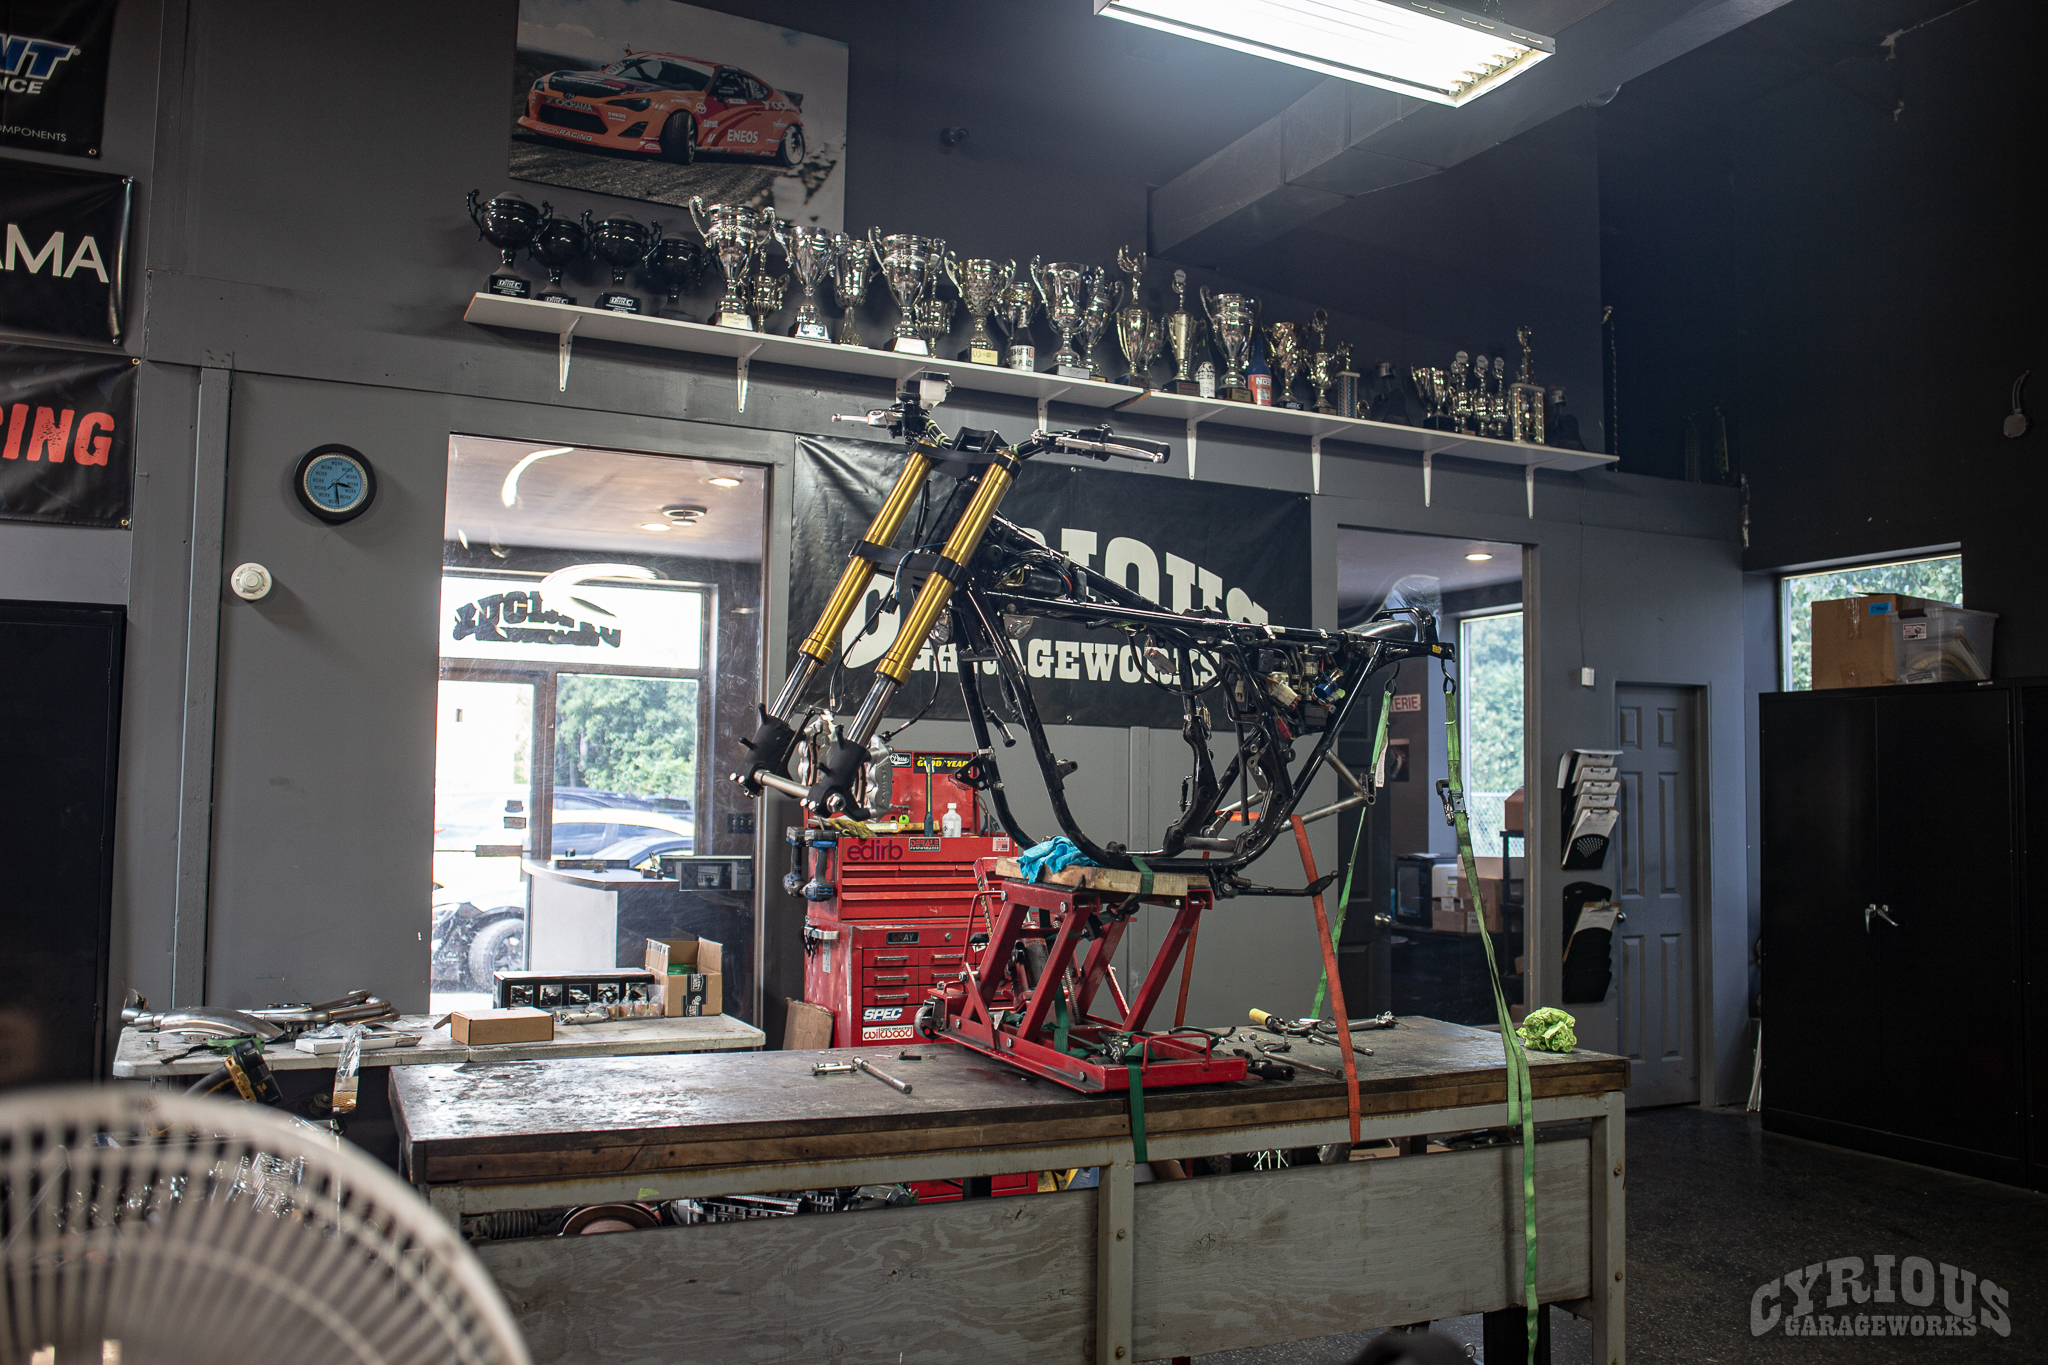
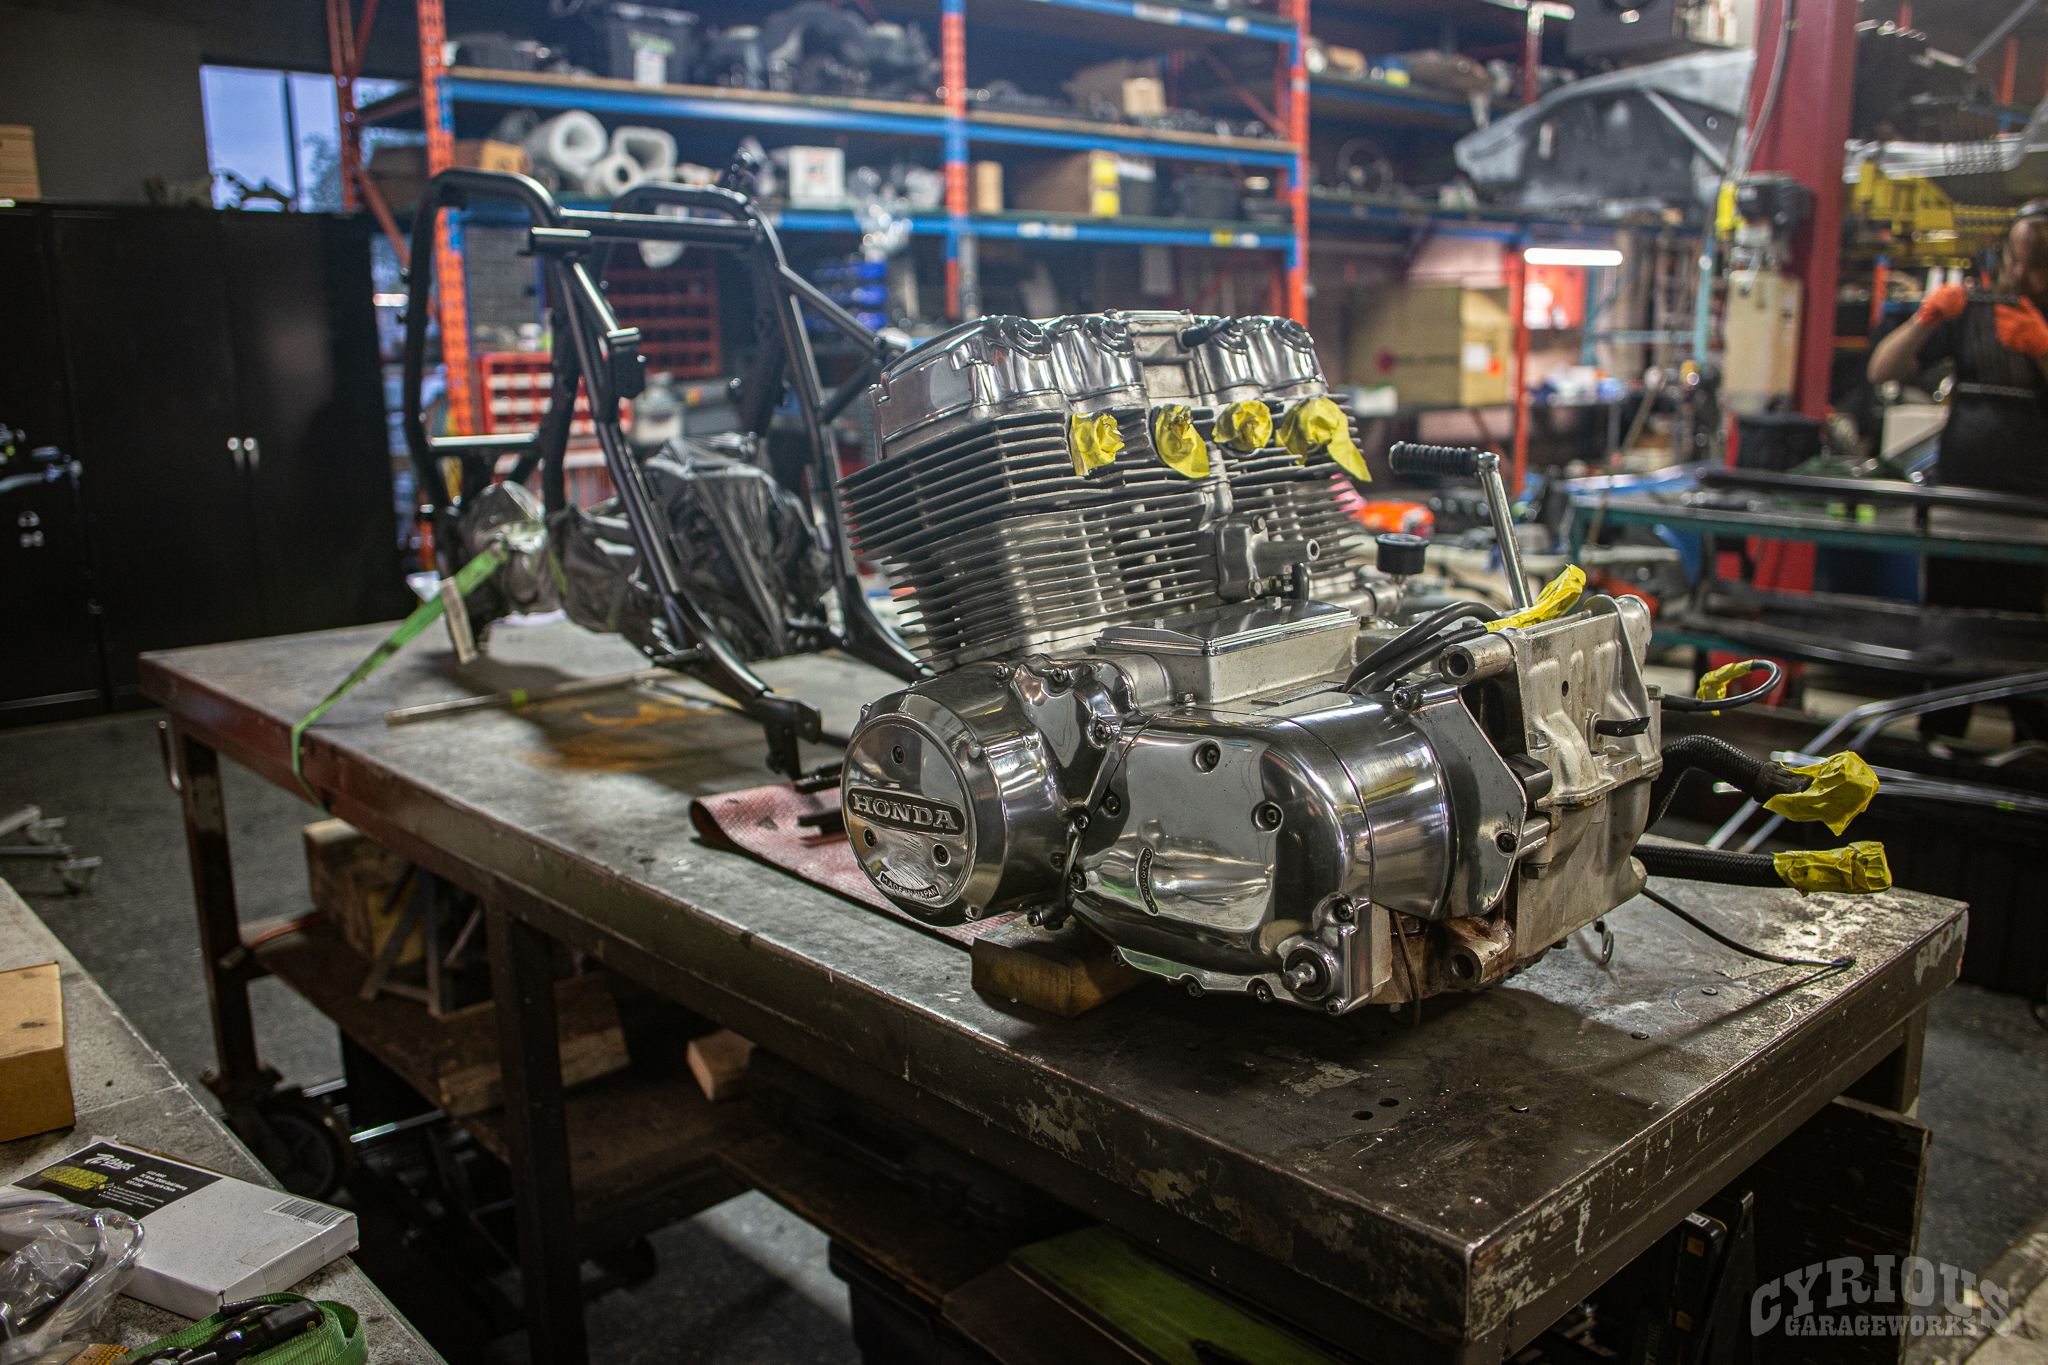
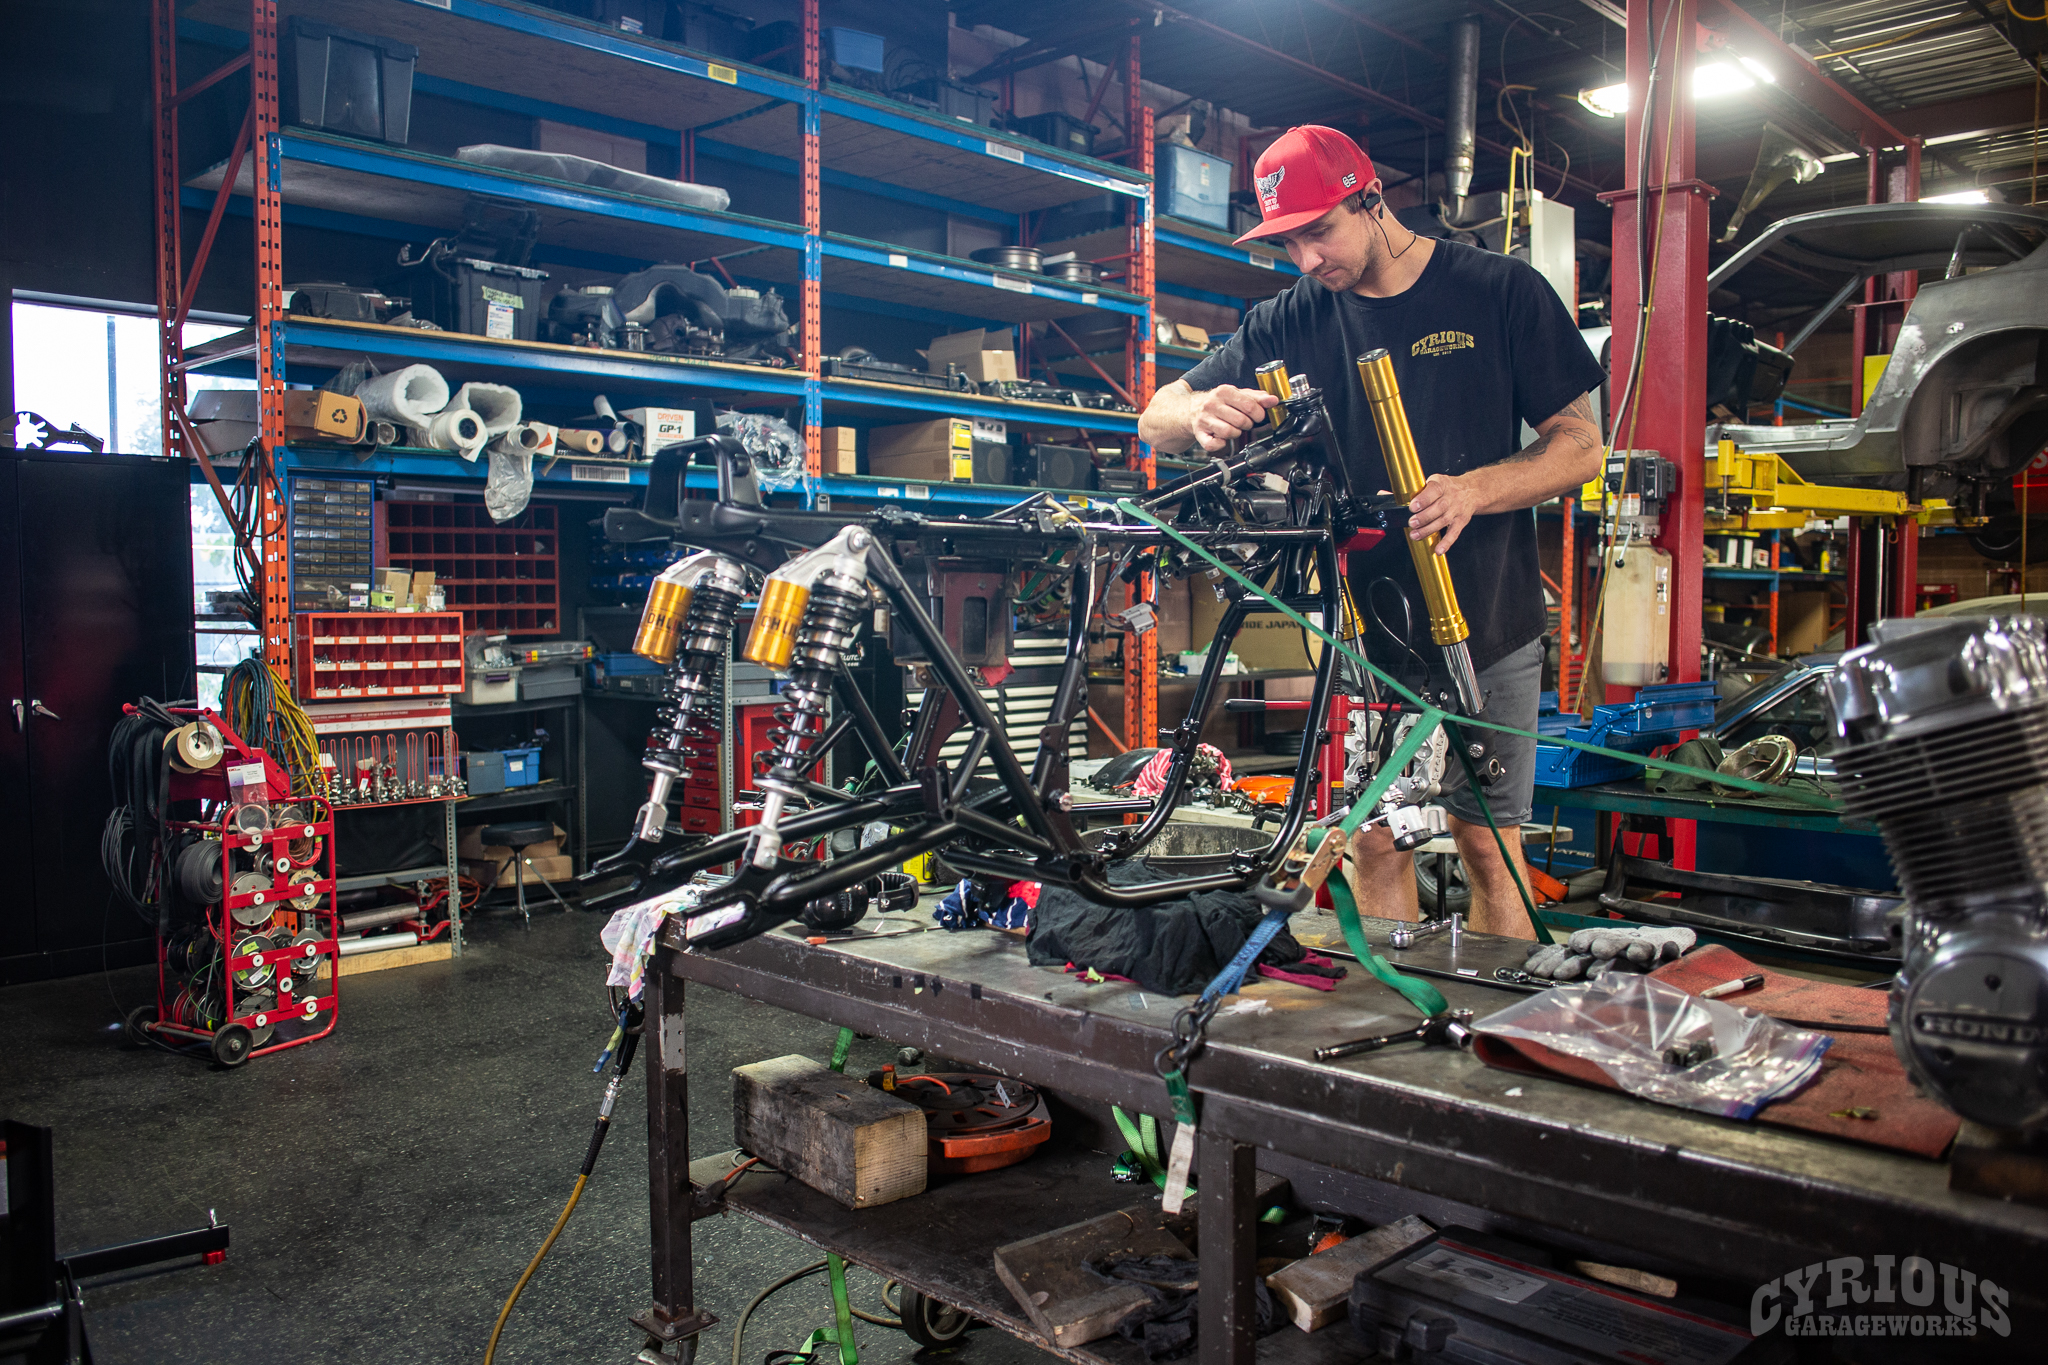
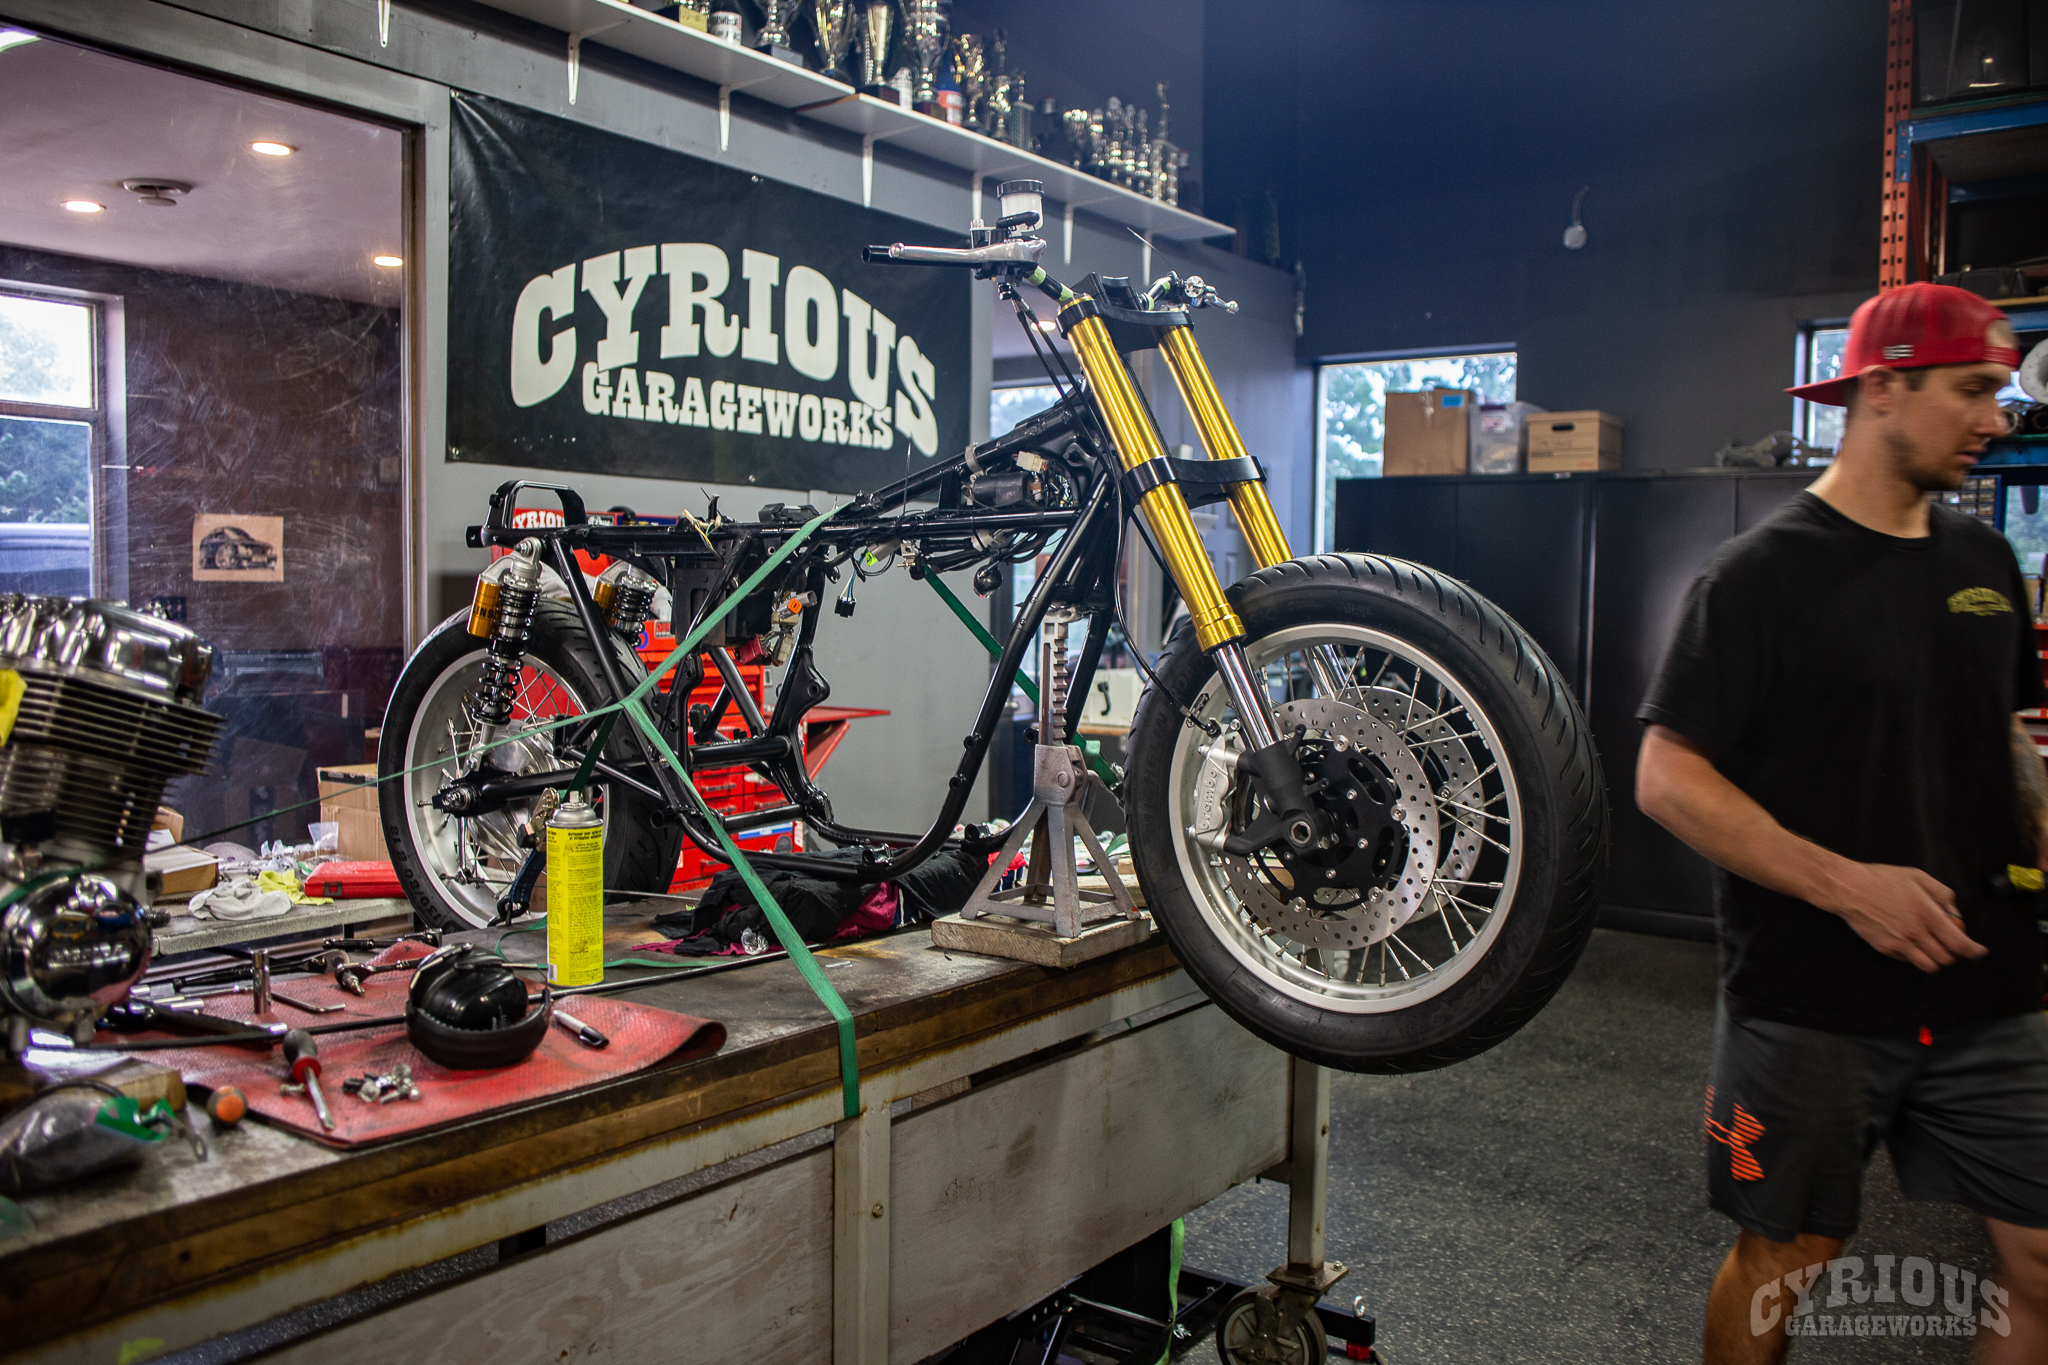
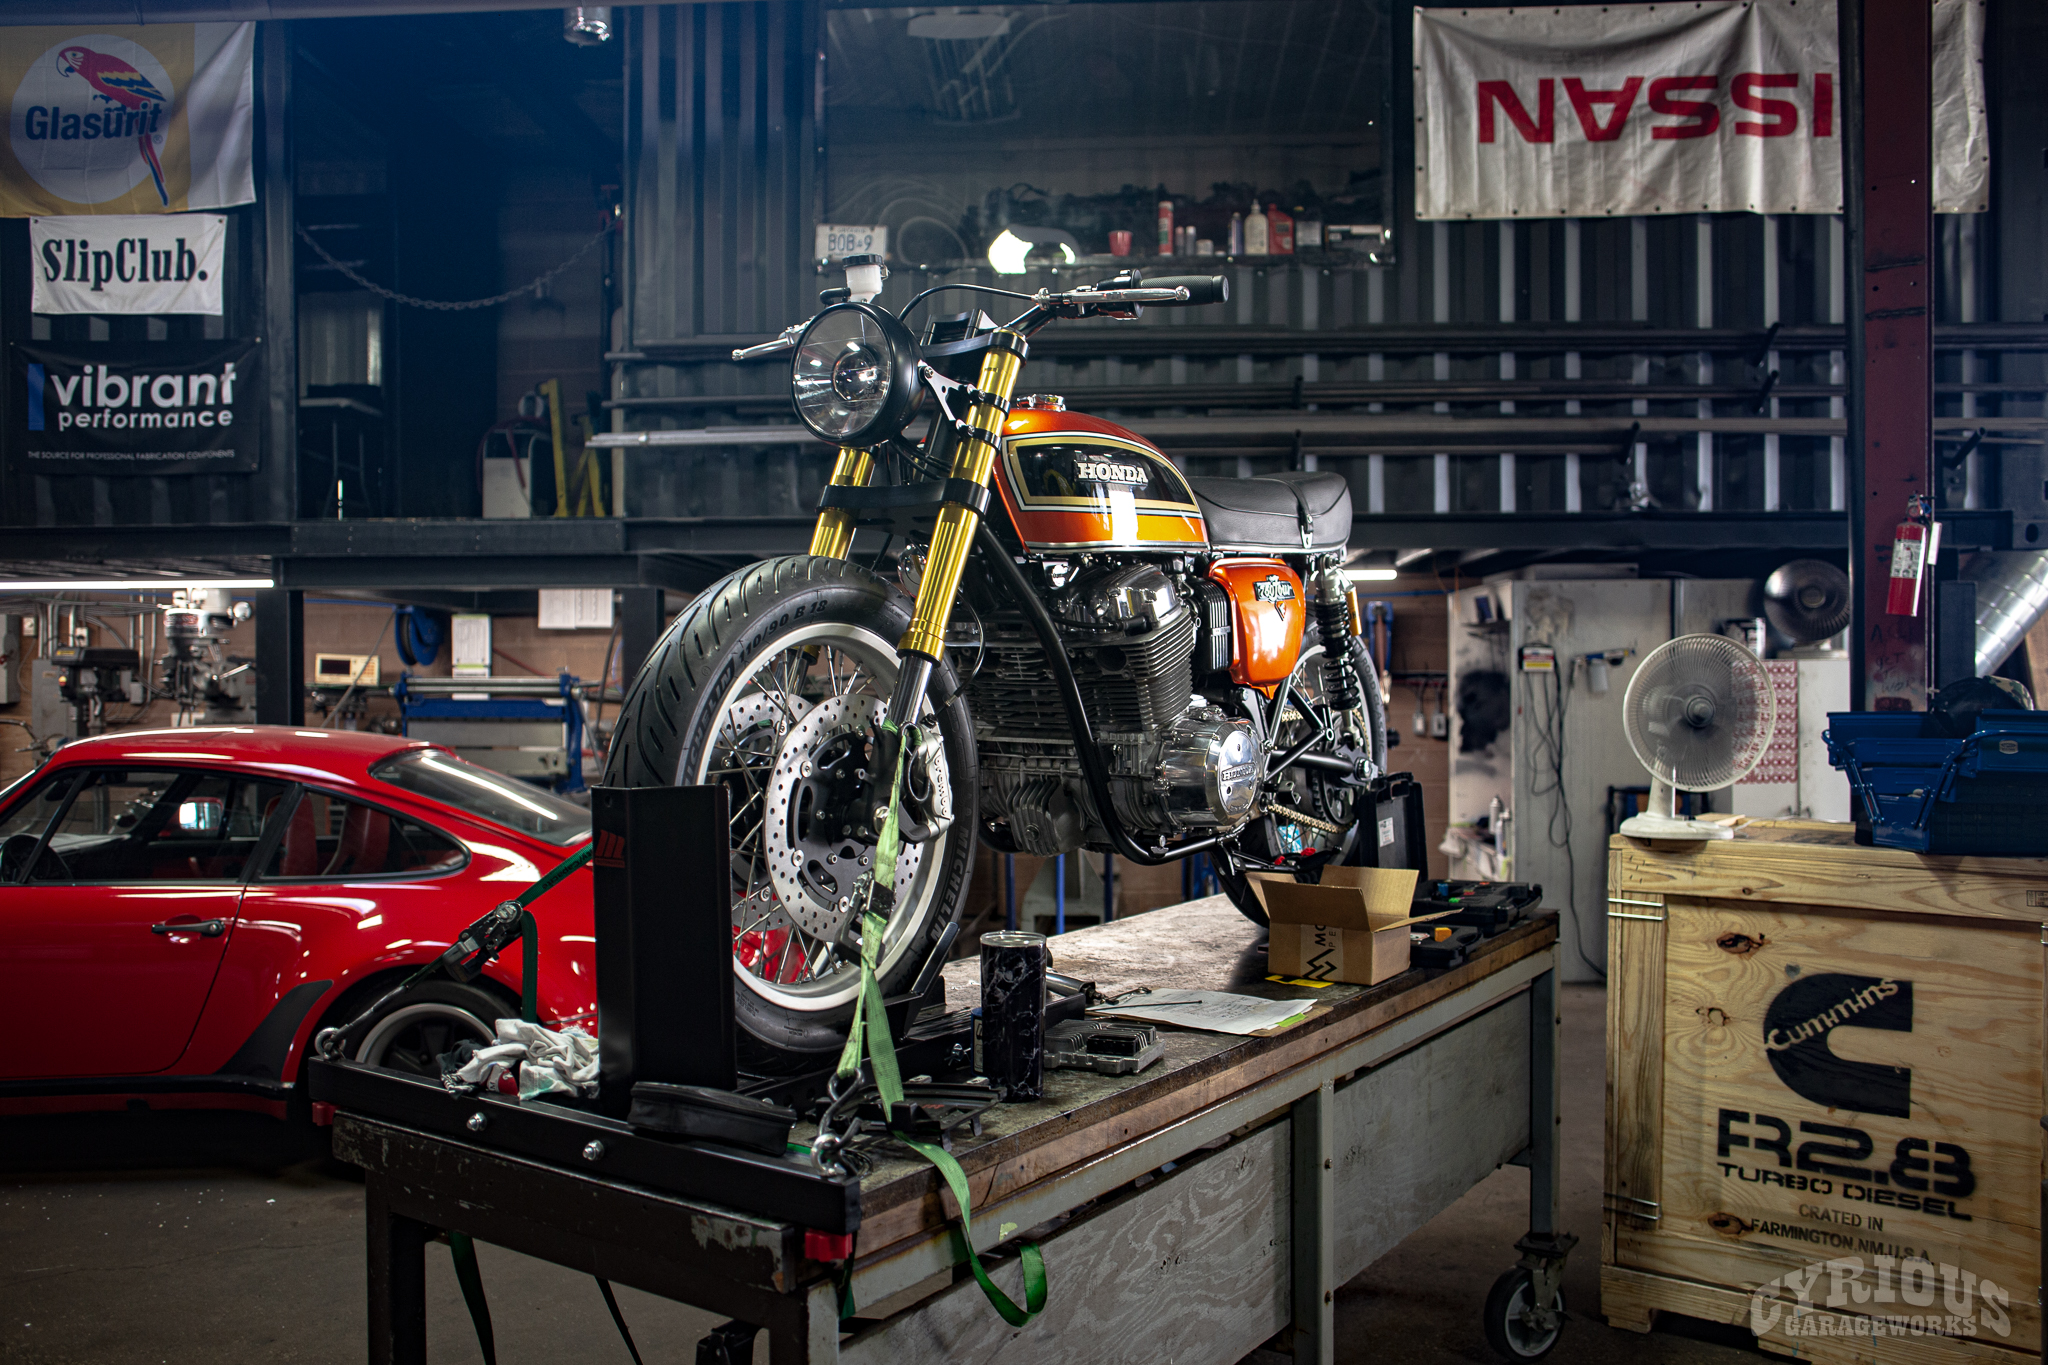
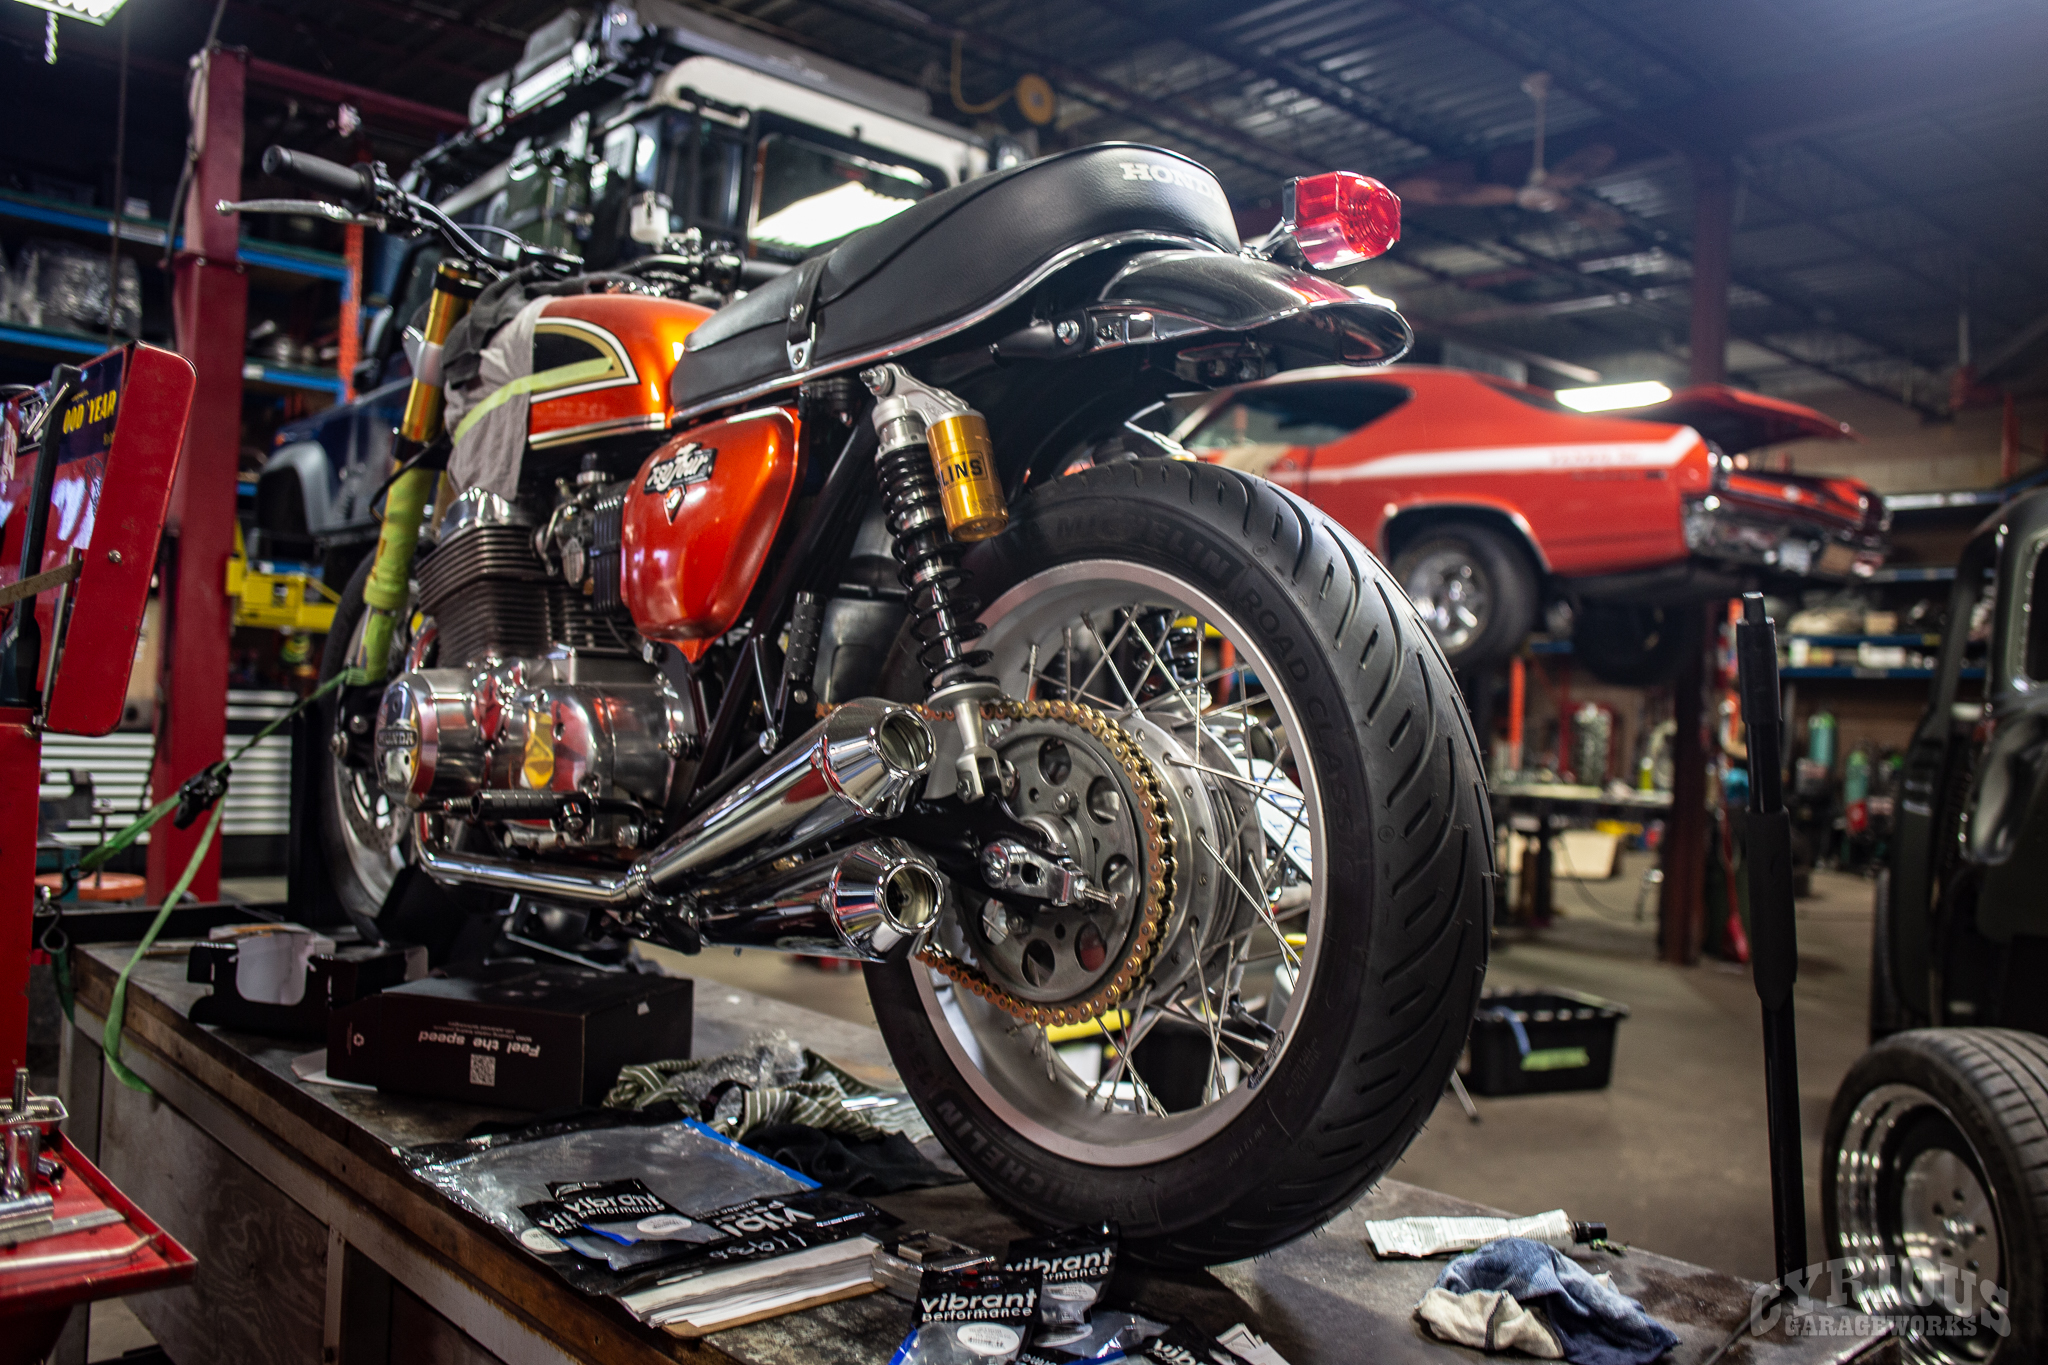
And now for something completely different! We’ve had a few bikes in and out of the shop over the years, but none of them ever really got the “full build” treatment.
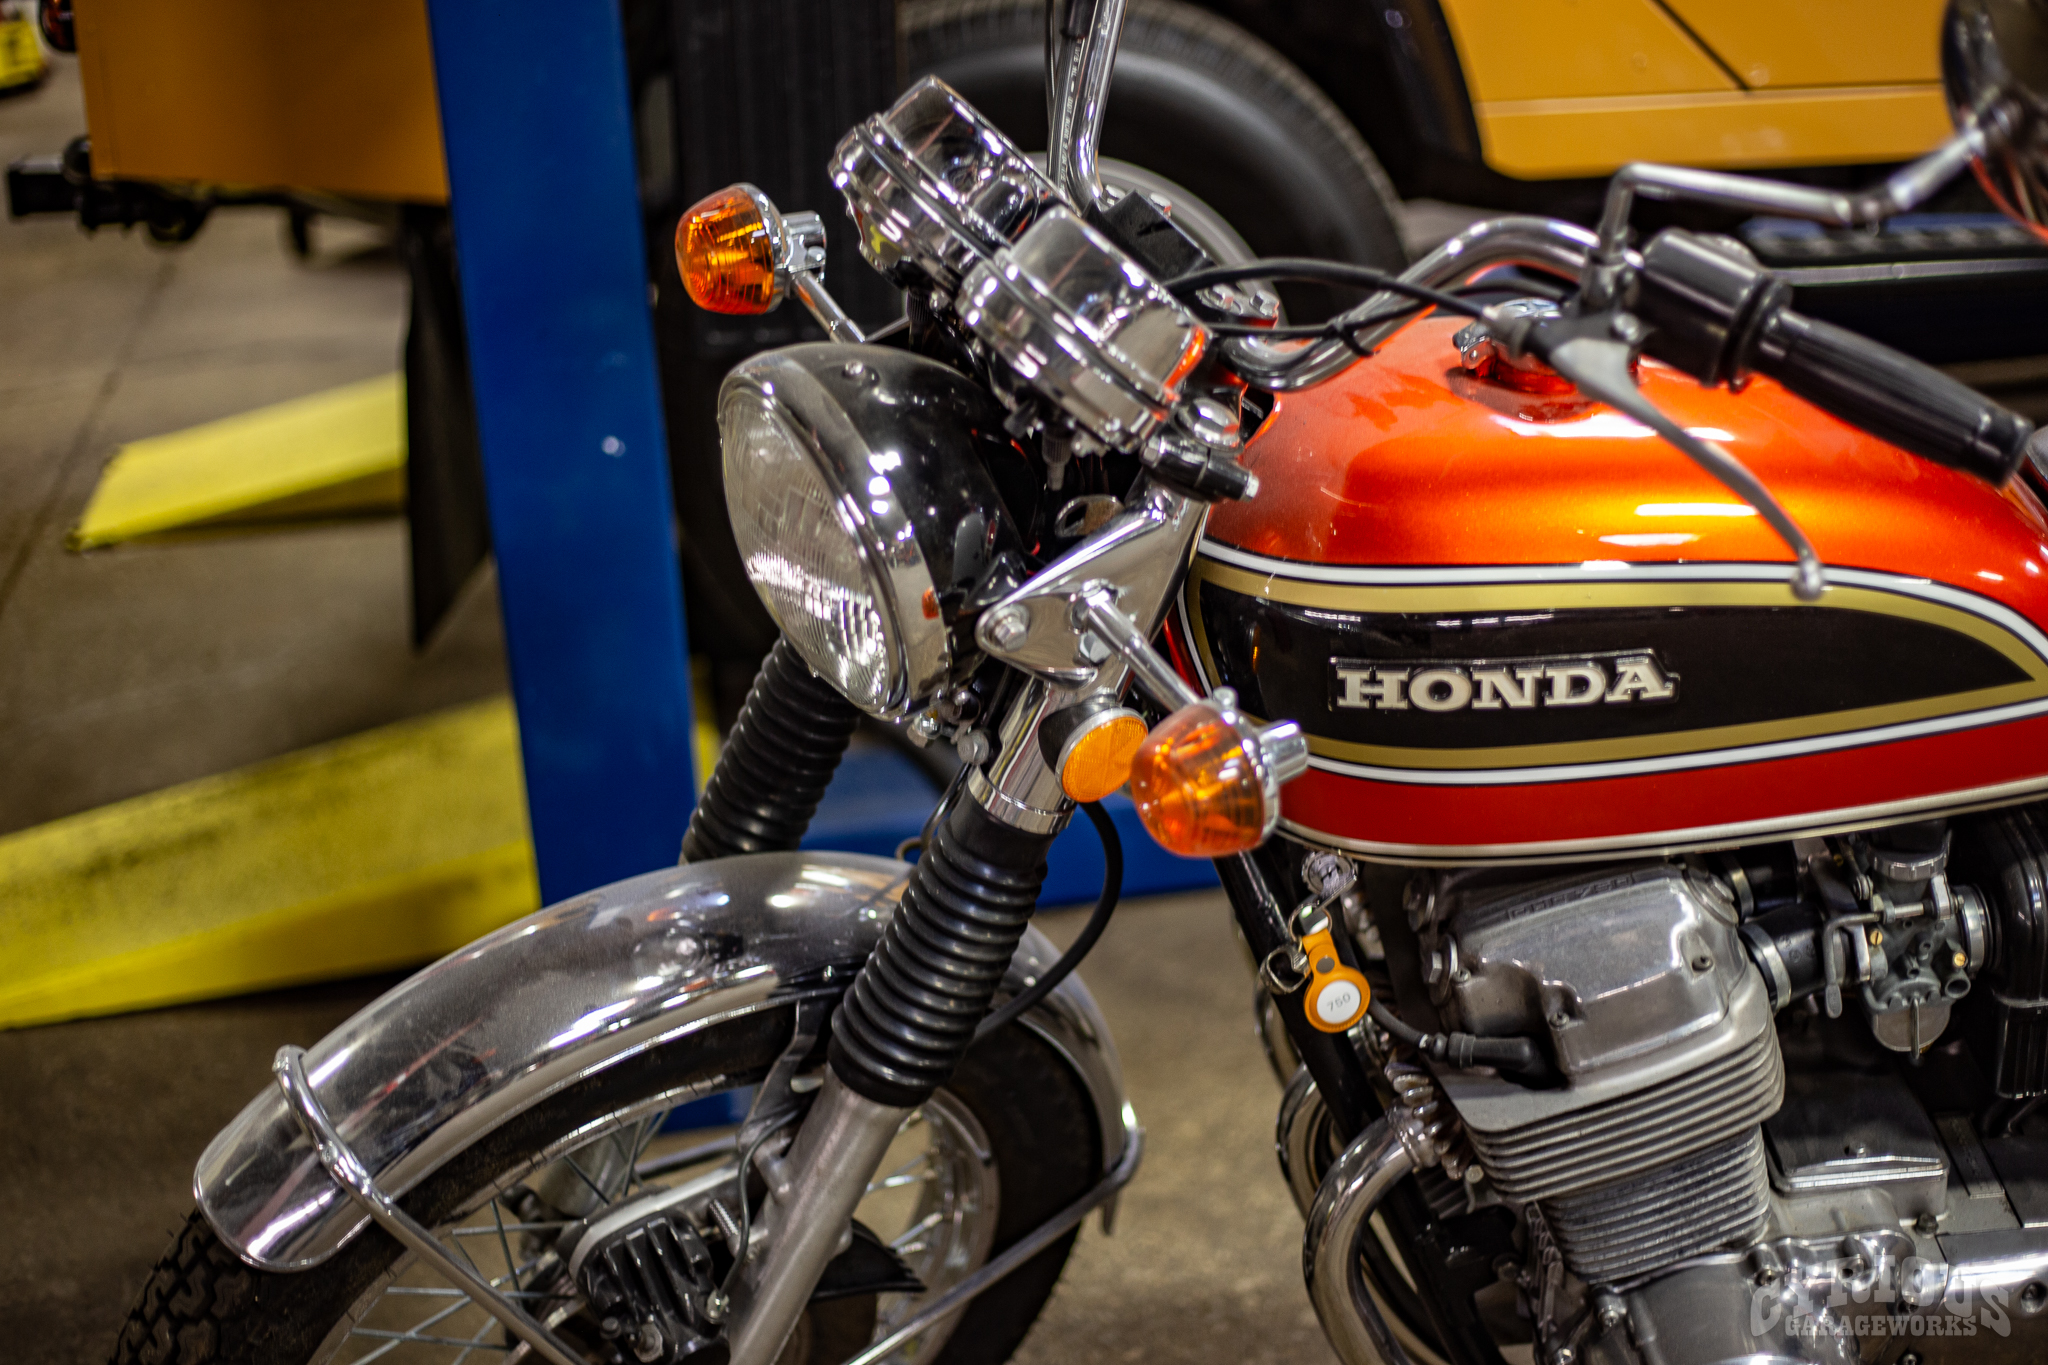
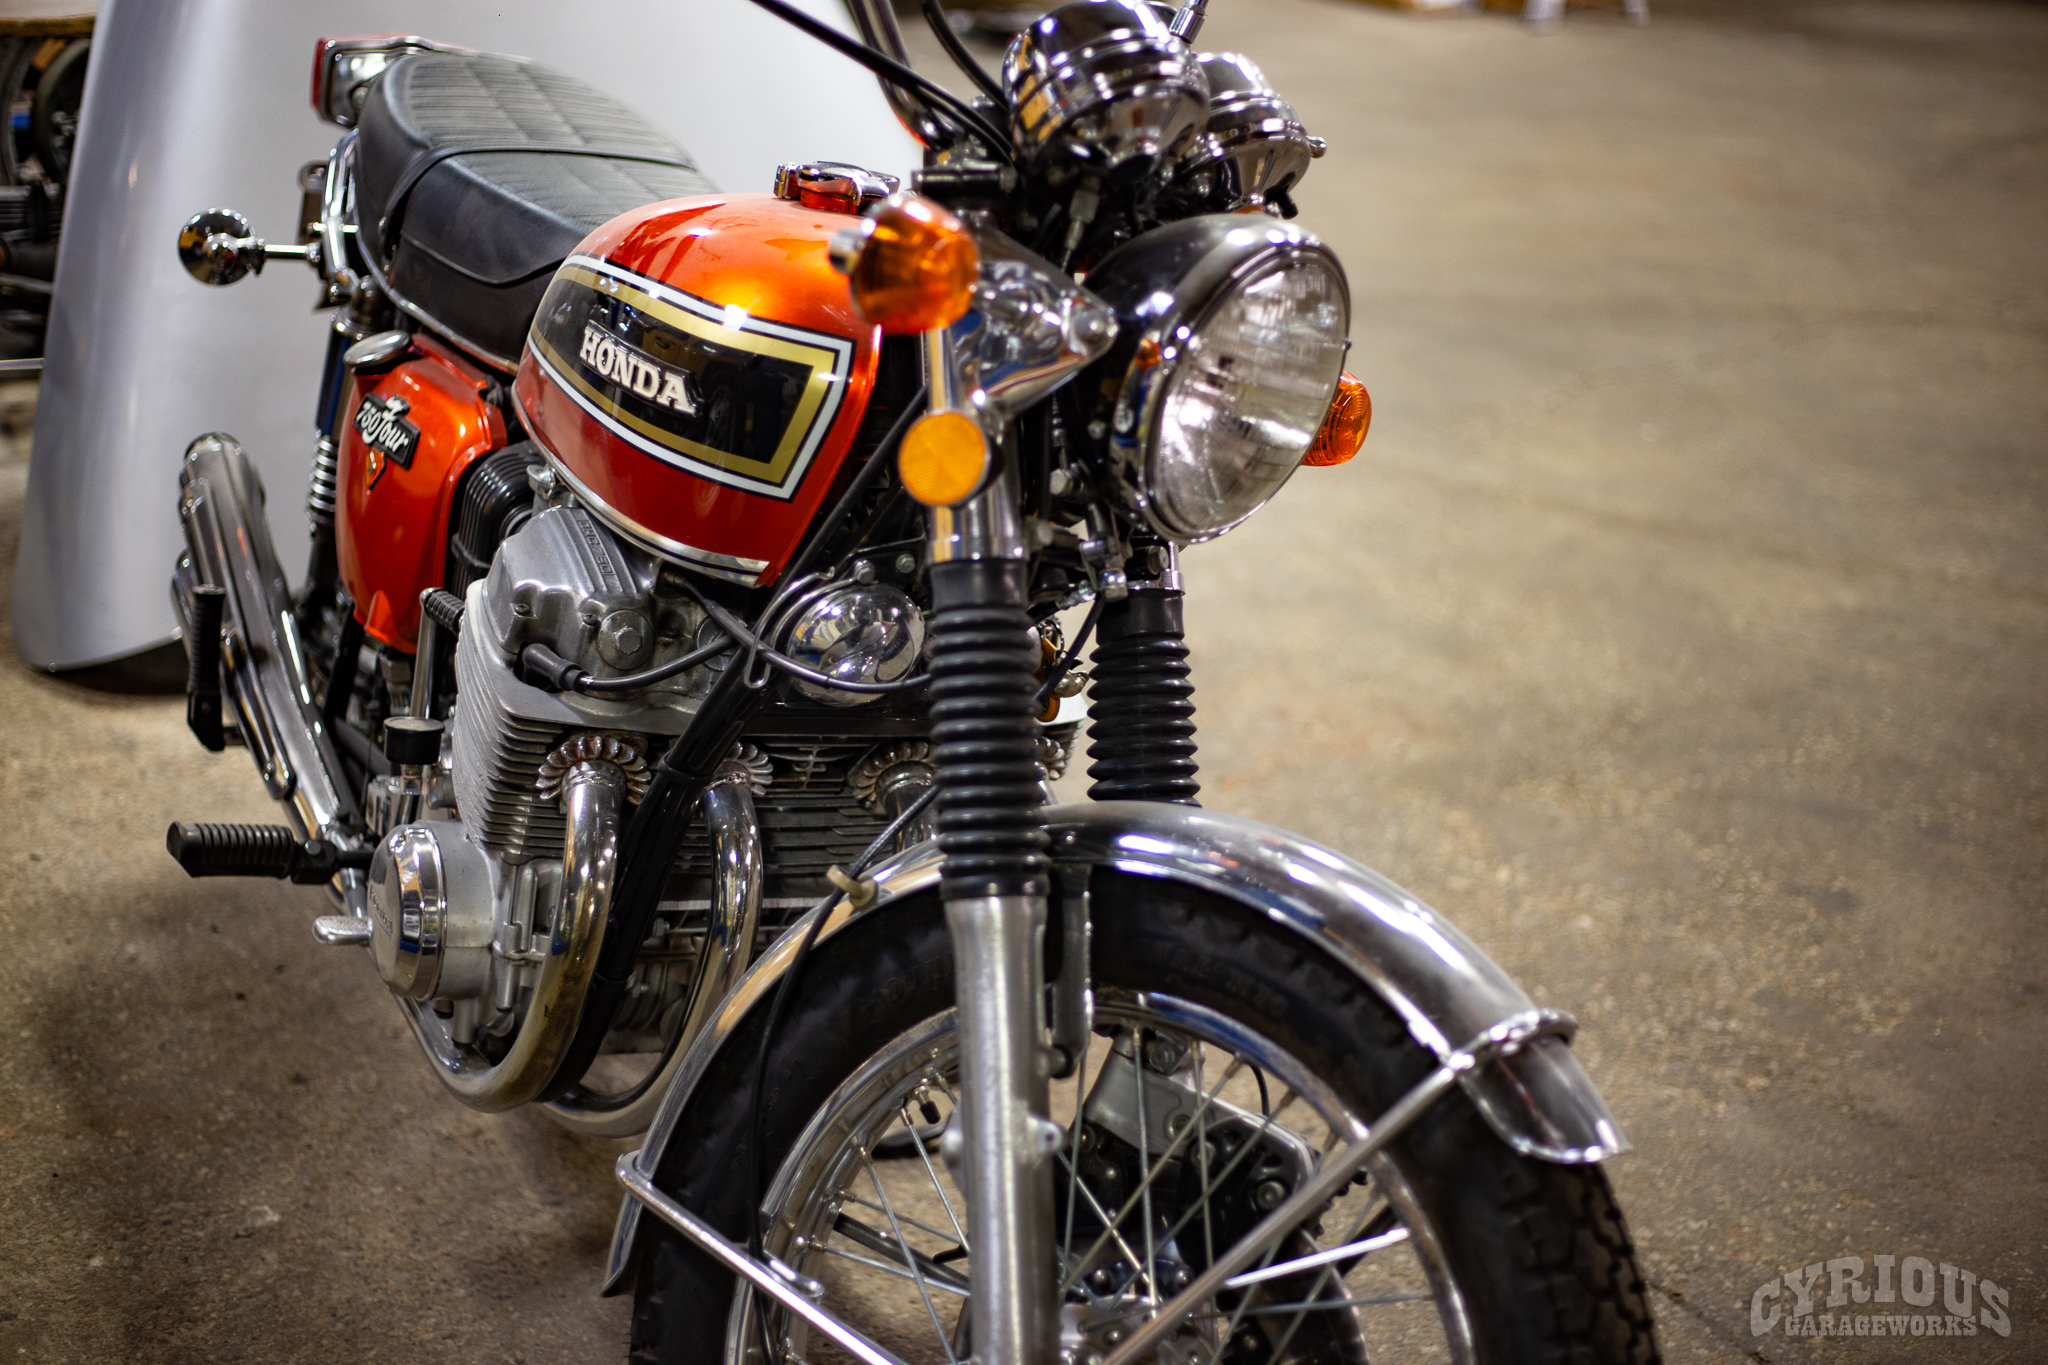
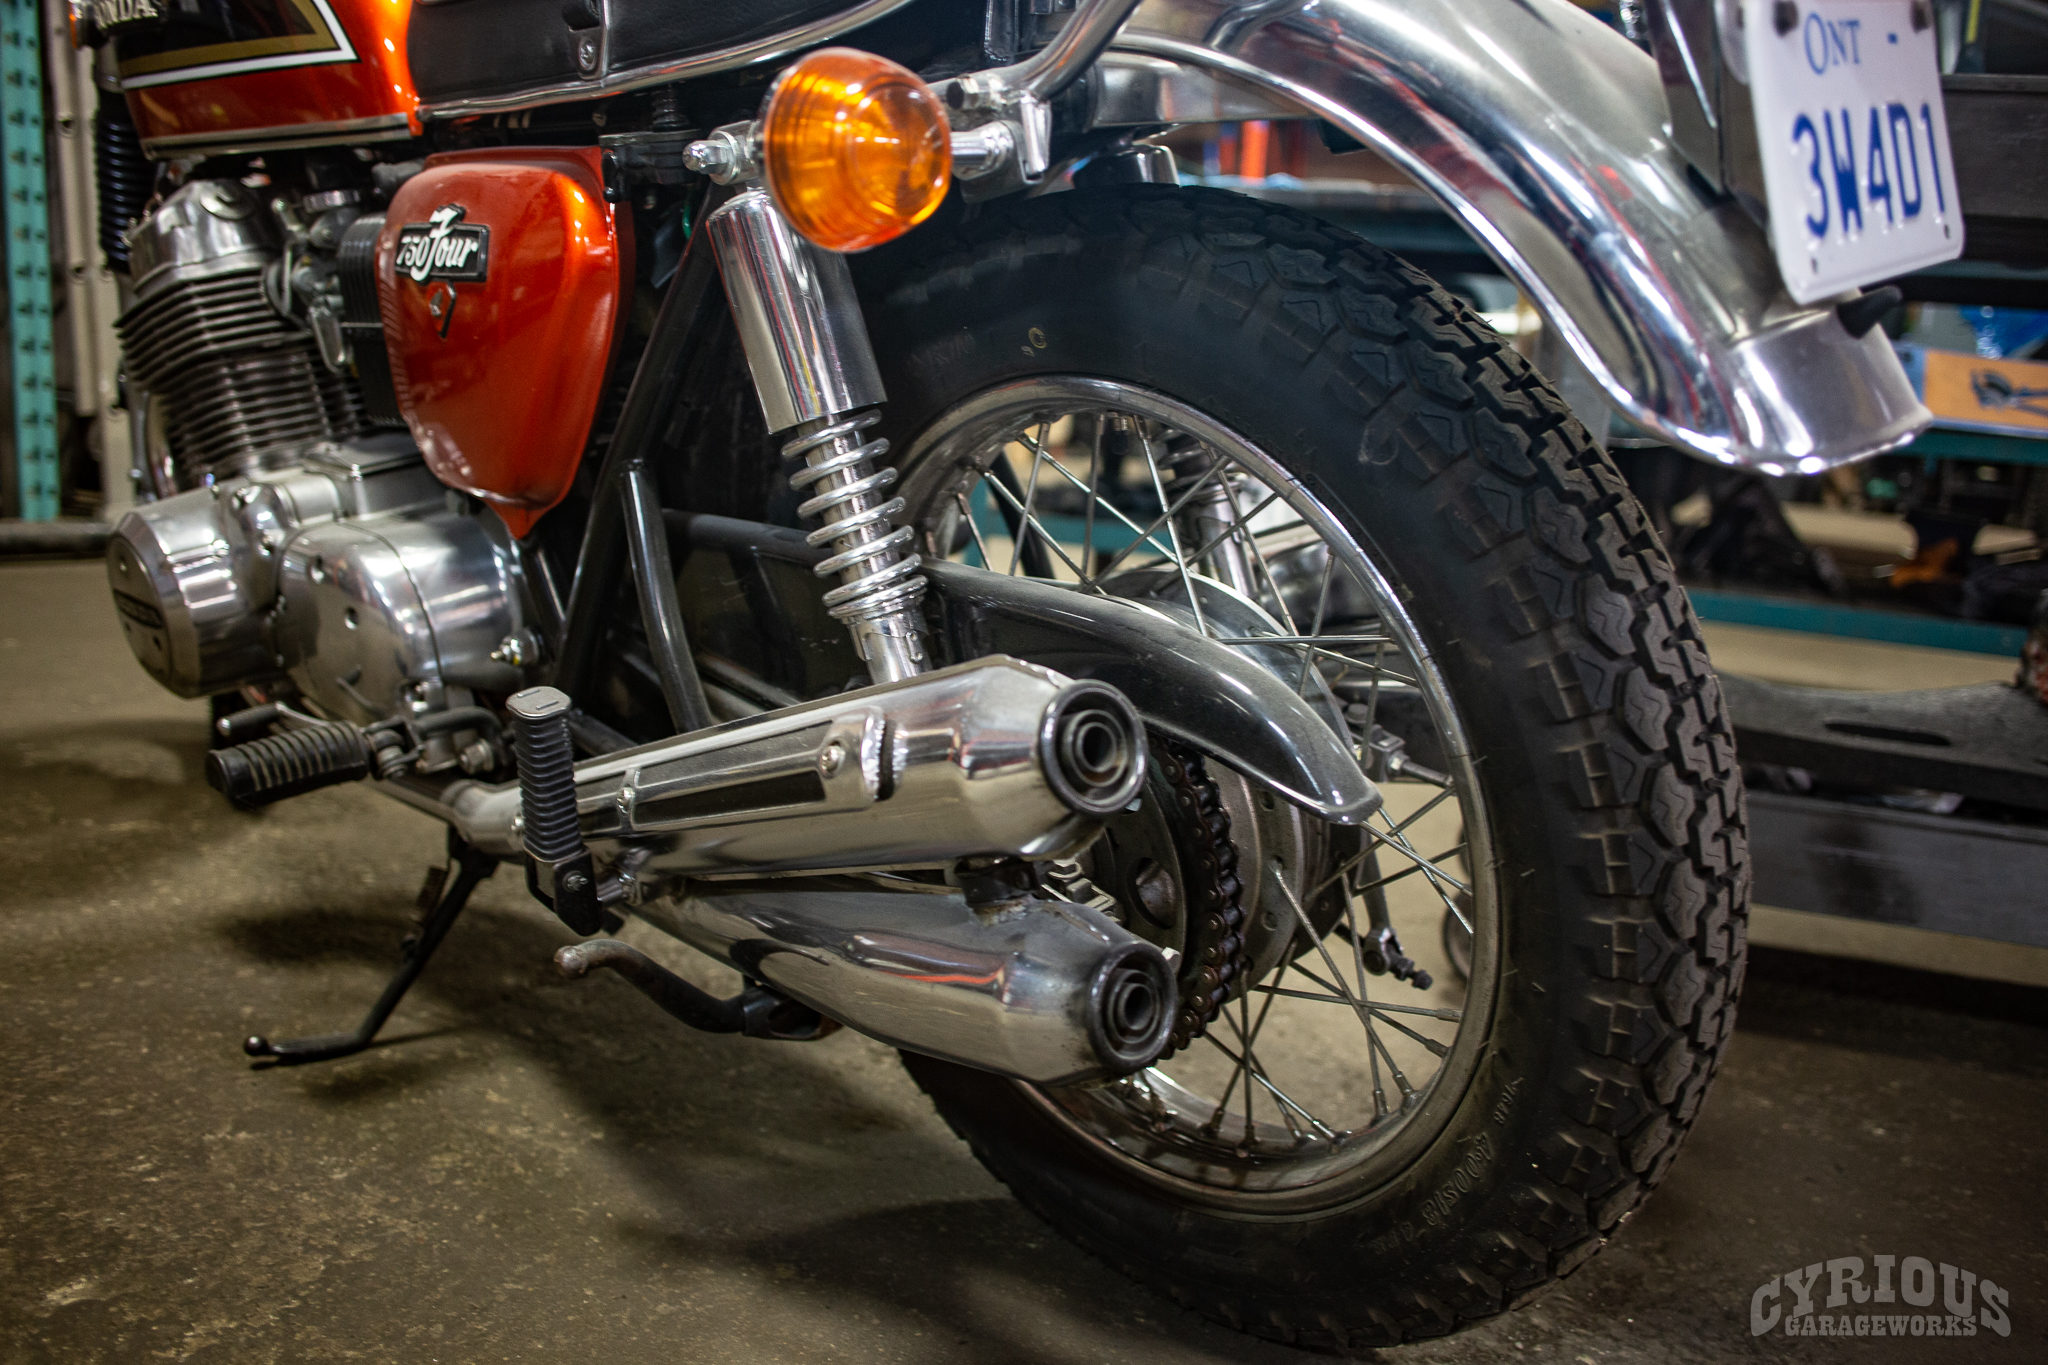
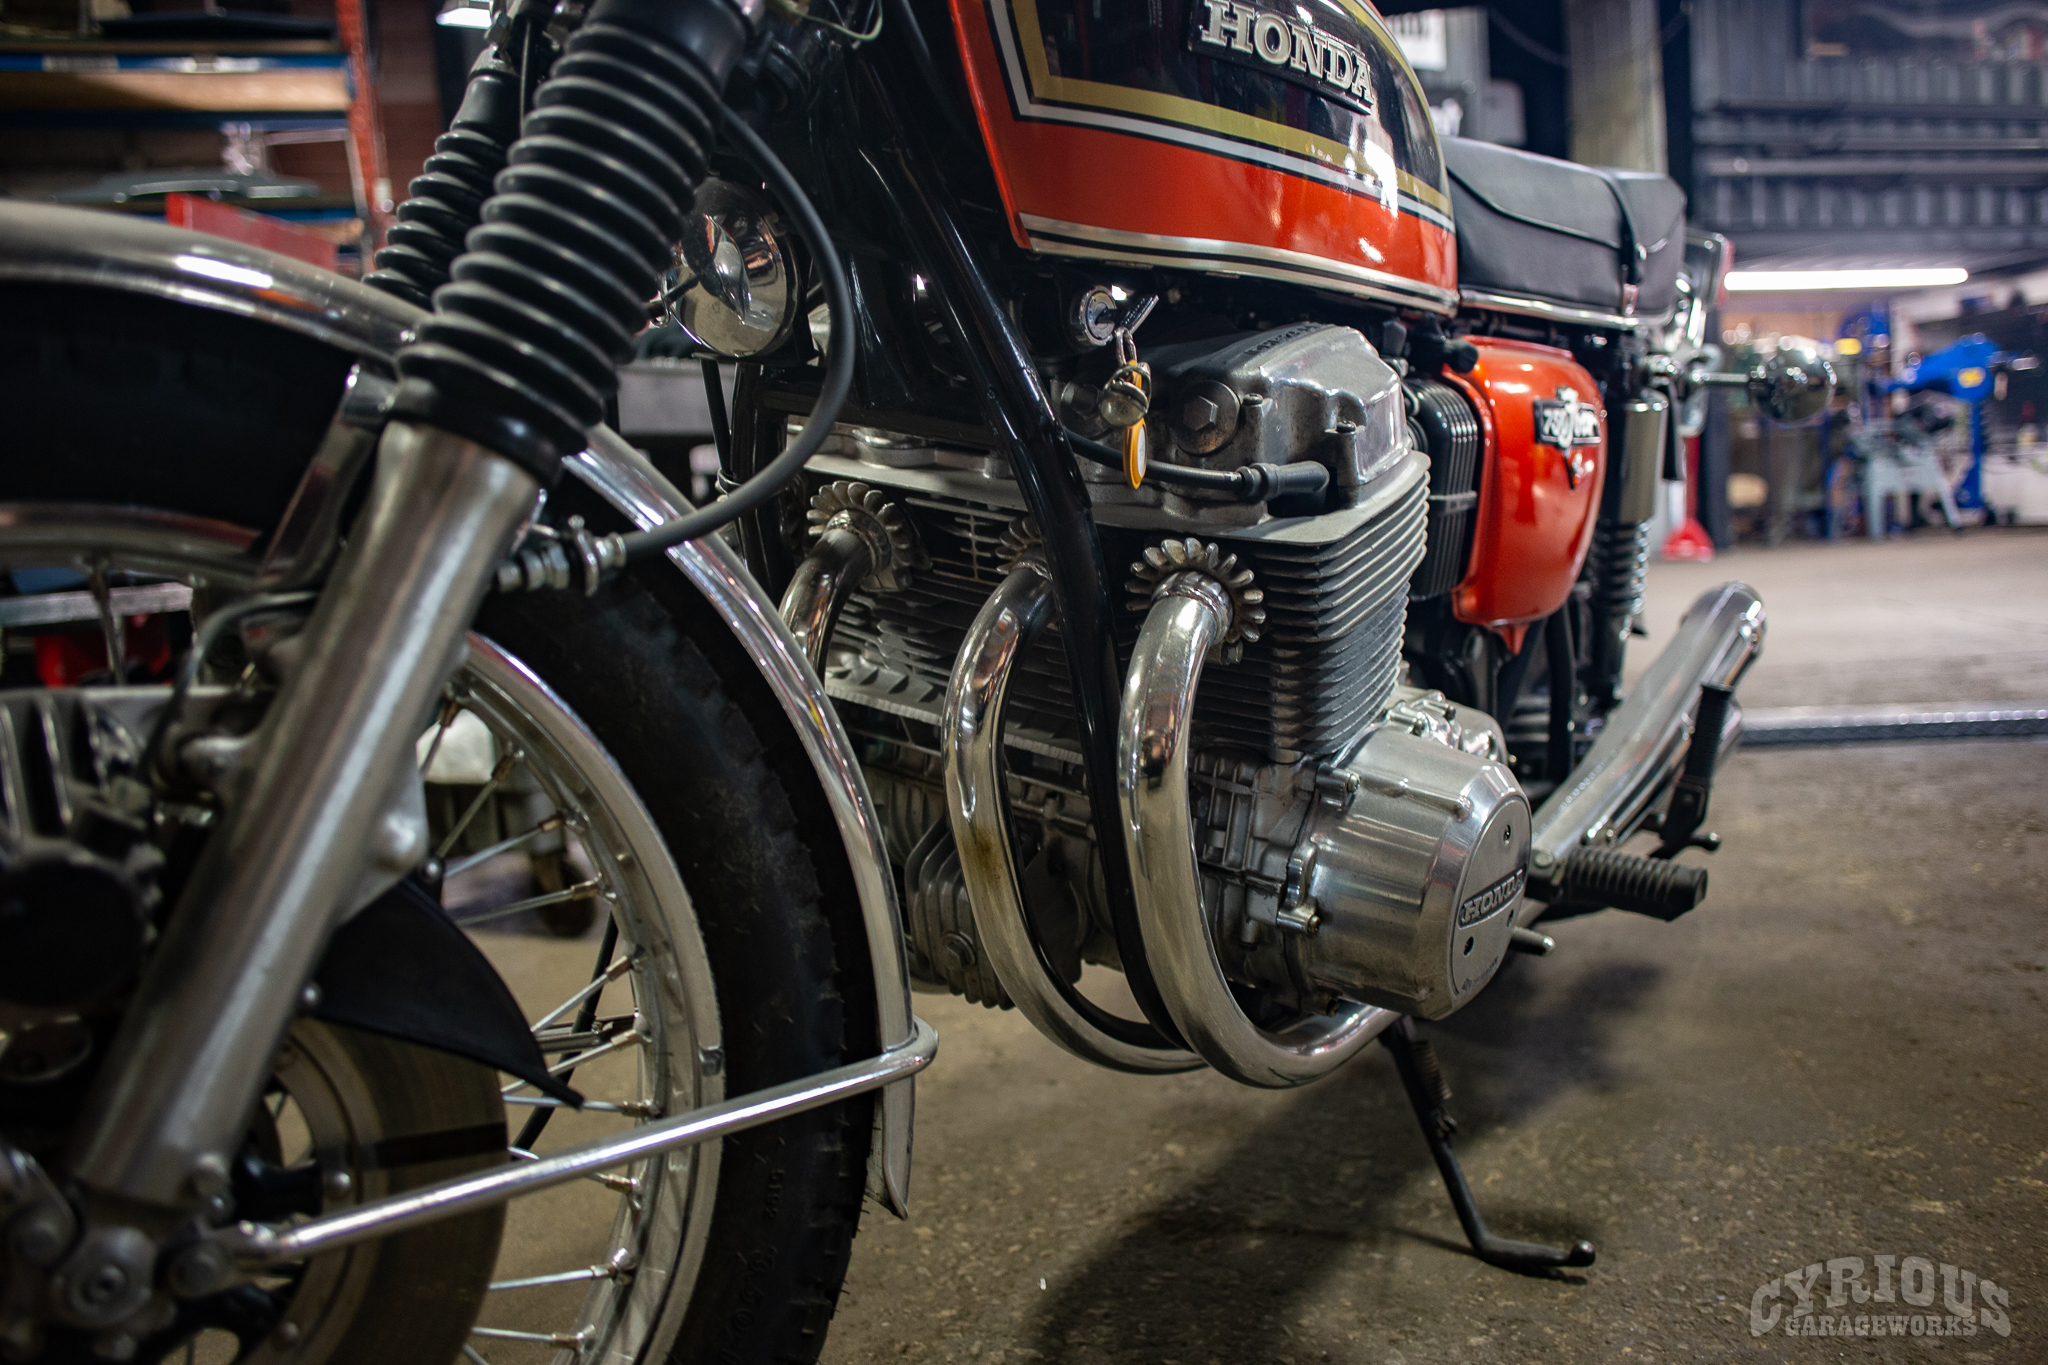
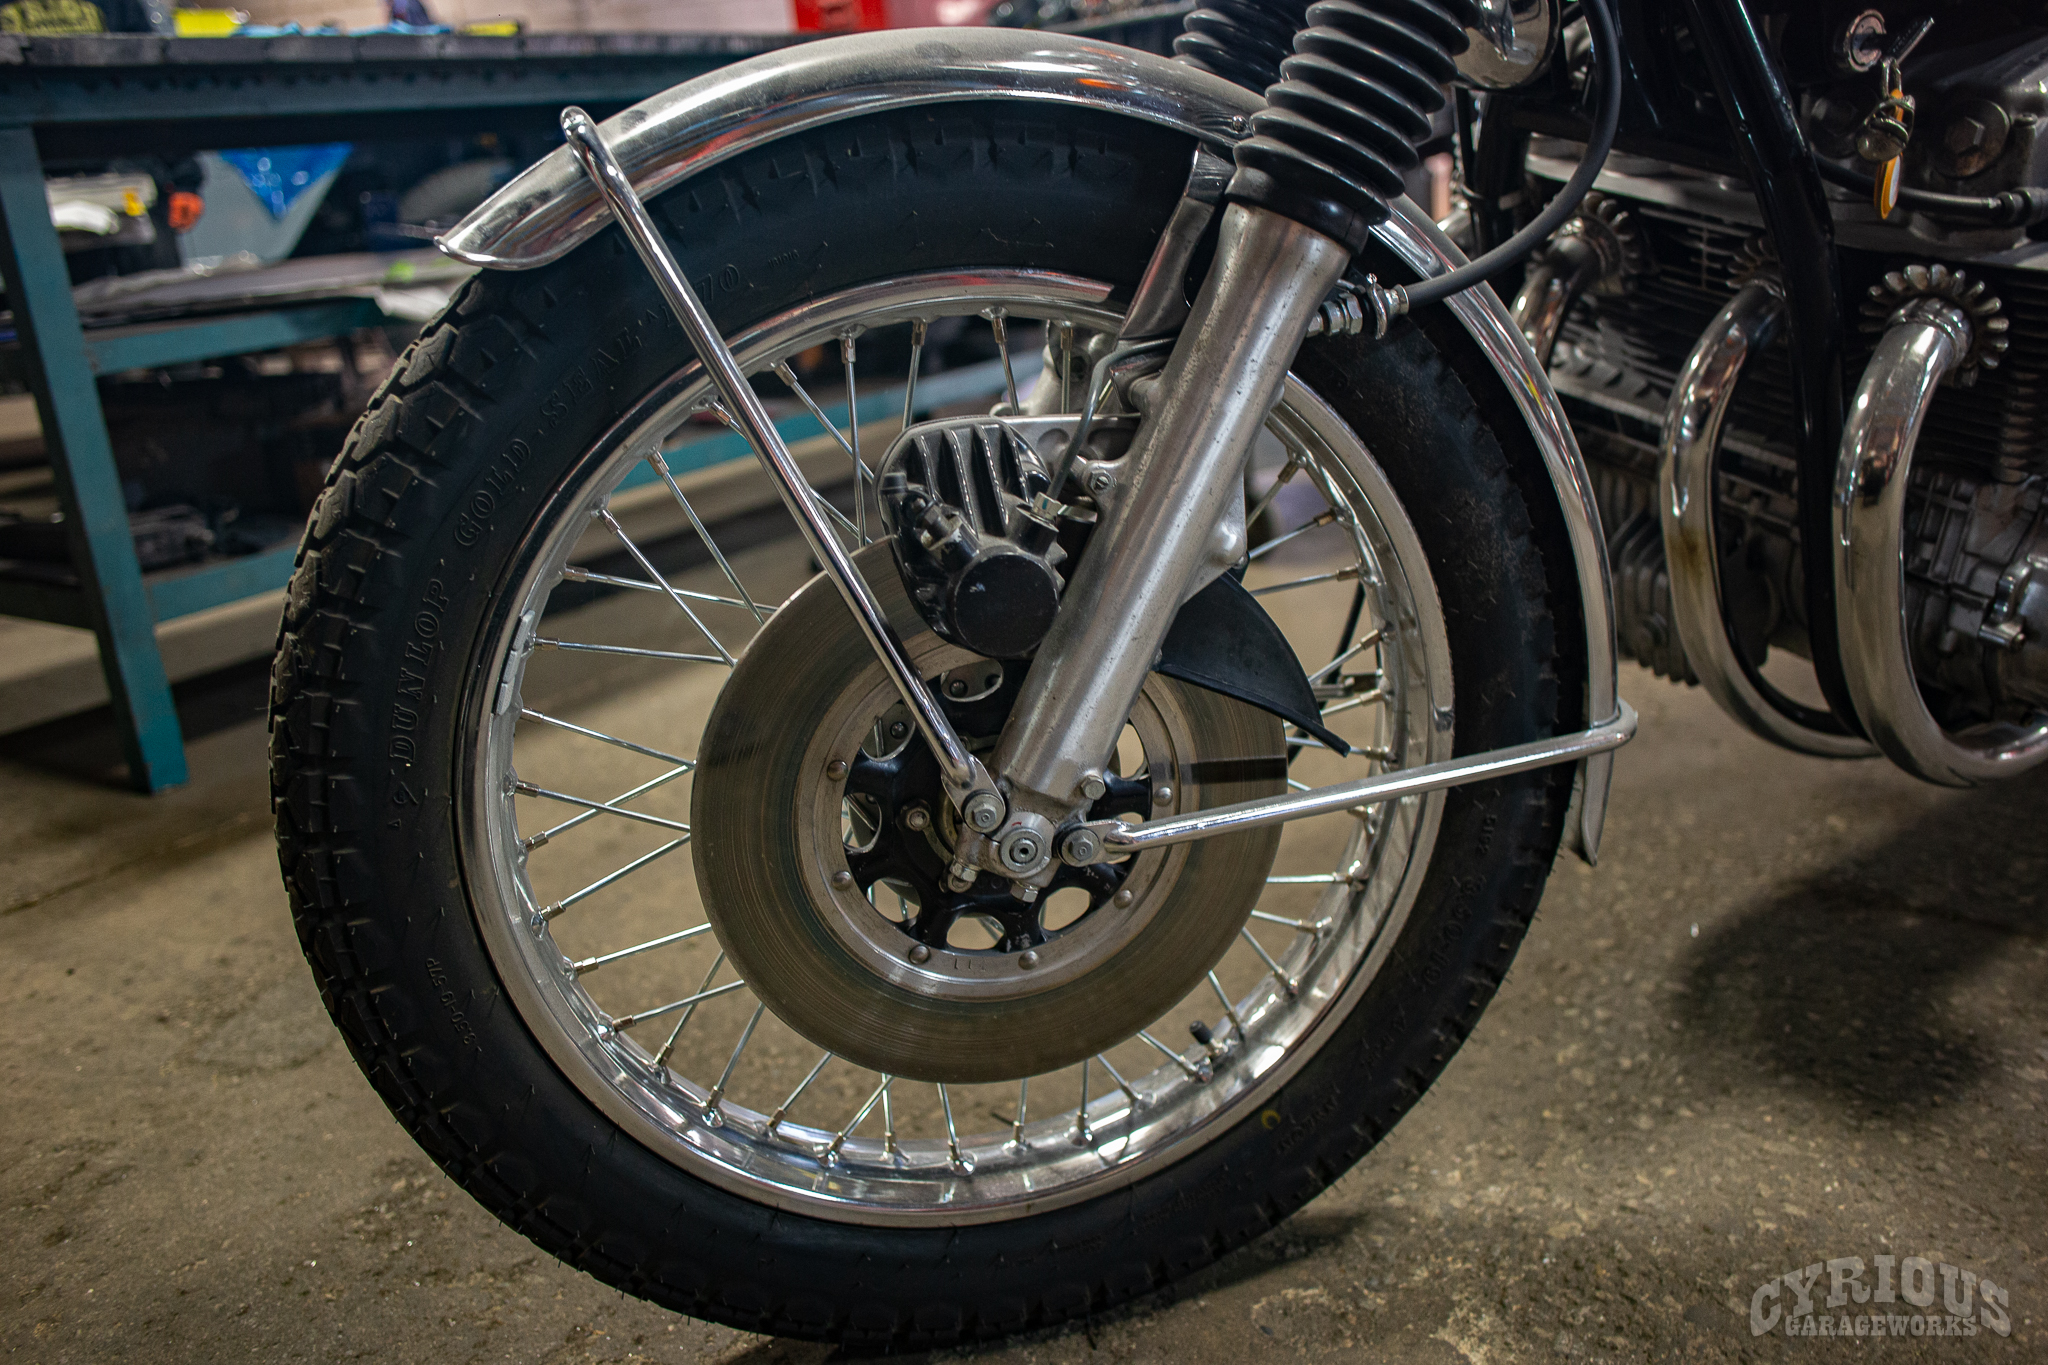
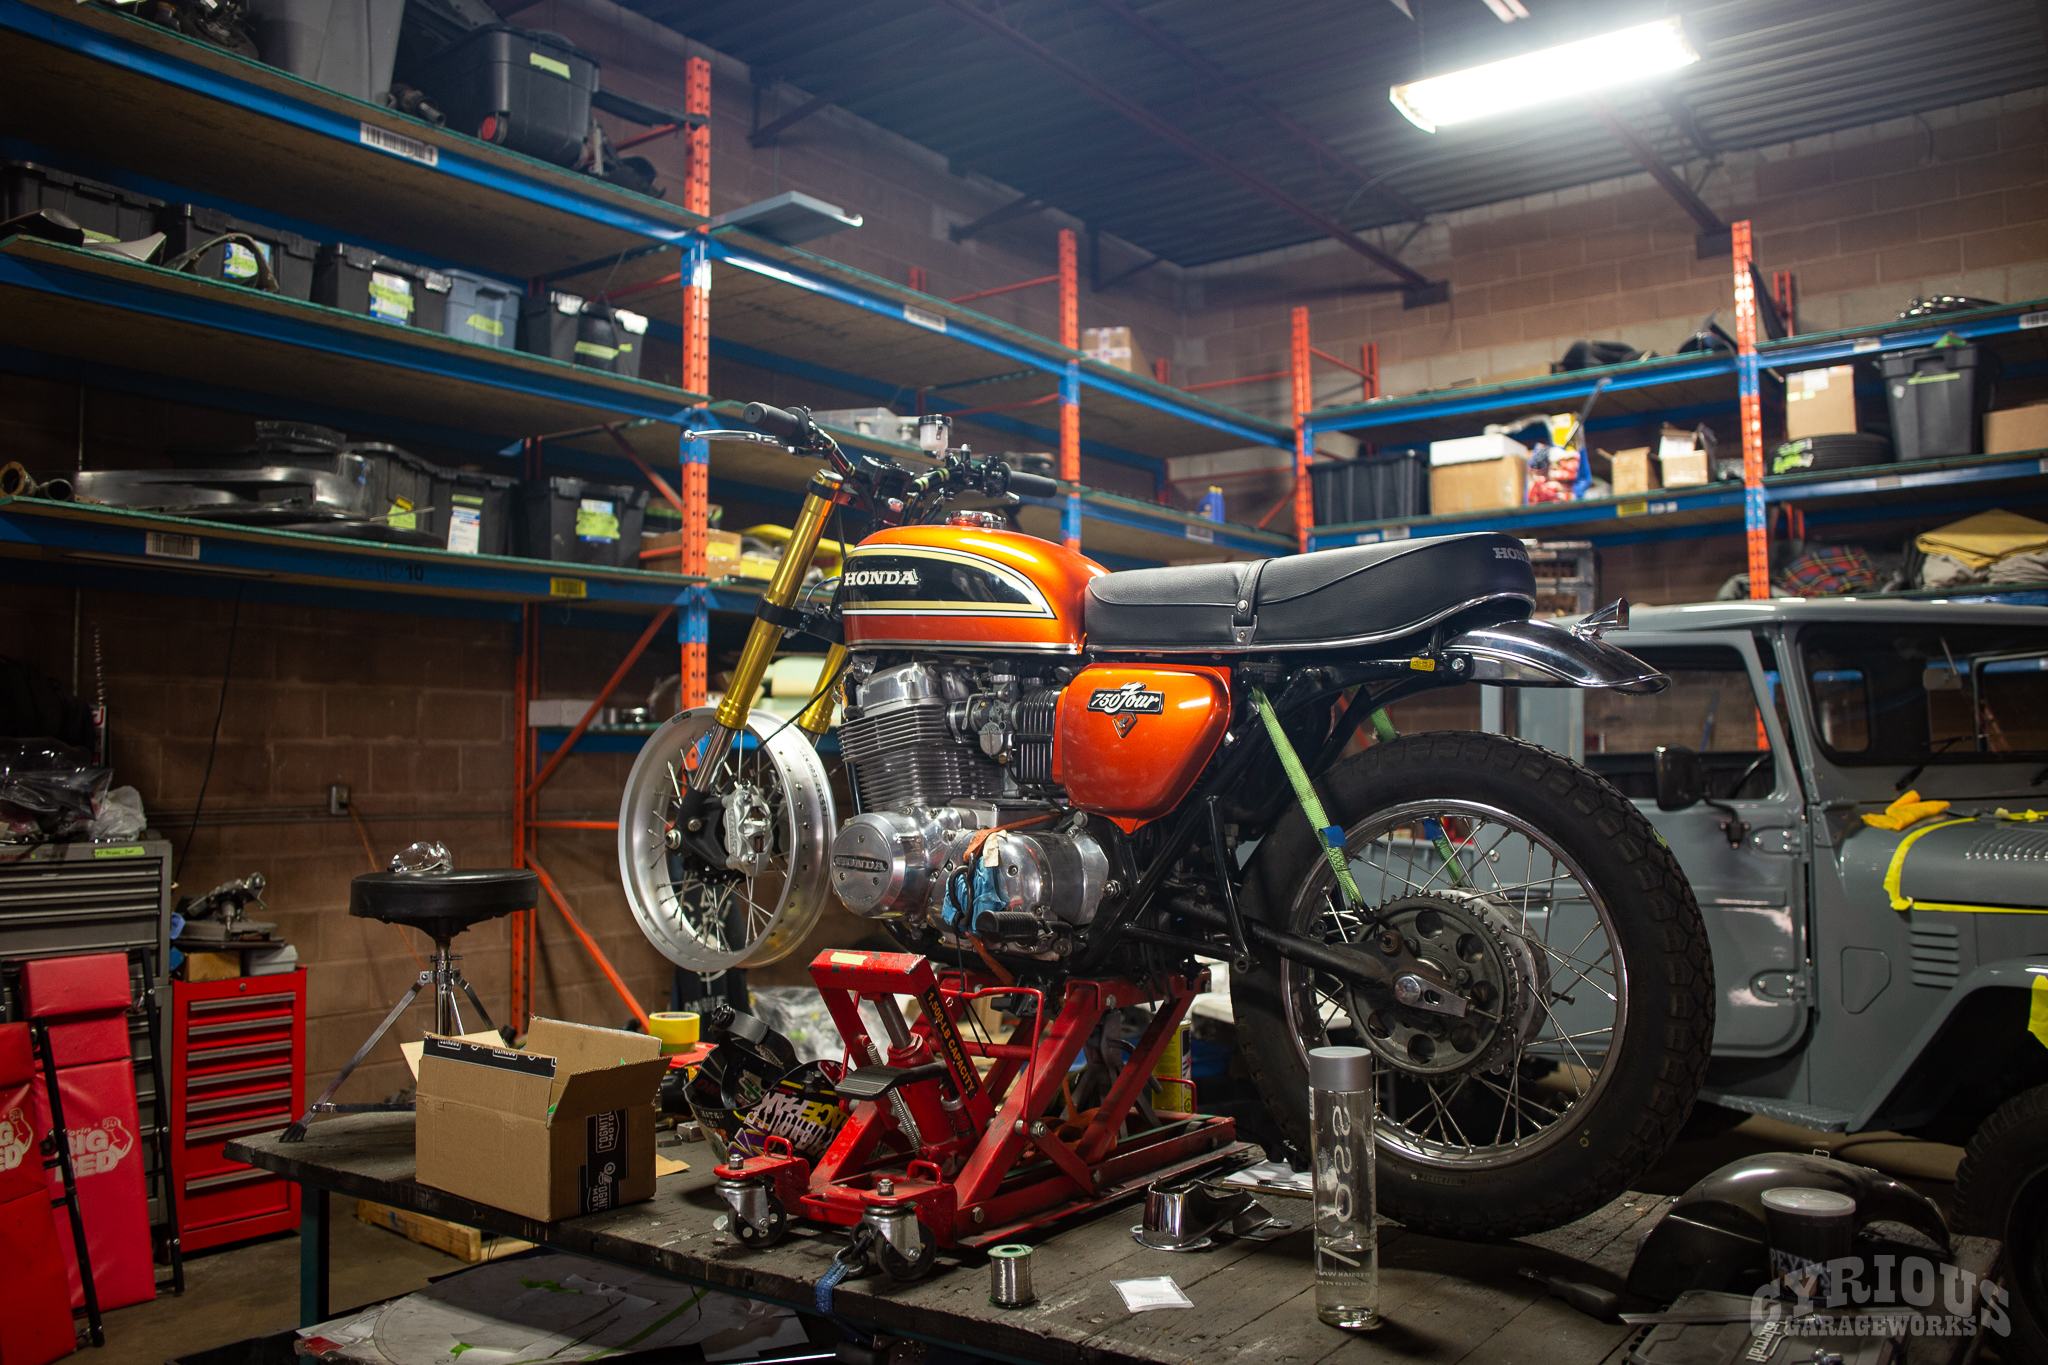
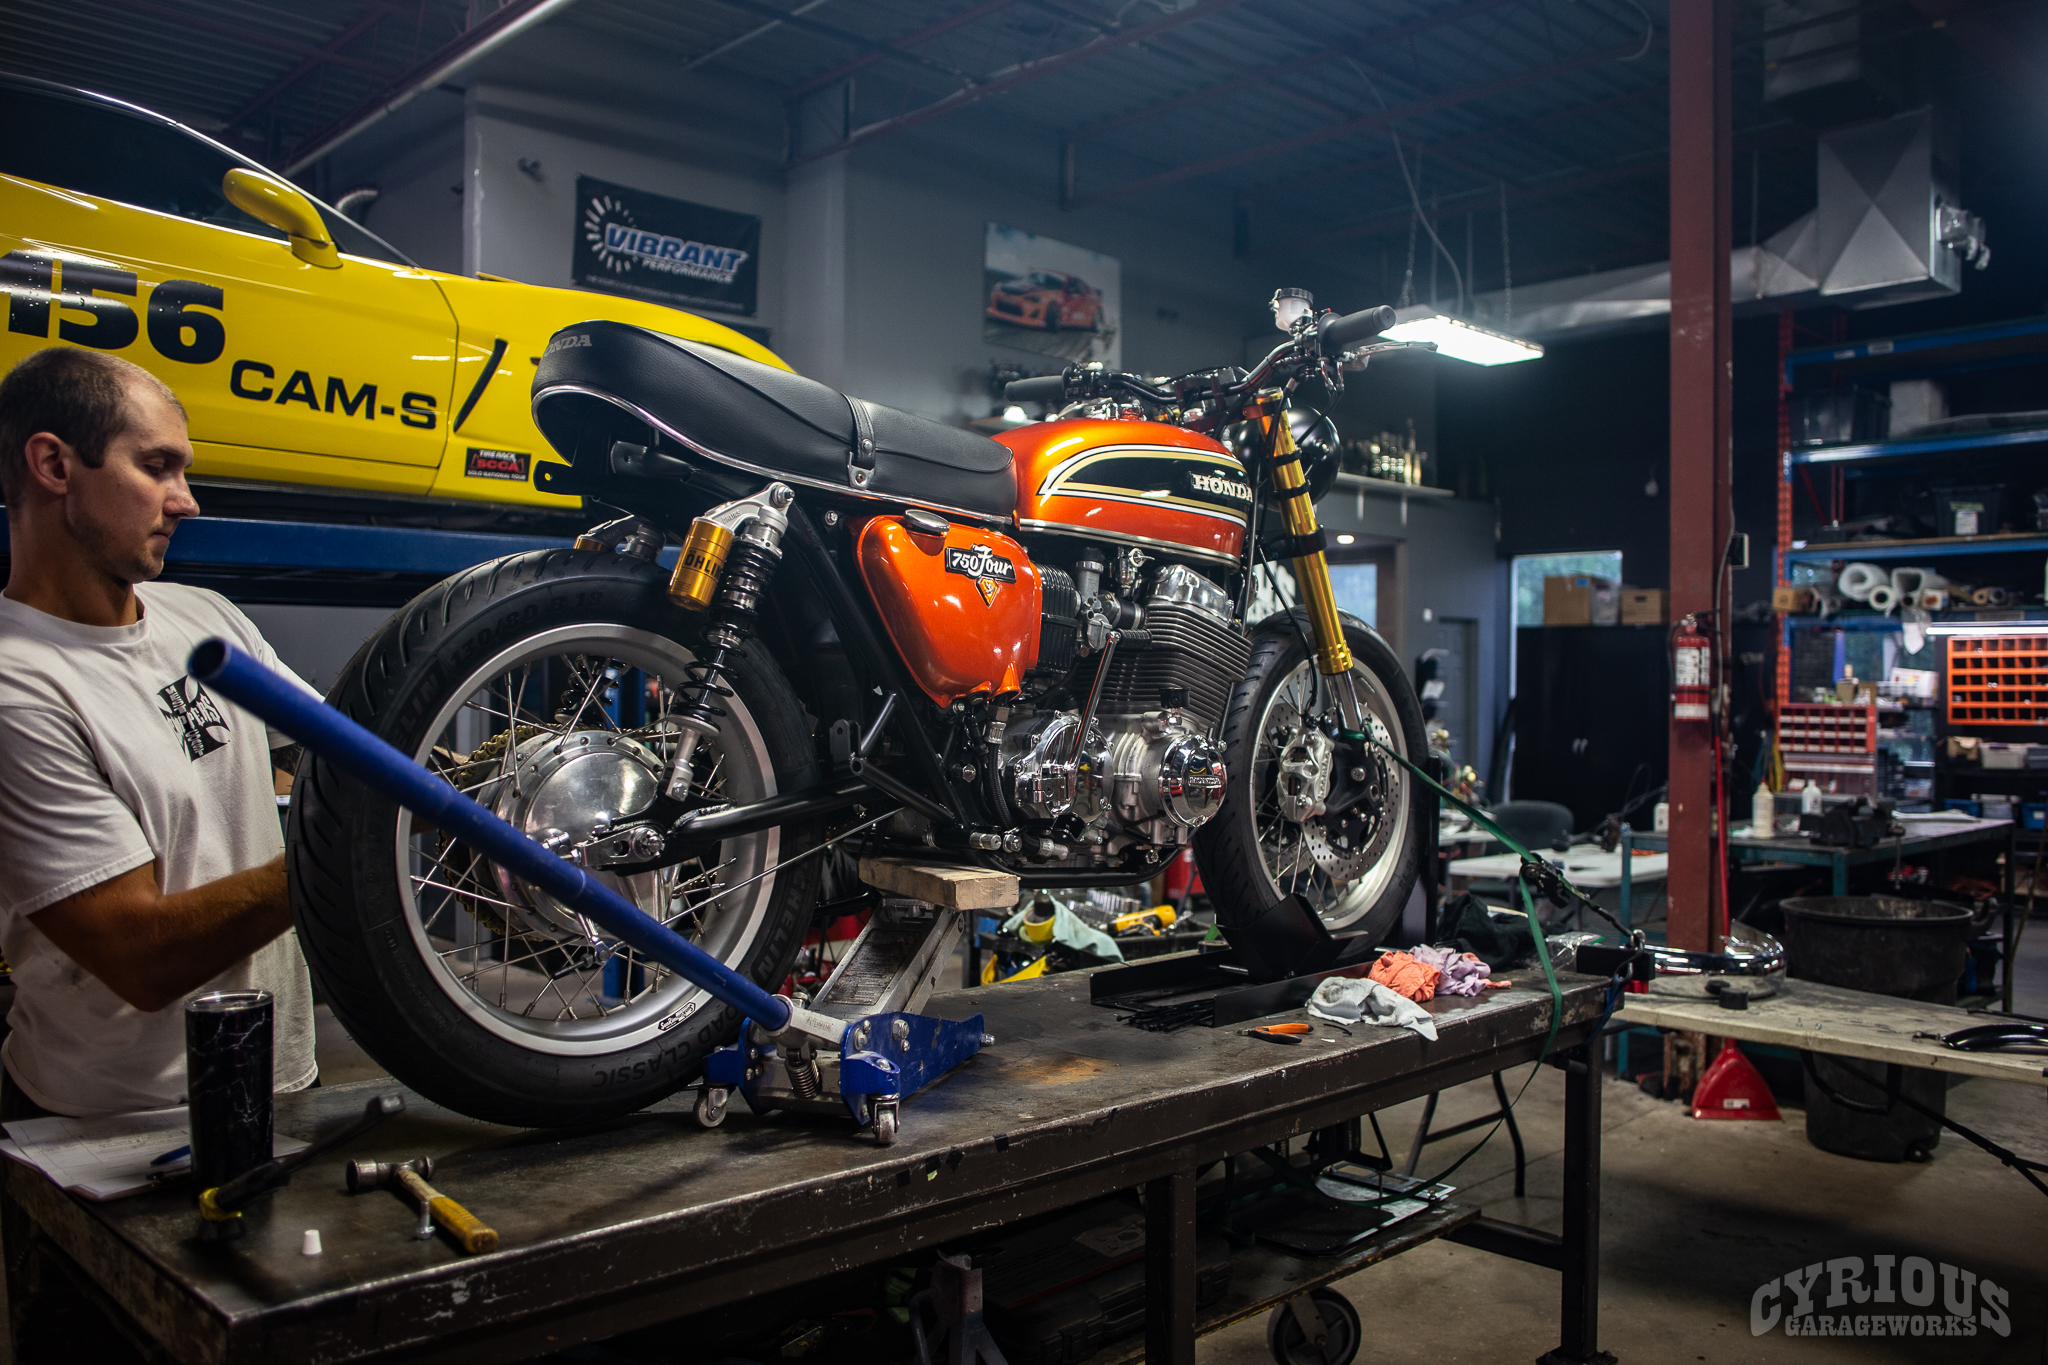
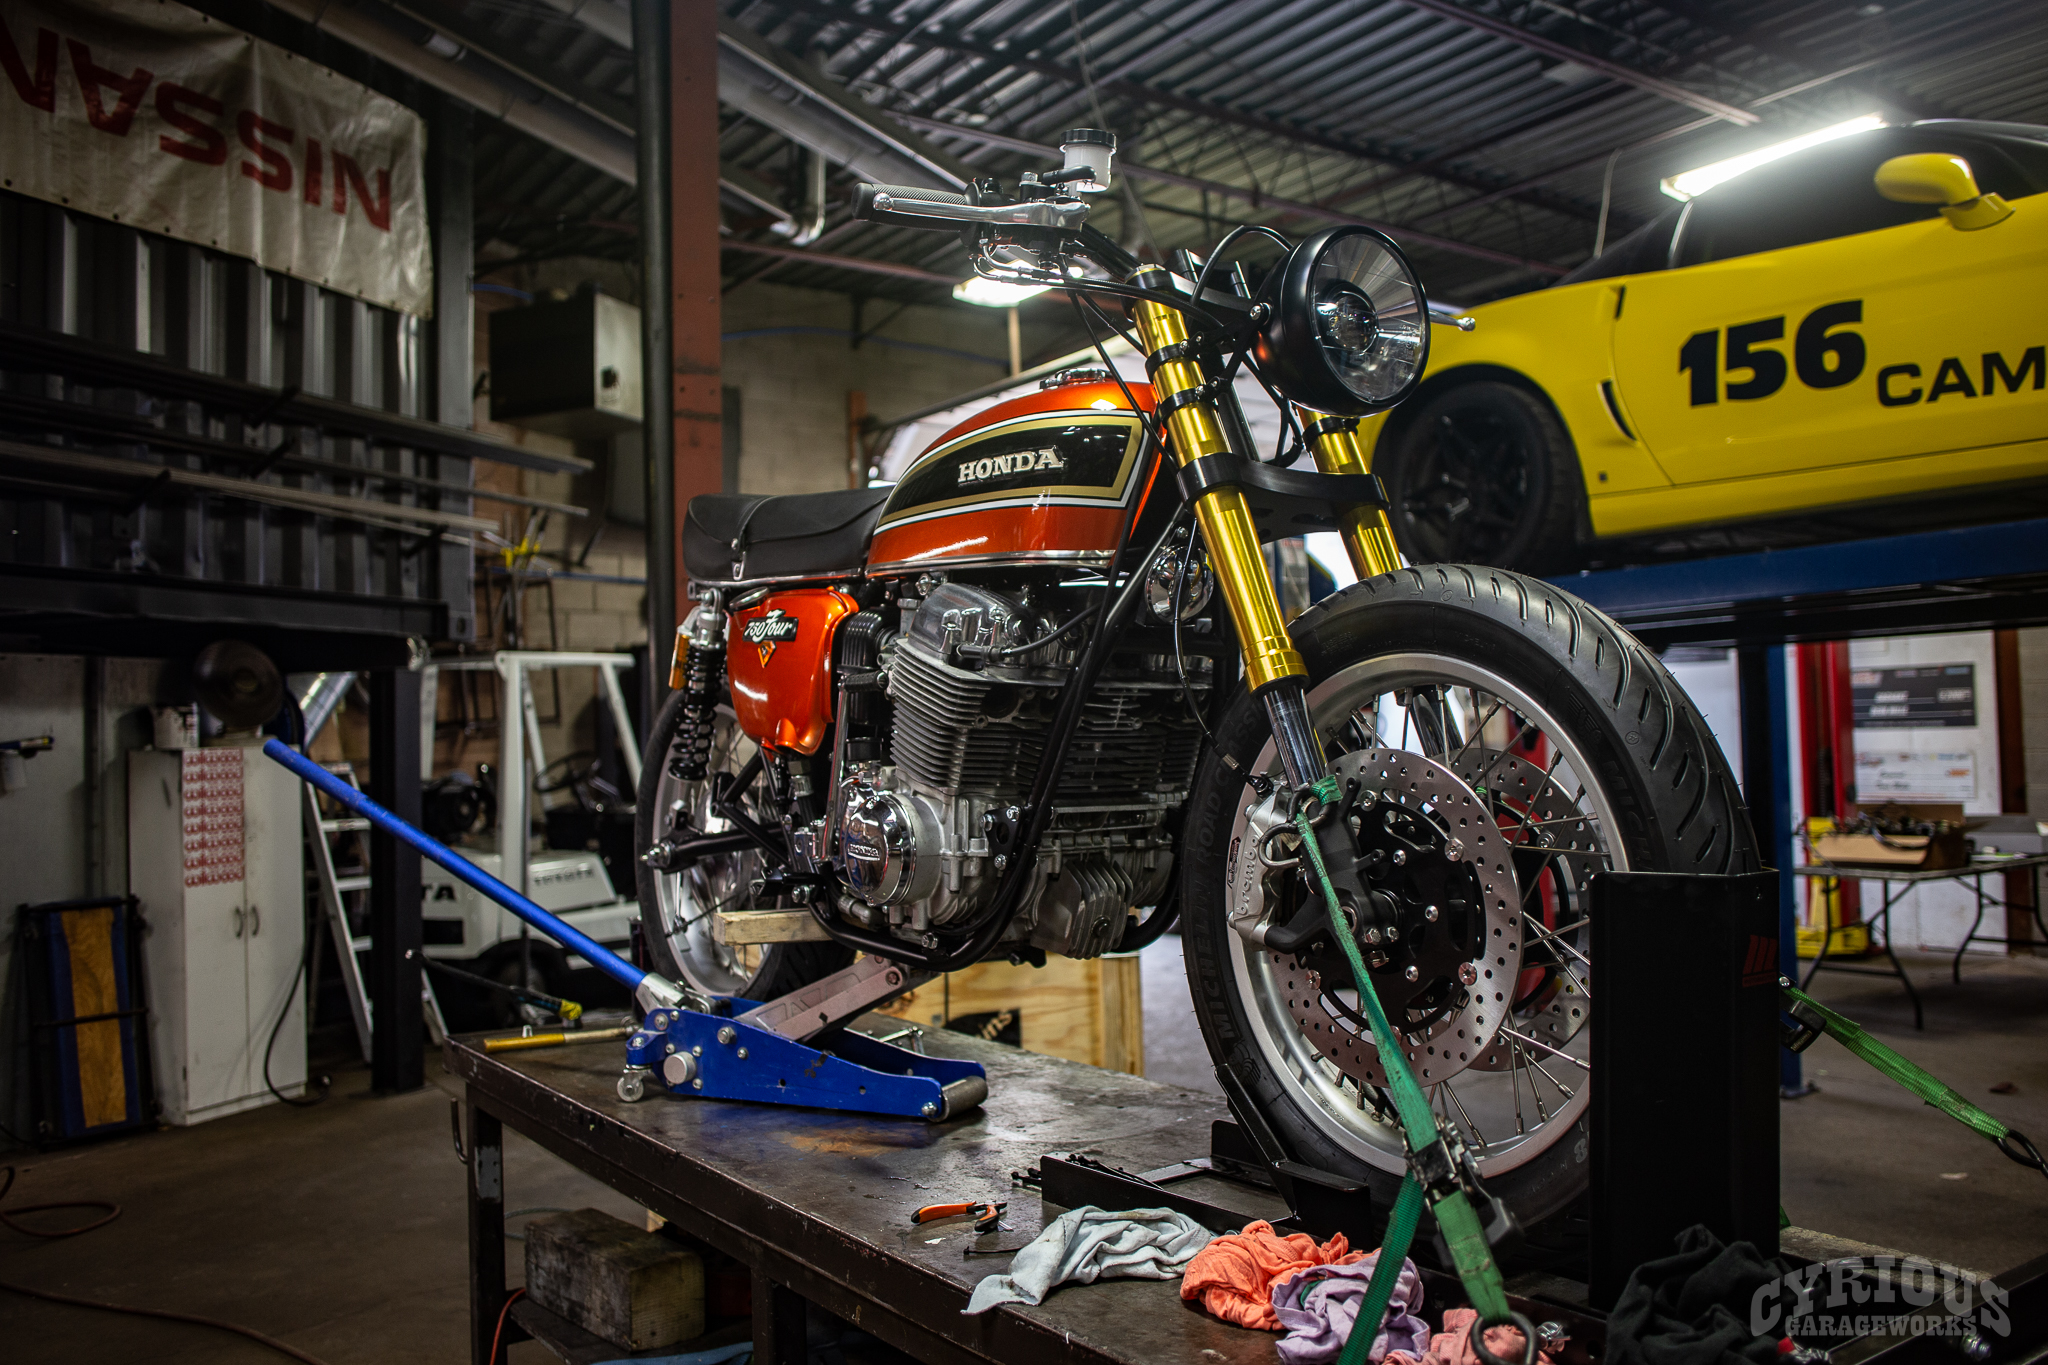
That will finally change with this 1983 Honda CB750K! Overall, this bike is actually in good shape considering it’s 40 years old. That being said, there are lots of things that can be done to modernize this bike and bring it into the 21st century.
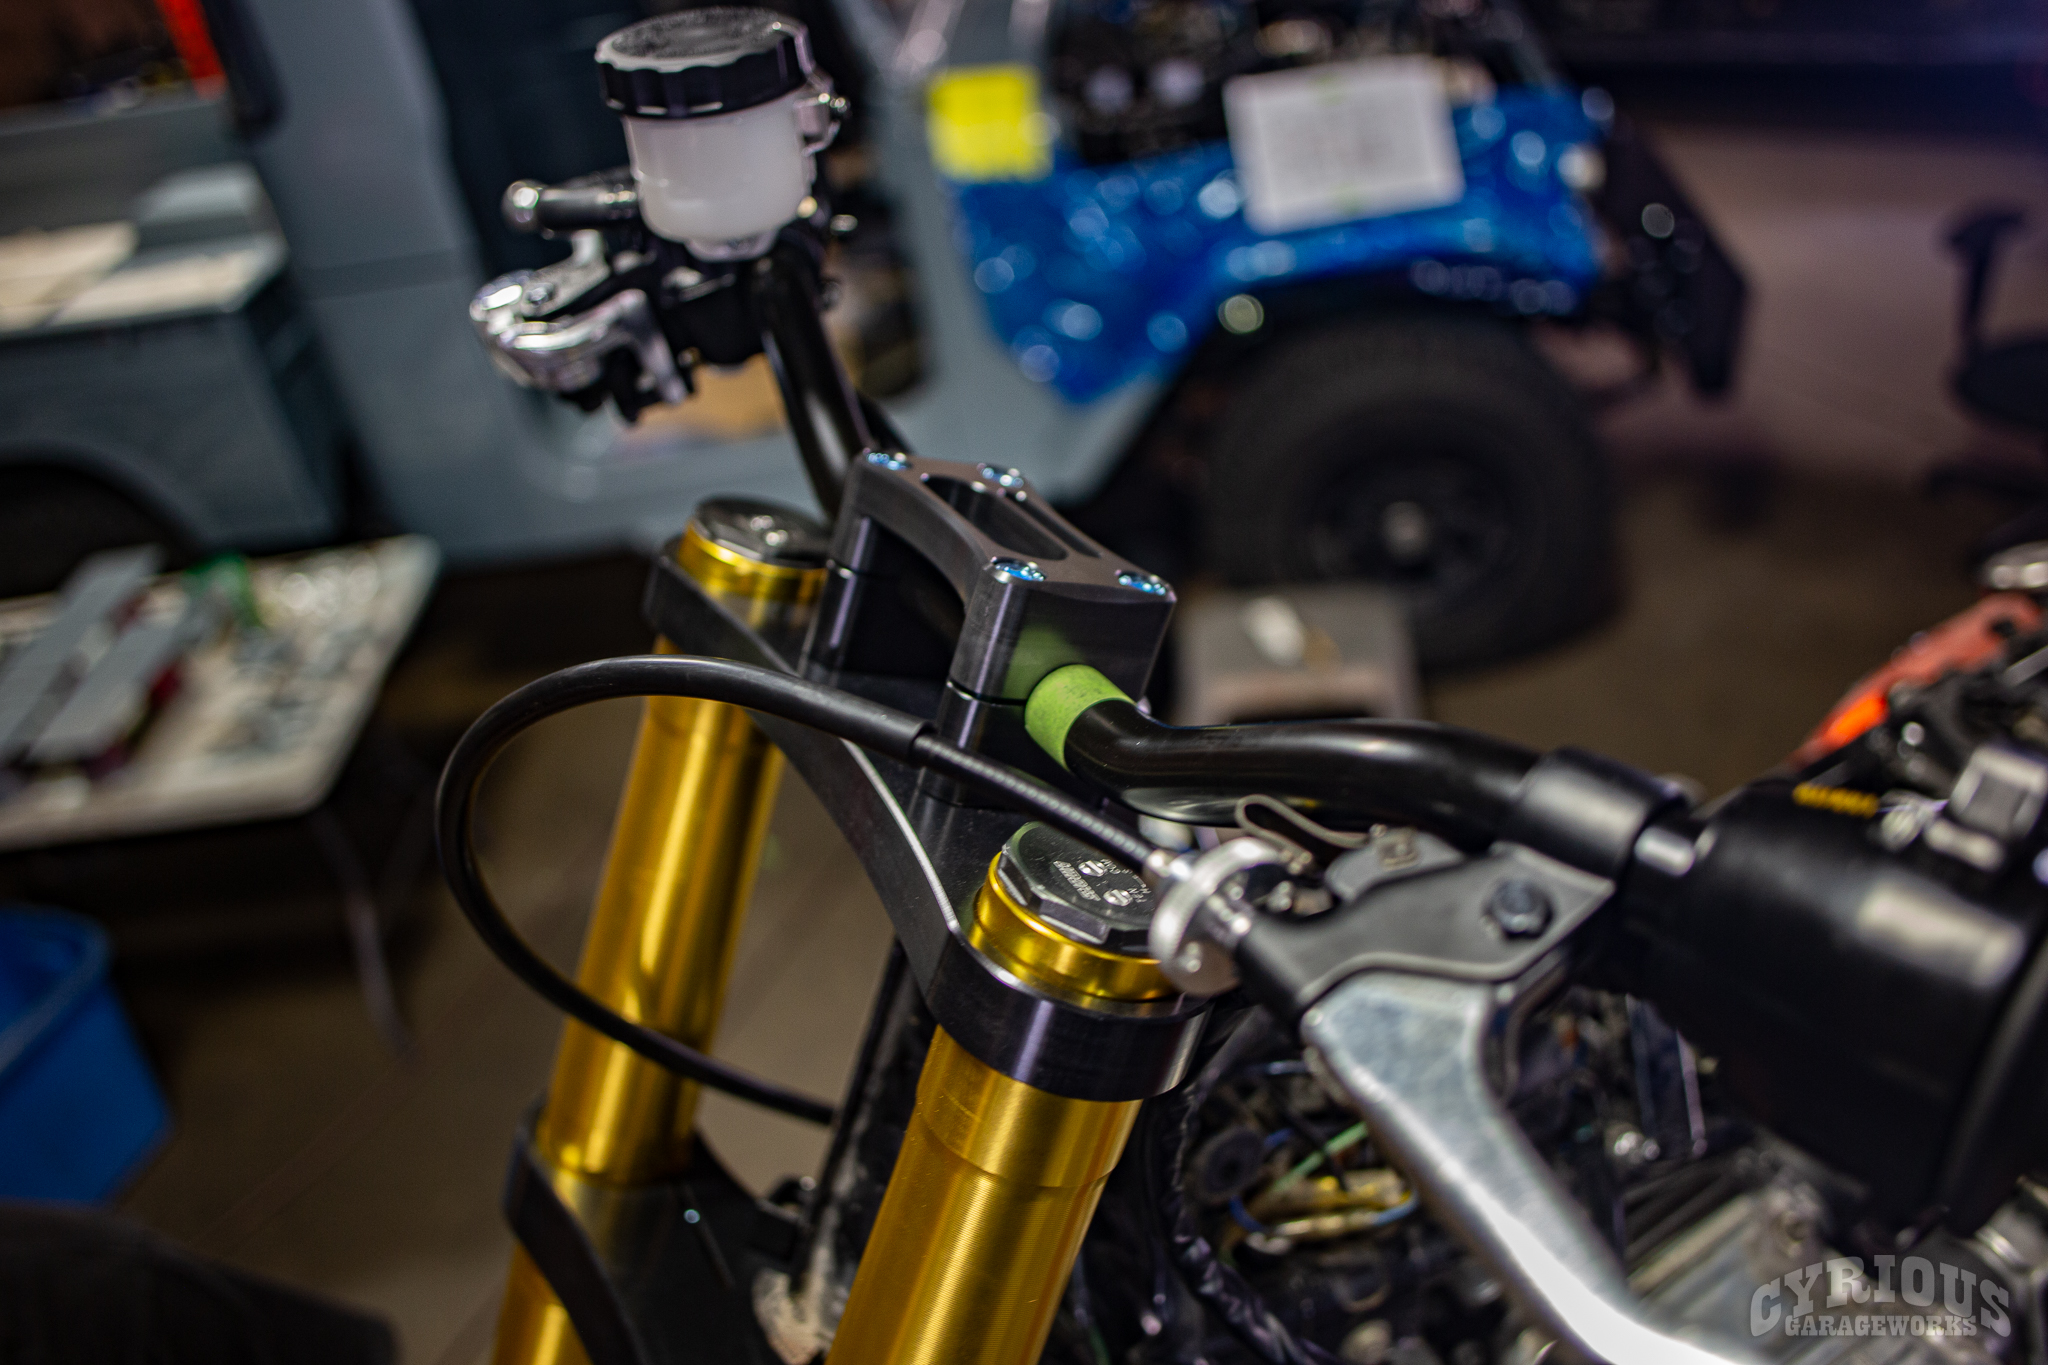
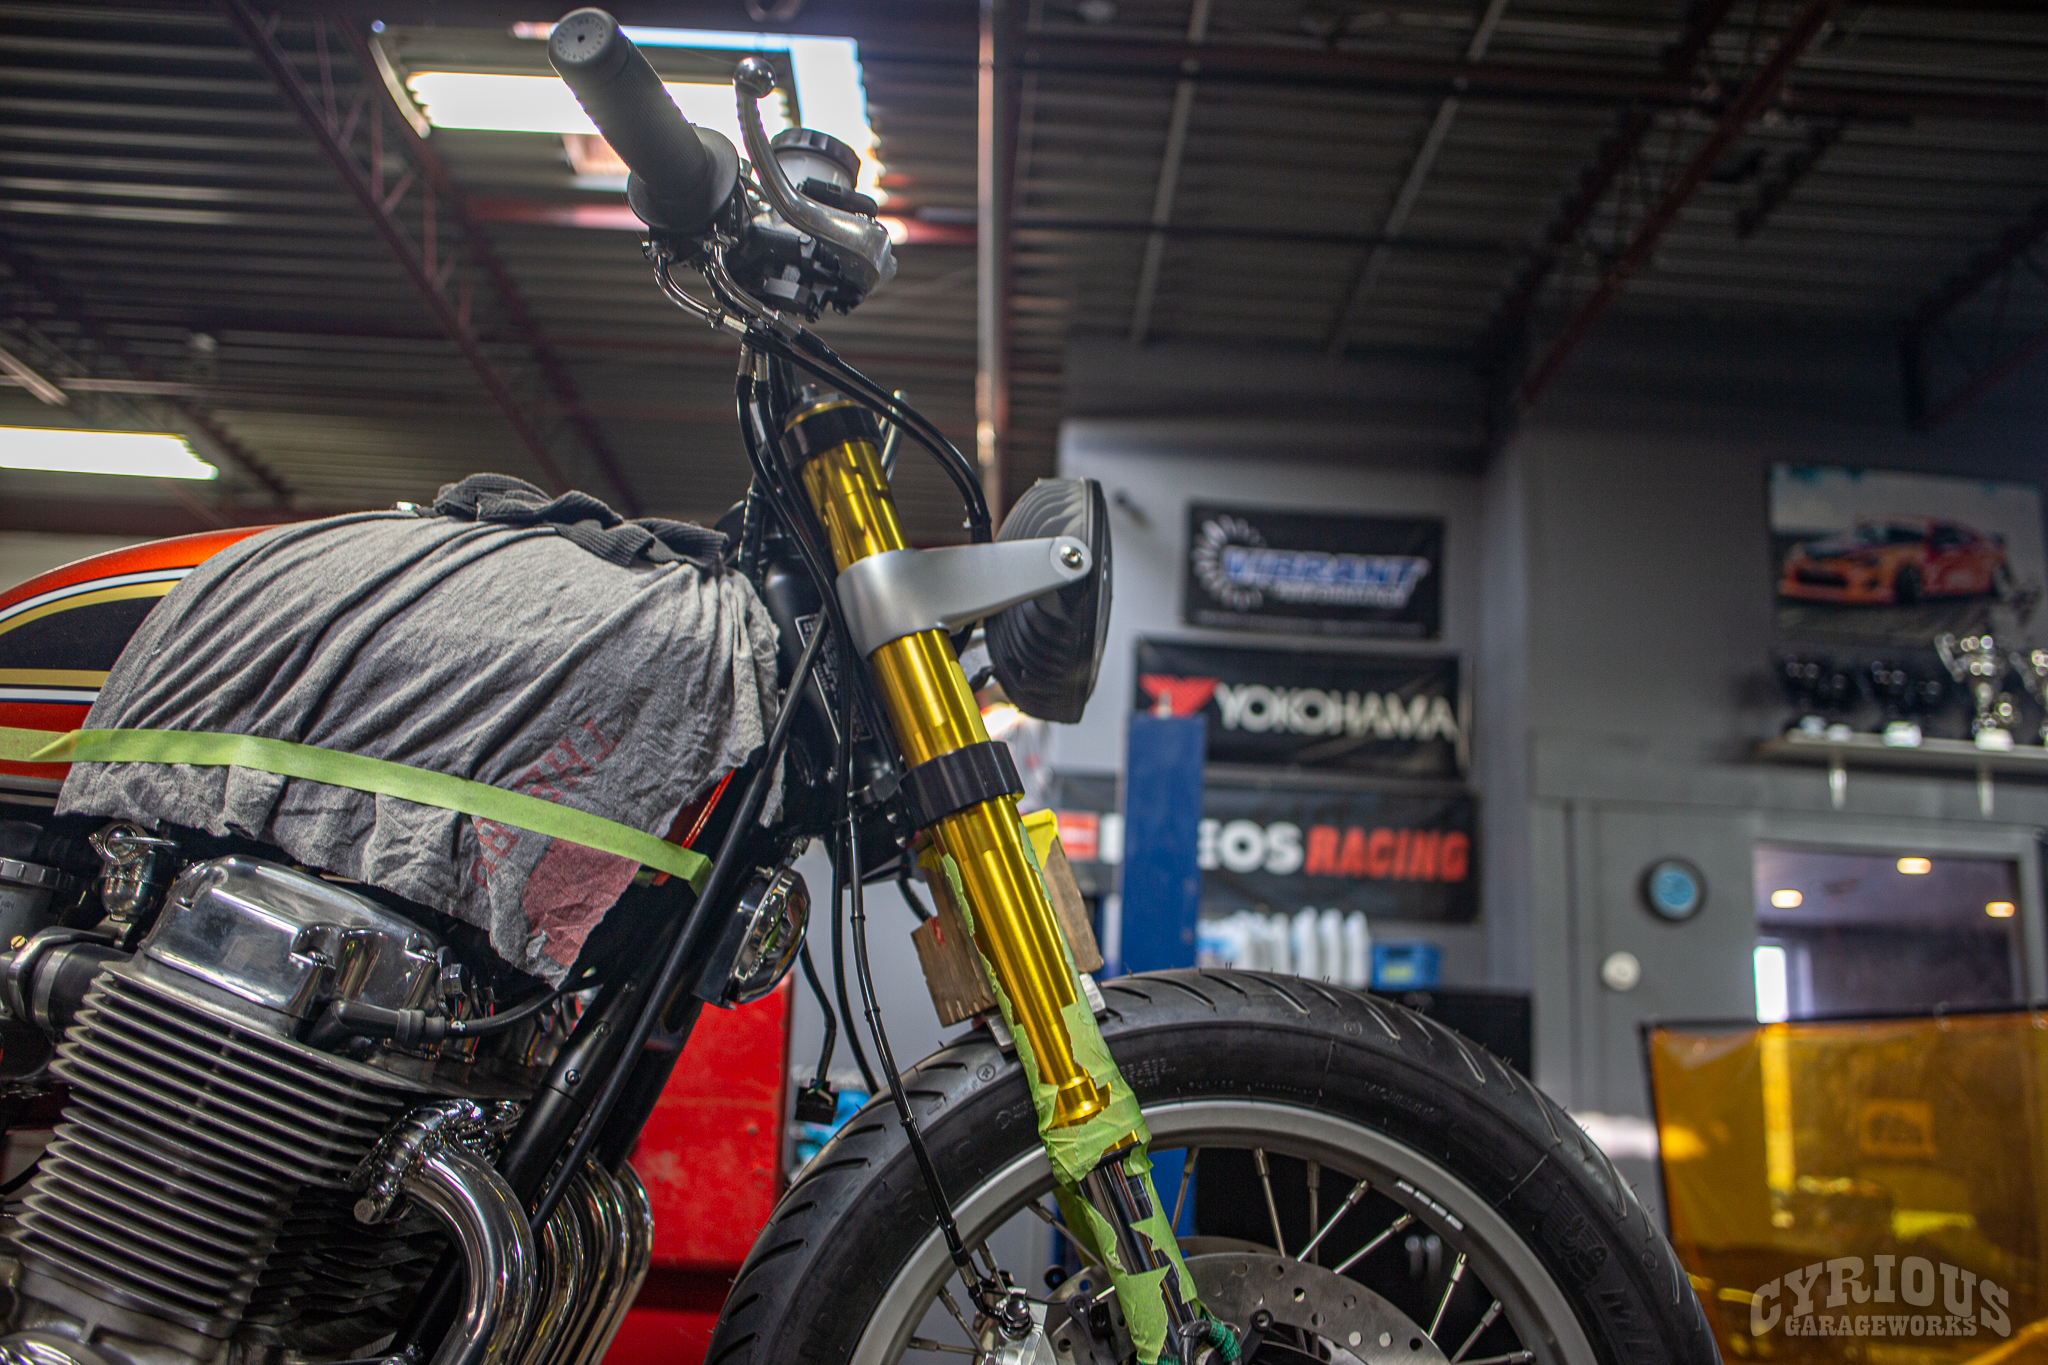
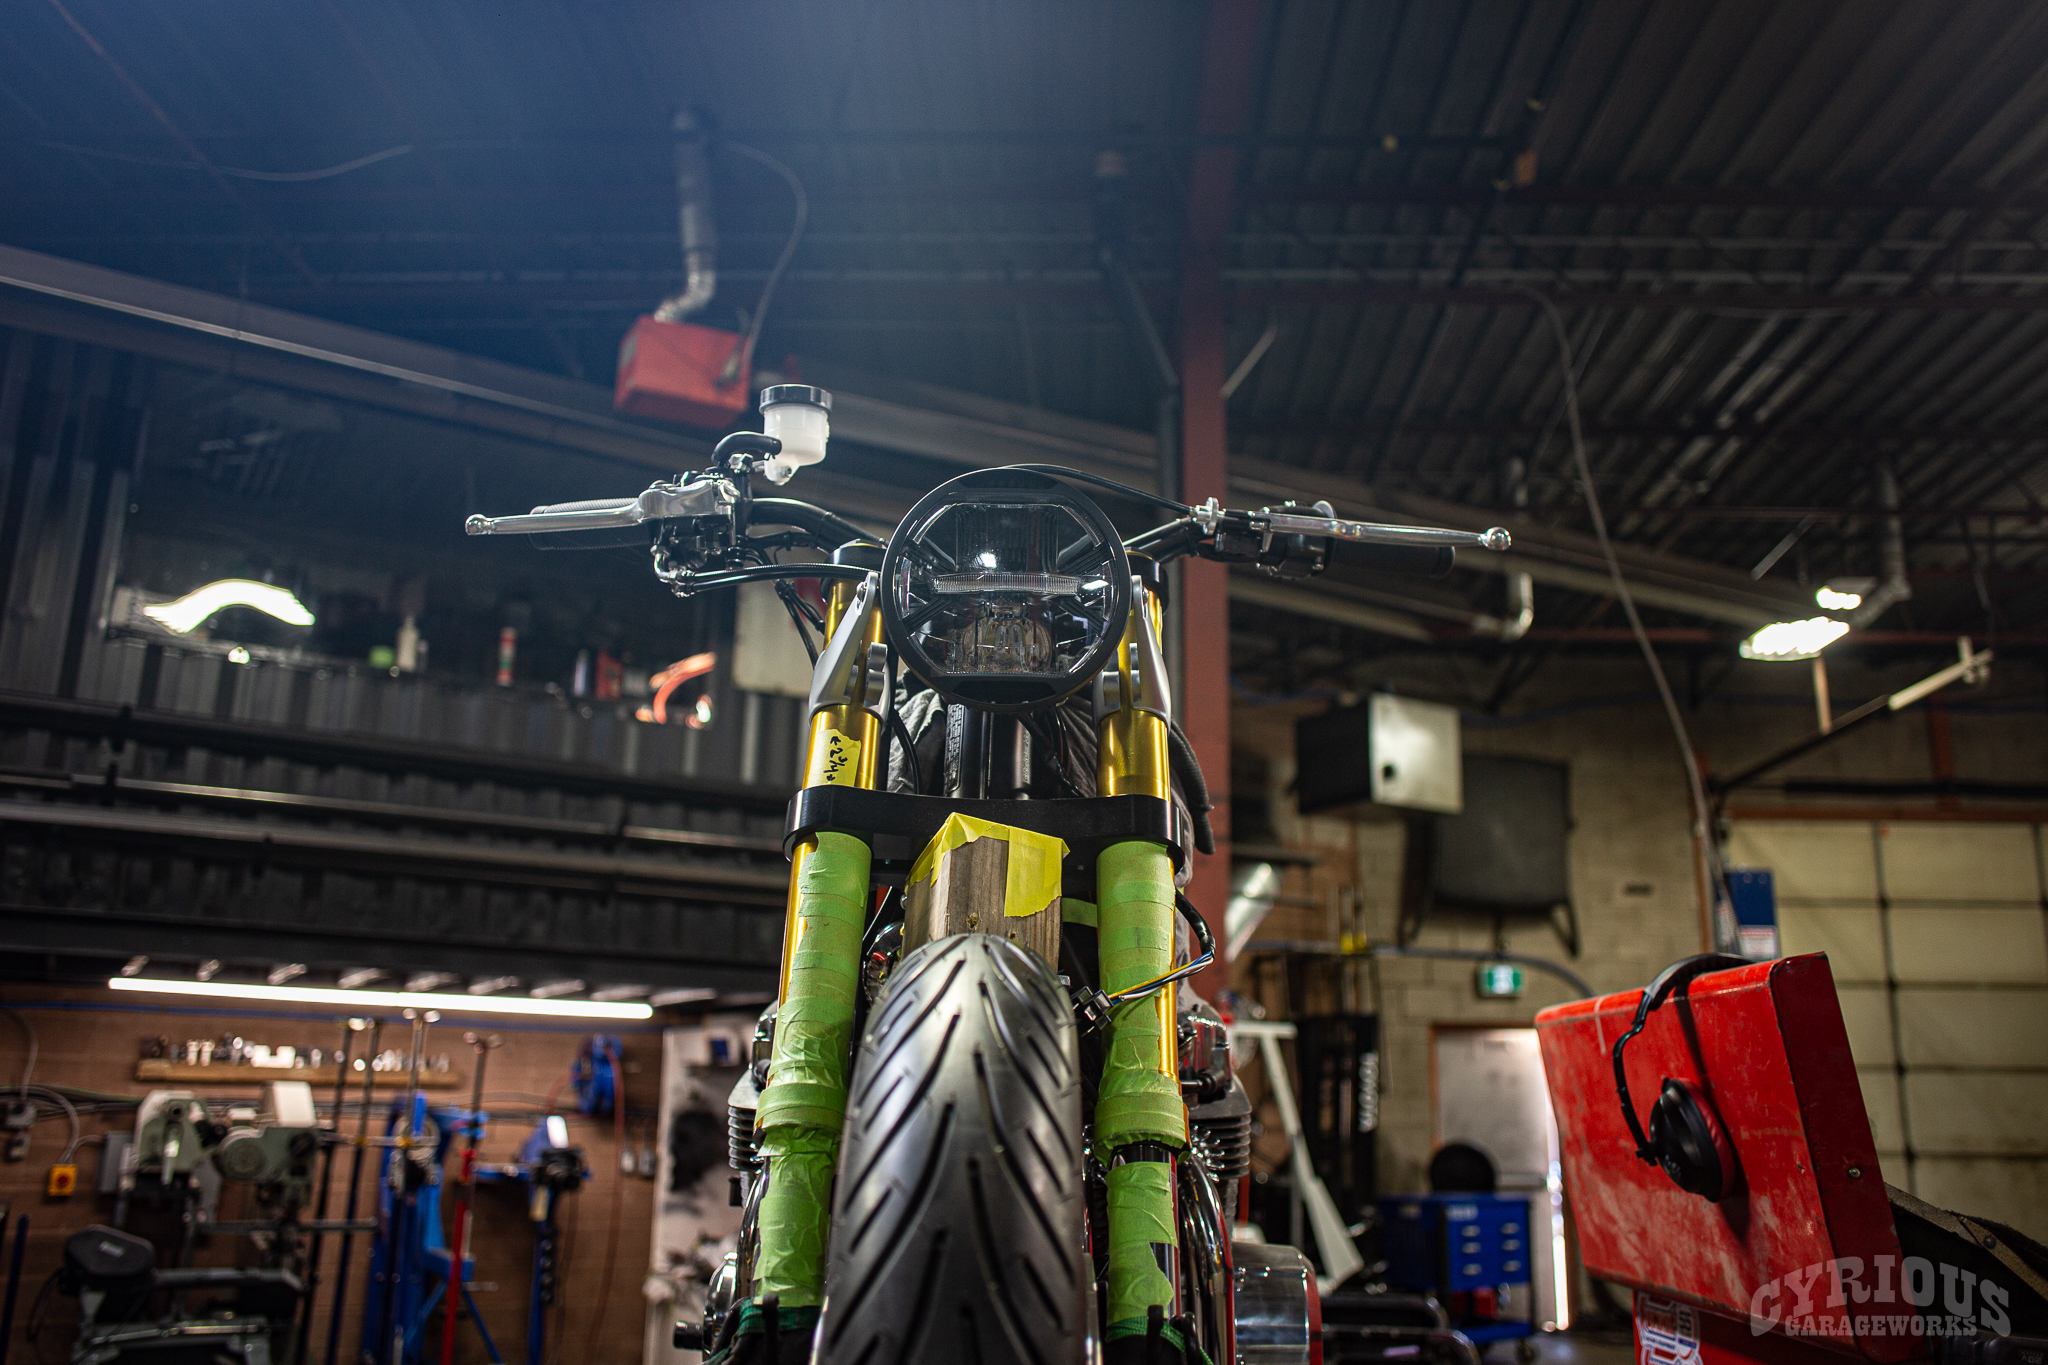
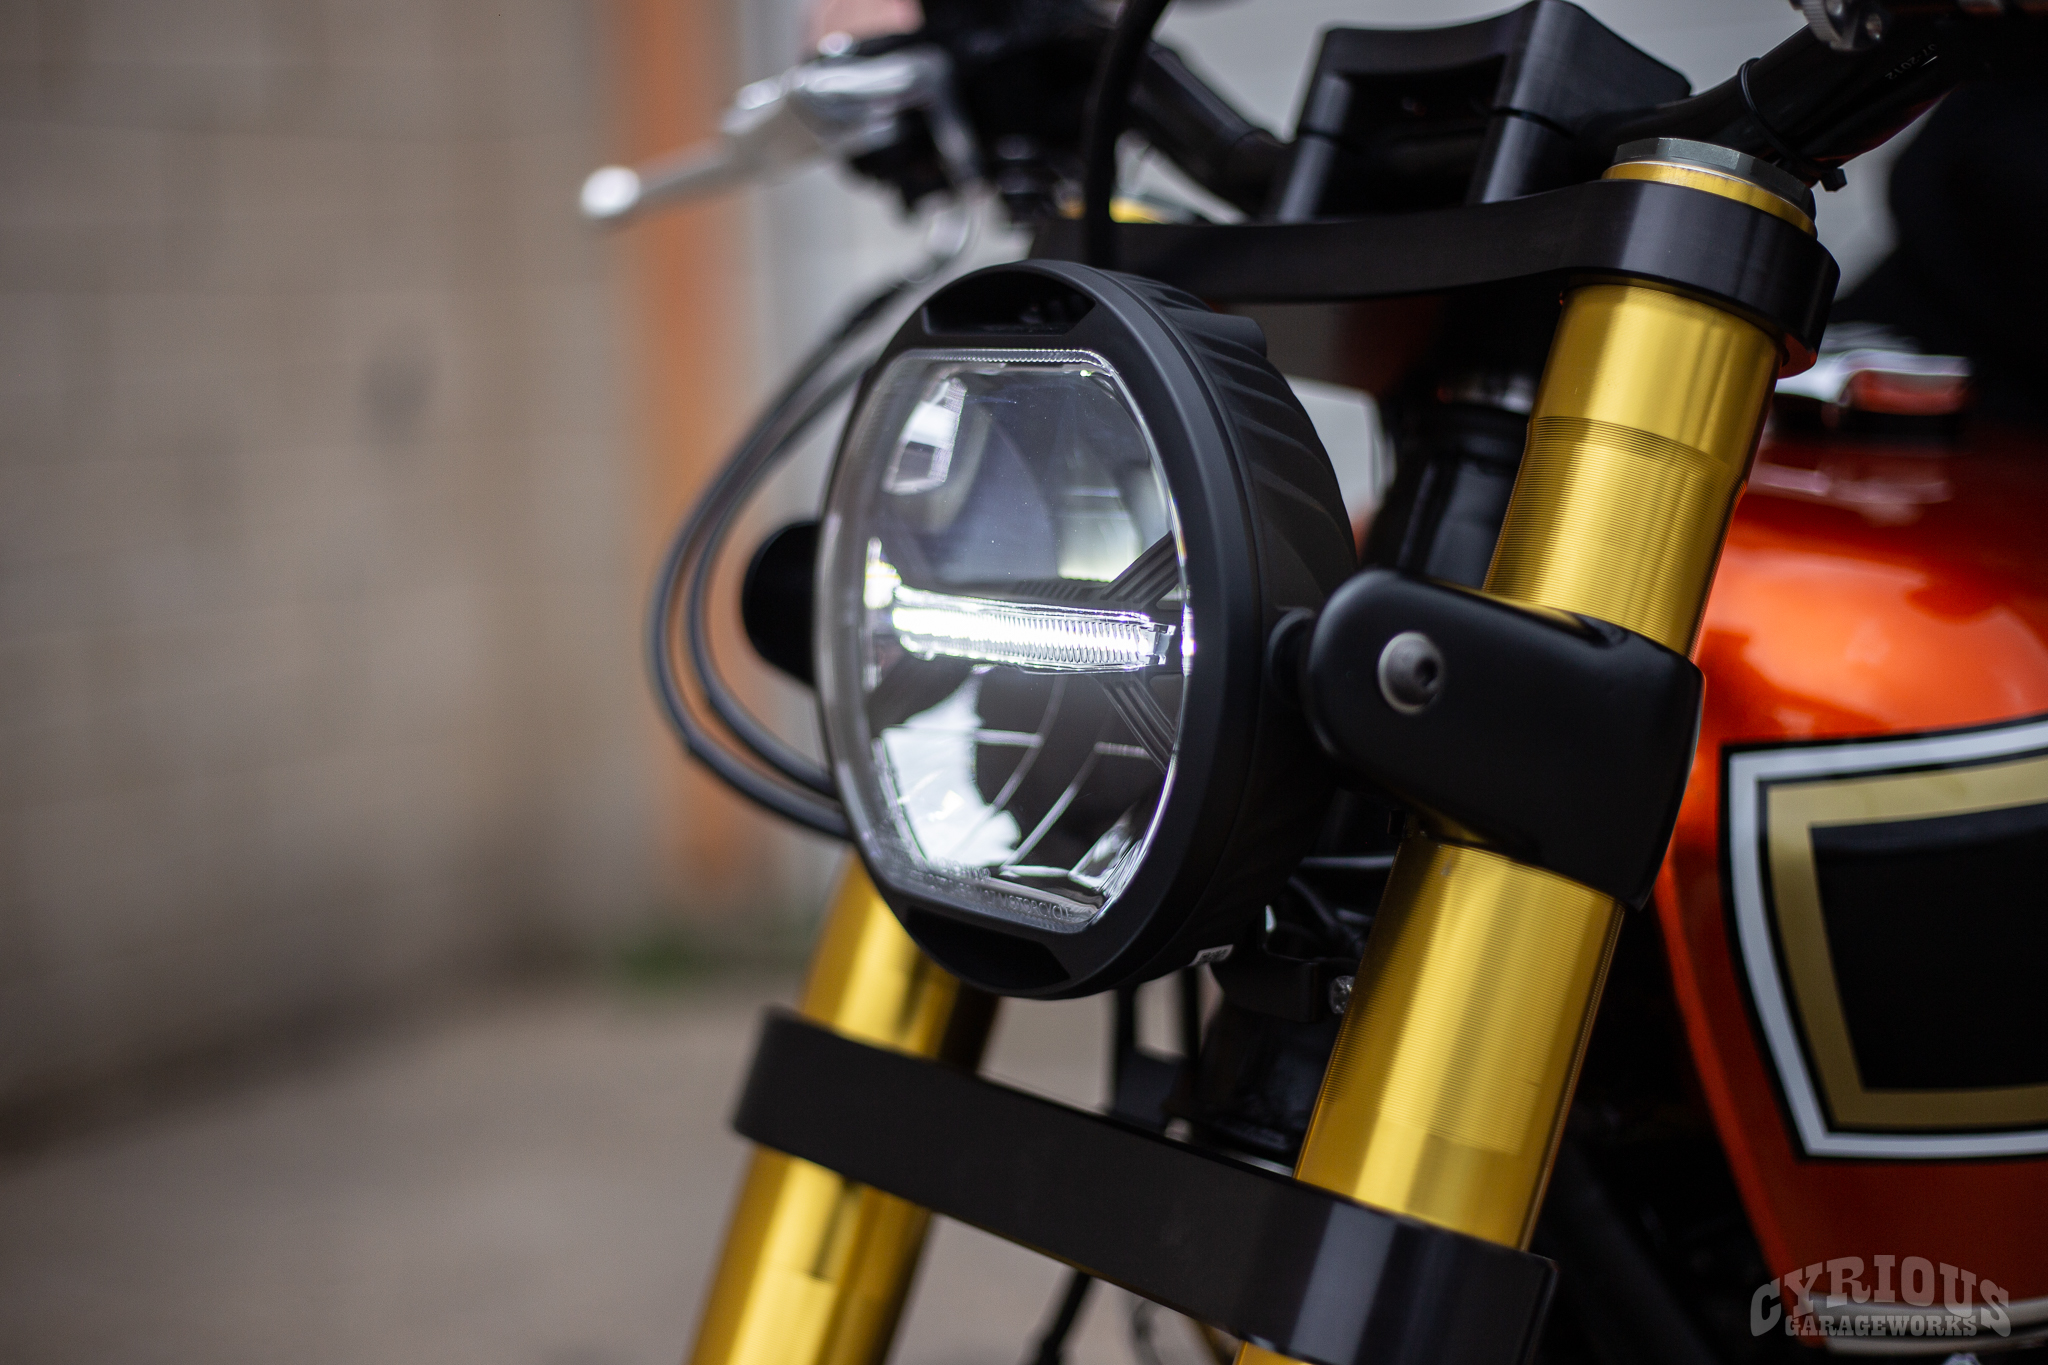
Very few things will be untouched at the end of this build. The paint still looks good, so that will be staying the same. Everything from the shocks to the brakes will be getting attention… it’ll even be getting a digital dash!
The plan is basically to mod as much as possible, while keeping the overall vibe as close to the original as we can. Without further ado, let’s get rippin’!
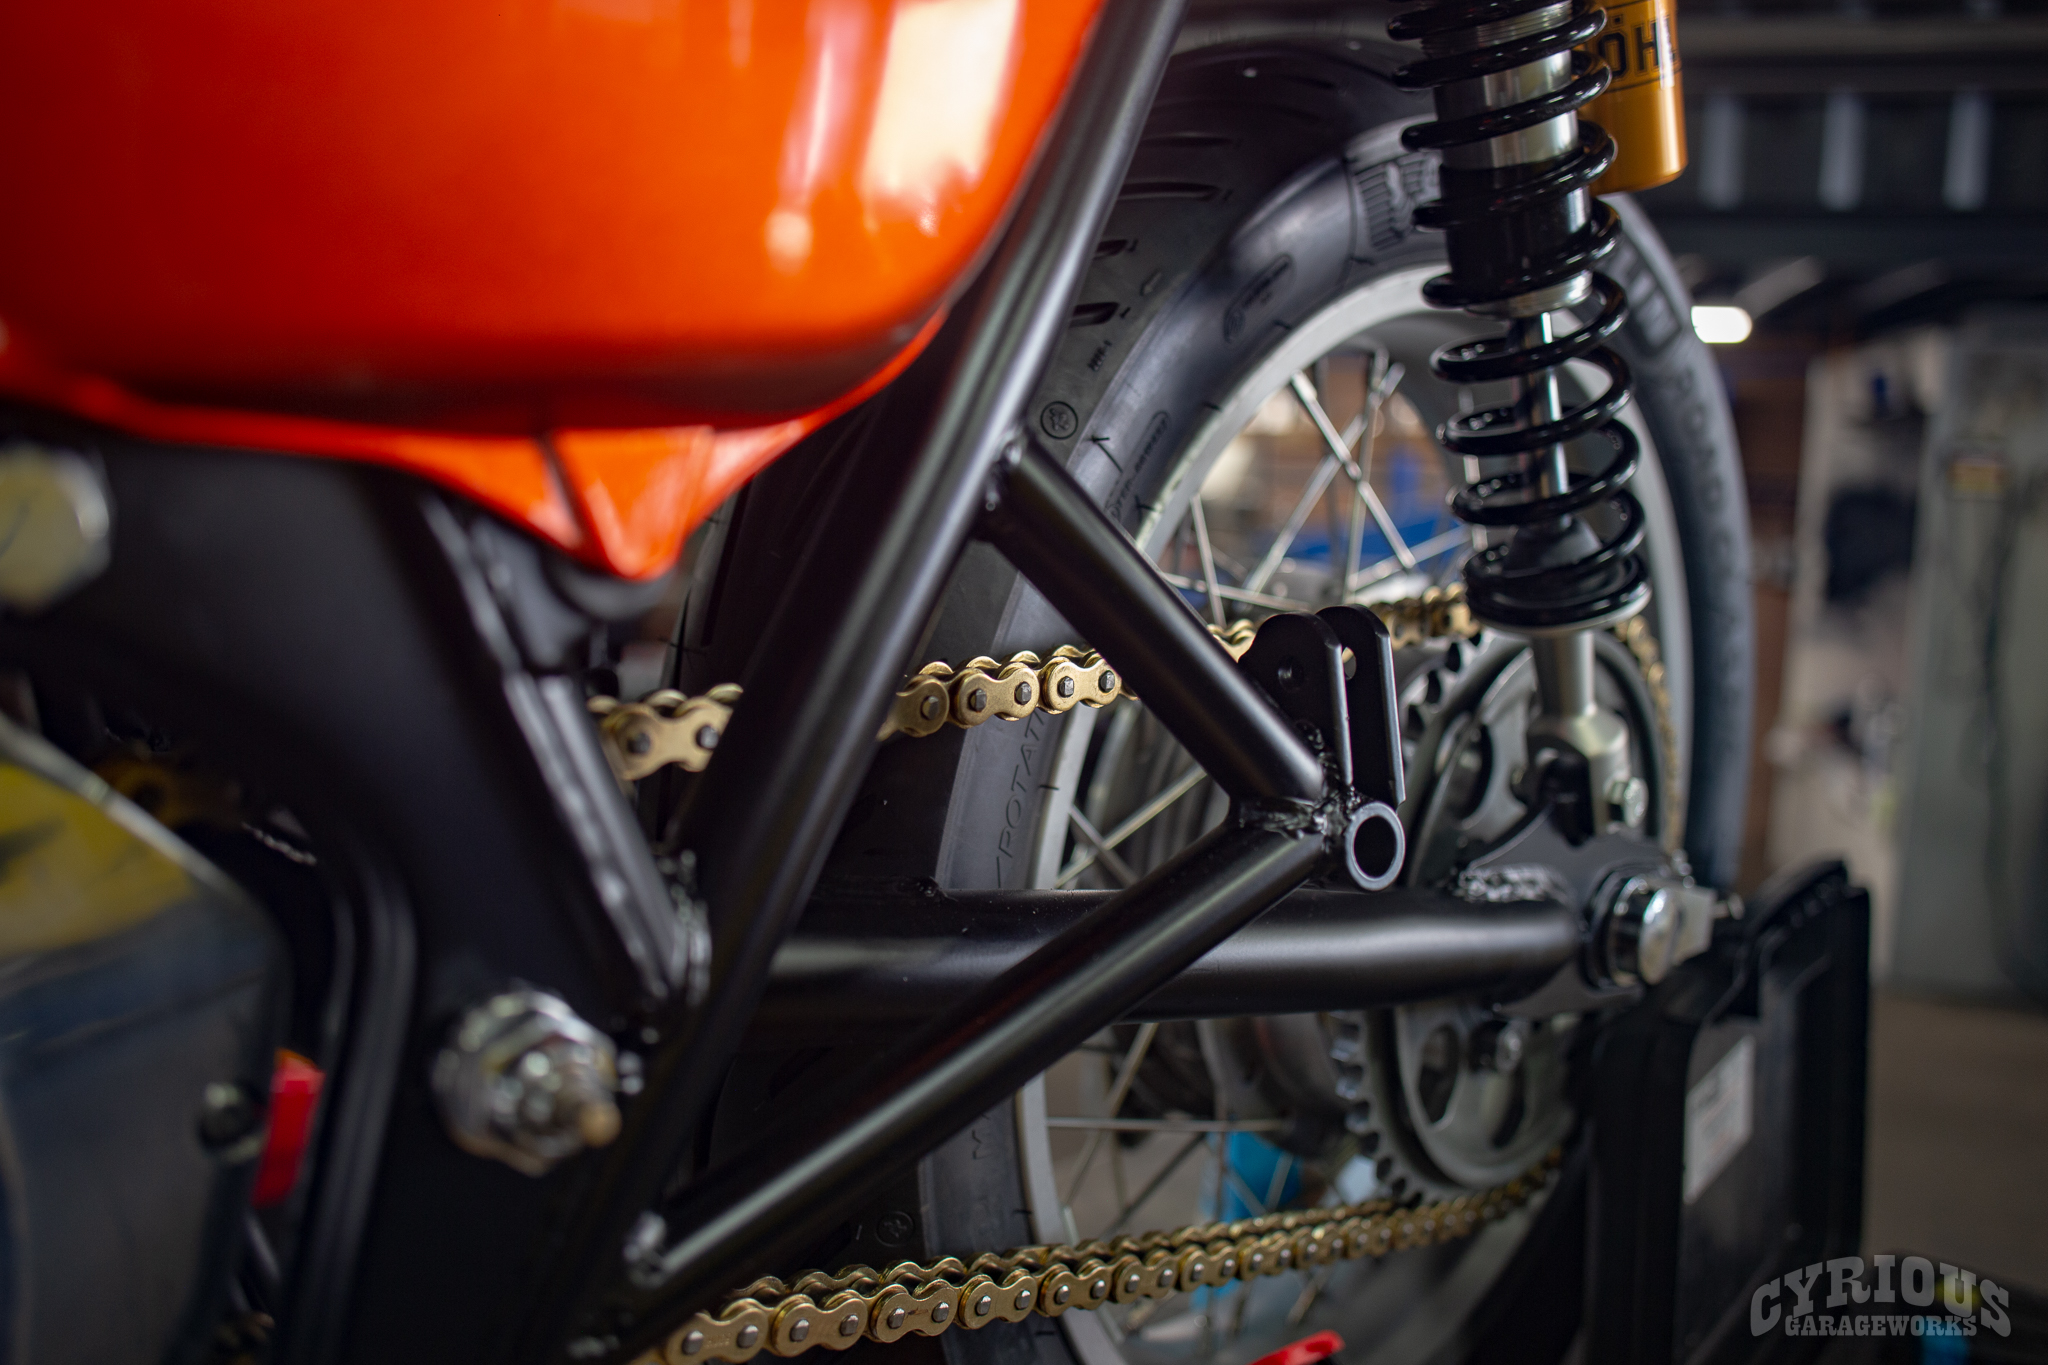
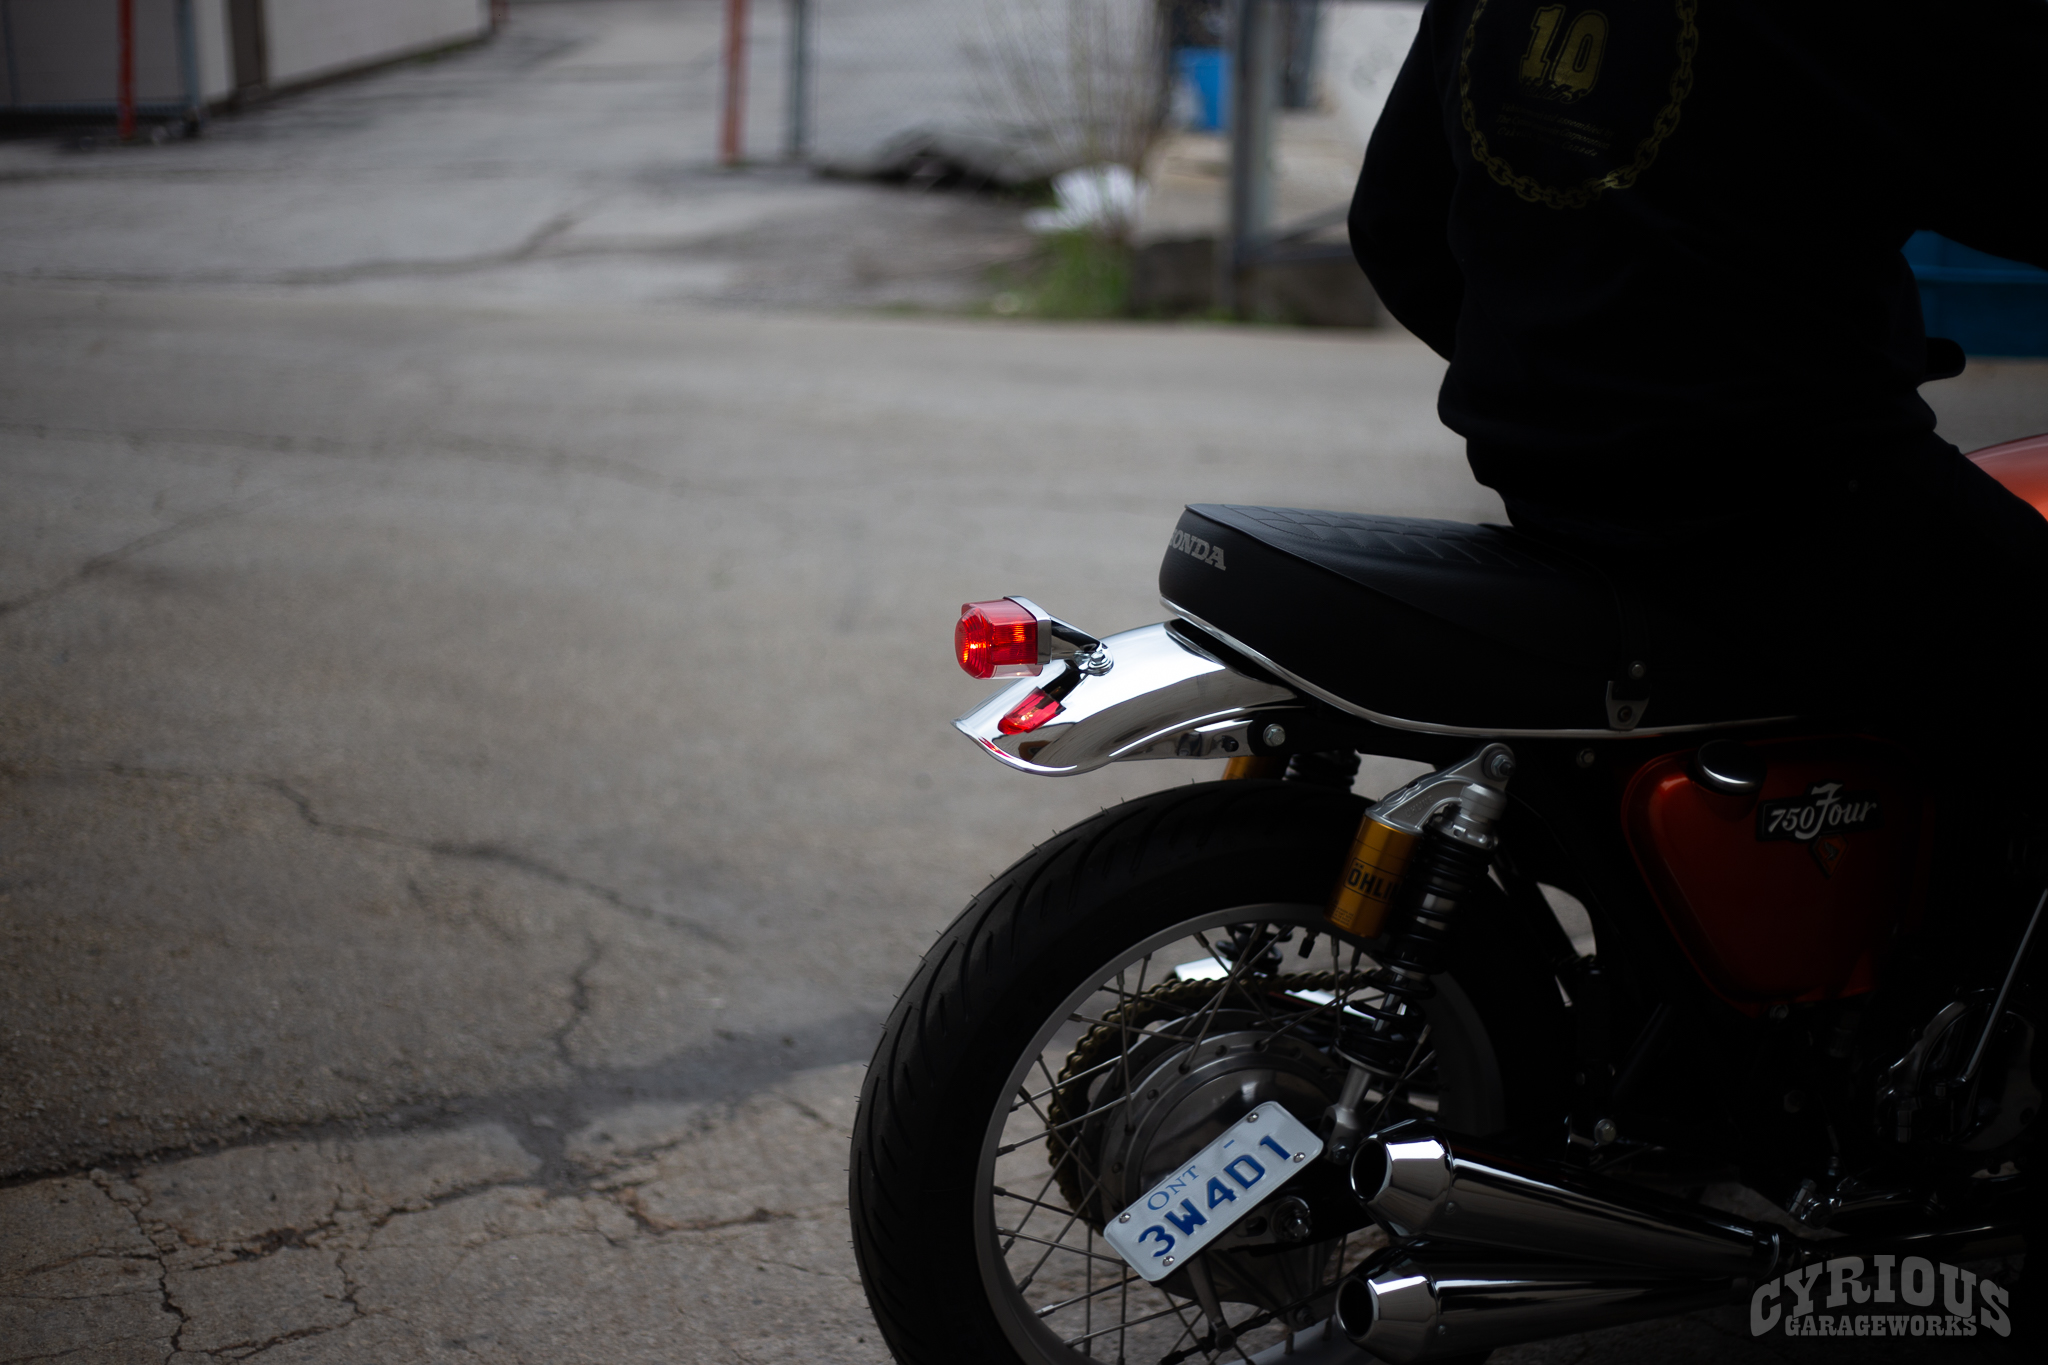
That humongous tail light definitely must goThe original exhaust isn’t the worst, but needs a little something moreMay not look like much, but the handlebar clamp is actually a digital dash!This gold chain is a vast improvement over that ugly chain cover!
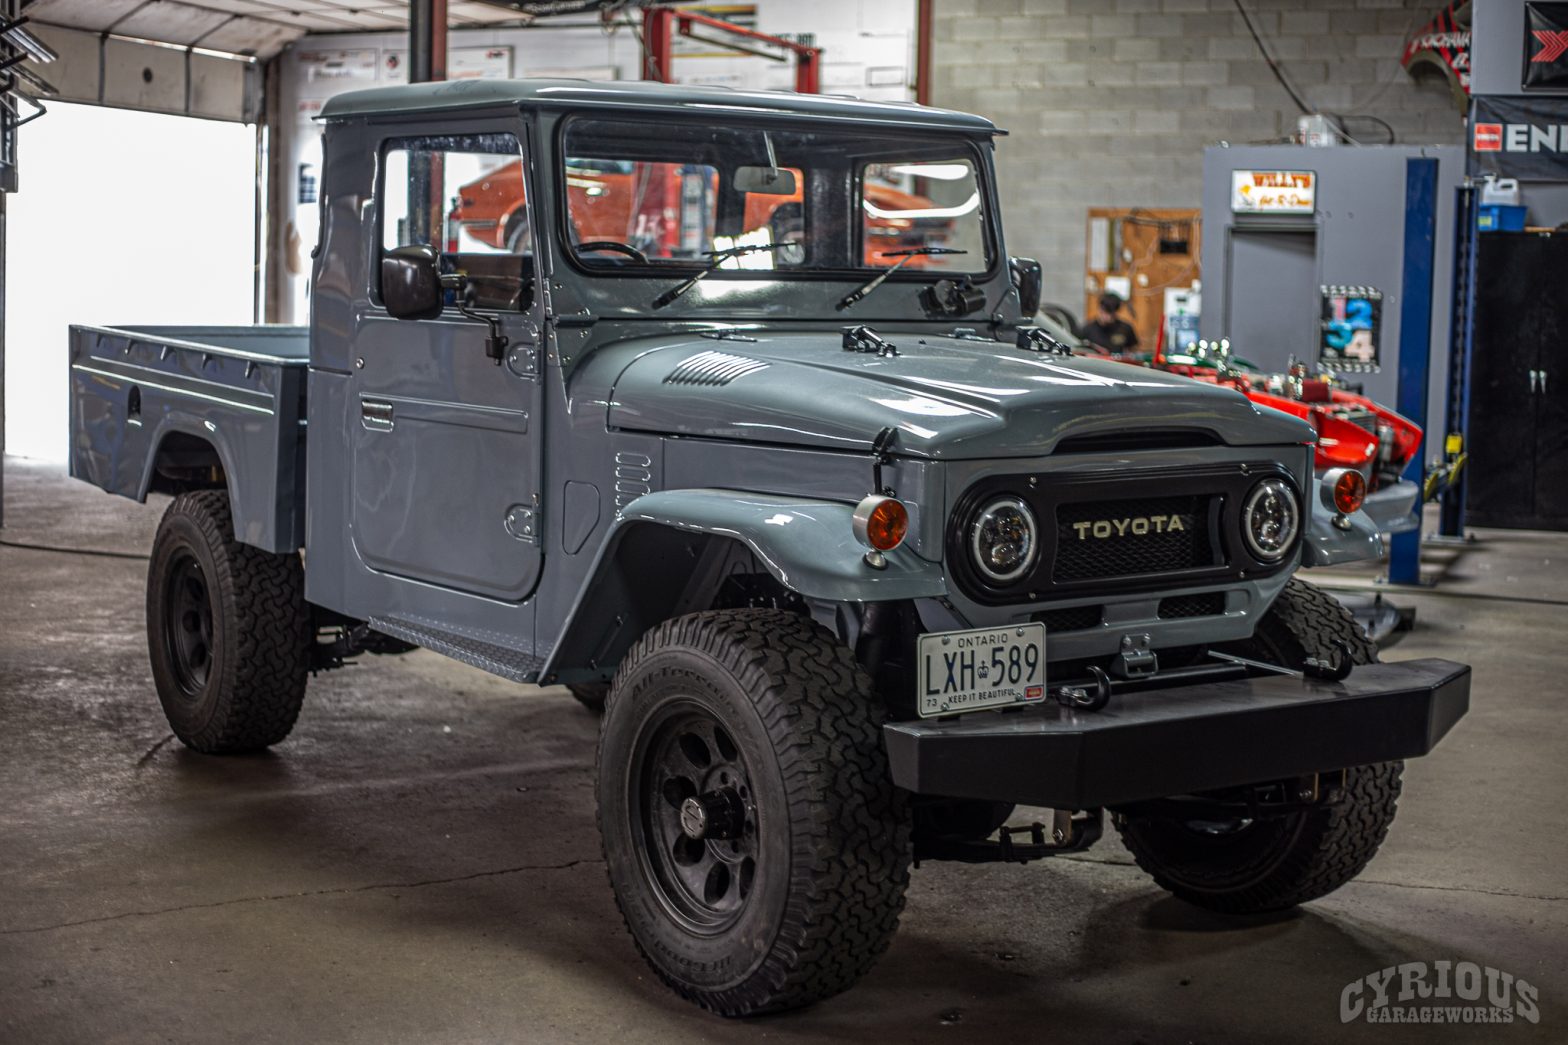
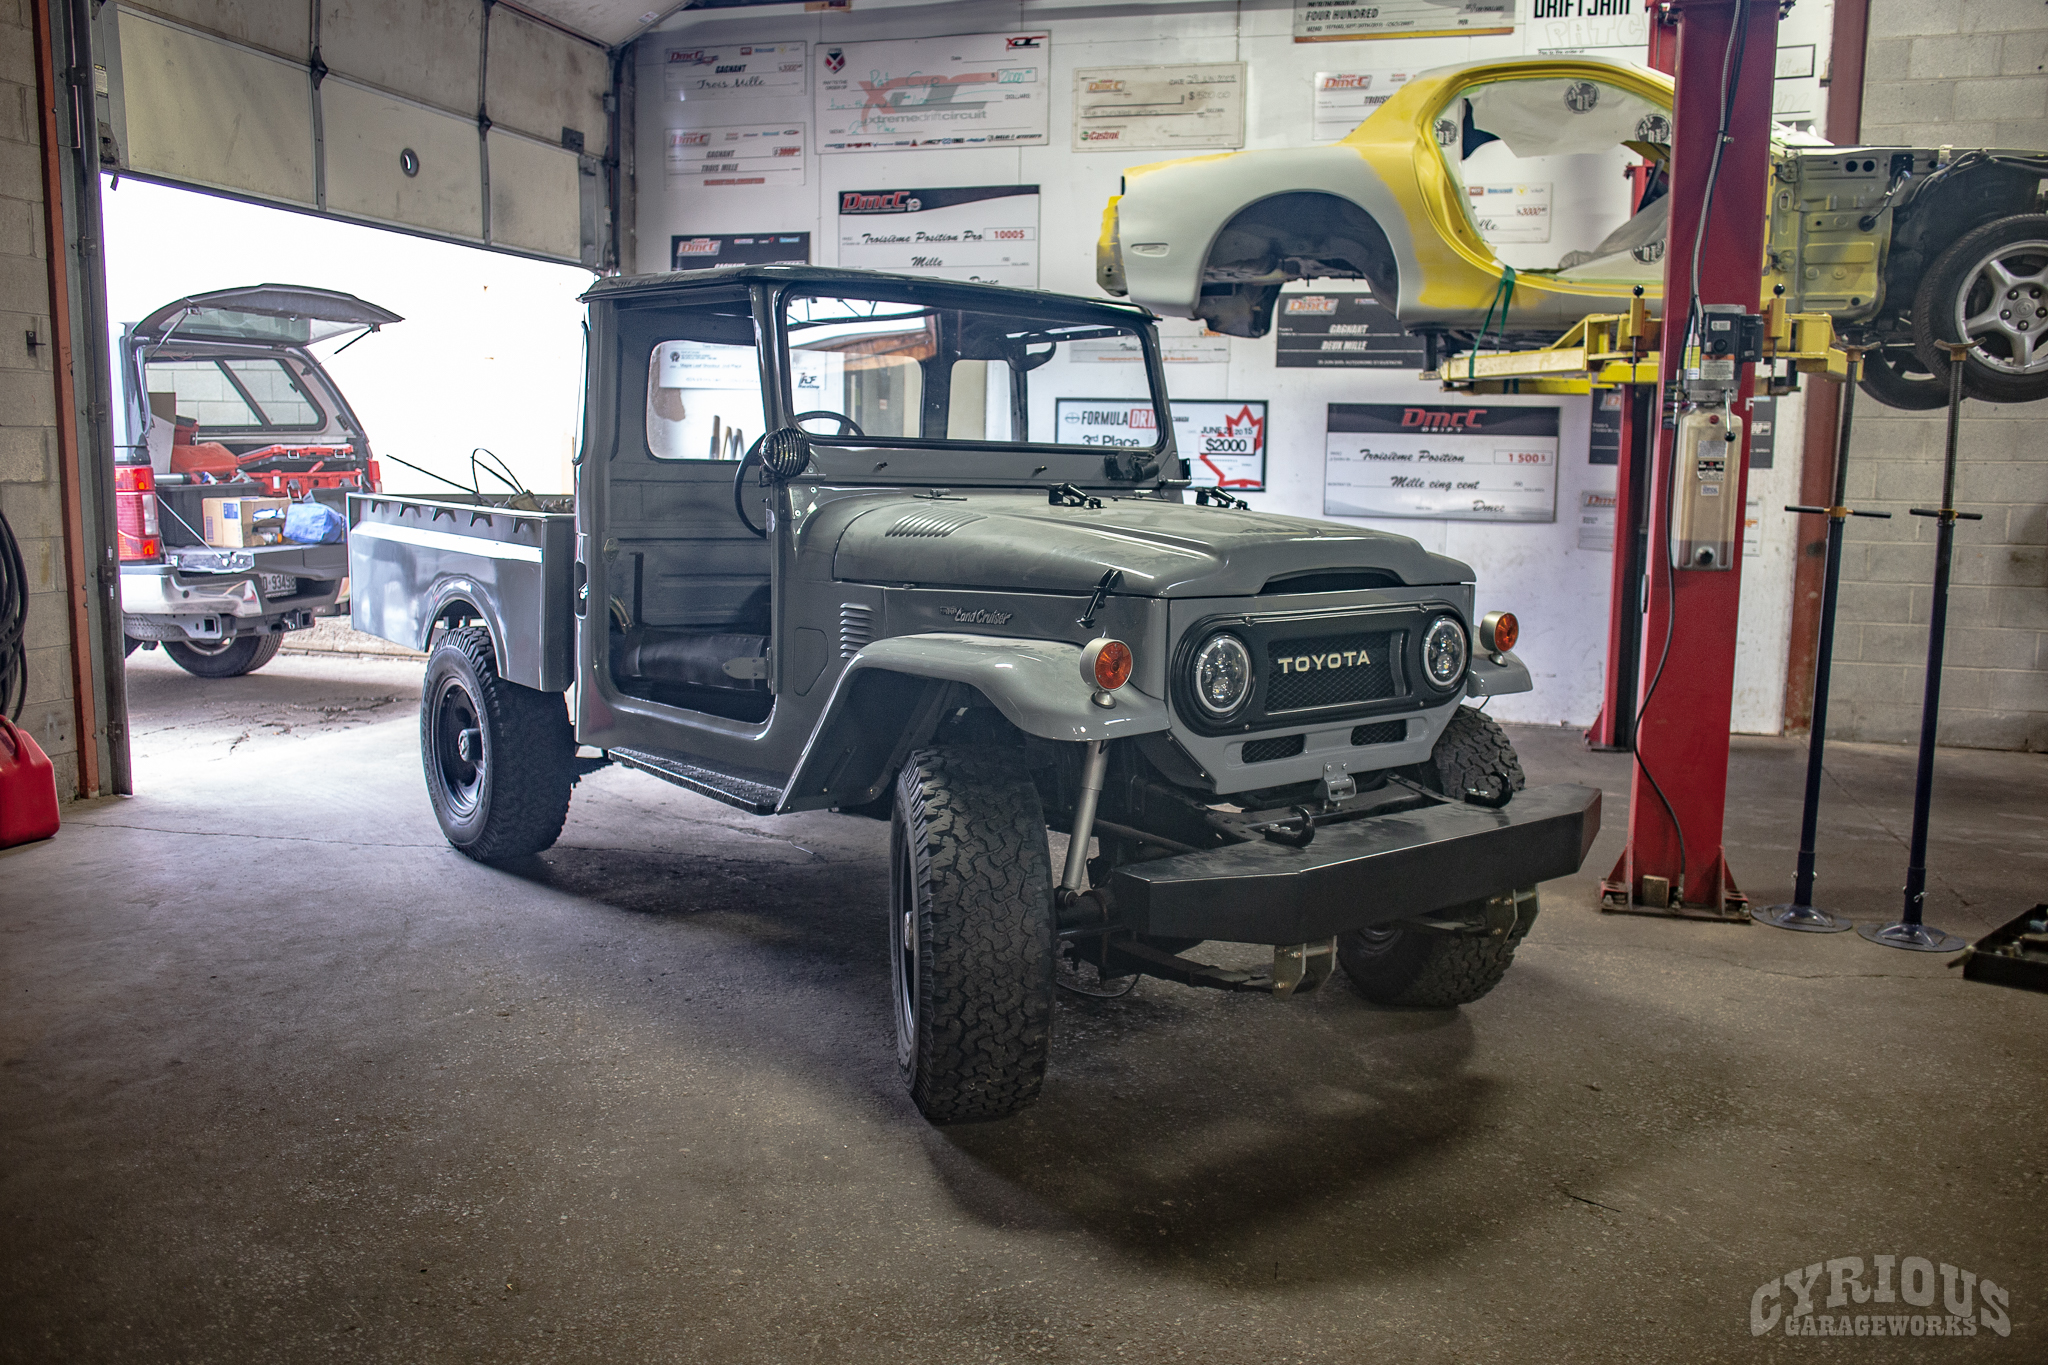
You might look at that photo above and think “that Land Cruiser doesn’t look that crusty”, and you would be wrong.
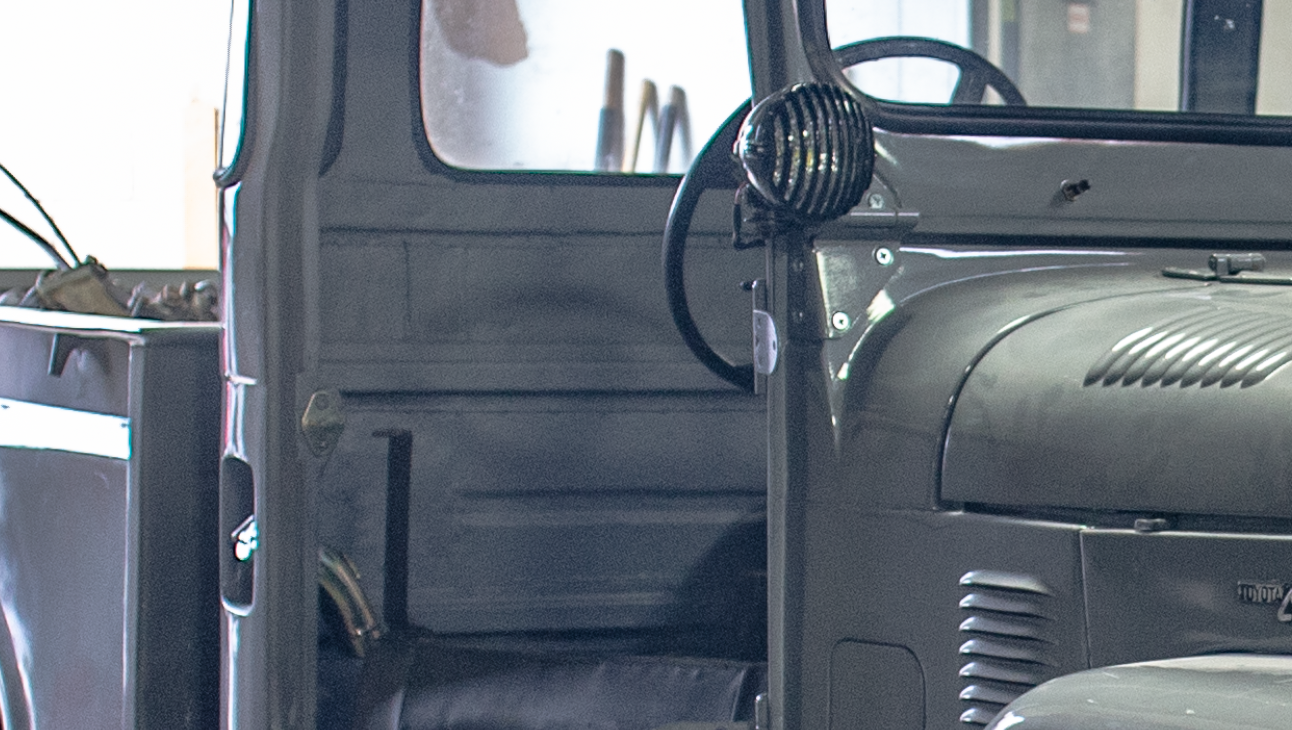
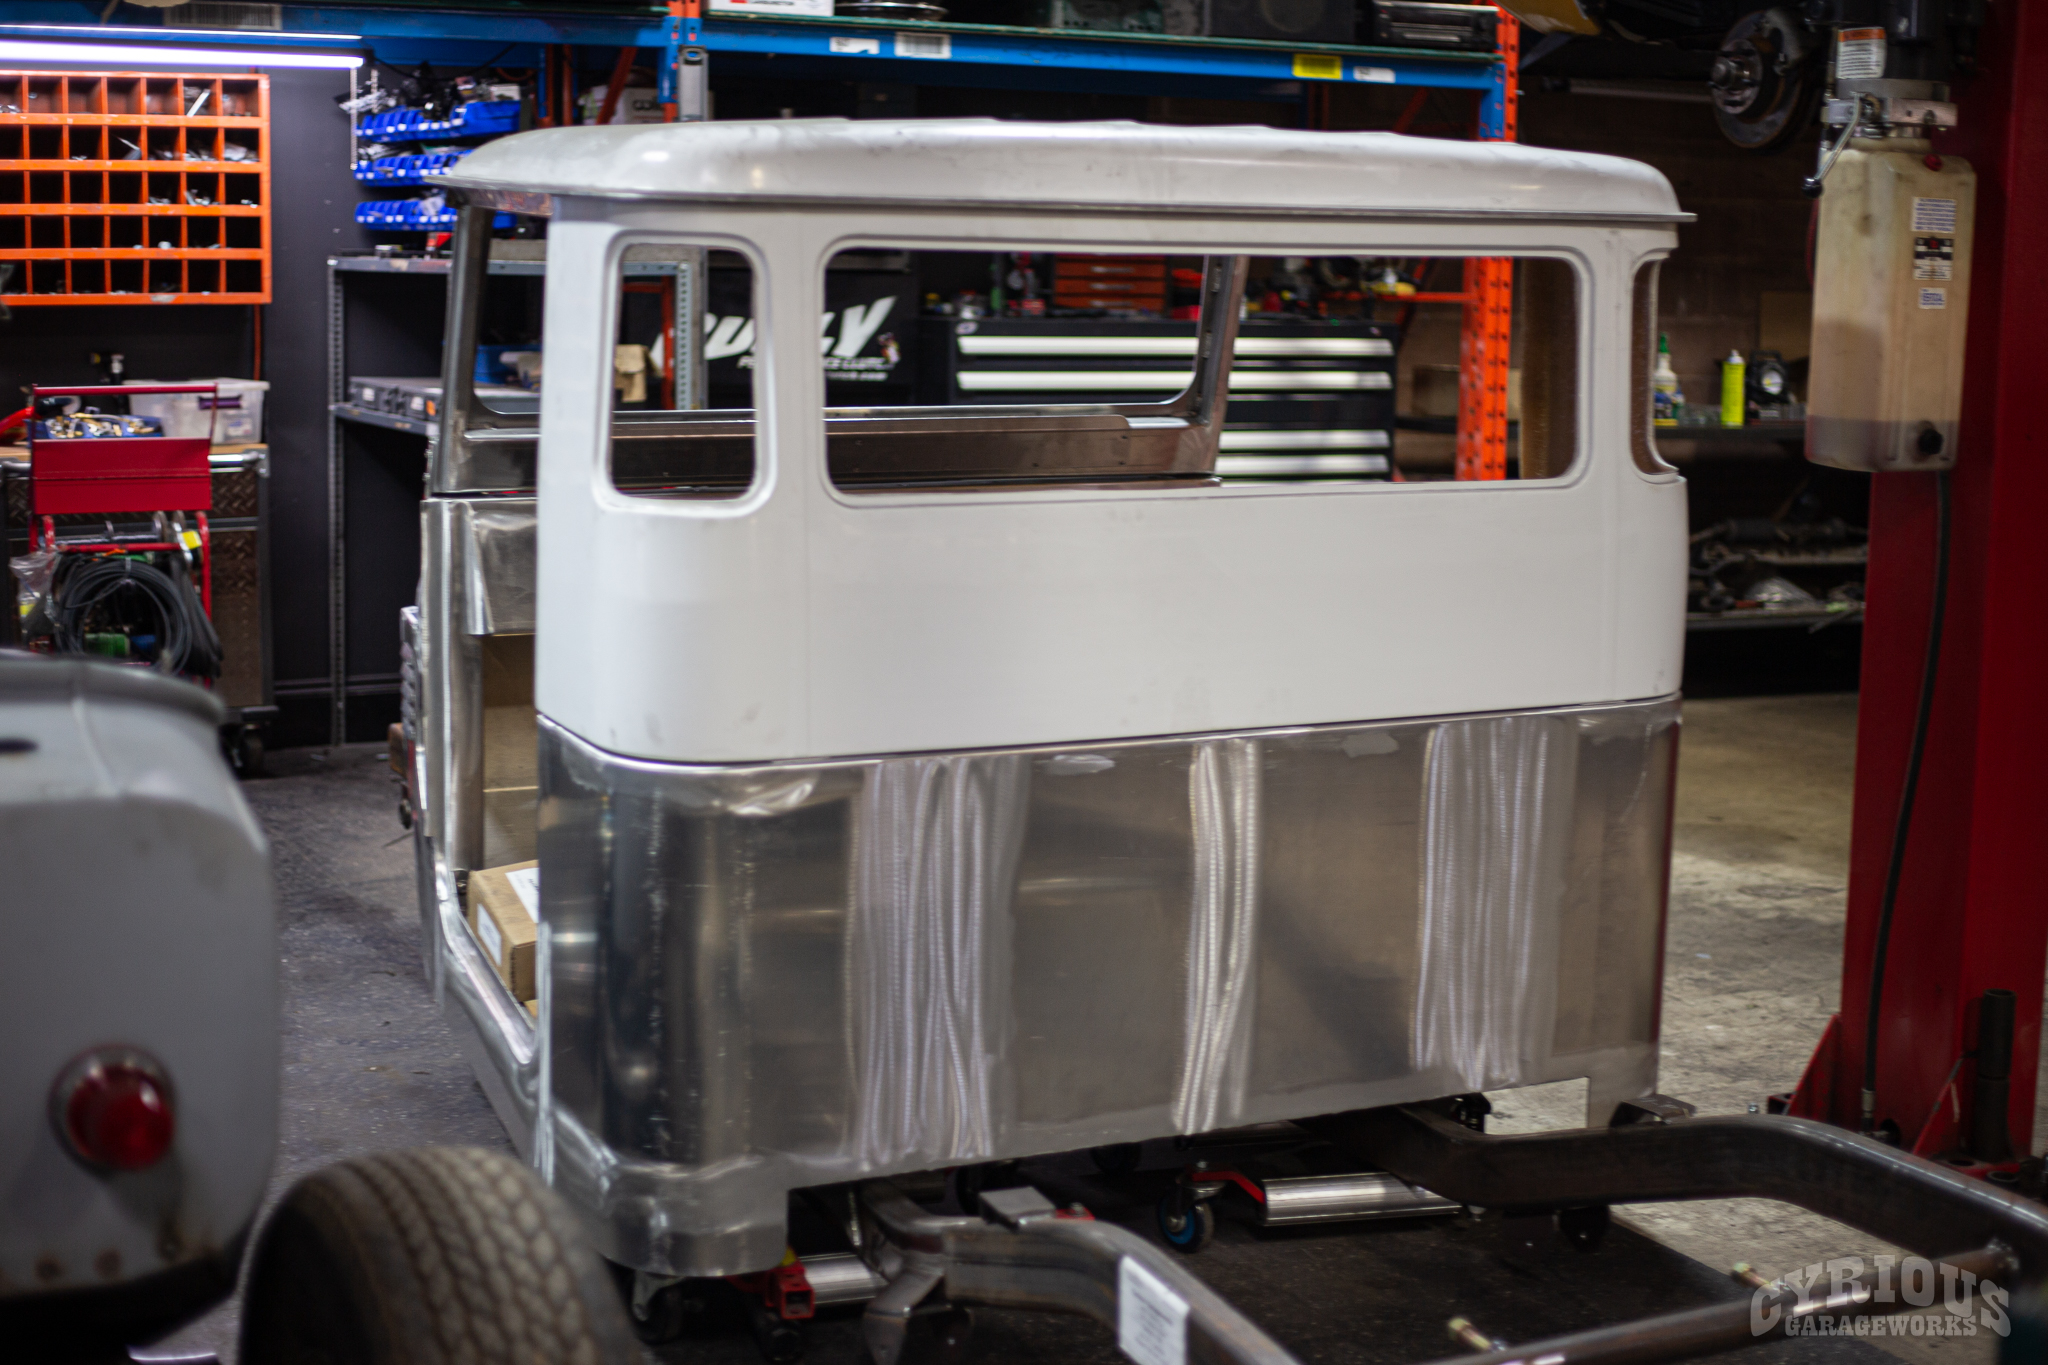
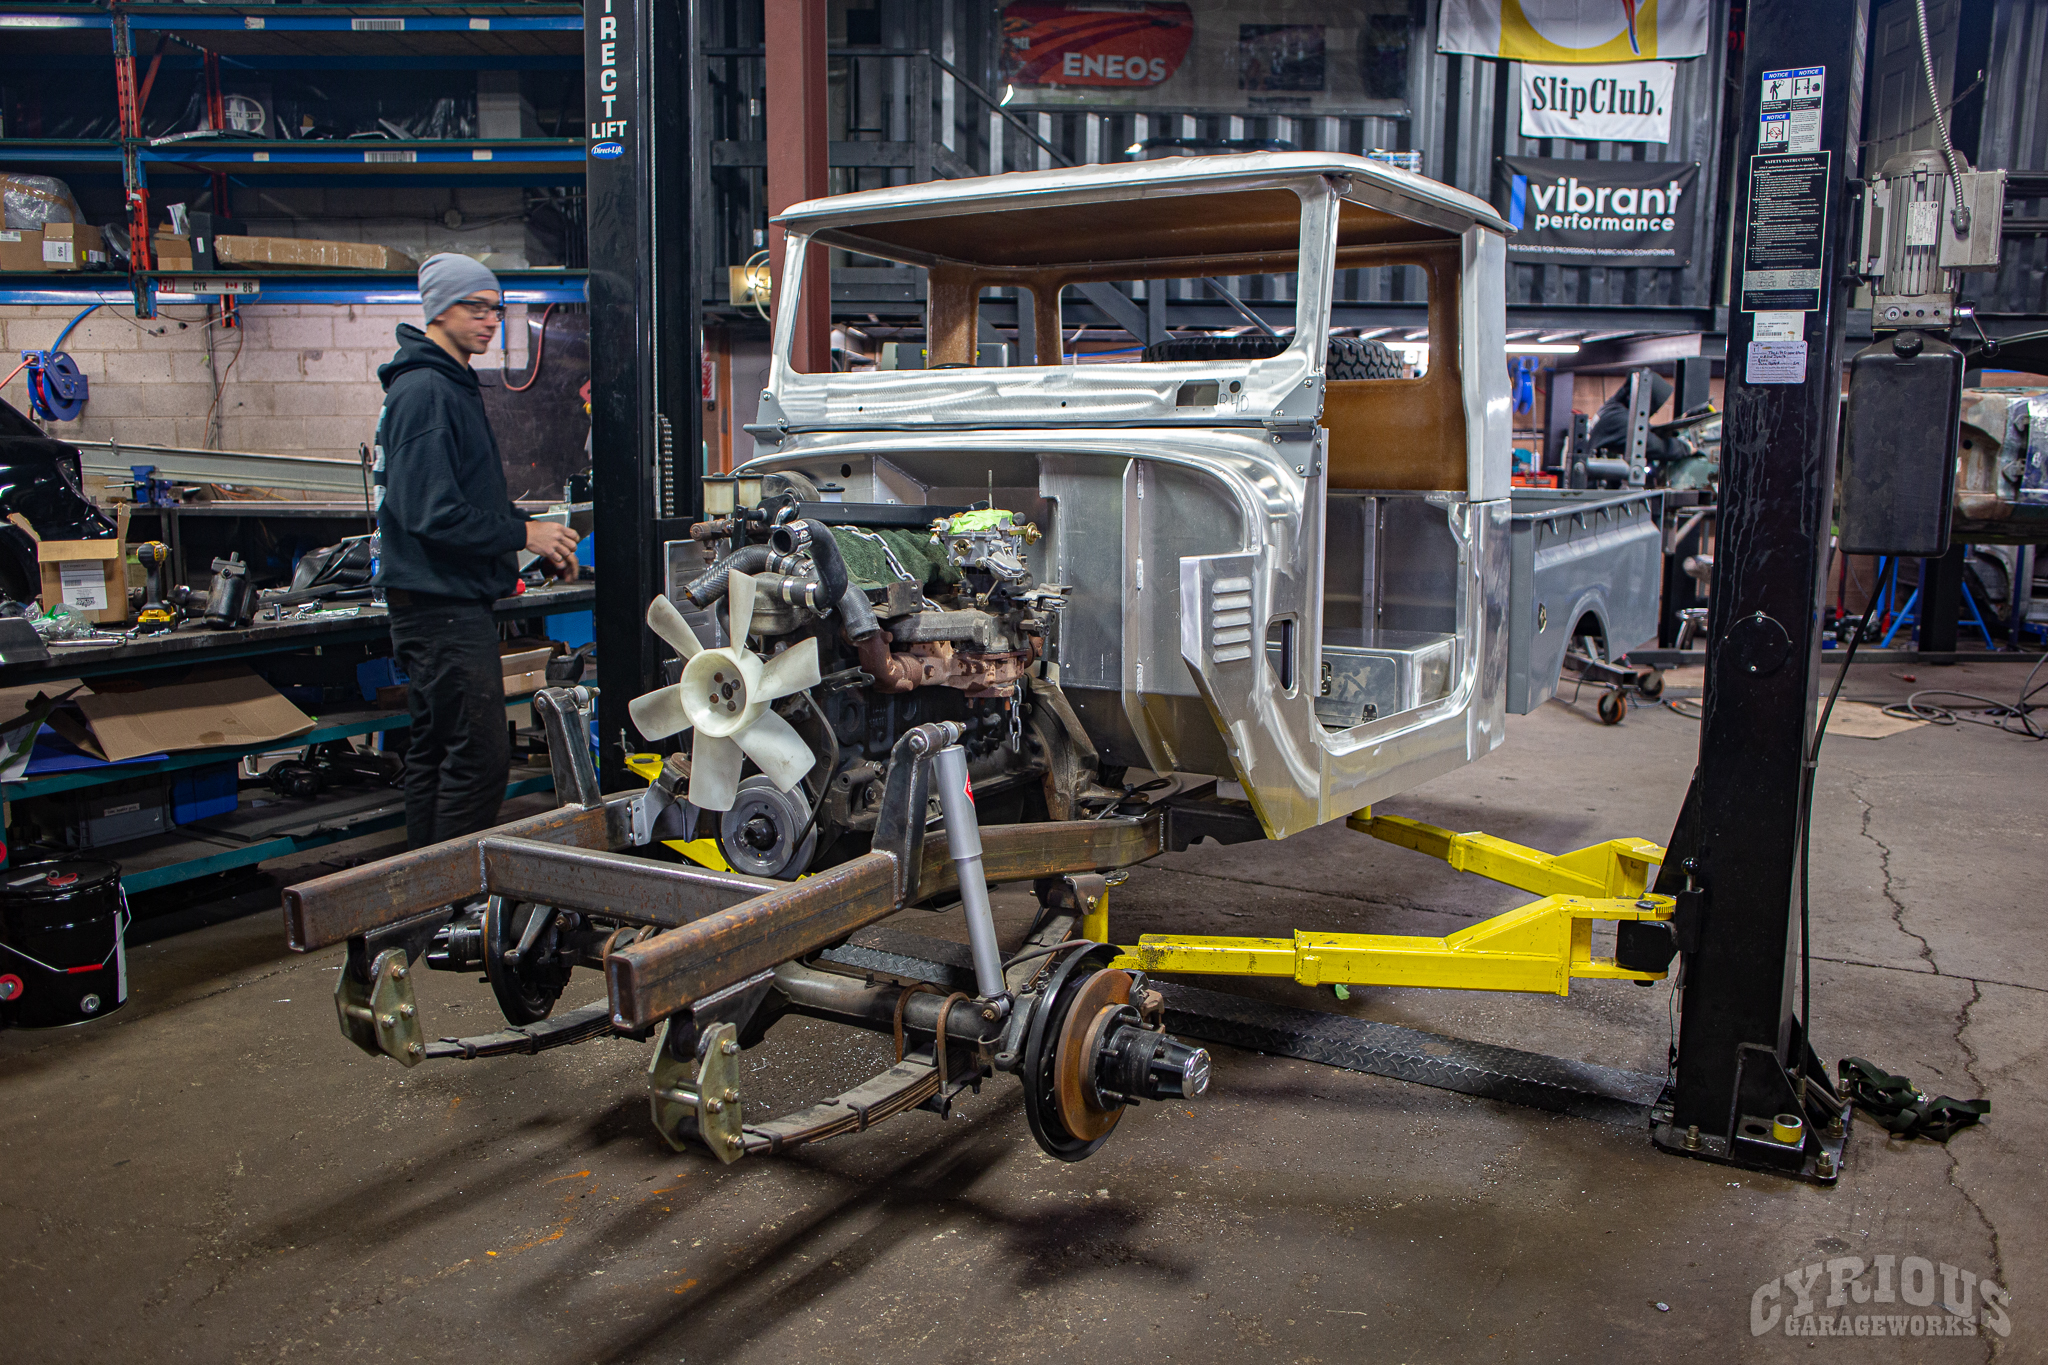
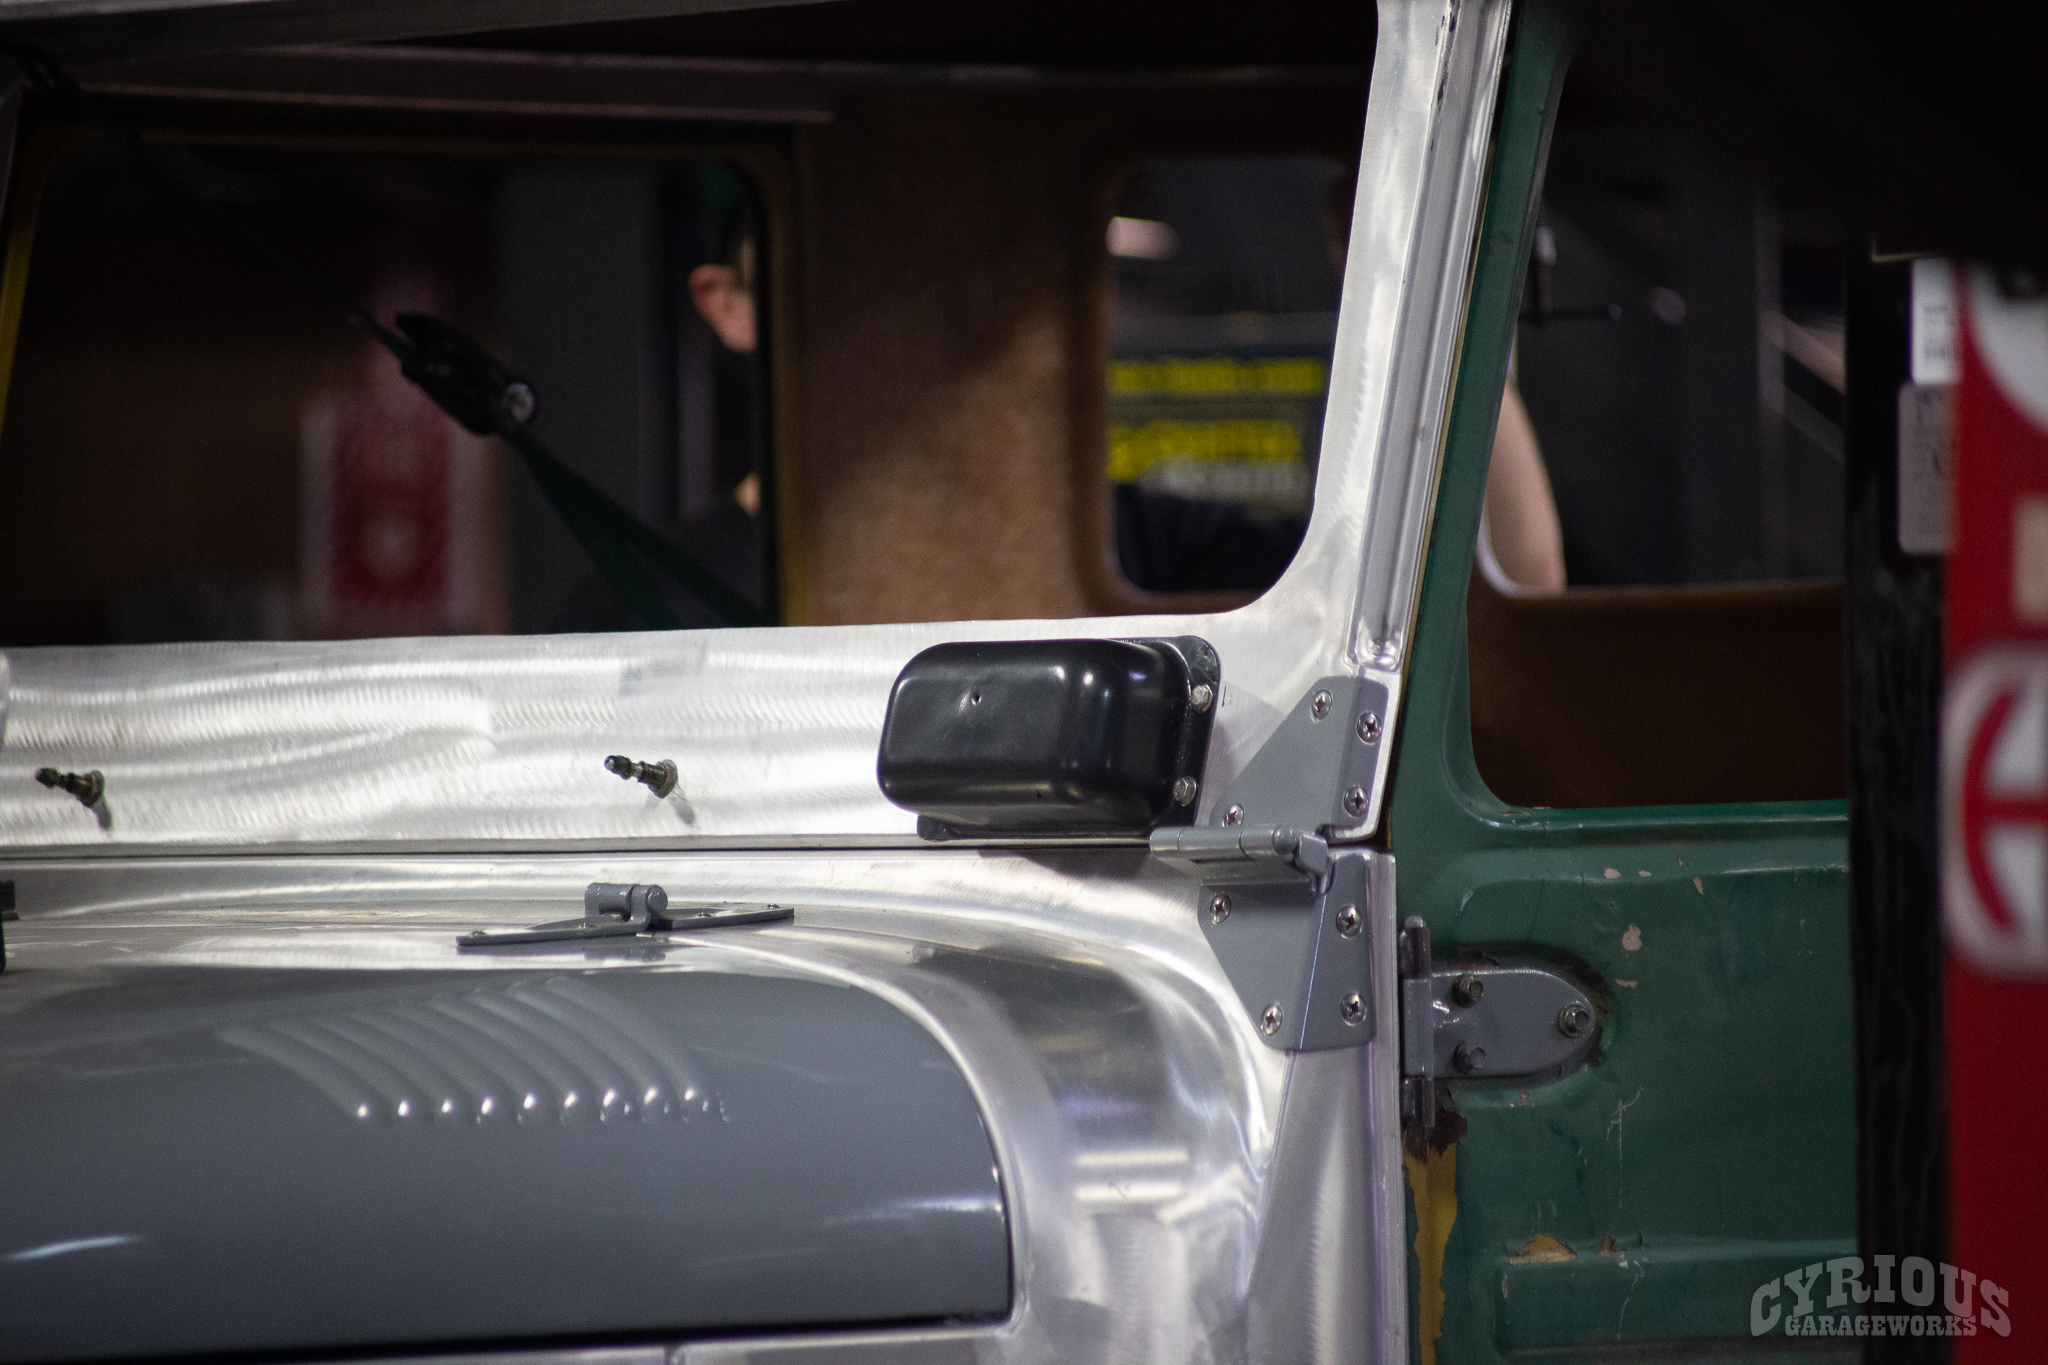
A closer look at that photo shows just a small sample of what this particular truck was all about: patches. Patches on patches, of all different shapes and sizes. As a result, none of the panels were especially straight, and nothing fit particularly well on this truck. Just for an added challenge, the frame under this truck was in pretty rough shape as well. Things were looking grim for this build, but you know what they say: when there’s a will, there’s a way. Or in this case: when there are companies that make new aluminum bodies and new steel frames, there’s a way.
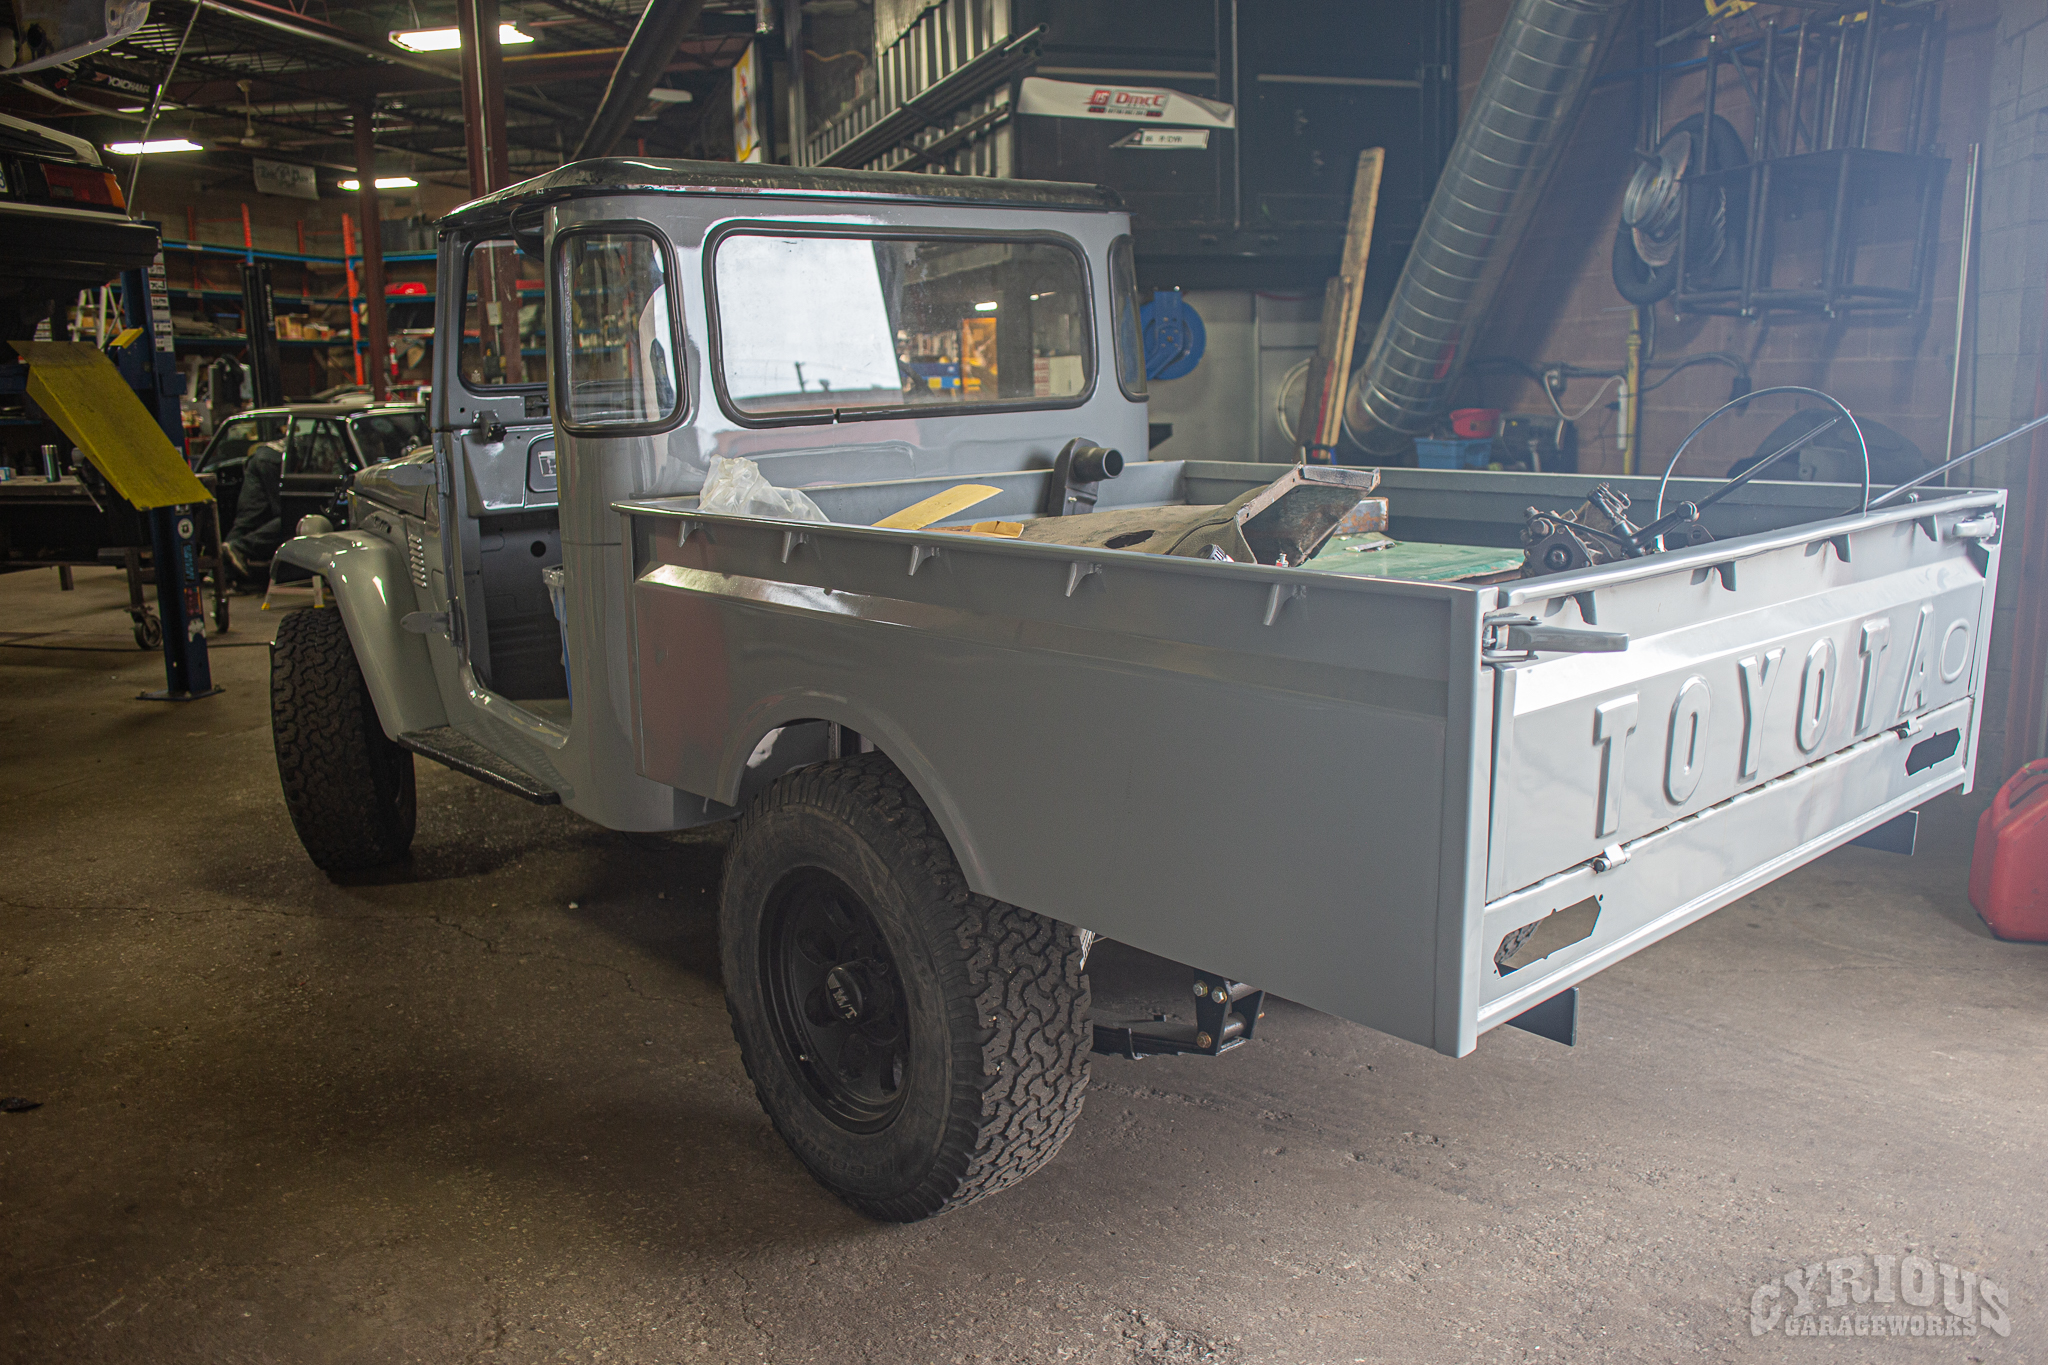
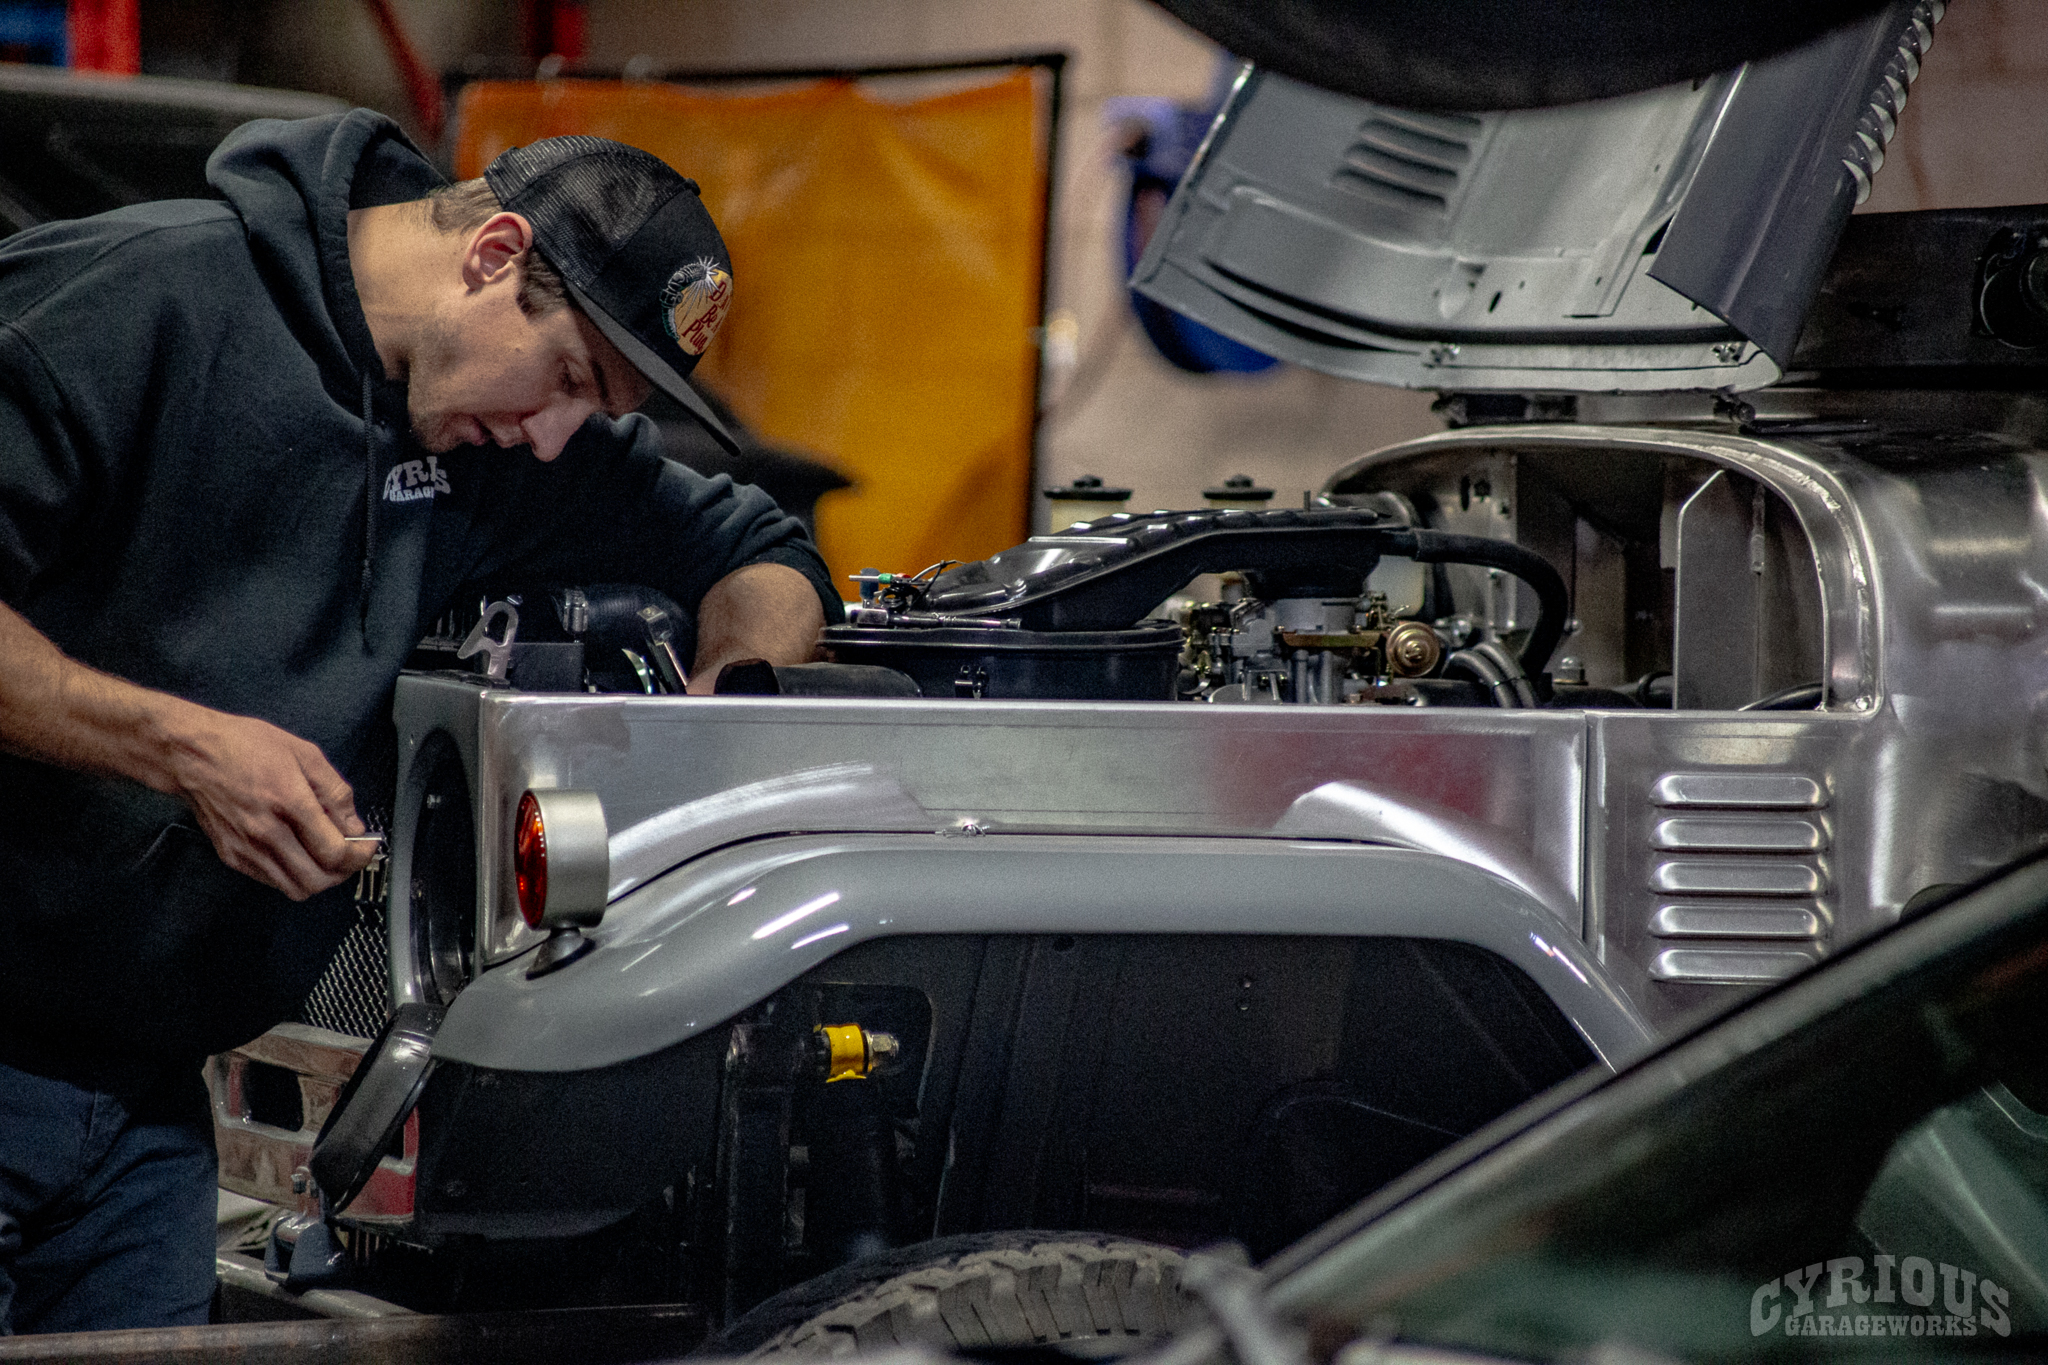
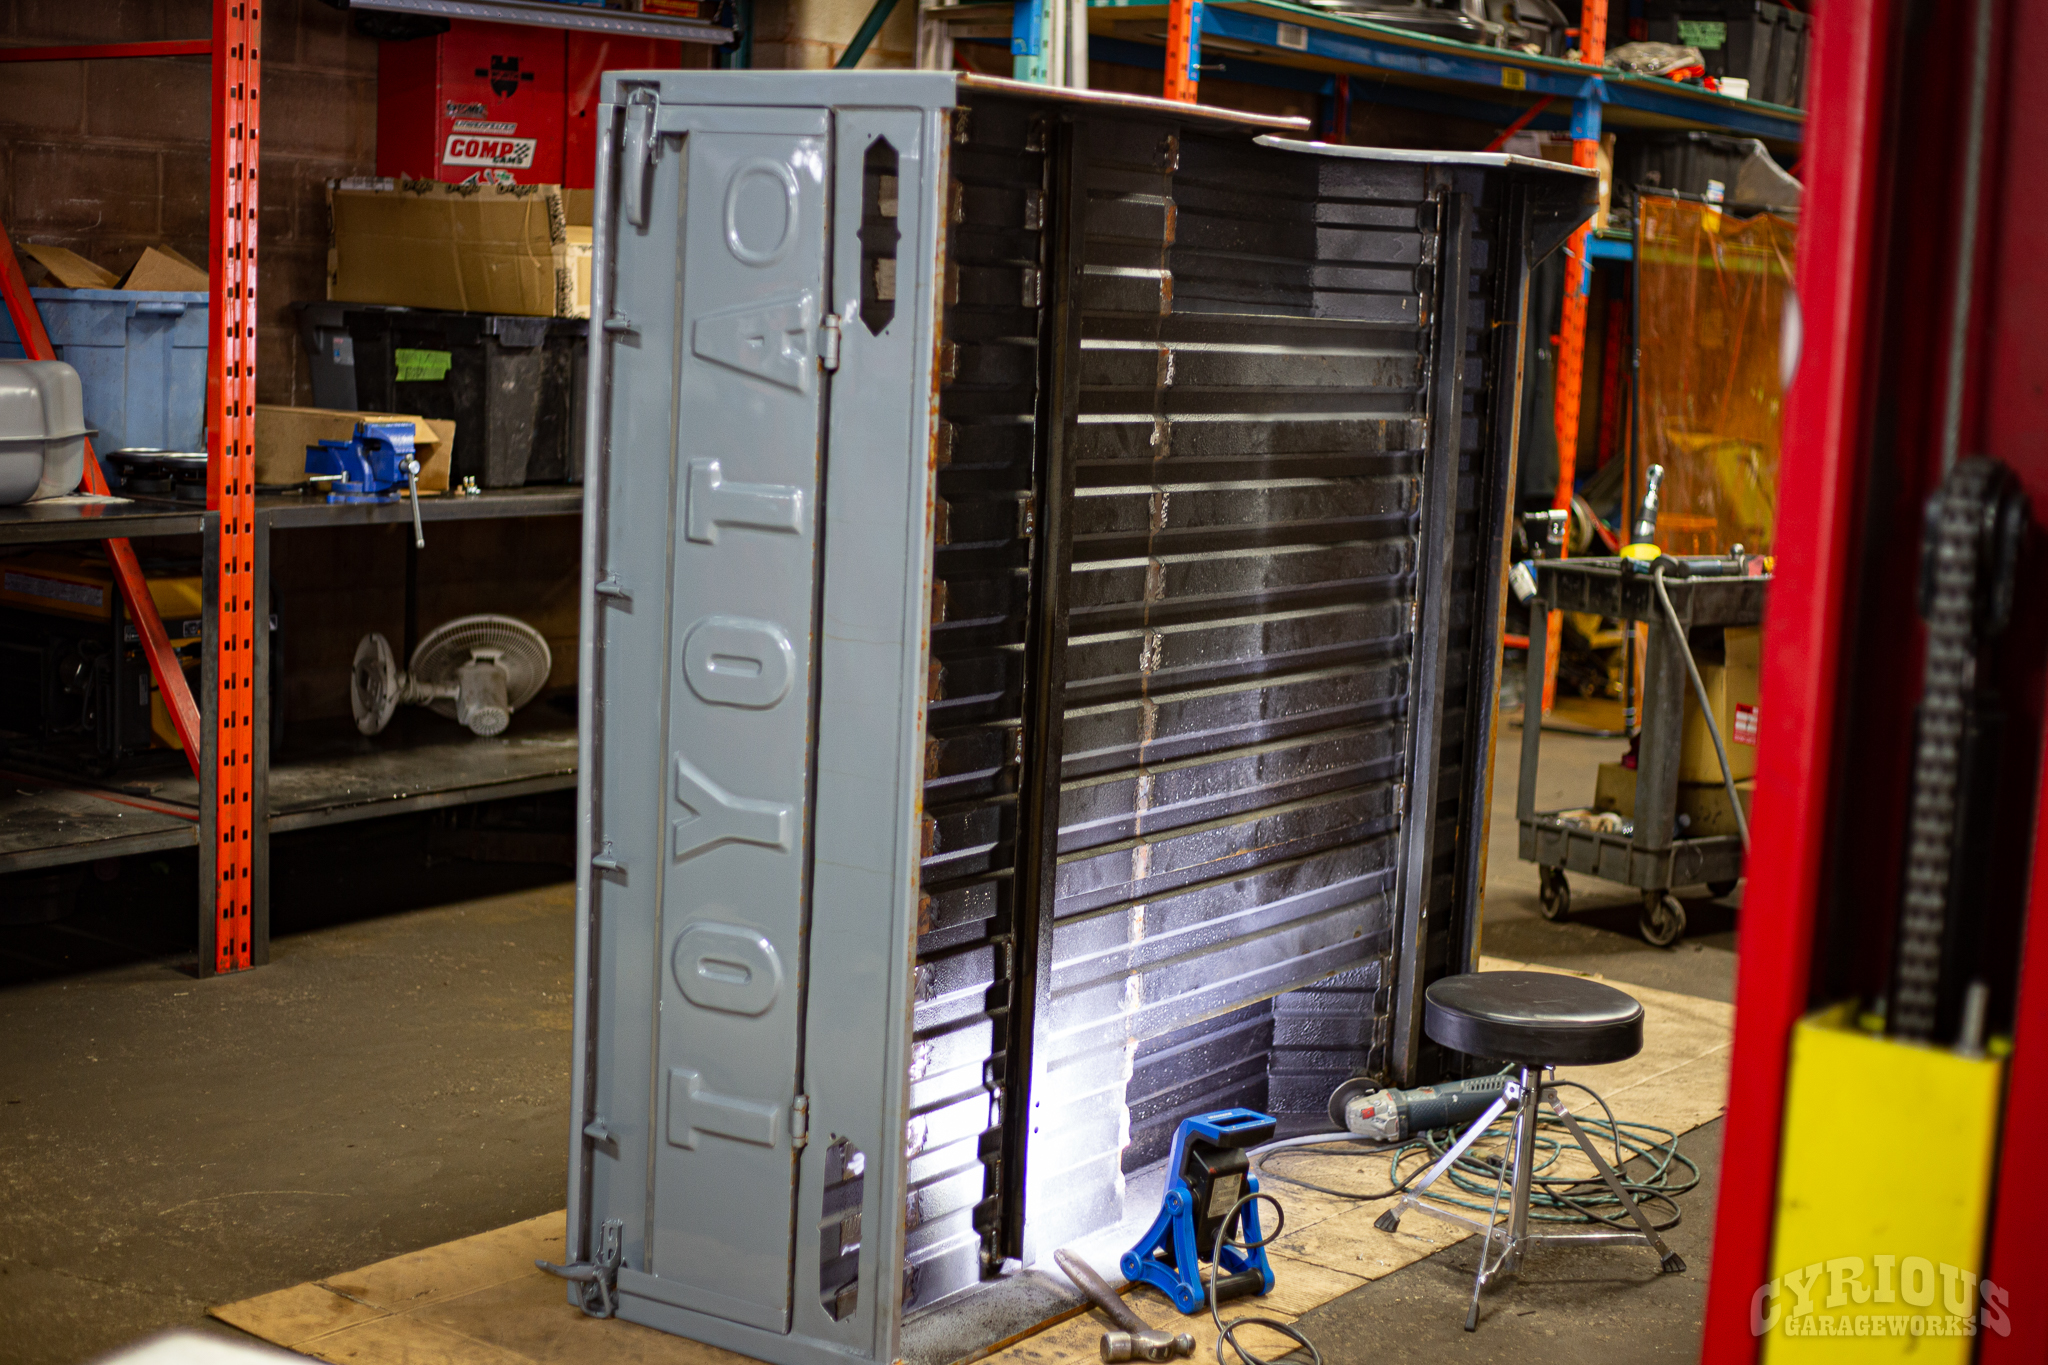
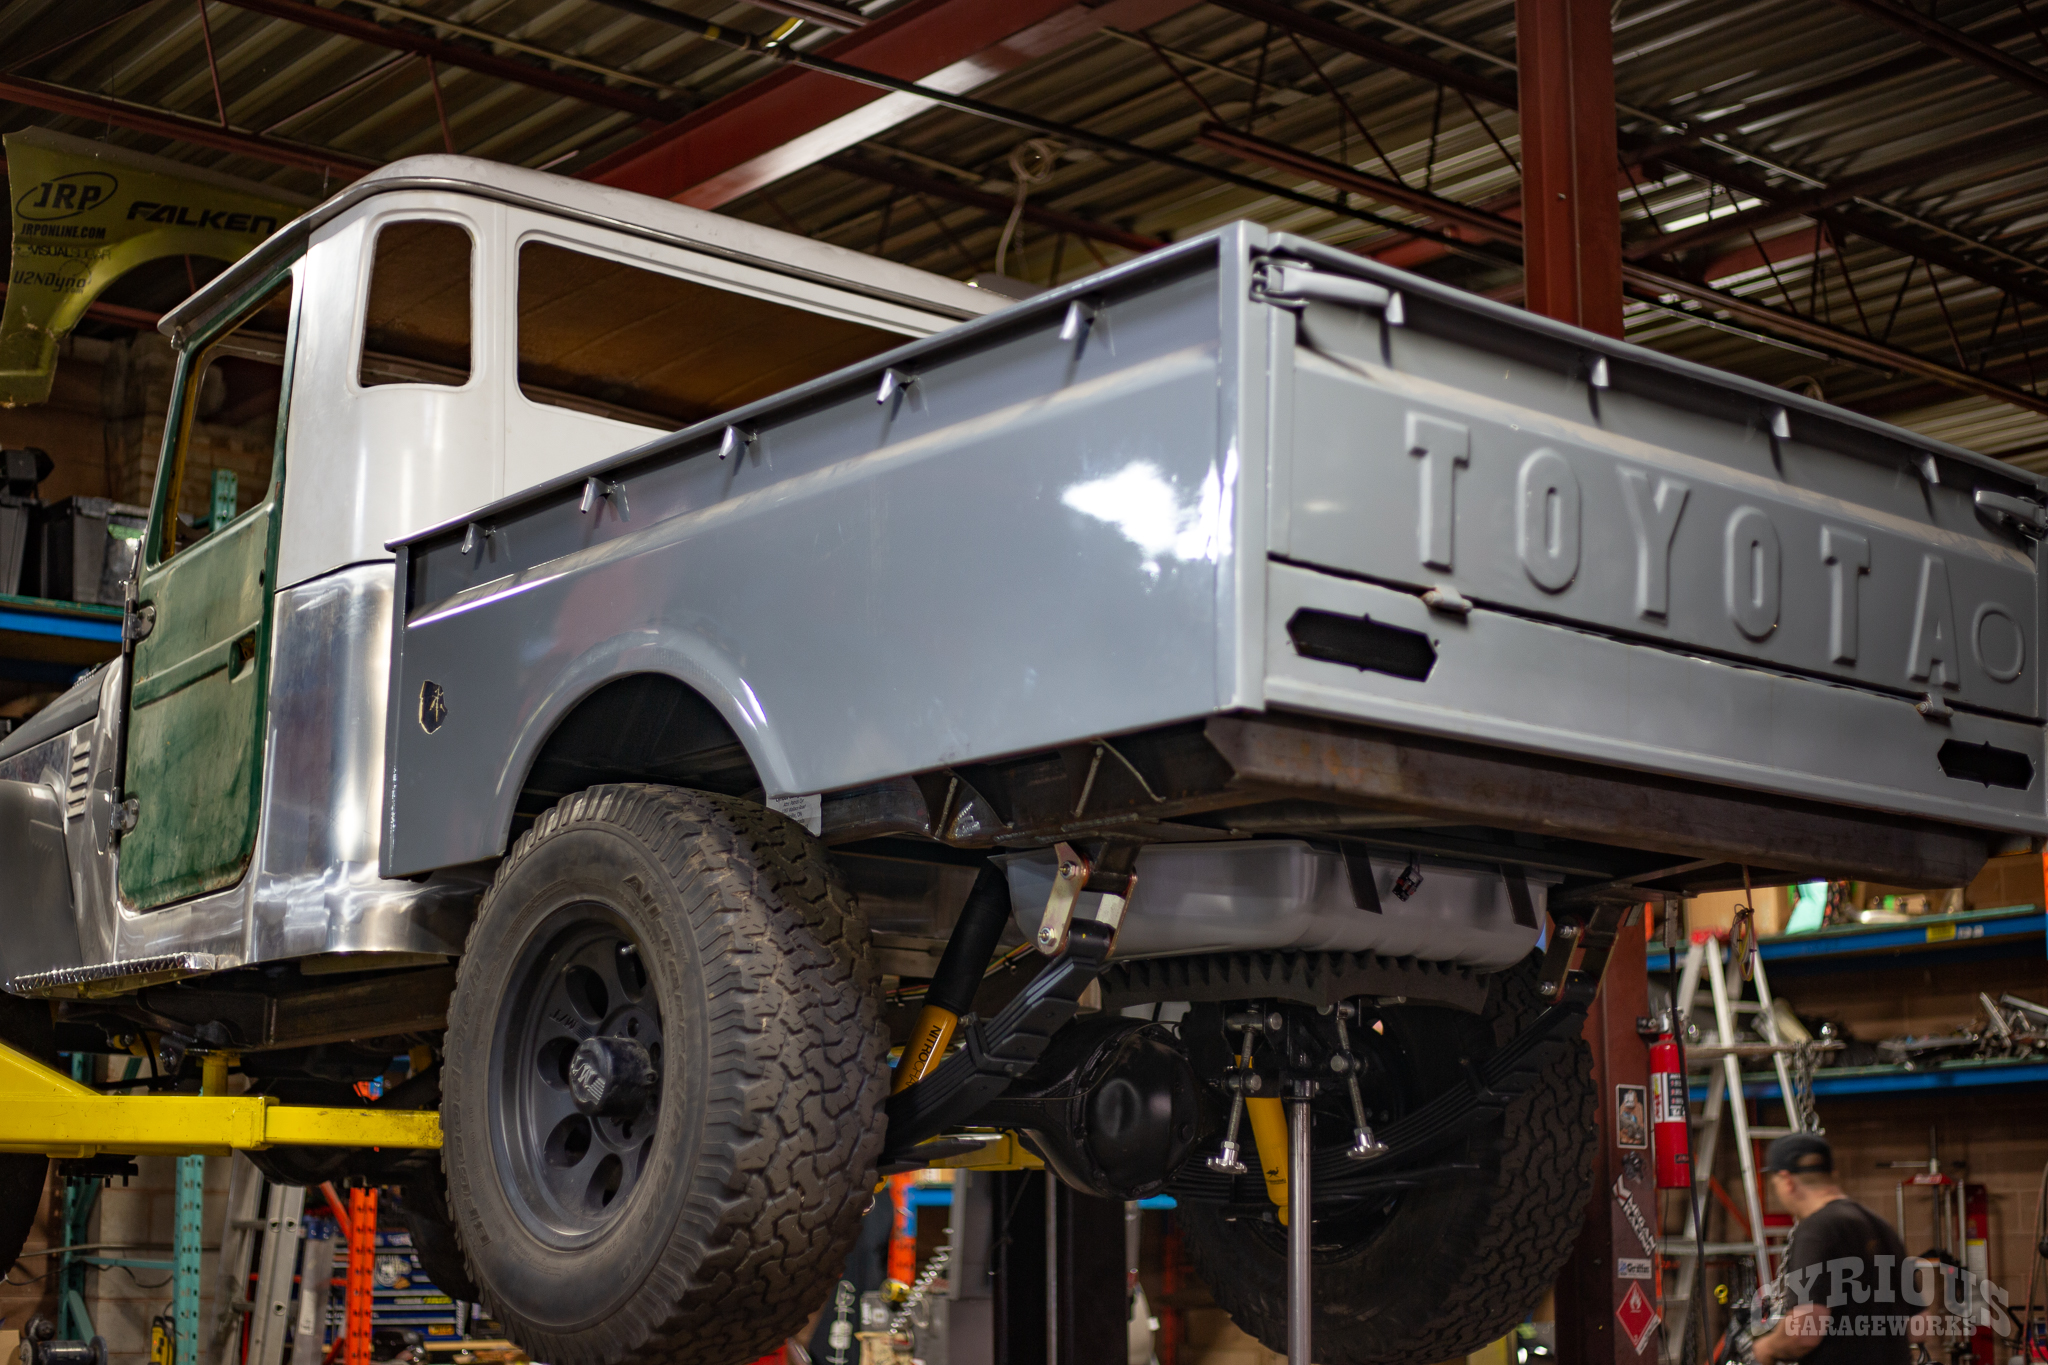
As it sits, there’s already not a whole lot of original left with this truck. Along with the patched up cab, the bed is a bit of an oddity. It appears to be hand made, but also appears that some parts of an original FJ45 were used in the making of this bed. For better or worse, we decided that working with the bed was our best course of action knowing that finding another, more original bed was not a likely option.
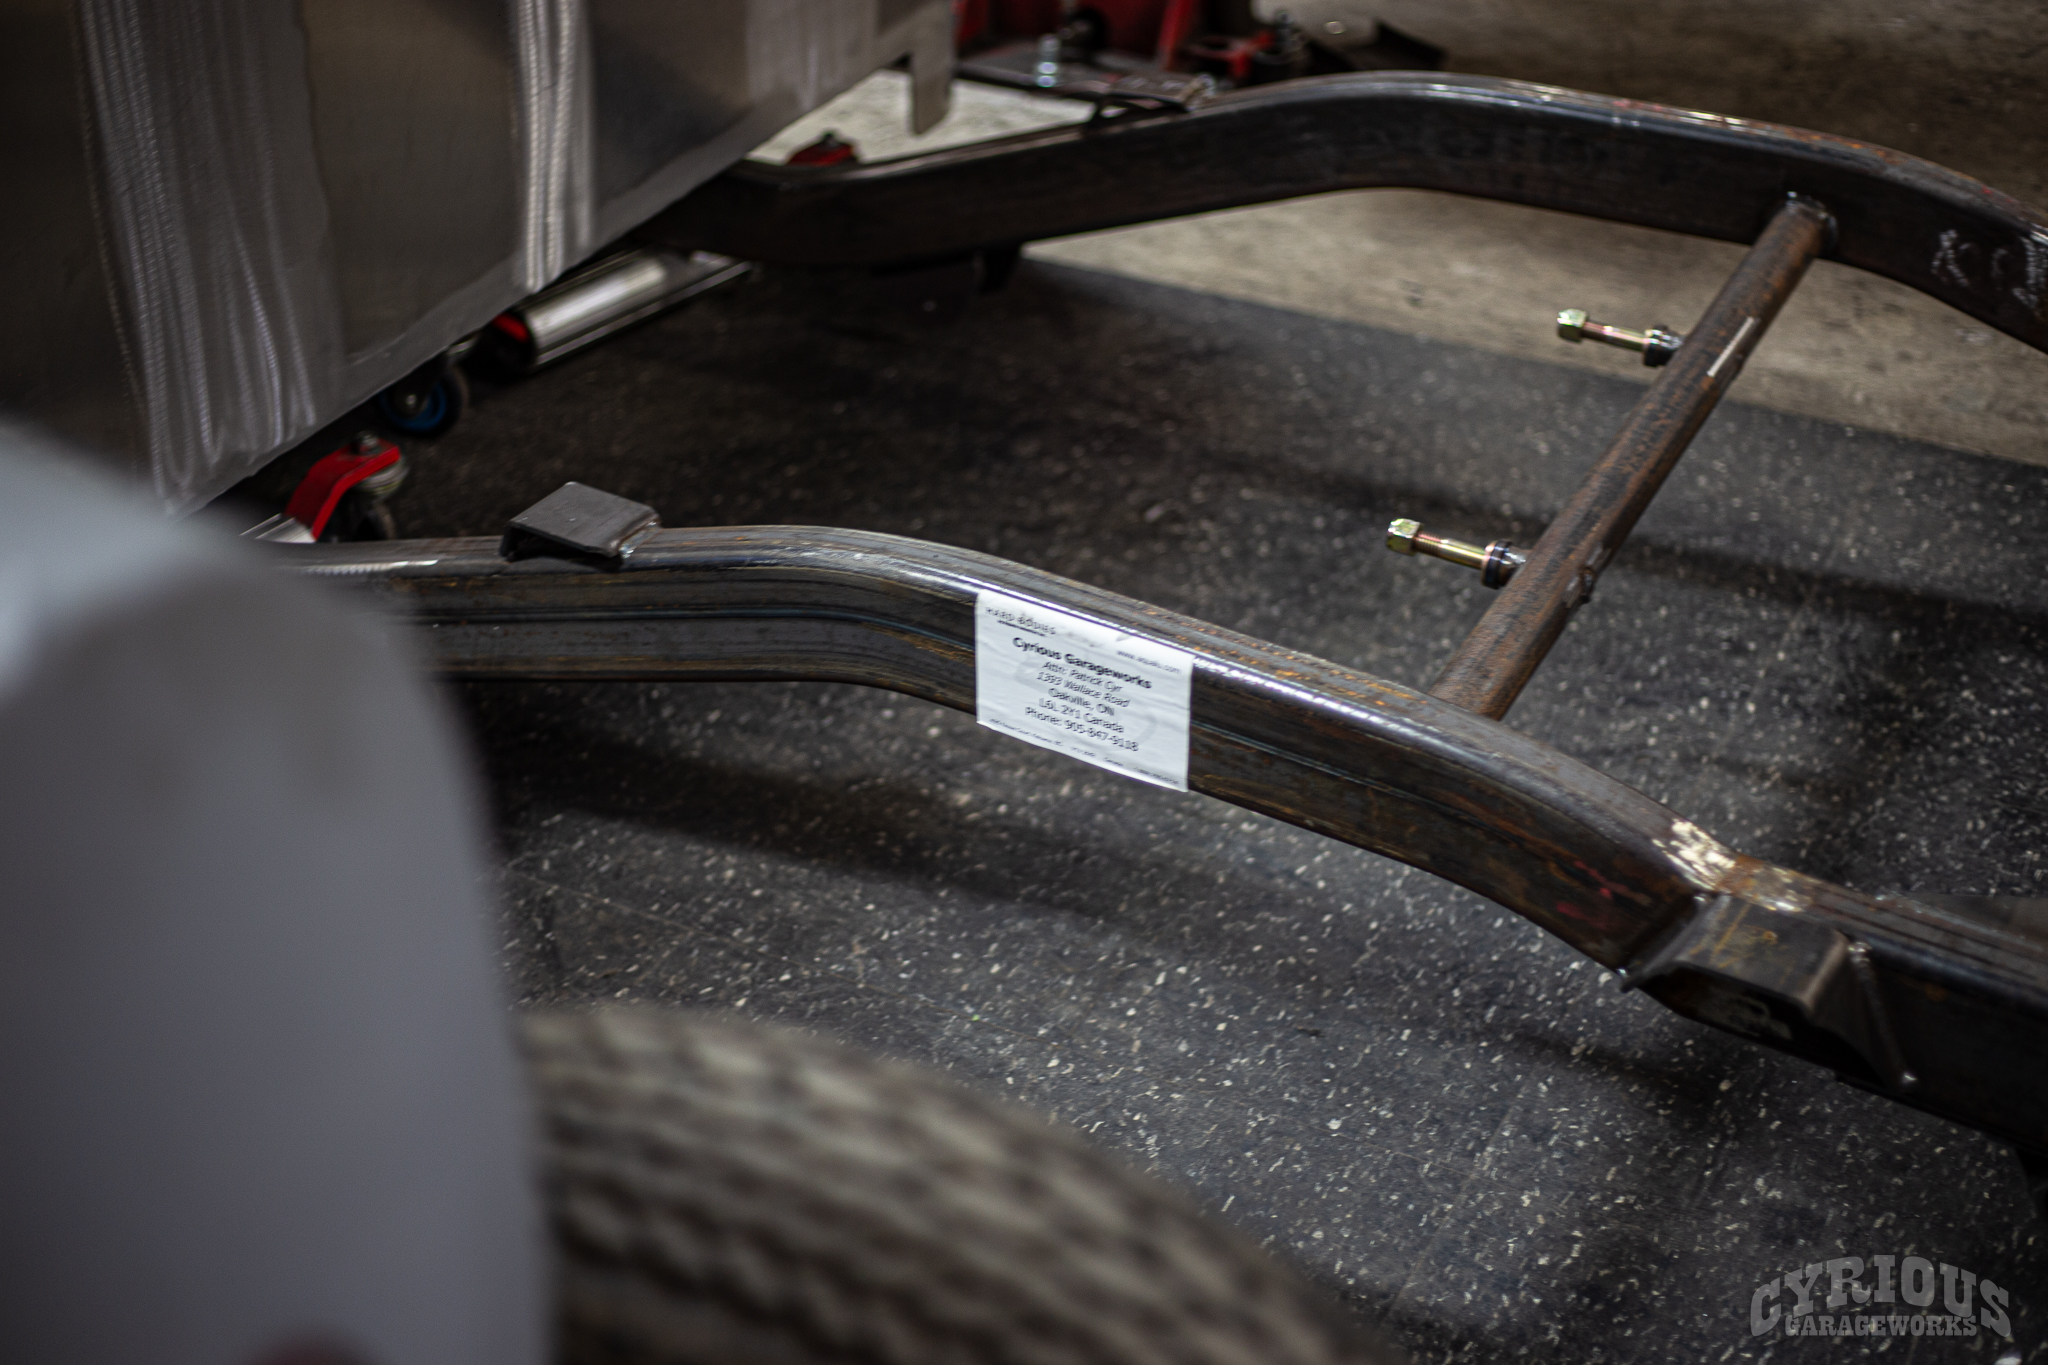
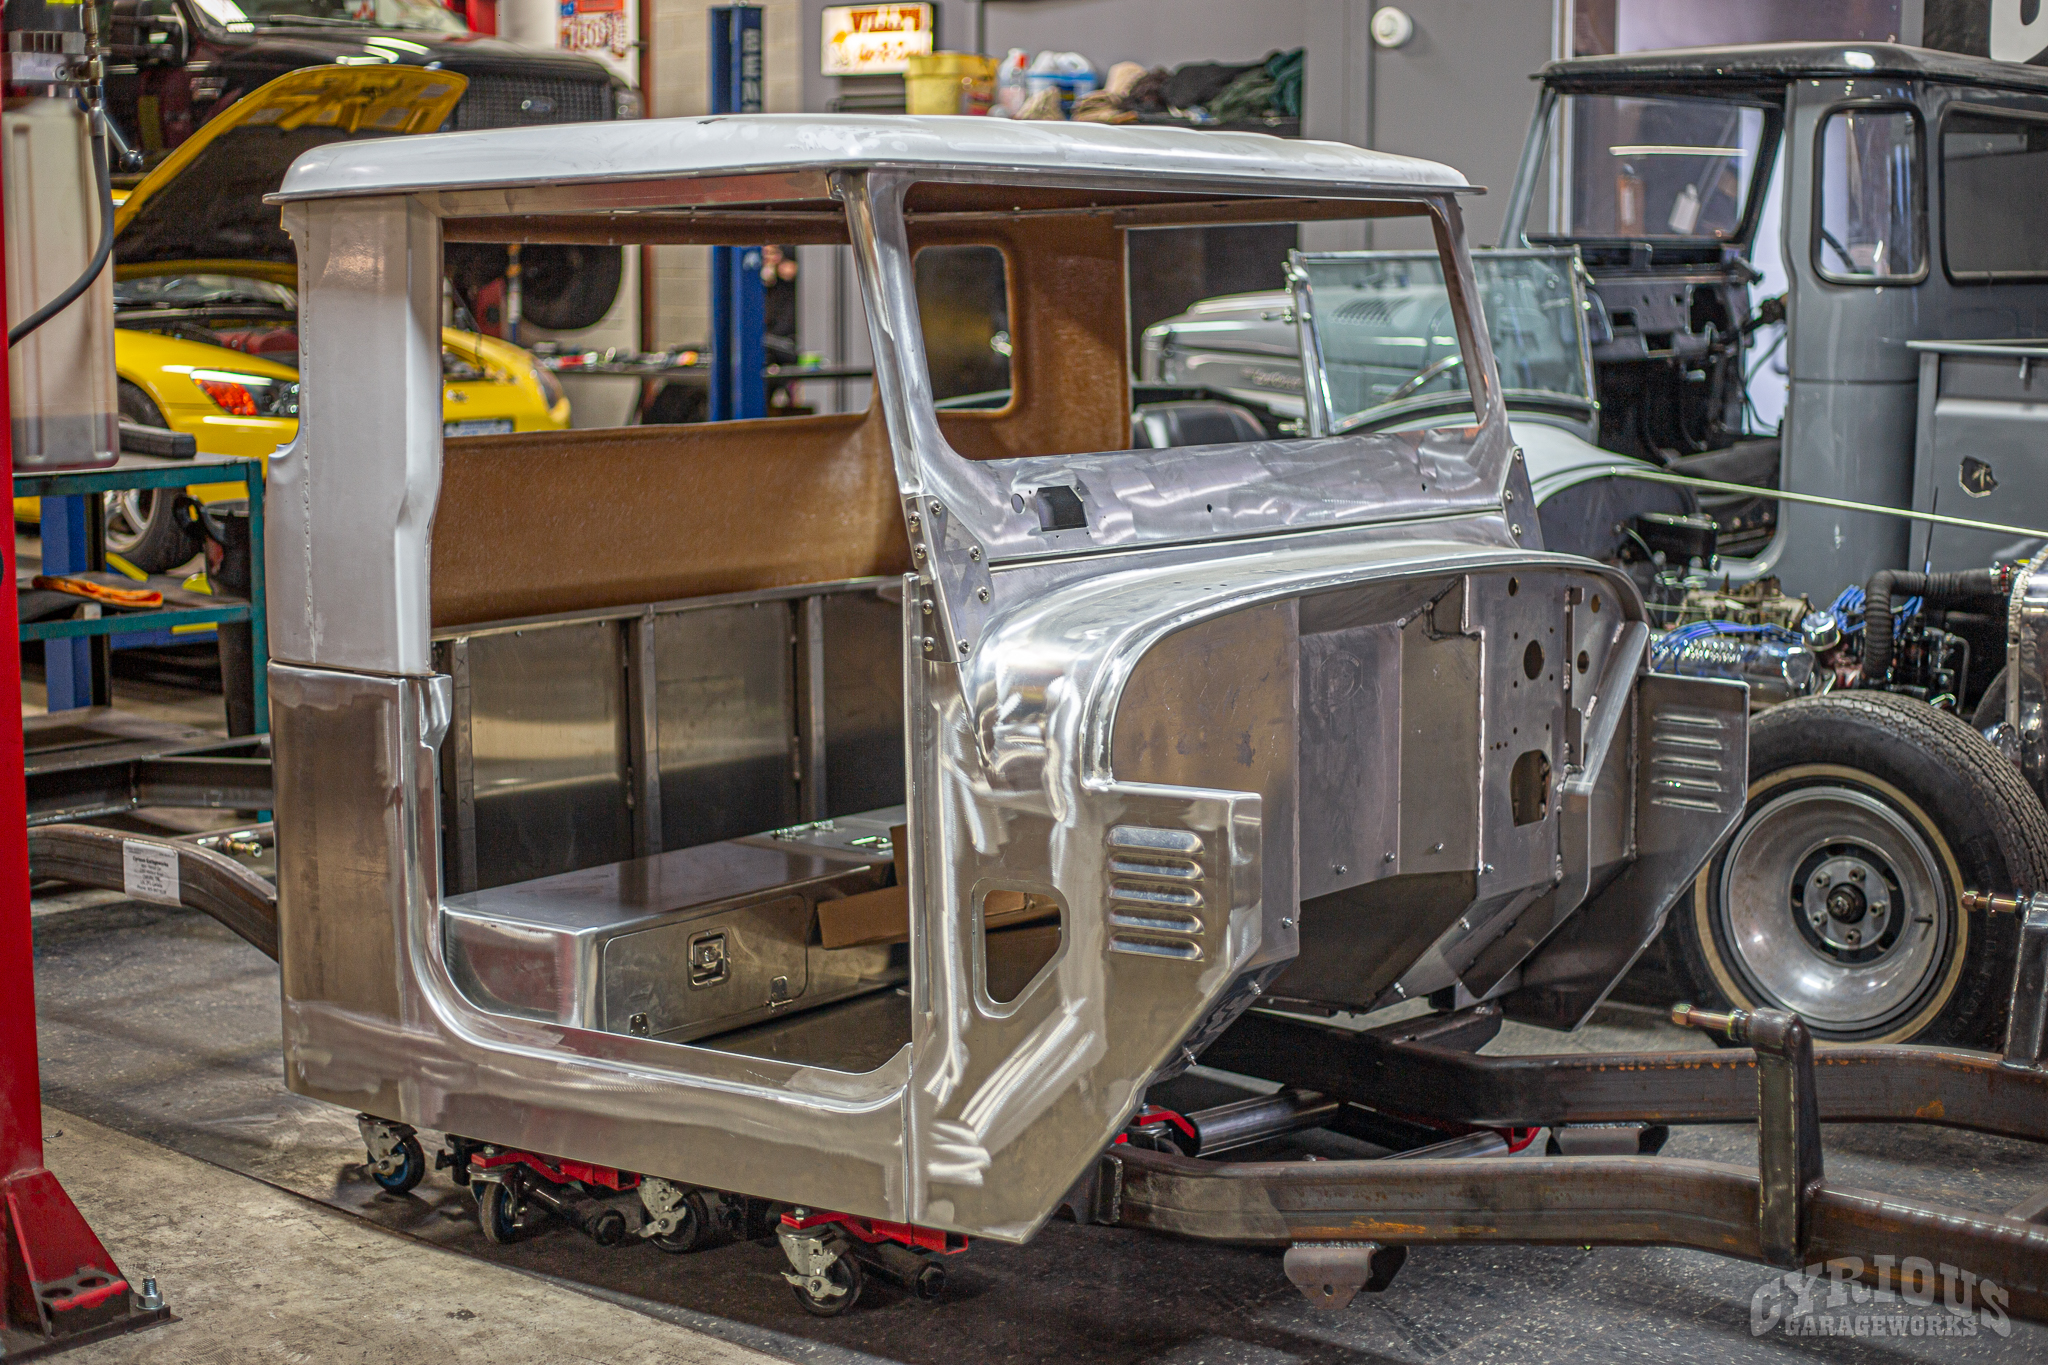
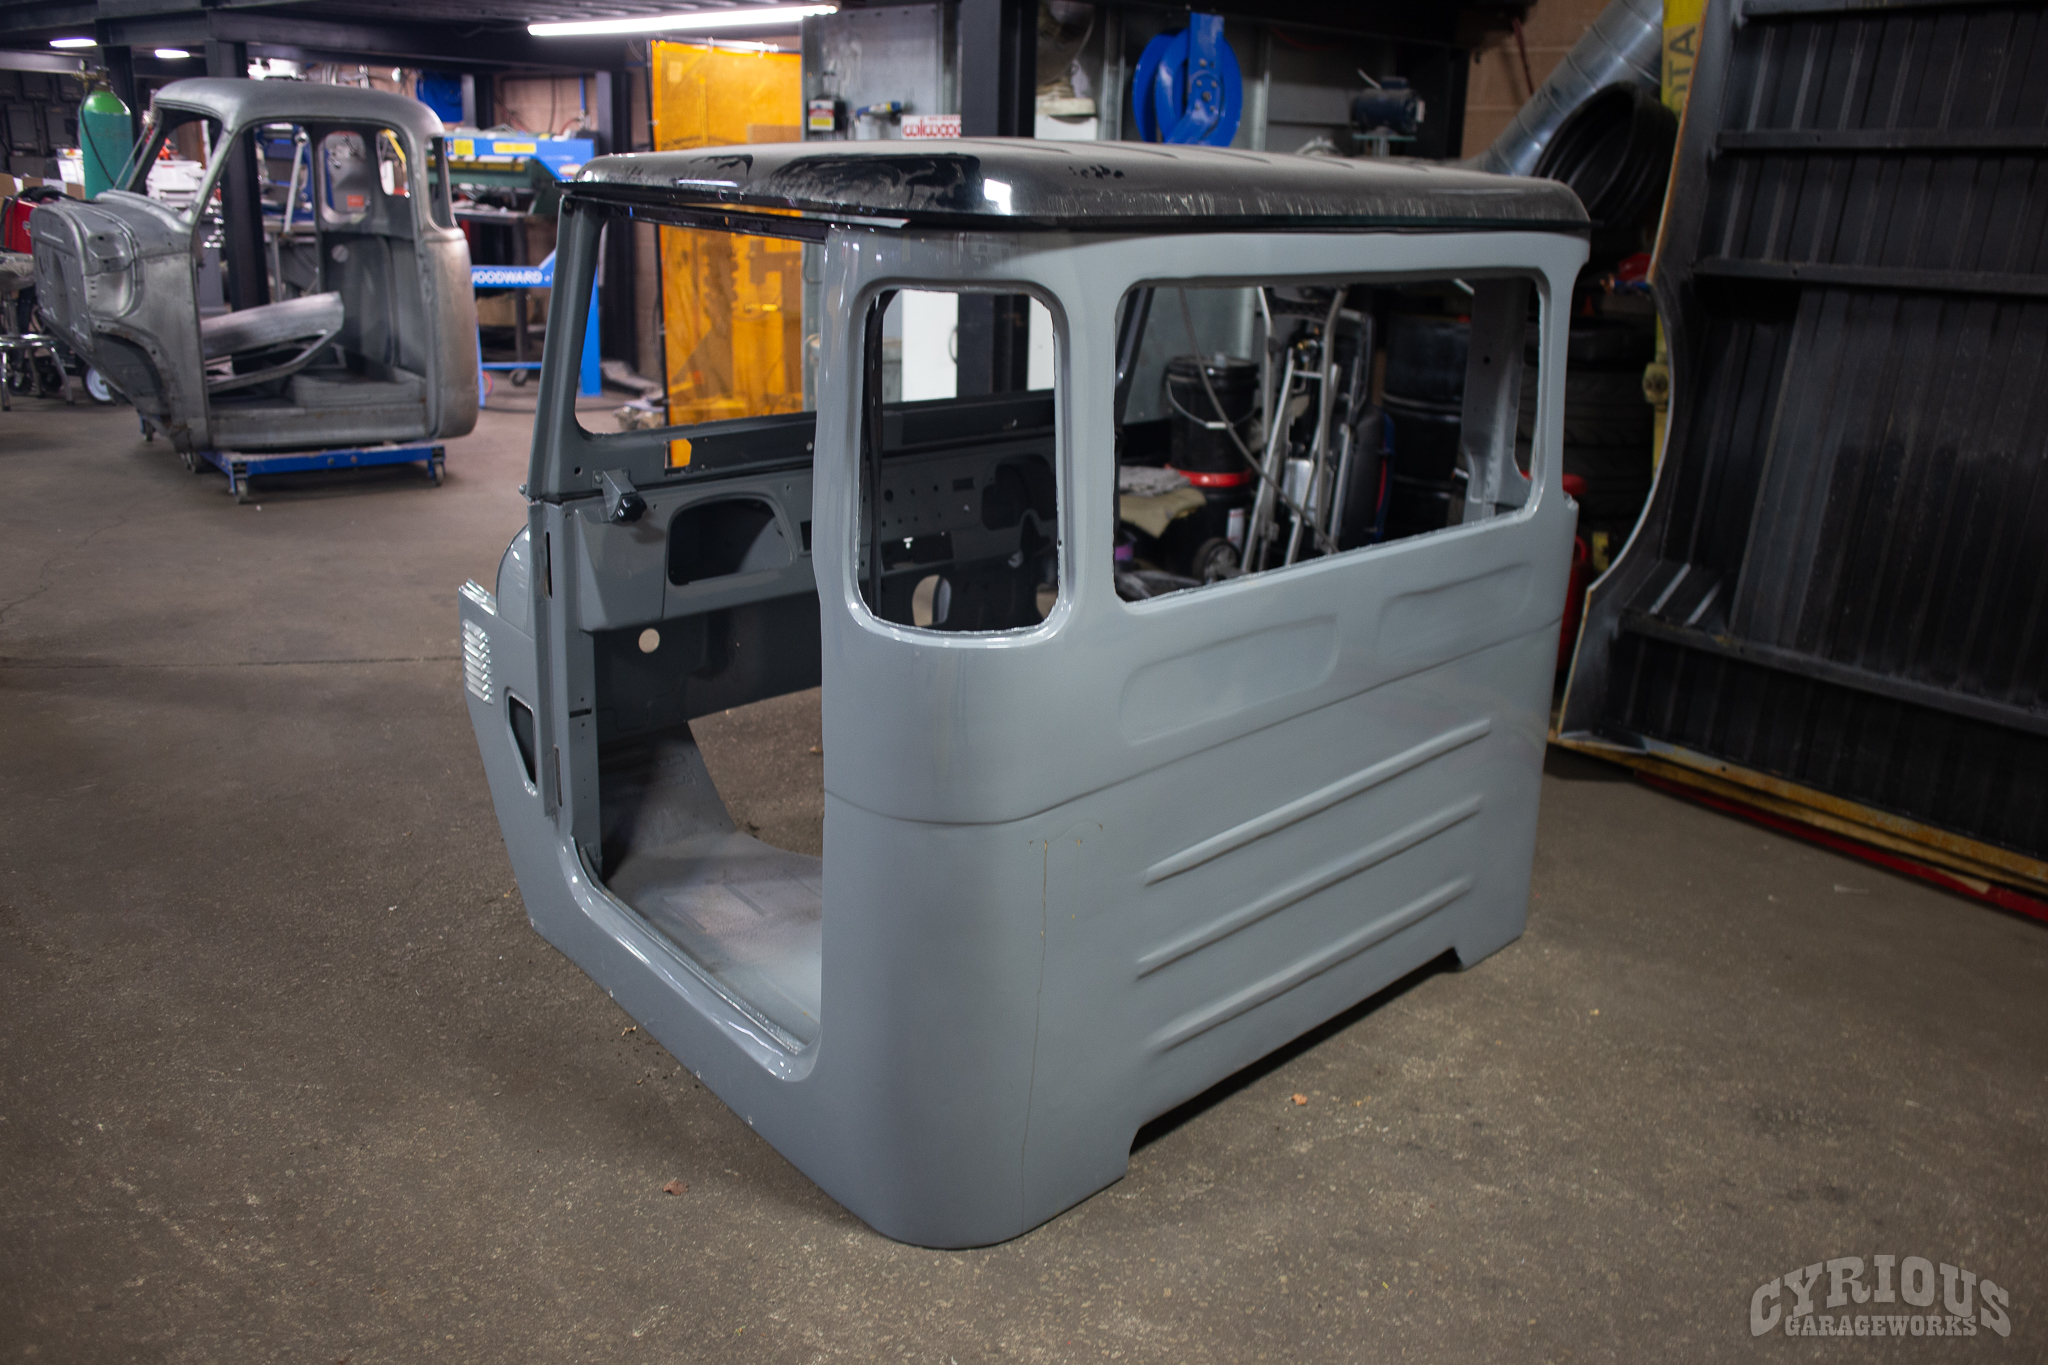
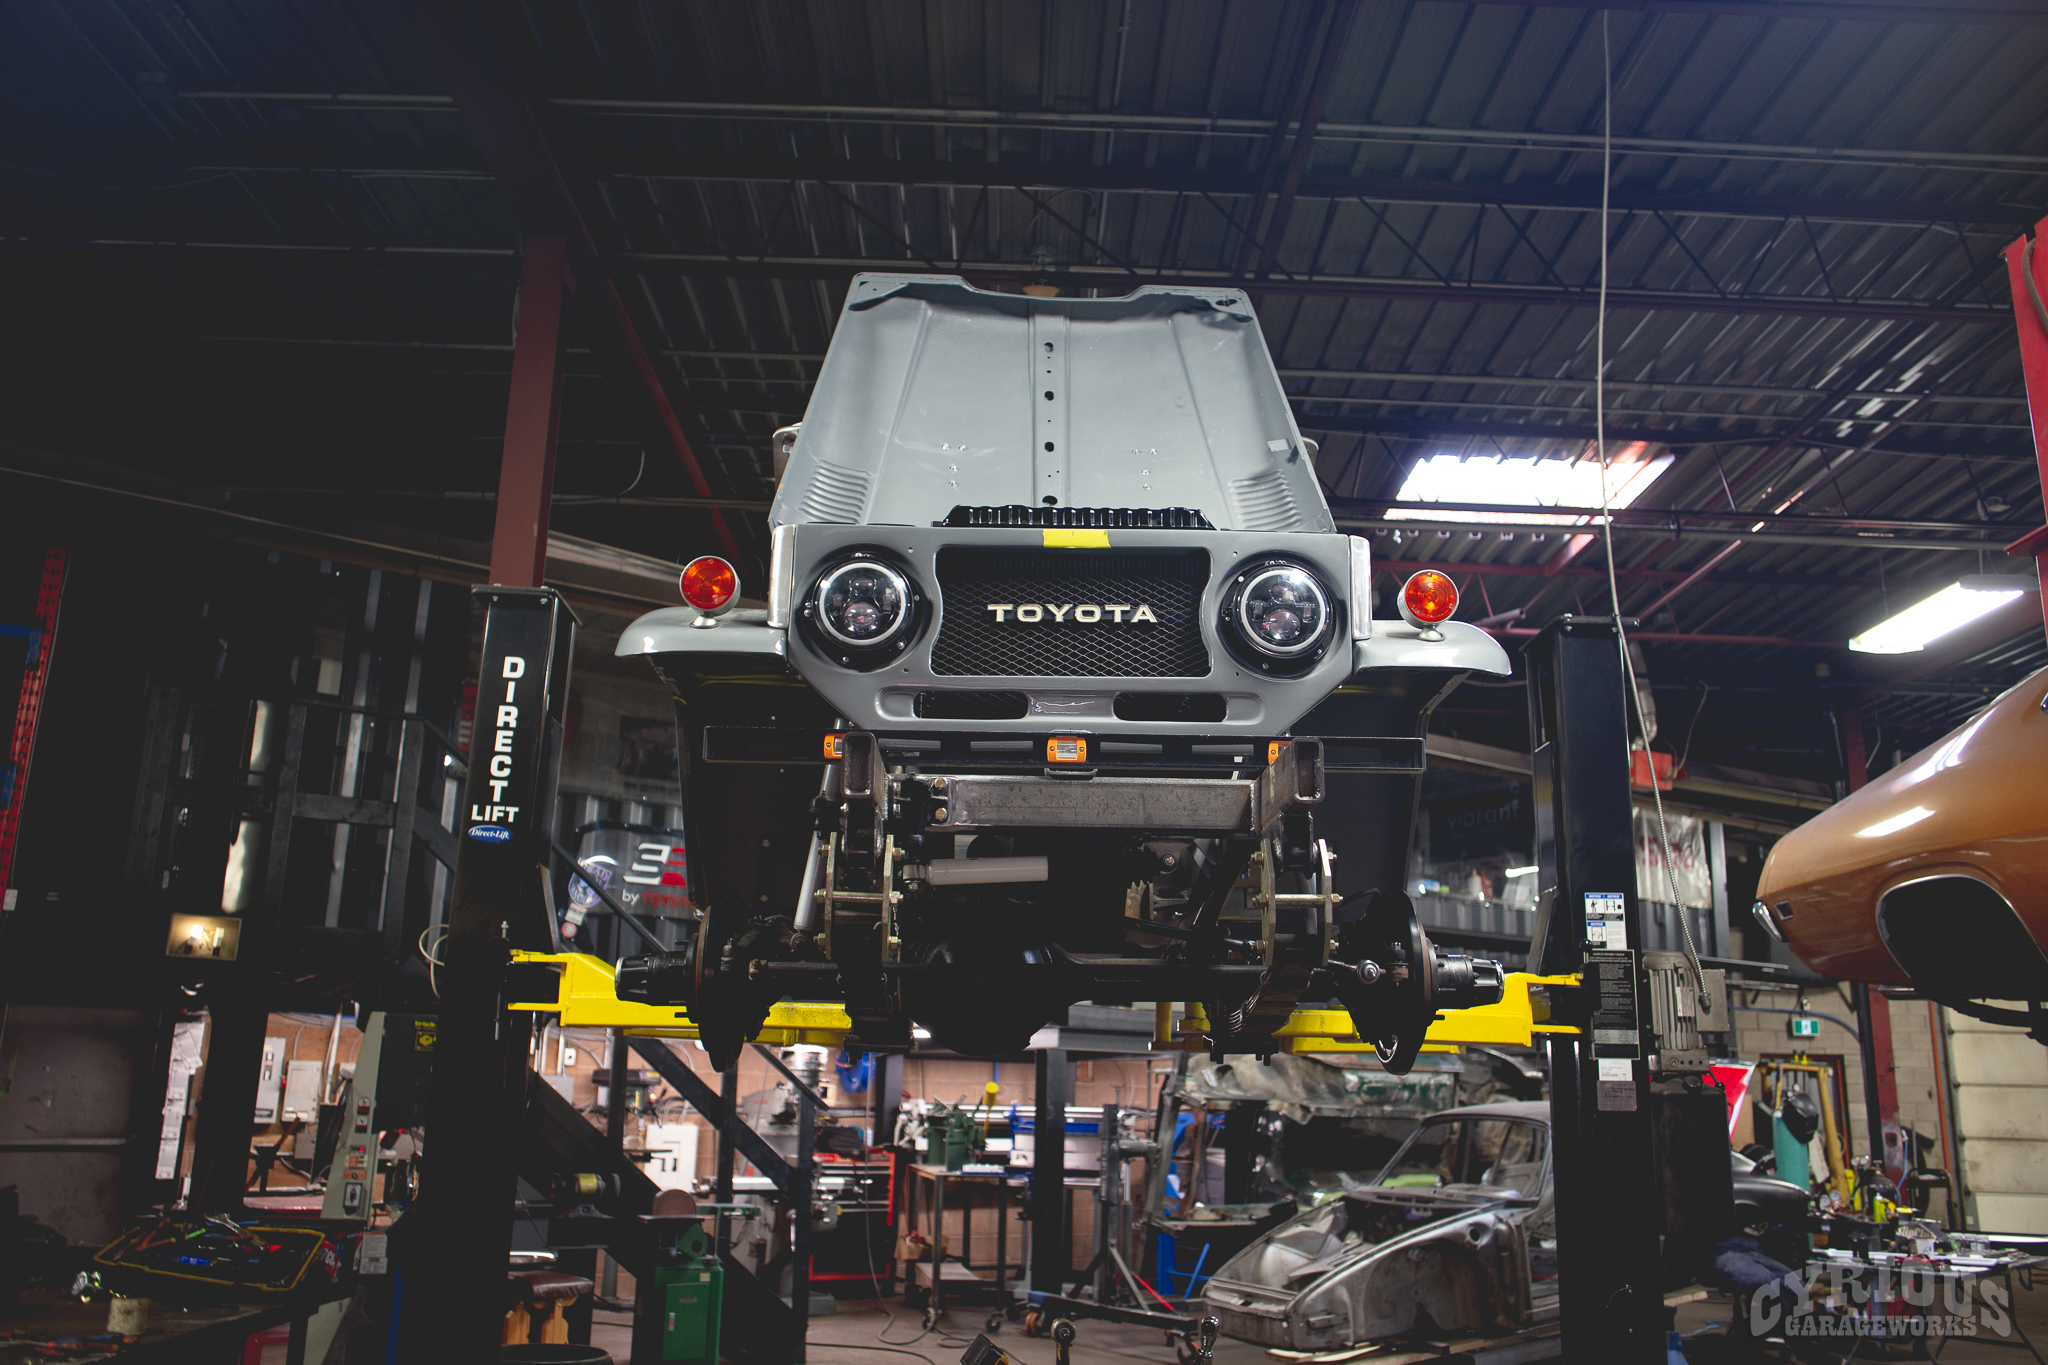
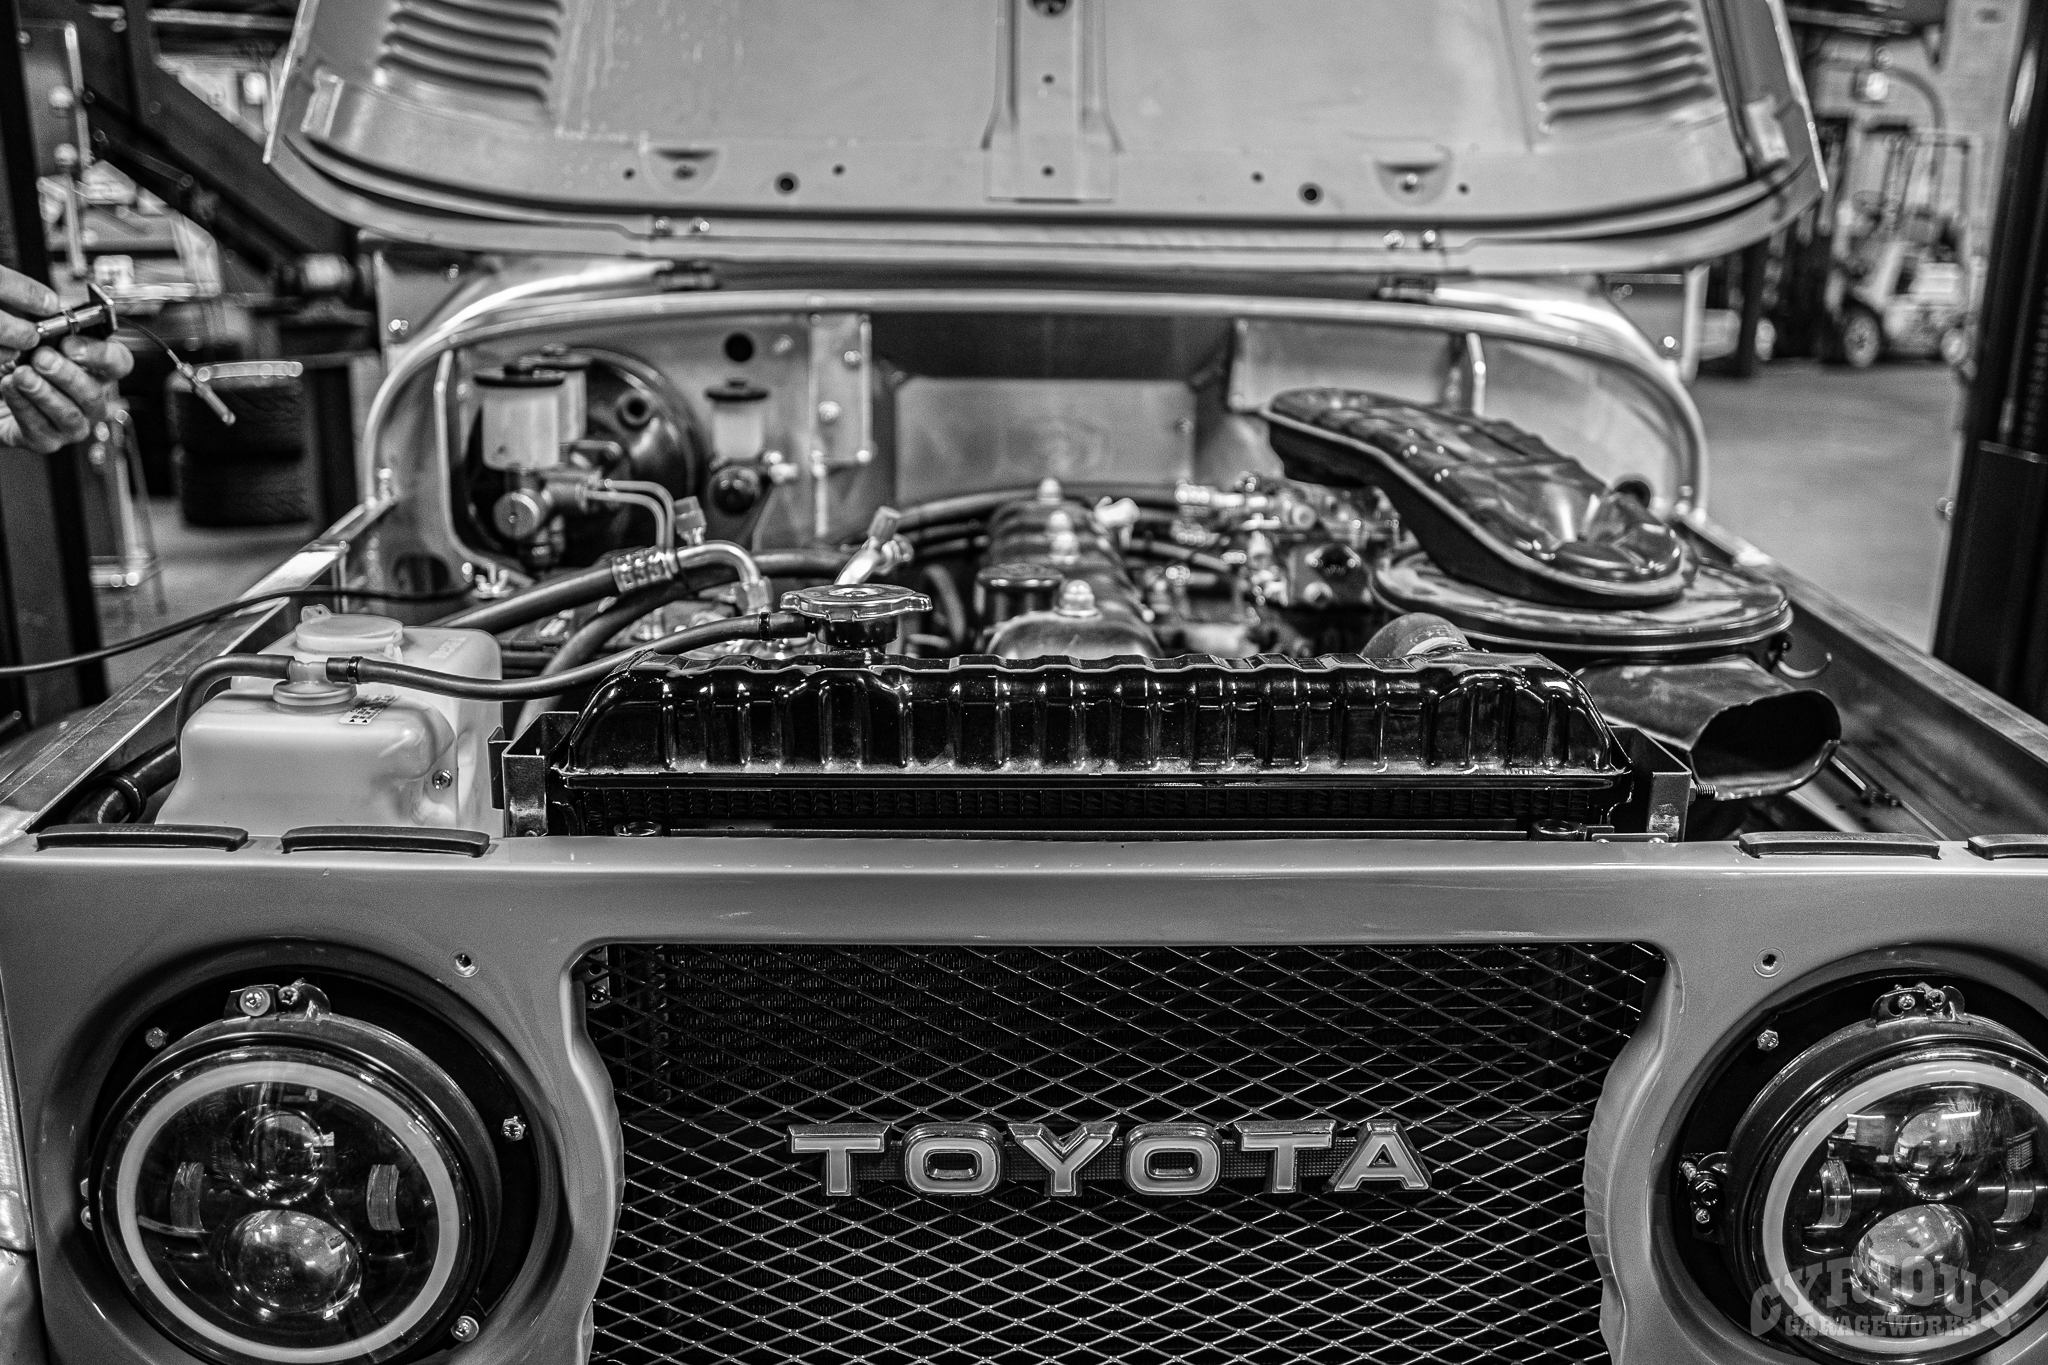
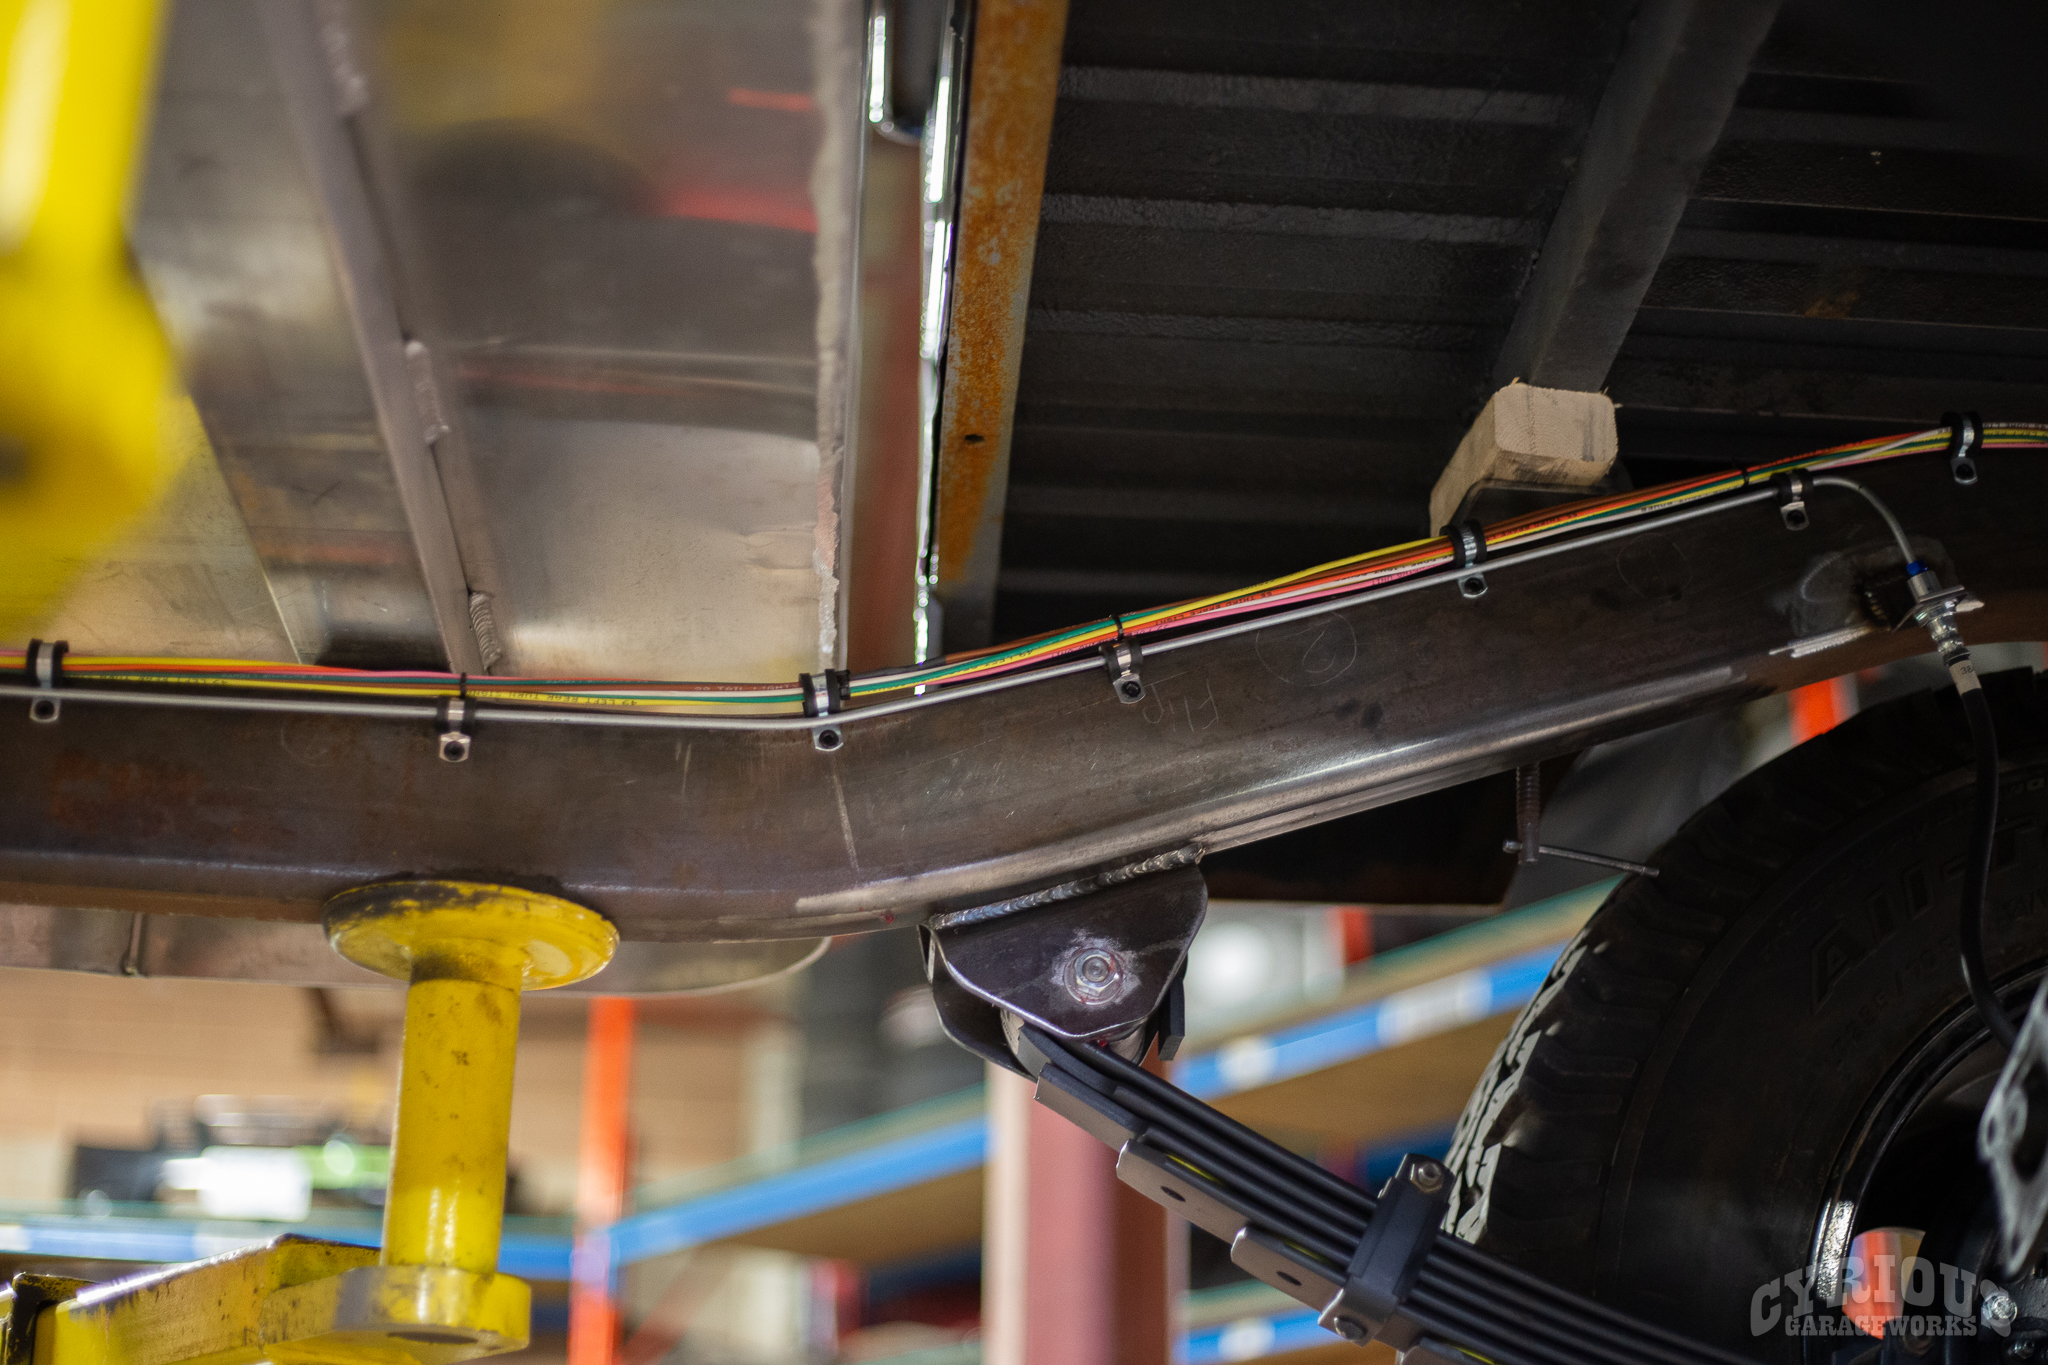
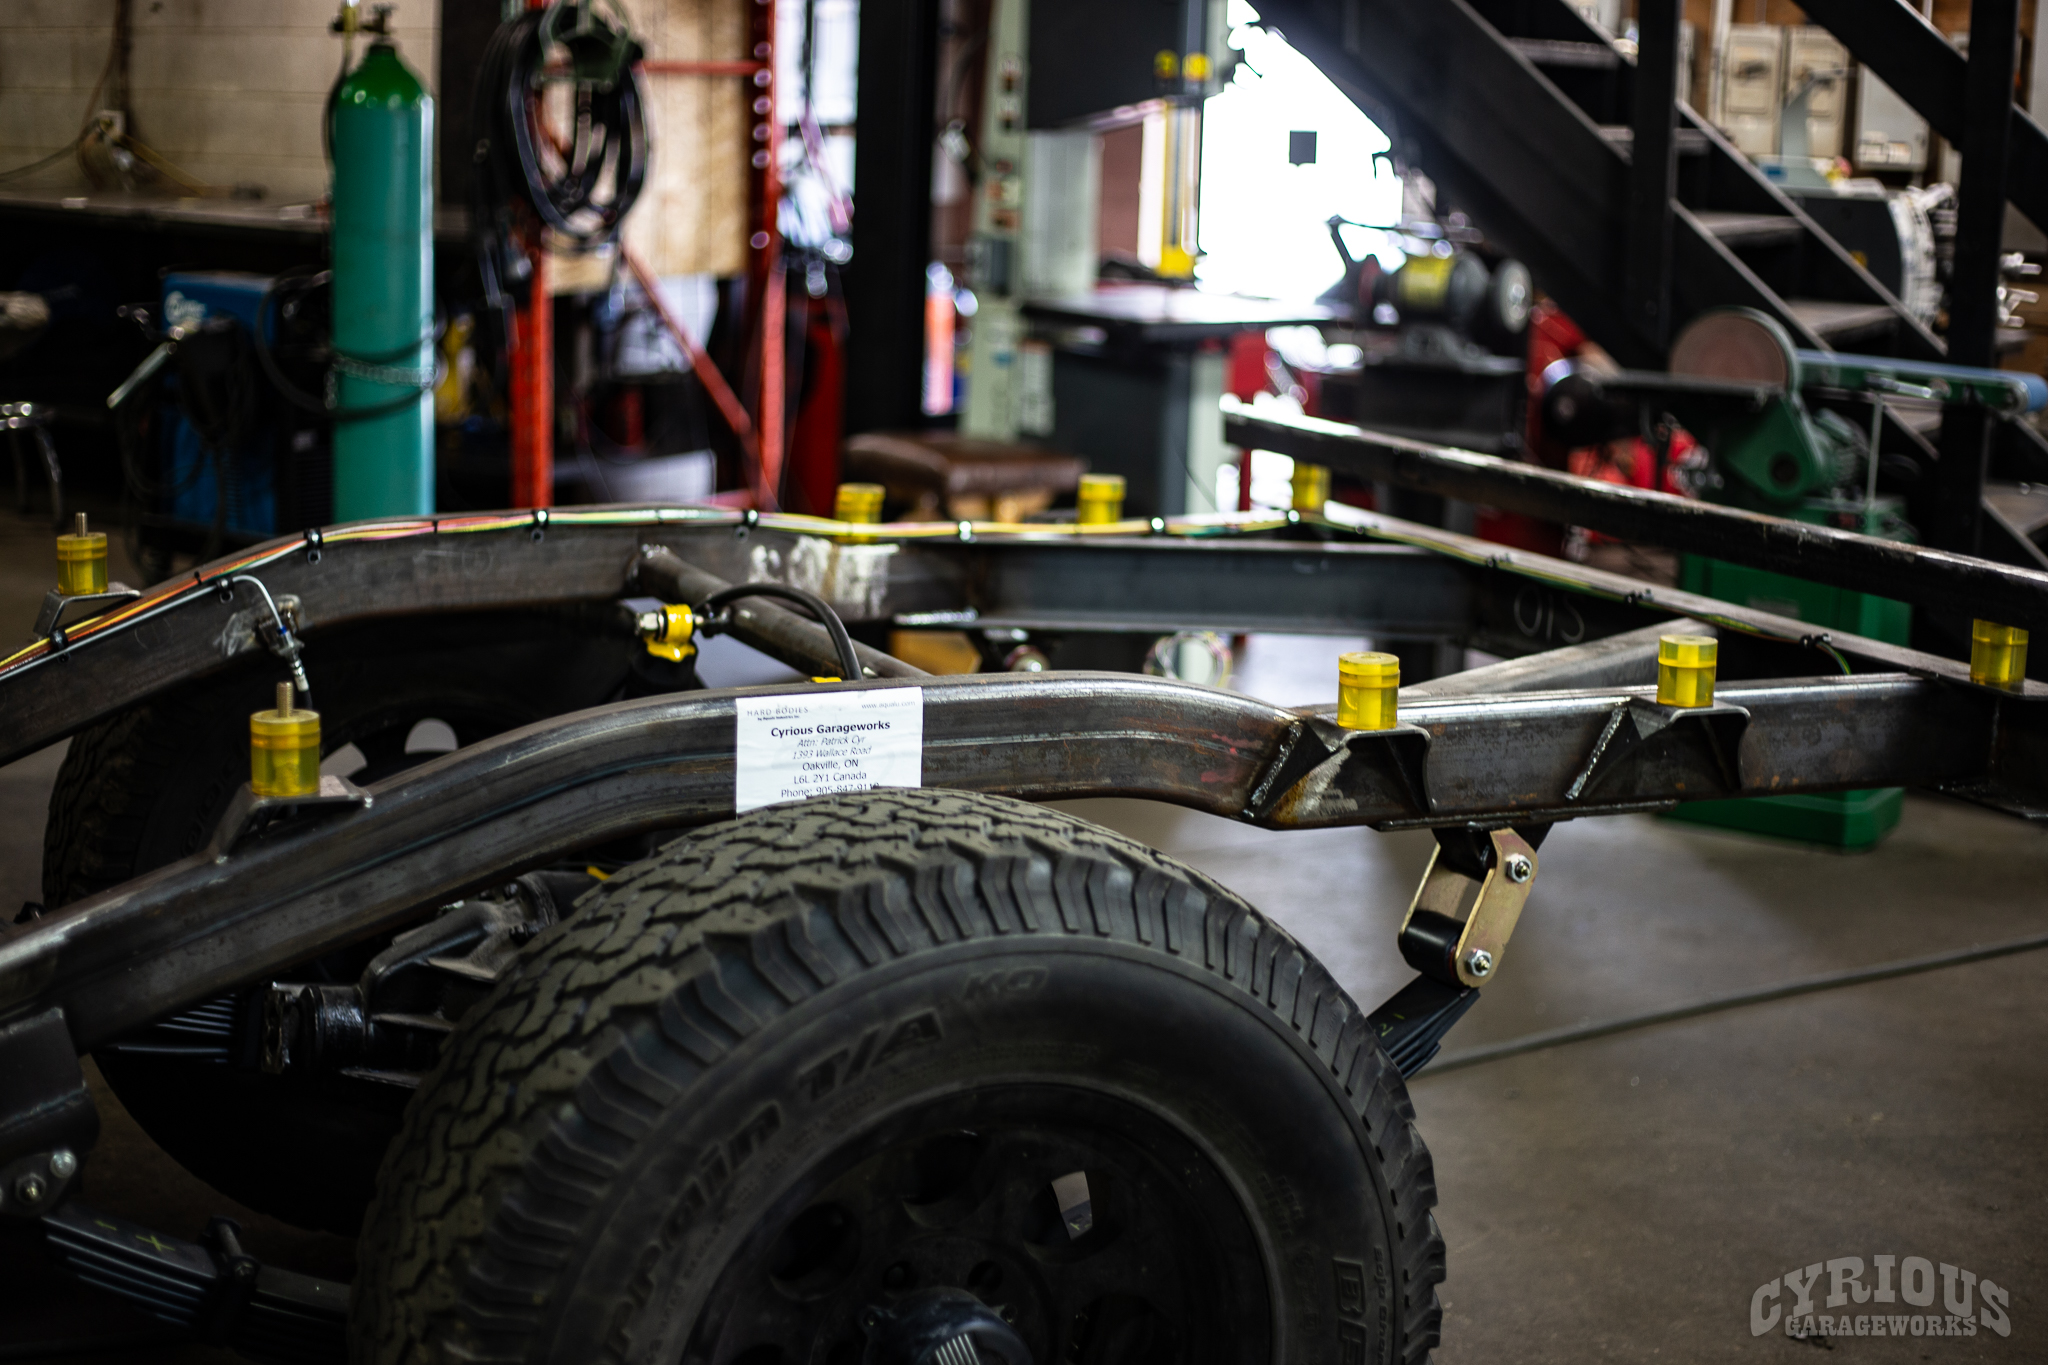
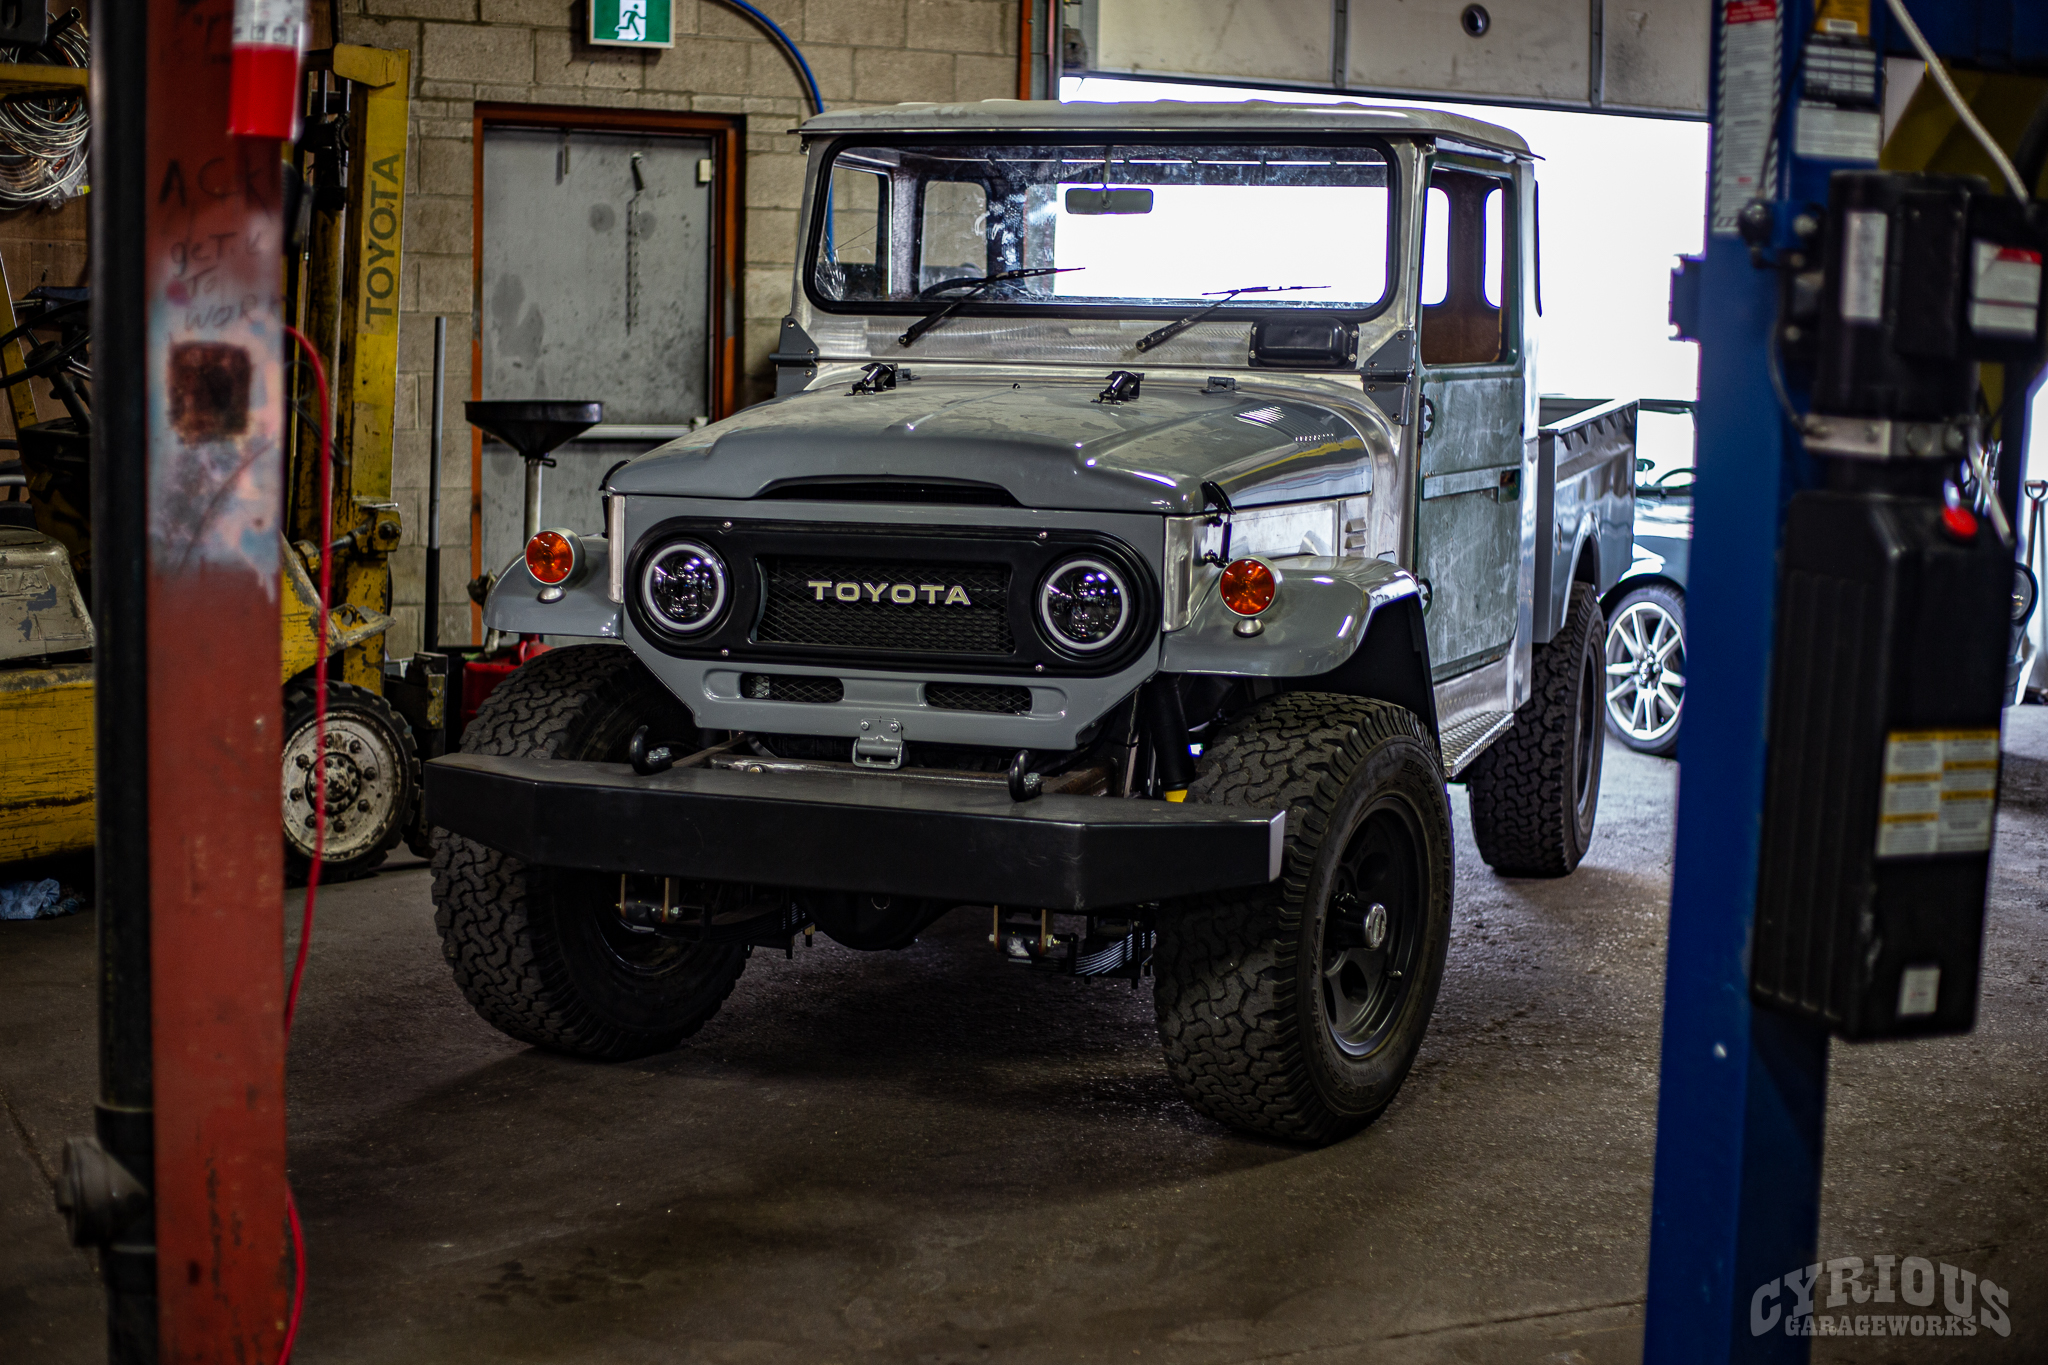
Fast forward a few months and it’s pretty much a whole new truck! As one can expect, the aluminum tub and fiberglass top will have its own set of challenges in terms of fitment. The frame is ready to take a beating though!
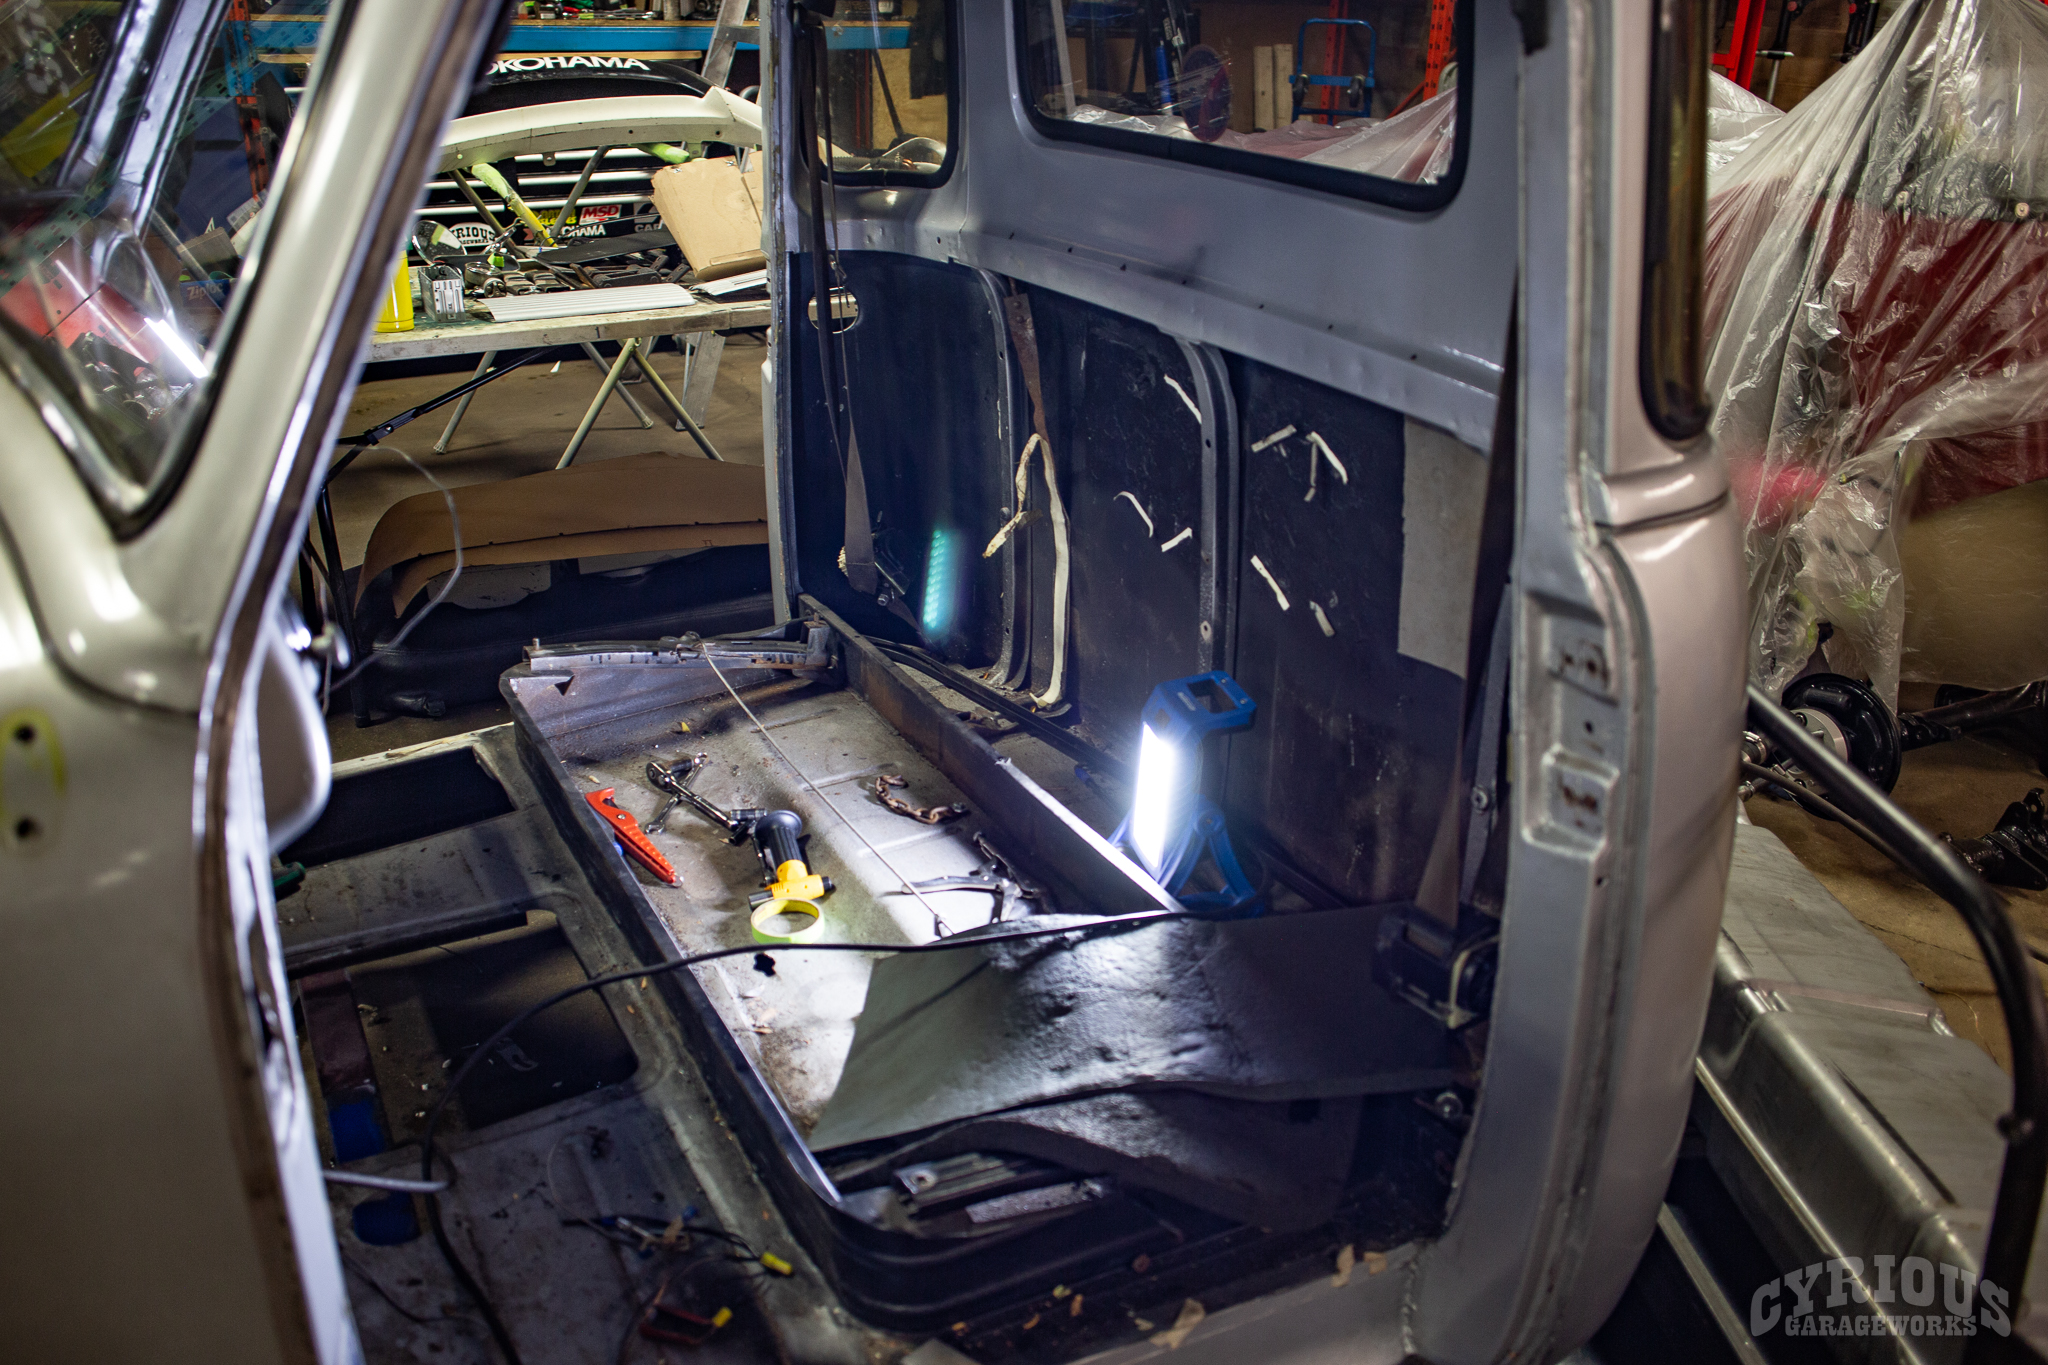
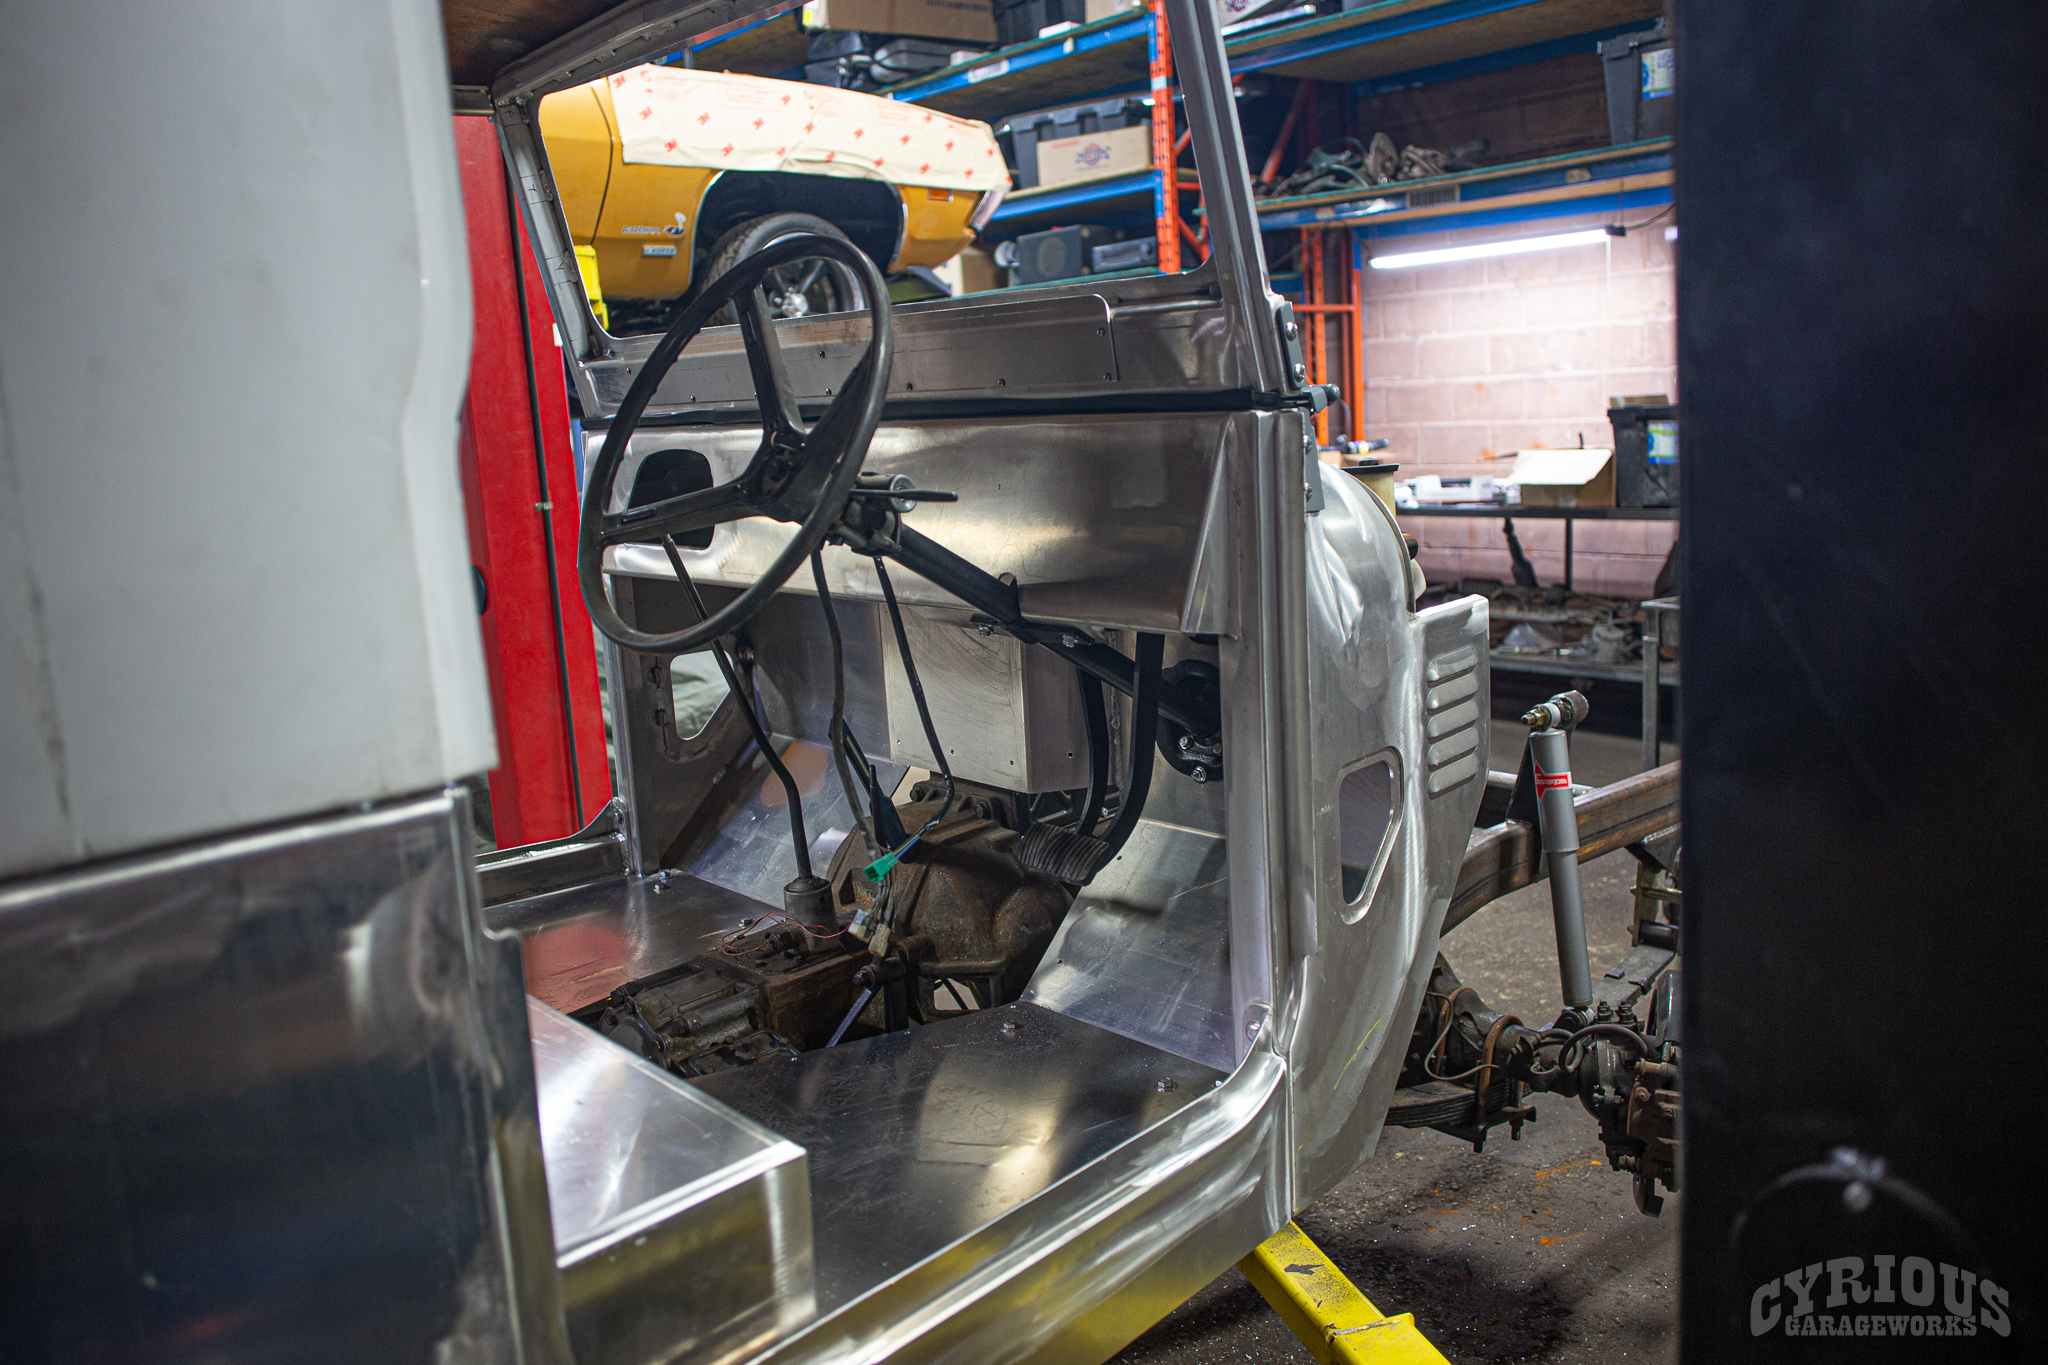
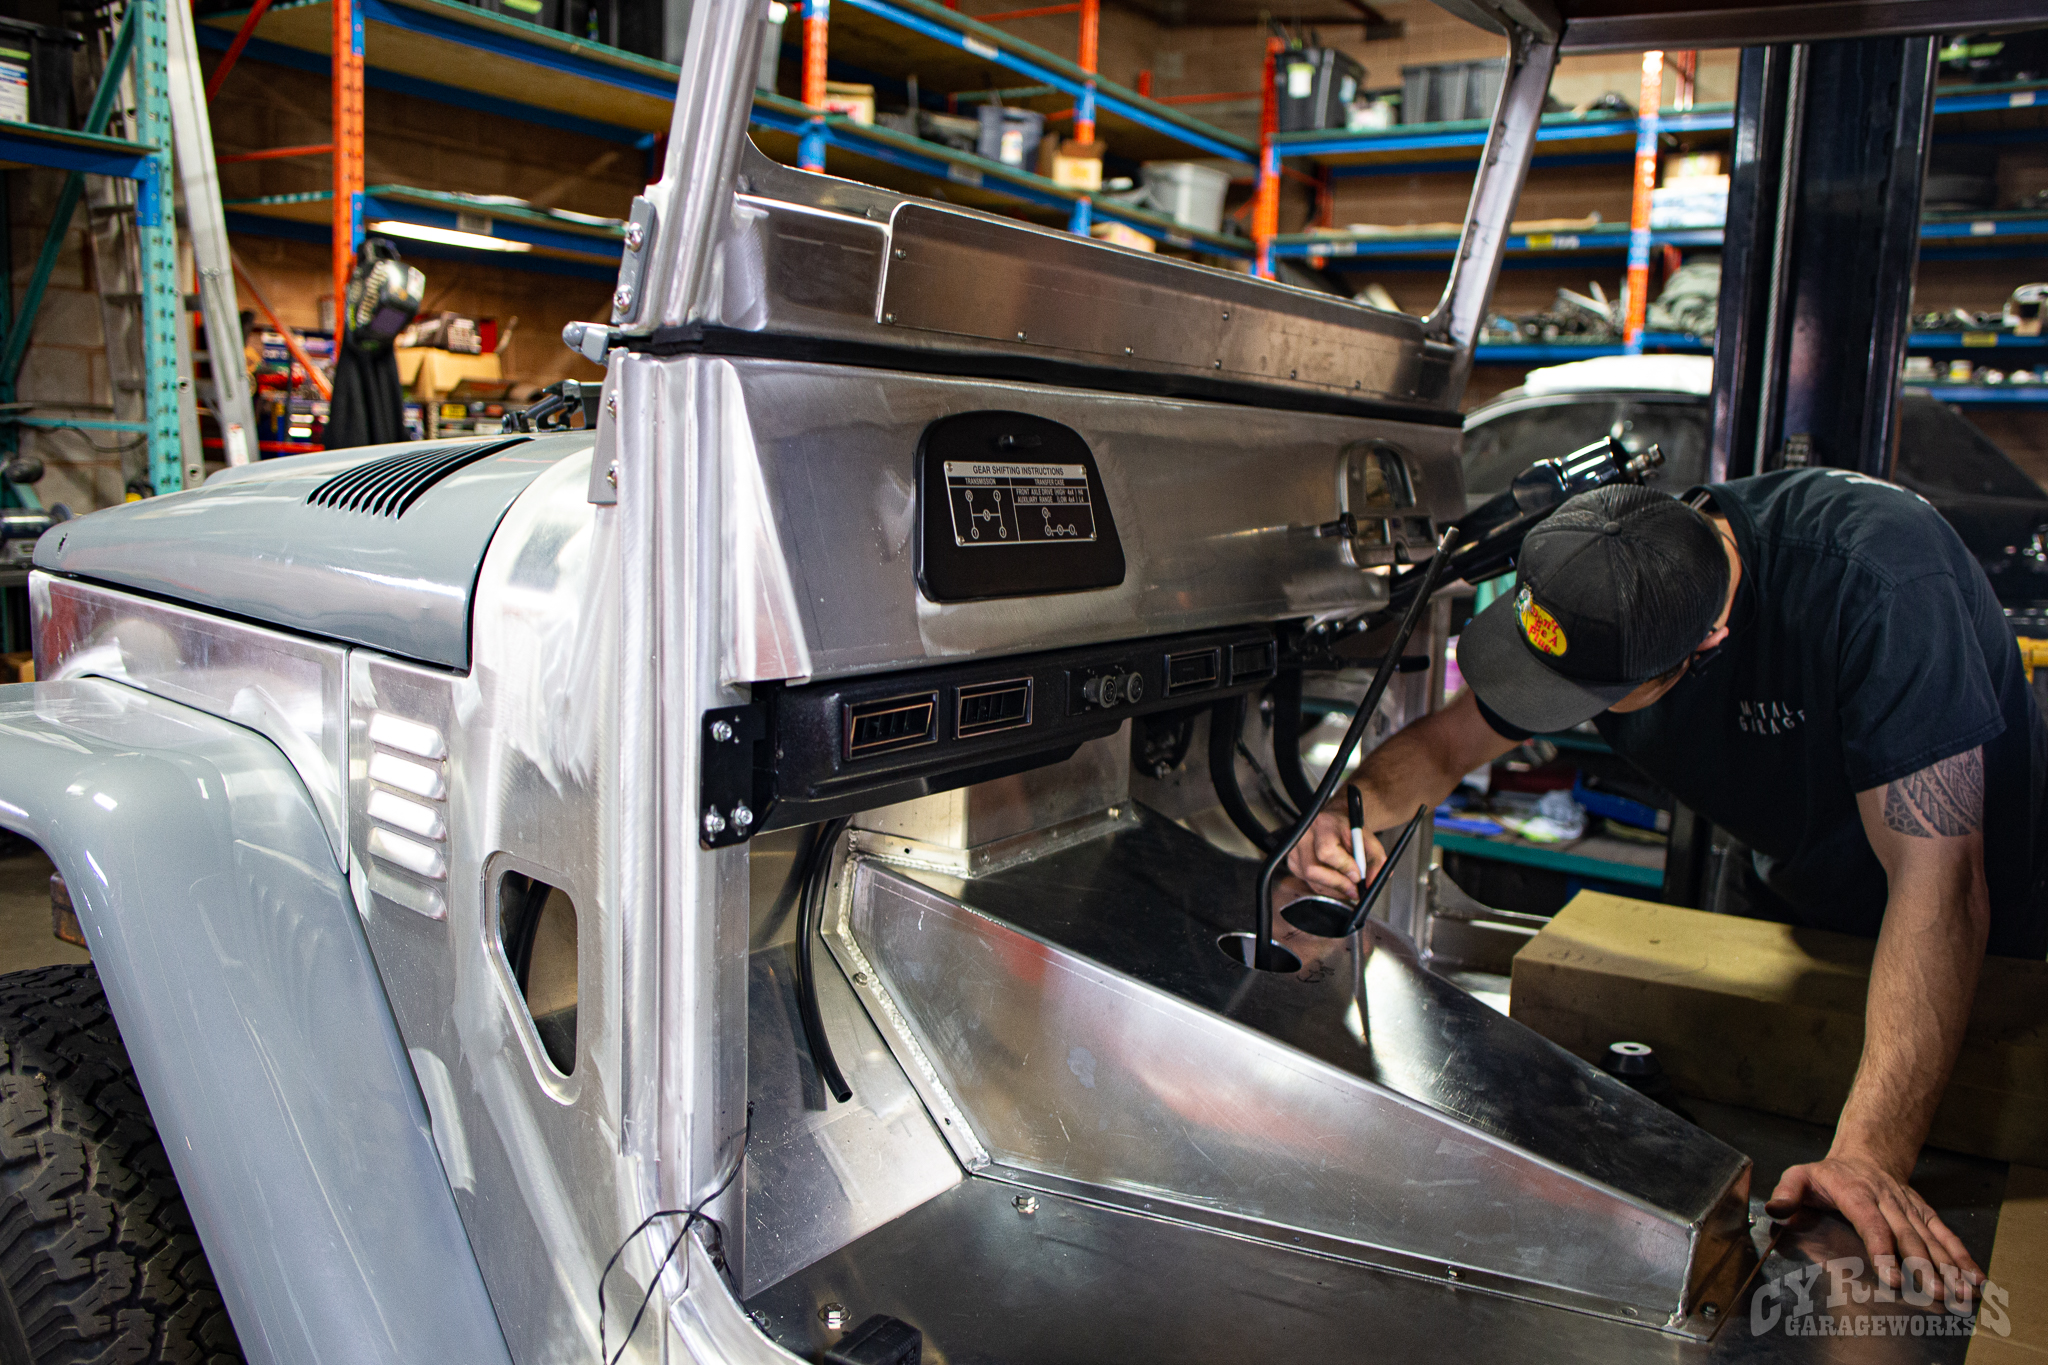
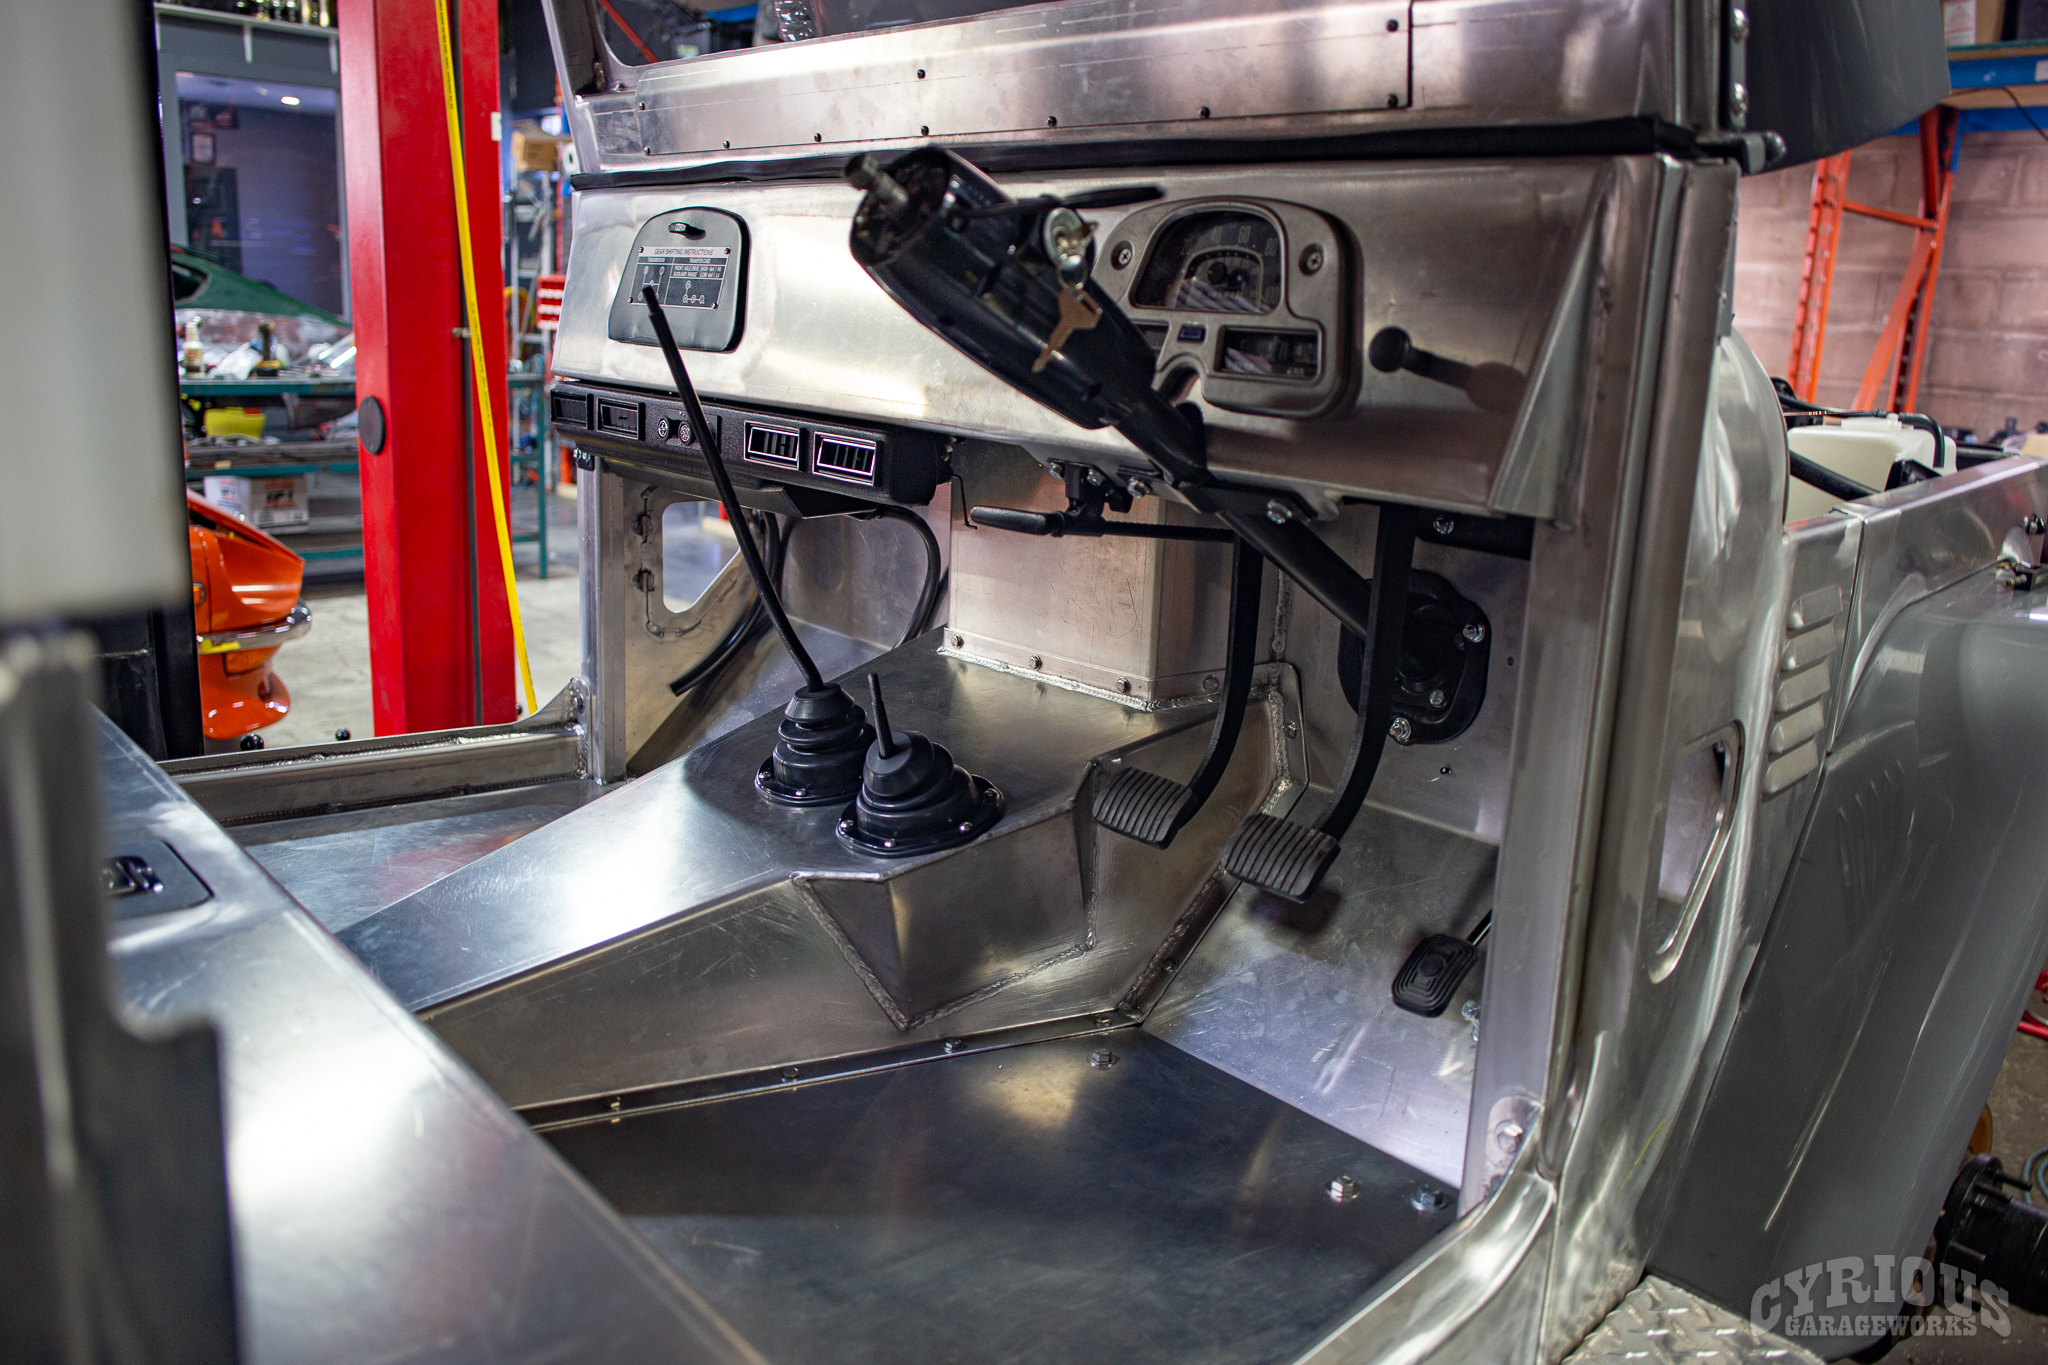
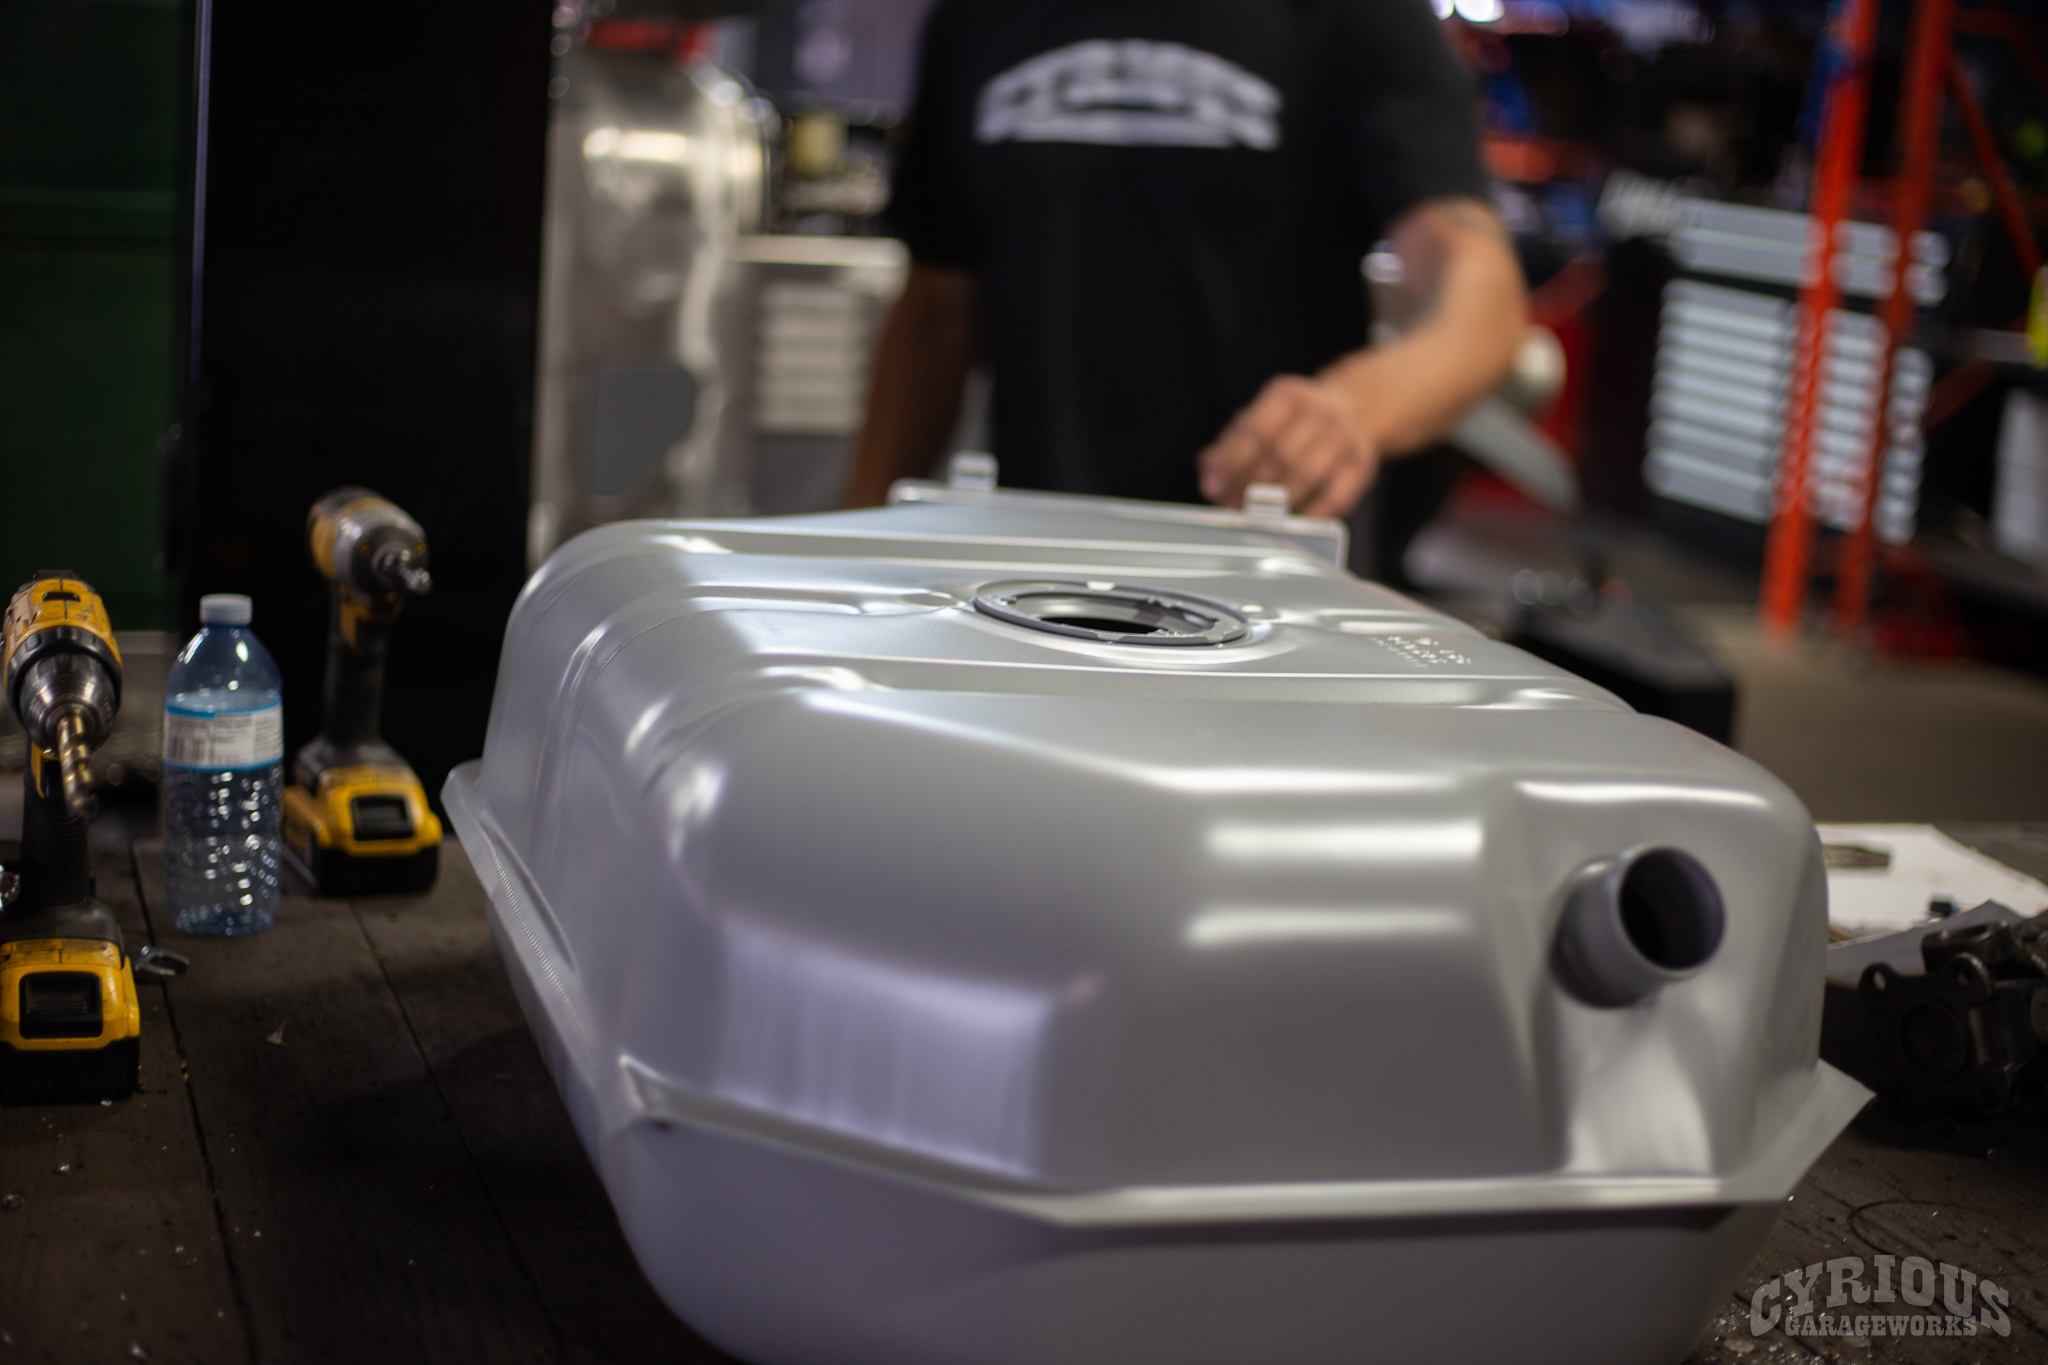
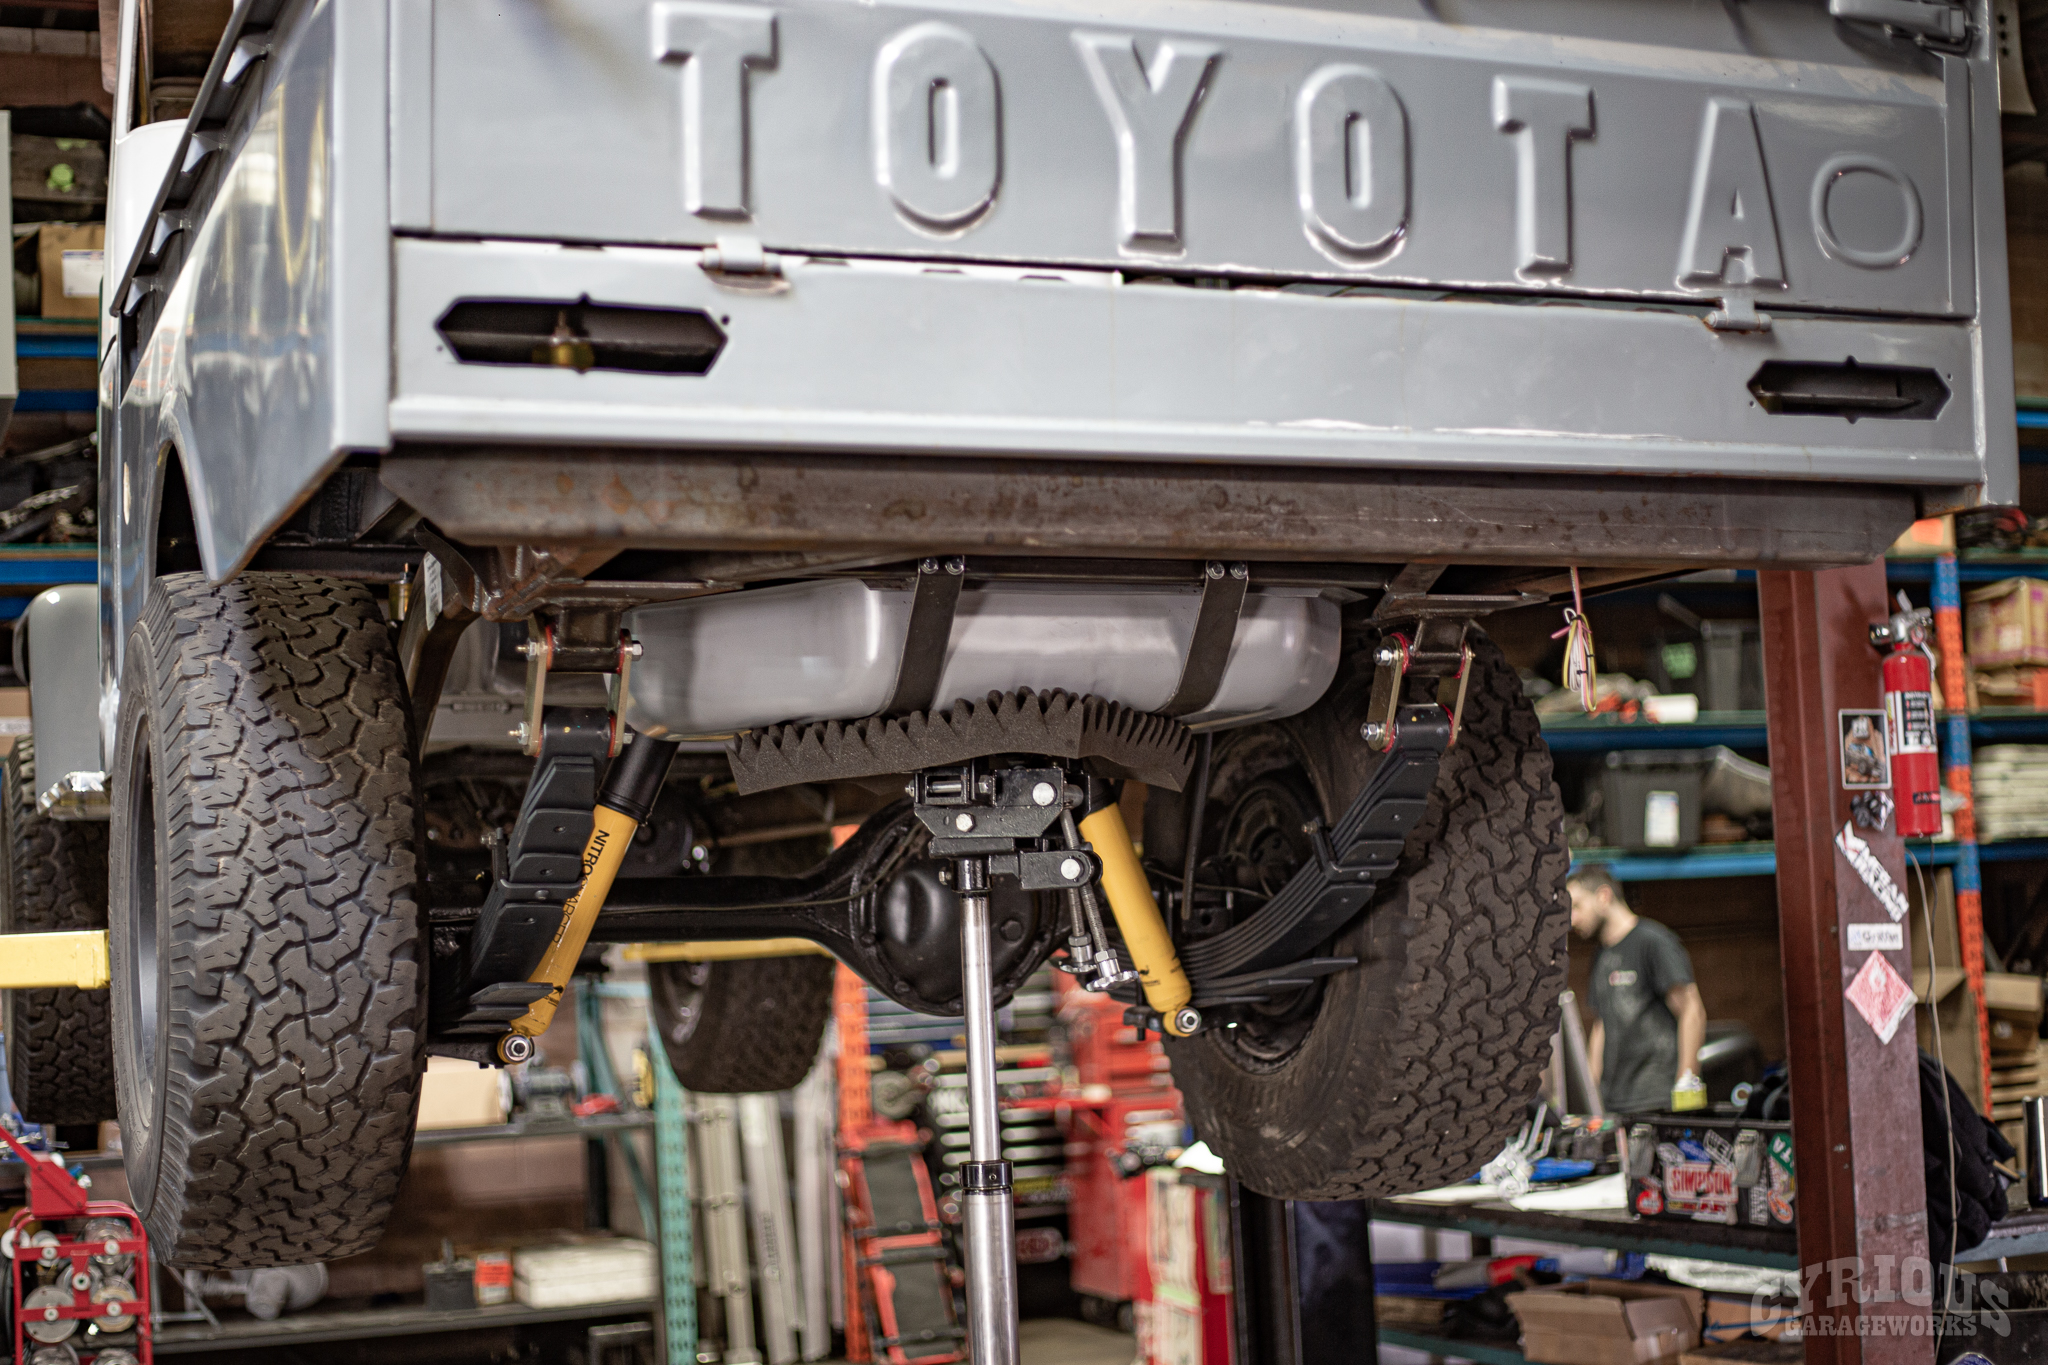
Some storage is added to the aluminum cab where the gas tank used to go. That’s right, no more tank in the cab! It’s a bit less “original”, but also less chance of smelling fumes while driving. At this point, originality is kinda thrown out the window anyway.
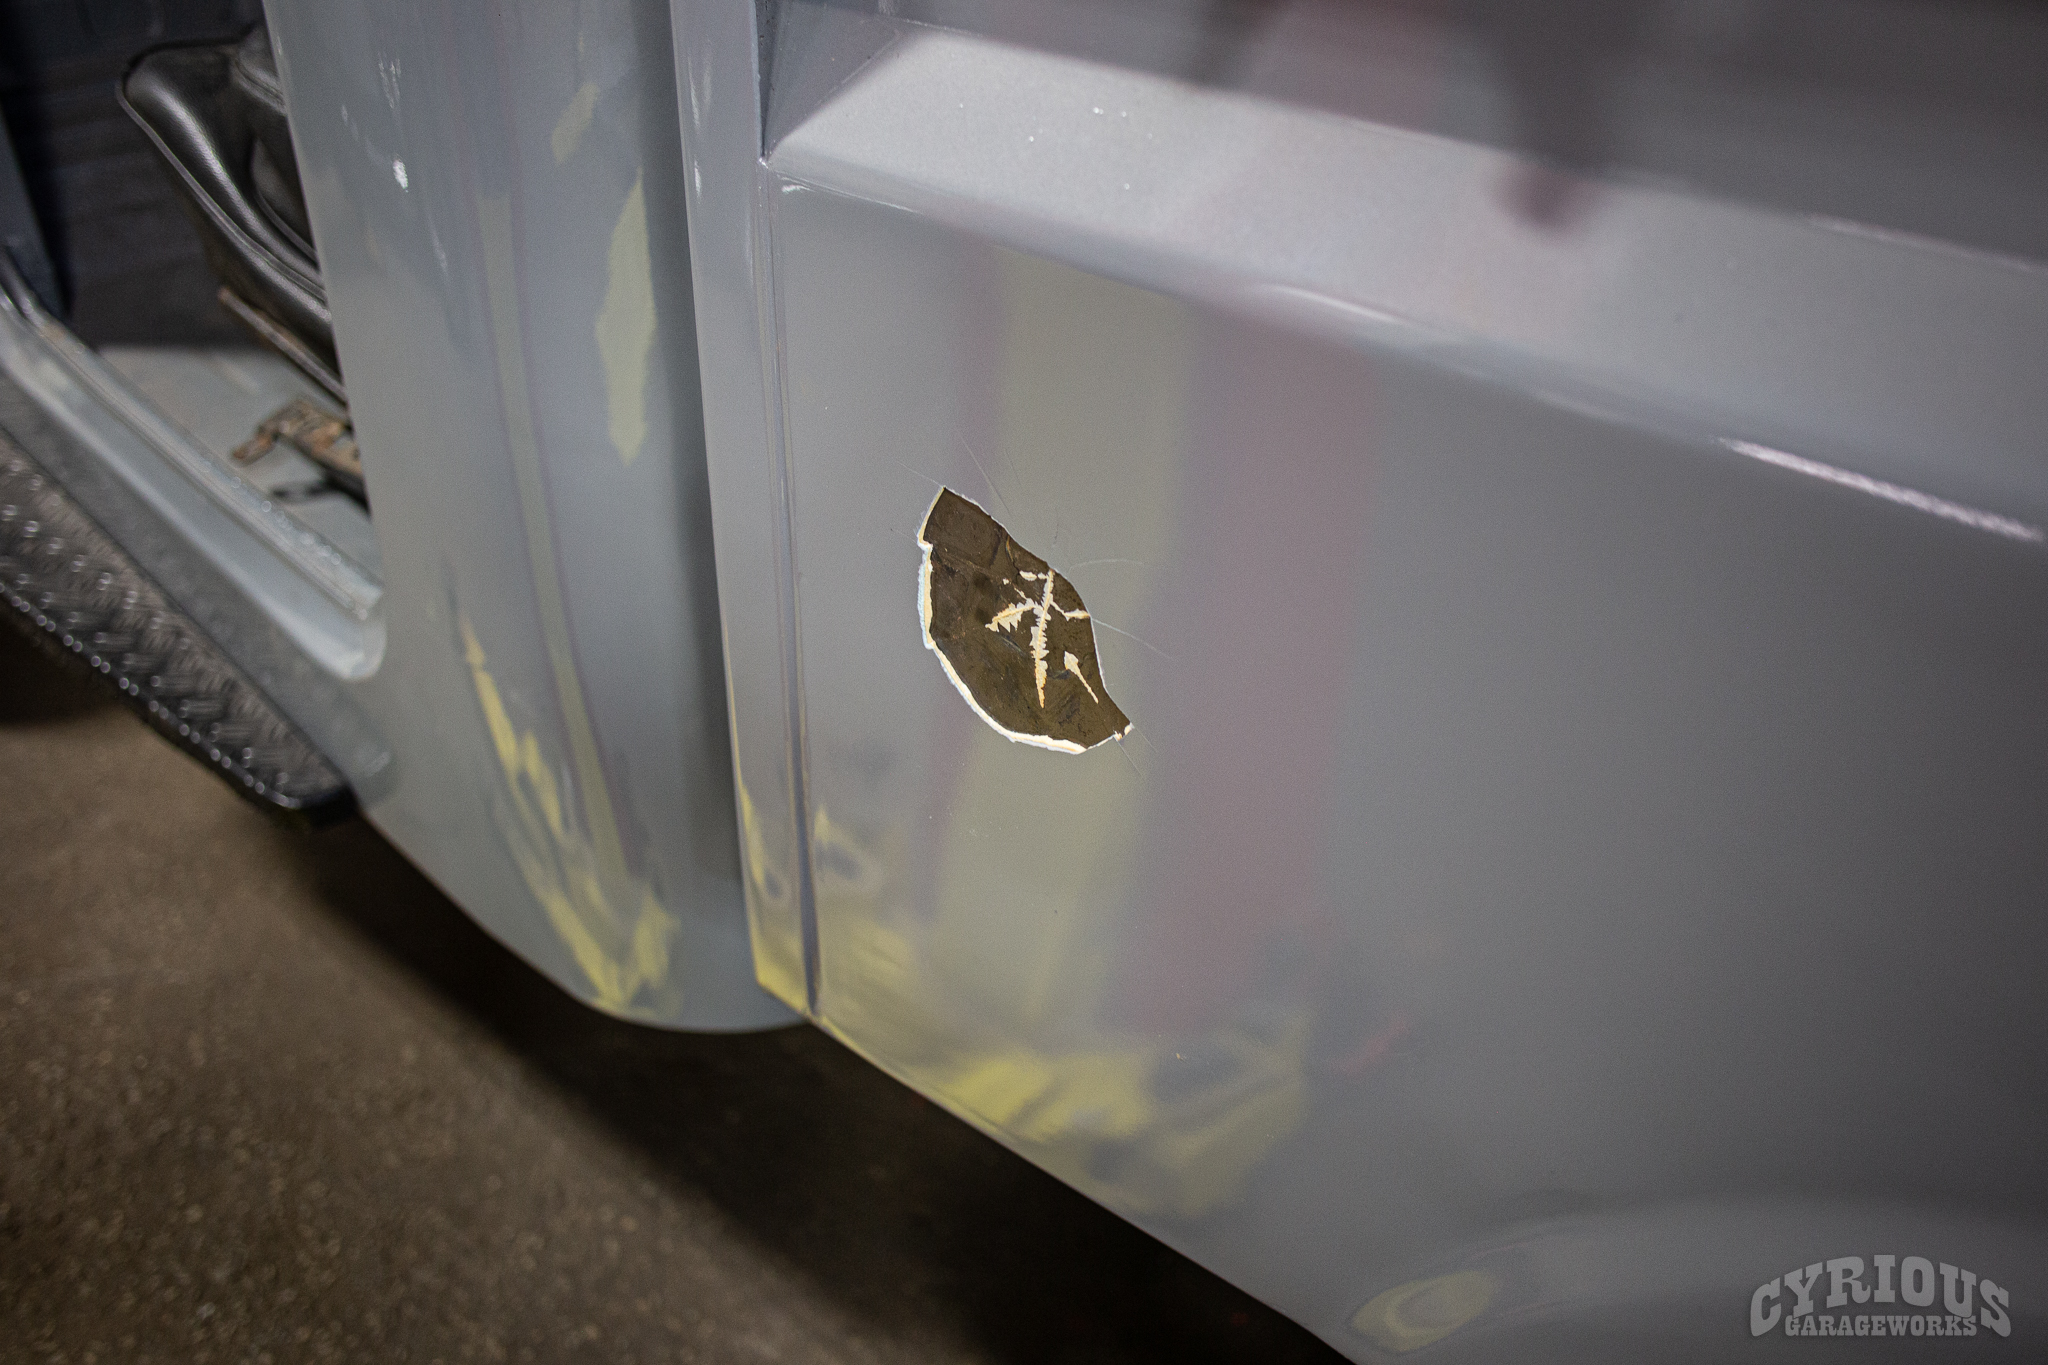
There’s so much bondo under that paint
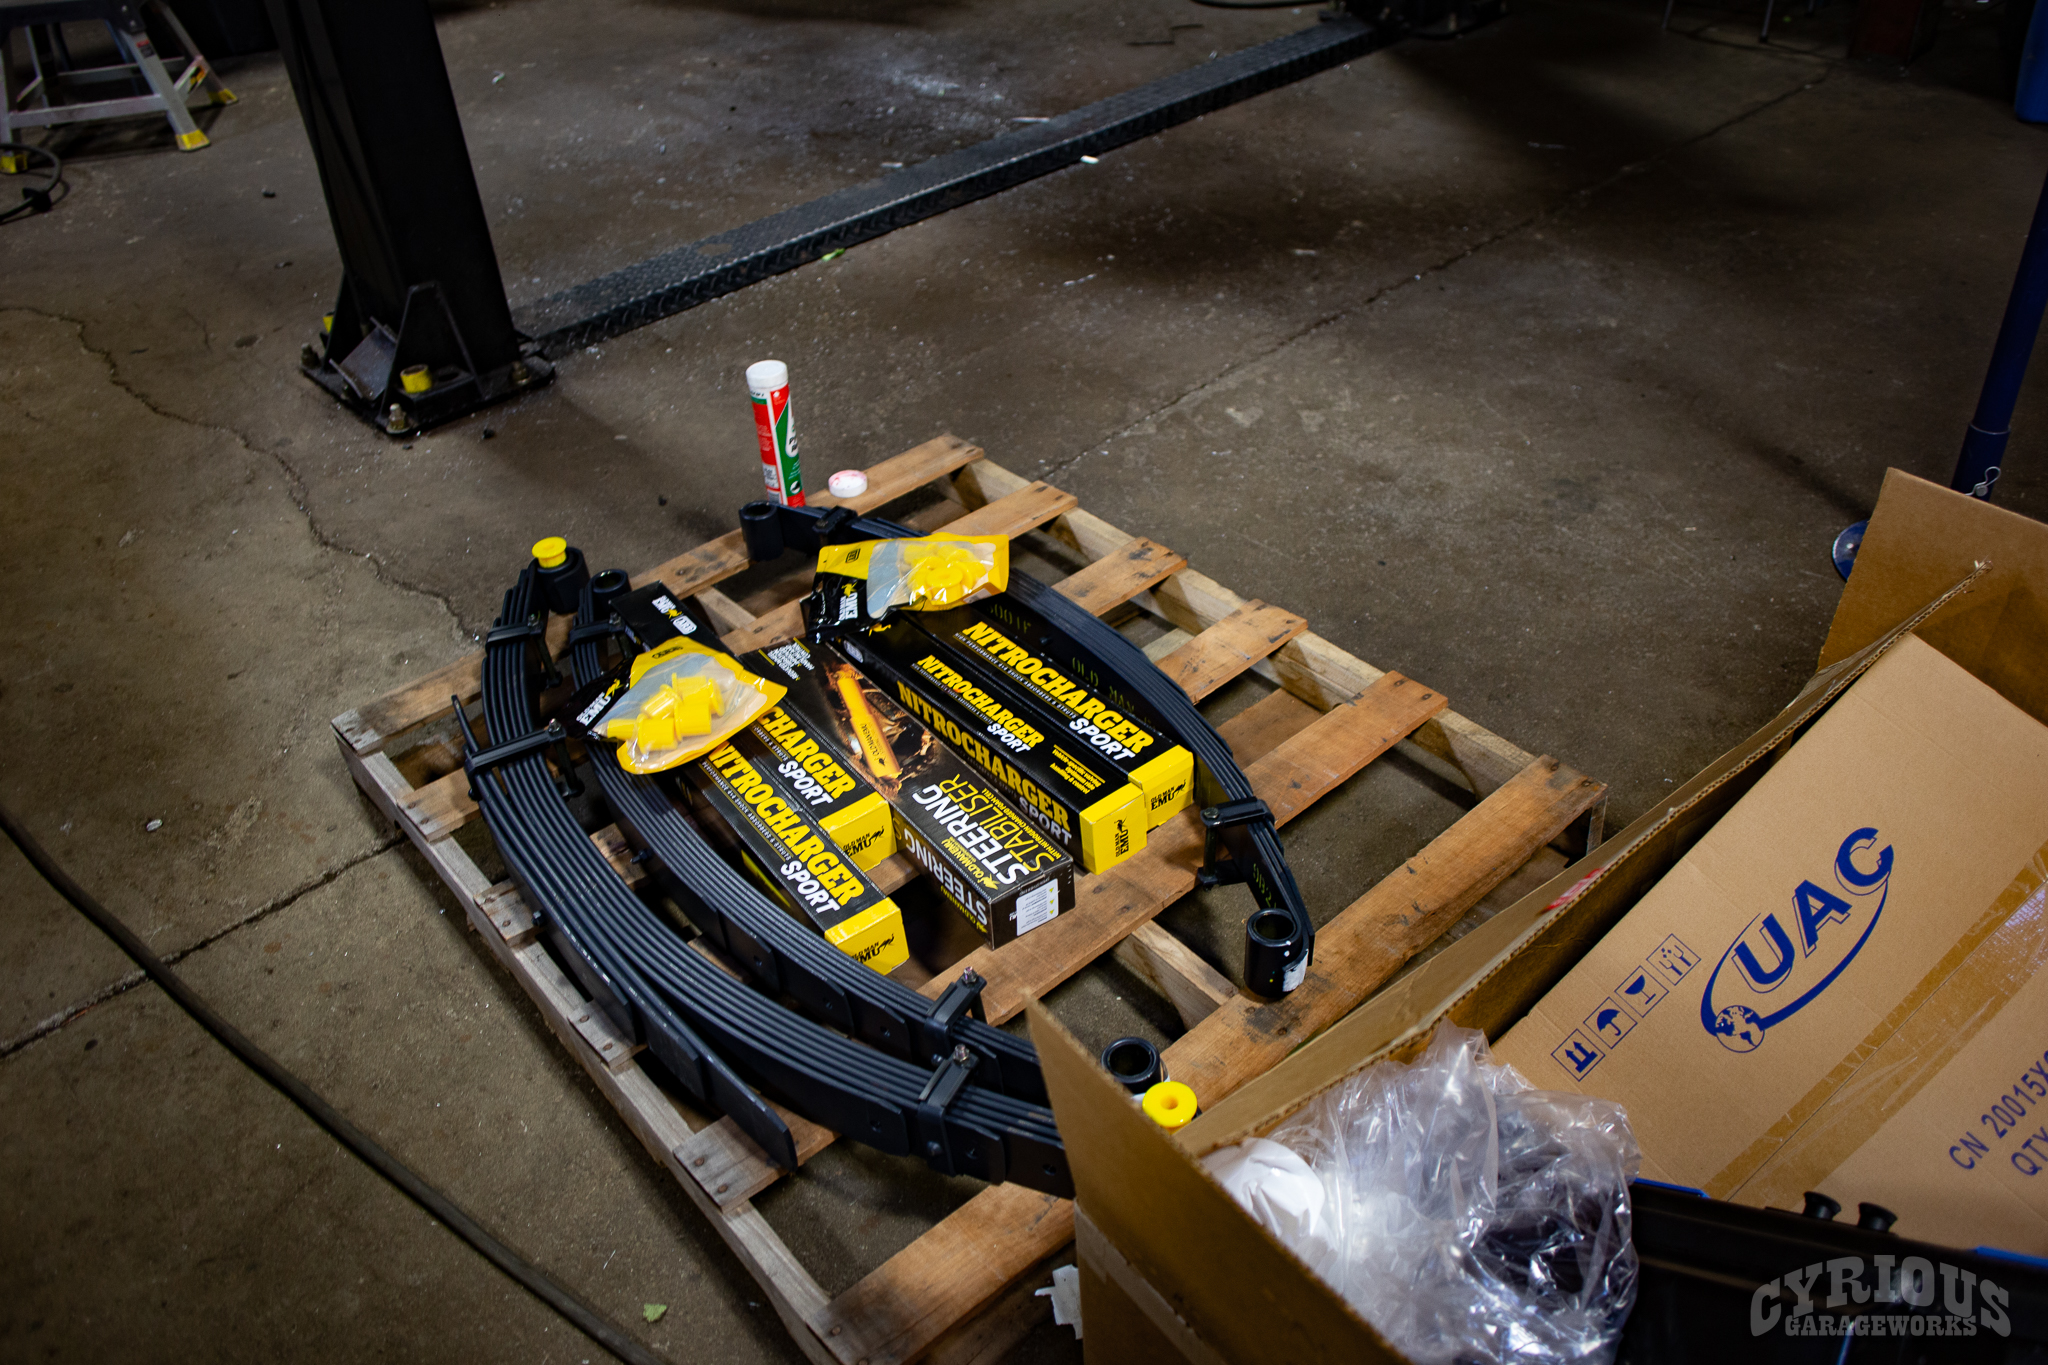
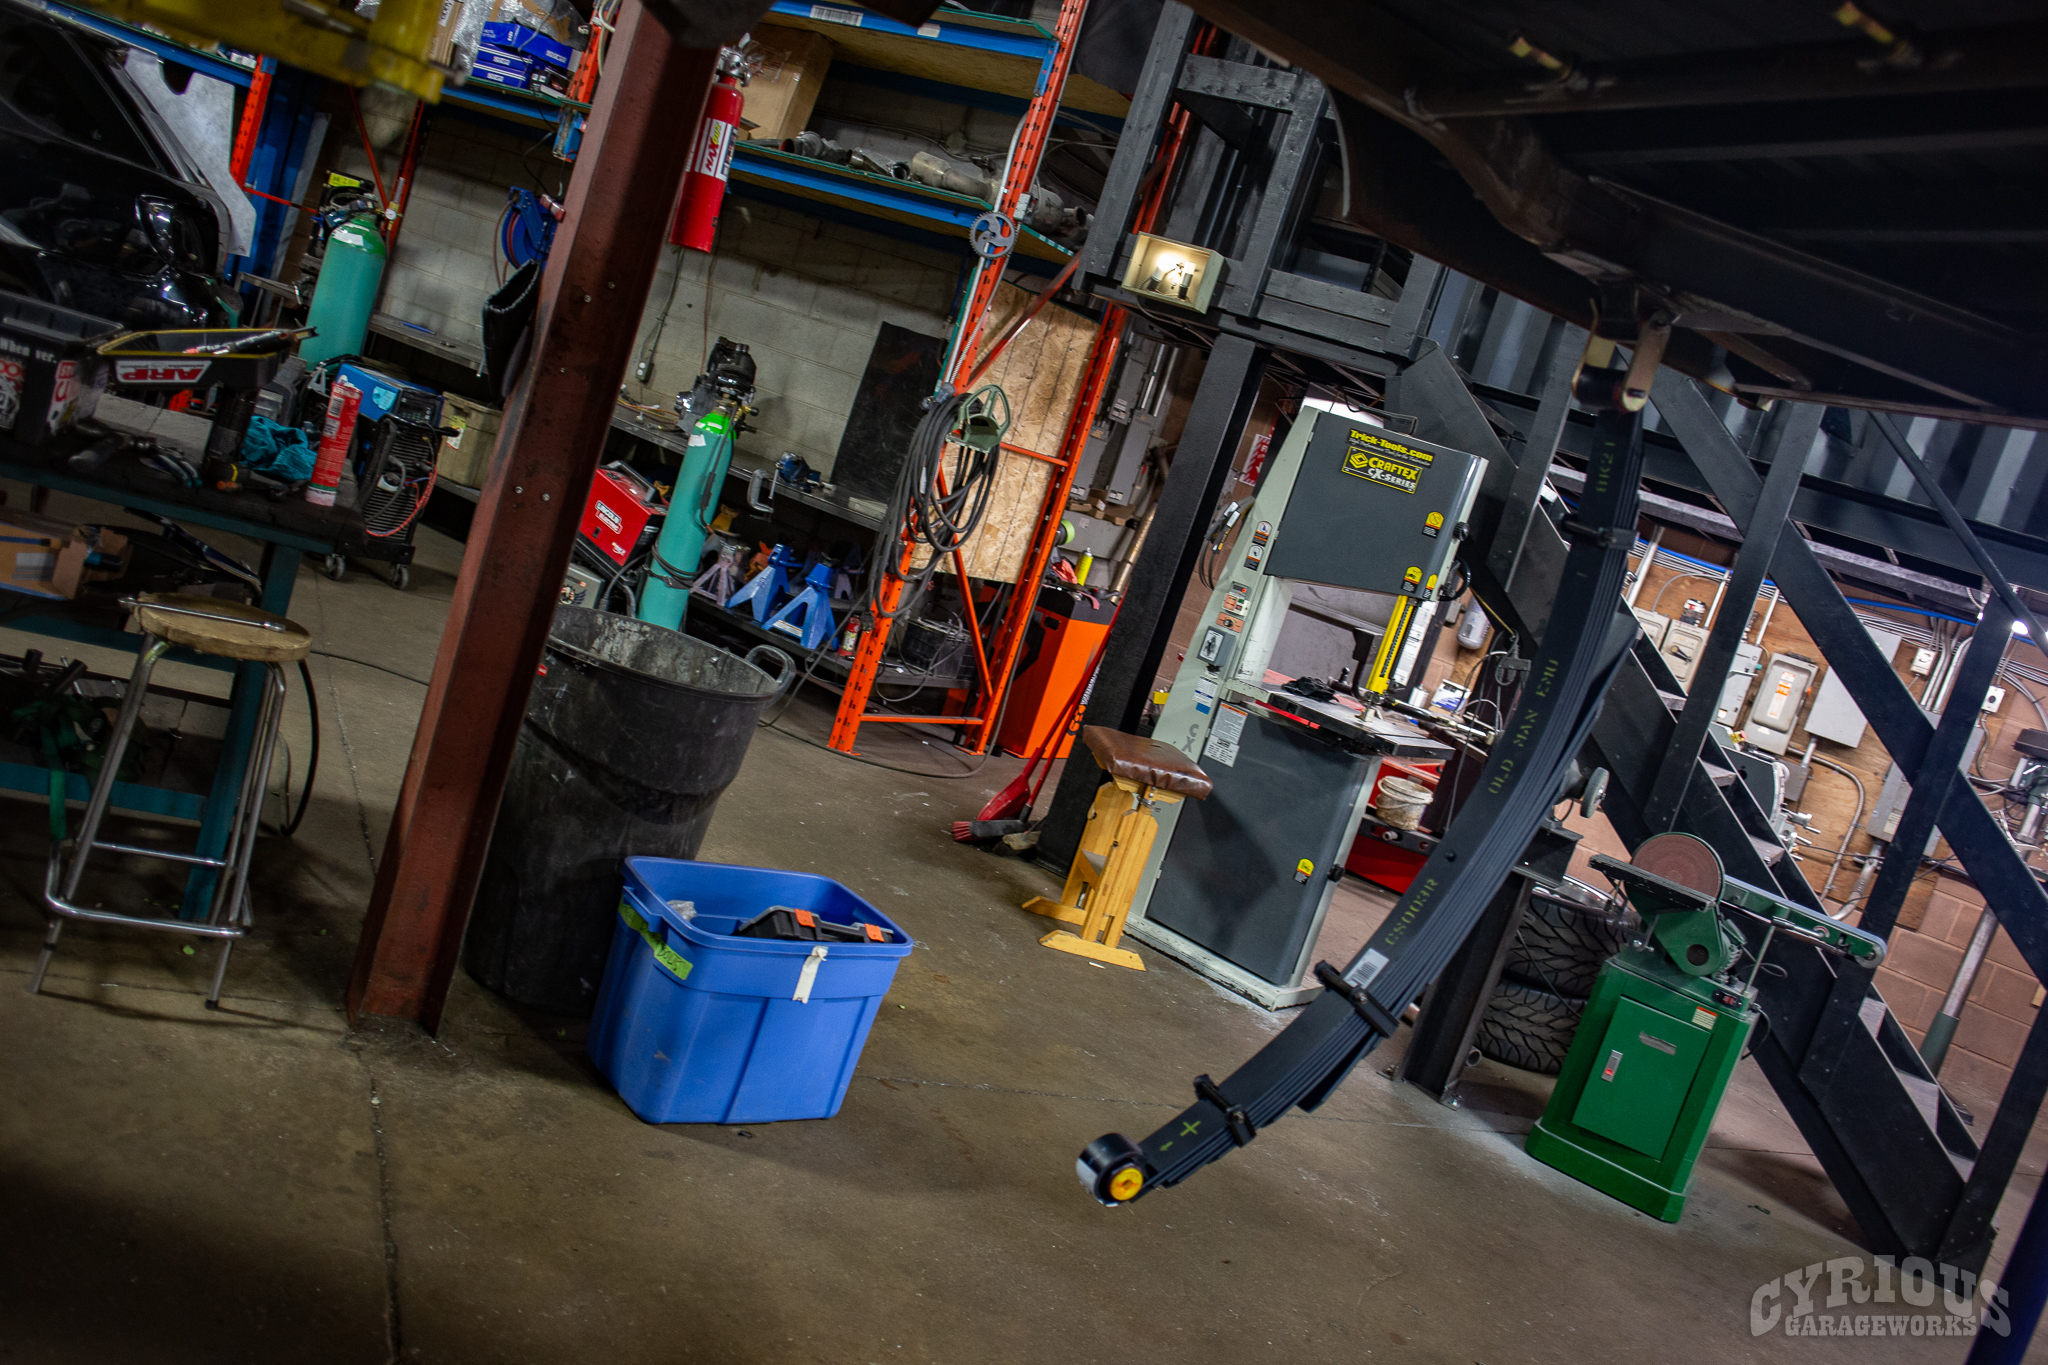
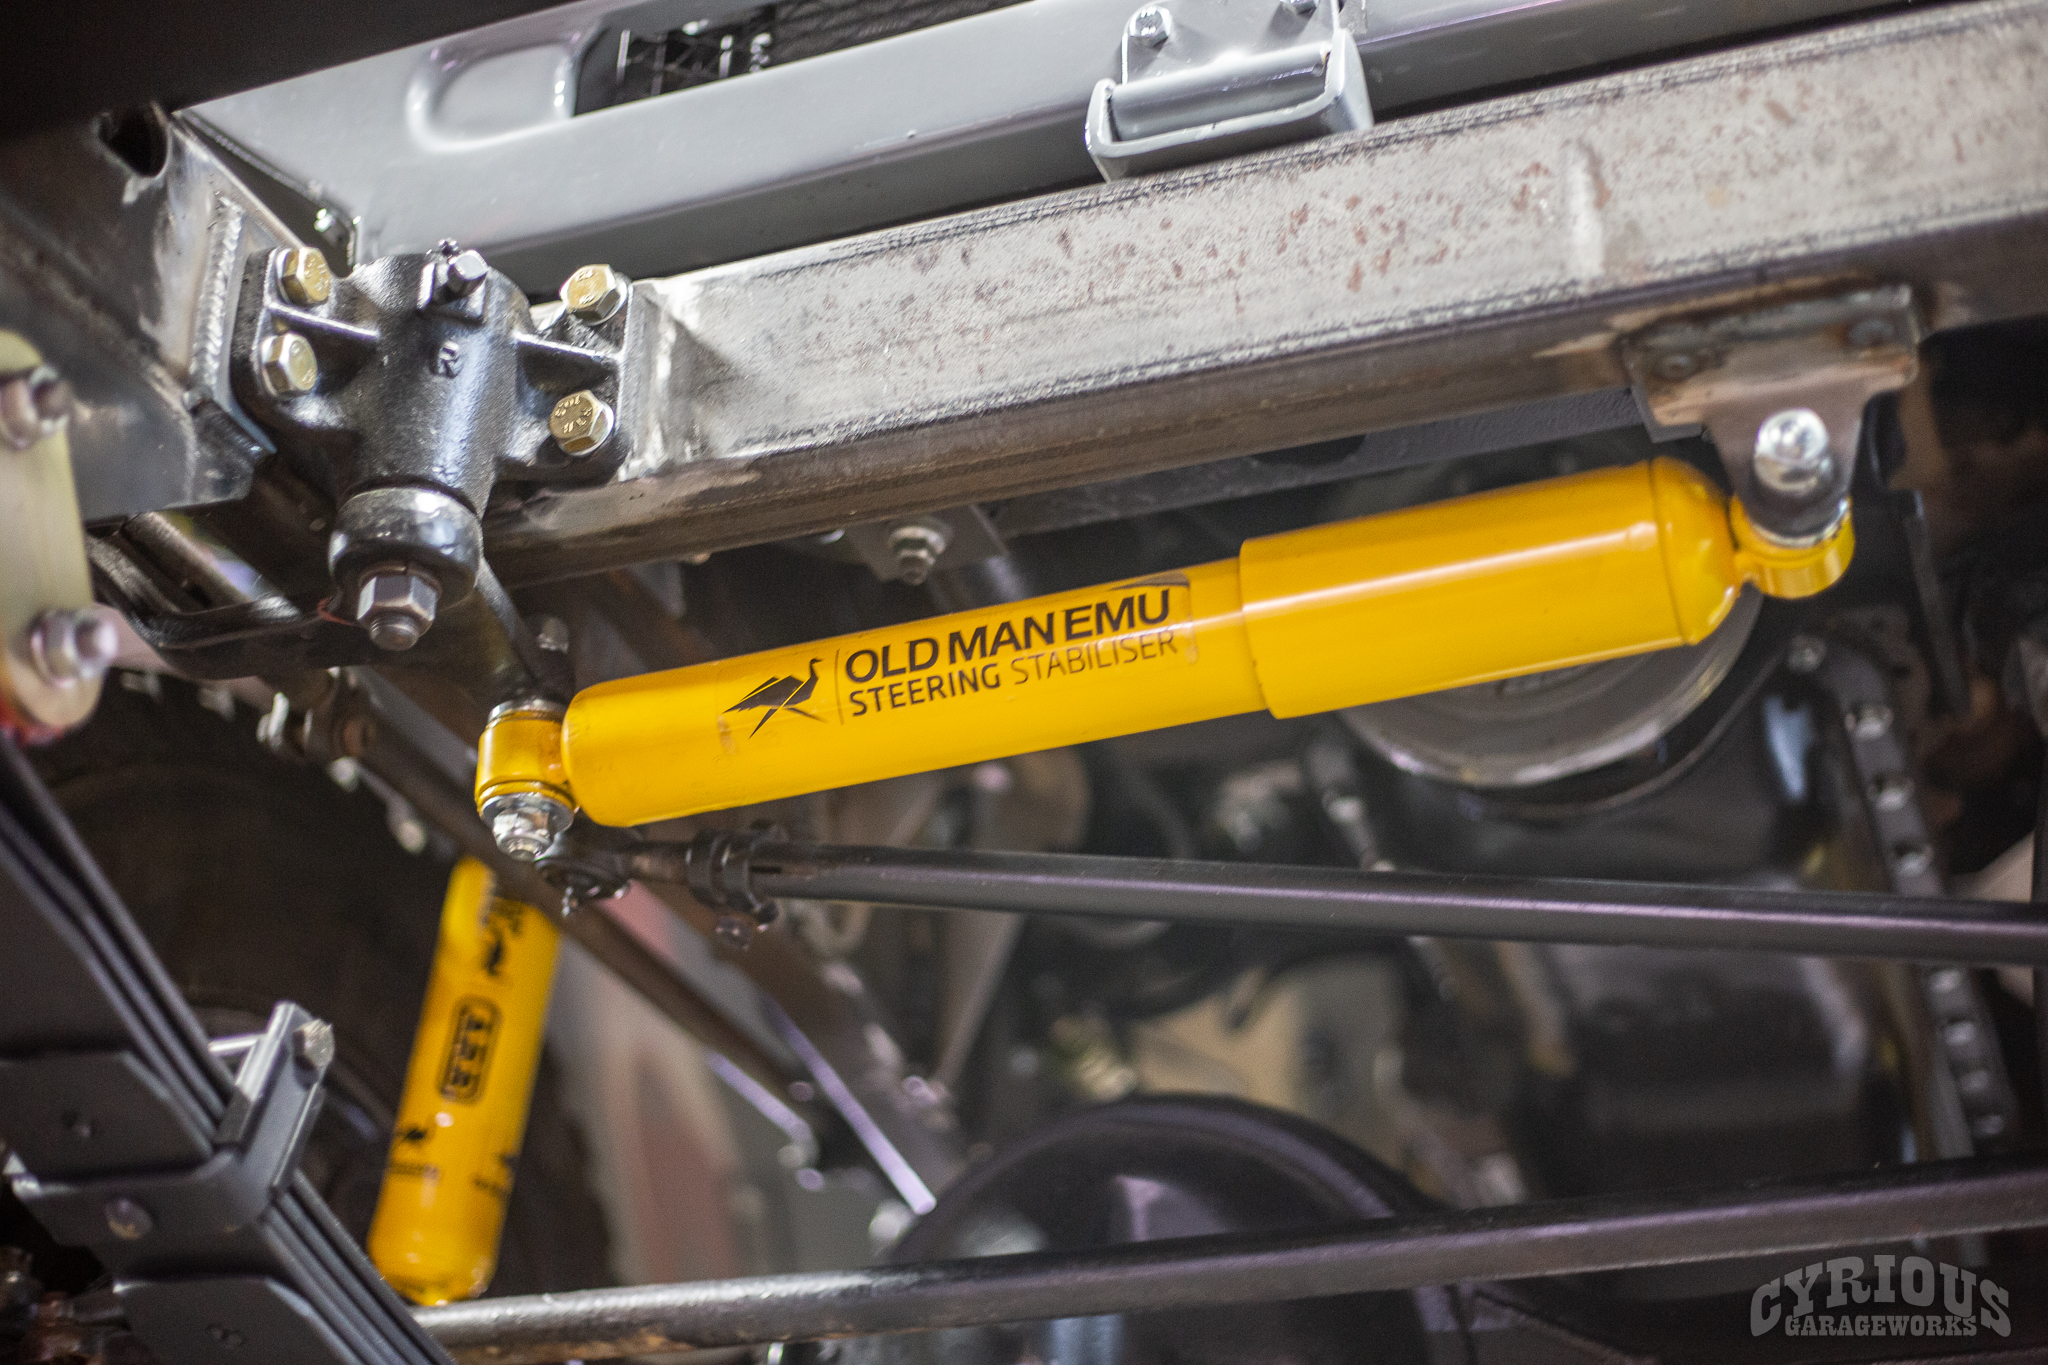
One last look at the patchwork cab before it’s sent packin’. With the easy part outta the way, it’s time to get into the nitty gritty of this build! The drivetrain is going to be a refreshed original unit, but the truck will get an OME suspension upgrade. Let’s get dug in!
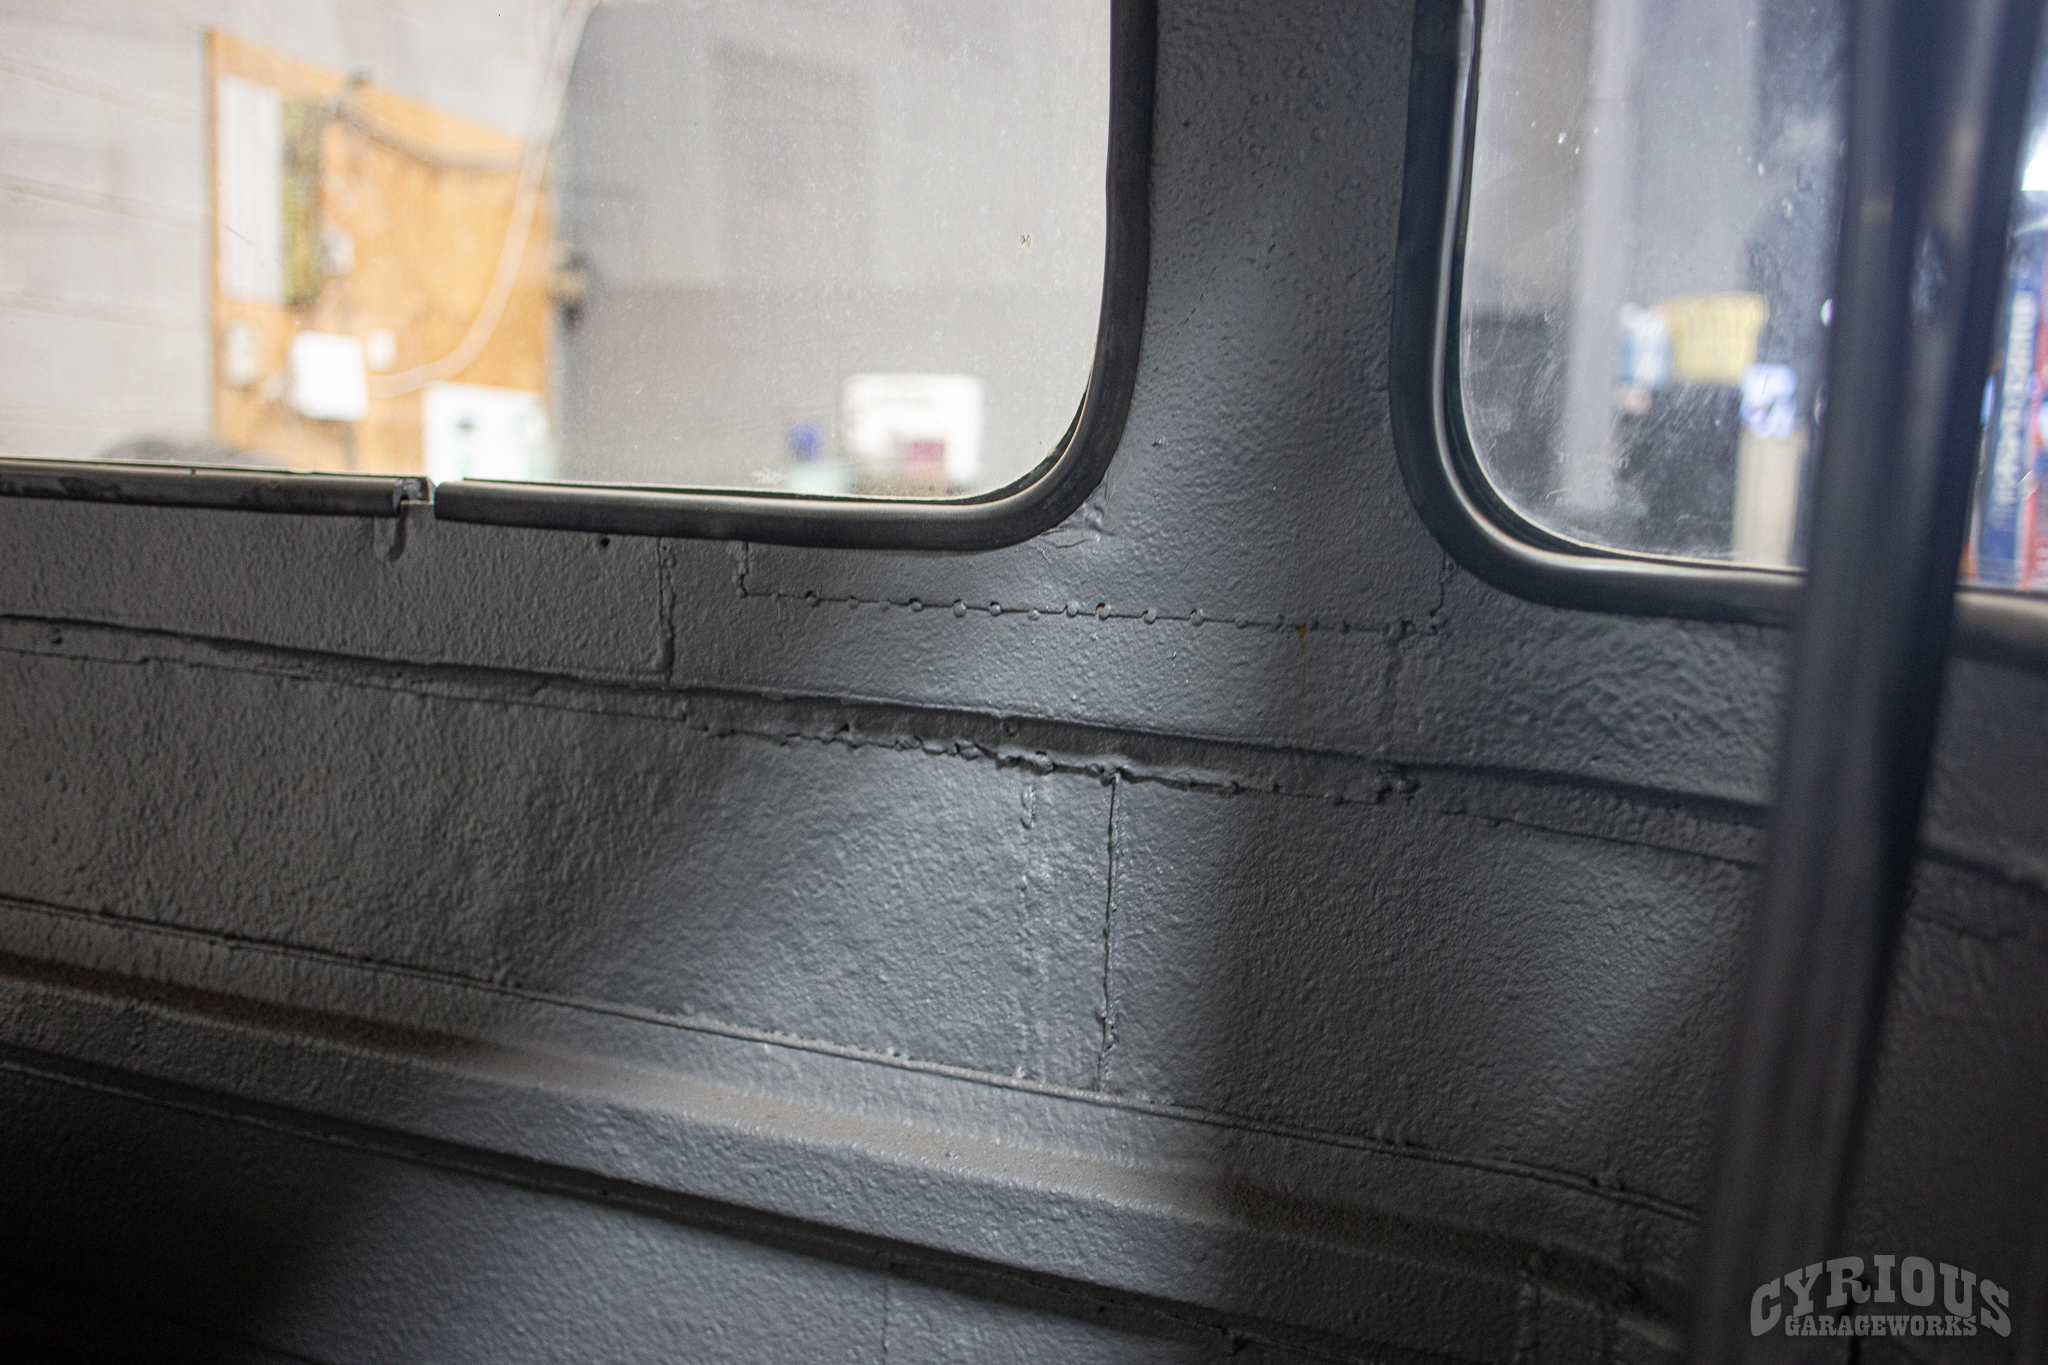
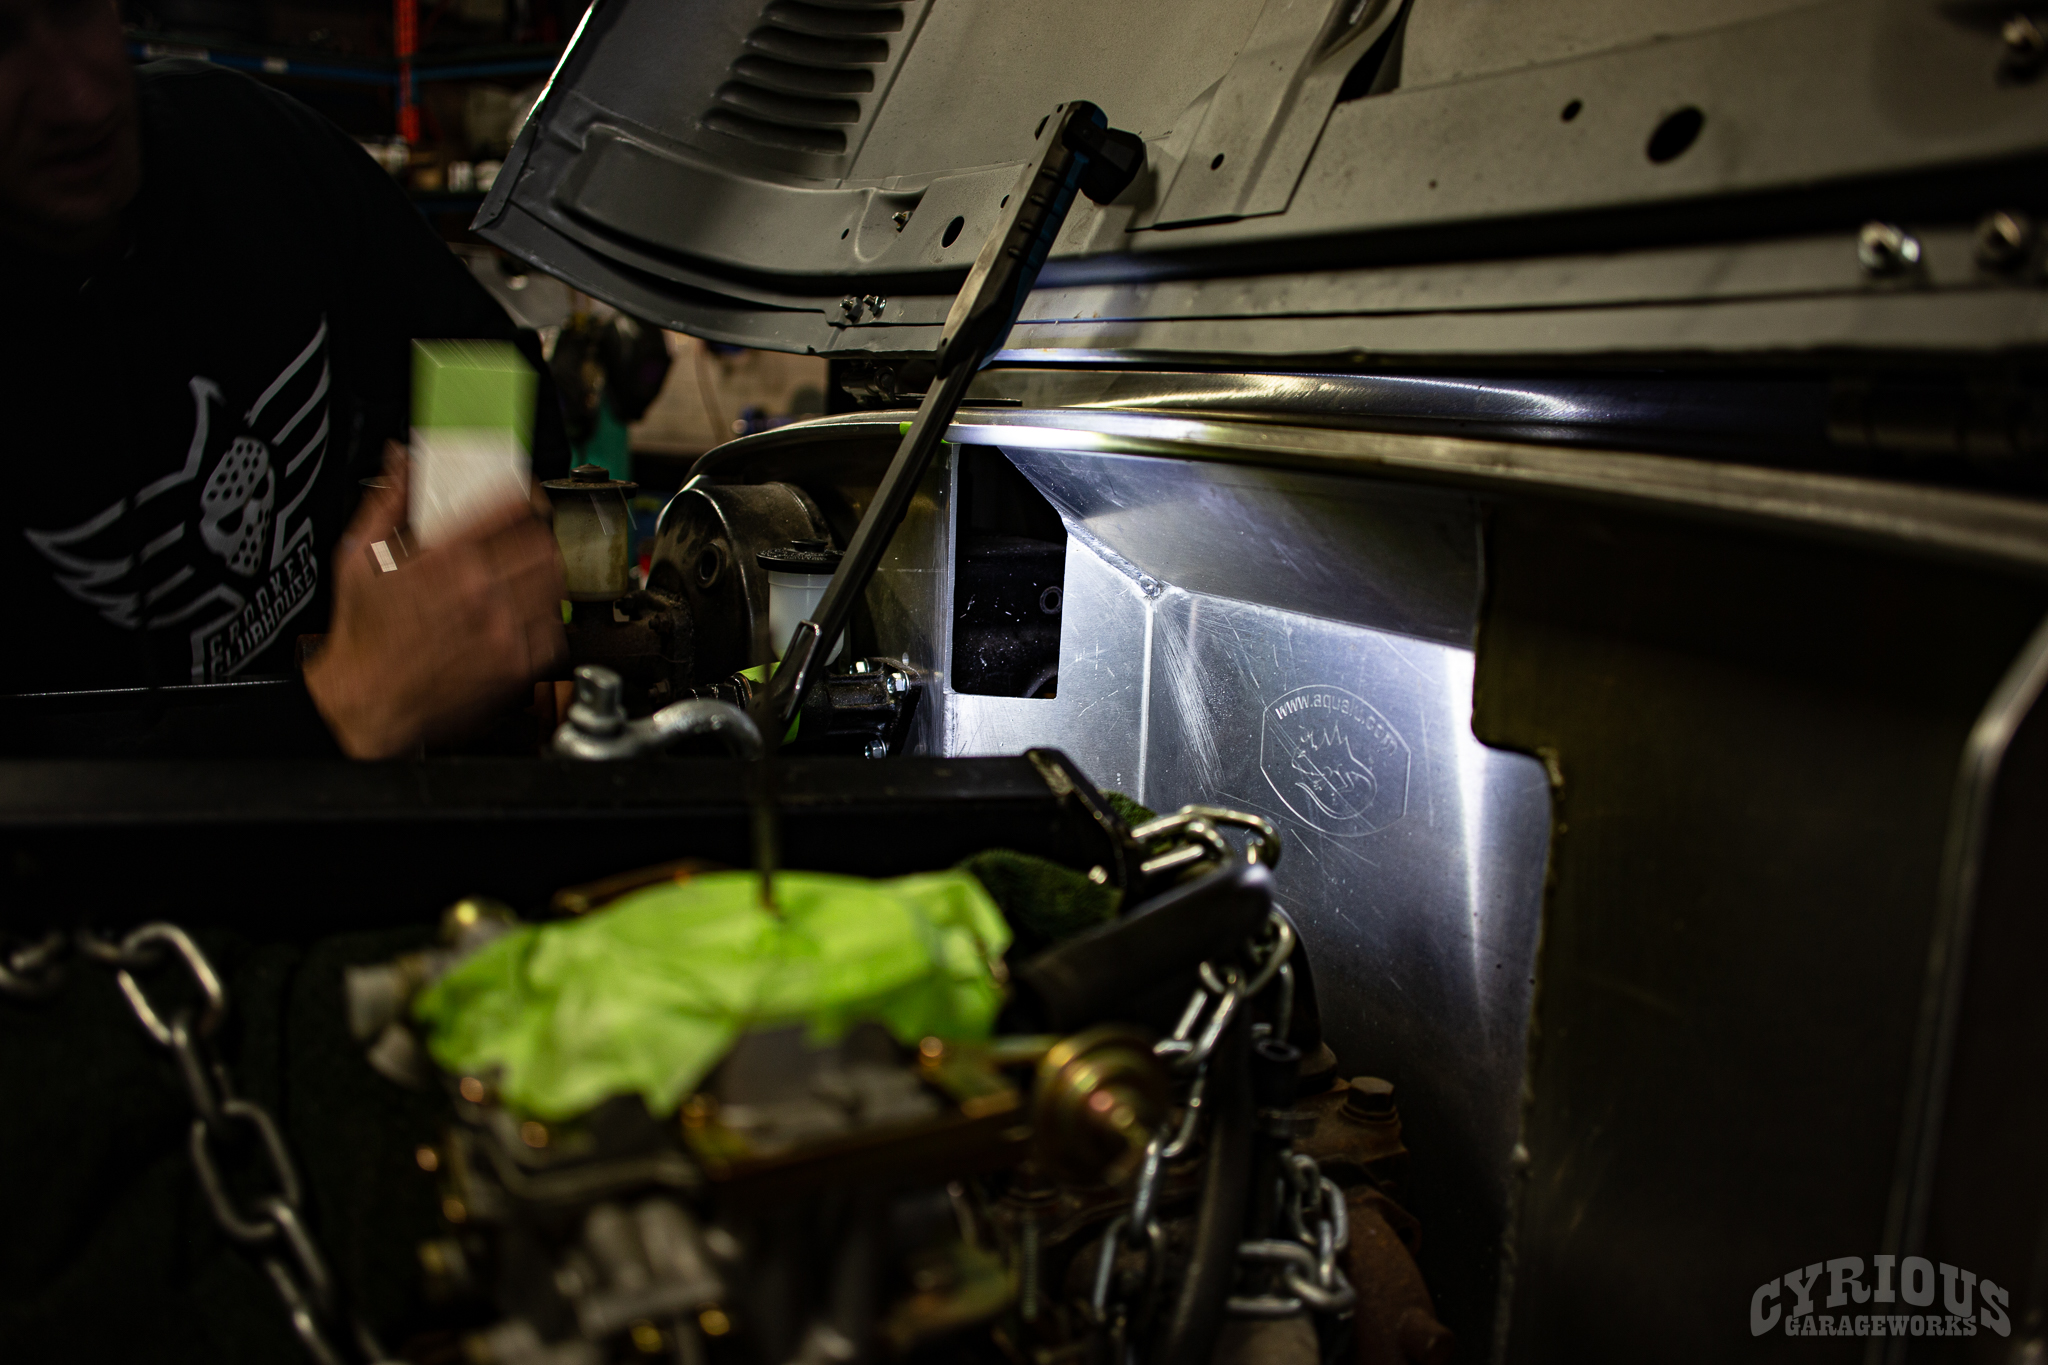
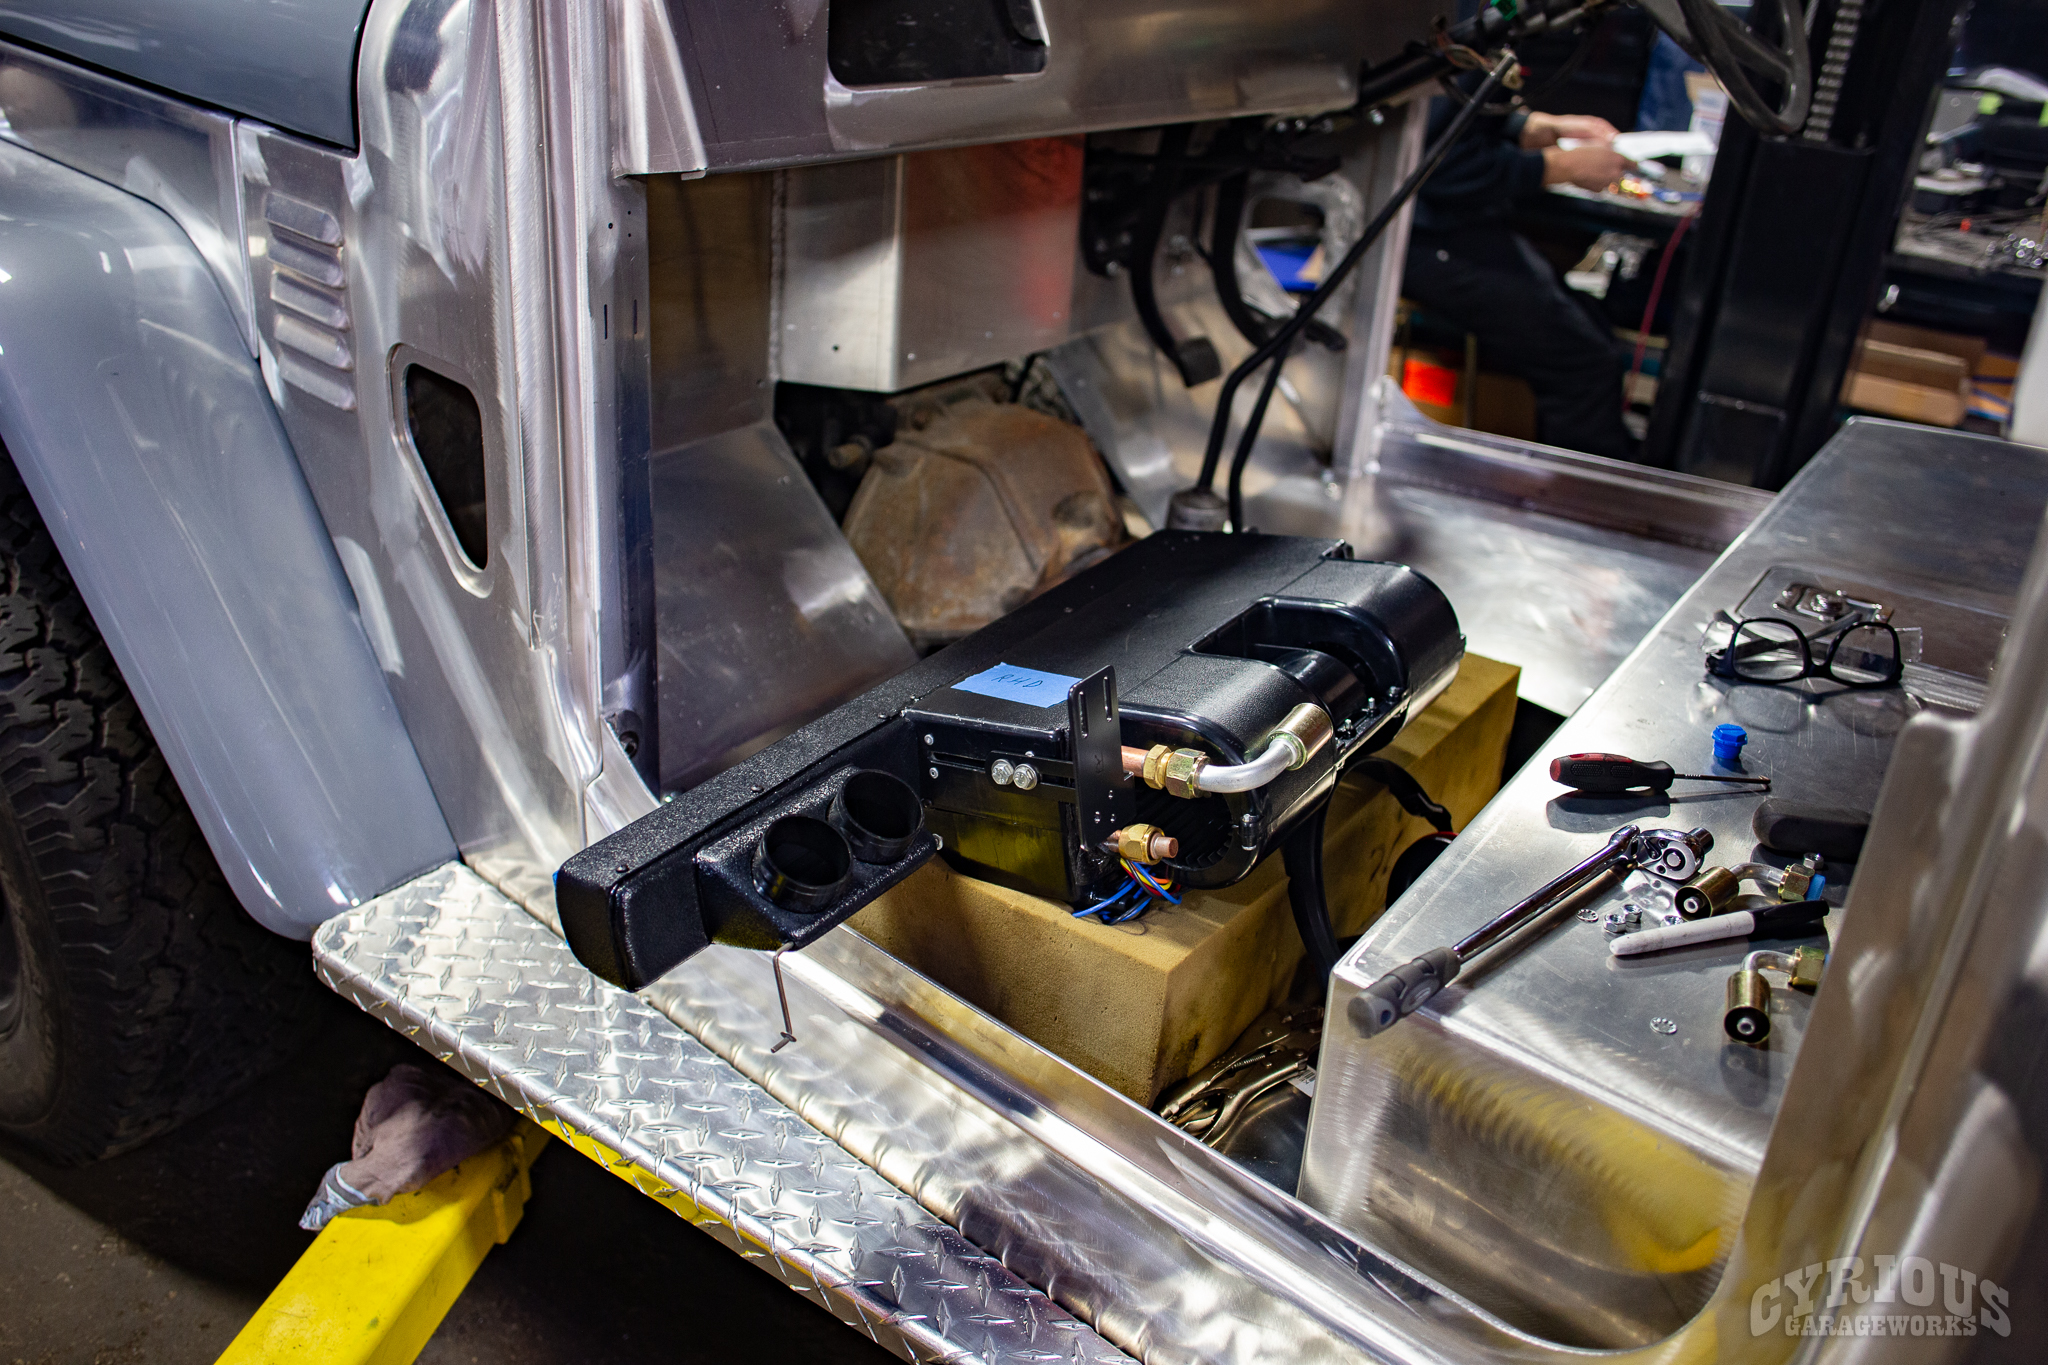
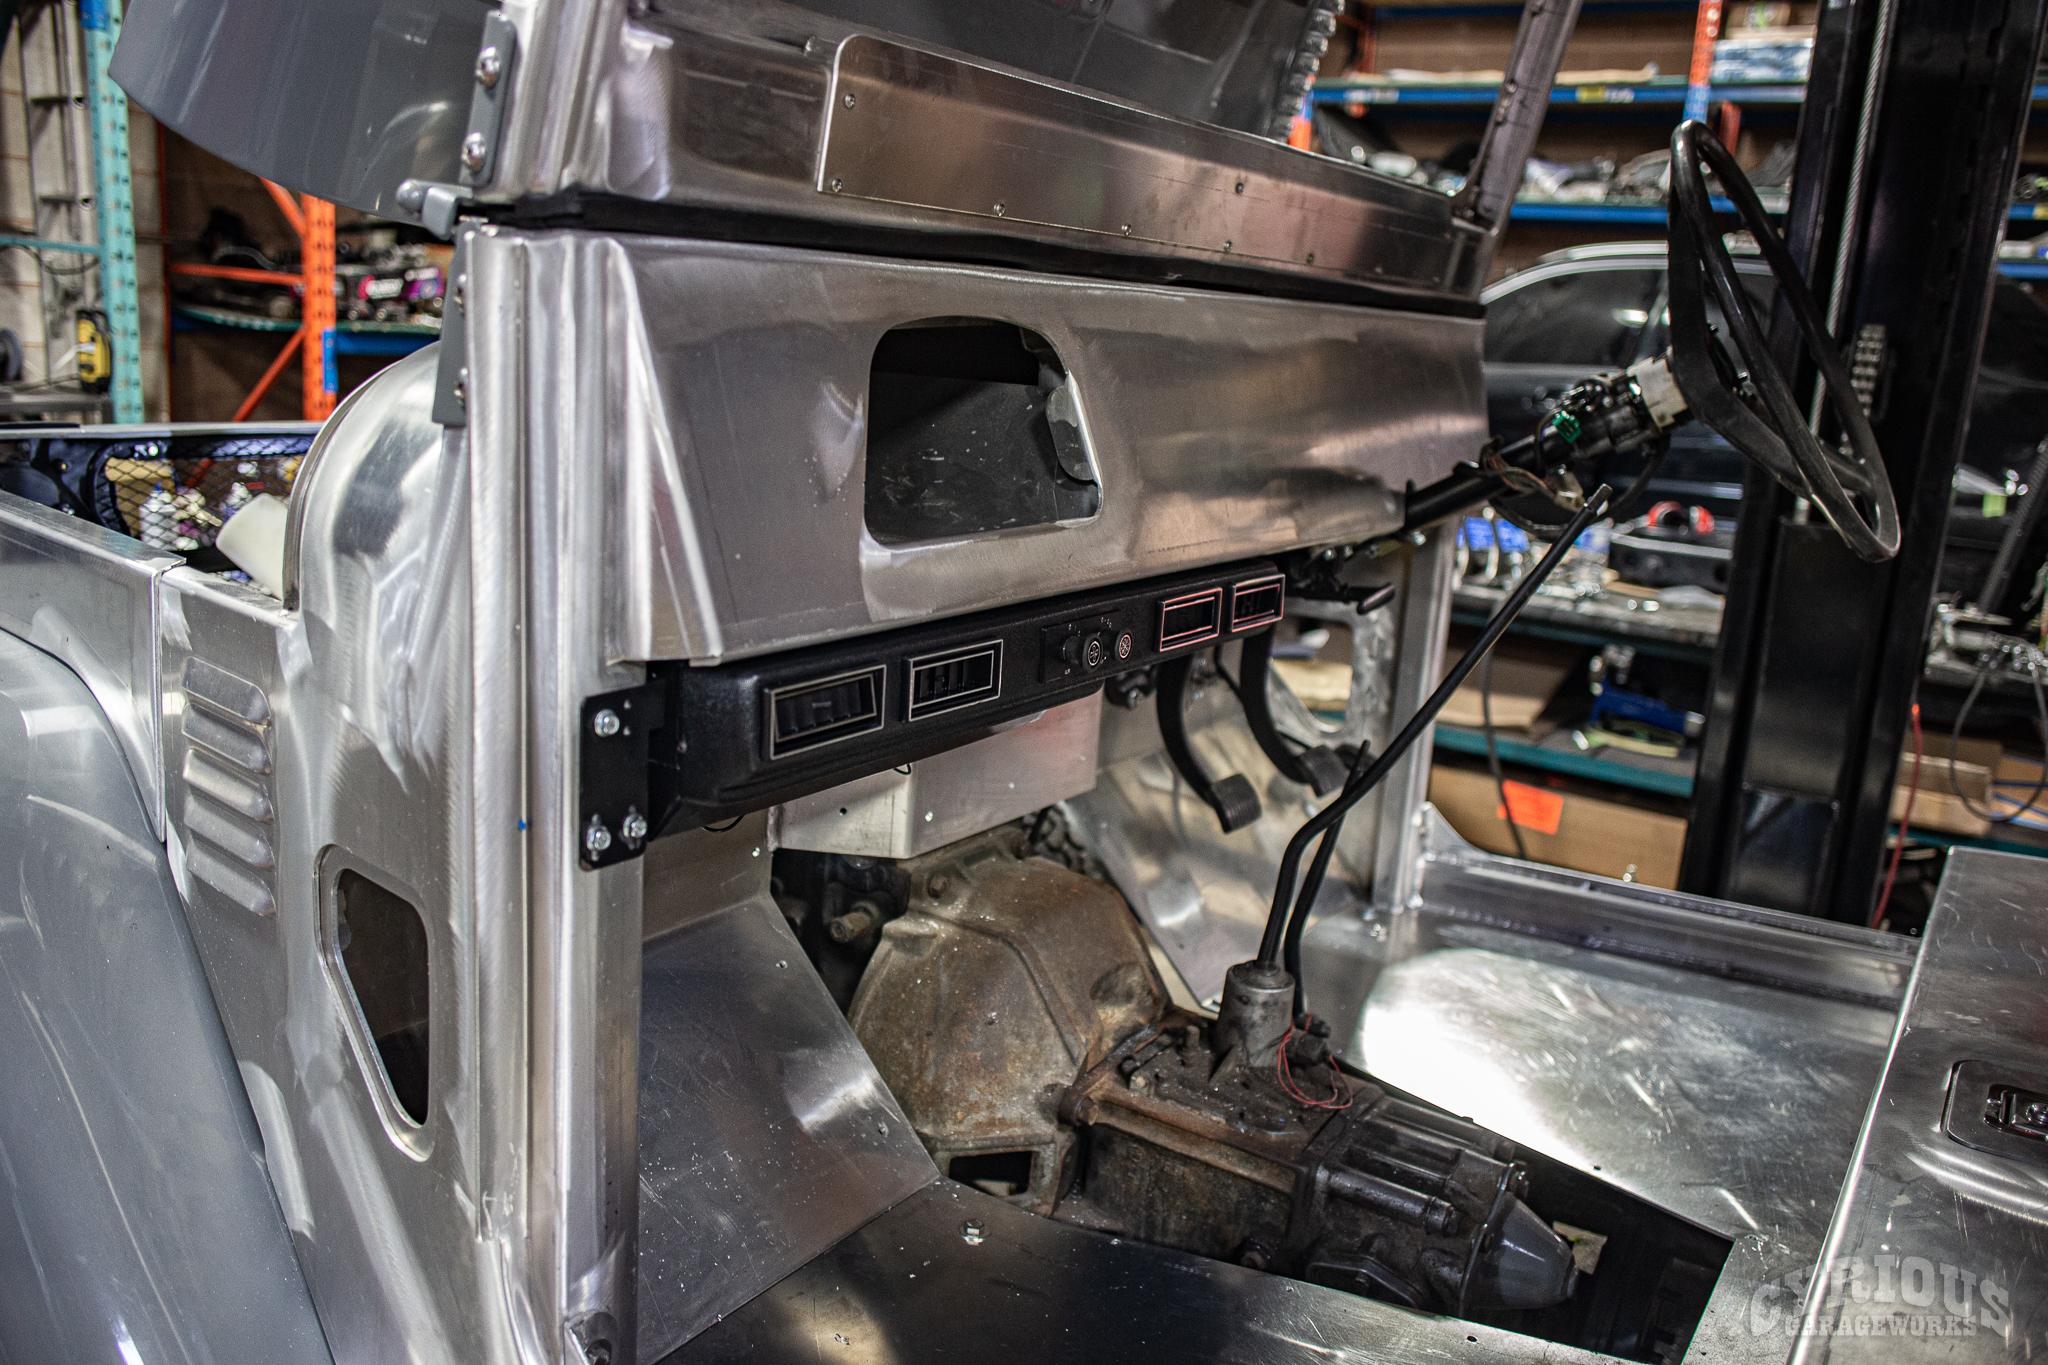
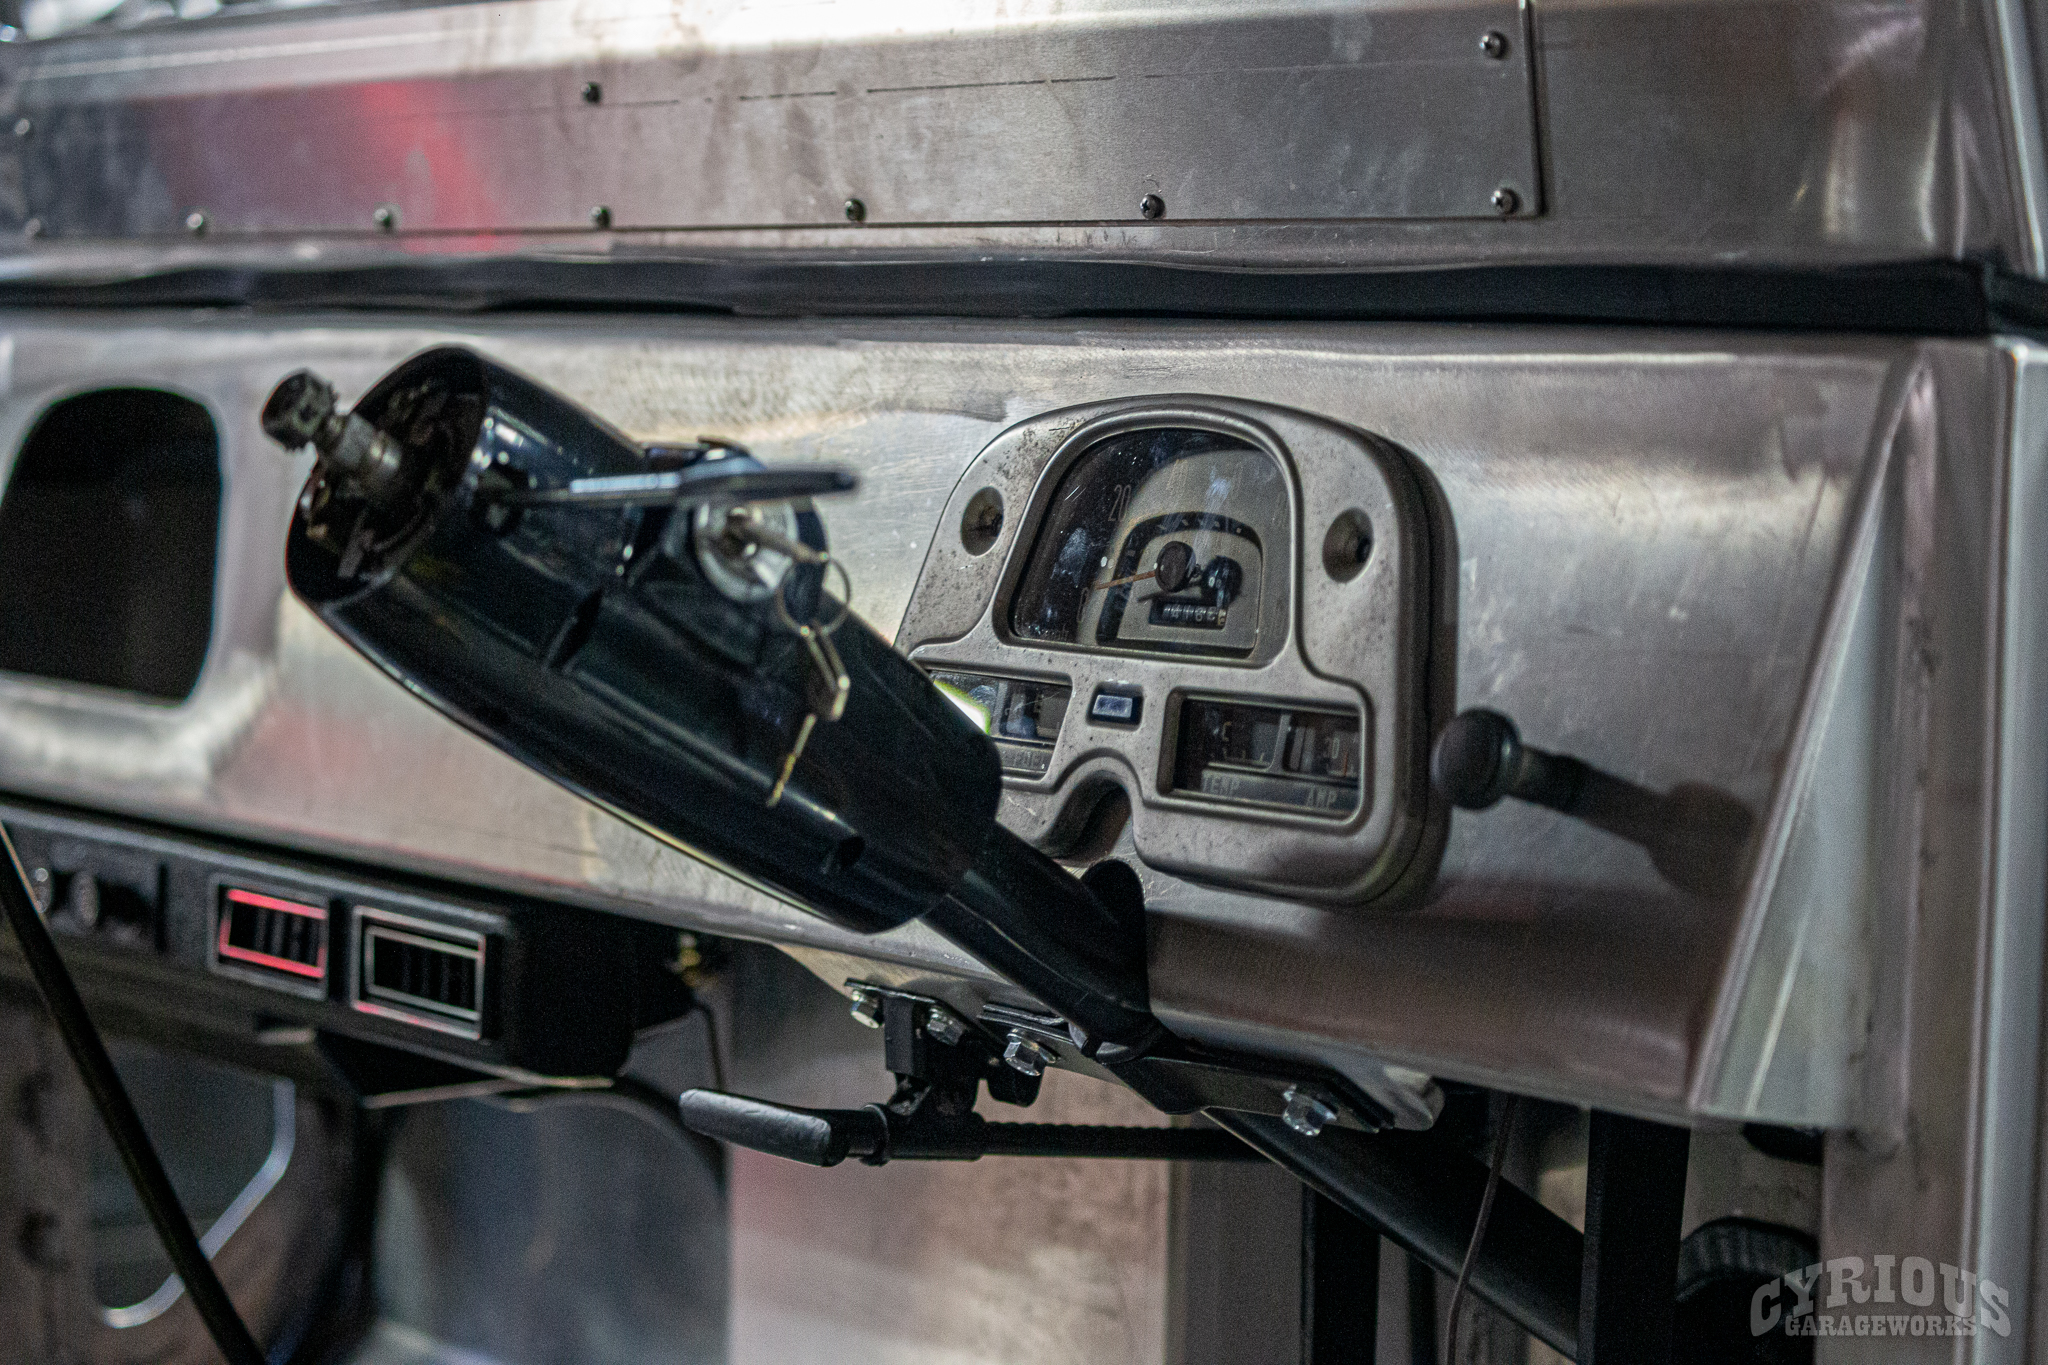
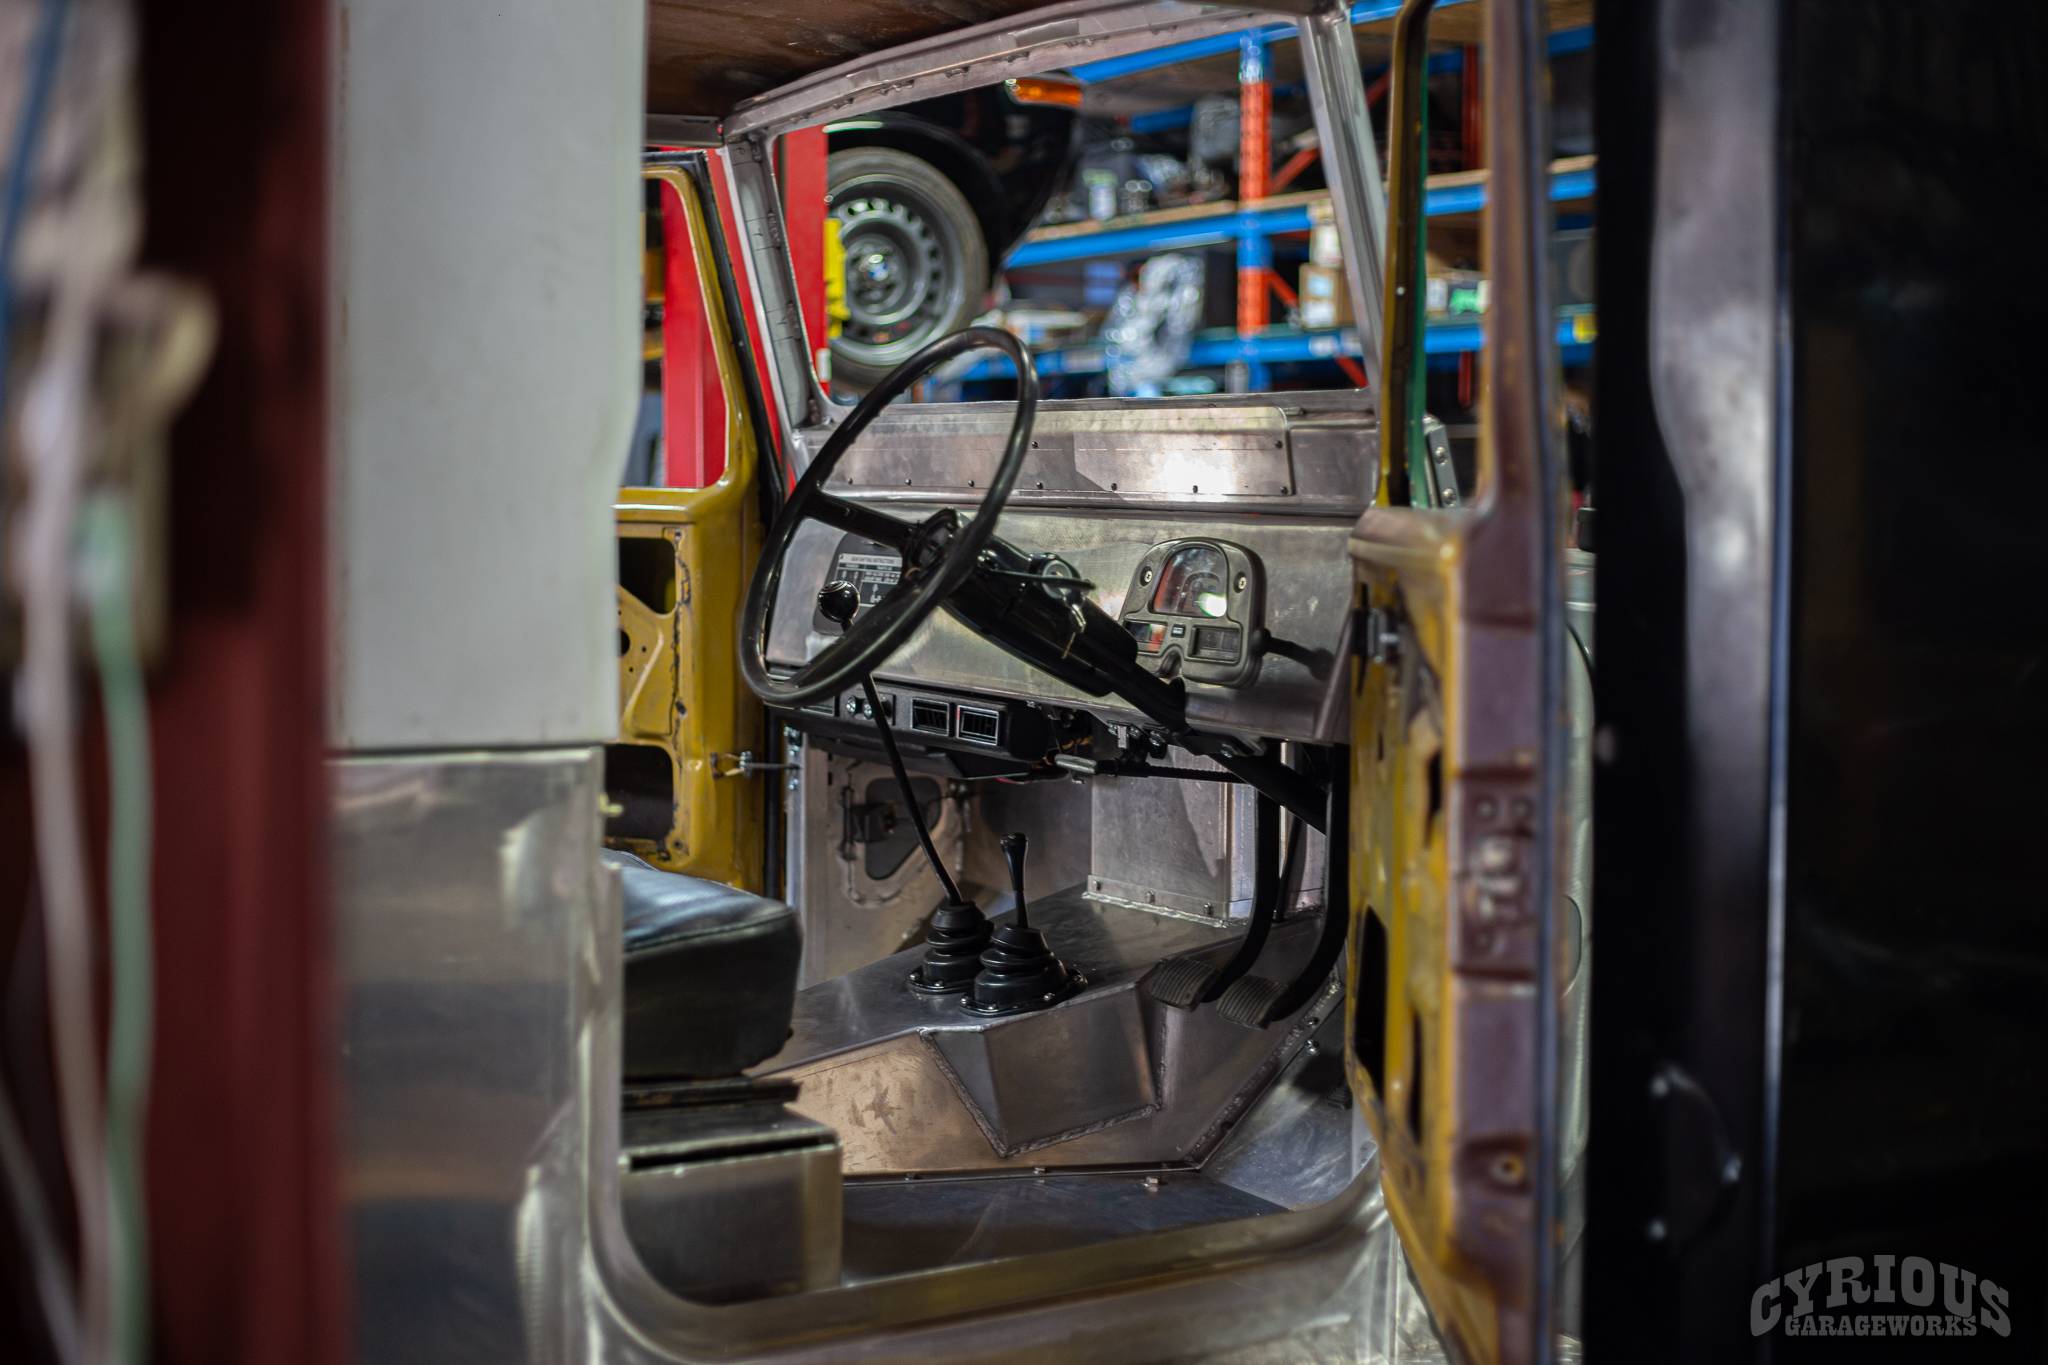
Nothing like 1/4″ bondo to make a vehicle look smoothThe dashboards in these tubs are very DIY. Lots of potential for custom work!Gotta have air conditioning!
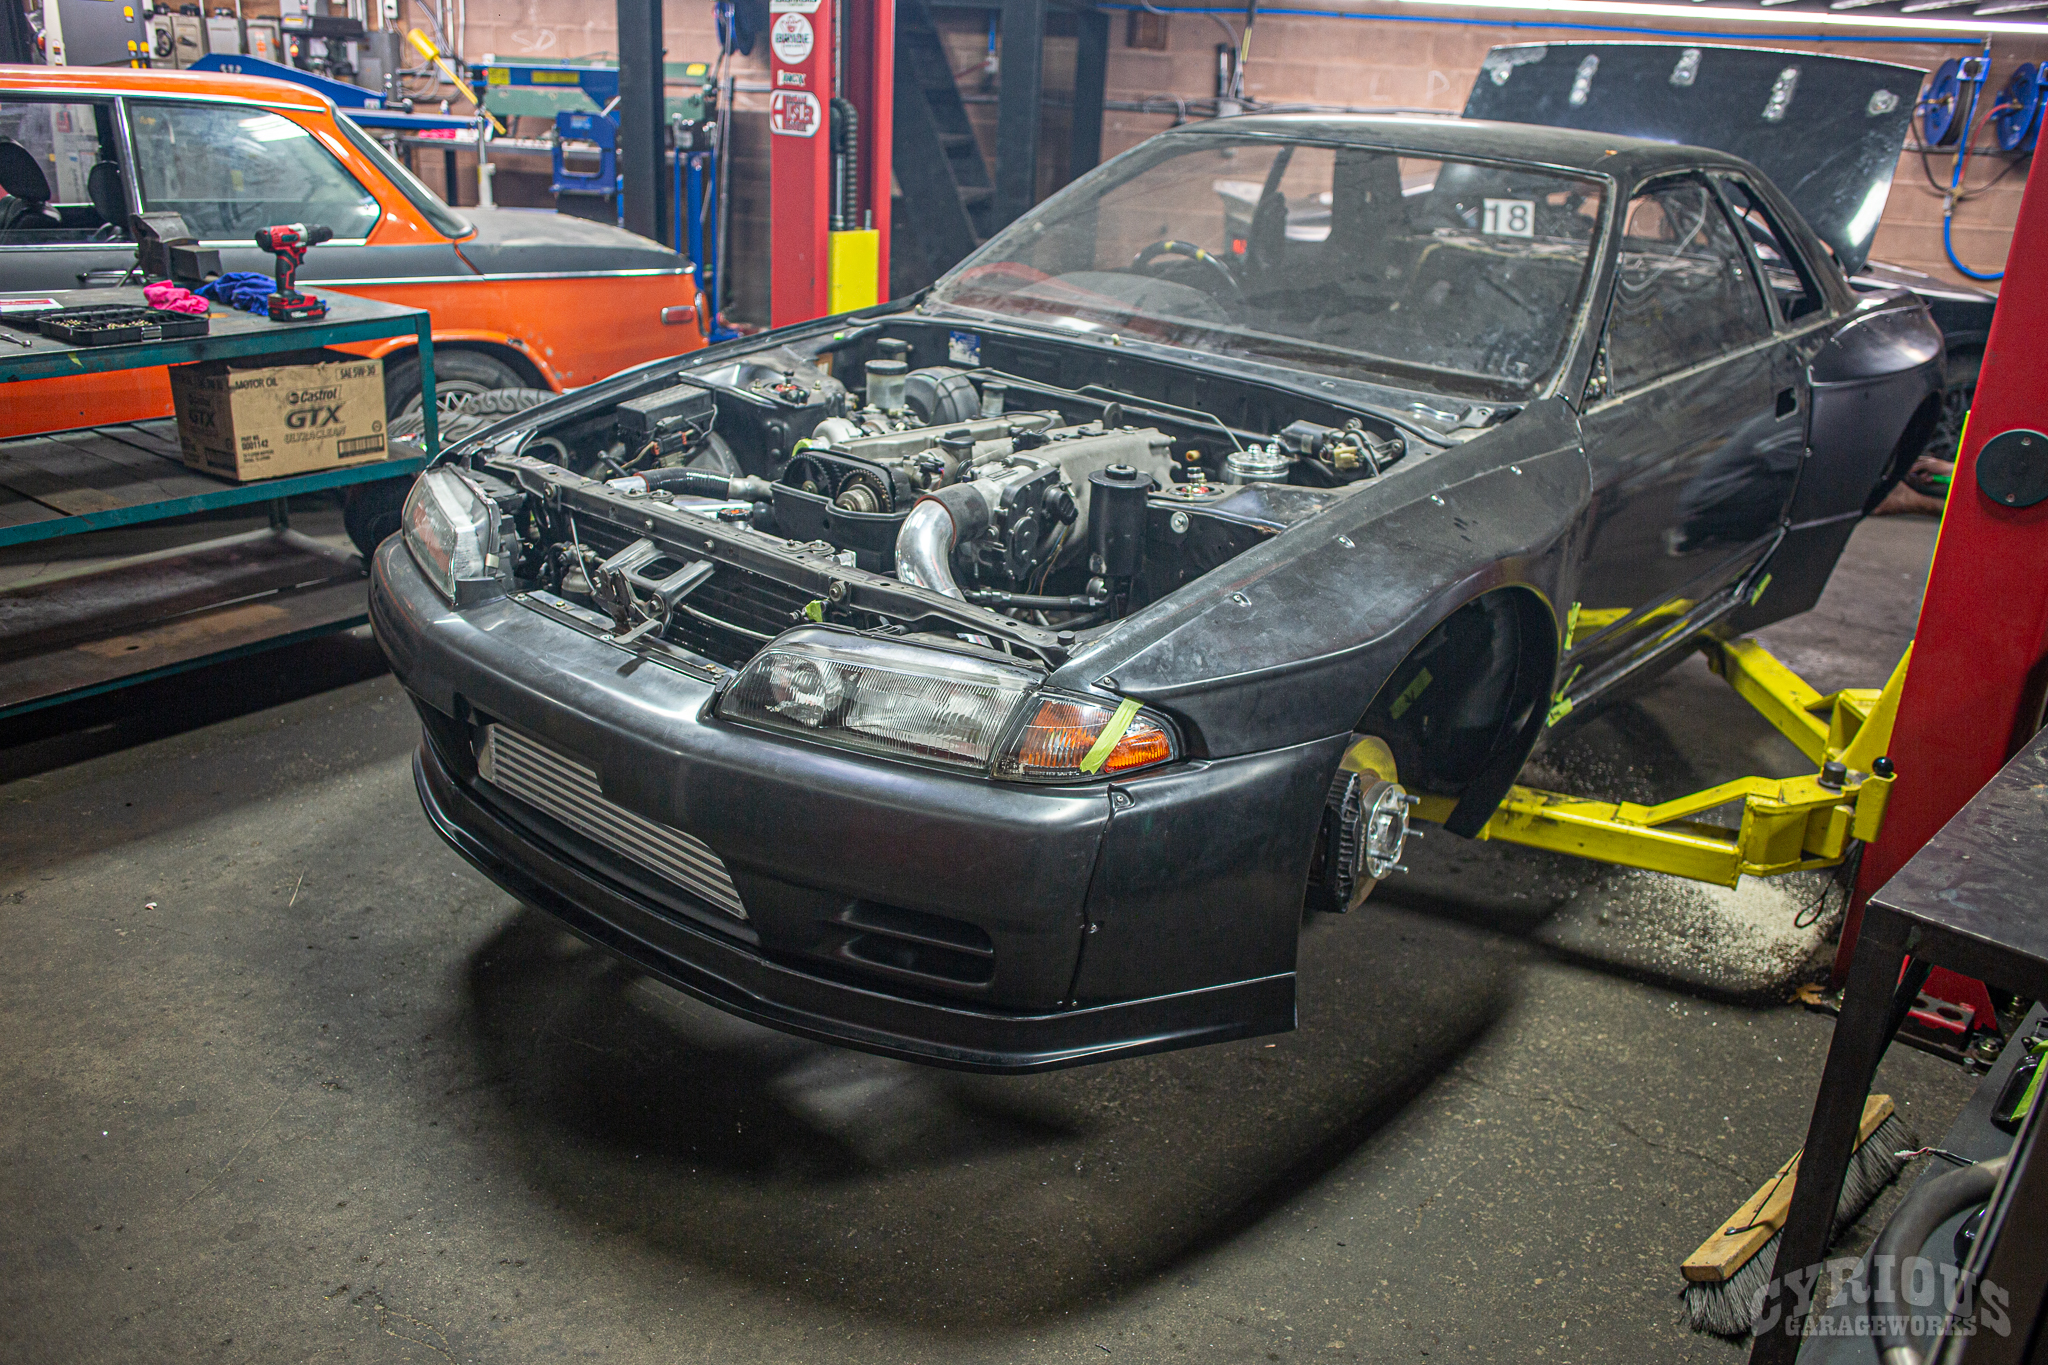
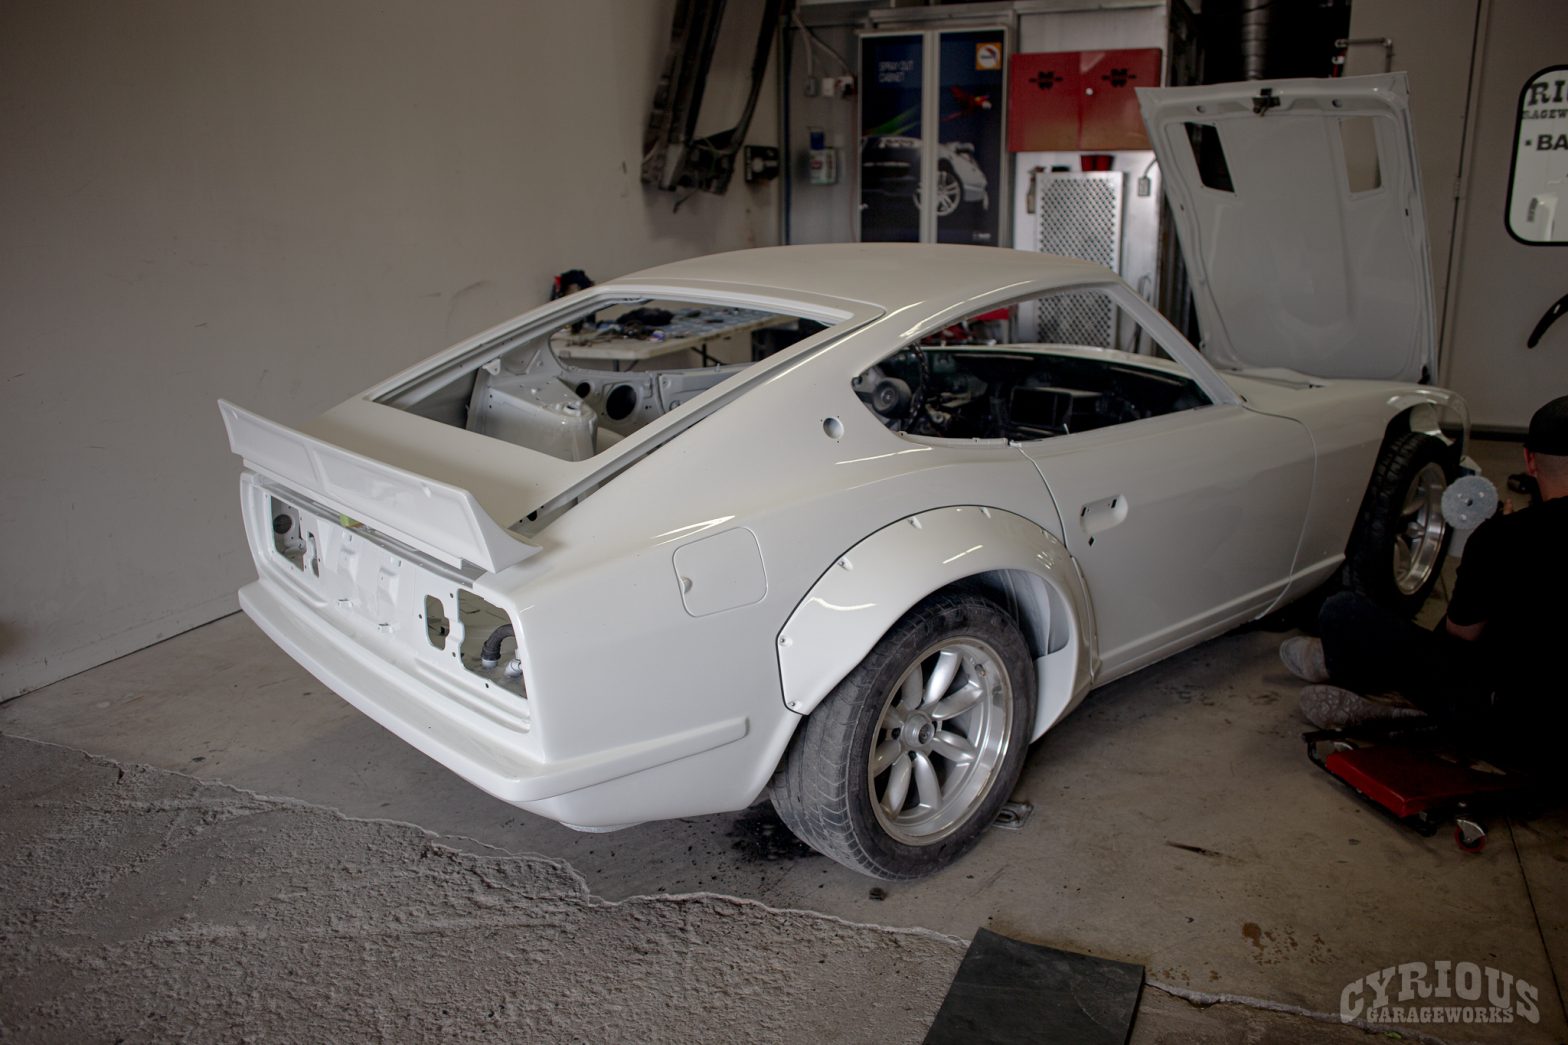
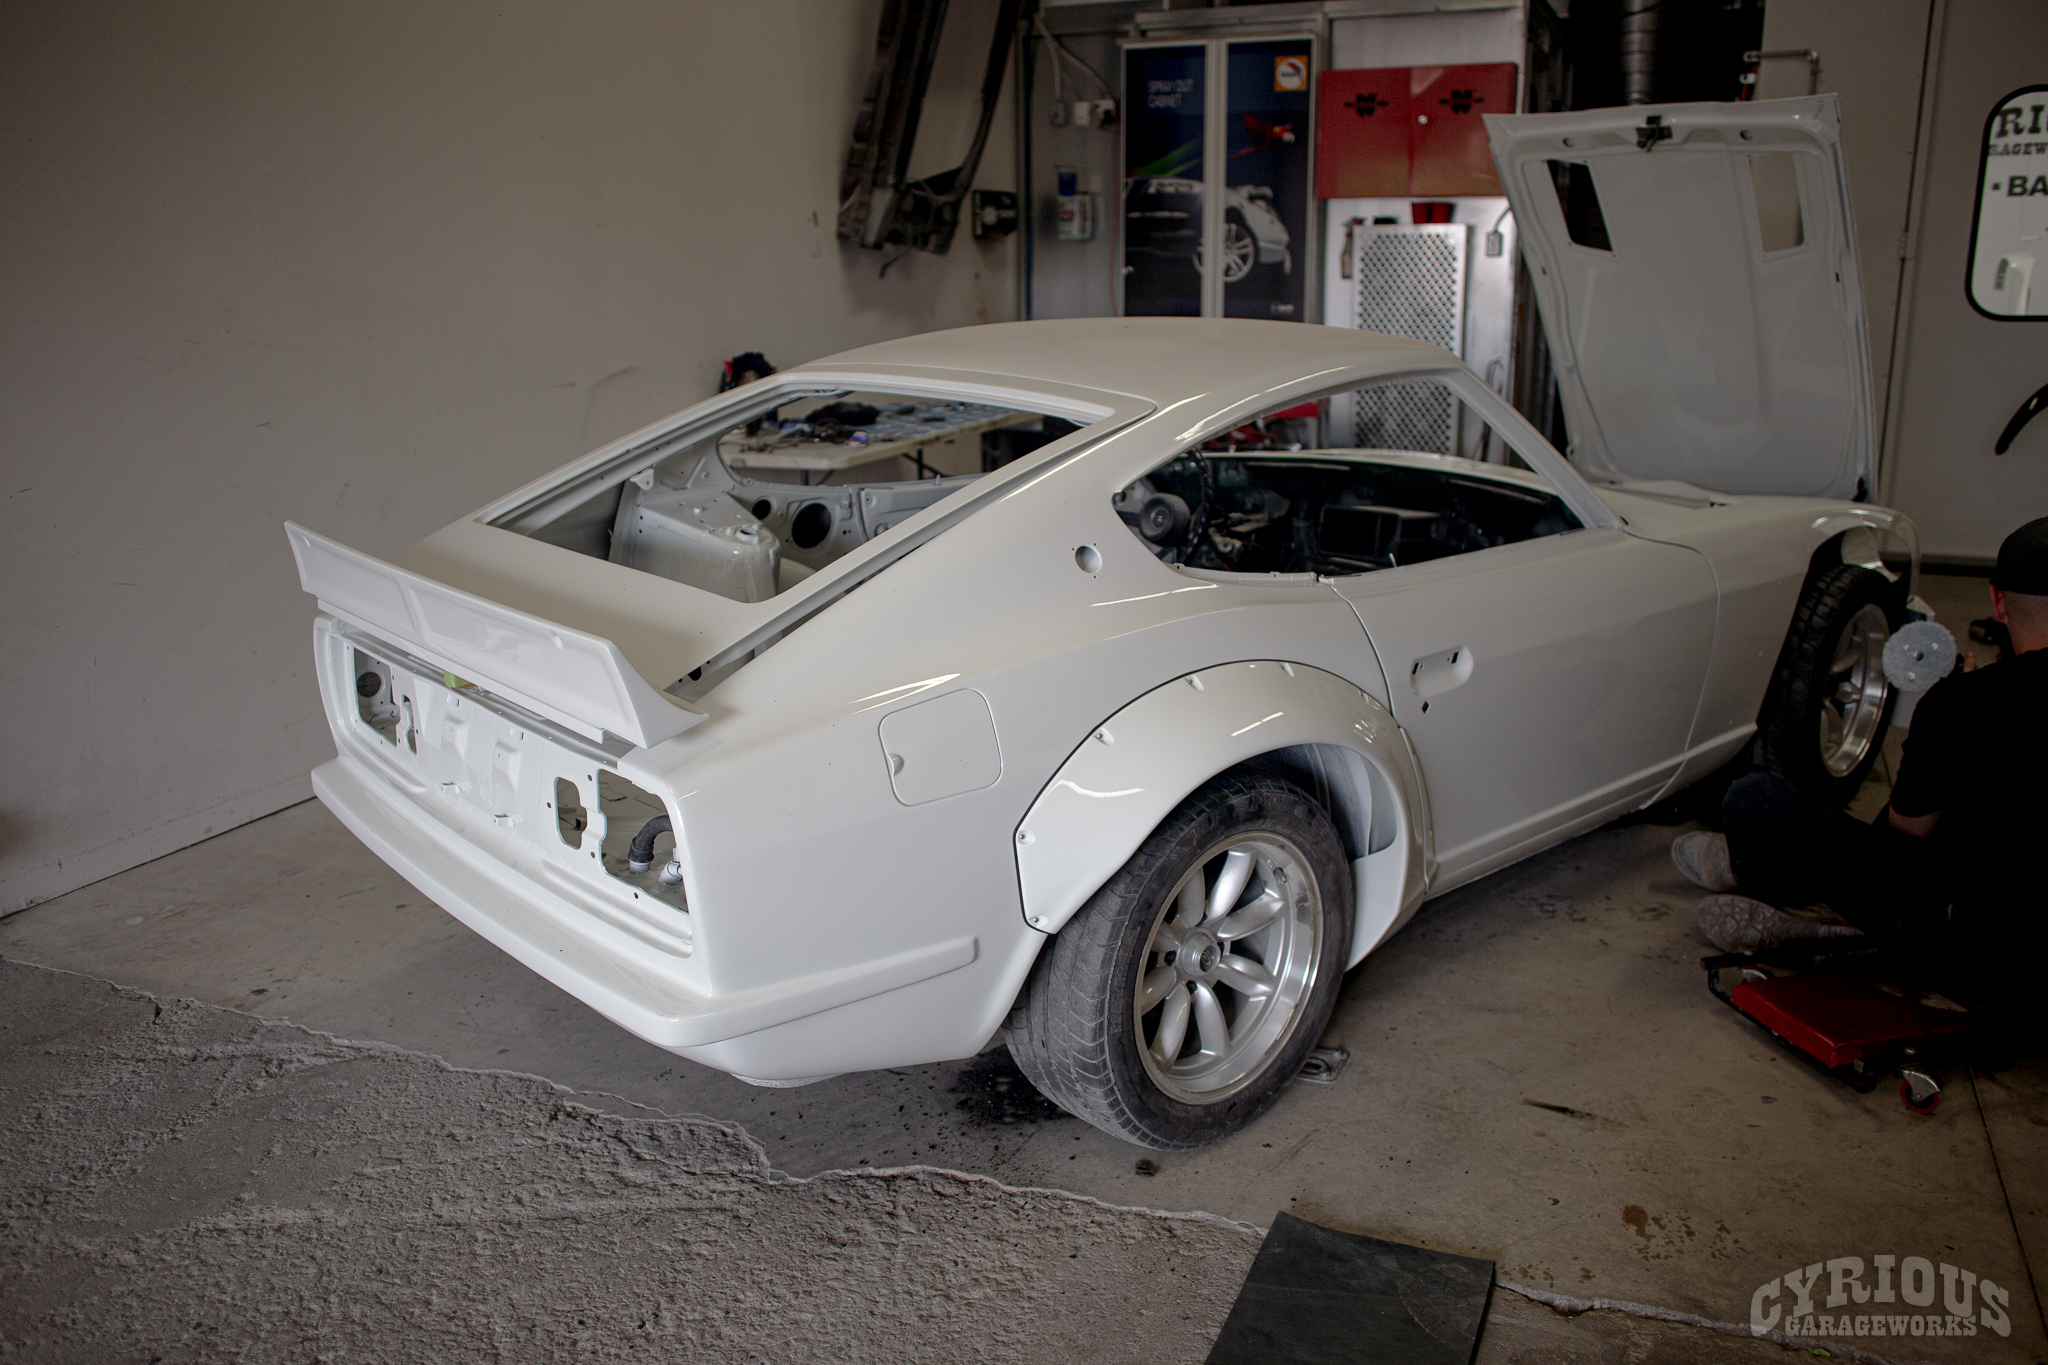
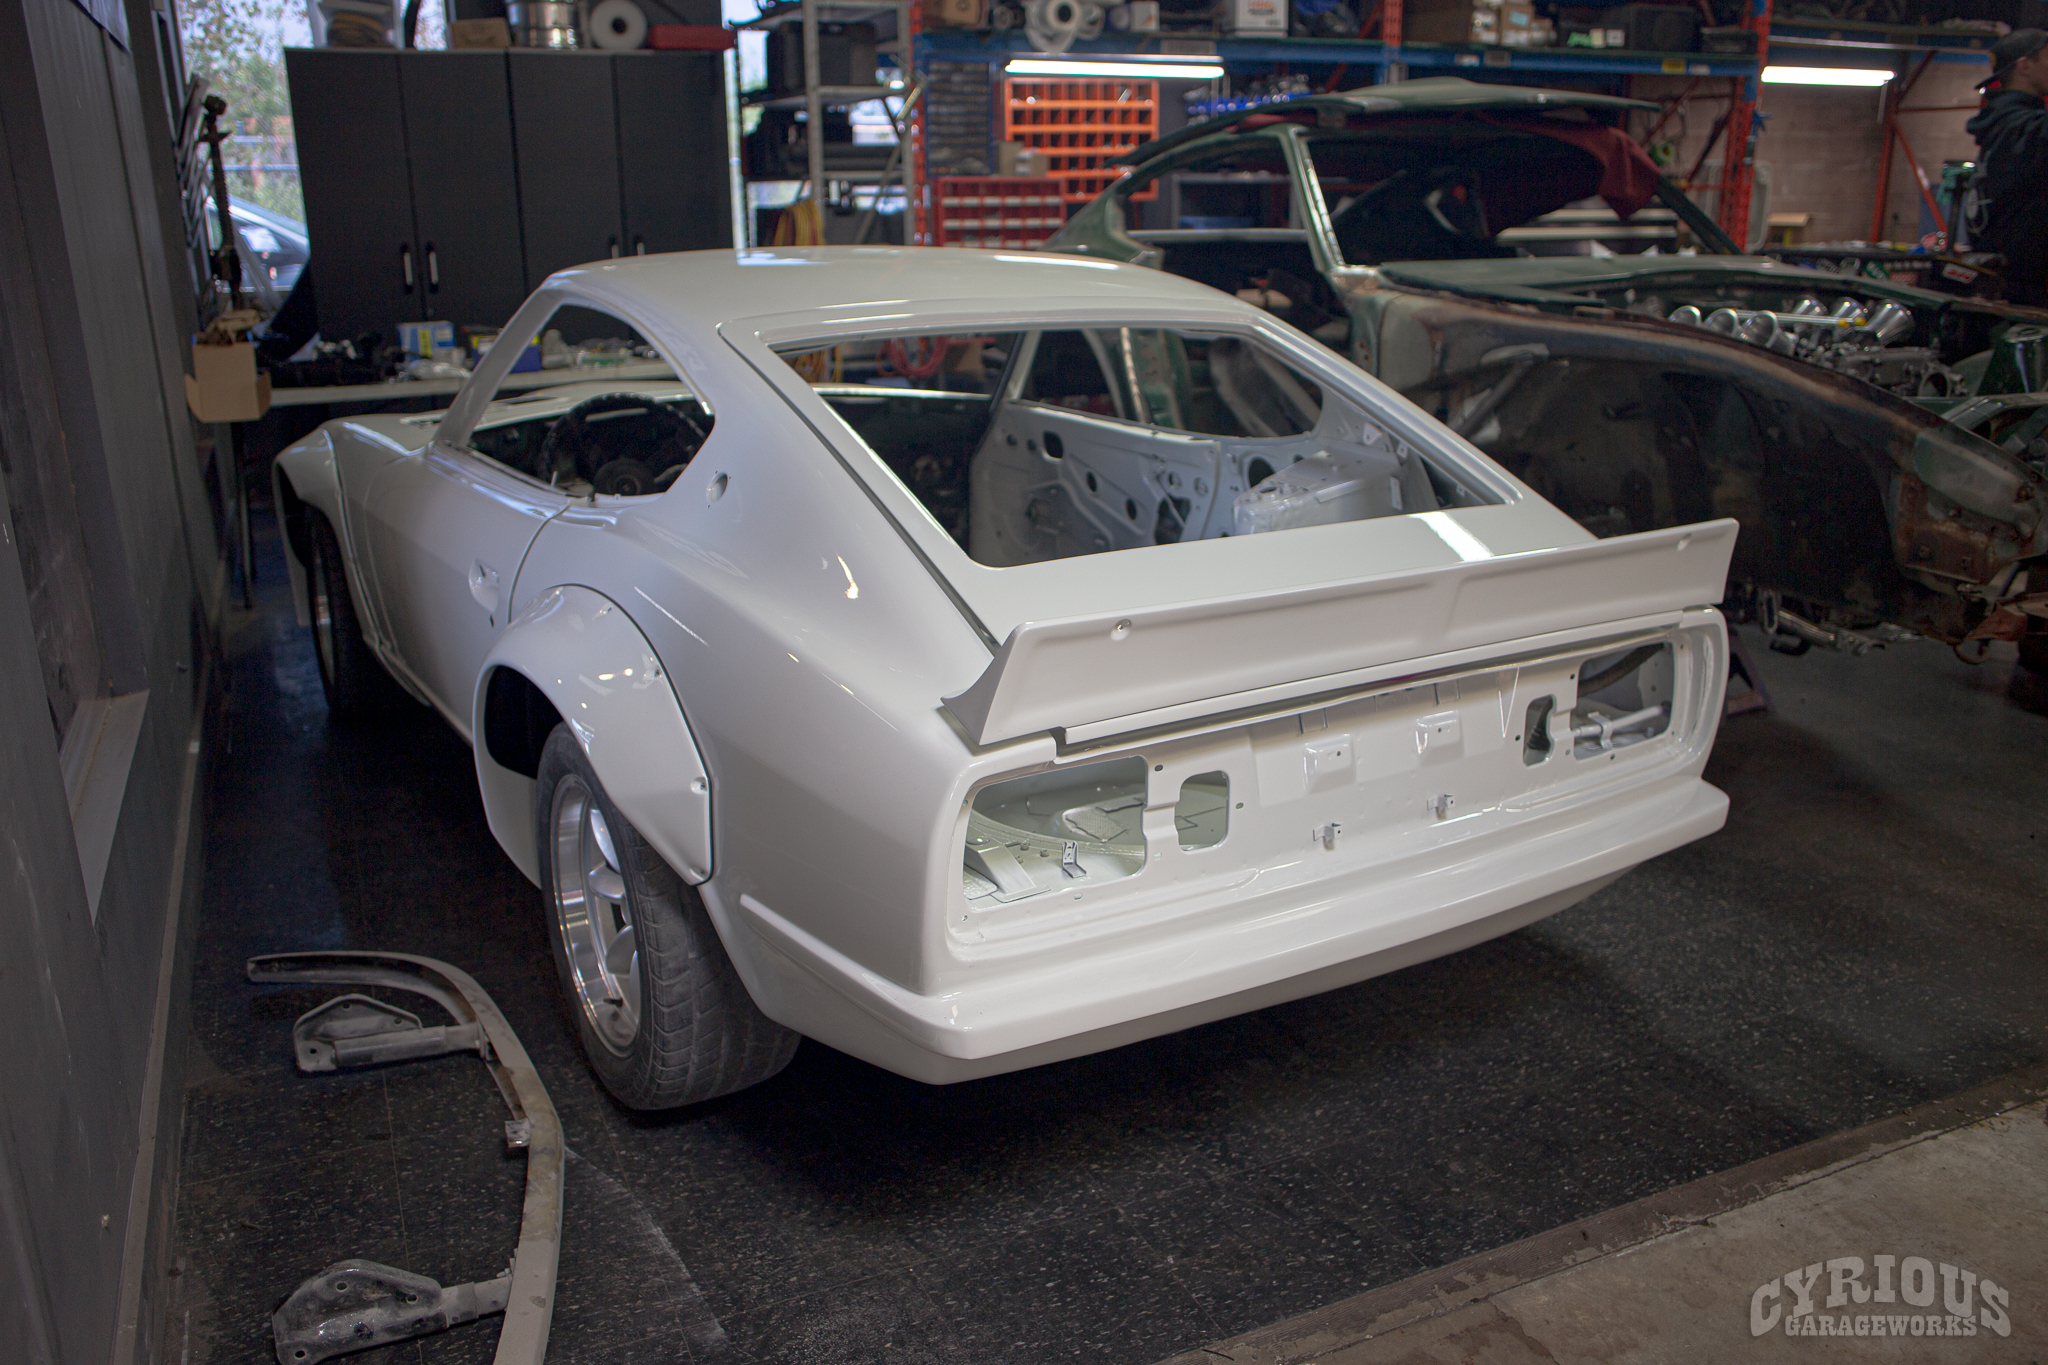
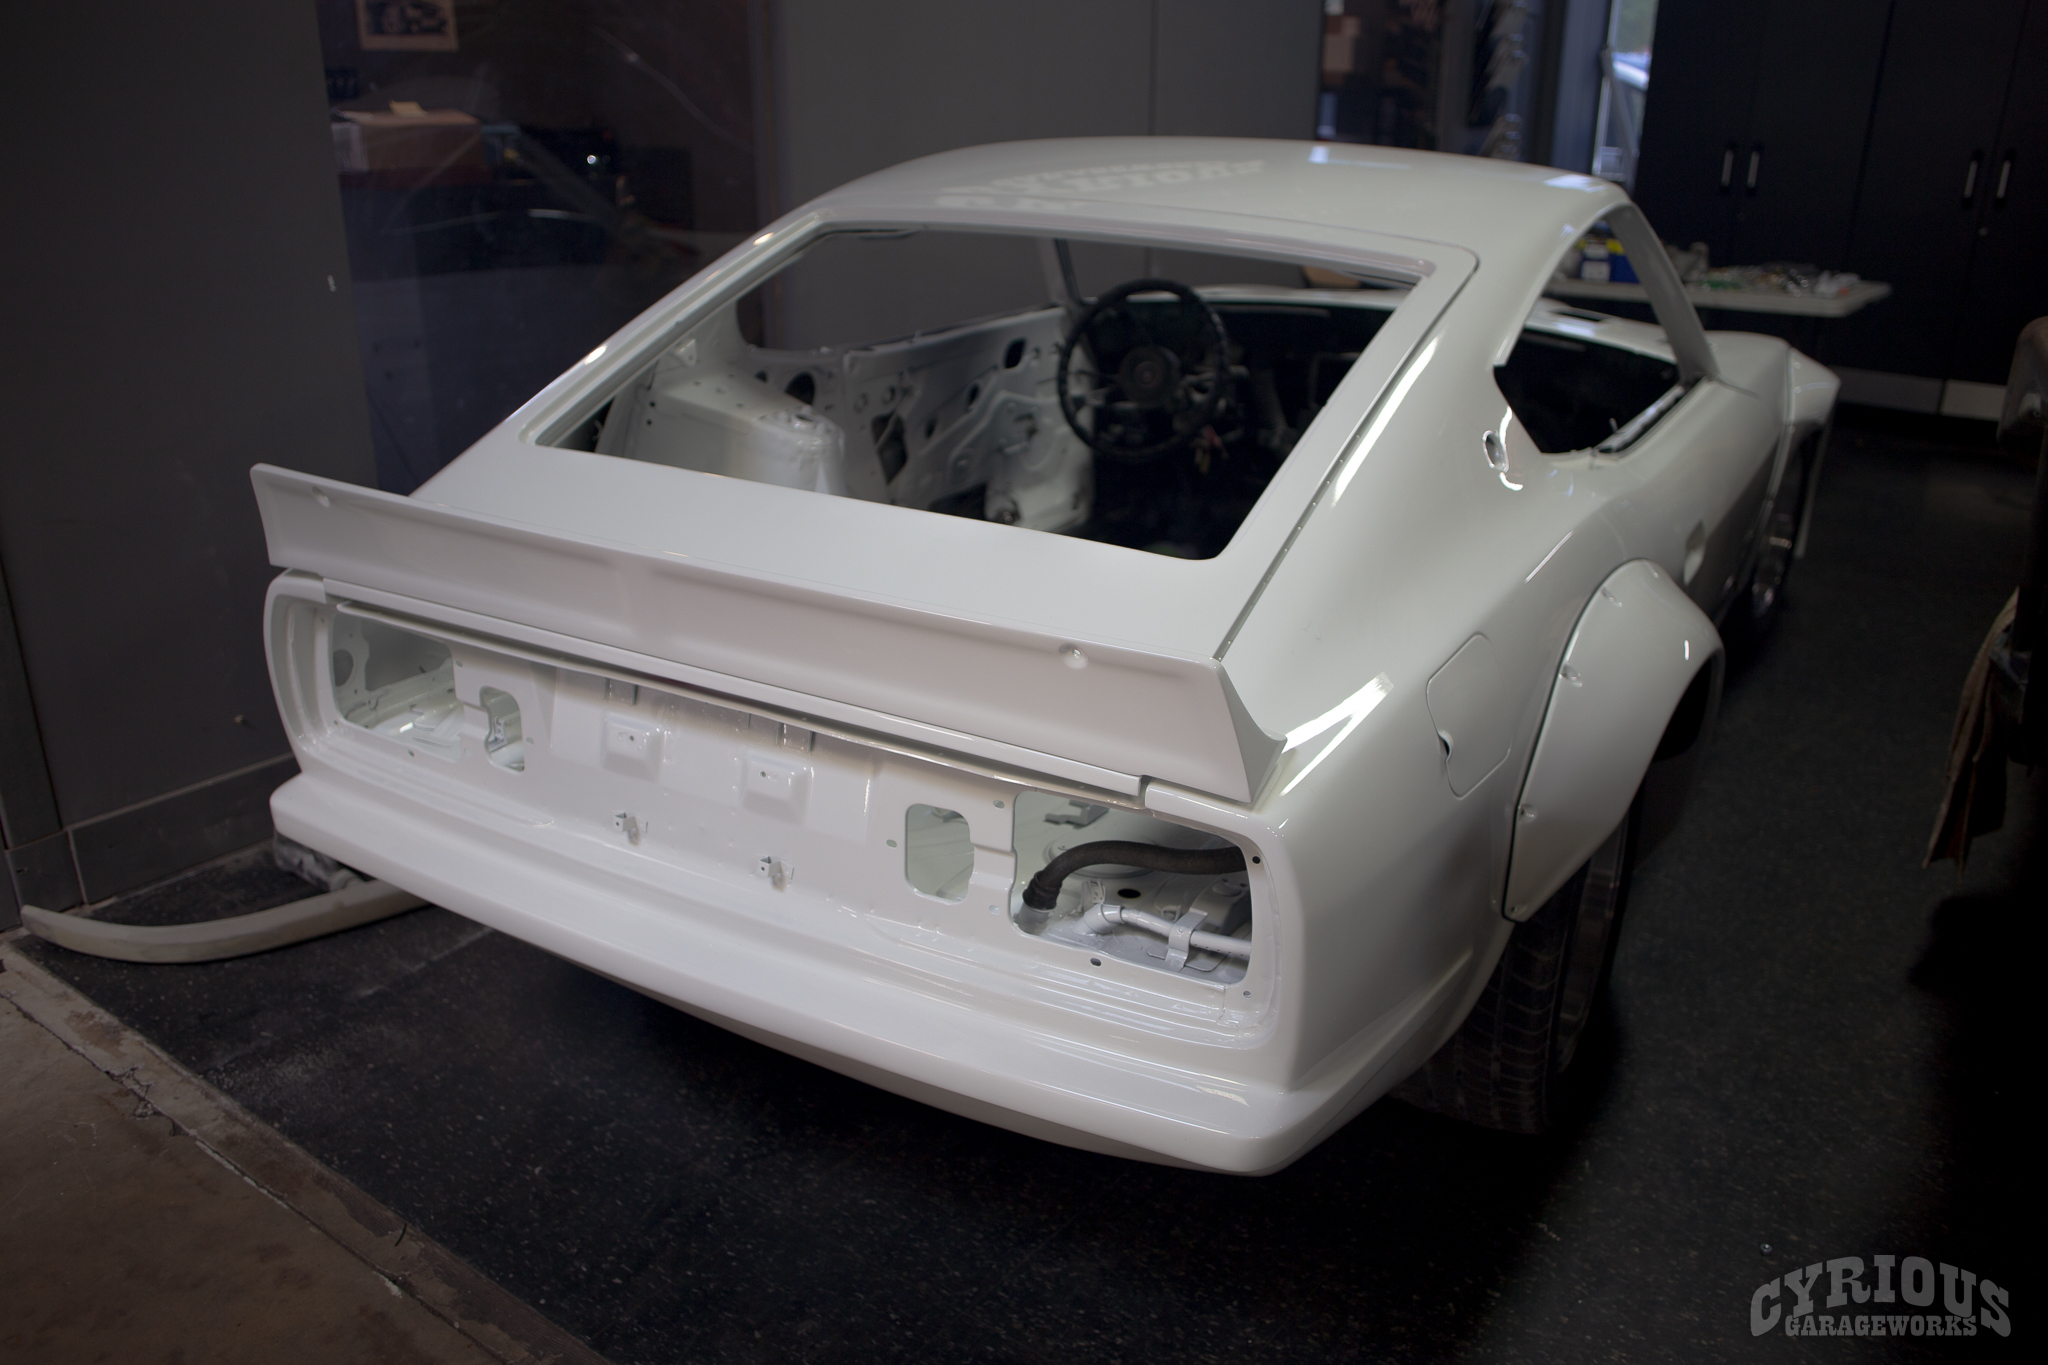
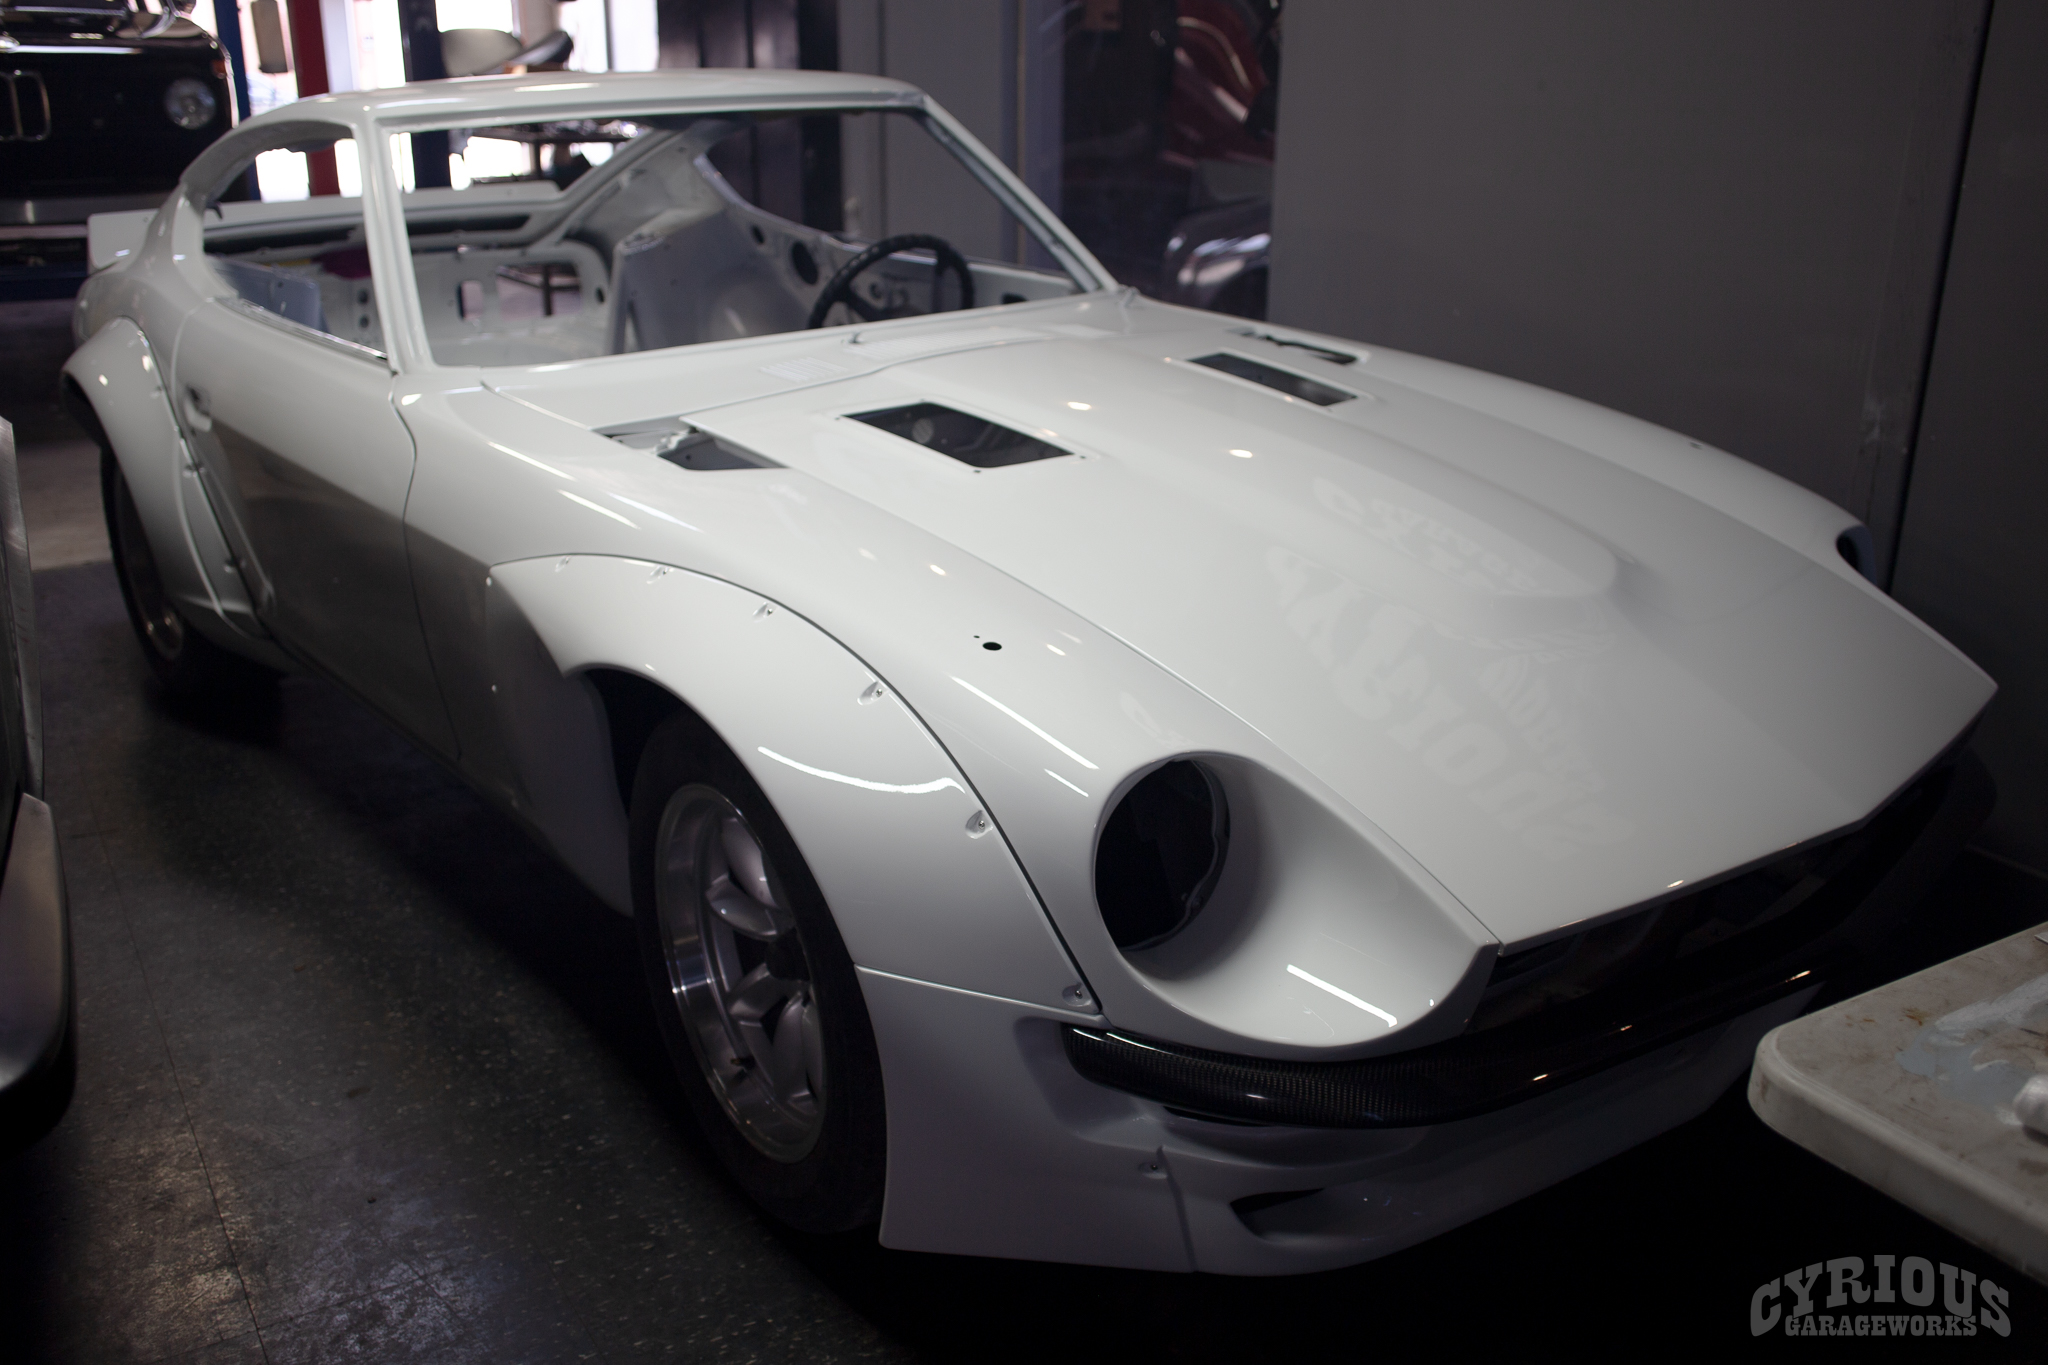
What’s up, readers! We’re back with another Rocket Bunny 240Z! This one is a bit of a different project though, as it’s got a fiberglass molded rear end already attached. It’s certainly an effective way of getting rid of all the rust back there!
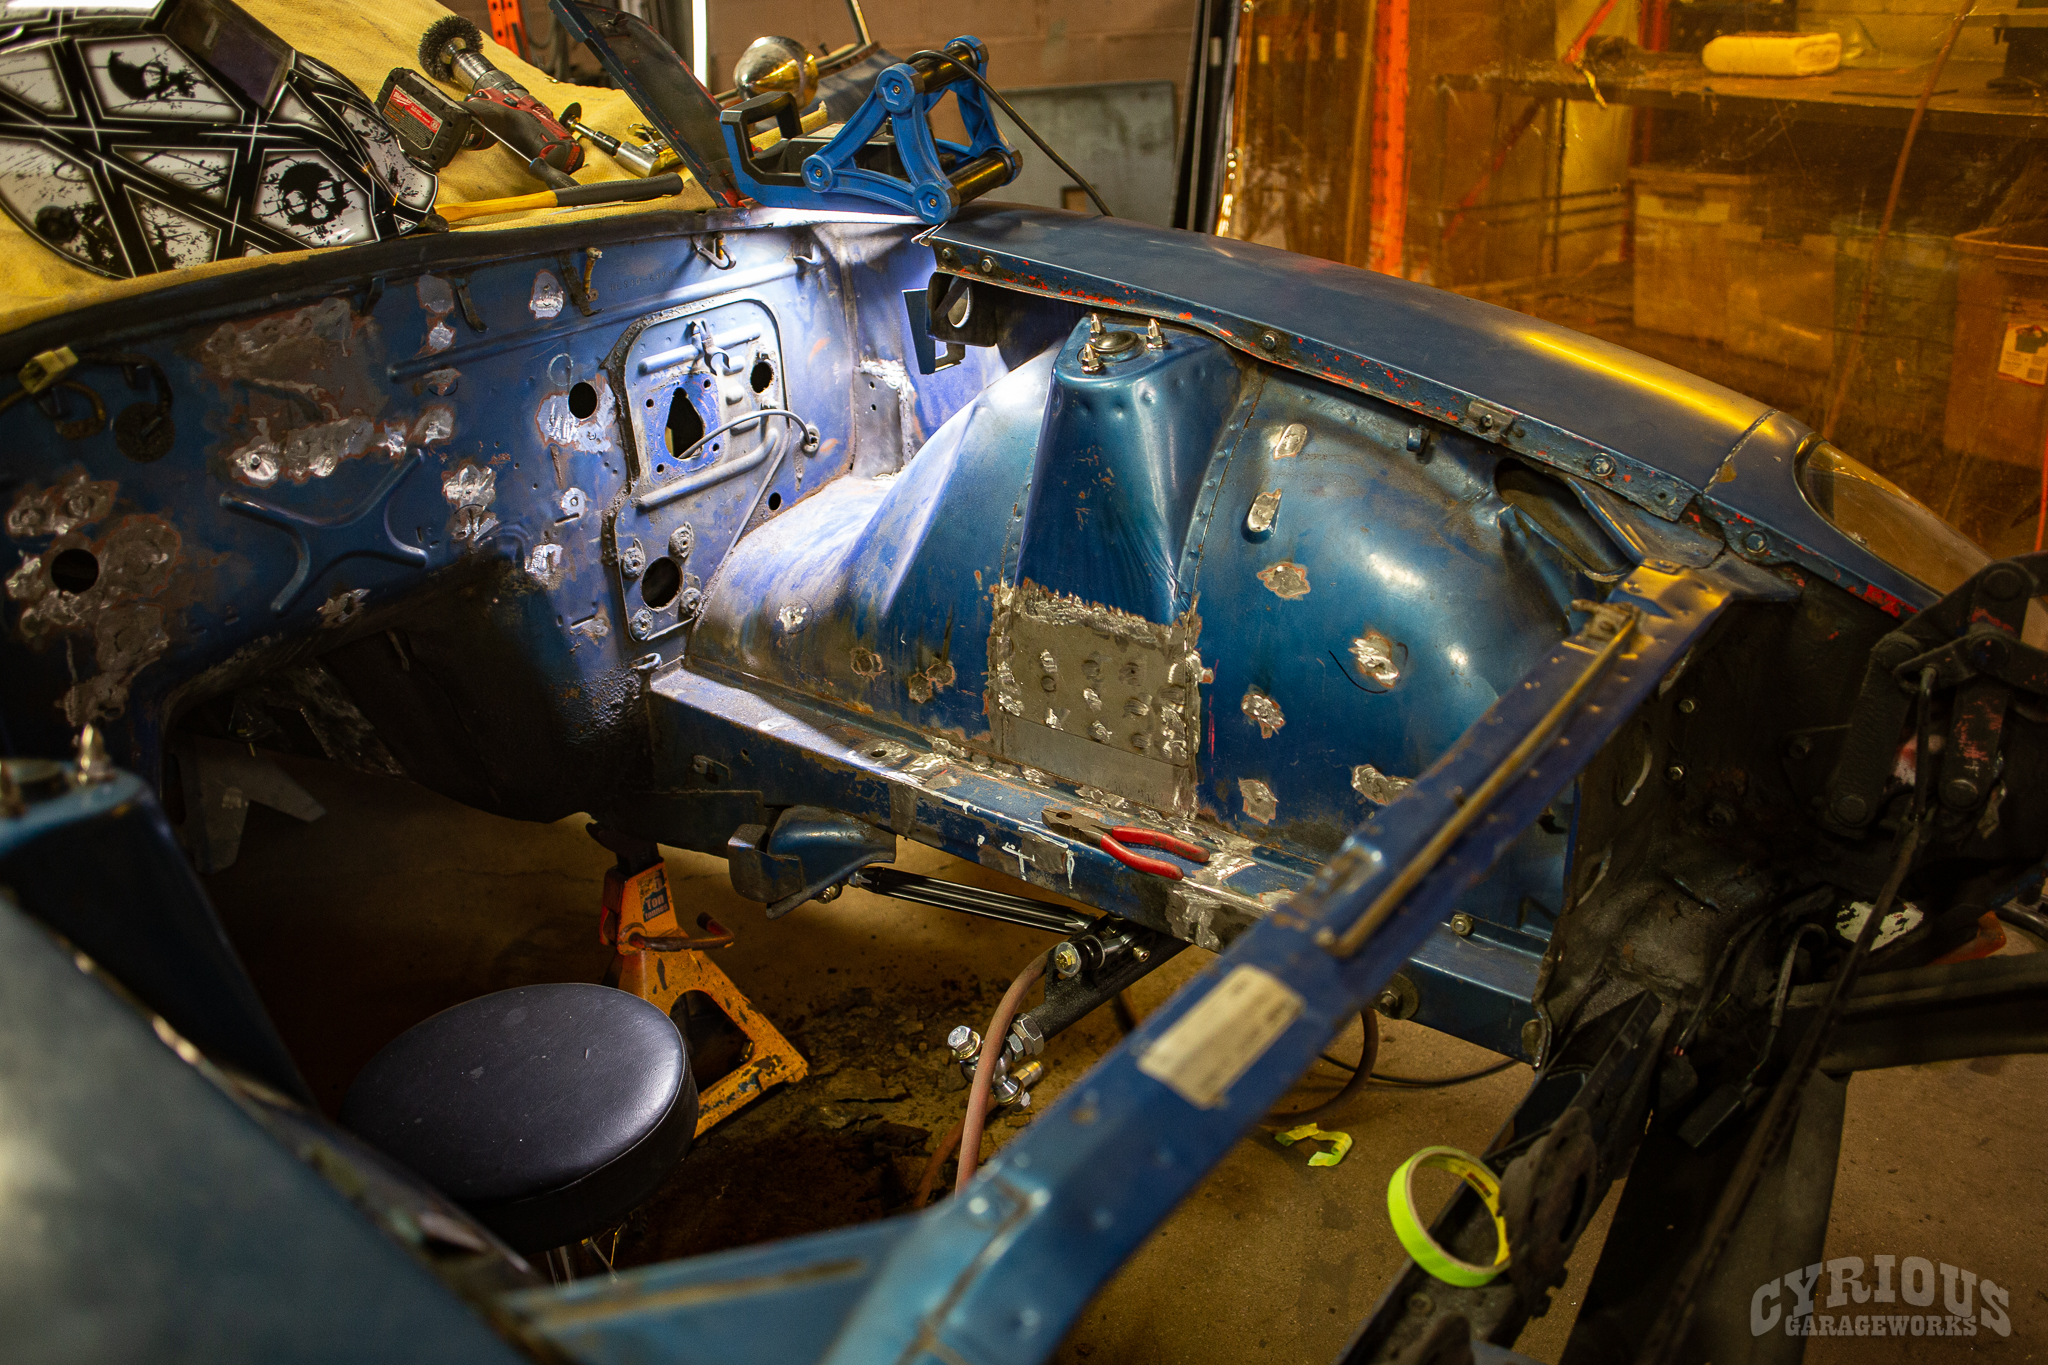
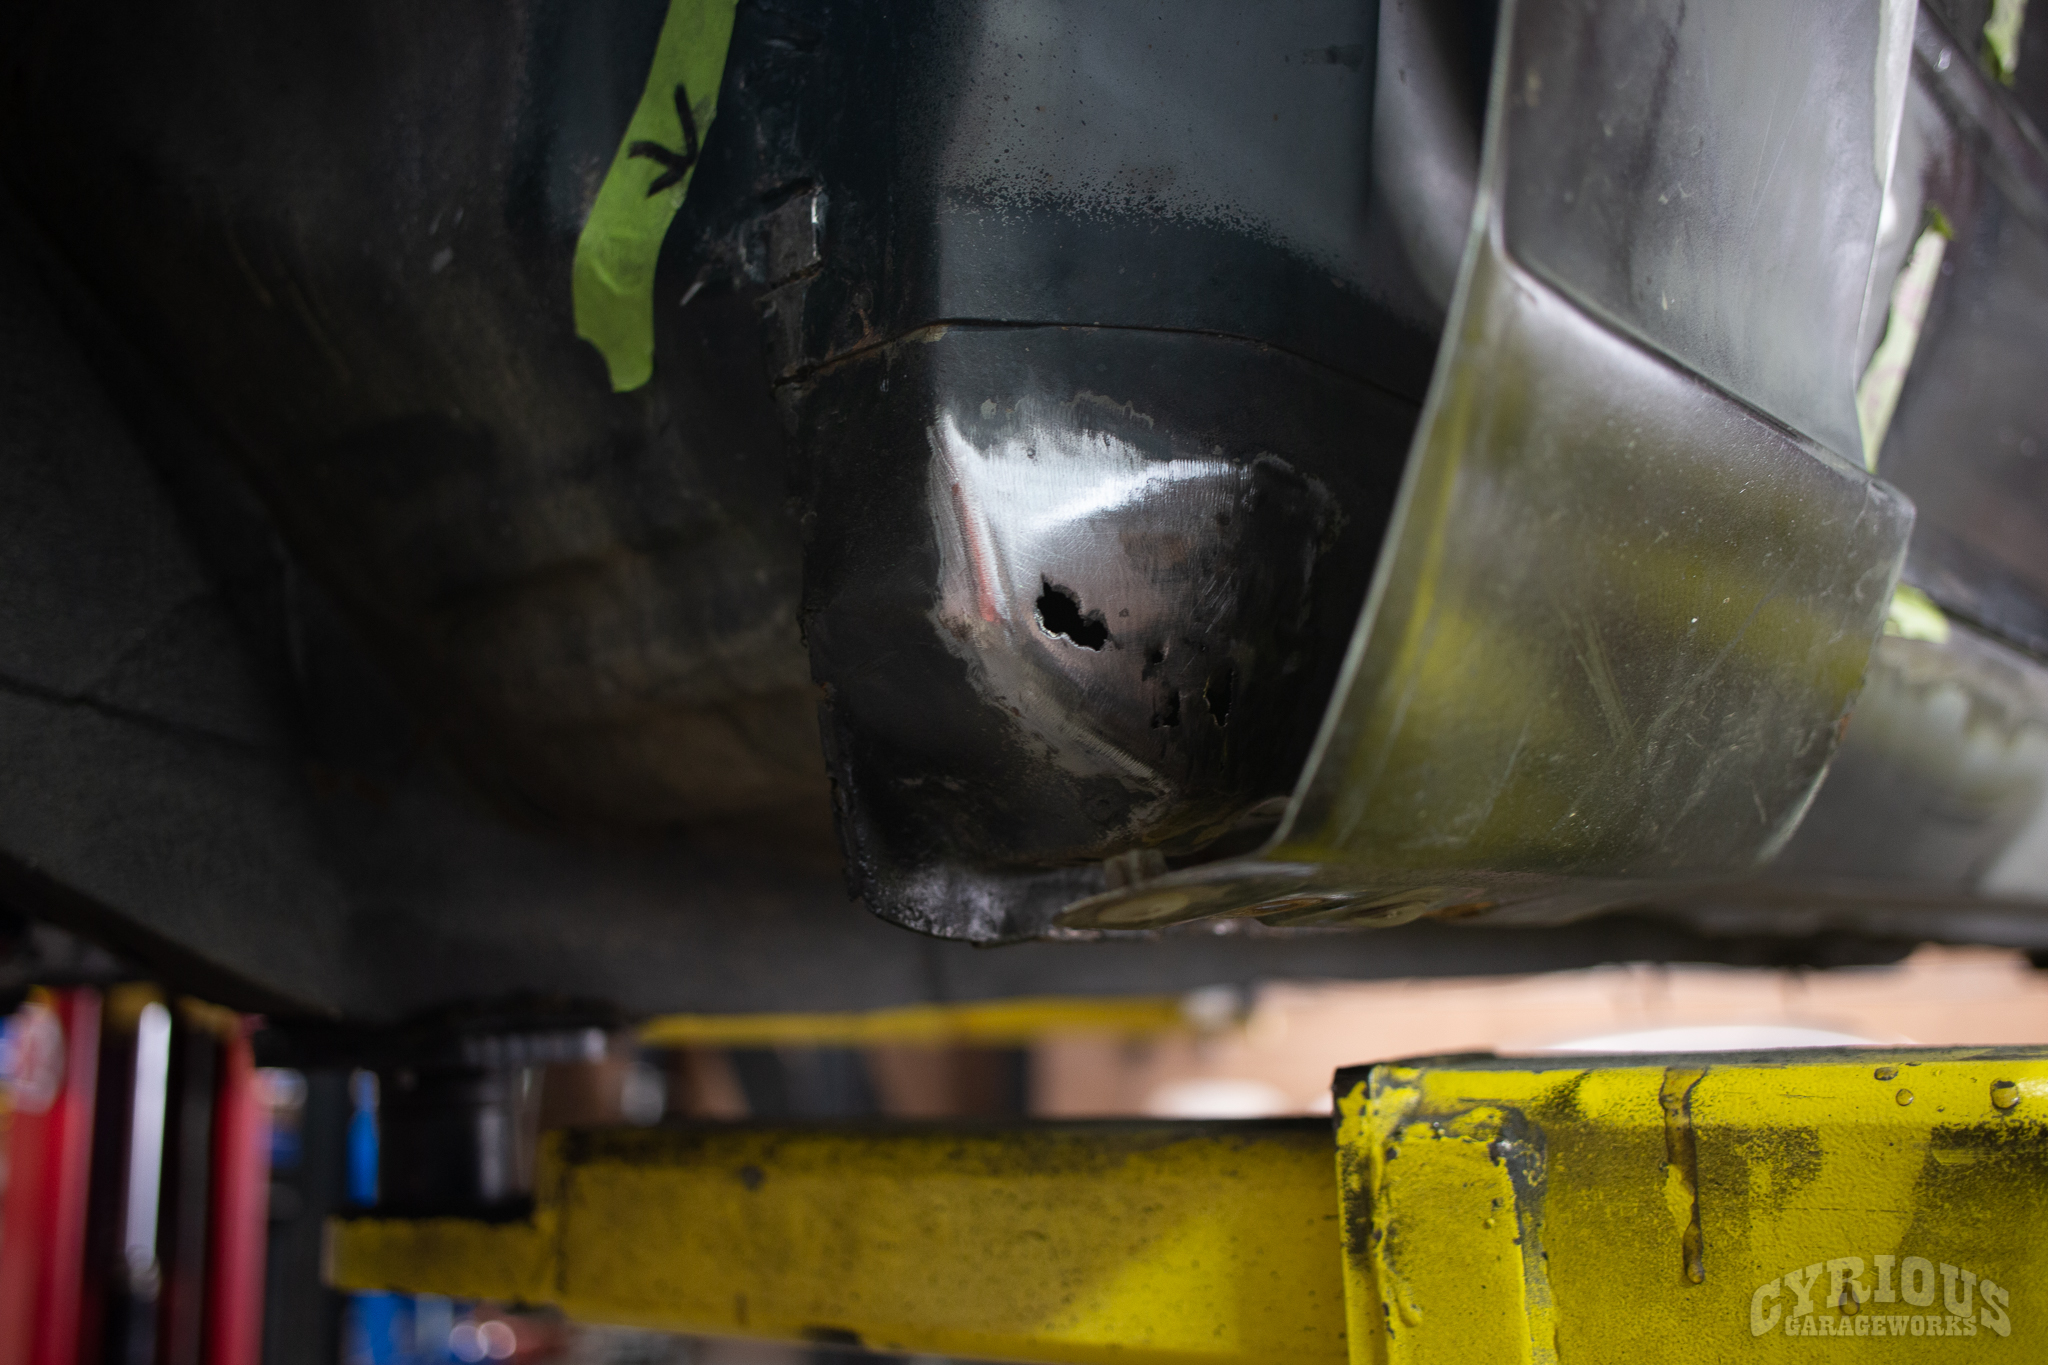
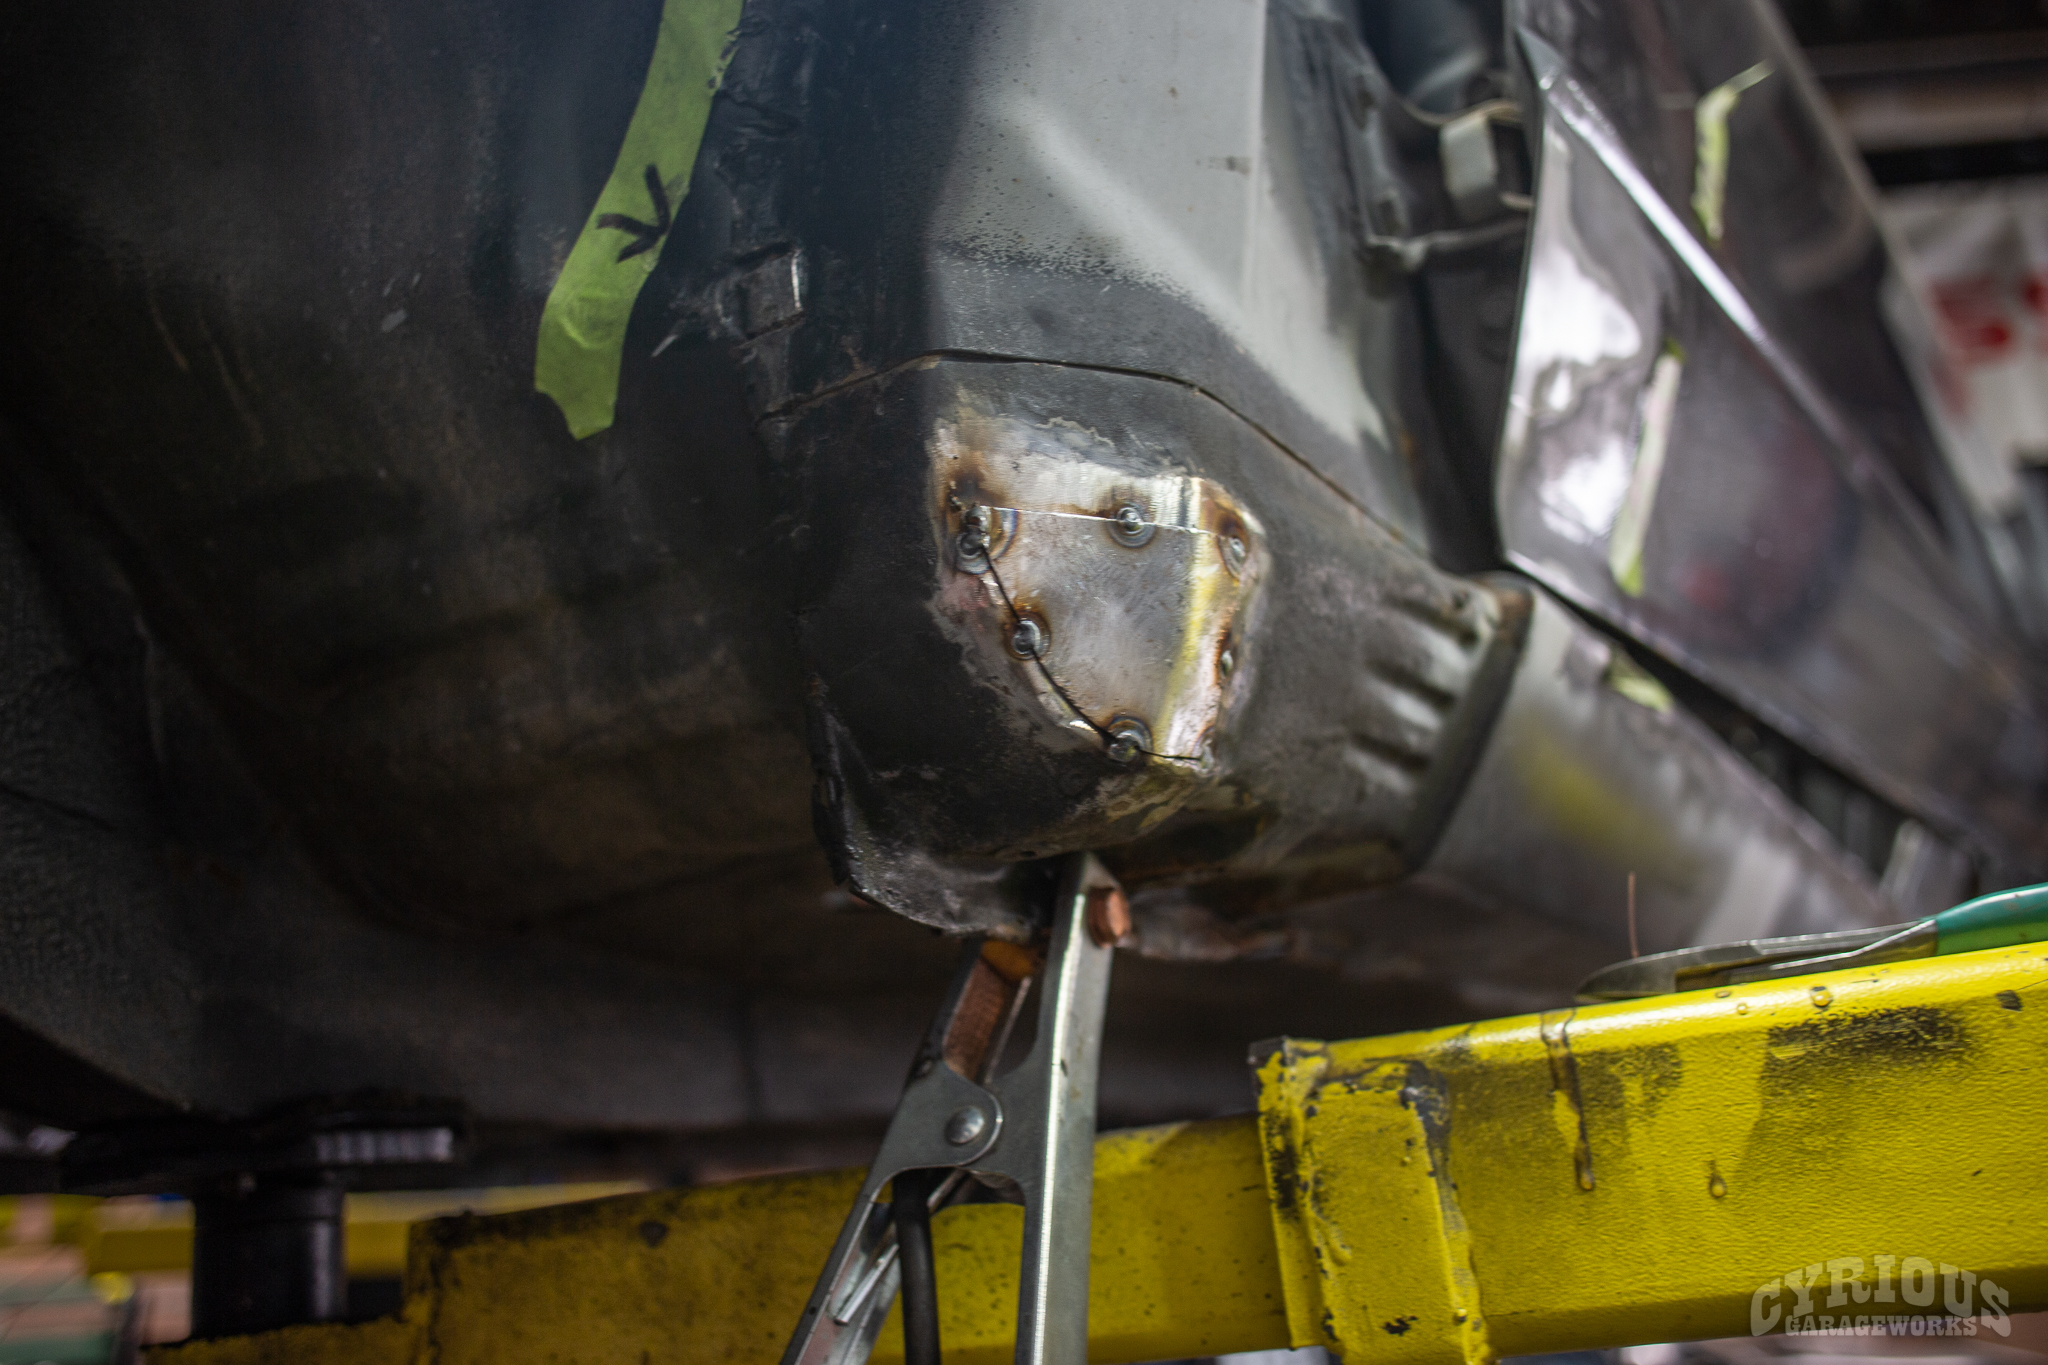
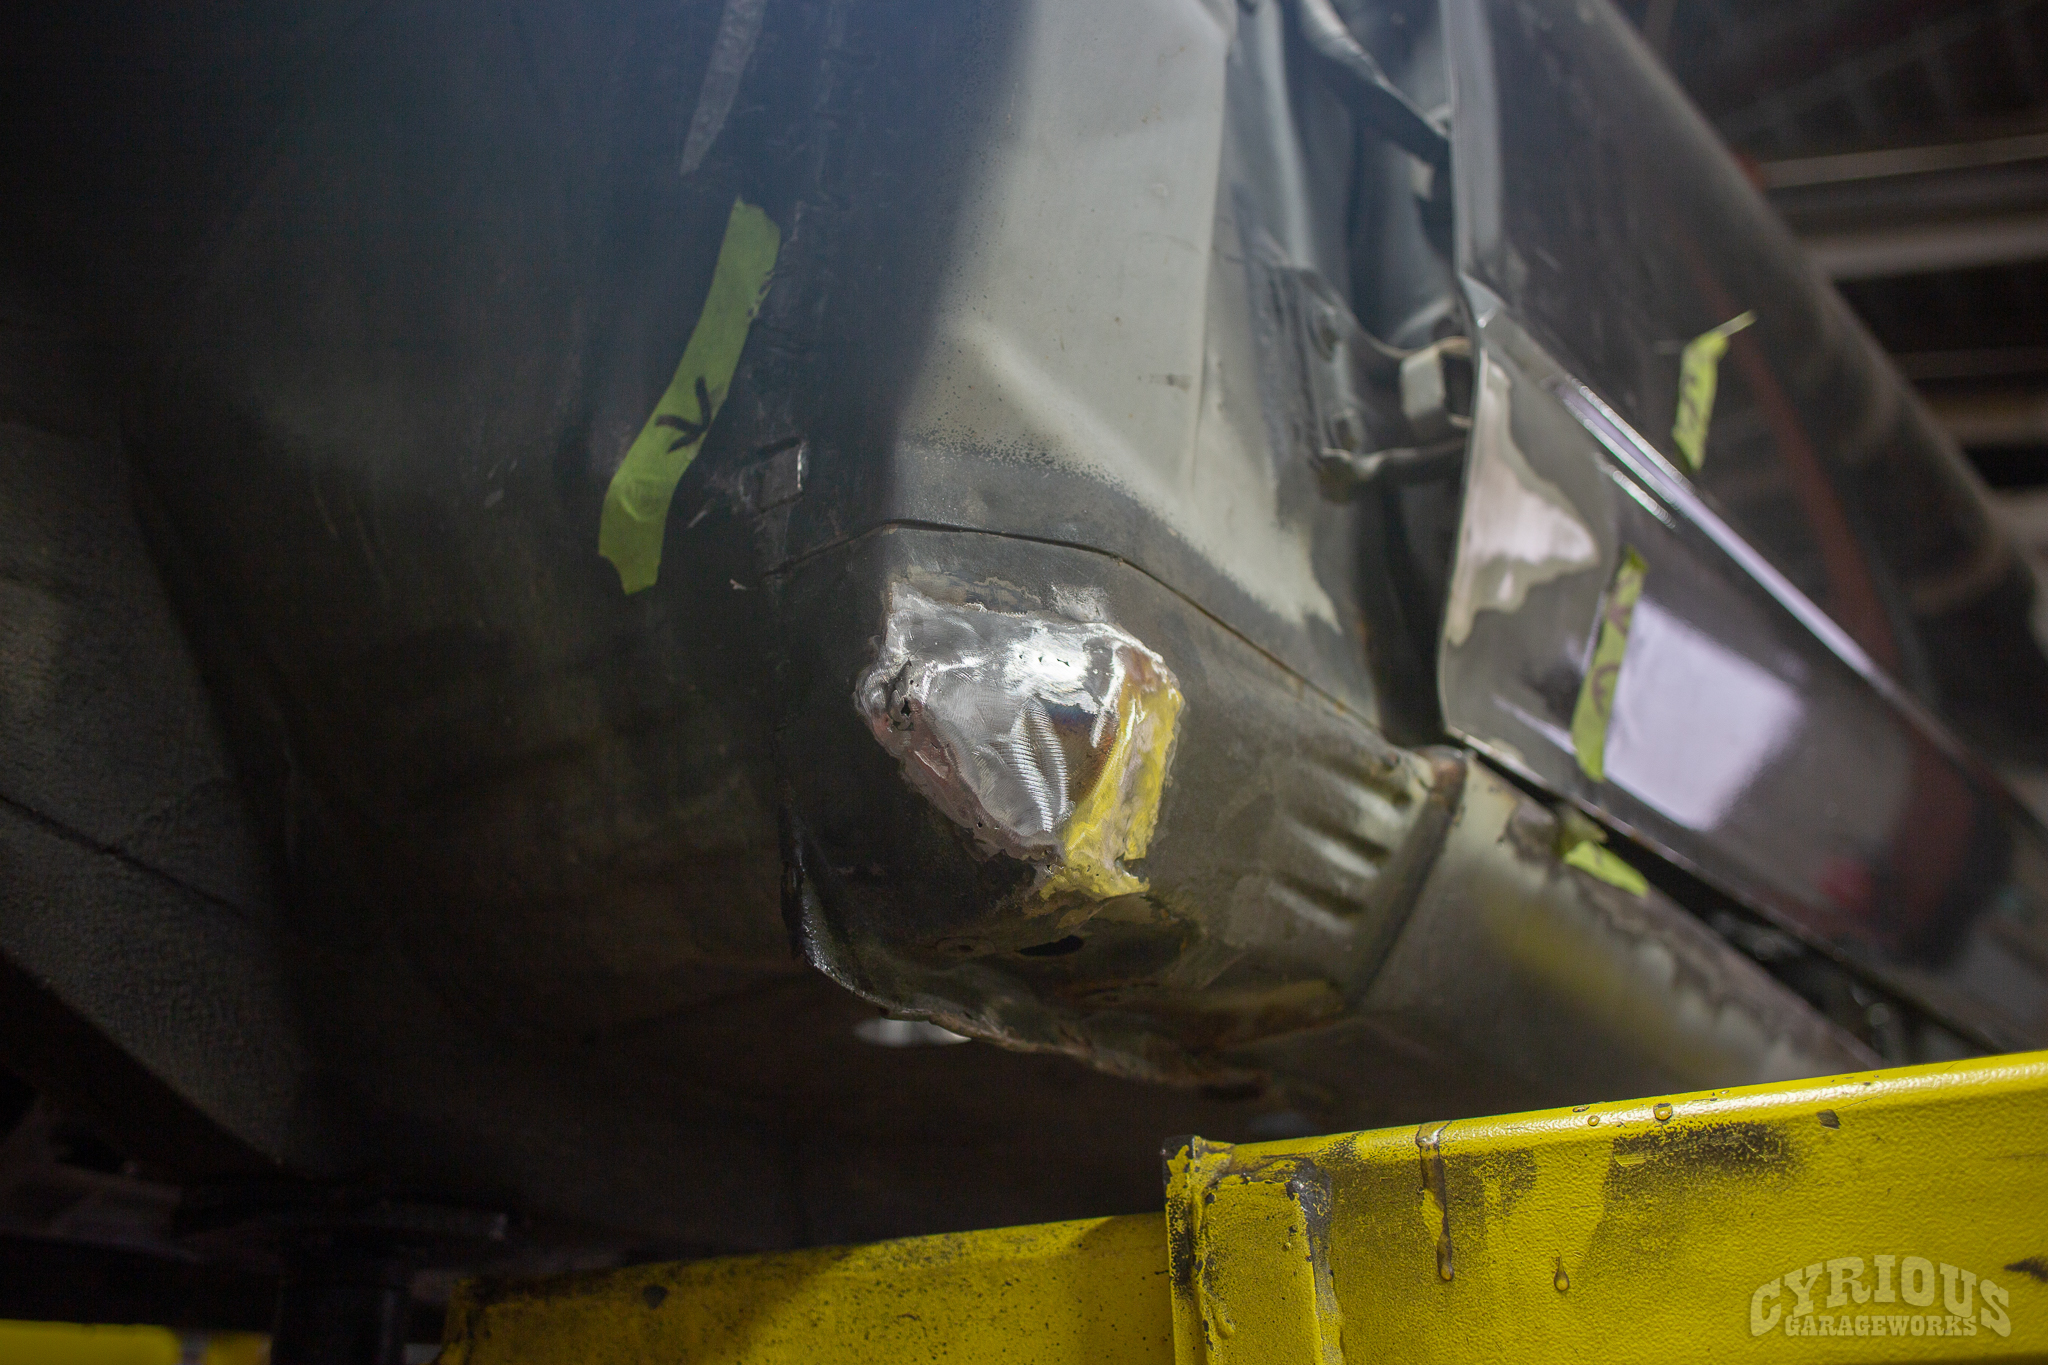
Nonetheless, there’ll be a few holes to fill and a few patches to be made! Without further ado, lets jump in!
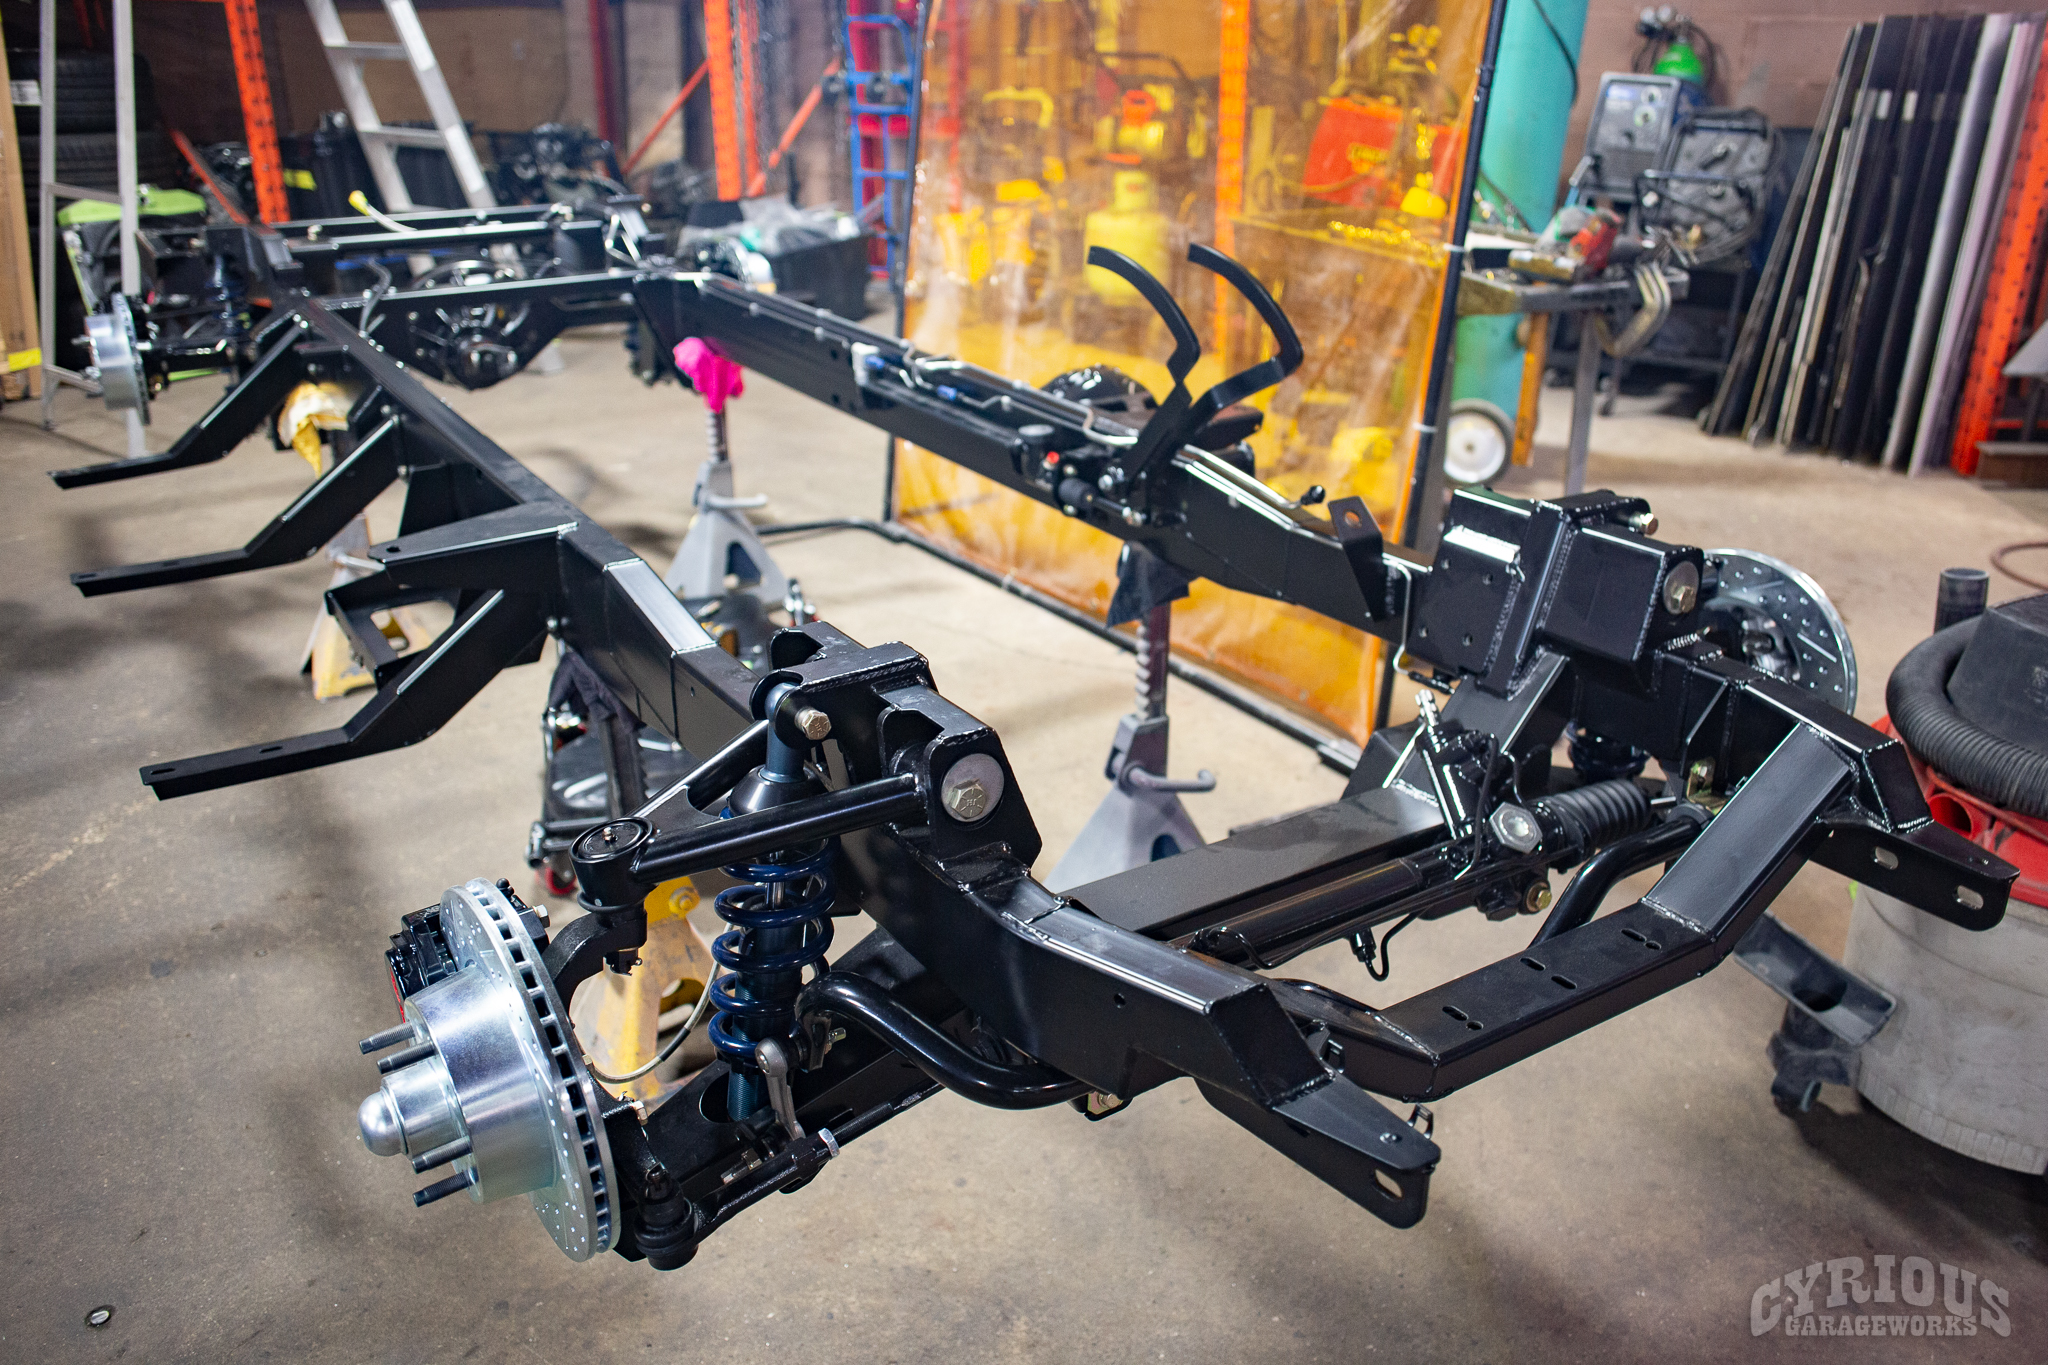
These pre-fabbed frame rails are awesome! Every classic car should have these!
Another one in the books! This car is being completed off-site, so we hope to have finished photos when it is 100% completed! So far though, it’s lookin’ pretty darn good! Stay tuned for the next one!