Here it is! Final assembly on Project S2002! In case you haven’t been here for the previous parts, you can go right back to the start here, or you can go to Pt. 3 right here! Without further ado, let’s get this thing on the road!
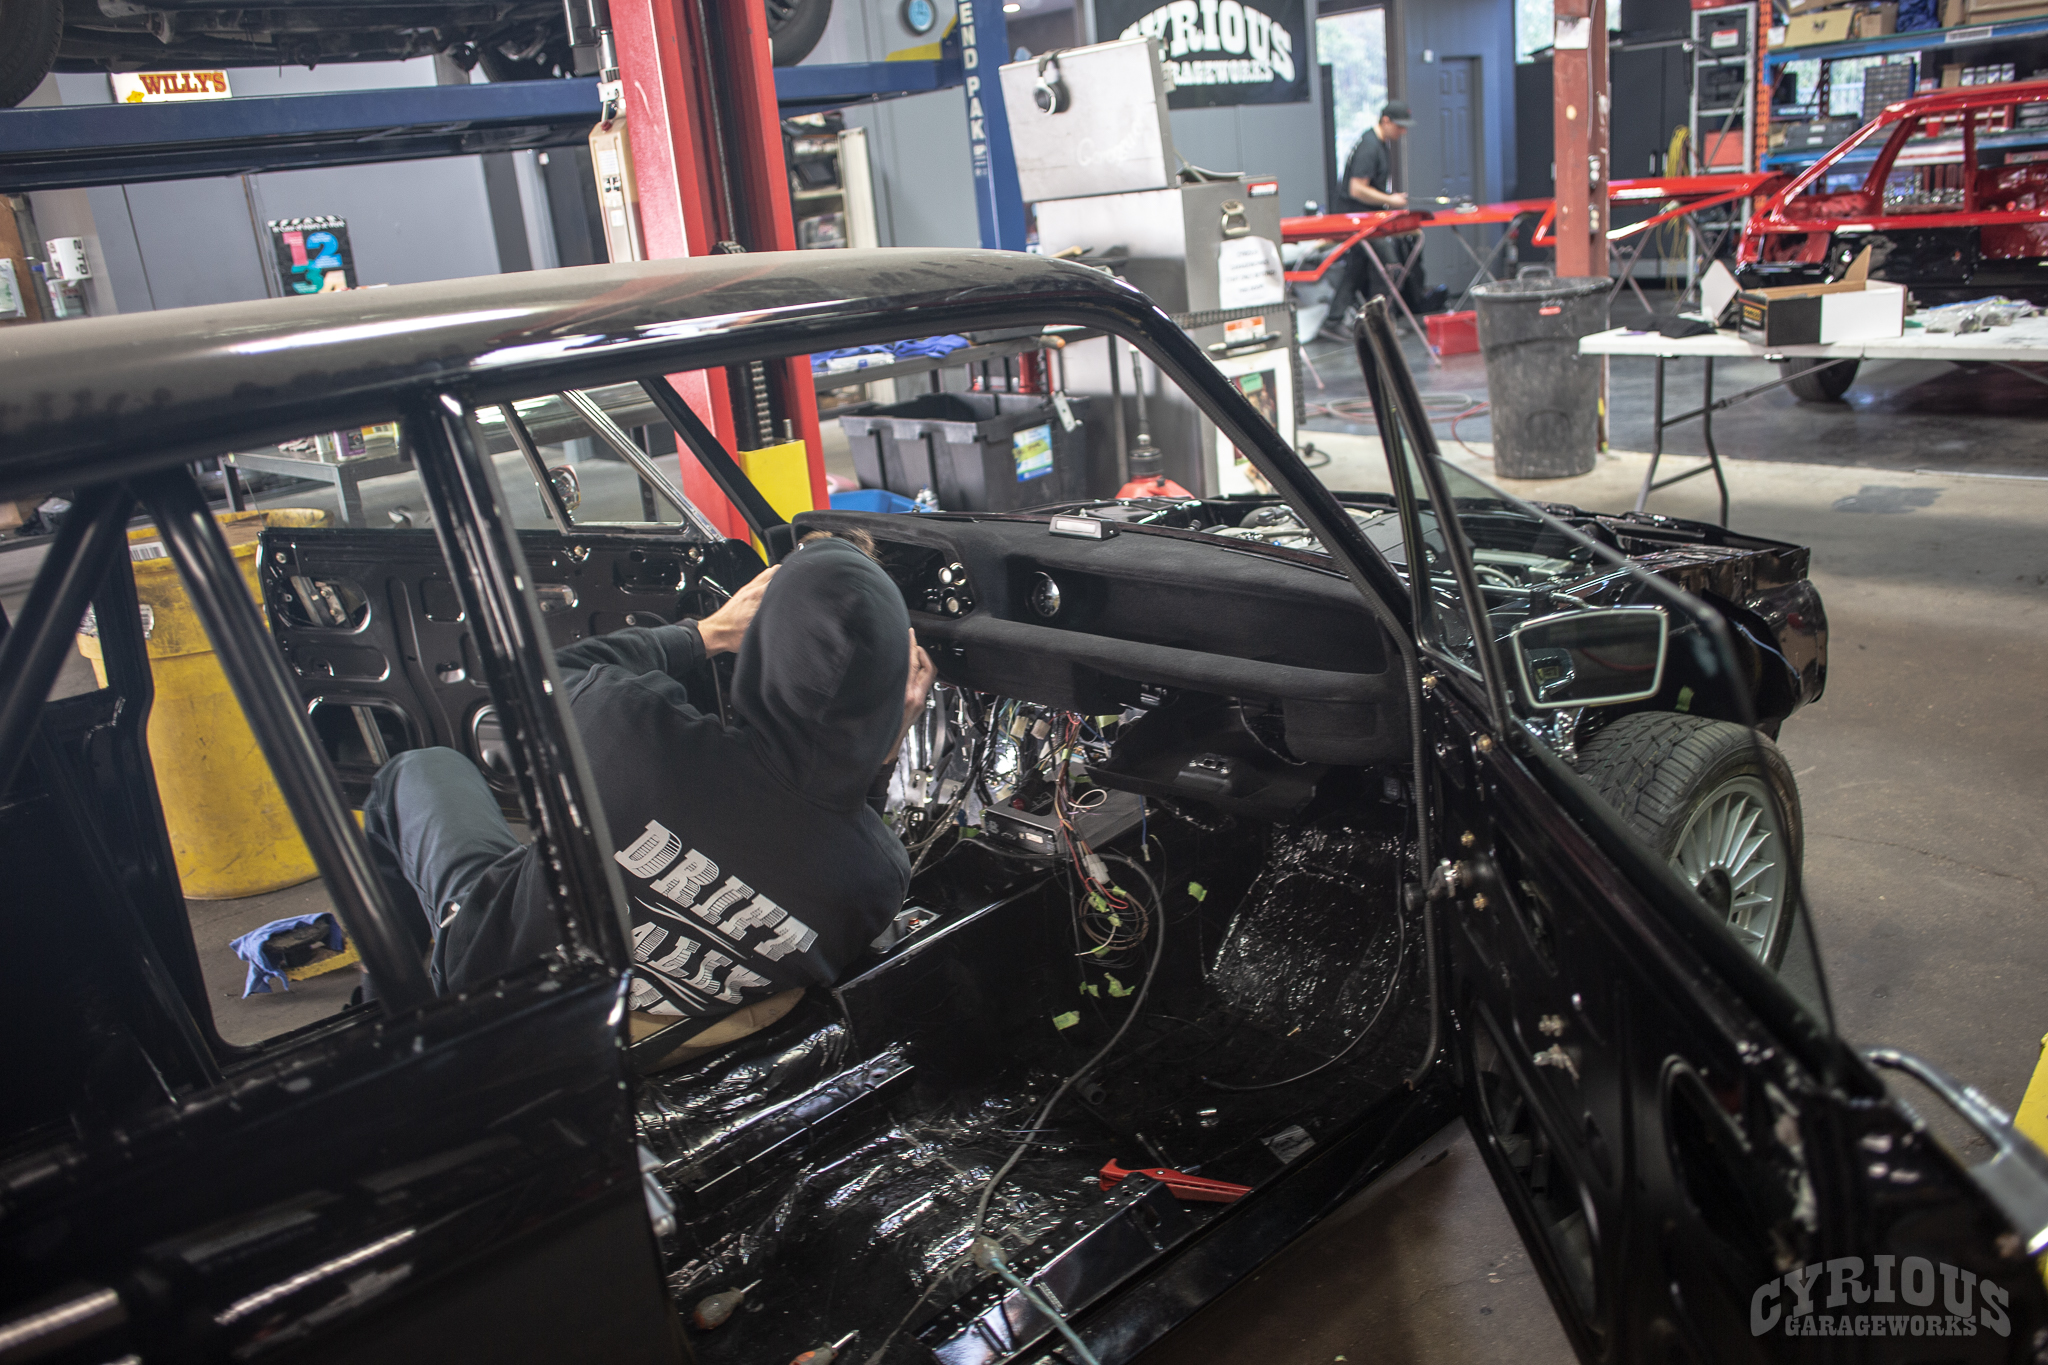
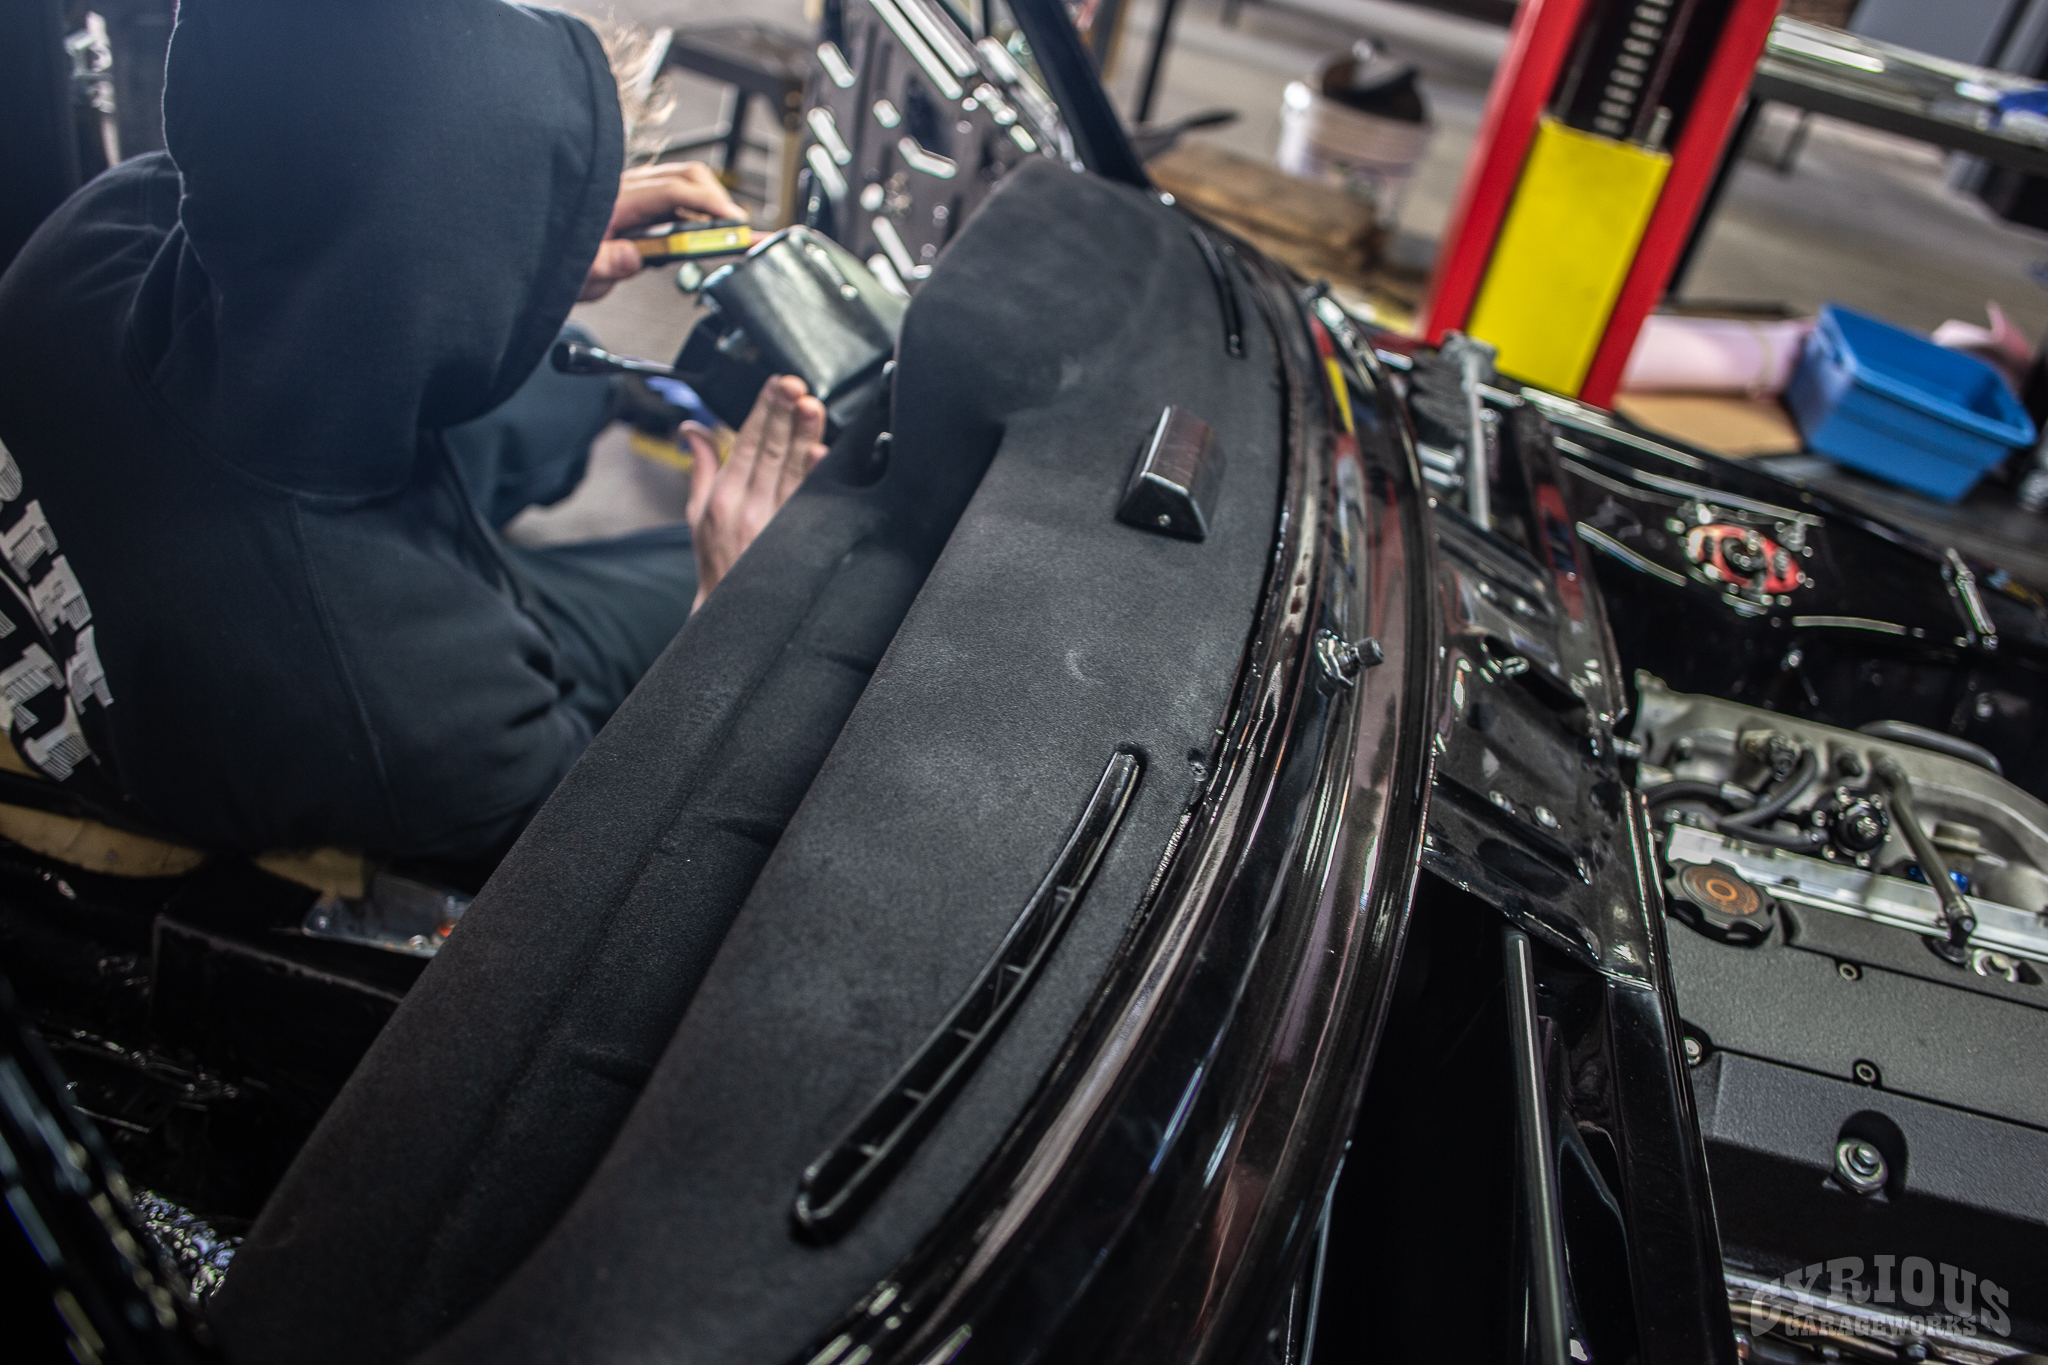
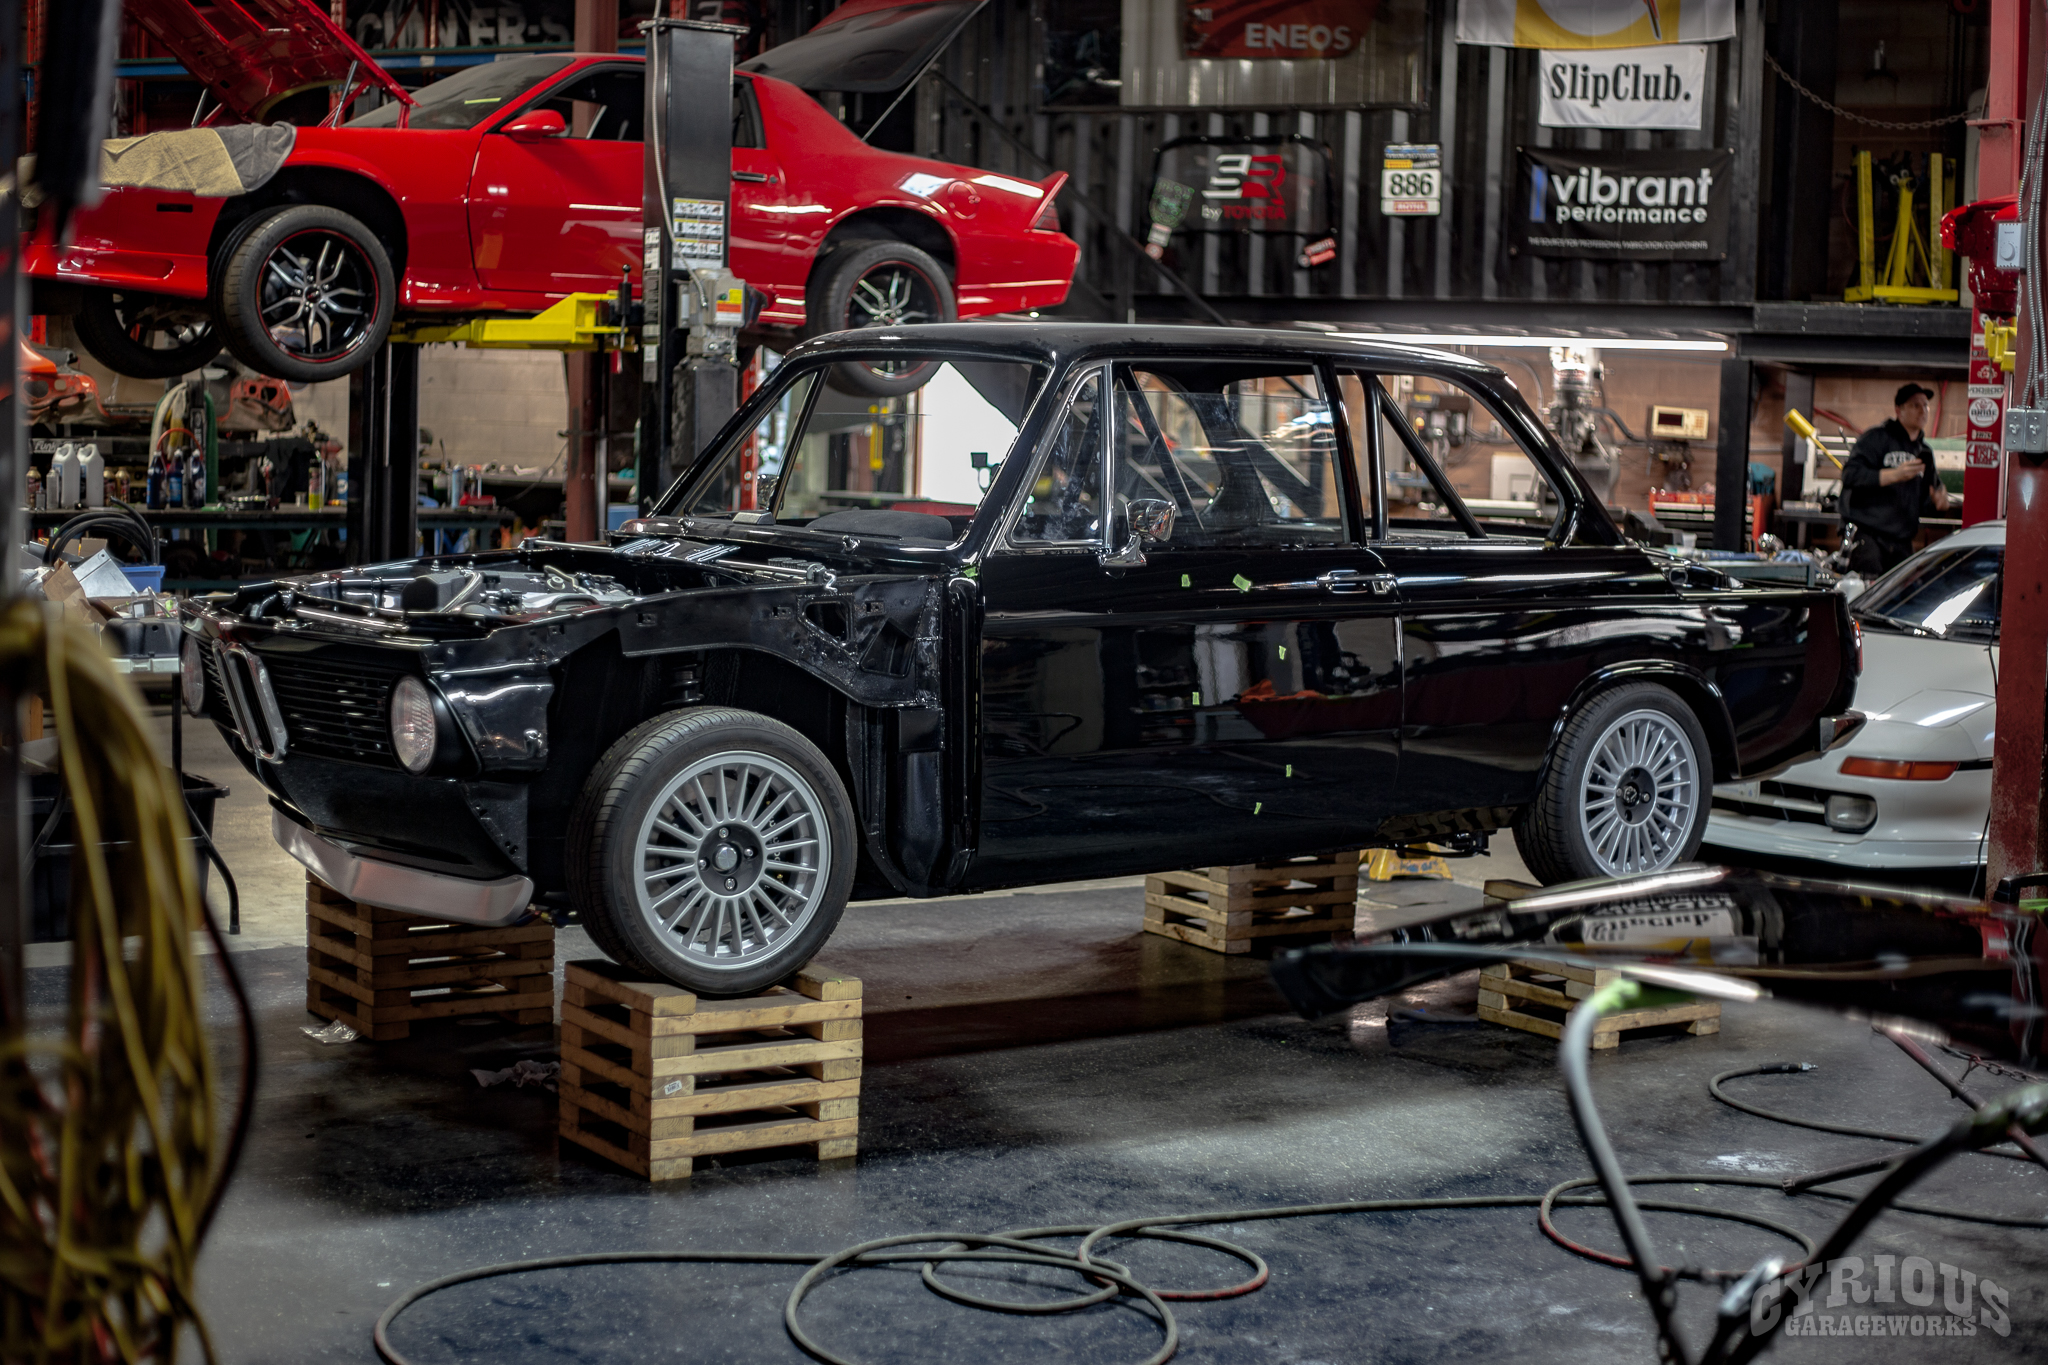
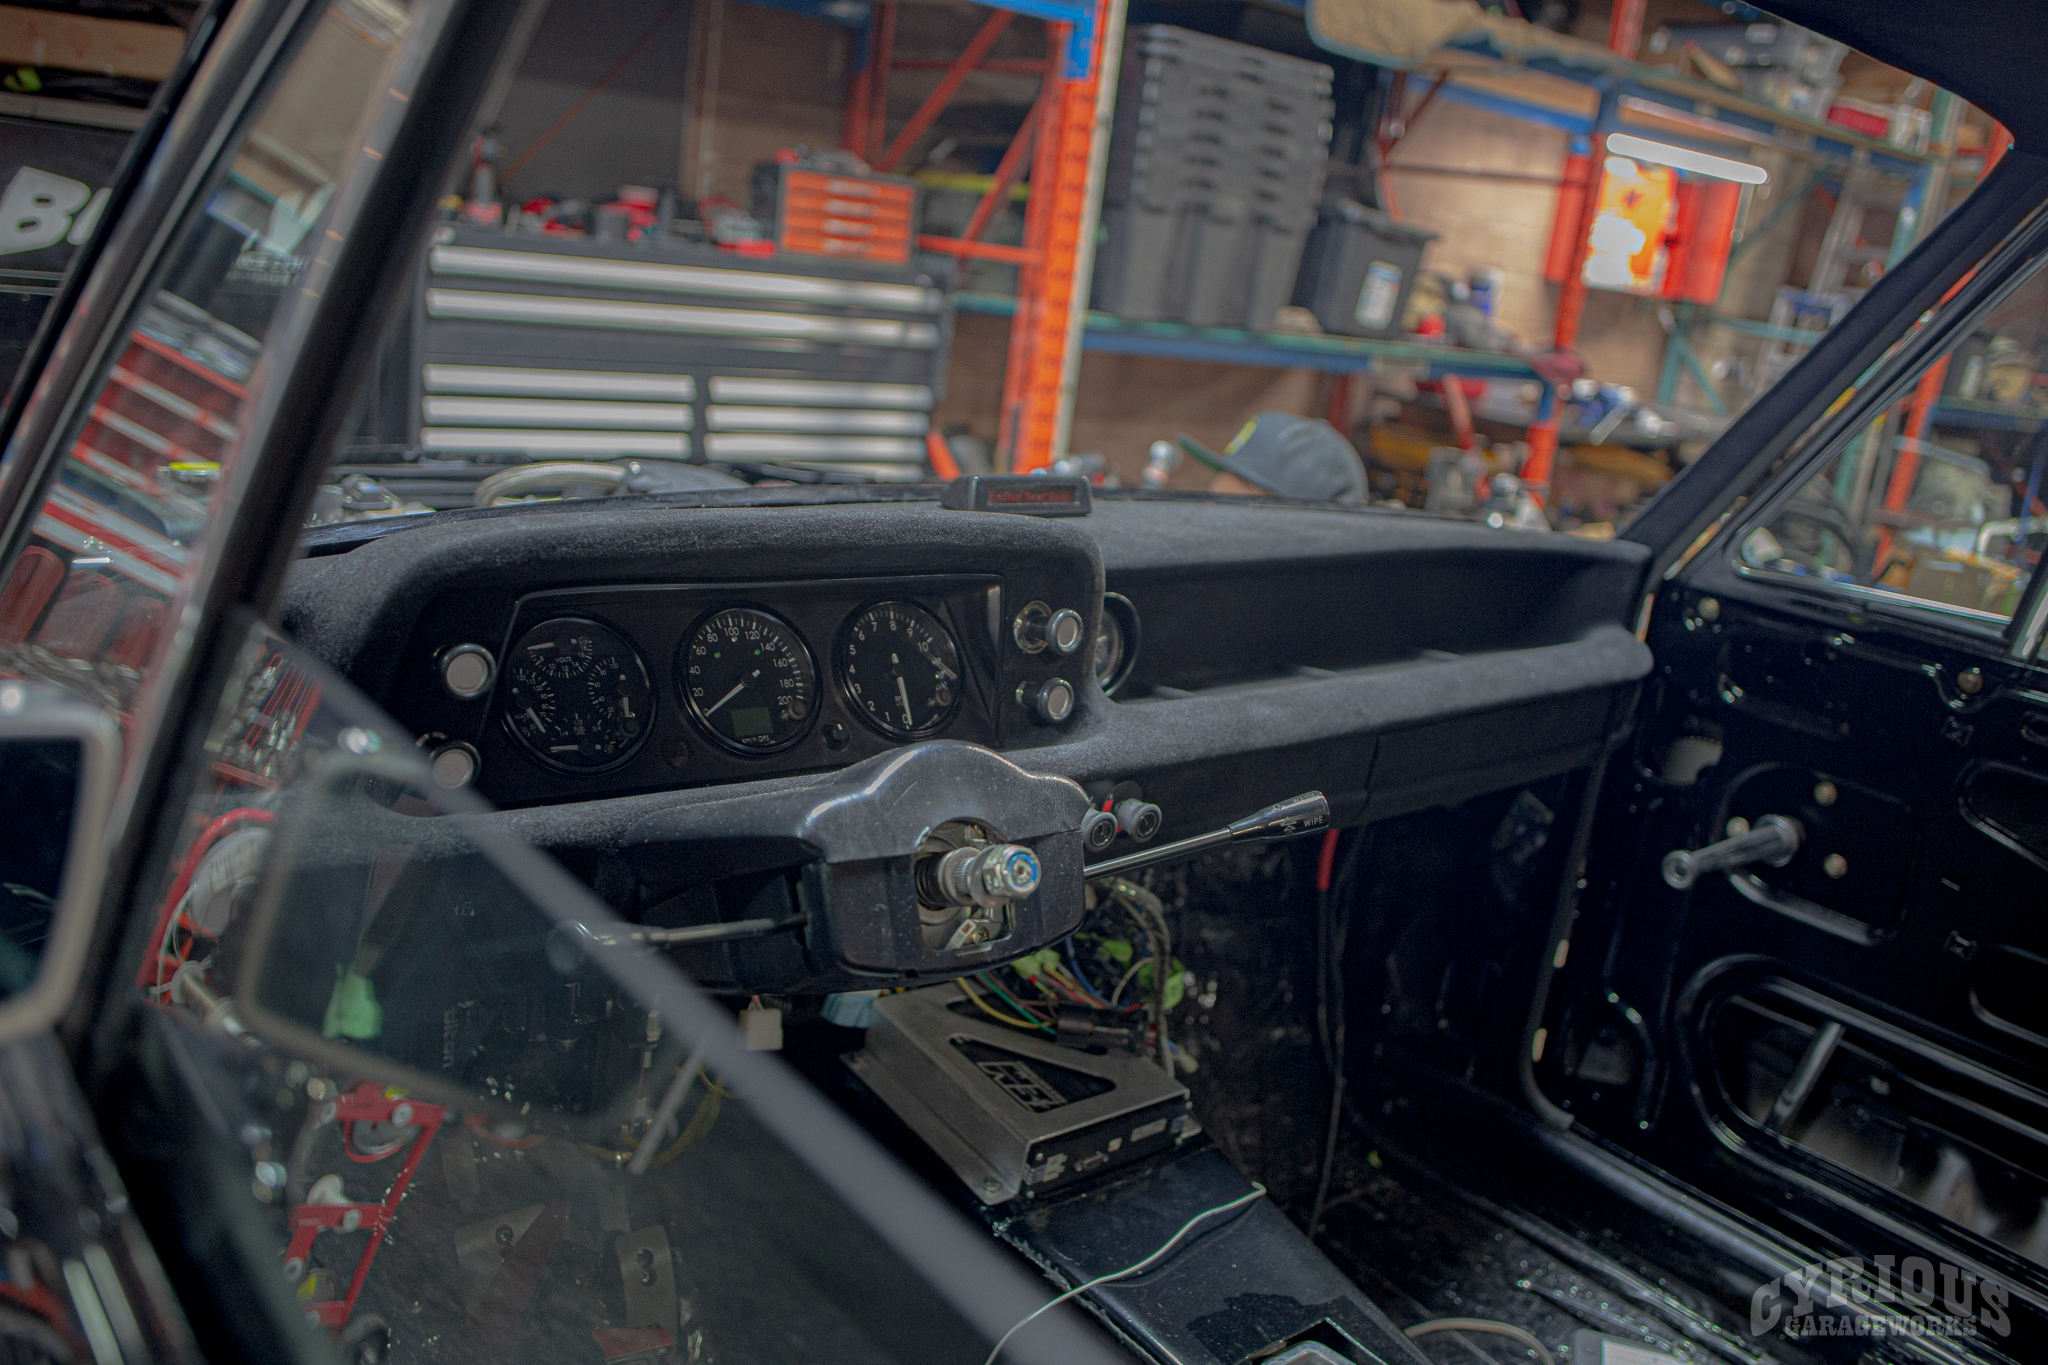
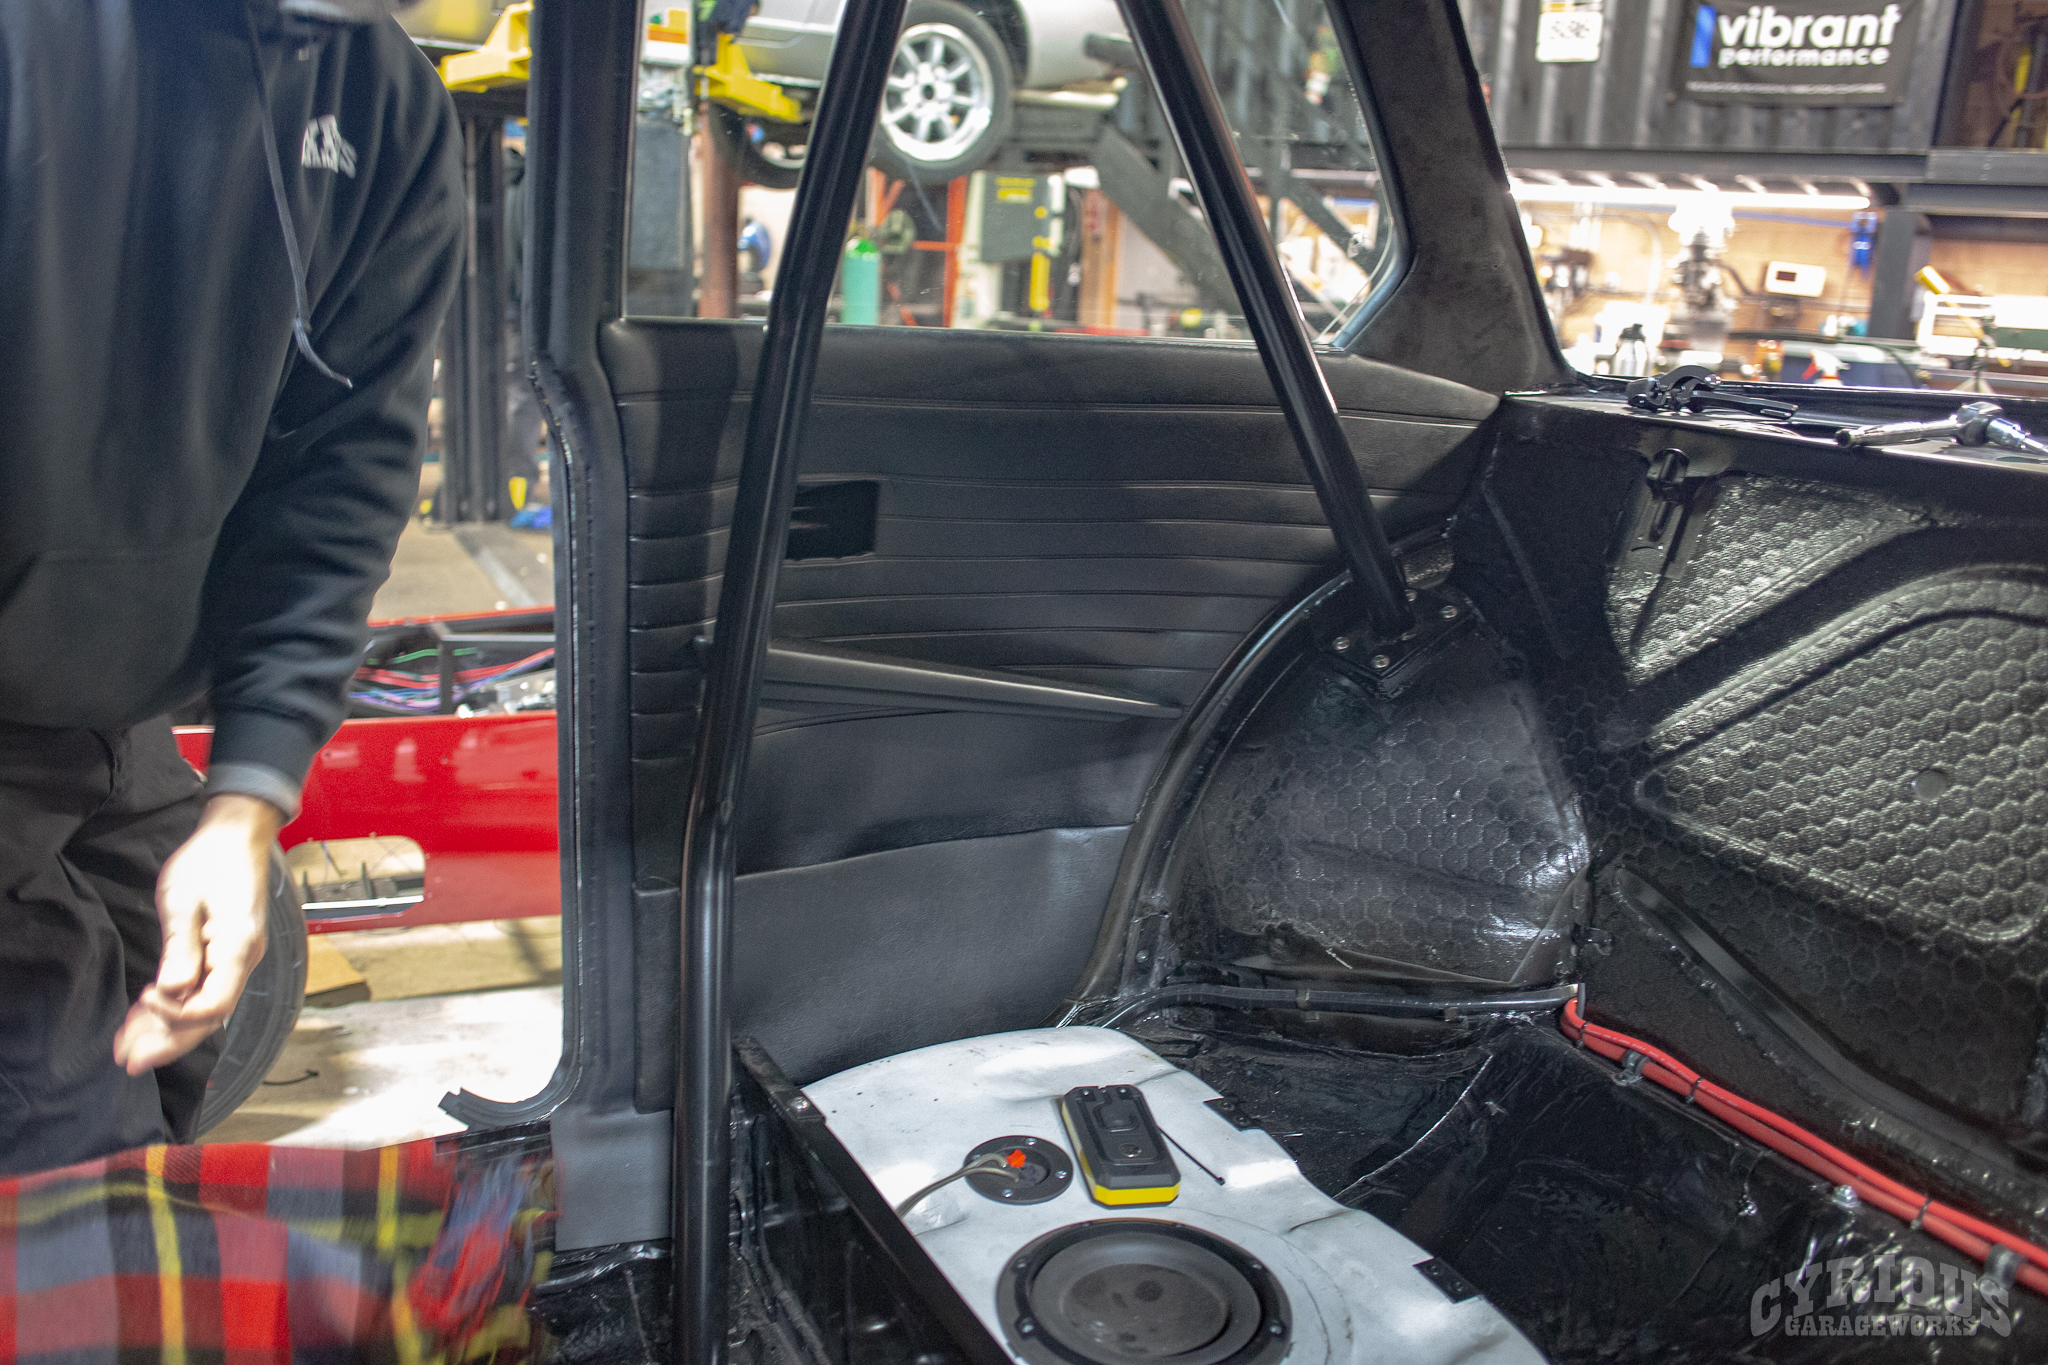
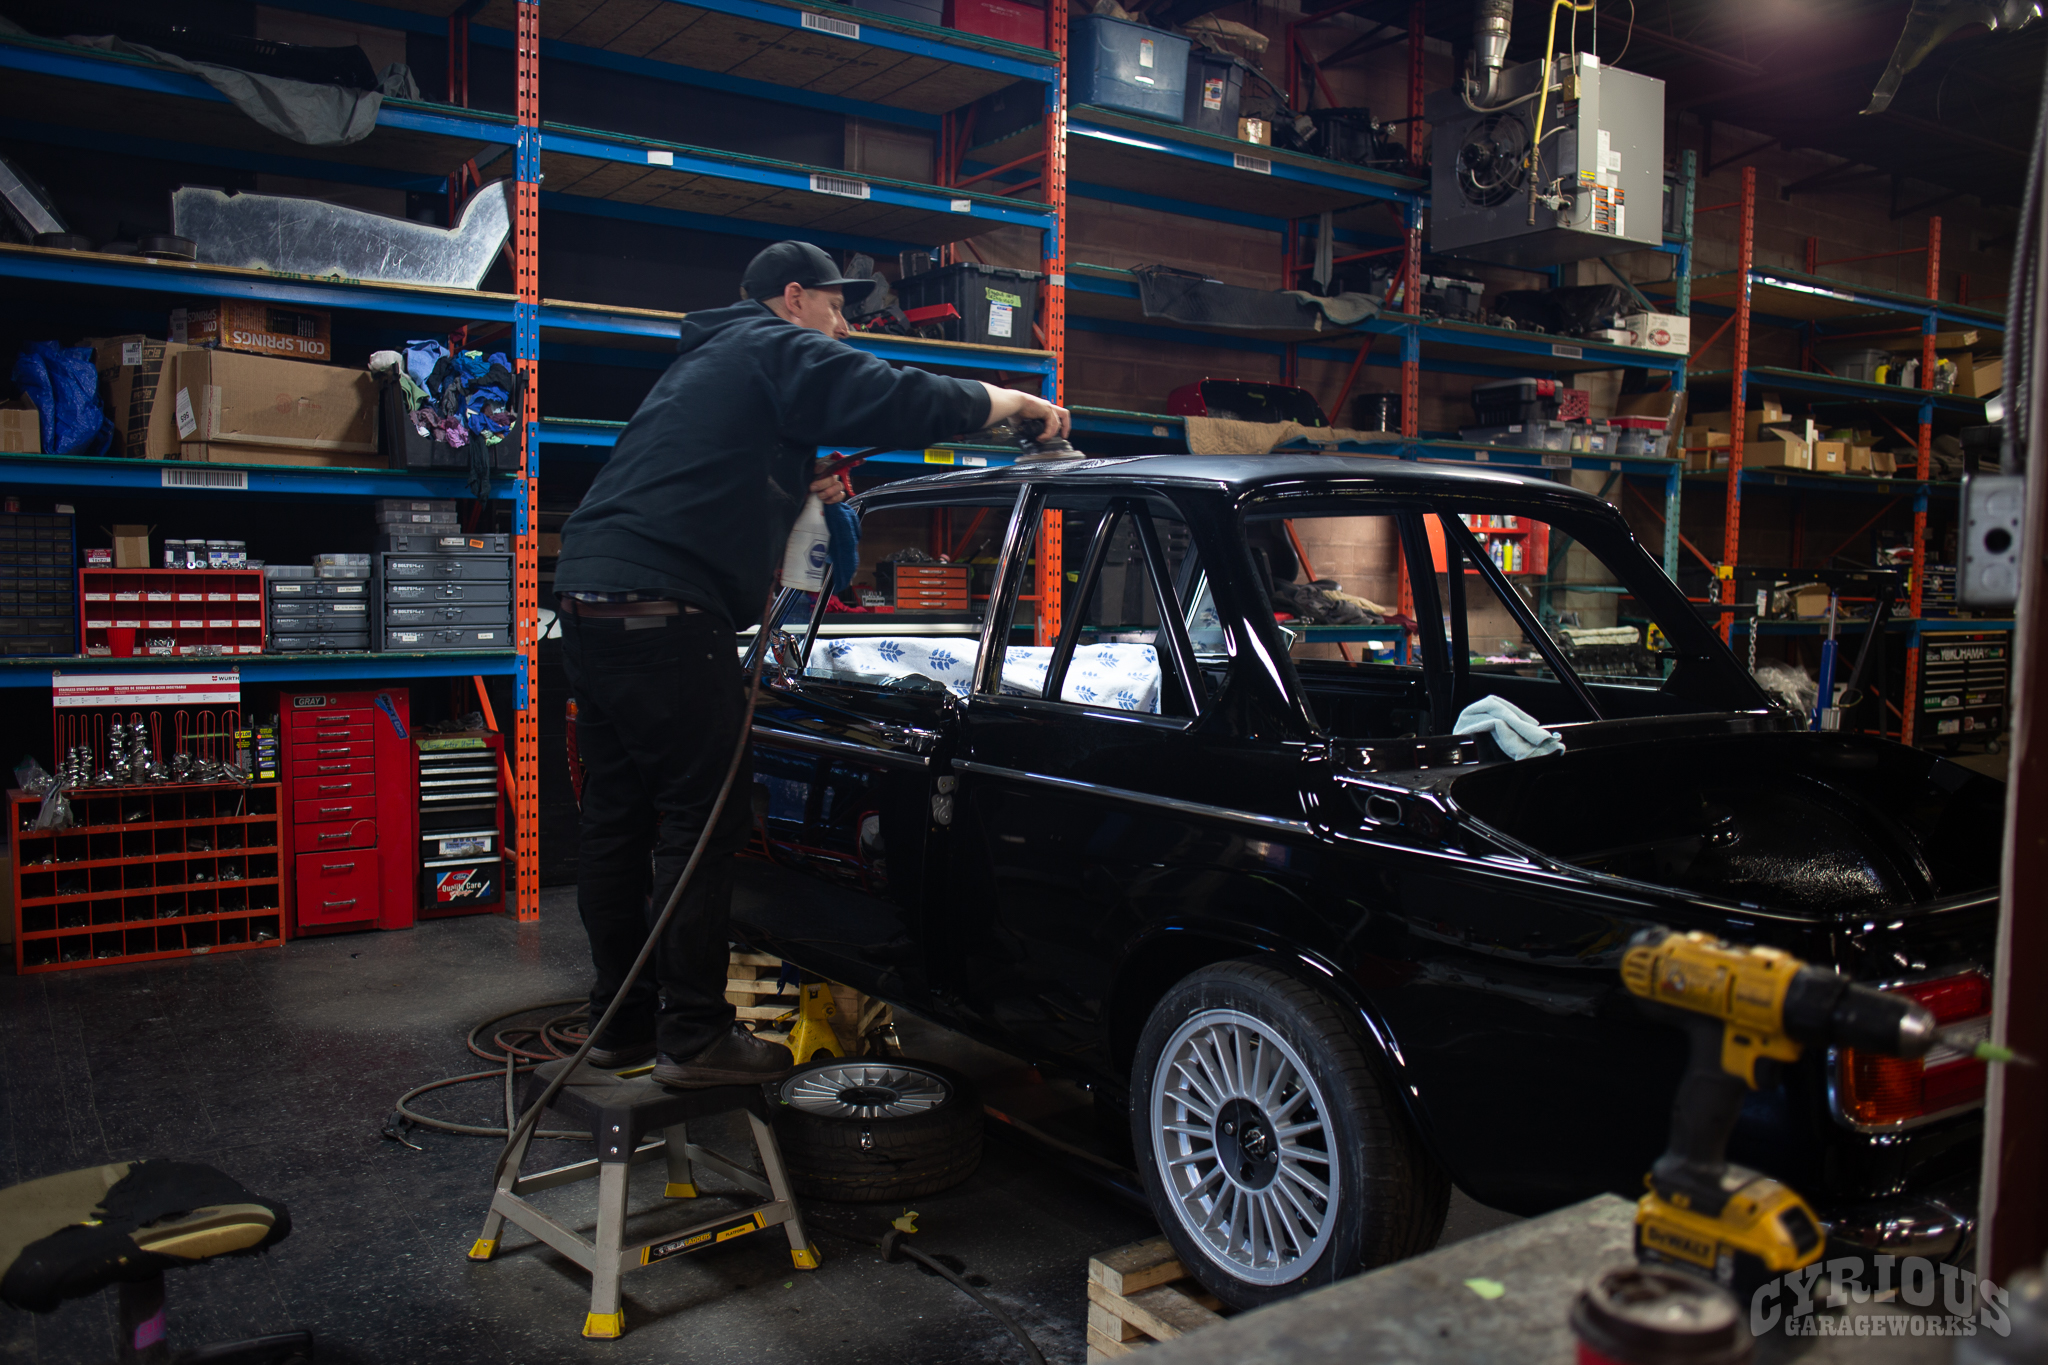


Here it is! Final assembly on Project S2002! In case you haven’t been here for the previous parts, you can go right back to the start here, or you can go to Pt. 3 right here! Without further ado, let’s get this thing on the road!
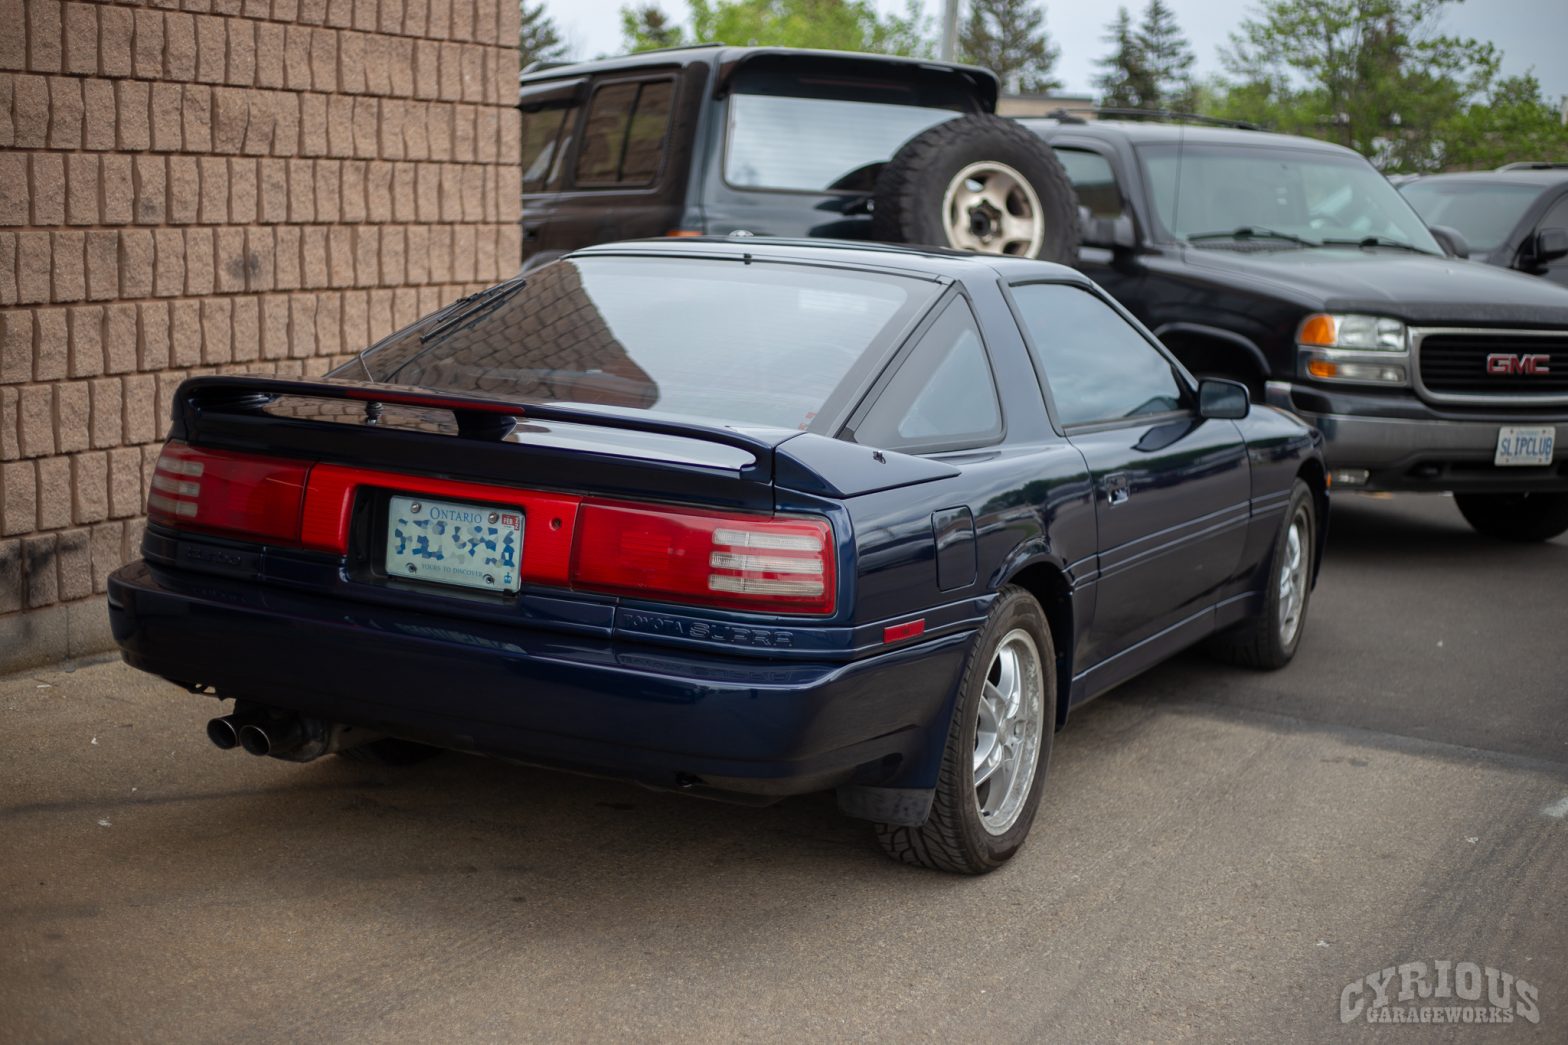
80’s Supras, much like 80’s Corollas, are becoming more and more rare as time goes on. Sadly the Supra is not immune to the afflictions some of these old vehicles seem to get, least of all: rust. Like any great vintage Japanese car, it has the ability to slowly disintegrate before your very eyes. The same can be said for this Supra, a cherished family car, but starting to really show its age.


Don’t let the reasonably tidy looking exterior fool you…it may look fine from a distance, but take a closer look…


Alright, a little bit of rust but not too bad right? Wrong.


As we began repairs in the rear, we started noticing more and more rot every minute. This can become a problem, since rust repair tends to add to the labour bill pretty quickly, and we were working within a budget on this project. Thankfully, we were able to come up with an alternate plan: find a clean Supra rear end from somewhere south of the border, and use it to replace anything that was rotten. It may sound nuts, but if everything goes to plan, it would actually be more cost effective than removing and patching all the rot piece by piece. This method will just replace the entire panel. All we’ve gotta do now is find a Supra with a clean rear end, and we’re good to go!
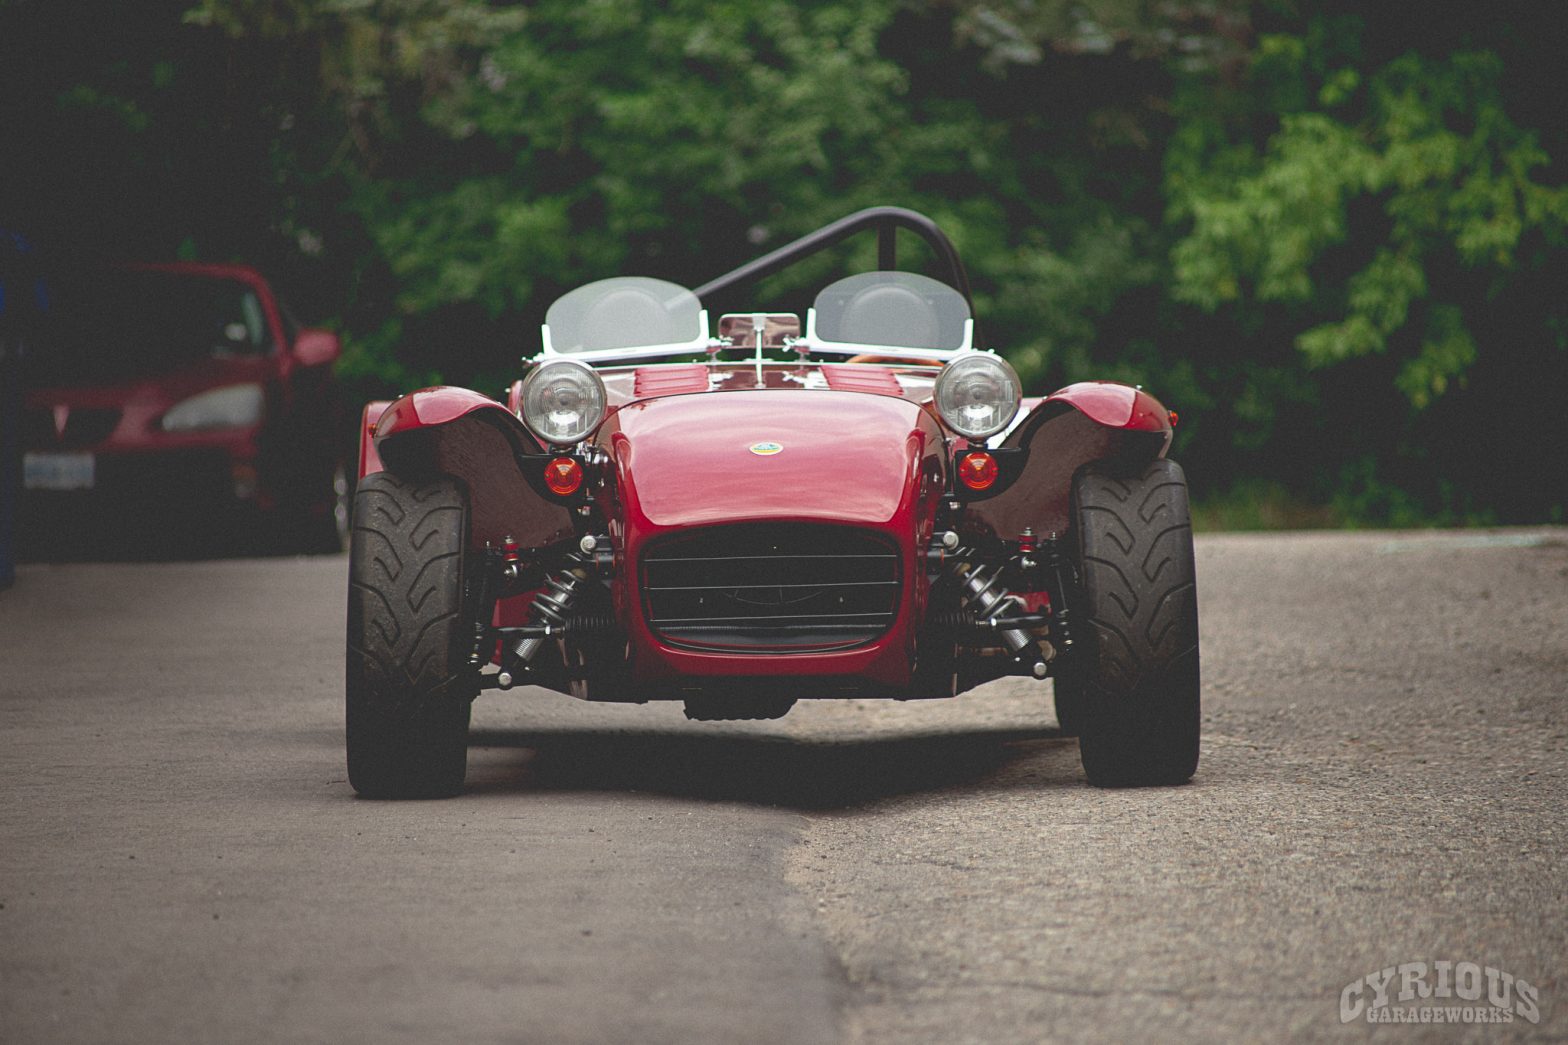
Welcome to Part Two of our Super Seven restoration coverage! If you didn’t check out part one yet, you should get on that first, then get right back here!
Enough of that, let’s dig in to part two!


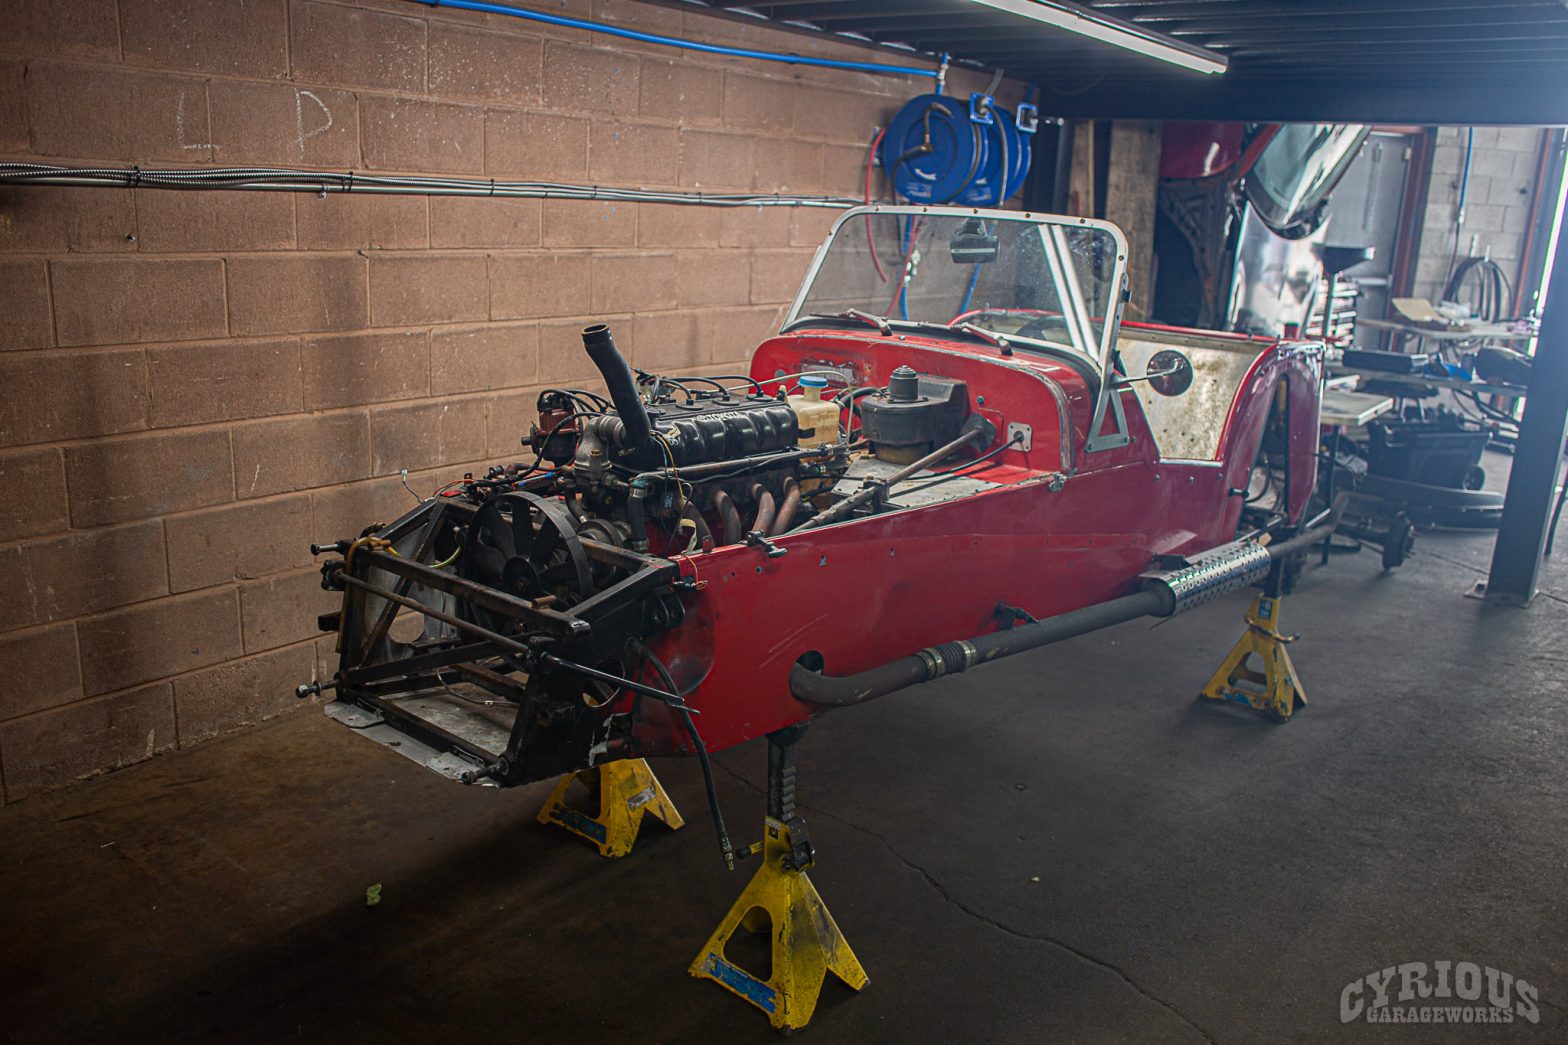
We’ve mentioned before that we enjoy challenging projects from time to time, and this one would be no exception.

It’s a Lotus Super Seven! Okay, but not actually. Y’see, this is actually a licensed copy of the Lotus Super Seven, one that was manufactured by a Canadian company in the 70’s and 80’s. So, as much as it wasn’t built in the UK, it shares many similarities (along with a couple key differences) to the original. The most prominent difference: the entire drivetrain from front to back has been taken from a 70’s Toyota Corolla. A Toyota 2TC engine, mated to the appropriate Toyota transmission, coupled at the back to a Toyota Corolla rear axle.


As you can tell, things are a little bit rough to start. Before we can even consider body work we’ve gotta get this thing mostly assembled and see if/when something is missing, as well as to get any necessary fabrication work finished.


Our end goal with this one was fairly clear: complete the car (obviously), as well as to give it some nice, subtle custom touches. With factory originality being a bit less of a concern with this build, we had a bit more freedom to get creative.


Porsche is a brand known for its sporty rear-engine (and mid-rear engine) luxury cars, and there aren’t many folks who would purchase a Porsche and say “It needs more.” These people do exist however, and it turns out that we met one!

We were presented a challenge: an LS Swapped Porsche Cayman that feels just as nice going to work everyday as it does ripping fast laps at the track. The plan would be to keep the exterior relatively stock as well, so as not to give away the beast under the bonnet. Challenge accepted!


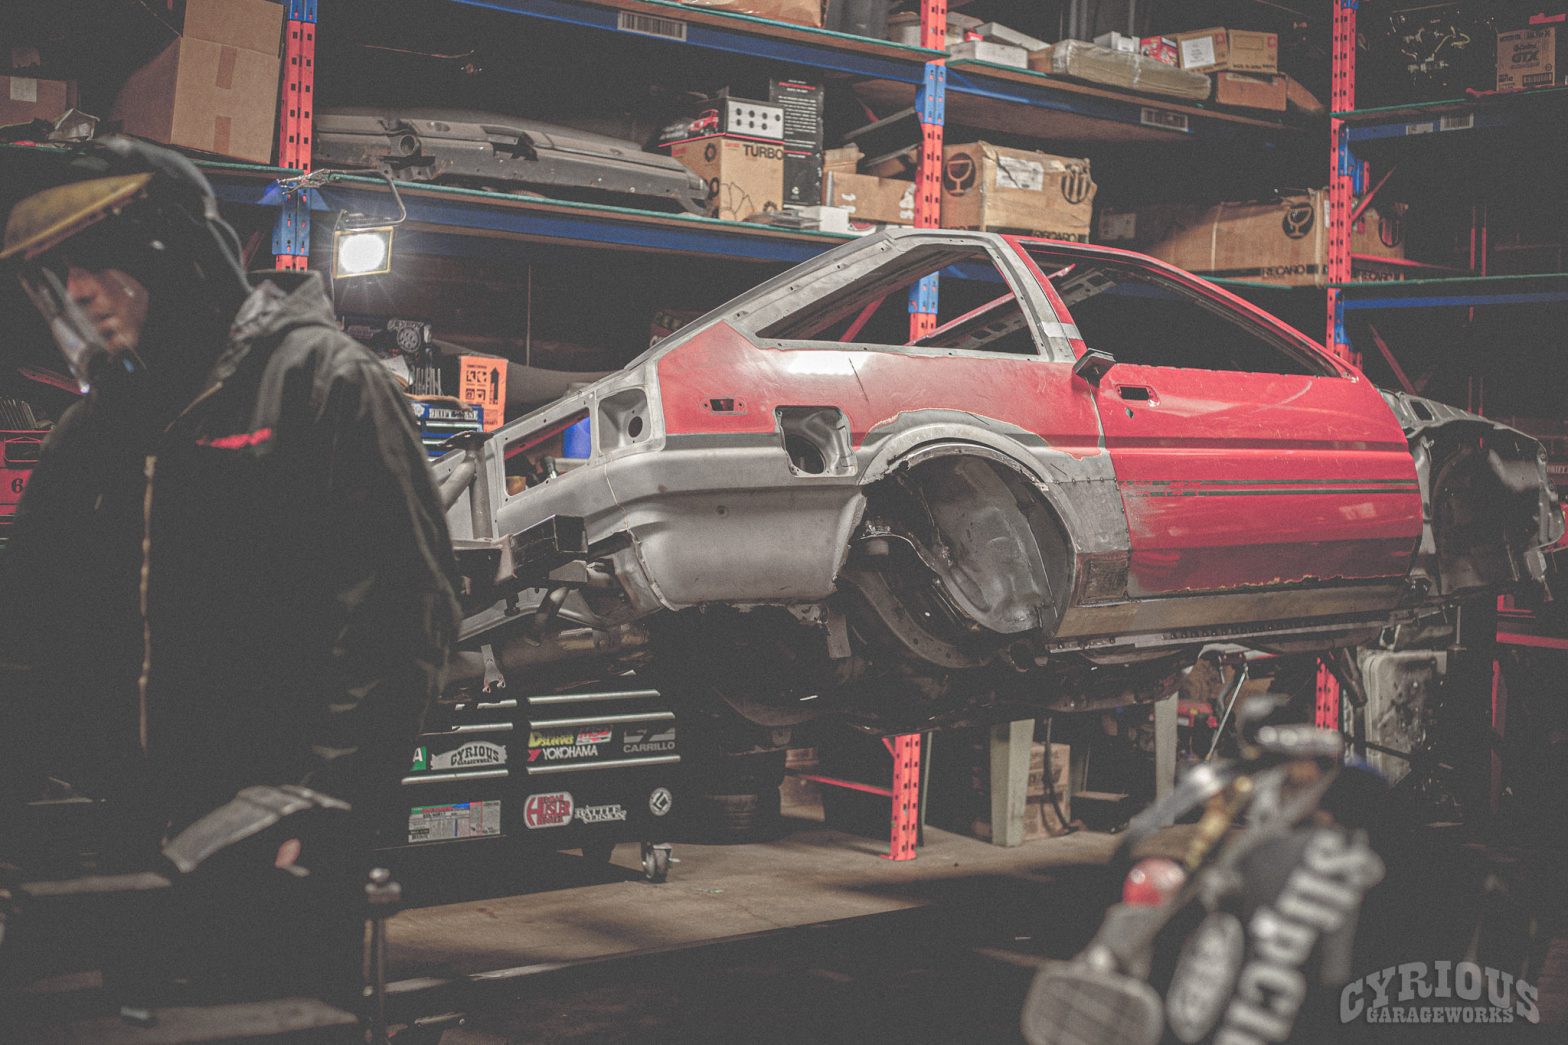
It’s been a while since we’ve had a look at this one! Last time around we got started in to the metal work on this extremely rusty AE86. You’d better believe there’s a whole lot more left to do! Let’s dig a little further in to this restoration project!


We’re back at it again! Picking up where we left off in the second part of this series, we had just finished with getting the new floors welded in, and the shiny new RB30 block has just arrived and was being prepped for assembly! Not much more to say at this point, so let’s dive in!


At the conclusion of the last post, we had an engine mocked in to the engine bay, and a whole lot of rust to eliminate. If you haven’t already read that first one, go and set the stage for yourself and come back here! If you already know what we’re getting ourselves into here, let’s keep on diggin’!


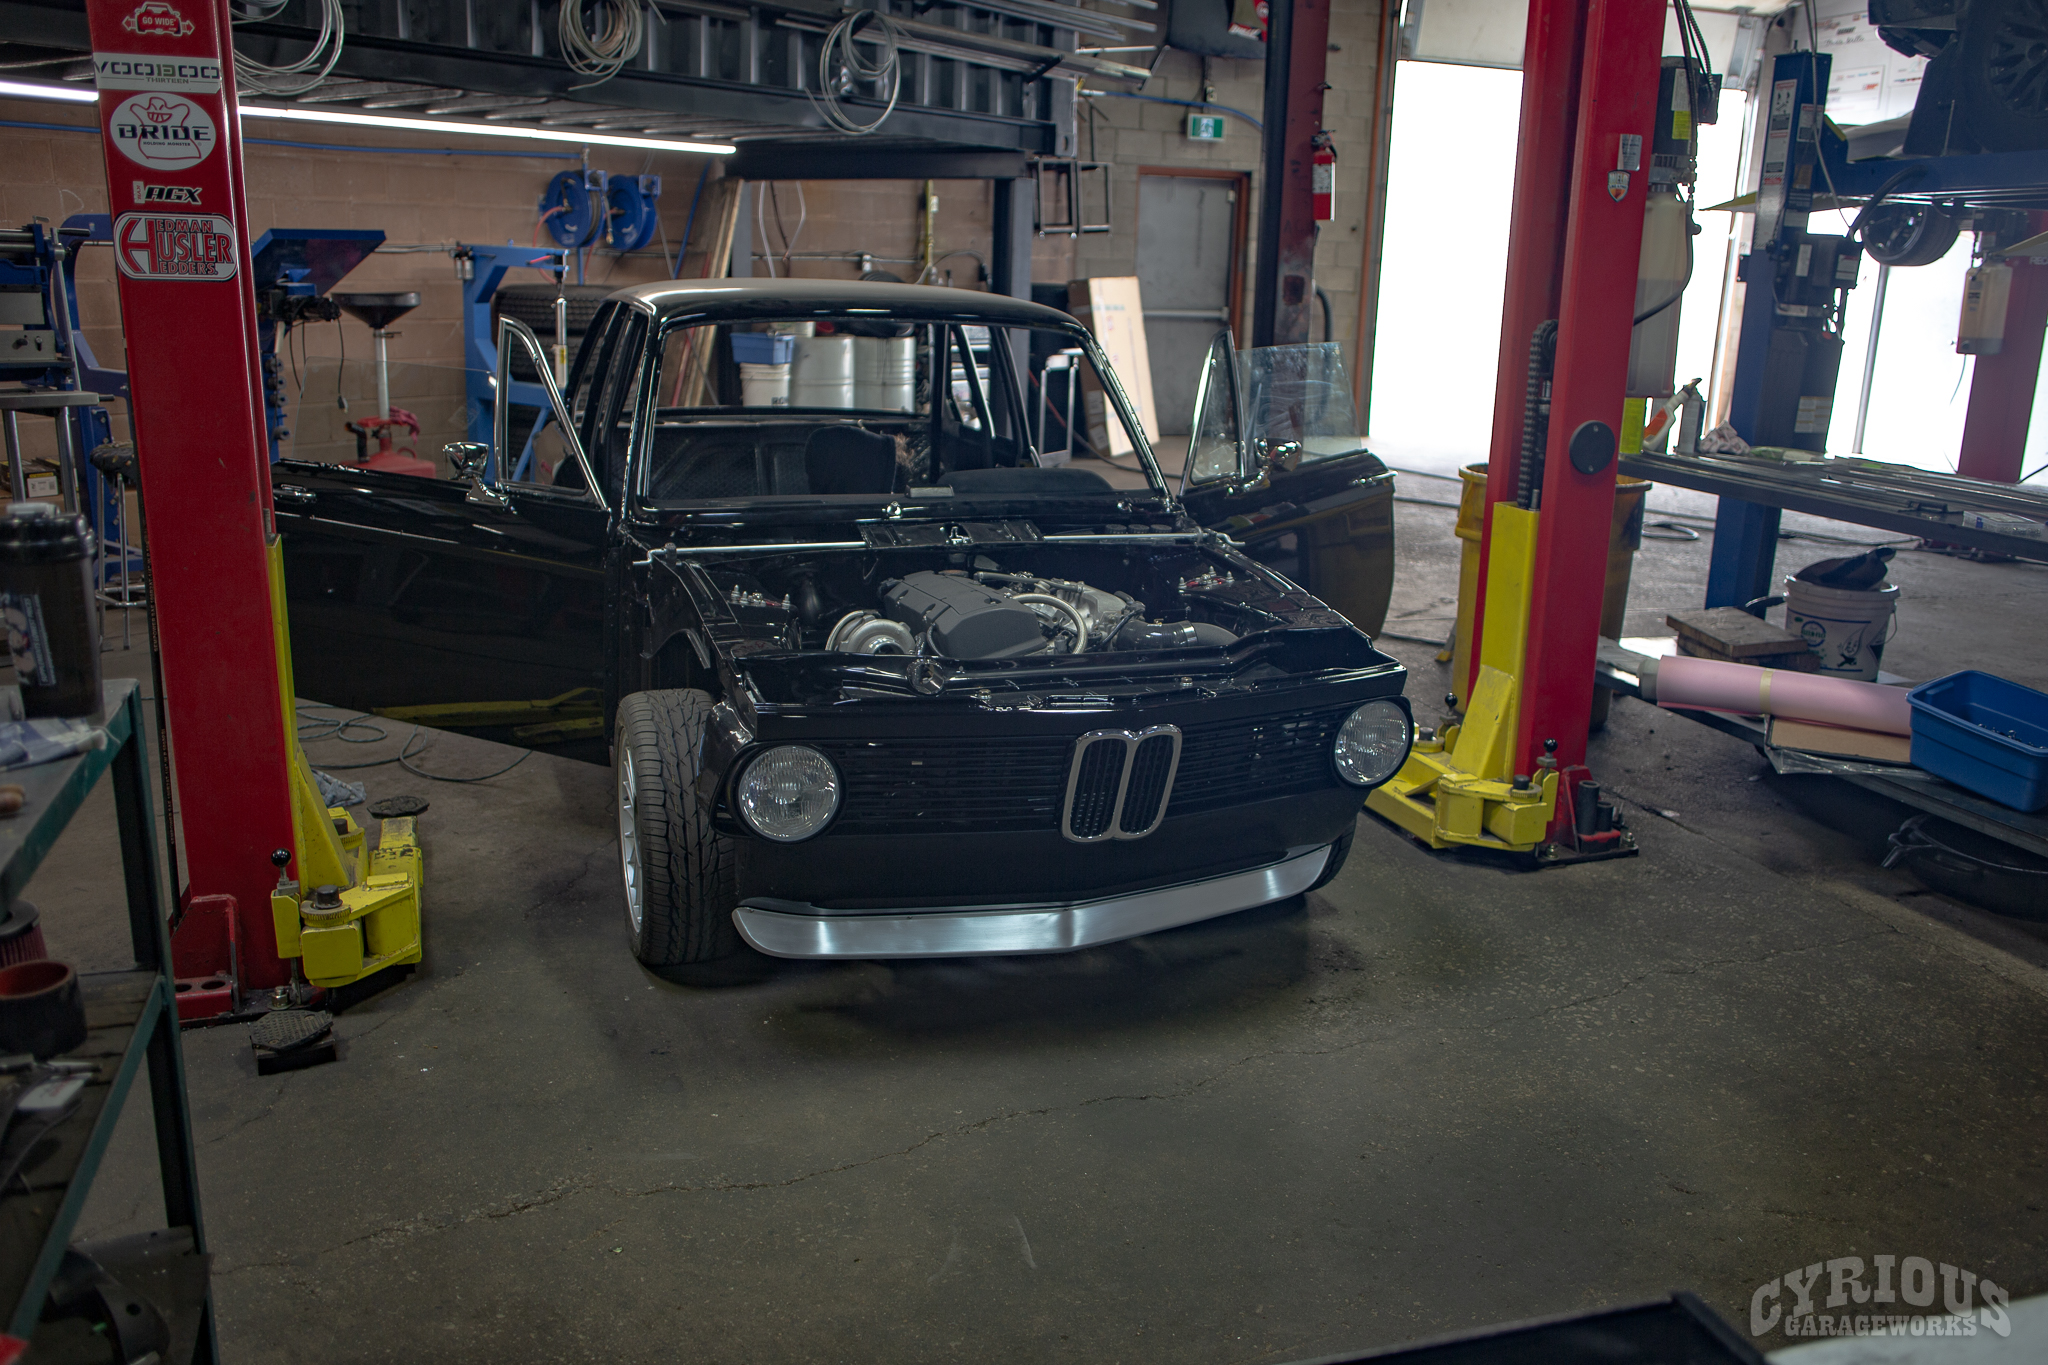
If you were to try to think of iconic BMWs, the 2002tii would probably rate pretty high on that list. Just about everybody recognizes them or has seen one at some point. Some may prefer the version with round tail lights, but BMW had both square and round over the years. Nonetheless, it serves as a great example of a classic car with the potential for some real fun.
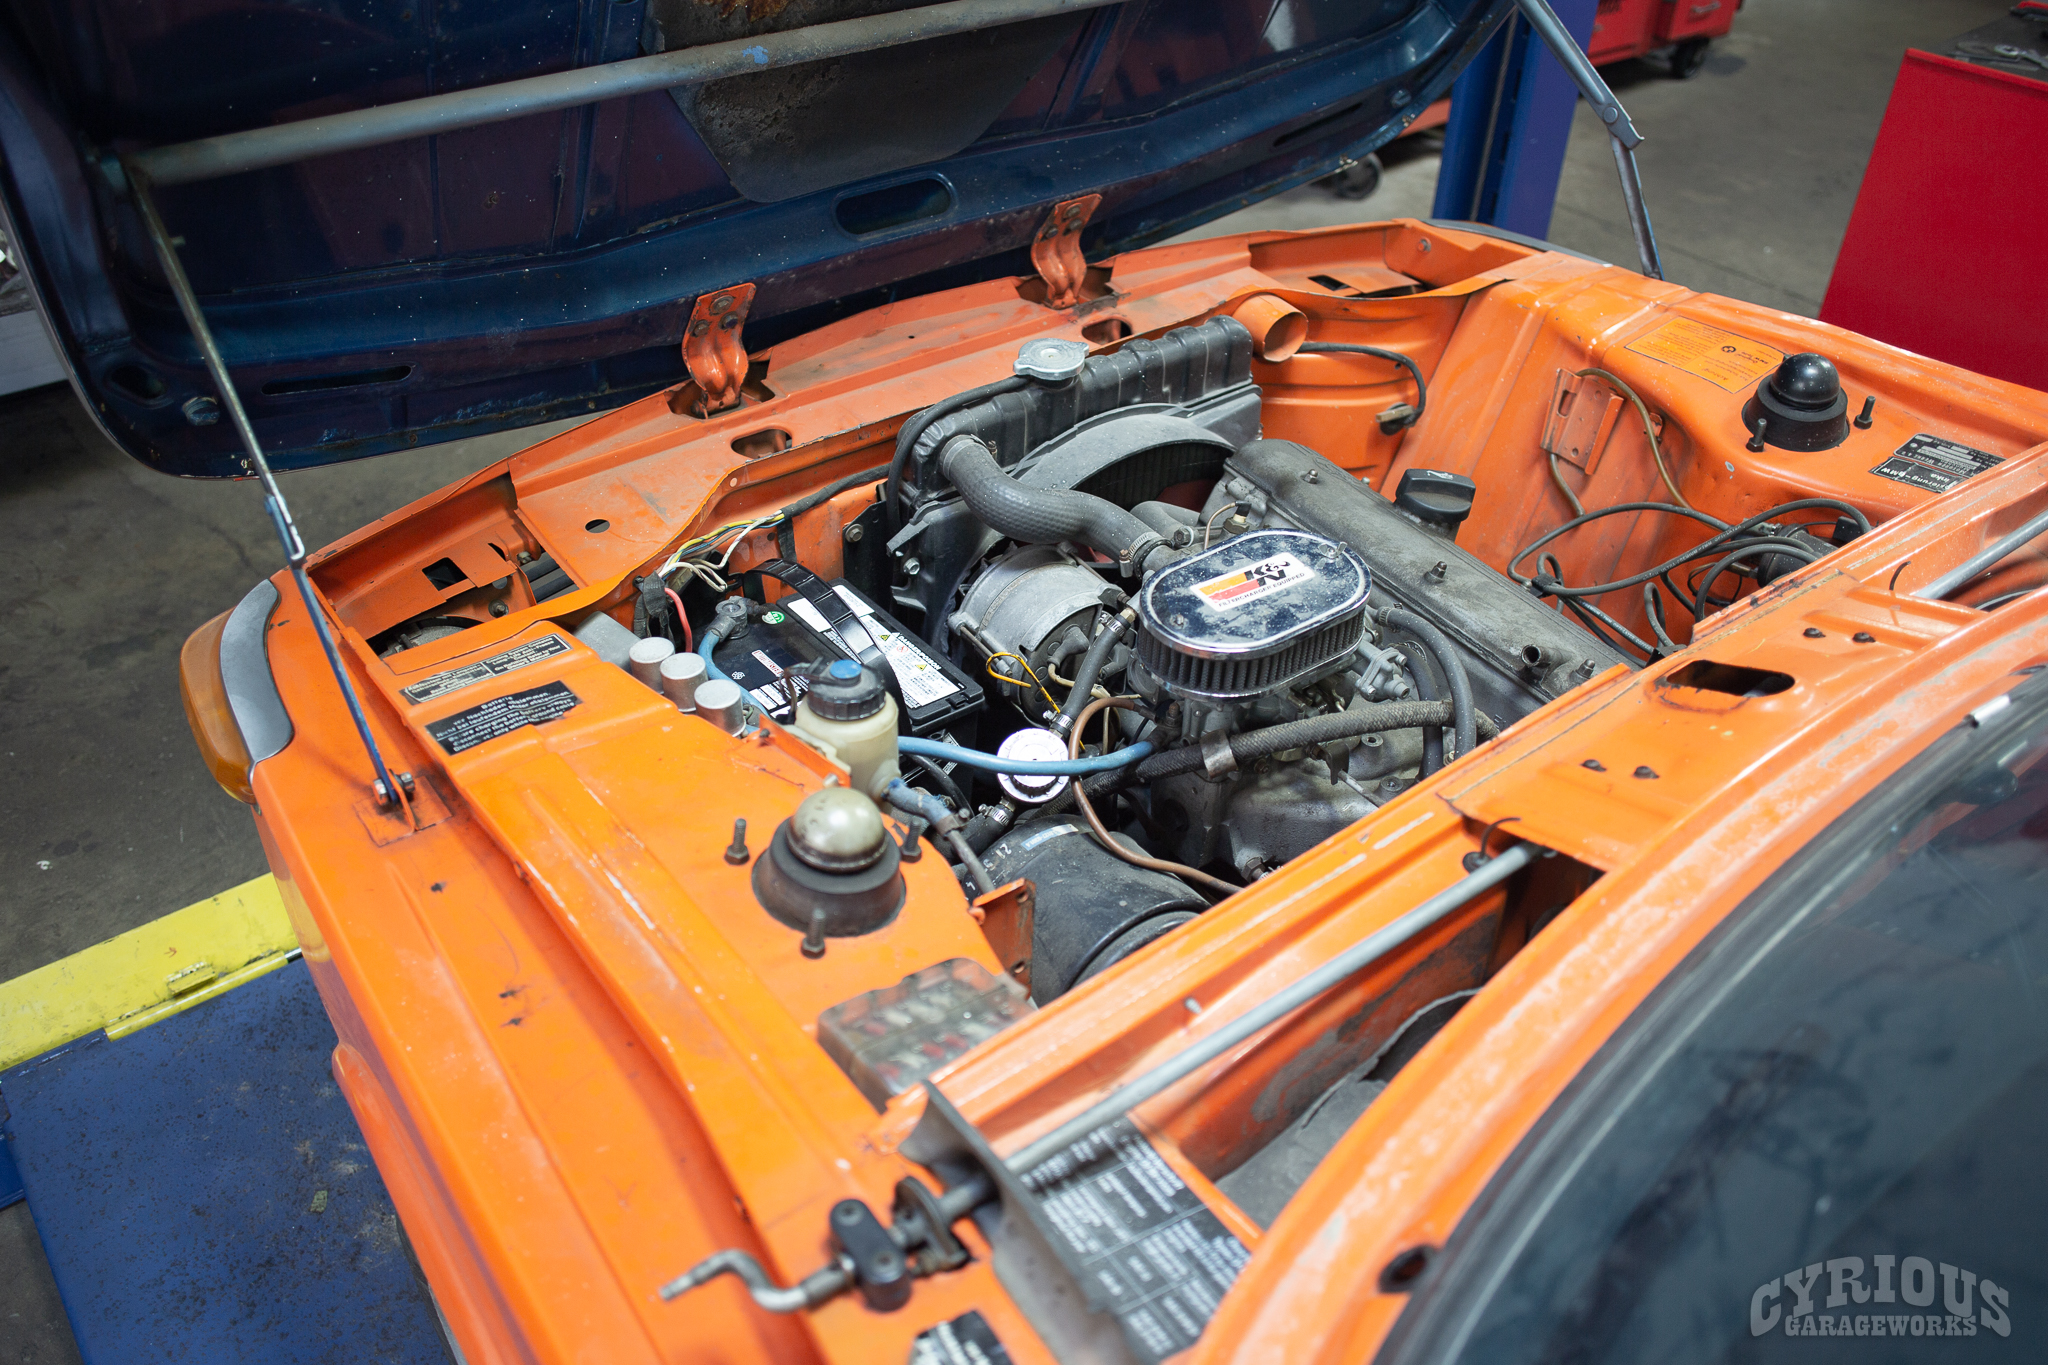
Of course, there are certainly limitations from a mechanical standpoint if you’re looking to keep the original BMW power plant under the hood. Of course there are ways to make some serious jam with a carbureted 4-cyl engine, but it’s not something that promotes reliability, and could snowball into a crazy build pretty quickly. The goal here was to get some extra power, with a touch of modern reliability and not going nuts in terms of overbuilding the drivetrain. So, what can make decent power reliably, and do so without costing an arm and a leg? In our experience, the Honda F20C is a great candidate. In addition to the factors above, they are relatively light weight and compact (compared to, say, an SR20DET), and we have a fair bit of experience building them.
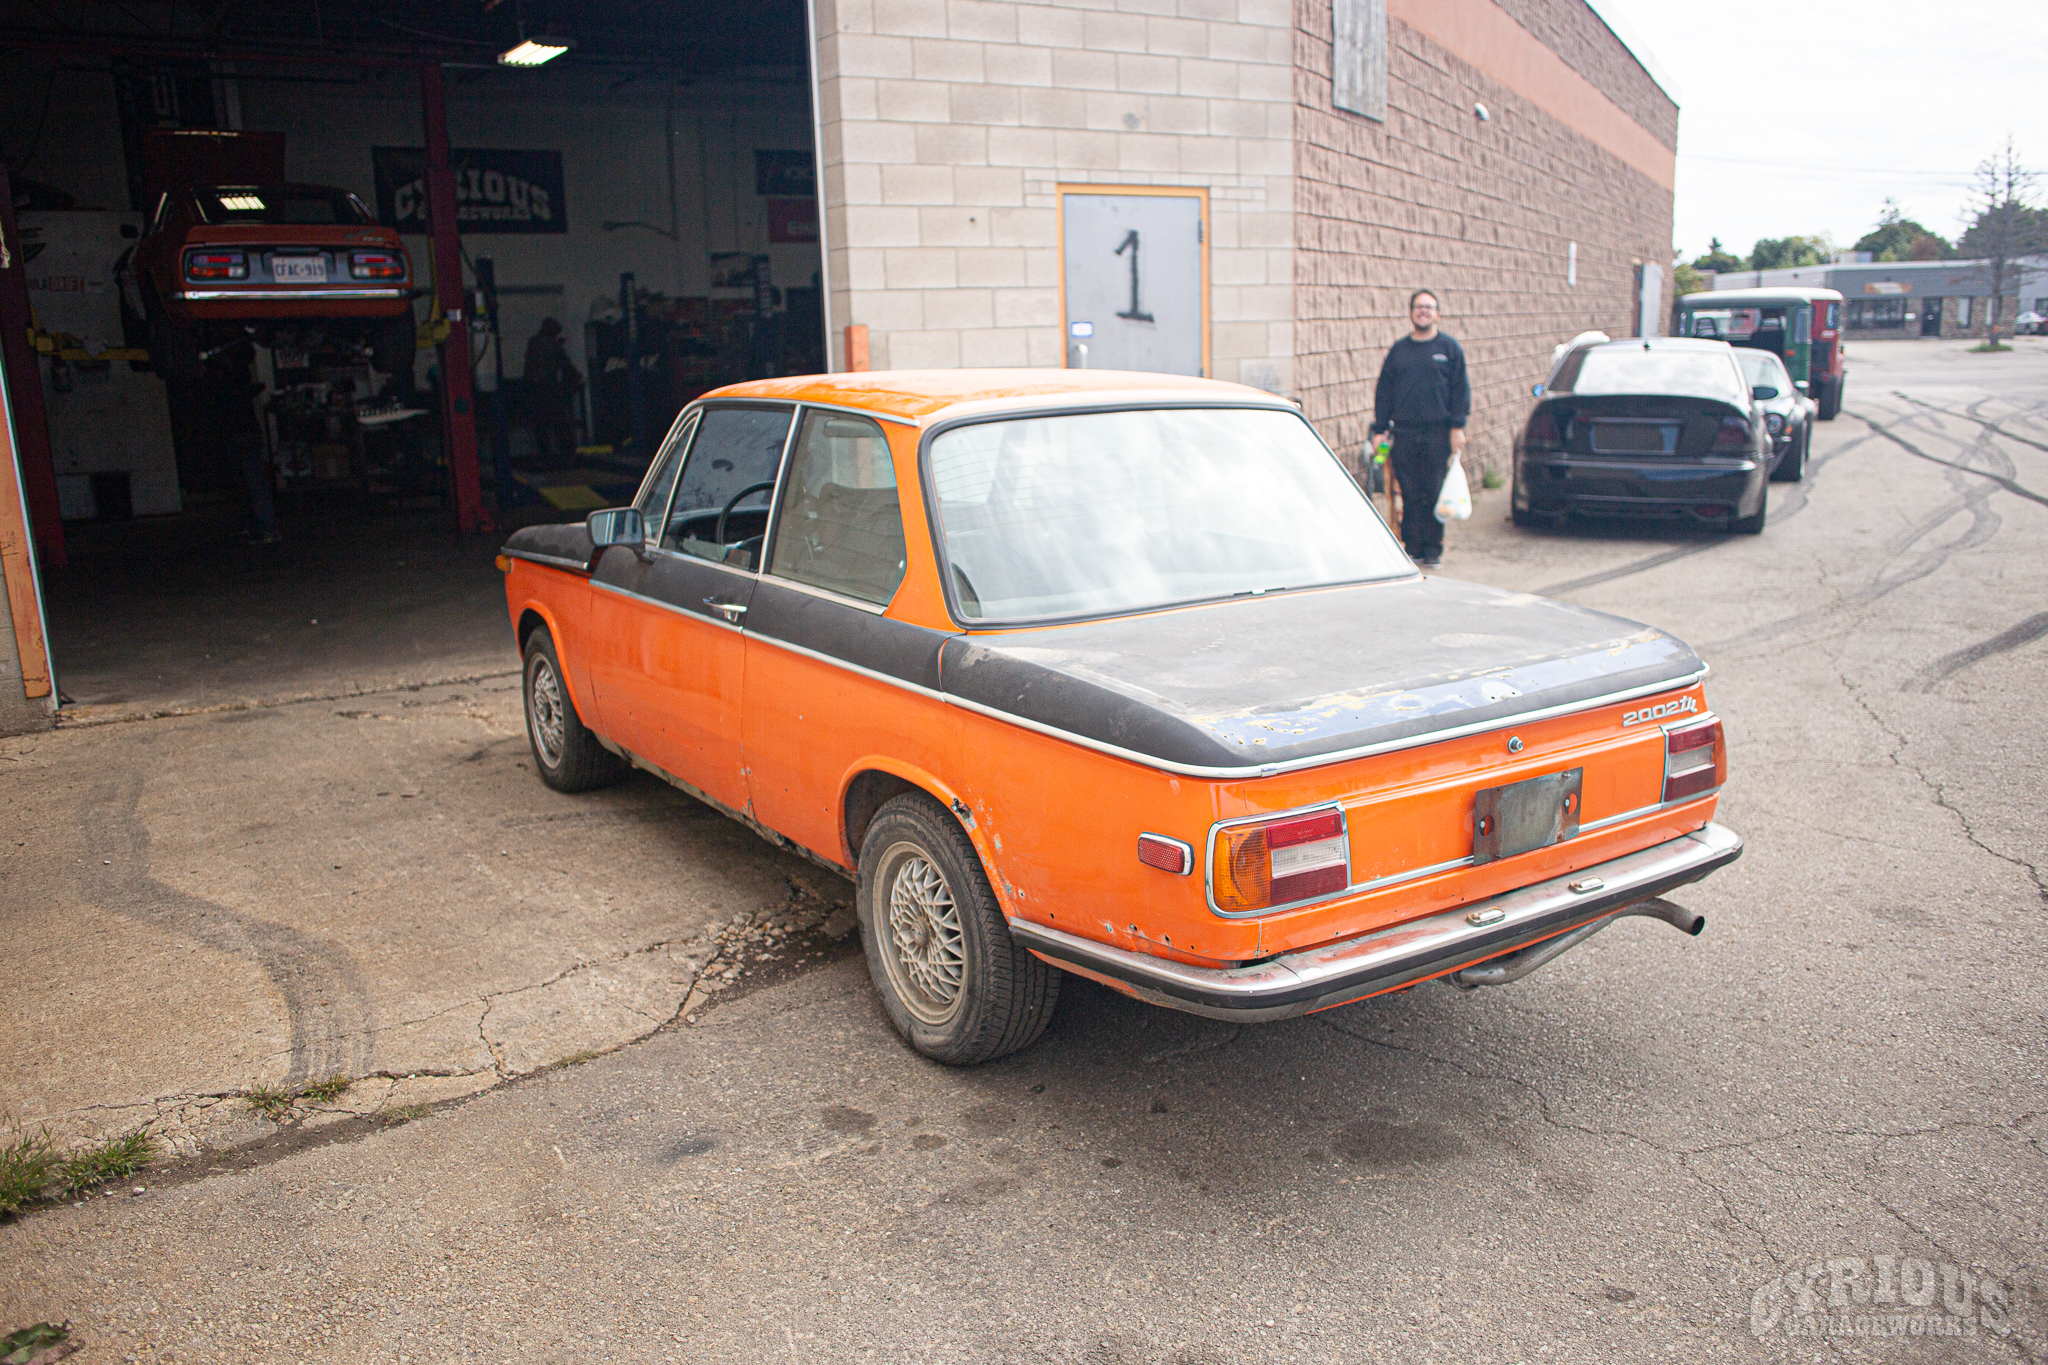
We can get to the drivetrain later though, this post will serve as an introduction to our donor car: a 1978 BMW 2002tii in Inka Orange. As classic cars from around here go, this one was maybe not the most rotten, but still has plenty of work to be done. Let’s have a bit of a closer look at what we’re getting in to here.
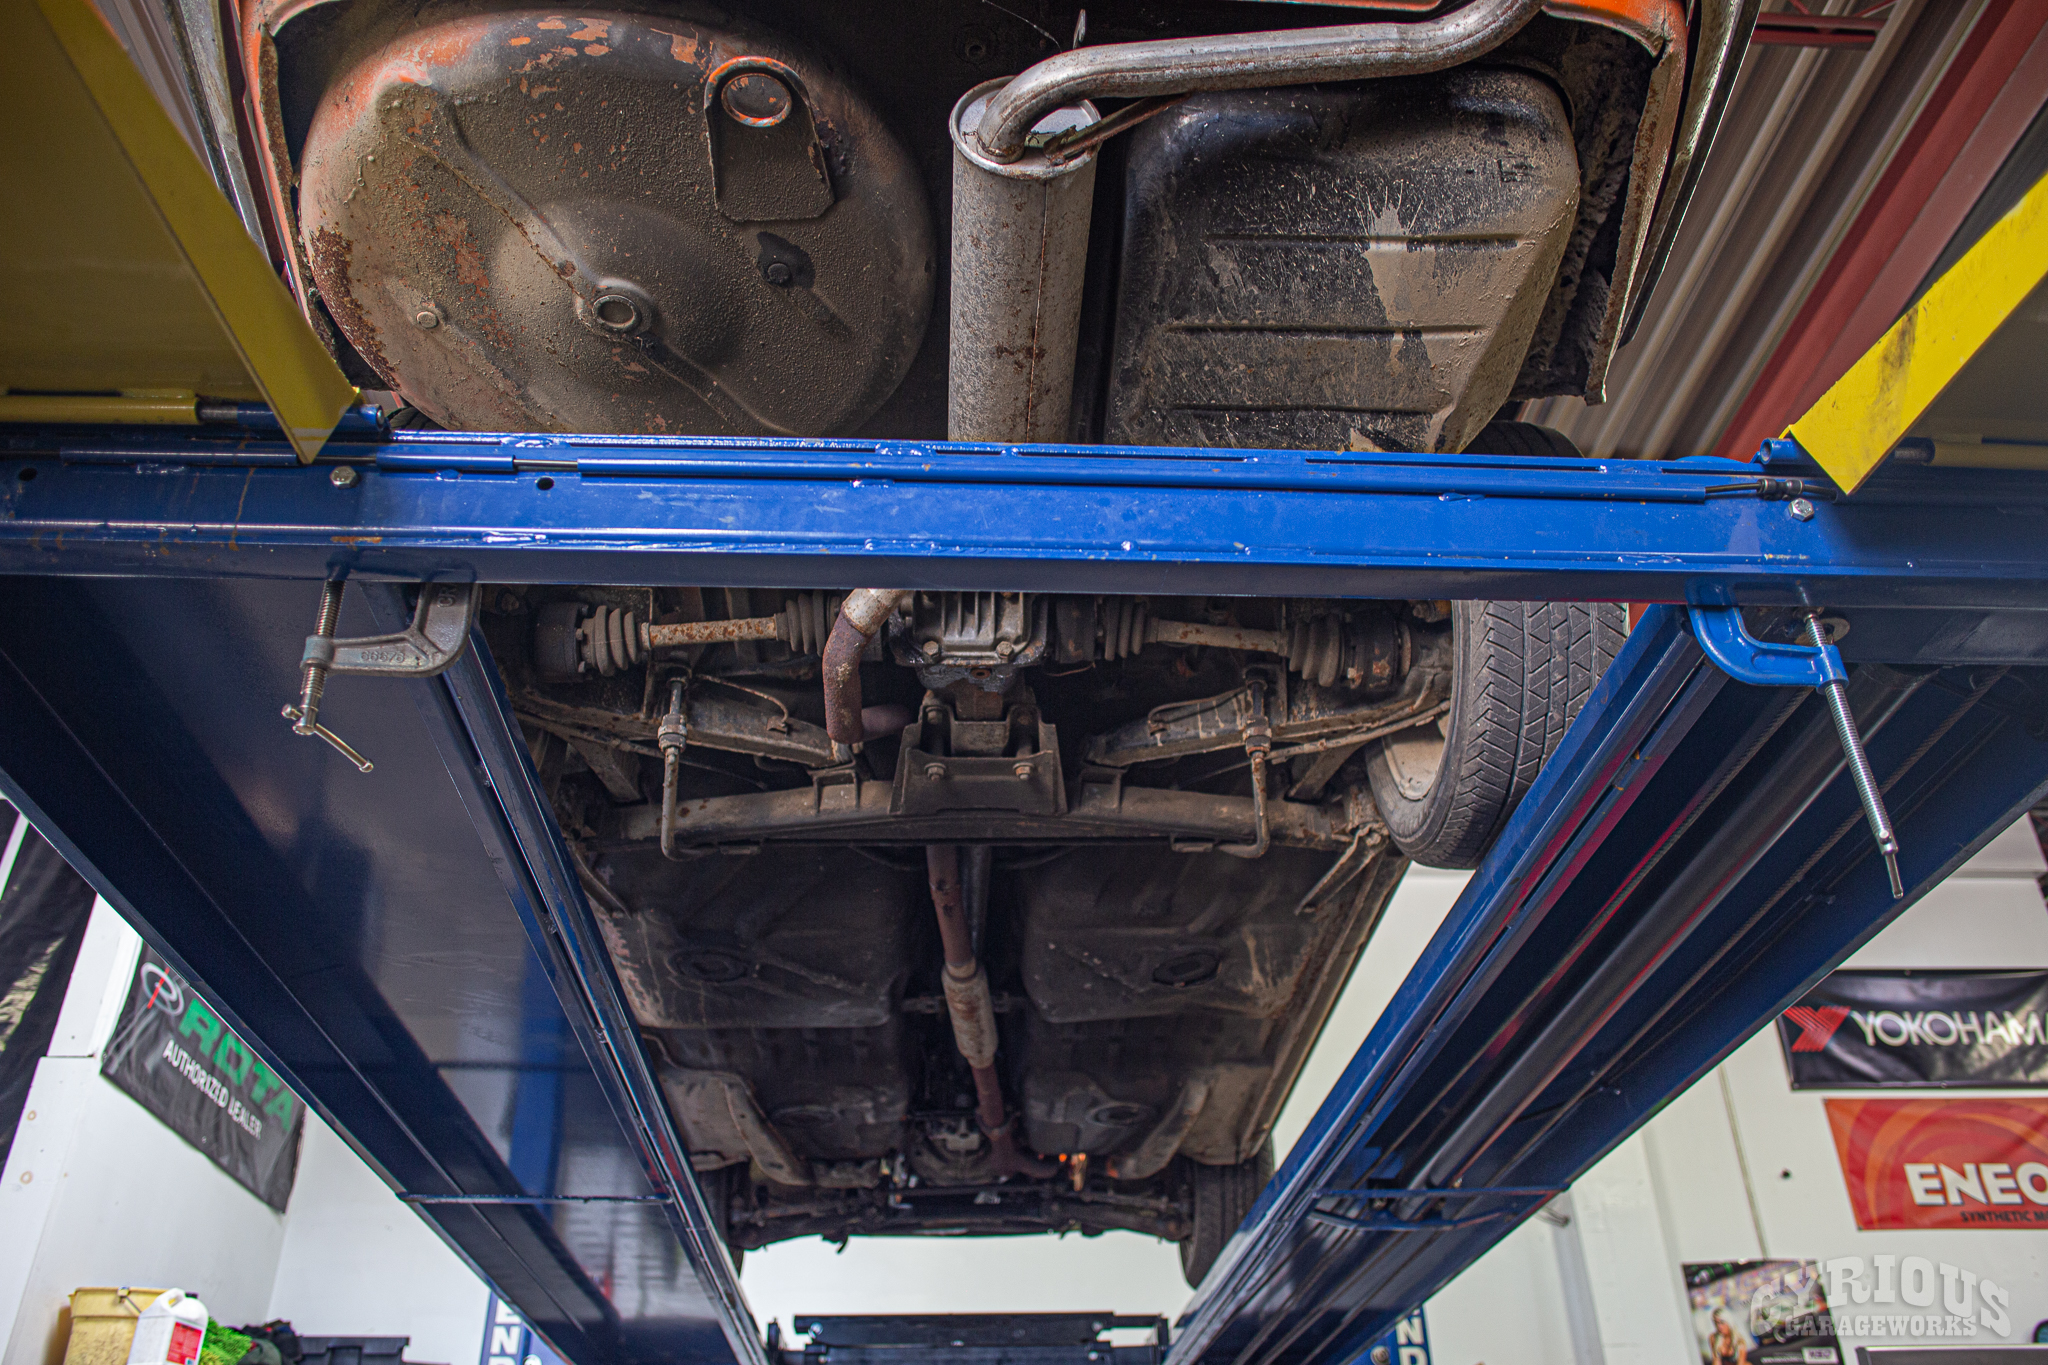
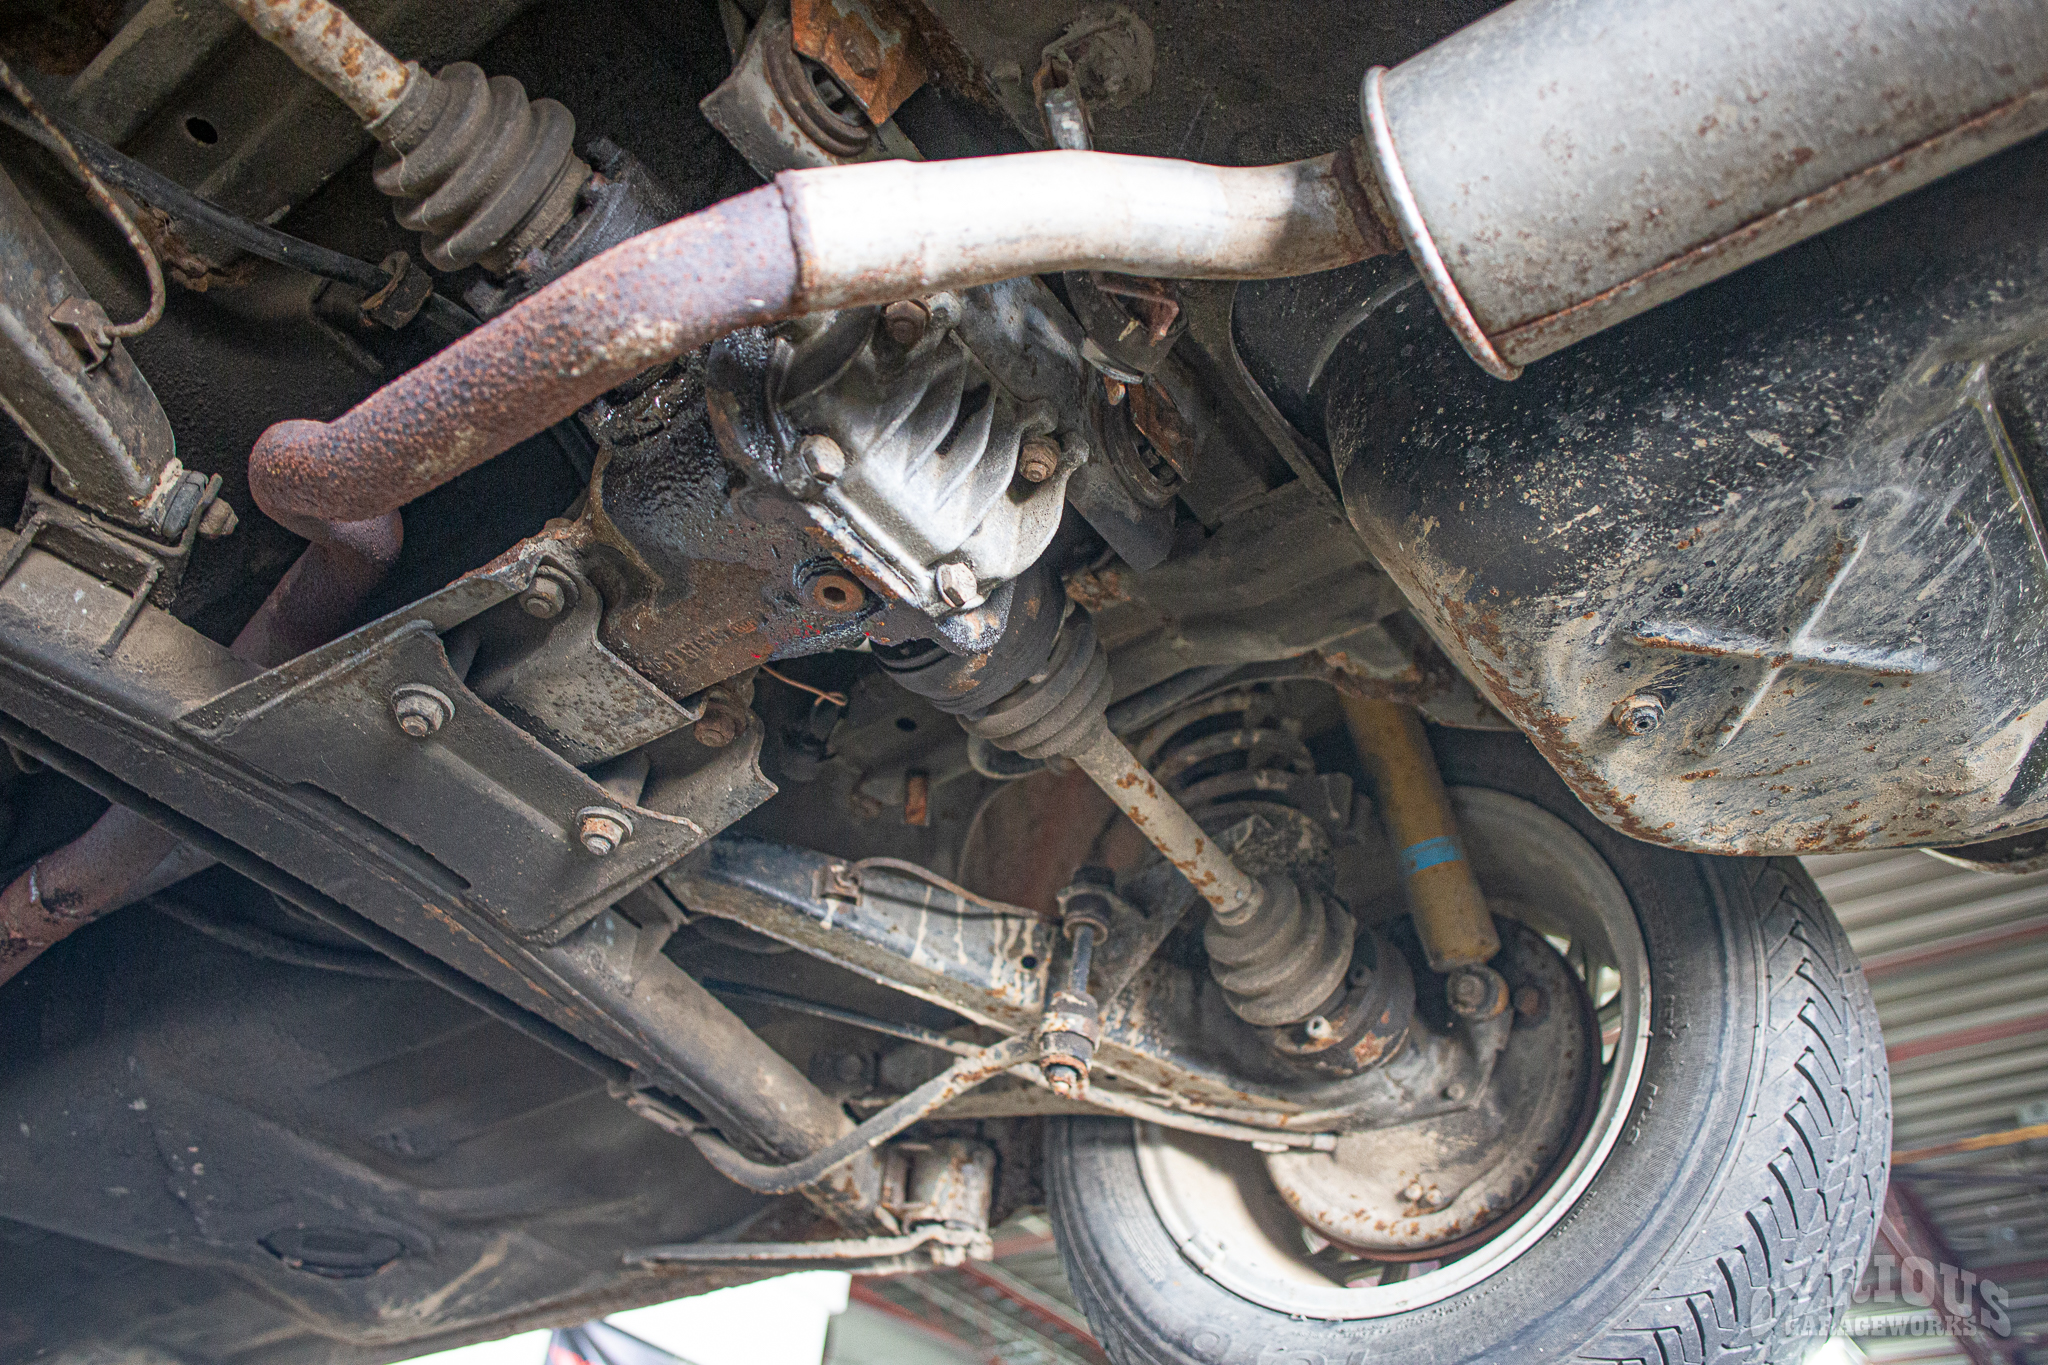
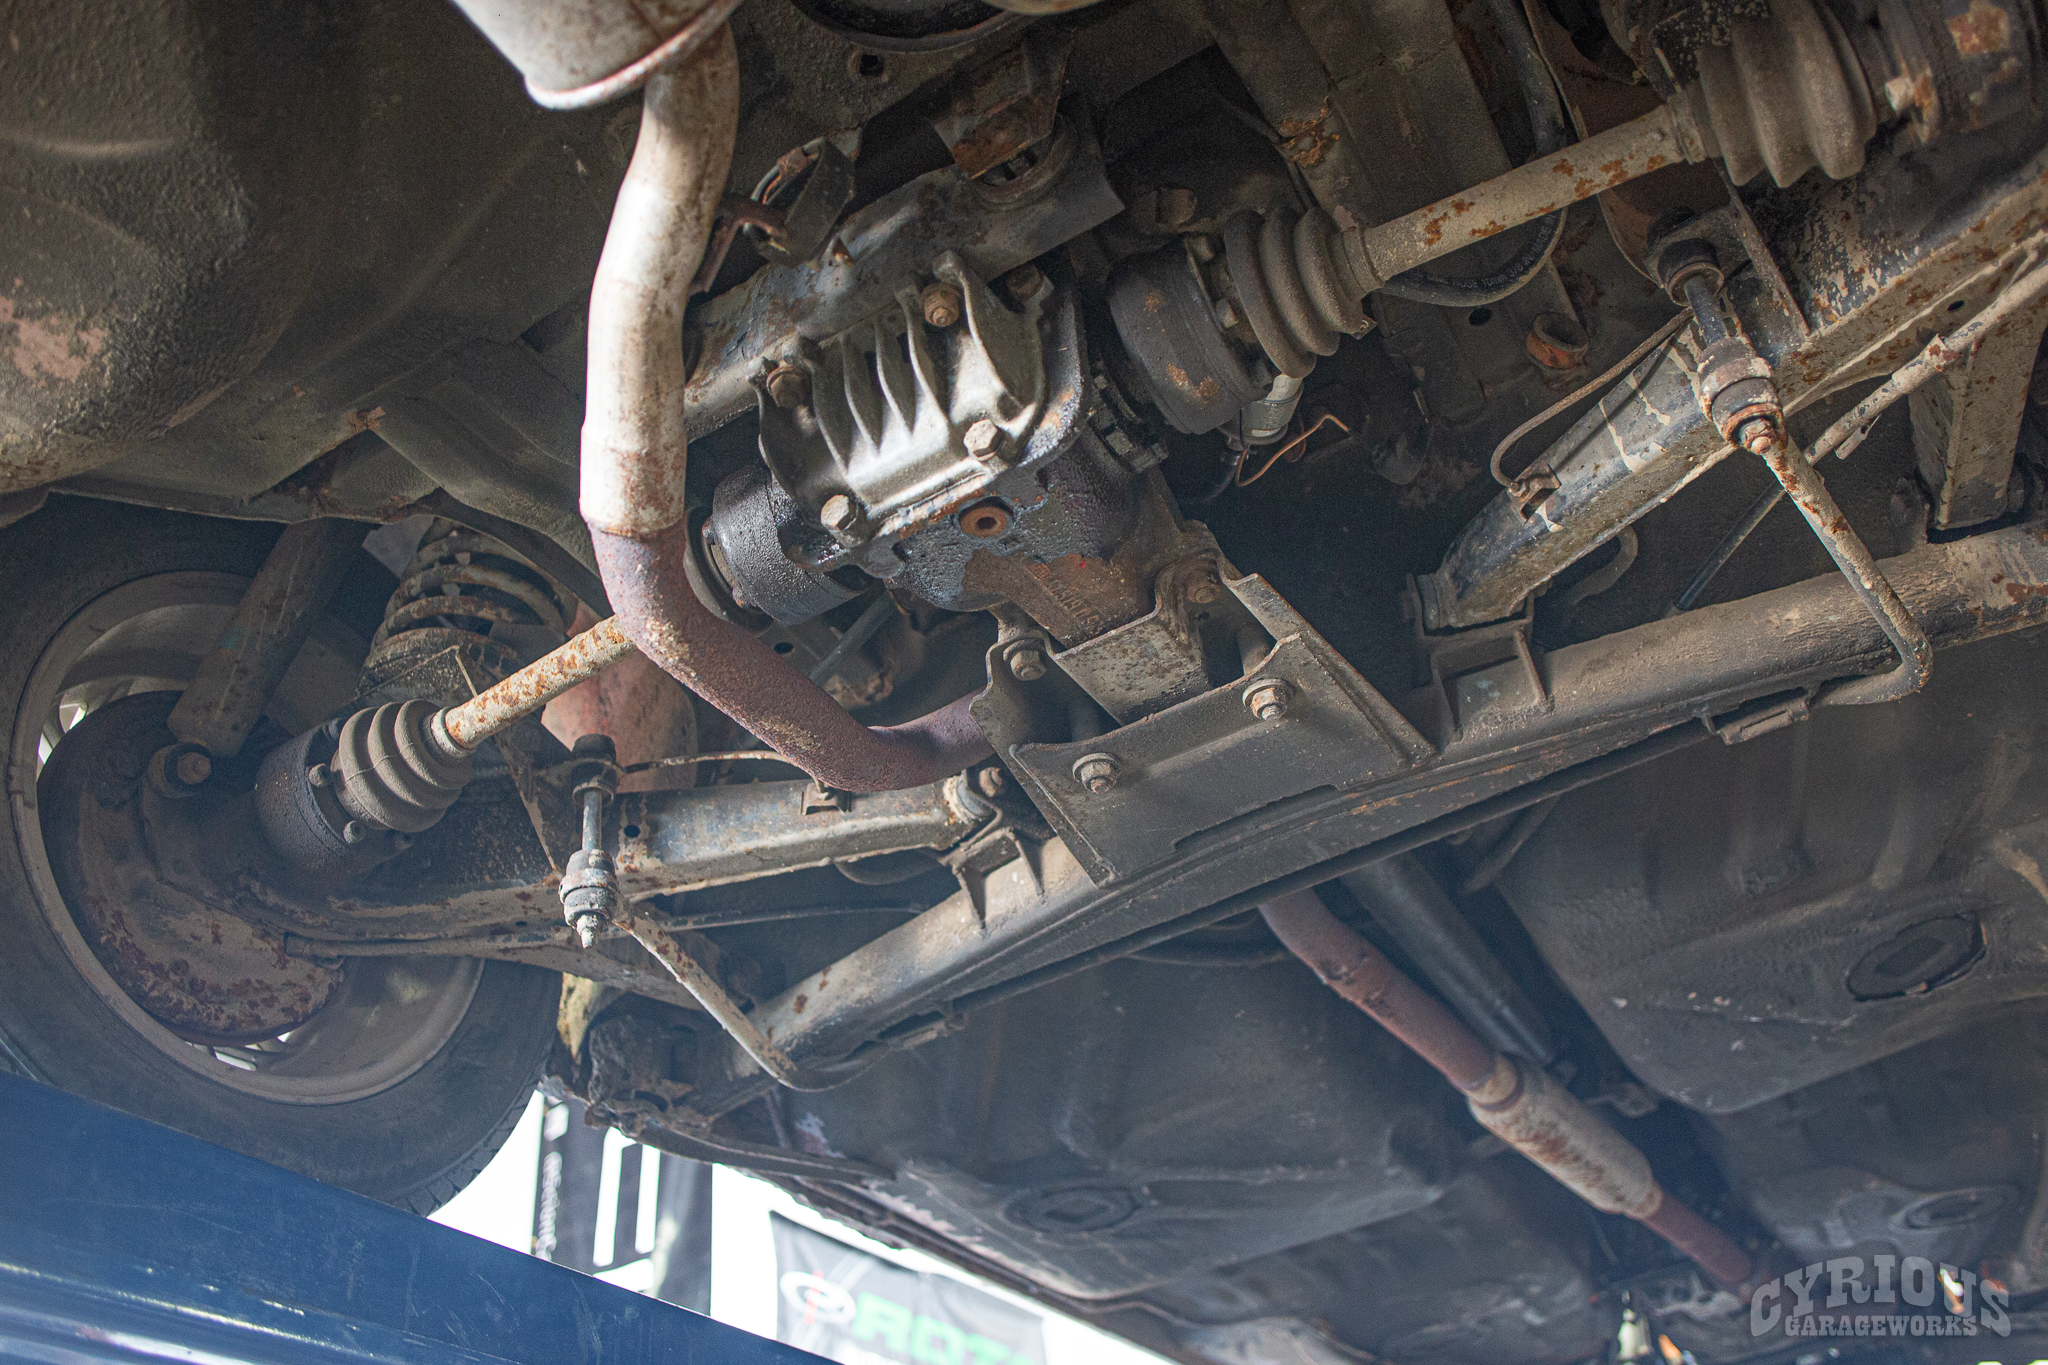
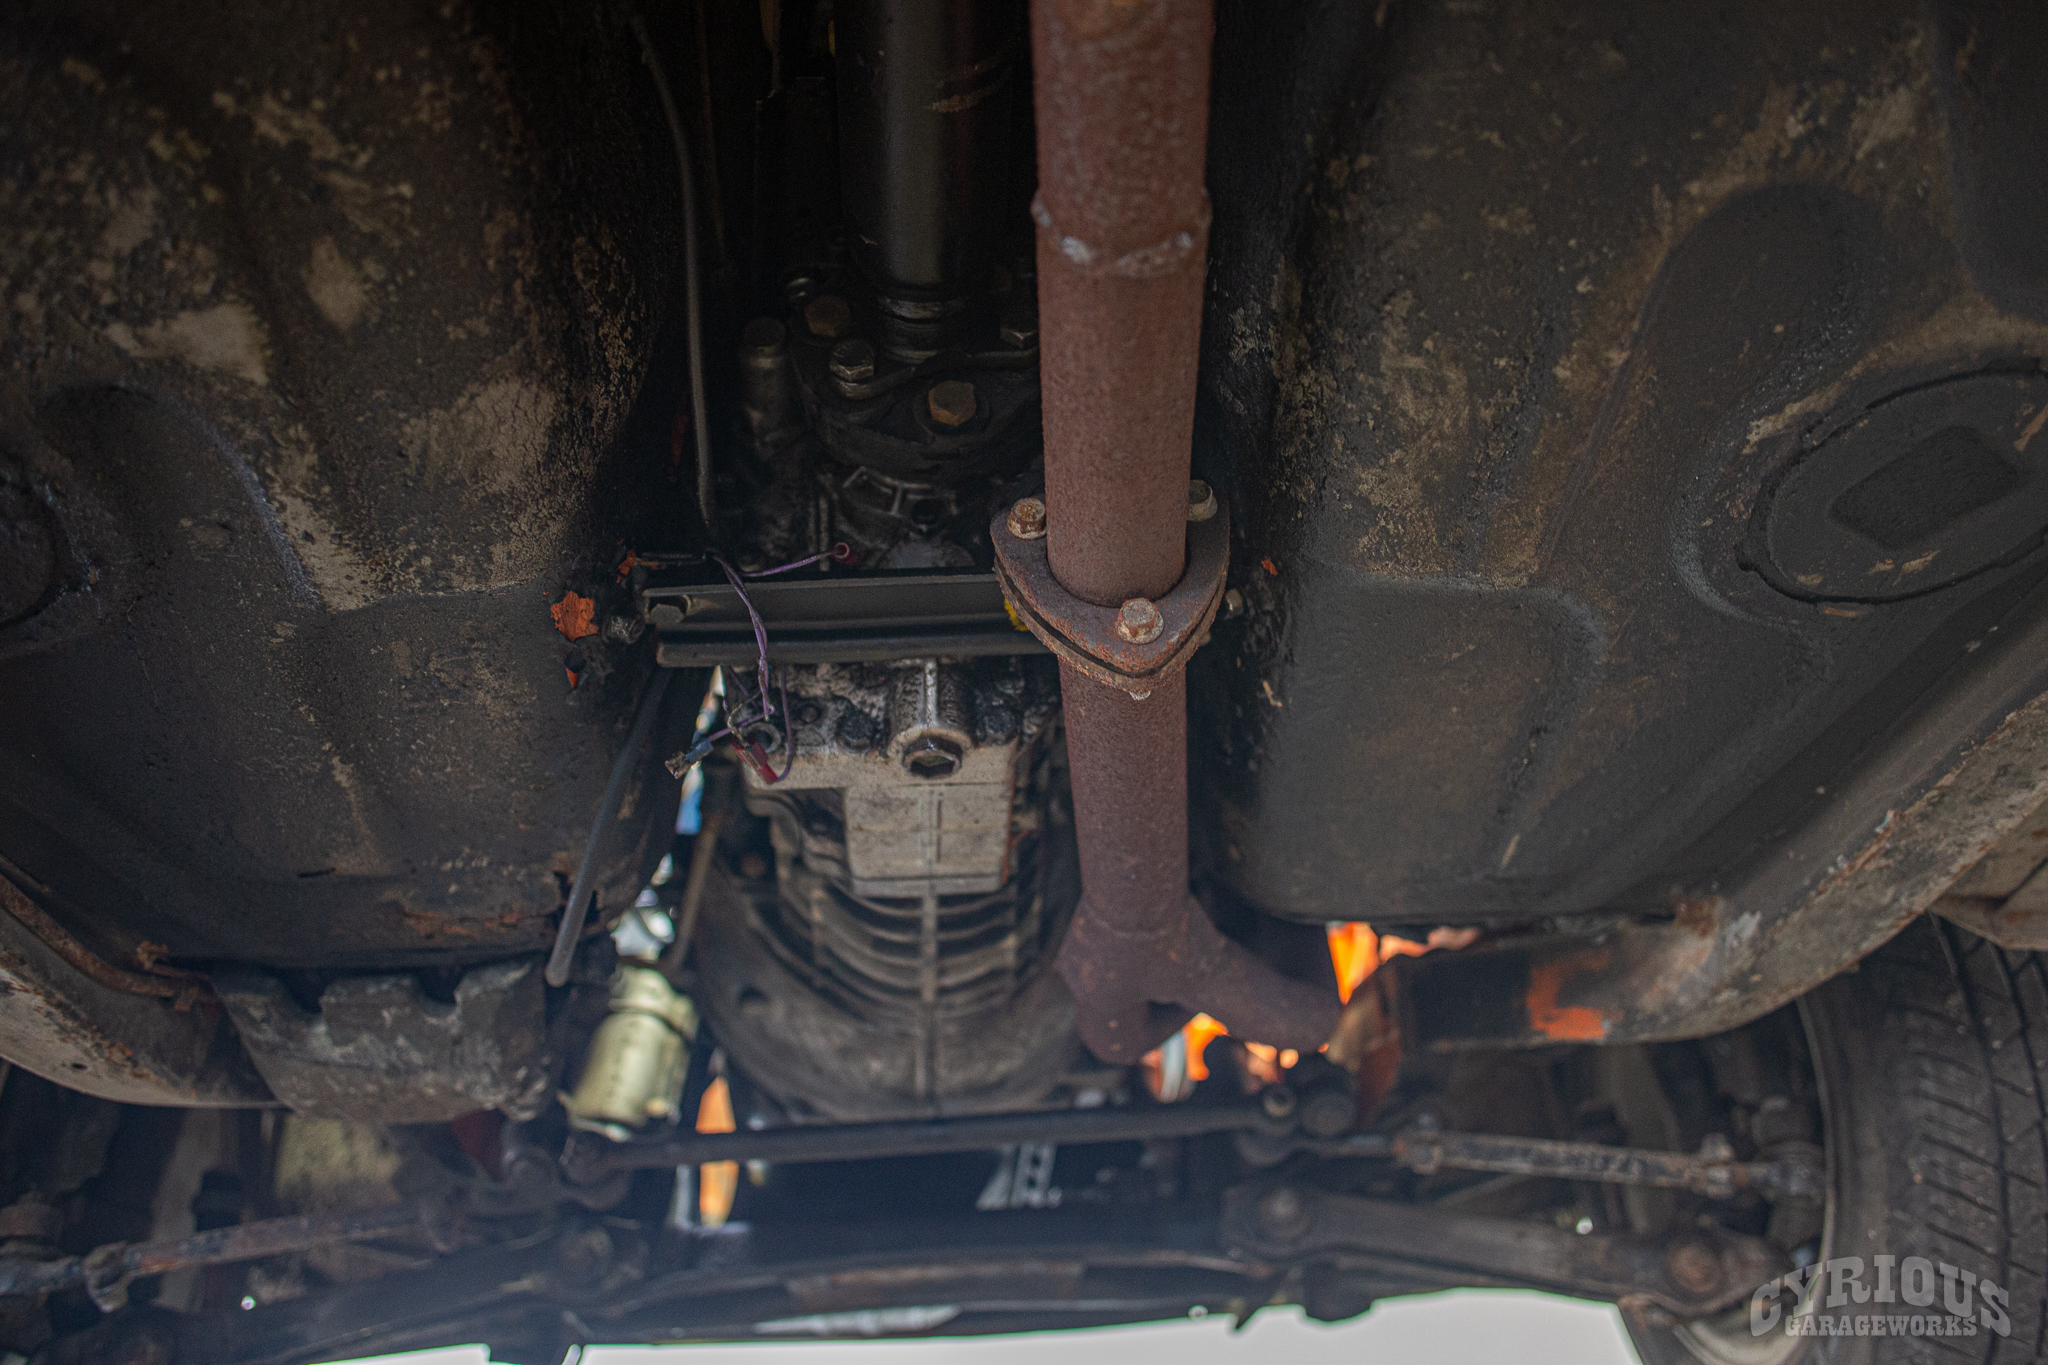
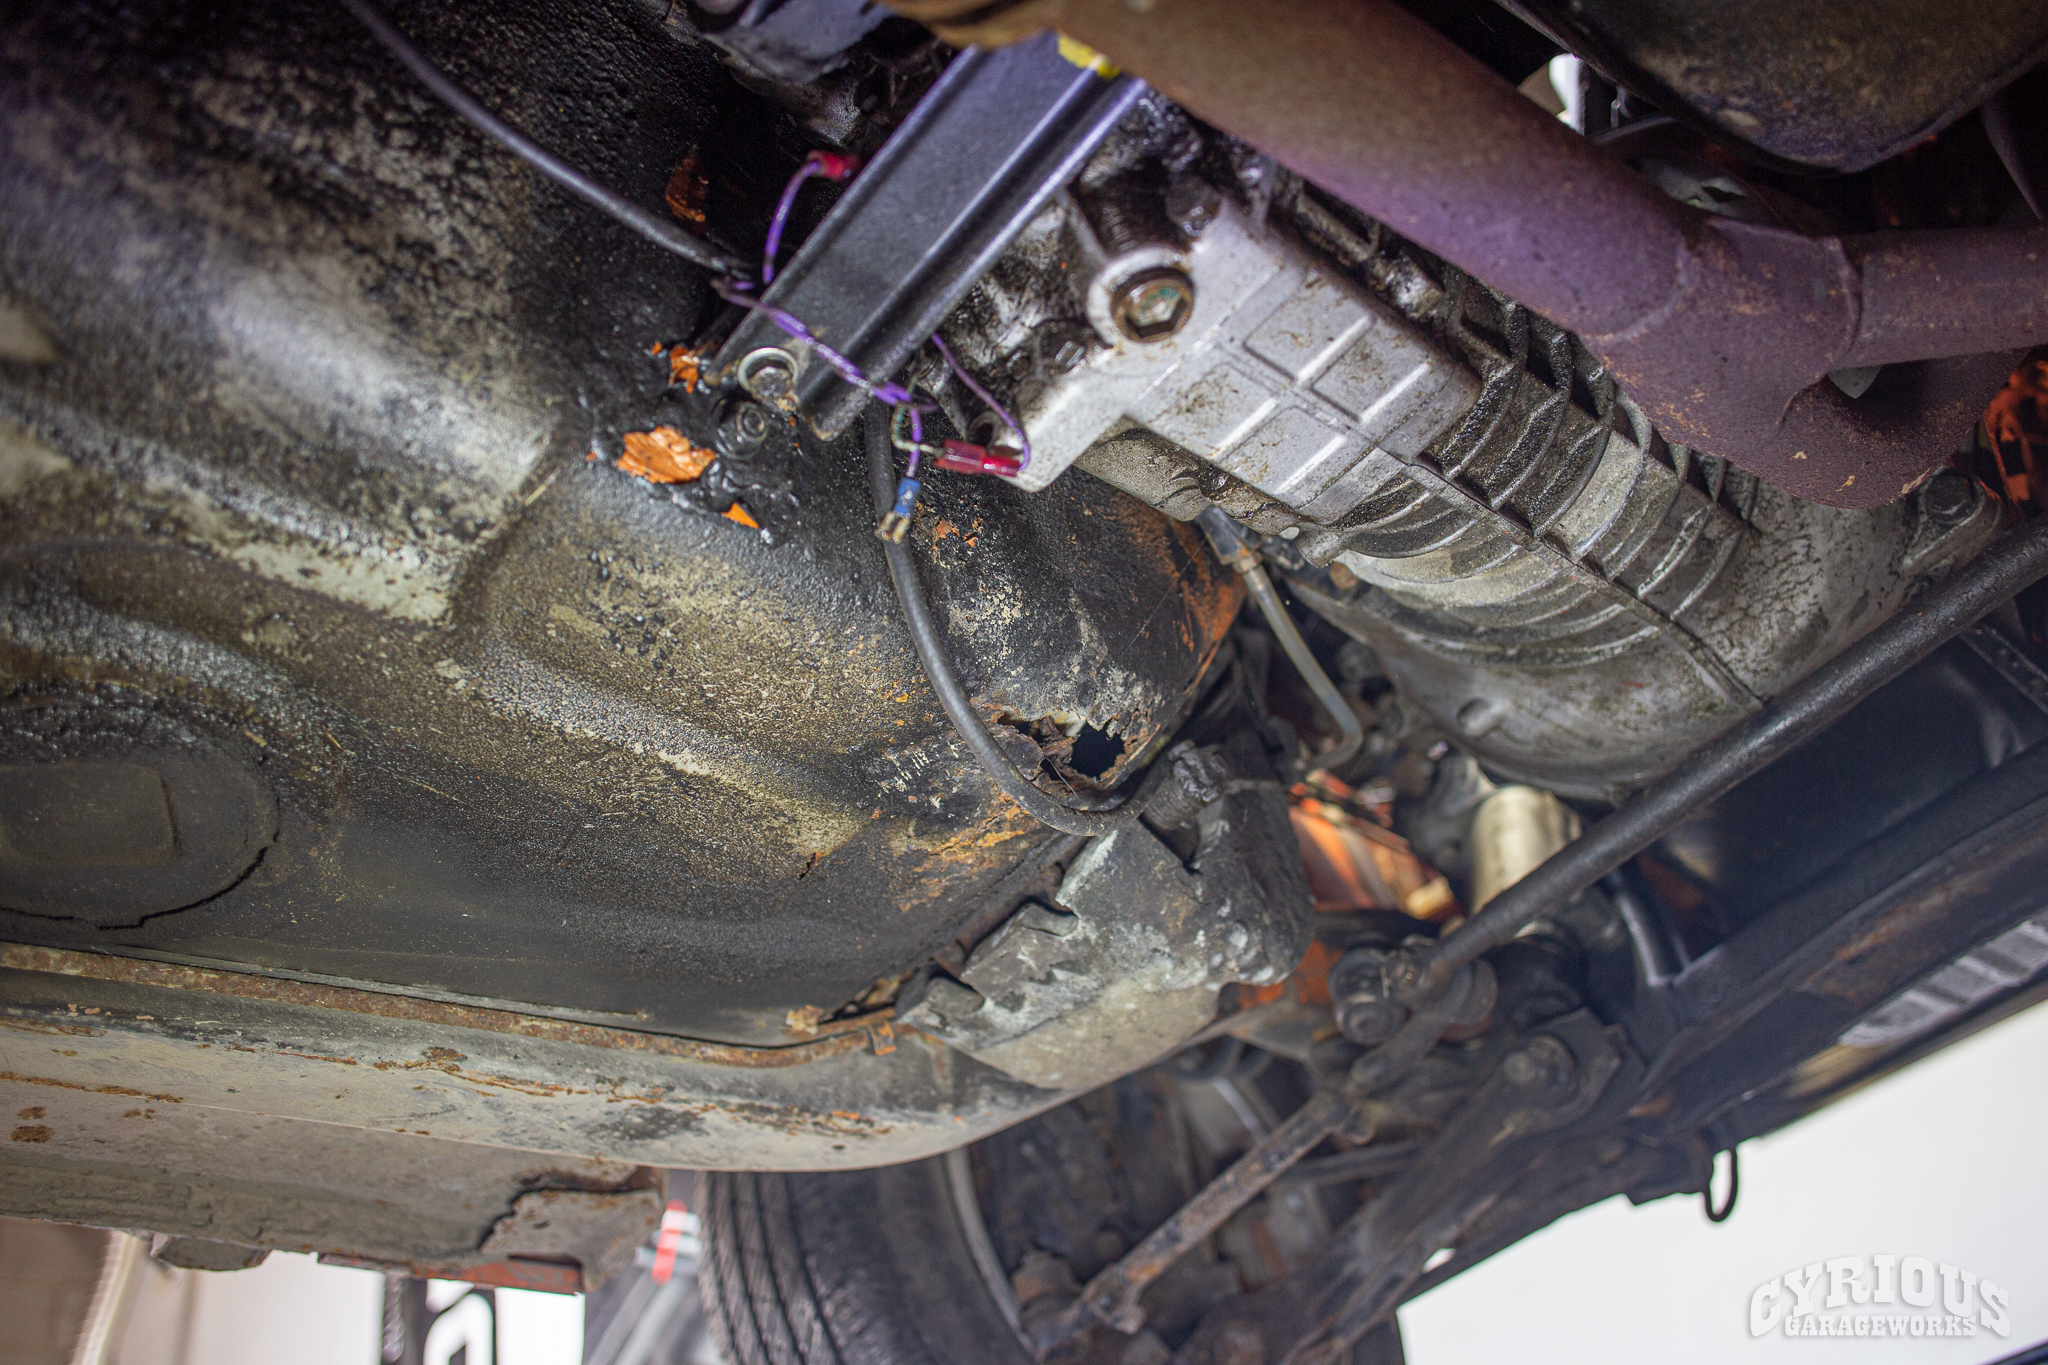


We’ll leave you with that for now, but keep your eyes peeled for the next instalment on this one where we will start really digging in to the metal work and get that drivetrain all mounted up!

We are back for the second part of restorting this very, very rusty AE86! In the first part of this series, we had a look at all of the various rusty regions found on this car (spoiler: it’s the whole car), and took it for media blasting to try and reveal as much of the nastiness as we could. In this part, we’ll start tackling the rust repair! Lots to do, so let’s dive in!